Quick Links
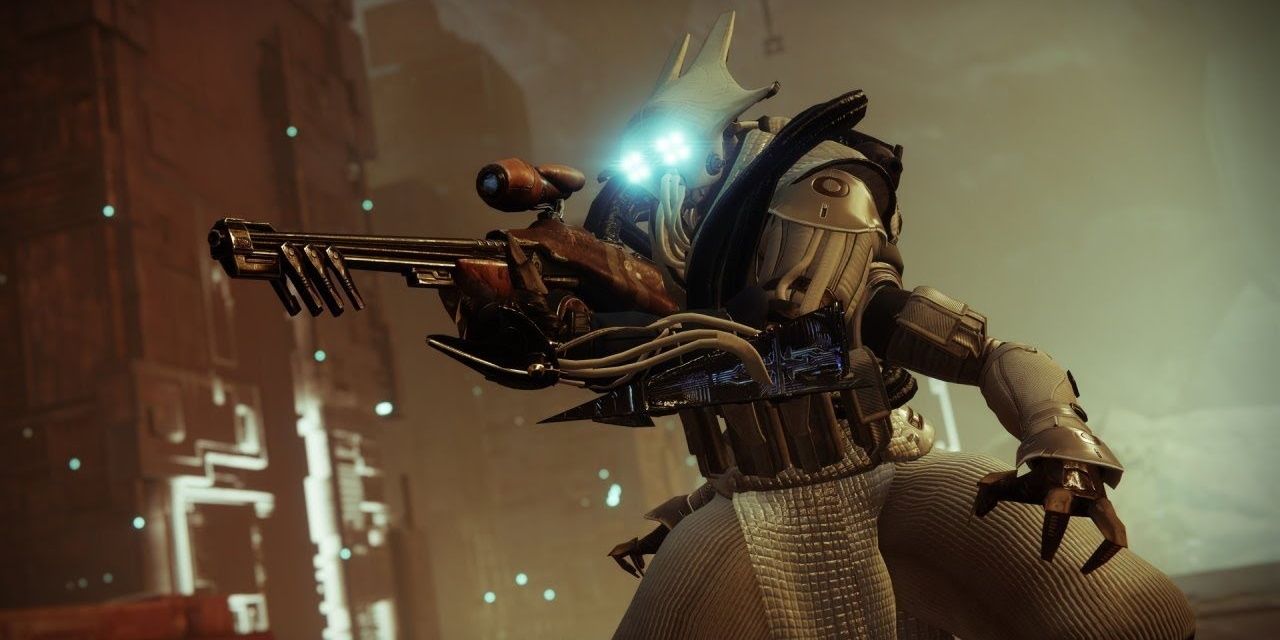
Obtaining the Cloudstrike Exotic Sniper rifle requires Guardians to brave elected-difficulty Empire Hunts in Destiny 2. These missions are effectively Nightfalls, tasking players with conquering a gauntlet of combat encounters before facing a final boss. Champions are scattered throughout the level to make it even more challenging.
Out of every Empire Hunt introduced in Beyond Light, the Warrior is arguably the hardest of the bunch. Filled with Wyverns and over a dozen Champions, this Empire Hunt will take most players 30 minutes or an hour to beat. Fortunately, there are a few ways to make this mission easier. Here is a complete guide to The Warrior Master Empire Hunt in Destiny 2: Beyond Light.
Updated August 1st, 2021, by Charles Burgar: If you're looking to hunt down the Cloudstrike Exotic Sniper Rifle or farm some Masterwork materials, you've come to the right place. The Warrior Empire Hunt can be tricky on Master, but with the right loadout, this mission shouldn't pose much of a threat to your fireteam. We've updated this guide with new loadout recommendations and some organization changes that should make following this guide much easier.
Modifiers And Recommended Loadout
Defeating Phylaks on Master difficulty is going to be somewhat difficult due to these modifiers and key traits:
The Warrior Empire Hunt Key Traits
|
Shields |
|
|
Champions |
|
|
Champions: Mob |
|
|
Hot Knife |
|
|
Equipment Locked |
|
|
Match Game |
|
|
Famine |
|
Subclass
|
Hunter |
|
|---|---|
|
Warlock |
|
|
Titan |
|
Weapons
|
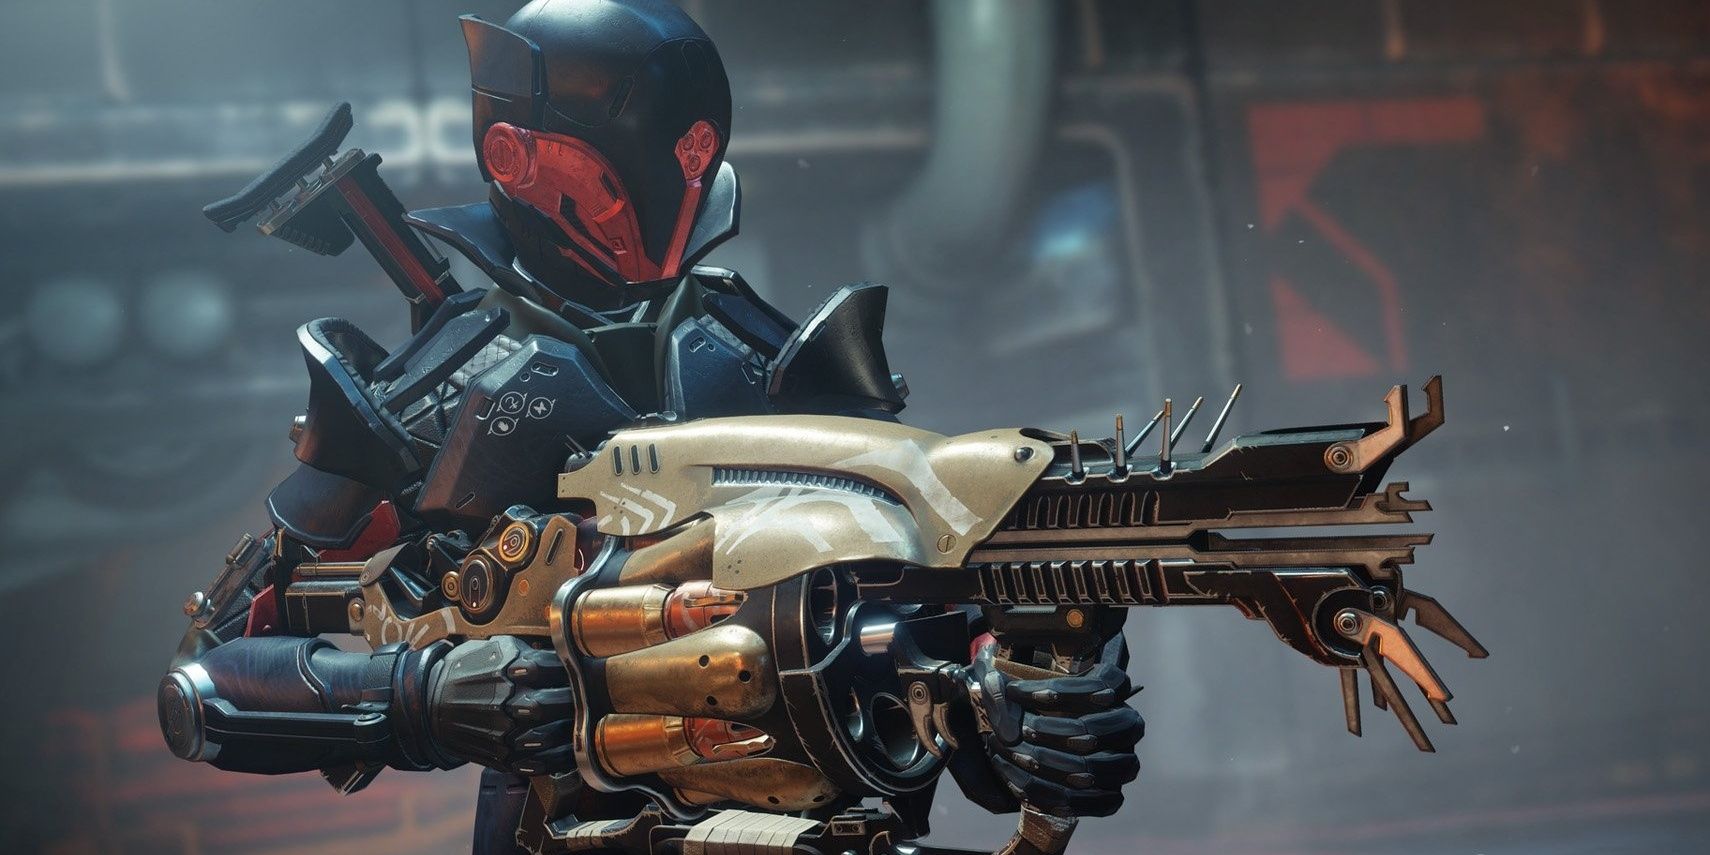
Anarchy OR Witherhoard |
Either weapon makes killing majors and bosses much easier while using little ammo, especially with Breach and Clear. |
|
Xenophage |
If you don't own Anarchy of Witherhoard, Xenophage is a solid substitute. |
|
IKELOS_SMG_v1.0.2 |
Destroys Arc shields and generates Warmind Cells. It also deals excellent damage in close-range. |
Mods
|
Global Reach |
Makes Warmind Cells deal more damage from a further distance. Allows IKELOS weapons to generate Warmind Cells as well. |
|
Protective Light |
Gain 50% damage resistance when your shields break, consuming all stacks of Charged with Light. |
|
Heavy Ammo Mods |
Scavenger, finder, and reserve armor Mods are downright mandatory due to Famine. |
Asterion Abyss And Nexus Entrance
First Encounter Enemies
- One Overload Captain
- One Overload Minotaur
- Two Barrier Hobgoblins
- One Wyvern Miniboss
- One Captain
- Dregs
- Goblins
- Hobgoblins
- Harpies
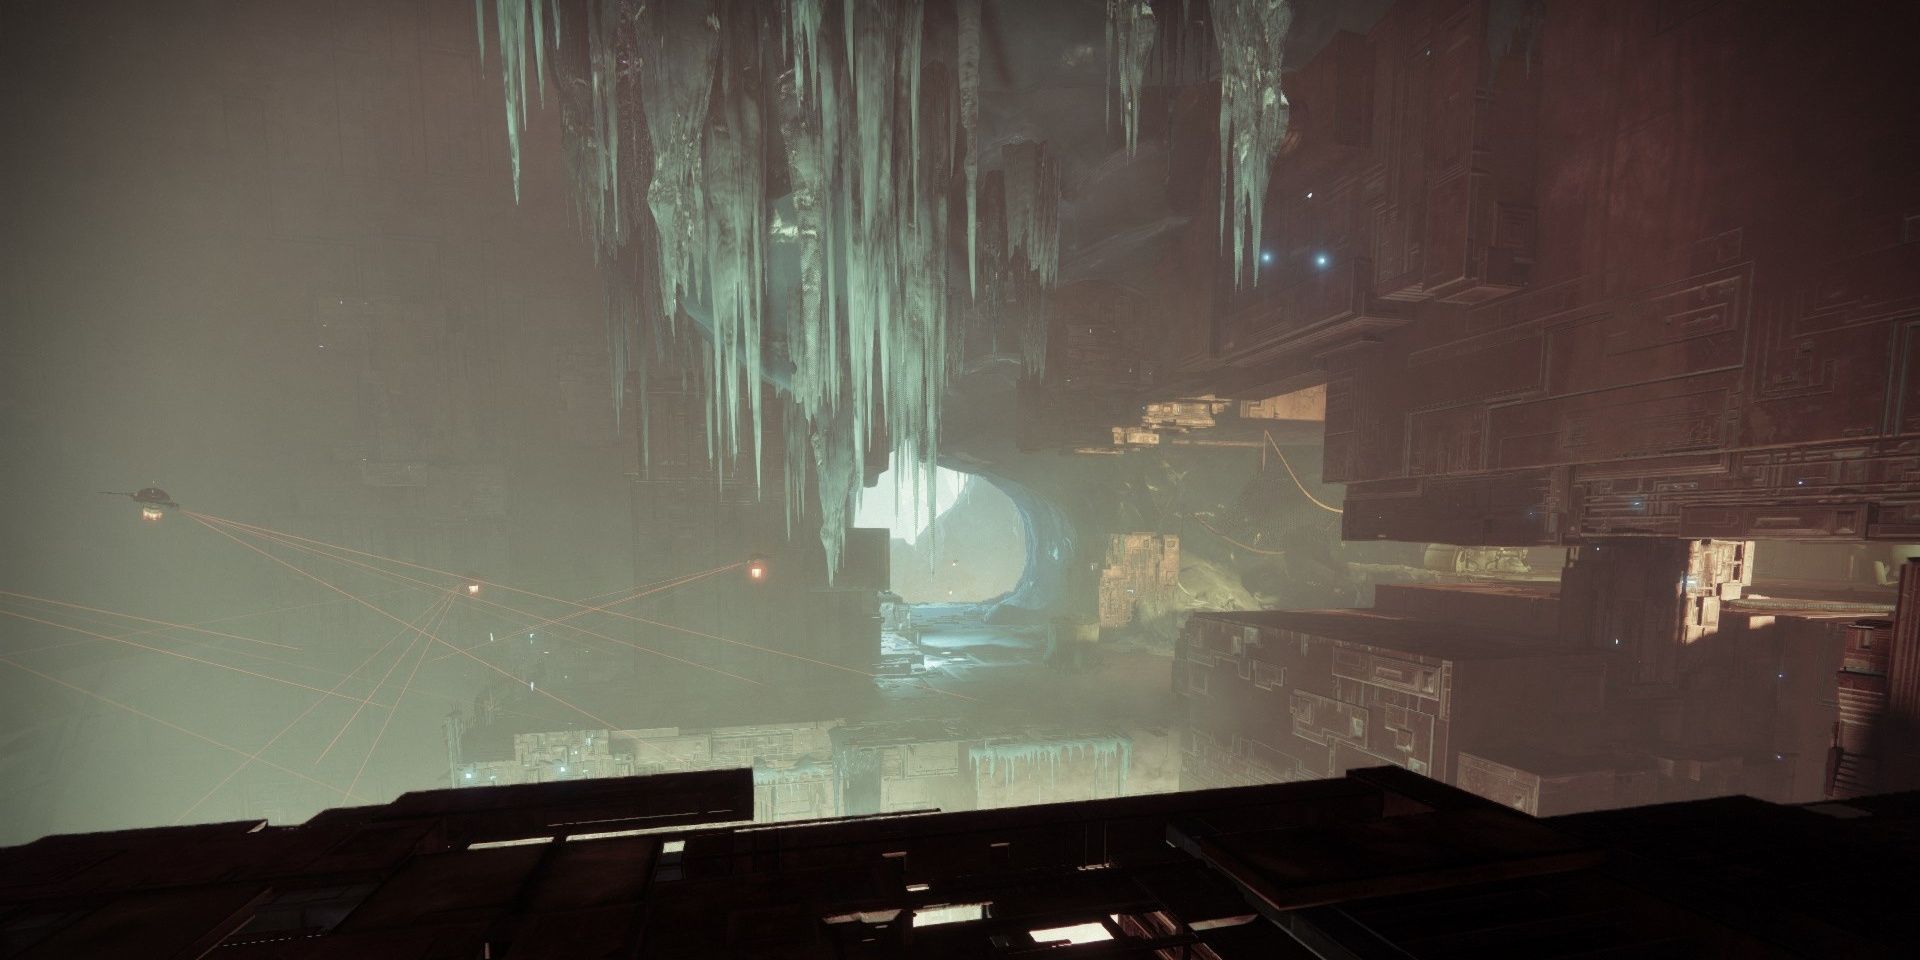
The beginning of this mission is brutal. You will spawn at the Asterion Abyss near the path to the Nexus. A firefight will be ongoing near this entrance. Unfortunately, you can't skip this fight as there's an Overload Captain in the area. Disrupt him, defeat the Champion, then head to the Nexus.
Pro Tip: When an Overload Champion recovers from a stun, hit it with an Overload Round. This will prevent it from teleporting or regenerating its health, even if the round doesn't stun the Champion.
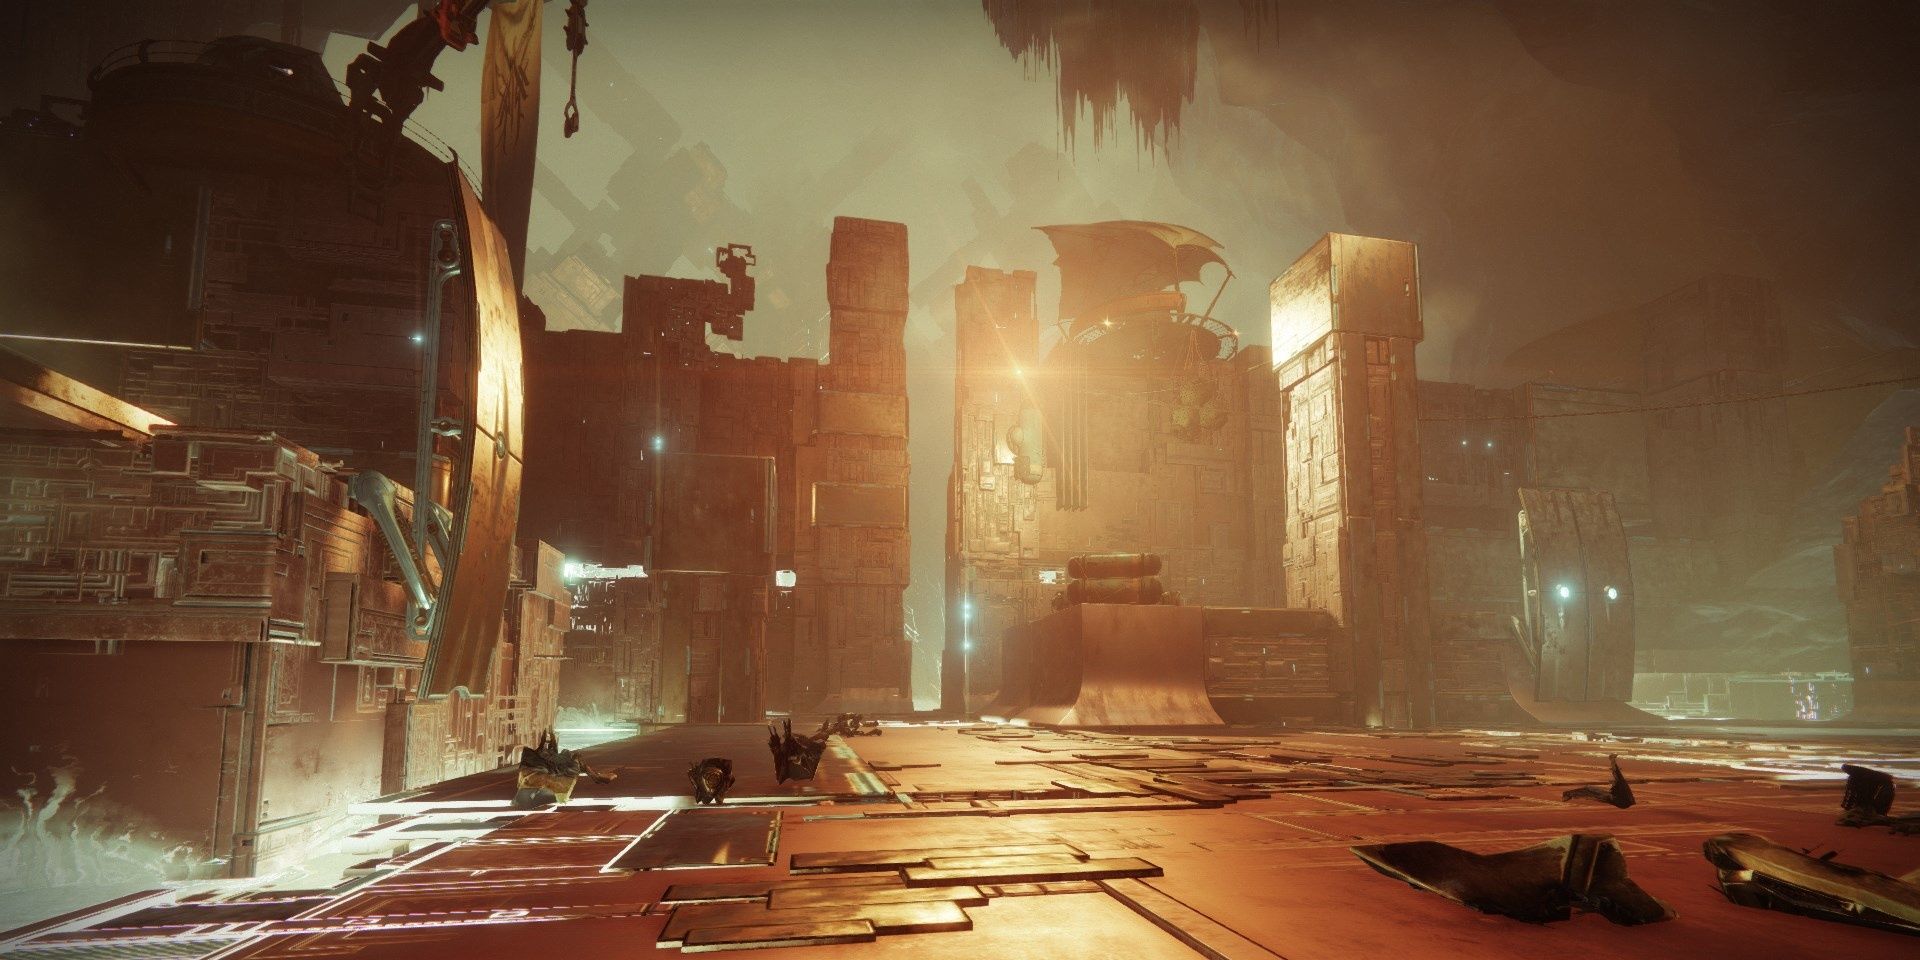
Yet another fight between the Fallen and Vex will occur once you enter the Nexus. This time, an Overload Minotaur will be facing off against a small group of Fallen Dregs. As before, disrupt the Champion before killing him. Kill the rank and file enemies as well; you'll need this area to be safe for the next part.
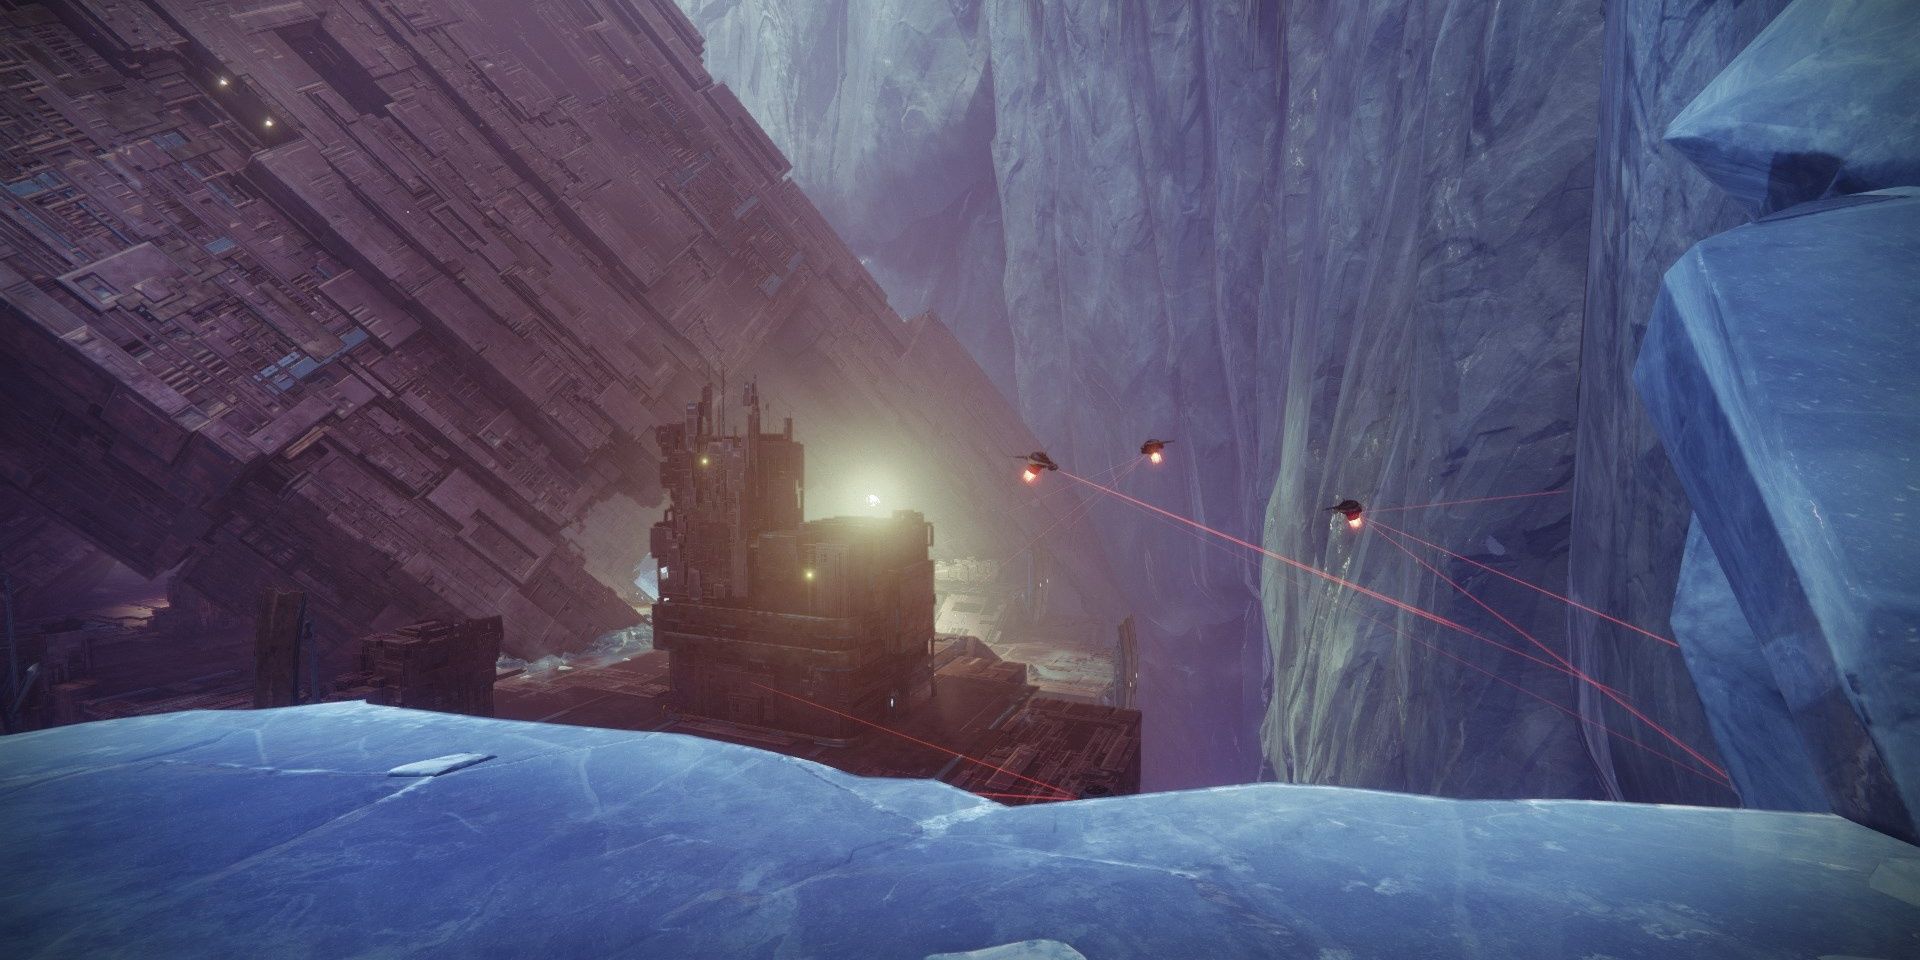
Traveling right will reveal a Wyvern miniboss and two Barrier Hobgoblins facing off against a small group of Fallen. Instead of killing the Fallen, try to use this opportunity to stick the Wyvern with a few bolts from Anarchy or Witherhoard. Alternatively, you can use Xenophage to lower its health pool for later.
Focus on killing the Wyvern before dealing with the Champions, but do not close the gap. This Wyvern can one-shot you if its Void cannons hit you. Stay back, strafe its projectiles, and lay into it until the Wyvern is no more. Eliminate the rest of the rank and file enemies. With just two Barrier Hobgoblins left, focus on defeating the closer one. You can get an angle on the Hobgoblin from the left of the Vex structure without revealing yourself to the second Champion. Kill both Champions, then break the Vex cube floating above the area to proceed.
Well Of Infinitude Entrance
Well of Infinitude Entrance Enemies
- Two Overload Captains
- Dregs
- Explosive Shanks
- Heavy Shank
- Shanks
Stick to the cave entrance during this section, as the cover provided further into the cave is lackluster. Two Overload Captains will spawn when you arrive, each taking one side of the room. Focus on the right Overload Captain first. He'll usually be perched on a Vex platform on the right side of the room. Disrupt him before using your Heavy to take him down.
During this period, a few Fallen Dregs will charge your location. Use a grenade to take them down. The second Overload Captain usually pushes around this point, so it's a good idea to have your Overload weapon at the ready. Disrupt, kill, then proceed to the end of the cave.
A Vex structure filled with radiolarian fluid will house a swarm of Explosive Shanks when you enter the next room. Don't push up from the entrance. Instead, wait for the Shanks to push your position. Pick off the Shanks one-by-one until the coast is clear.
Around the corner will be a series of Shanks, a Heavy Shank in the left corner of the room, and two Barrier Servitors accompanying the Heavy Shank. These Servitors will typically make the Shank immune to all damage, so you'll need to focus on the Champions first. Damage both Servitors until they each deploy their shields. Break both shields, then focus on killing only one of them. This will prevent the second Champion from making the first one immune since its shield was just broken. Defeat the second Champion and Heavy Shank to proceed.
Well Of Infinitude Depths
Well of Infinitude Depths Enemies
- Four Barrier Hobgoblins
- Two Wyverns
- Dregs
- Vandals
- Goblins
Similar to the last section, you'll want to stick to the entrance for this encounter. Drop down the platform to attract any enemies, the jump back up the platform to pick them off from a safe distance.
Once you drop down, a set of Vex will spawn including two Barrier Hobgoblins and two Wyverns. One of the Wyverns will push your position once the Fallen are dead. Defeat this Wyvern as soon as possible, preferably by luring it to the entrance of the zone to damage it from a safe location. Take out the first Wyvern, then focus your attention on the Barrier Hobgoblins. A few Goblins will accompany these enemies if you need to generate a Warmind Cell or take advantage of a finisher mod for ammo.
Damaging the second Wyvern will cause a second wave of enemies to spawn right under the platform seen at the entrance. One Barrier Hobgoblin is in this group alongside fodder Vex enemies. Take the enemies out as you did previously, using the elevated platform as cover.
When the second Wyvern reaches the last third of its health, it will spawn one more Vex wave near the exit. One of these enemies will be a Barrier Hobgoblin. Once again, play it safe and fire from a distance. Destroy the Vex cubes floating above the room to reach the next section.
Well Of Infinitude Lake
Well Of Infinitude Lake Enemies
- Two Barrier Servitors
- One Brig
- Shanks
- Dregs
- Vandals
This section needs to be taken slowly or the Brig will easily wipe your fireteam. Walk up until the Brig spawns, then double back to where you came from. Pick away at the Brig's health with any weapon until its health gets low.
Since this Brig provides so much pressure when you approach, you have two options:
- Kill the Brig to reach the boss, despawning the two Barrier Servitors in the area.
- Rush into the arena, kill both Servitors, then kill the Brig.
The first option can void a Platinum run, but it seems inconsistent. Some runs still give Platinum even if the Servitors survive. Option two is significantly risker and should only be done in a fireteam setting, preferably with a Pathfinder Hunter making your team invisible. If you care about beating this mission on Master, the first option is significantly faster and safer.
For those who want to kill the Servitors, push to one of the pillars to block the Brig's shots. Weaken both Servitors, break their shields in unison, then kill one of them. Finish off the second Servitor, then kill the Brig. This is much harder to execute solo than it is in a fireteam. Use smoke bombs to close the gap. If no Hunters are present, Warlocks can throw healing grenades from Attunement of Grace or Bleak Watcher grenades if they're a Shadebinder. If the team is just Titans, a Ward of Dawn Super placed atop the Servitors will work.
Phylaks, The Warrior
Final Encounter Enemies
- Phylaks, the Warrior
- Wretches
- Marauders
- Shanks
- Captains
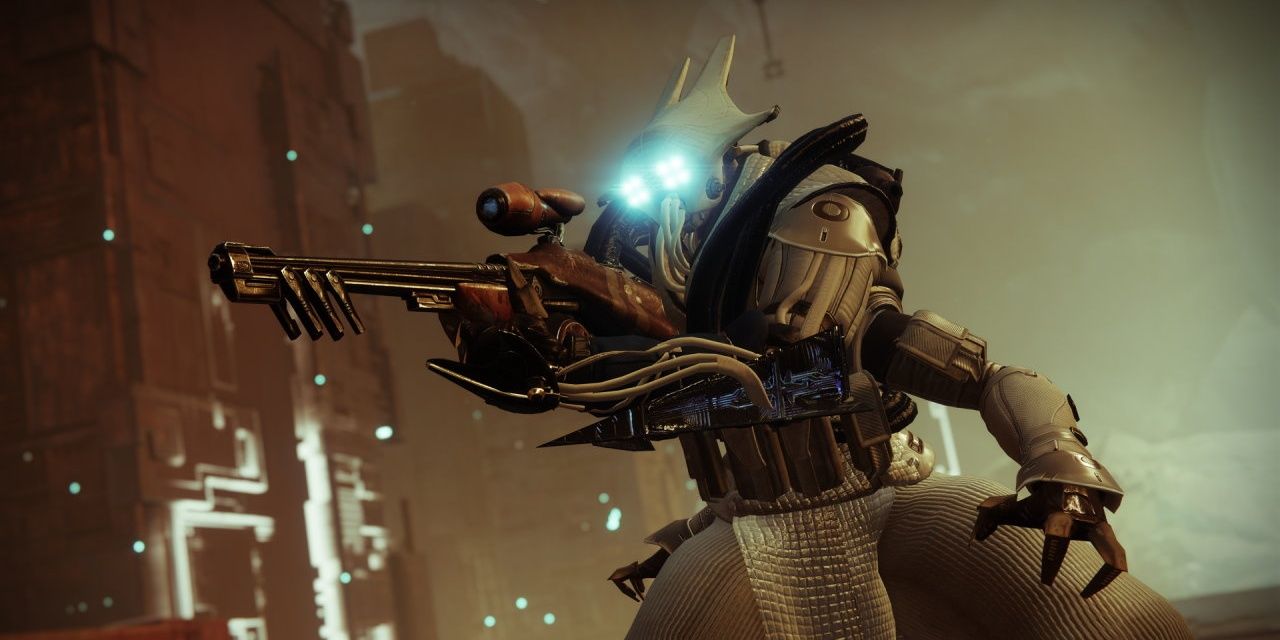
Phylaks will spawn alongside a wave of Wretches and Marauders ready to charge you. Try to take down these enemies as soon as possible while sticking to cover. Moving out of cover will cause Phylaks to freeze you, causing certain death. Defeat the Fallen rank and file mobs, then focus on damaging Phylaks. Thankfully, Phylaks doesn't have a large health pool. A few shots of Anarchy, Witherhoard, or Xenophage will start the next phase.
Once Phylaks loses a third of his health, he will teleport to a platform on your right. Climb up the path, then prepare for a swarm of Wretches and Marauders to spawn. Defeat them to force Phylaks to become vulnerable. He will spawn next to a swarm of Shanks. A well-placed Solar grenade or a shield detonation will cause all of the Shanks to explode. Destroy the Shanks, then focus on Phylaks.
He will retreat one more time to another platform. If you're attempting this solo, don't climb up the platform fully. Instead, take potshots at enemies from the final step leading to the platform. The amount of melee enemies that spawn during this is incredibly dangerous, now including Captains in addition to Wretches and Marauders. Eliminate the fodder enemies to spawn Phylaks. Don't push the boss, stick to cover, and only damage him when it's safe to beat this Empire Hunt.

