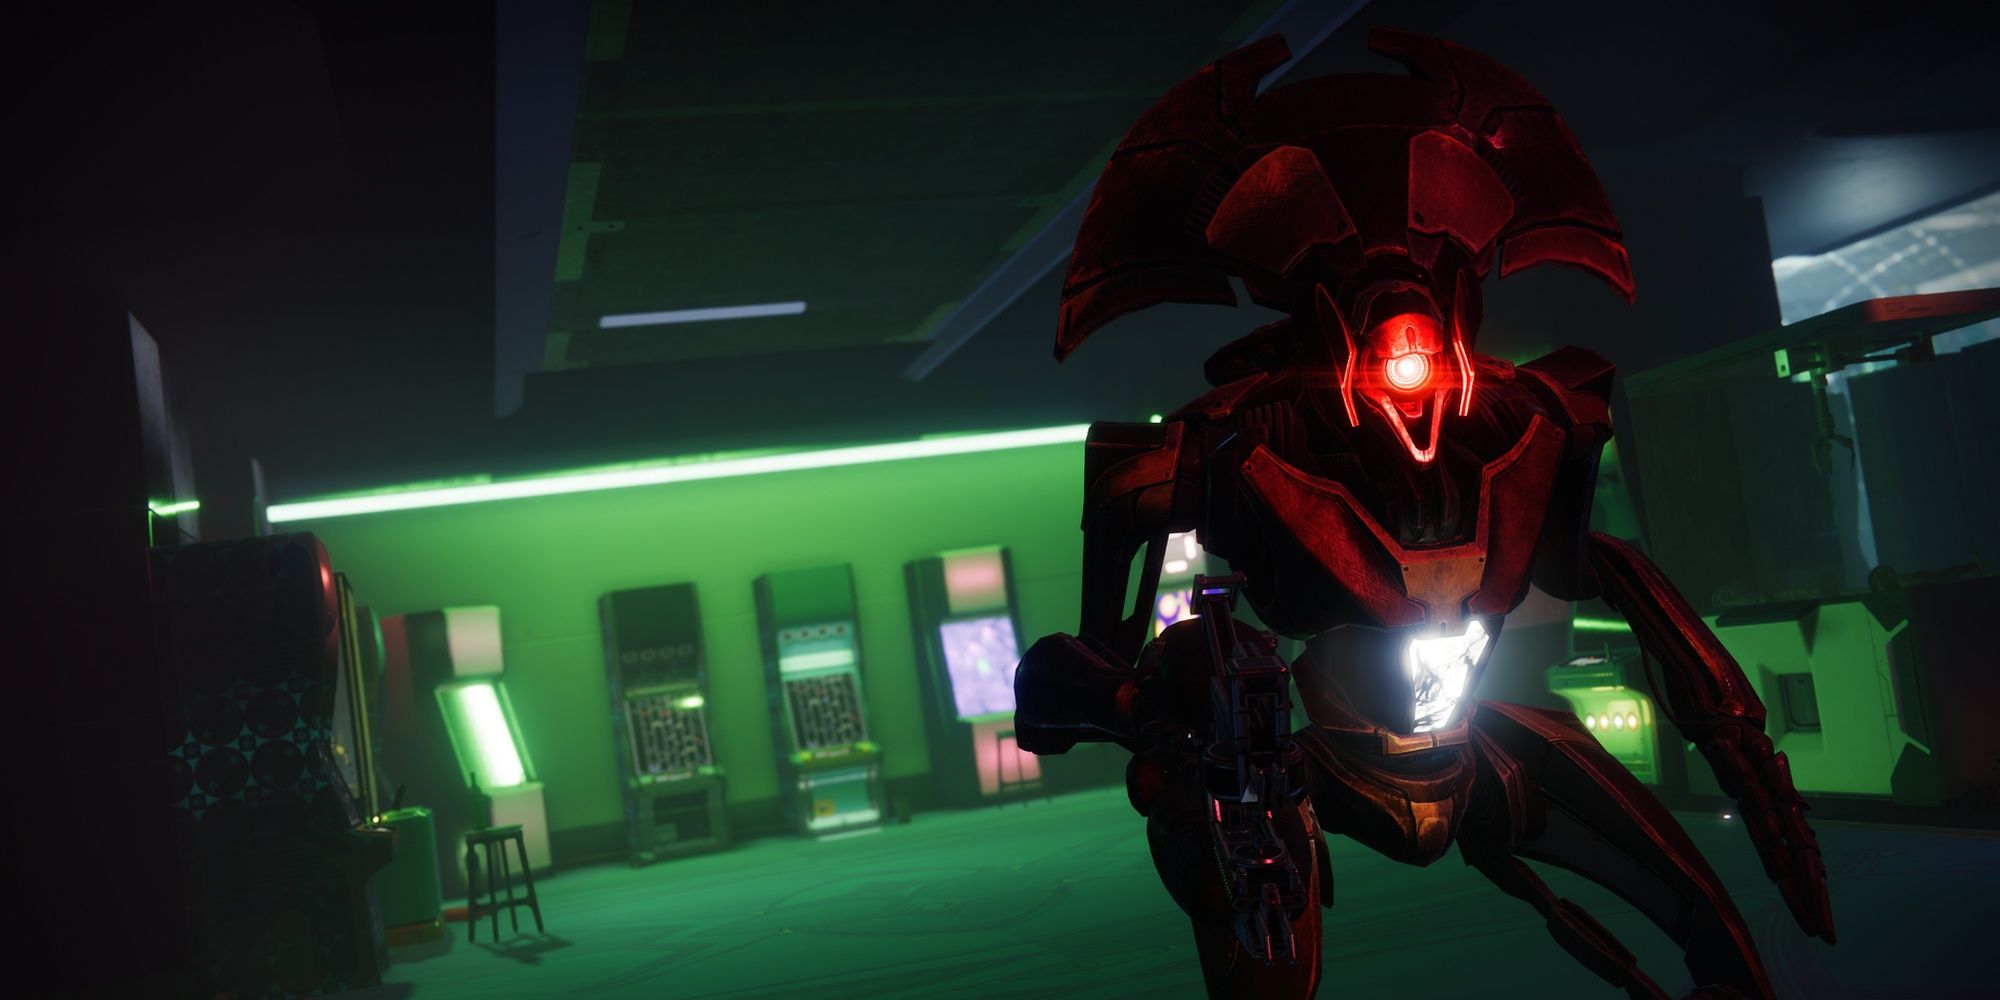
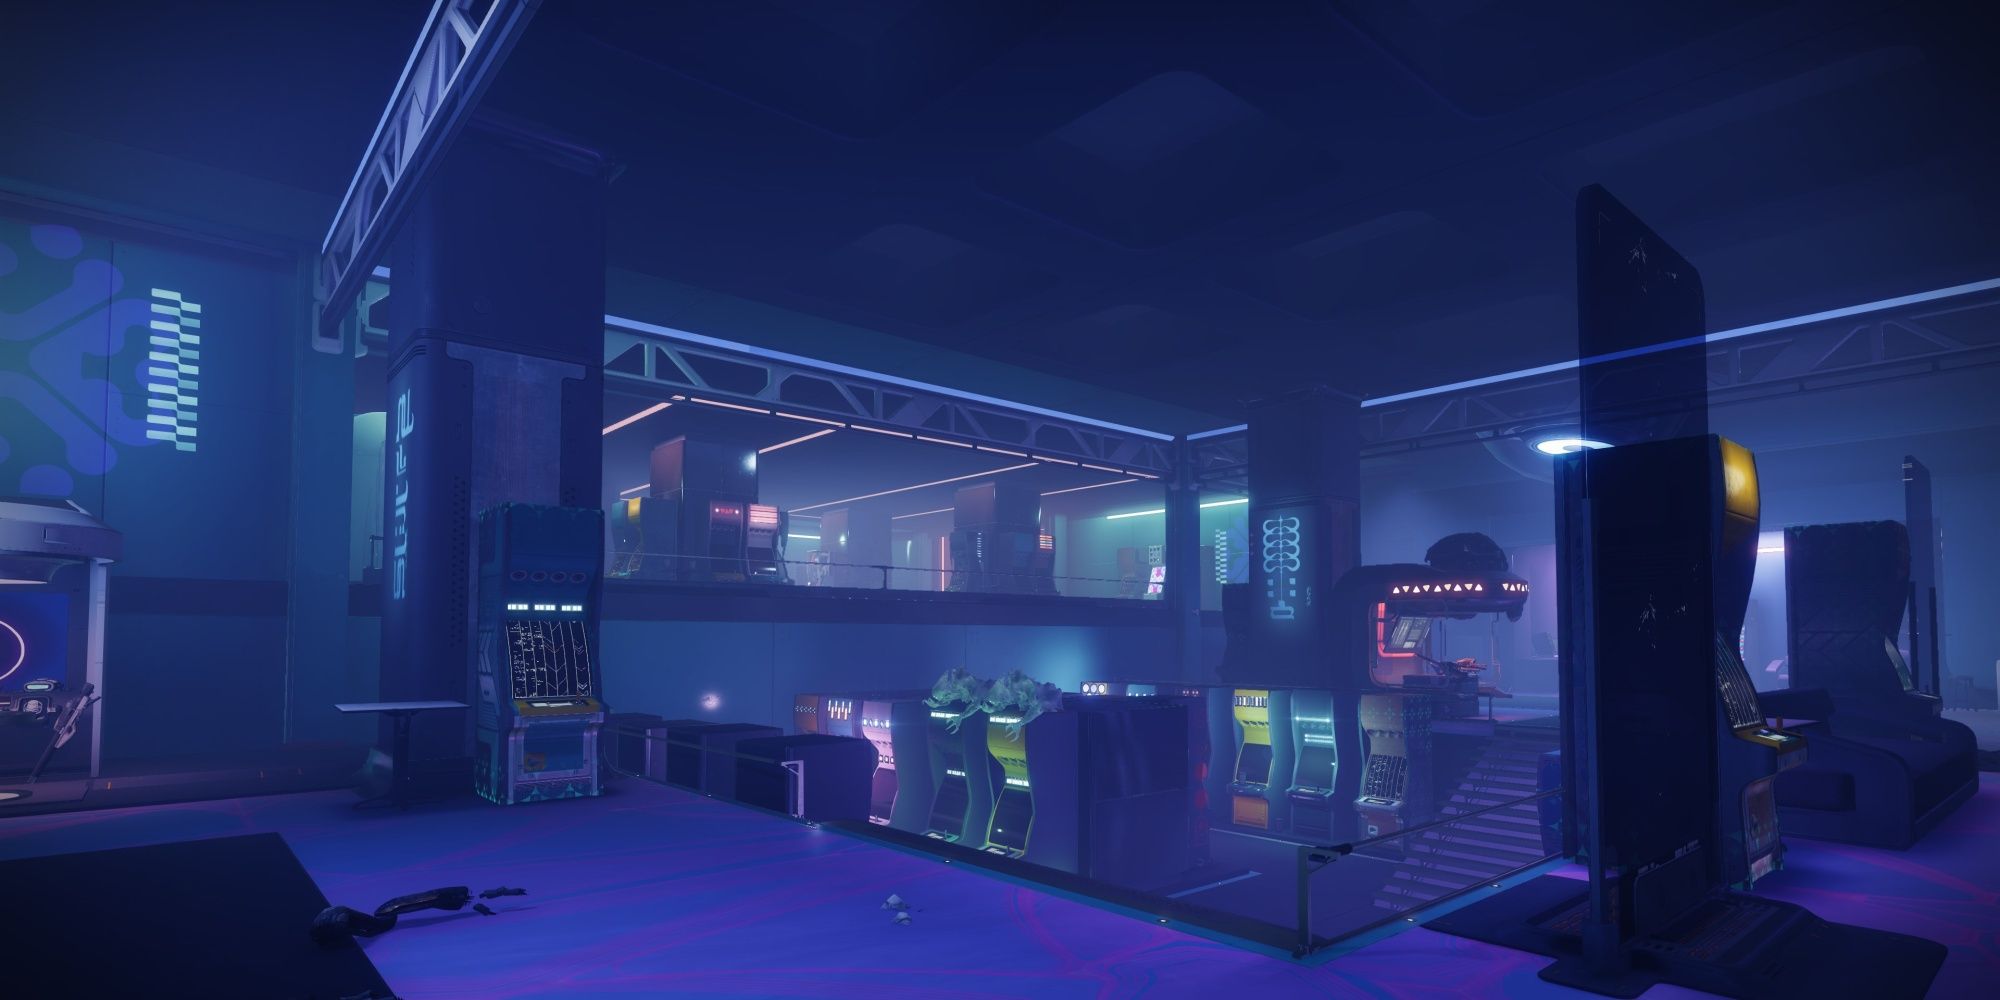
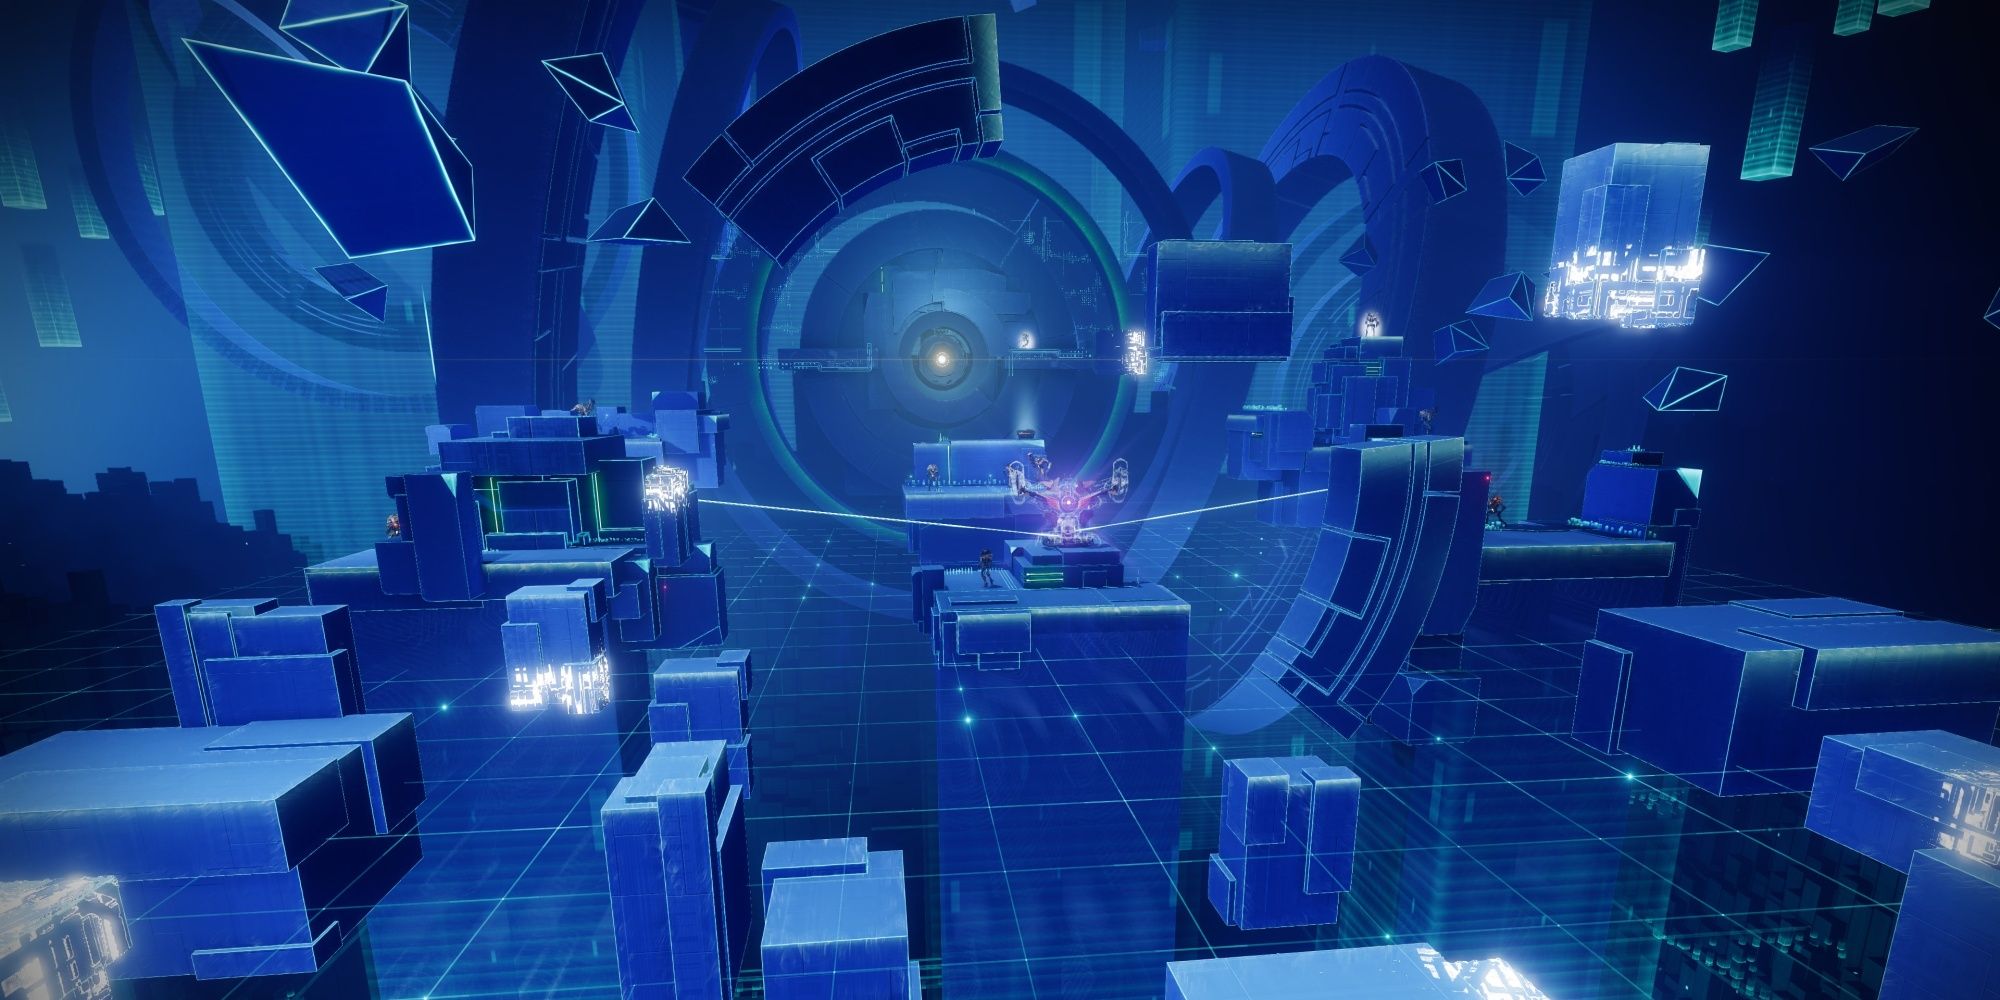
Destiny 2: Lightfall added three new Lost Sectors to the Legendary Lost Sector rotation. Thrilladrome is one such Lost Sector. Taking place in a gaming arcade, Thrilladrome features dozens of Vex enemies and a fairly difficult boss room. The good news is the final boss can easily be slain with a certain strategy, allowing you to farm this Lost Sector in a few minutes.
For those looking to stock up on Exotic armor should give Thrilladrome a try whenever it appears as the daily Legendary Lost Sector. This guide will cover Thrilladrome's various modifiers, what loadouts you'll want to bring, and we'll give an in-depth breakdown of the best strategies you can use for farming this mission.
Modifiers And Recommended Loadout
Thrilladrome is an action-packed Lost Sector with nearly 100 enemies. While this Lost Sector has a surprisingly low number of Champions, you'll still want to come prepared. Bring a good add-clearing weapon, find a way to counter Barriers and Overloads, and this Lost Sector shouldn't pose much of an issue.
Thrilladrome Modifiers
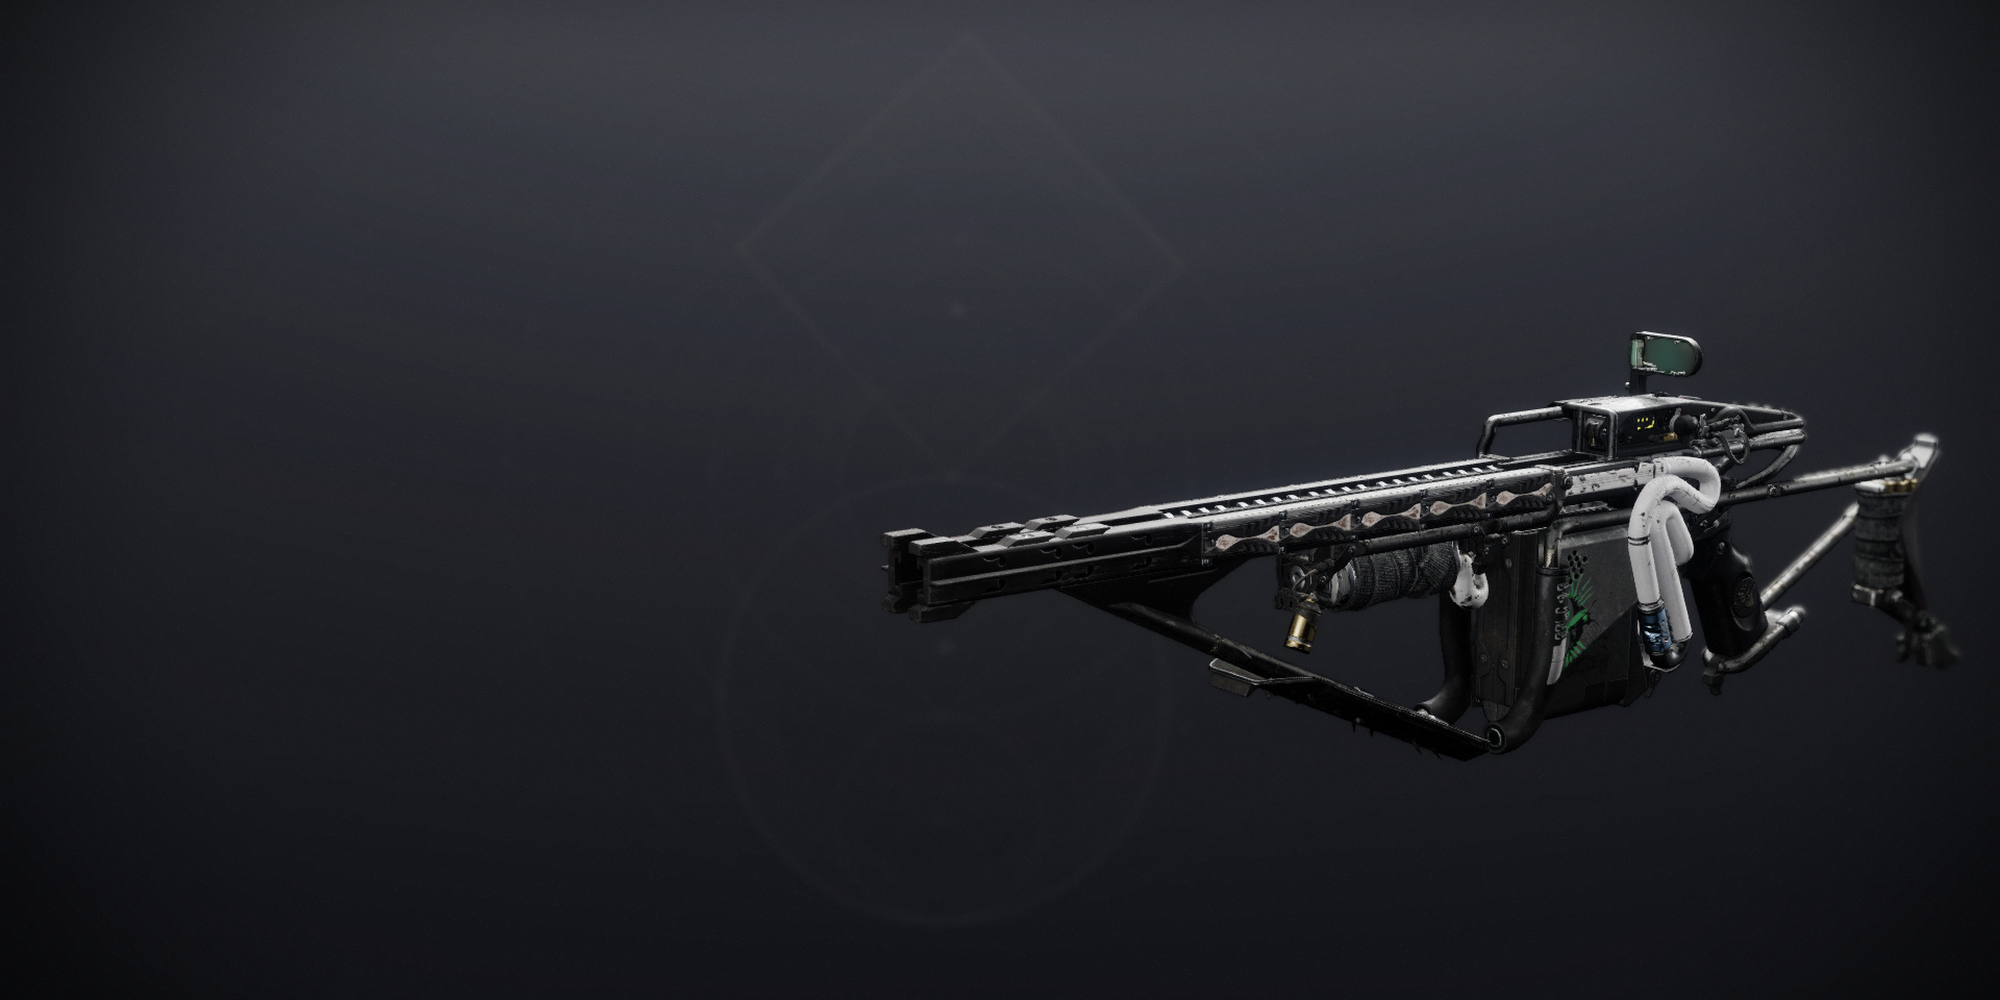
Recommended Loadout
Gaming Arcade
Gaming Arcade Enemies
- Two Barrier Hobgoblins
- Two Overload Minotaurs
- Hydra
- Minotaurs
- Hobgoblins
- Goblins
You'll start this Lost Sector just outside the first room. There's an orange bar Goblin in this room that won't attack unless it's damaged, so feel free to skip it. You'll face four Goblins on the lower floor and a Barrier Hobgoblin up the stairs. Killing the Goblins will spawn the next pack of enemies, so you might want to kill the Barrier Champion first. Jump up the platform and damage the Champion slightly. This will cause the Champion to pop its shield. Immediately use your Anti-Barrier weapon to break this shield, then melt the Champion with your Heavy. Drop to where the Goblins are and kill them.
A new pack of adds are going to spawn, including nearly a dozen Goblins and a Hydra. Grenades or any AoE weapon will make short work of these enemies. Killing the Hydra will open the path to your right, but you'll want to stay put for a second. Explosive Goblins are going to spawn on your left. Kill them before pushing forward.
Stunning Champions Consistently
Upon stunning a Champion, their Darkness energy or 'antlers' will start to glow a bright white color. When their antlers stop glowing, they can be stunned again. This goes for all Champion types. As for specific counters, Barrier Champions will always deploy their barrier upon losing roughly 15% of their total HP unless they were recently stunned.
For Overload Champions, they will immediately attempt to teleport once they recover from a stun. Hit them with an Overload counter again to prevent this. The counter won't outright stun them, but this disables their abilities and prevents HP regeneration for a short time. By the time this wears off, you'll be able to stun the Champion again.
The walkway to the next room will be guarded by a few Goblins and an Overload Minotaur. Stun this Minotaur immediately and deal with the adds. When the Minotaur recovers, lure it into the previous room and stun it again. Use your Heavy weapon to quickly kill it. The next room will spawn a small pack of adds and a Barrier Hobgoblin. Back up and let the adds come to you. Killing them will spawn another pack of adds, including a large group of Goblins and another Minotaur. Kill the adds, then deal with the Champion.
For the final room, you'll need to kill another horde of Goblins and an Overload Minotaur. This Minotaur appears right after you enter the room, so have your Overload counter at the ready. Stun it, kill the adds, lure the Overload to a safe location, then stun it again to give yourself a DPS window. With all the Champions and adds slain, hop through the portal at the end of the room to enter the boss arena.
Boss Arena
Boss Arena Enemies
- Two Barrier Hobgoblins
- Hydra Boss
- Cyclops
- Minotaurs
- Hobgoblins
- Harpies
- Goblins
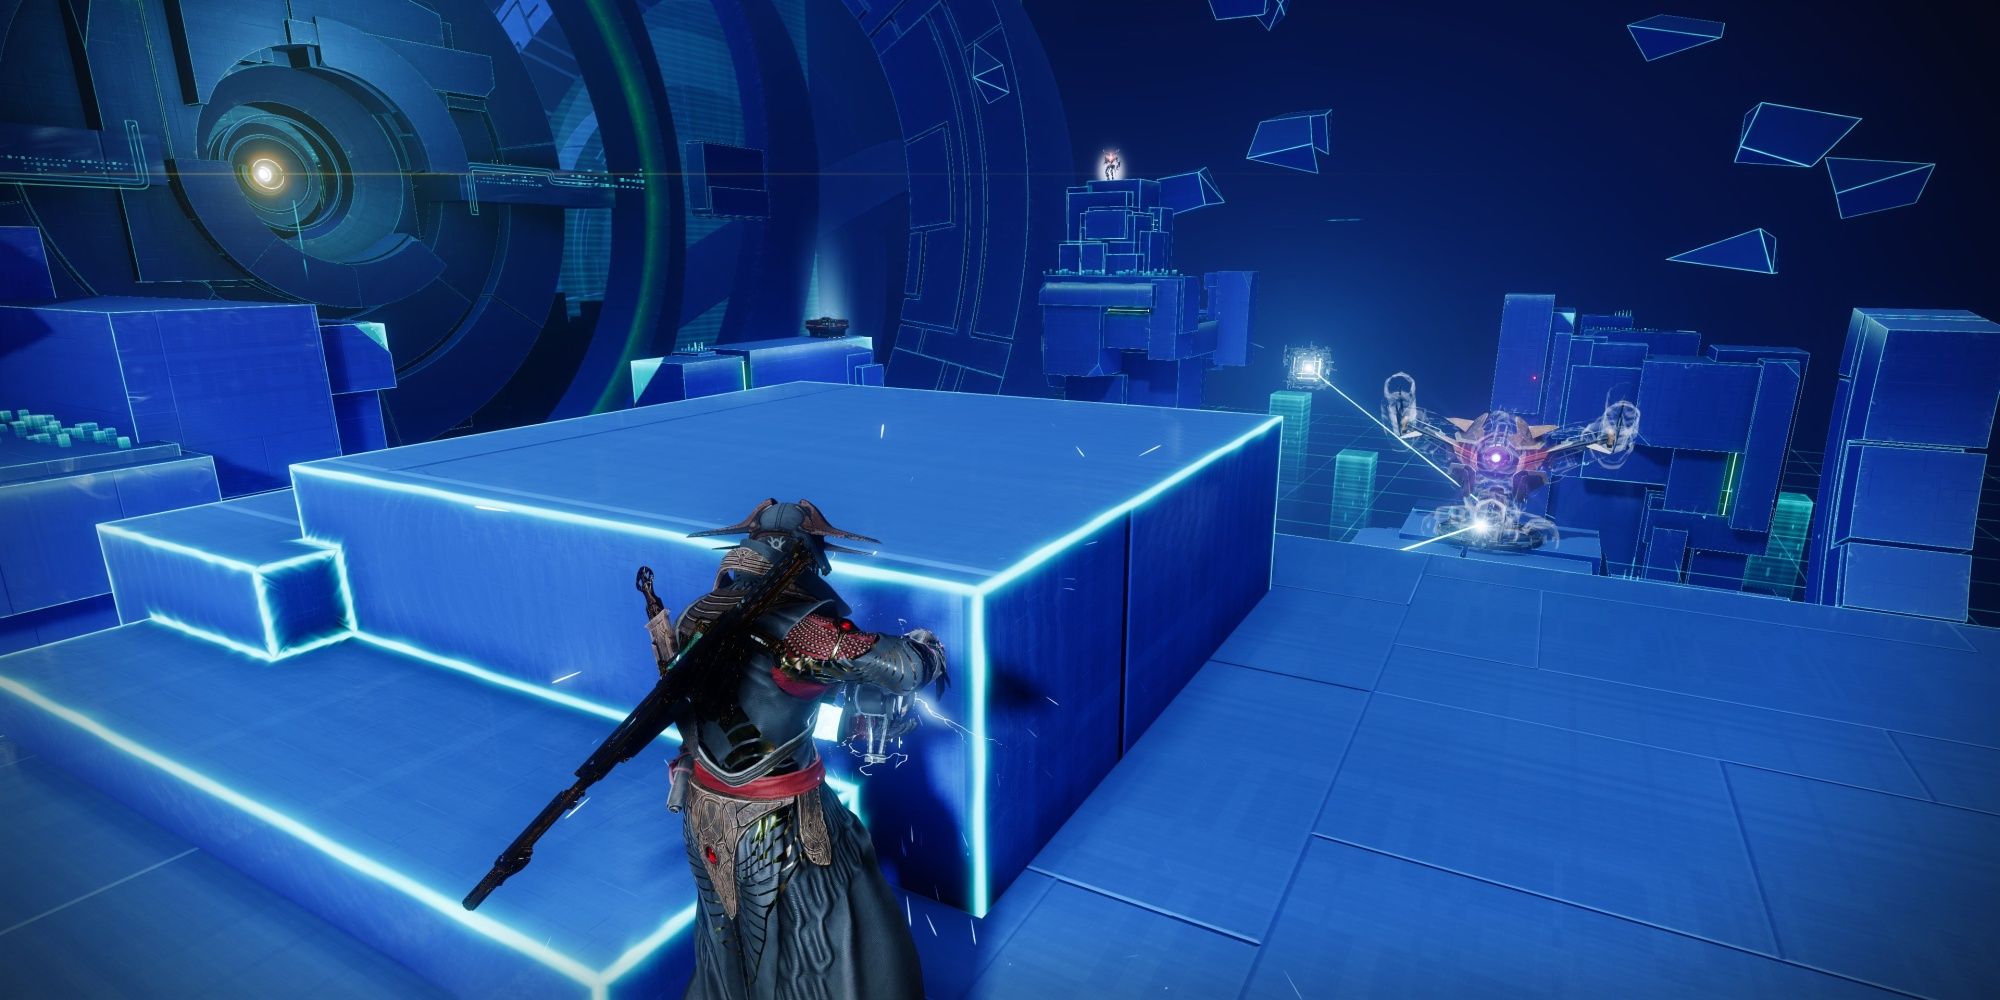
Immediately after teleporting into the arena, start jumping across the platforms on your left. The first static platform you reach will have a Hobgoblin standing above you. Jump to the top of the platform and kill it. This will spawn a beam weapon that deals massive damage against the Vex. Don't use the beam weapon yet. We'll be using it to kill the Champions later. Focus on kill the red bar enemies beside you and on neighboring platforms first. Do not kill the Cyclops.
Now that you have some breathing room, pick up the beam weapon and damage either of the Barrier Hobgoblins in the arena. They'll both be near the center of the boss arena. Shoot the beam until the Hobgoblin loses about 15% of its HP, then drop it. Equip your Anti-Barrier counter and pop its shield. Pick up the laser and land the final blow. Repeat this process again on the second Champion.
You'll want to have a second laser cannon ready for the boss fight. Make your way across the arena toward the second Hobgoblin that's holding a beam weapon. If you want to do this safely, remove roughly half of the Cyclops' HP to temporarily reduce its accuracy. Kill the Hobgoblin and move its beam weapon to a piece of cover, preferably facing the boss portal. Kill the Cyclops to spawn the boss.
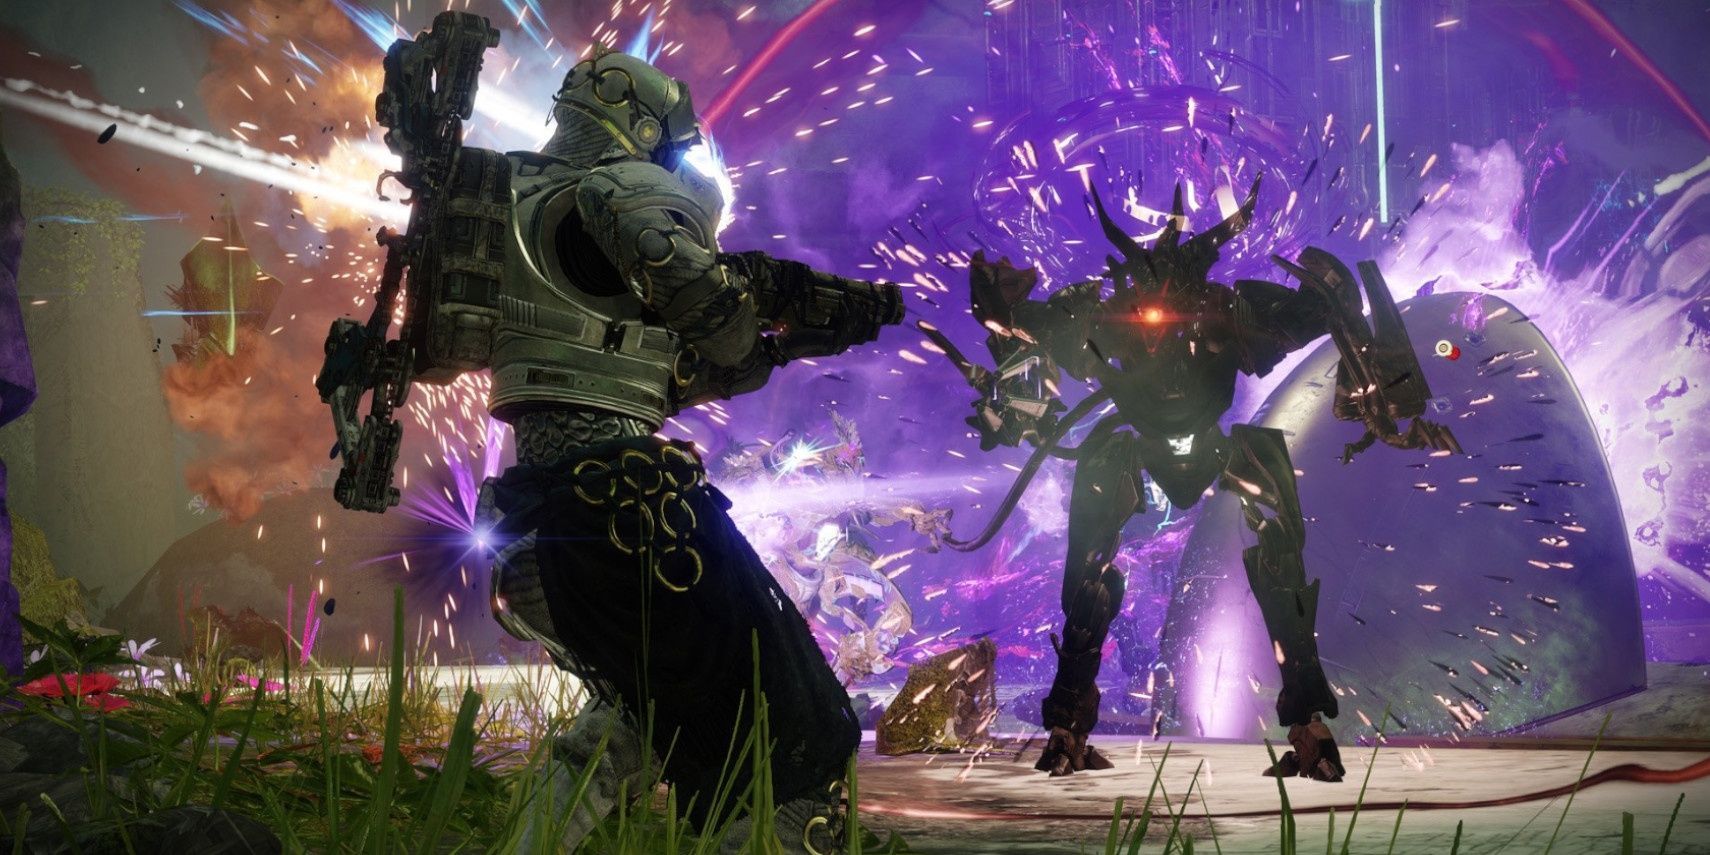
Killing this boss is fairly easy if you have a laser. Equip the cannon and take pot shots against it, only moving out of cover when you have a clear shot on its head. This laser won't be enough to kill the boss, so you'll want to use a long-range weapon to land the final blow. Beware of the Harpies that spawn in the arena, as these enemies can easily melt your HP with the active Void Threat. Kill the boss, eliminate the Harpy adds, then open the lost Sector chest to finish the mission.

