Quick Links
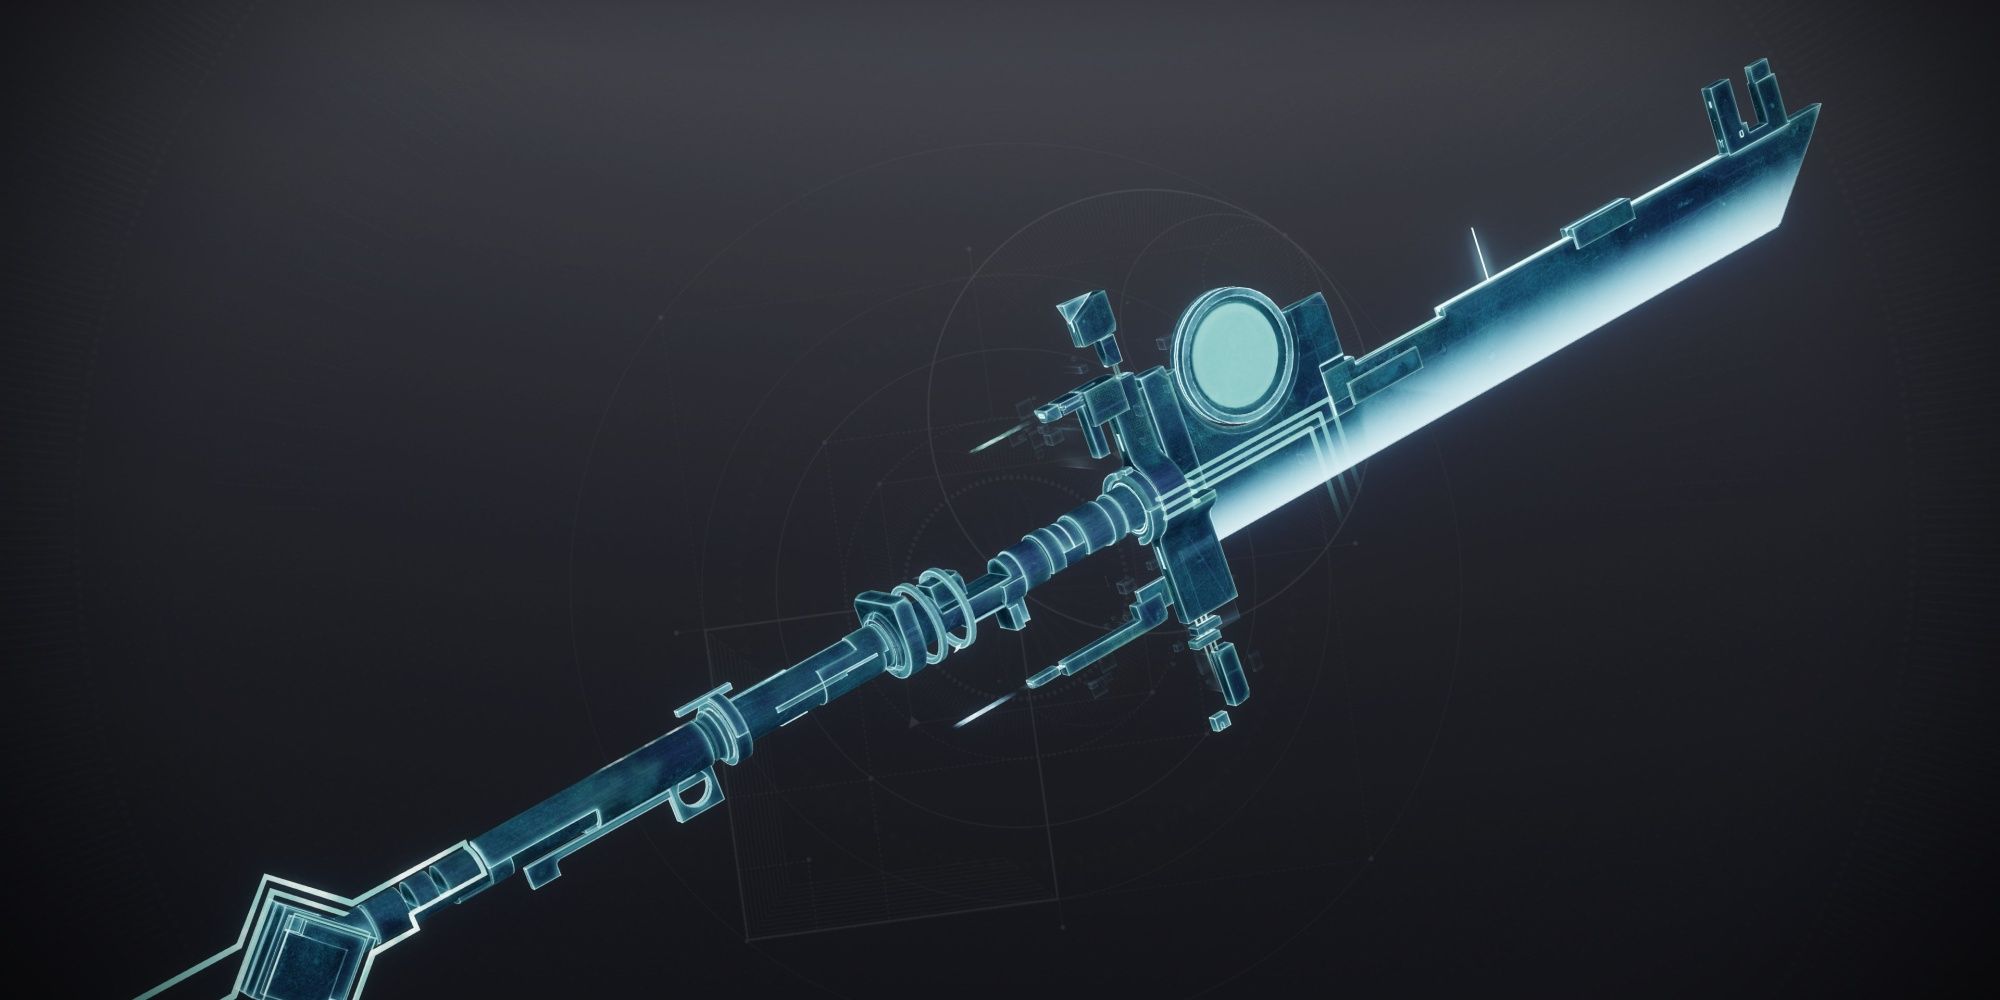
Destiny 2's Season of Defiance has a hidden Exotic quest for players to find. Should you uncover and complete this mission, you'll be given Vexcalibur, a Vex-themed Exotic Glaive. Finding this mission won't be an easy task, as acquiring this quest is similar to how Whisper of the Worm and Outbreak Perfected's quests were obtained in previous years.
Fortunately, once you start the Vexcalibur quest, the rest of its quest steps are fairly straightforward. This guide will showcase how to start the Vexcalibur quest, how to start the Avalon Exotic mission, guide you through each of the mission's encounters, and we'll cover how to unlock all of Vexcalibur's Exotic Catalysts and intrinsic options.
Updated March 21, 2023, by Charles Burgar: Vexcalibur's secrets have all been revealed. Players can now get all of Vexcalibur's intrinsic upgrades, hidden chests, and Exotic Catalysts from the Exotic Avalon mission. We've updated this guide to include all seven hidden chest locations, how to unlock all intrinsic upgrades, and we've updated the Exotic mission guide to include a Wish-Ender cheese that makes the second phase much easier on Legendary.
How To Start The Variable Quest
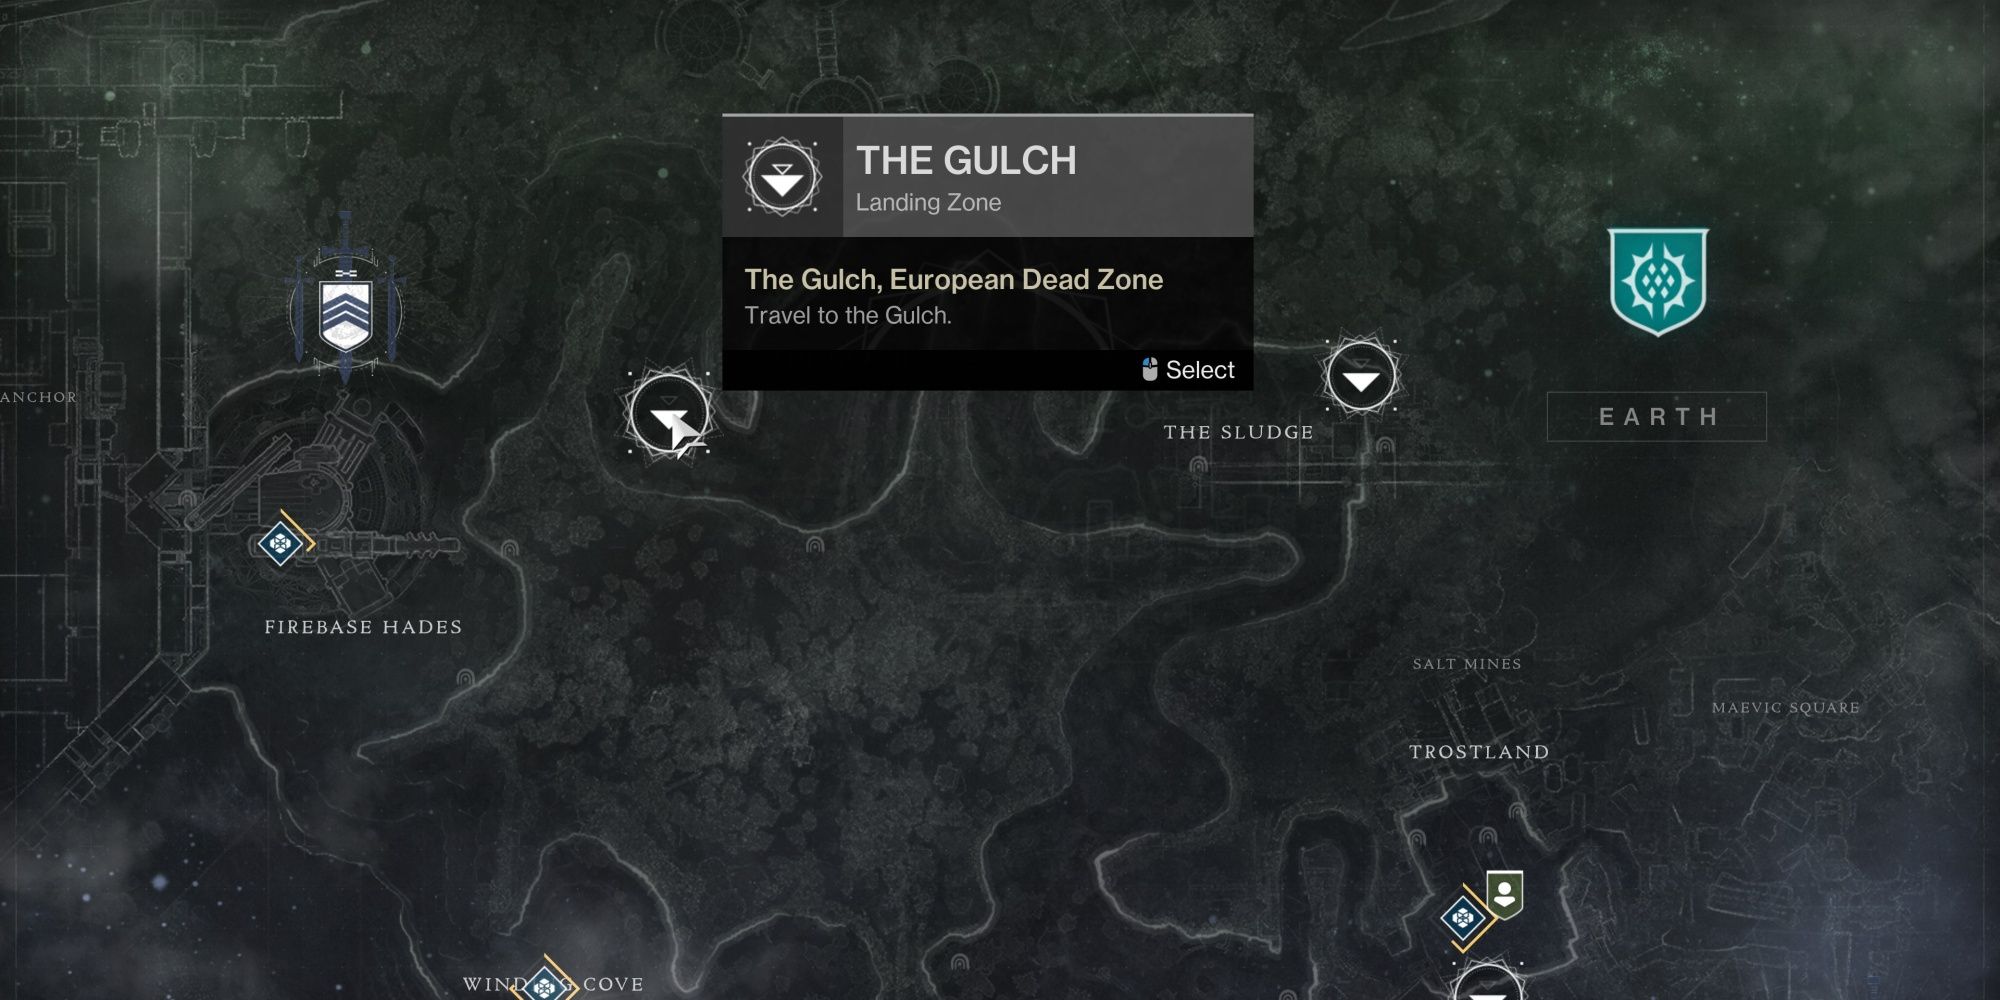
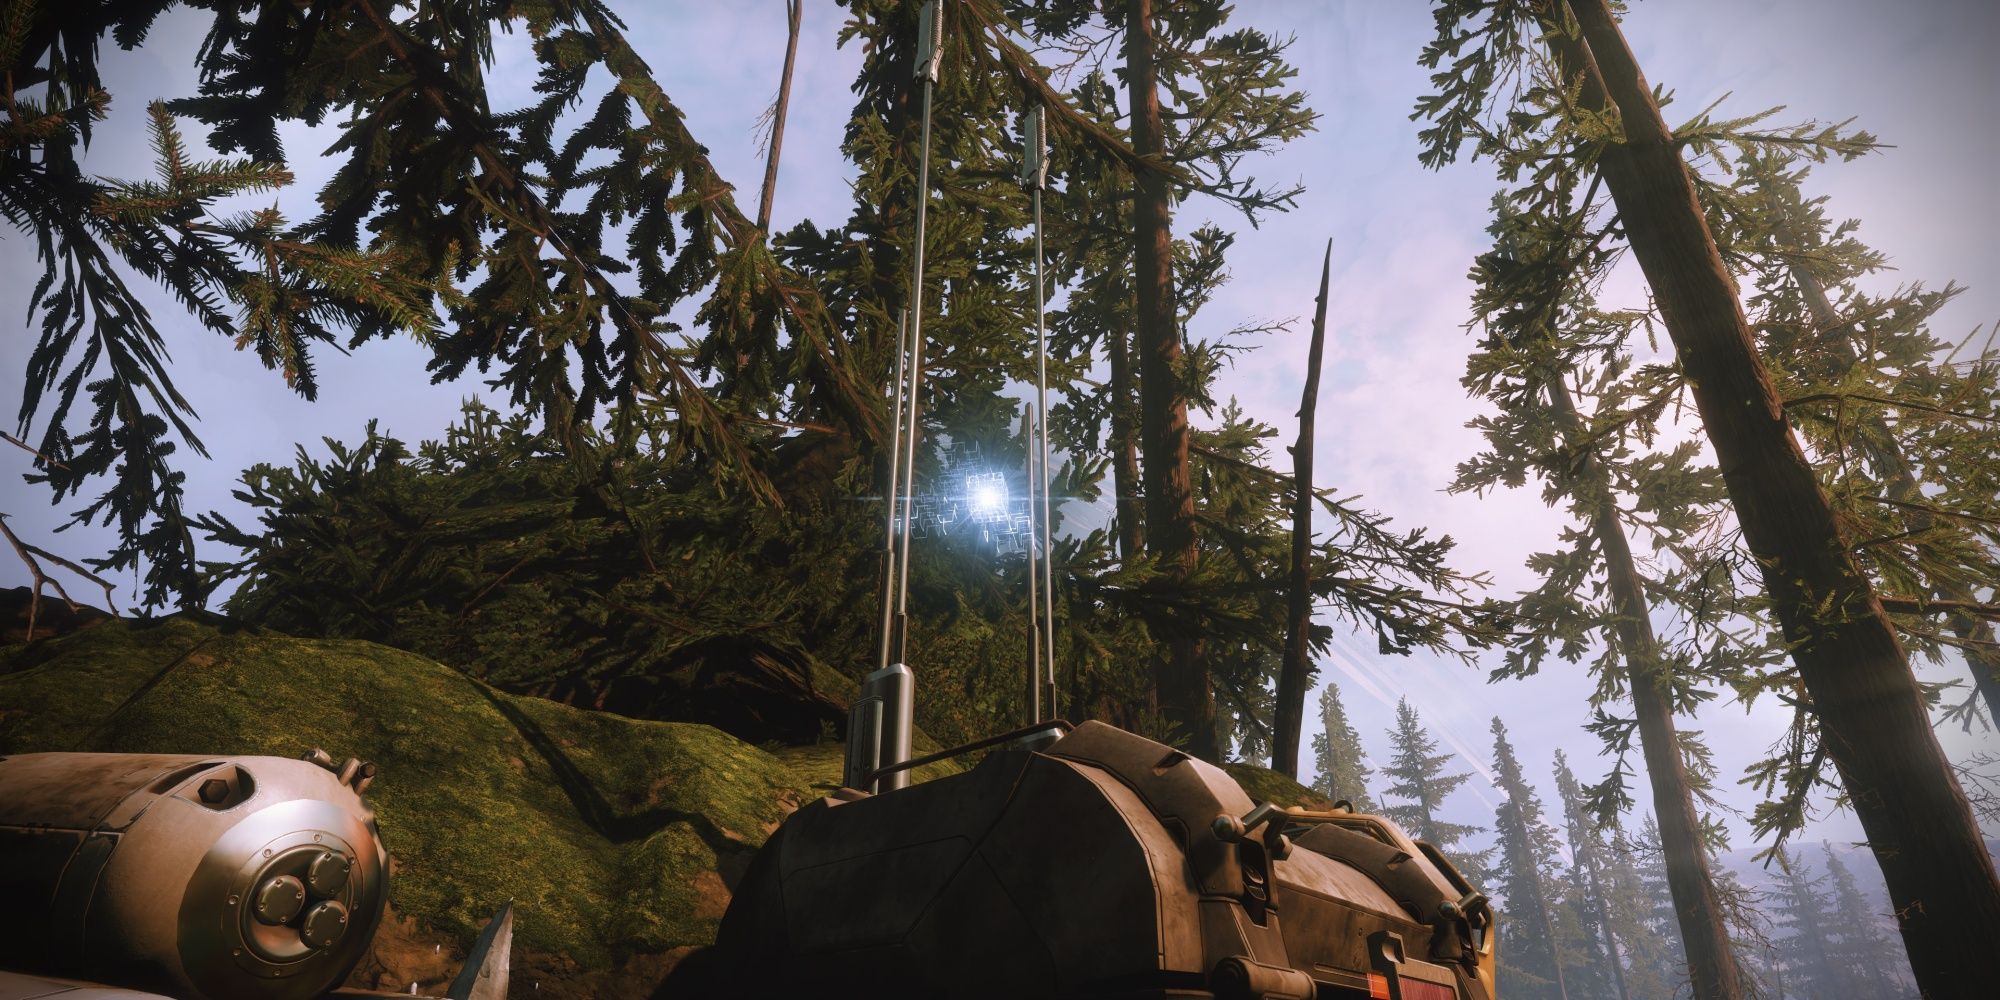
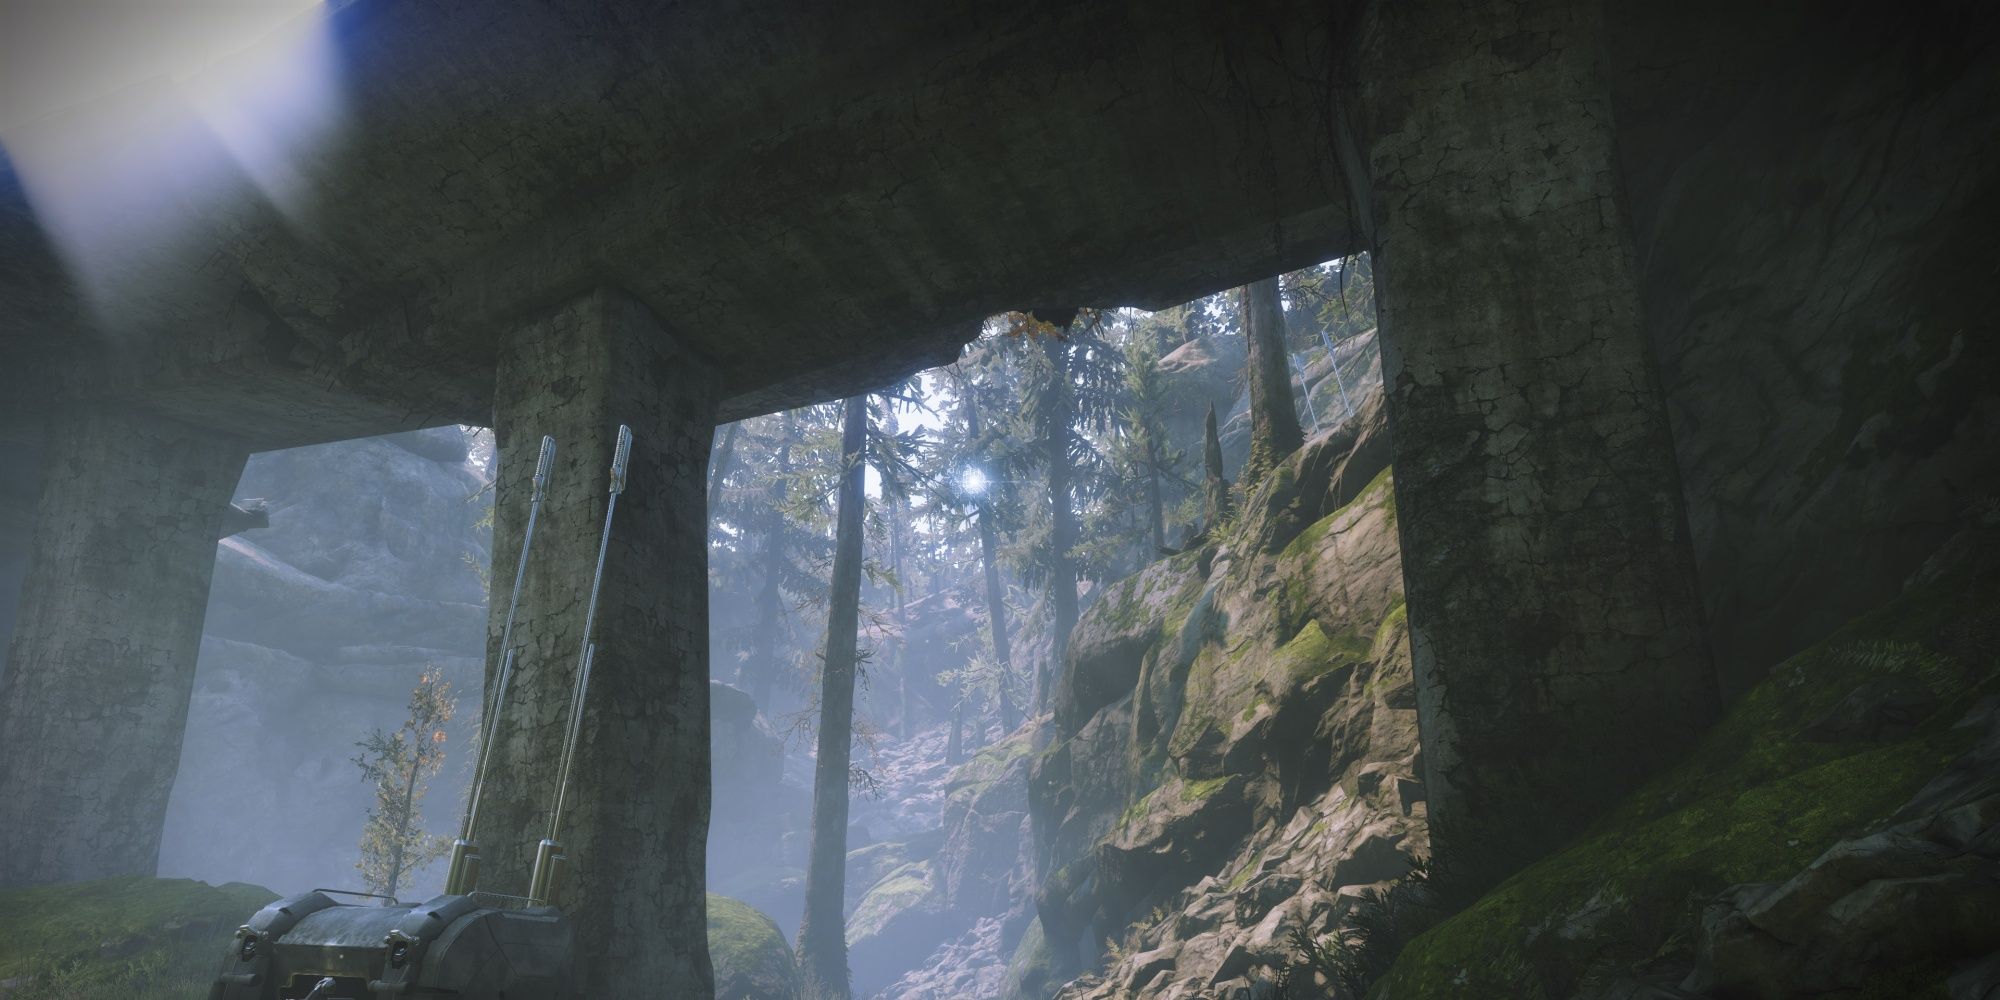
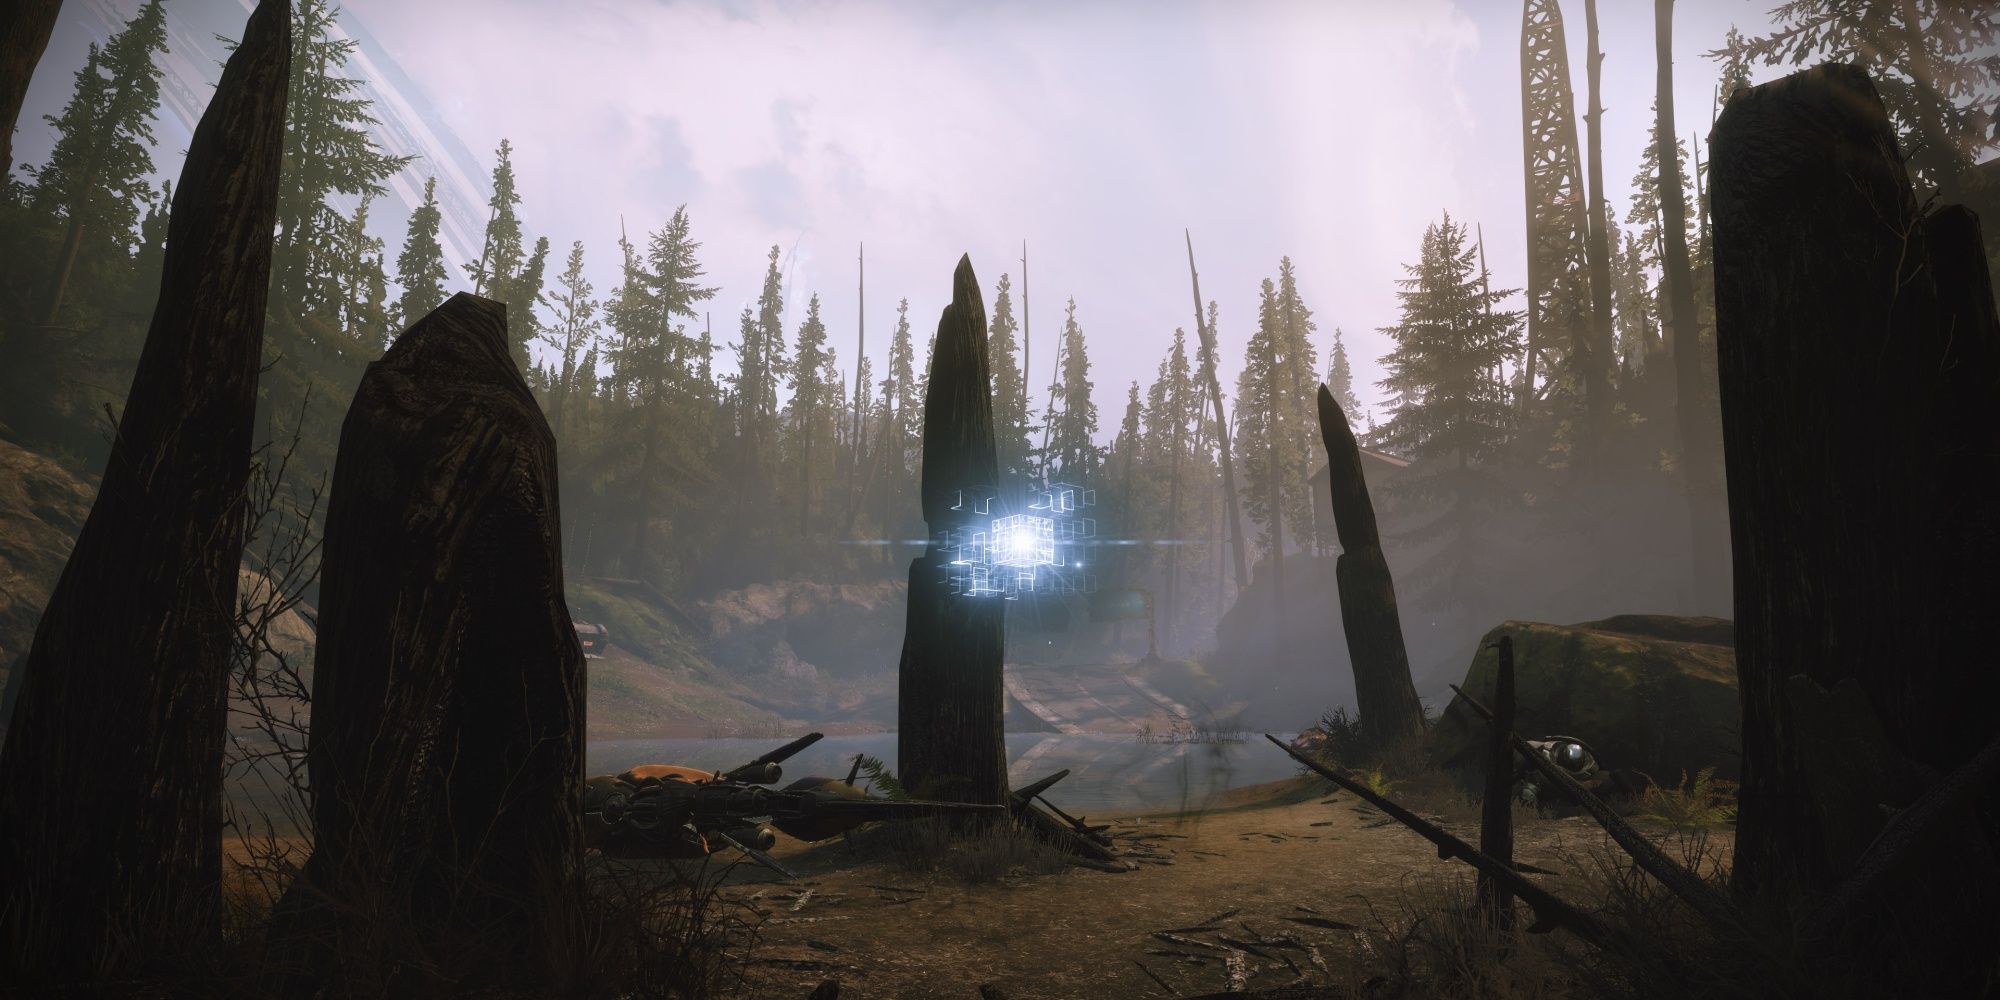
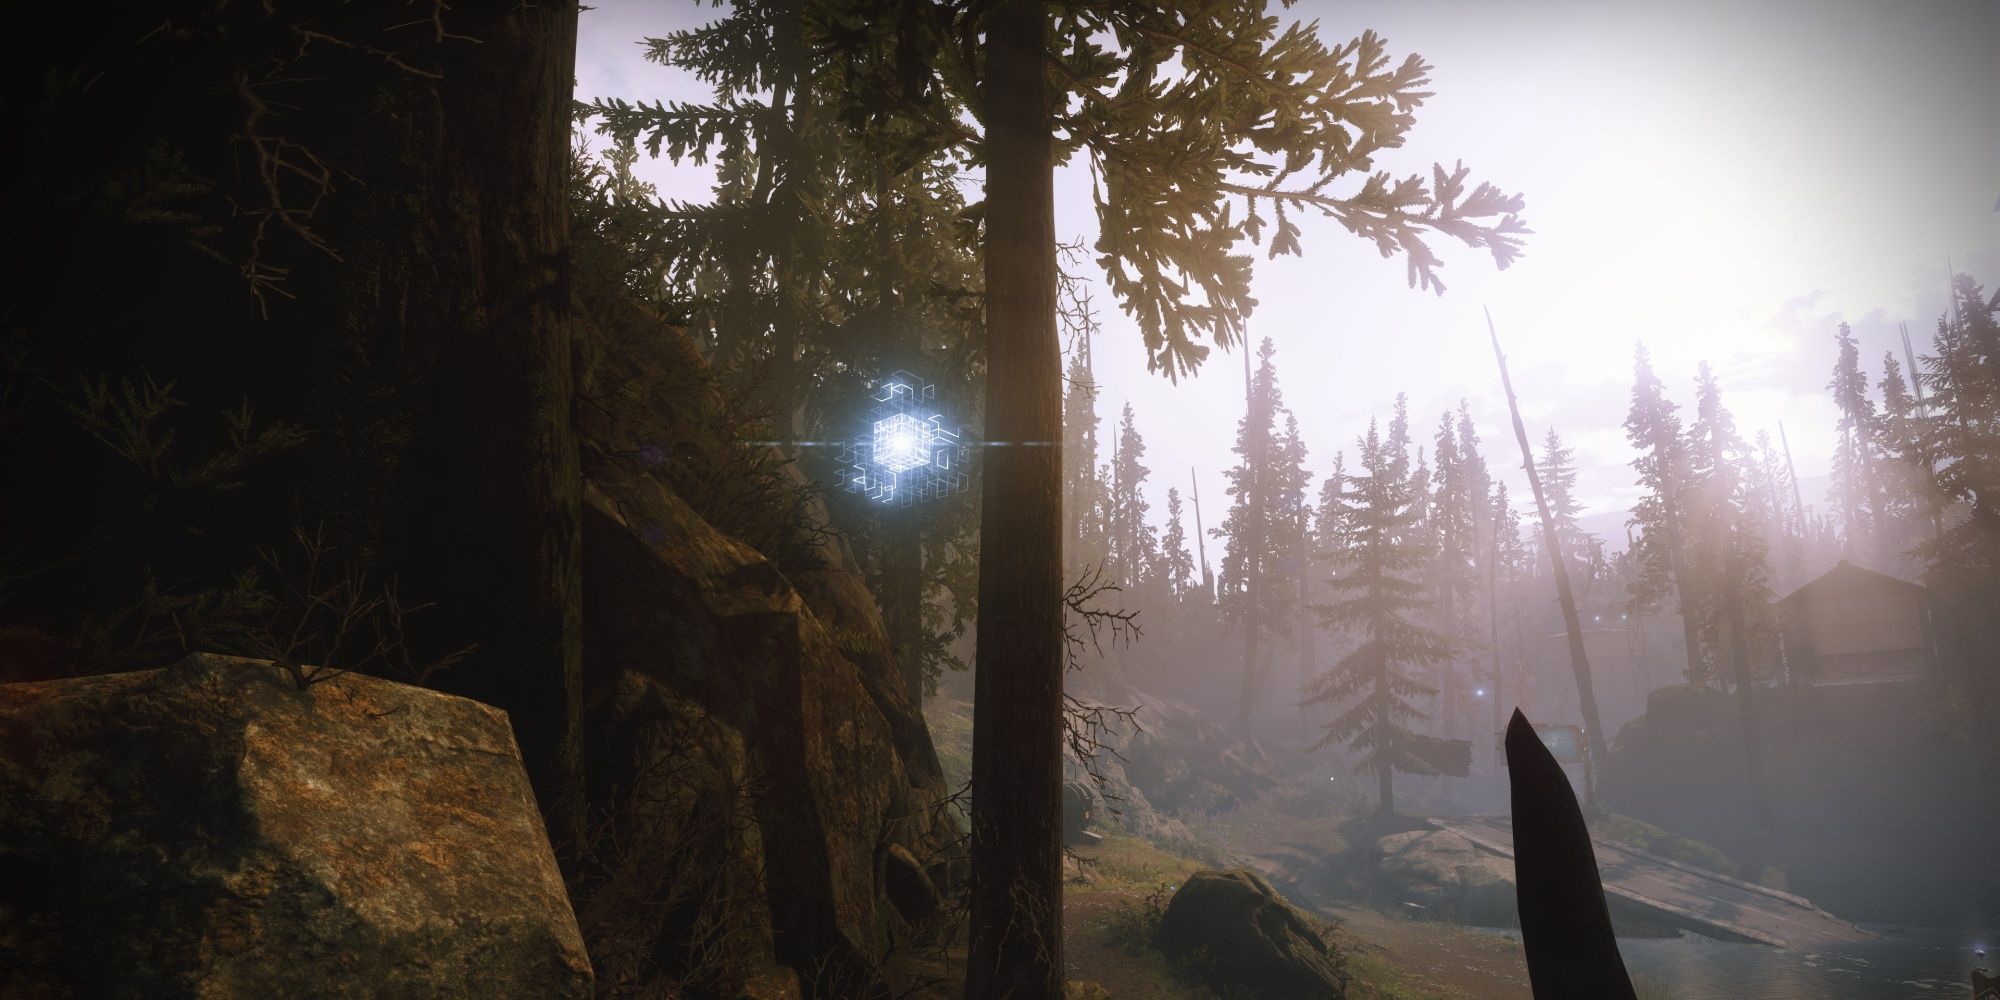
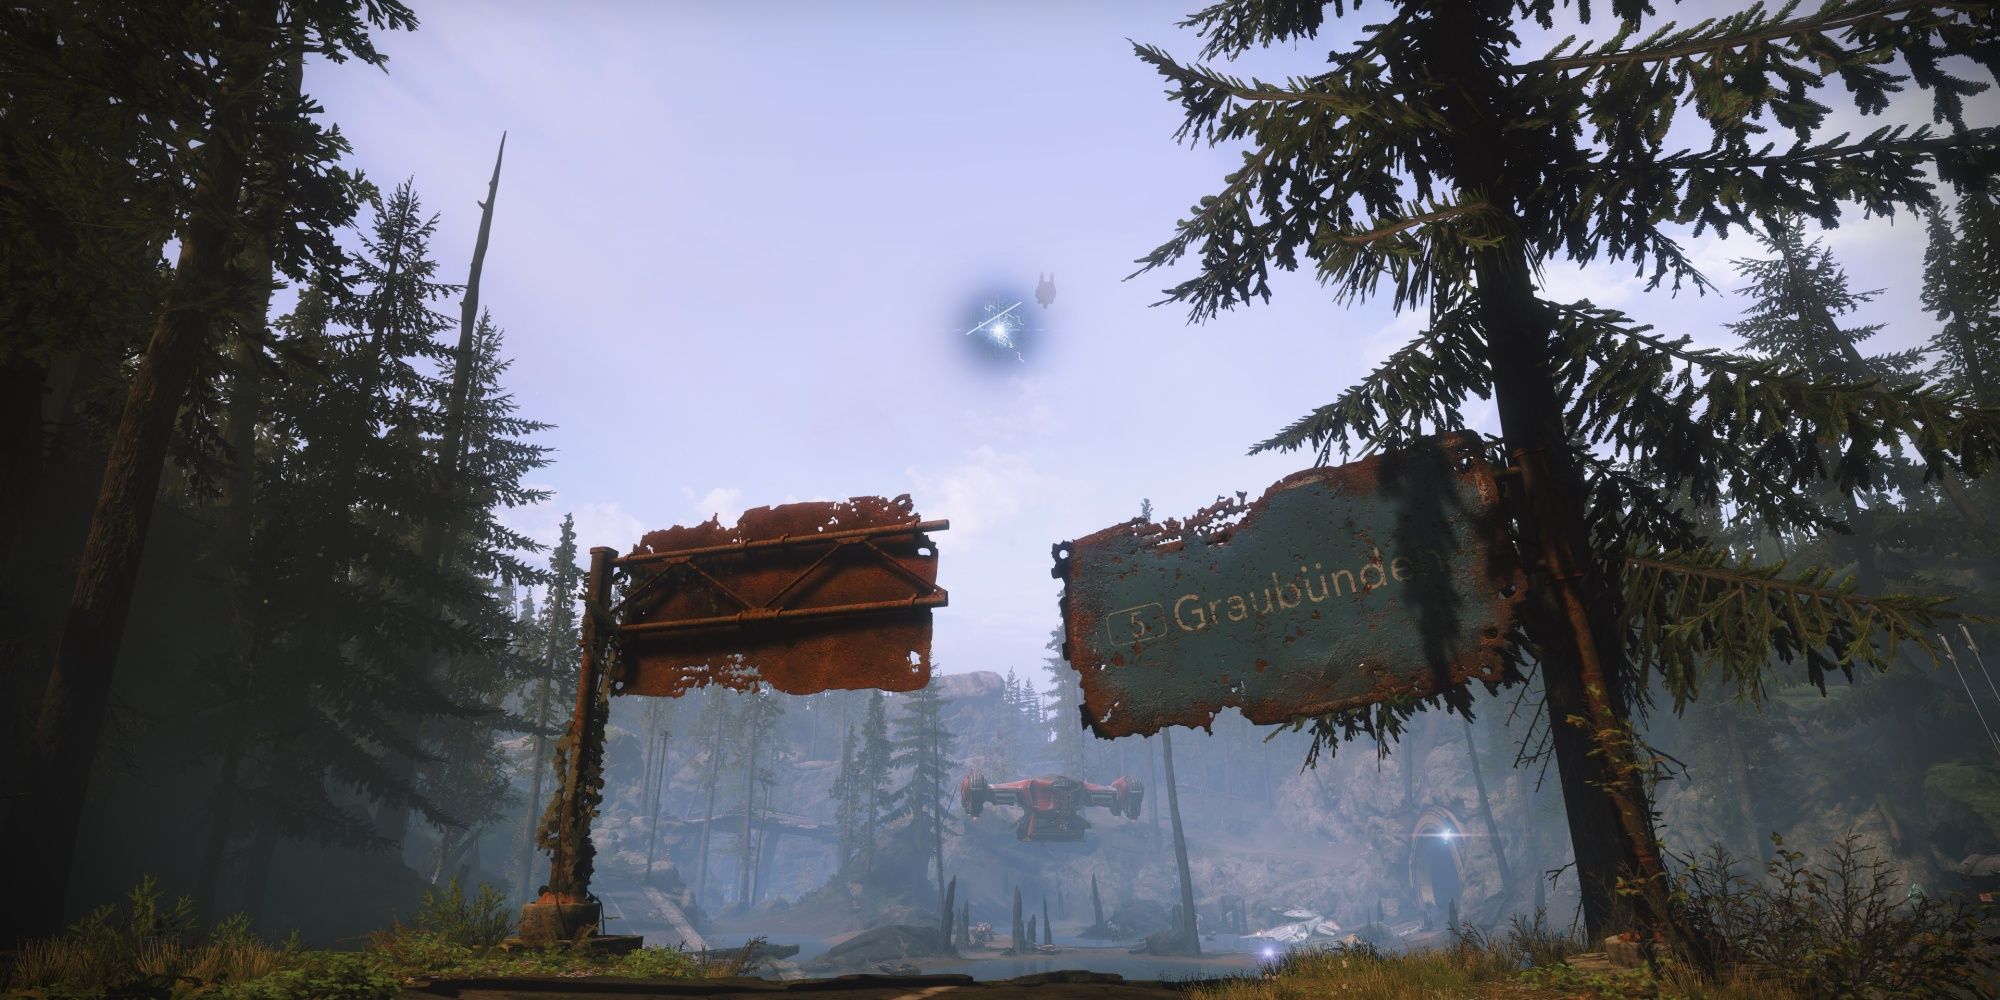
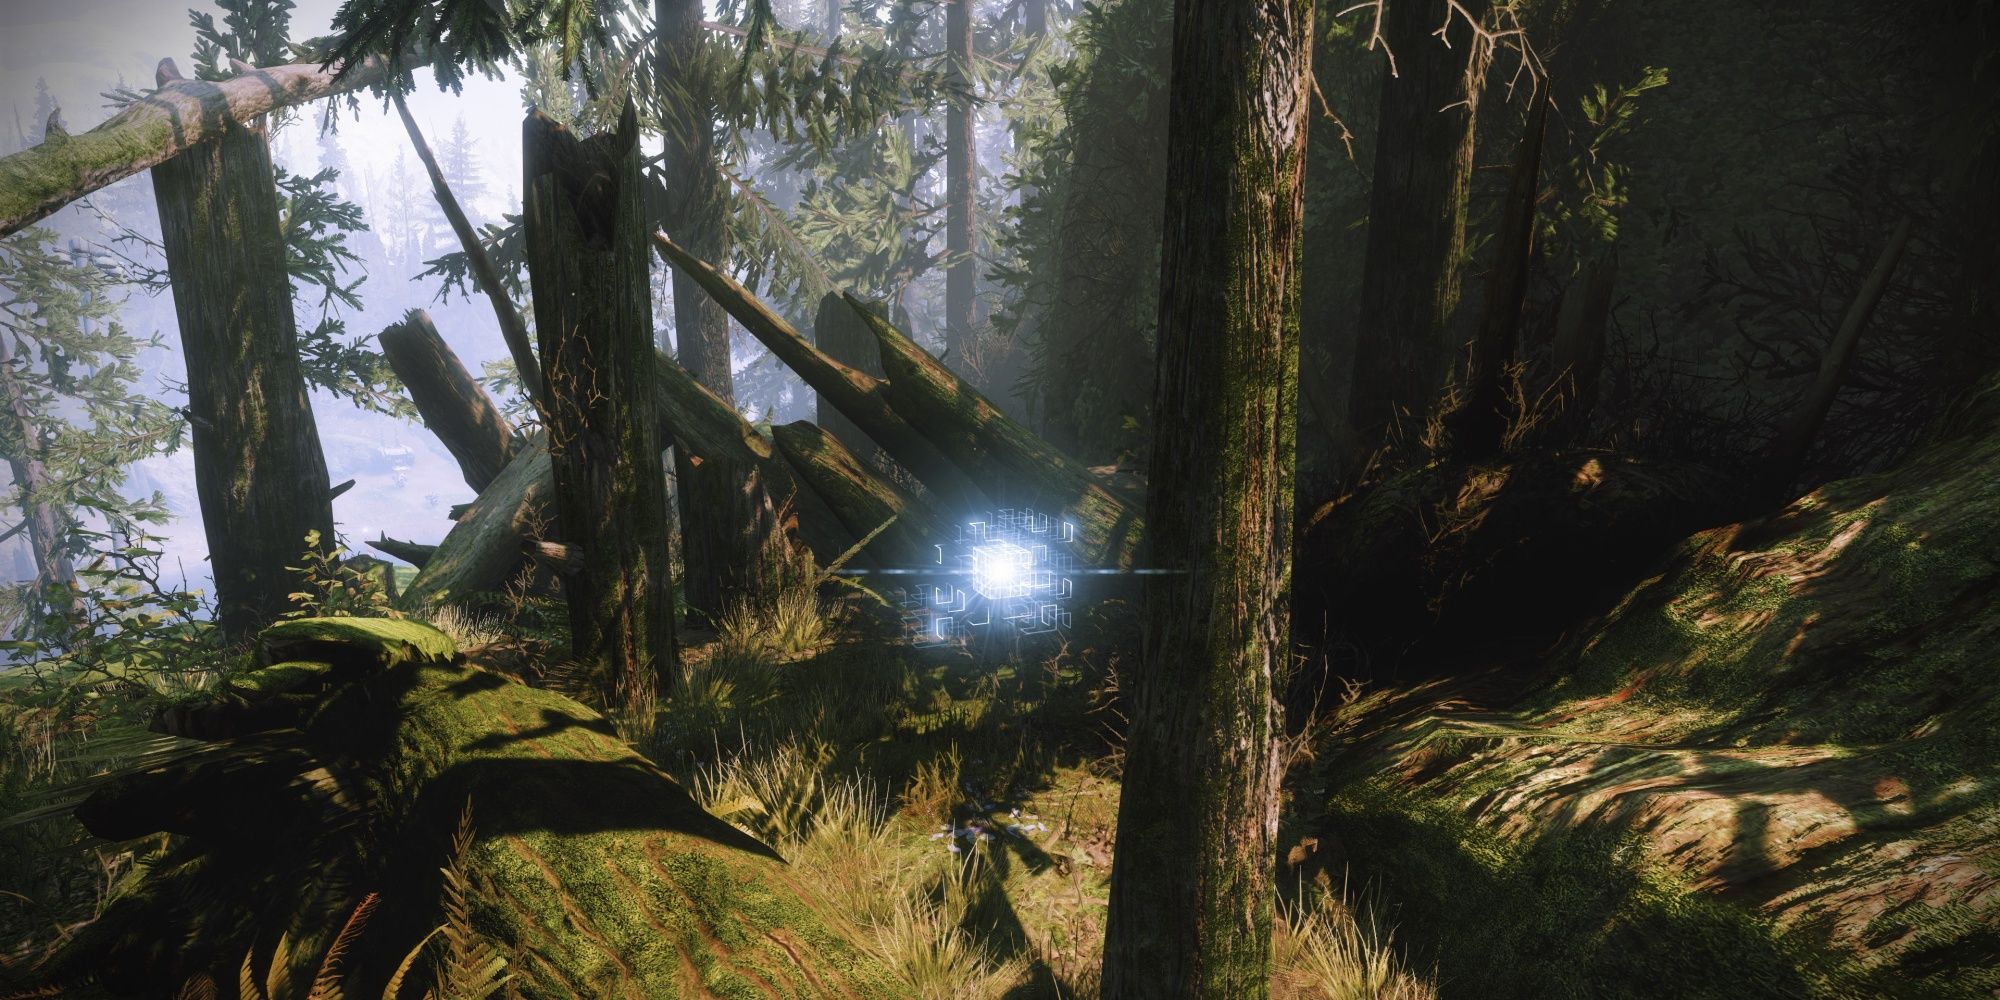
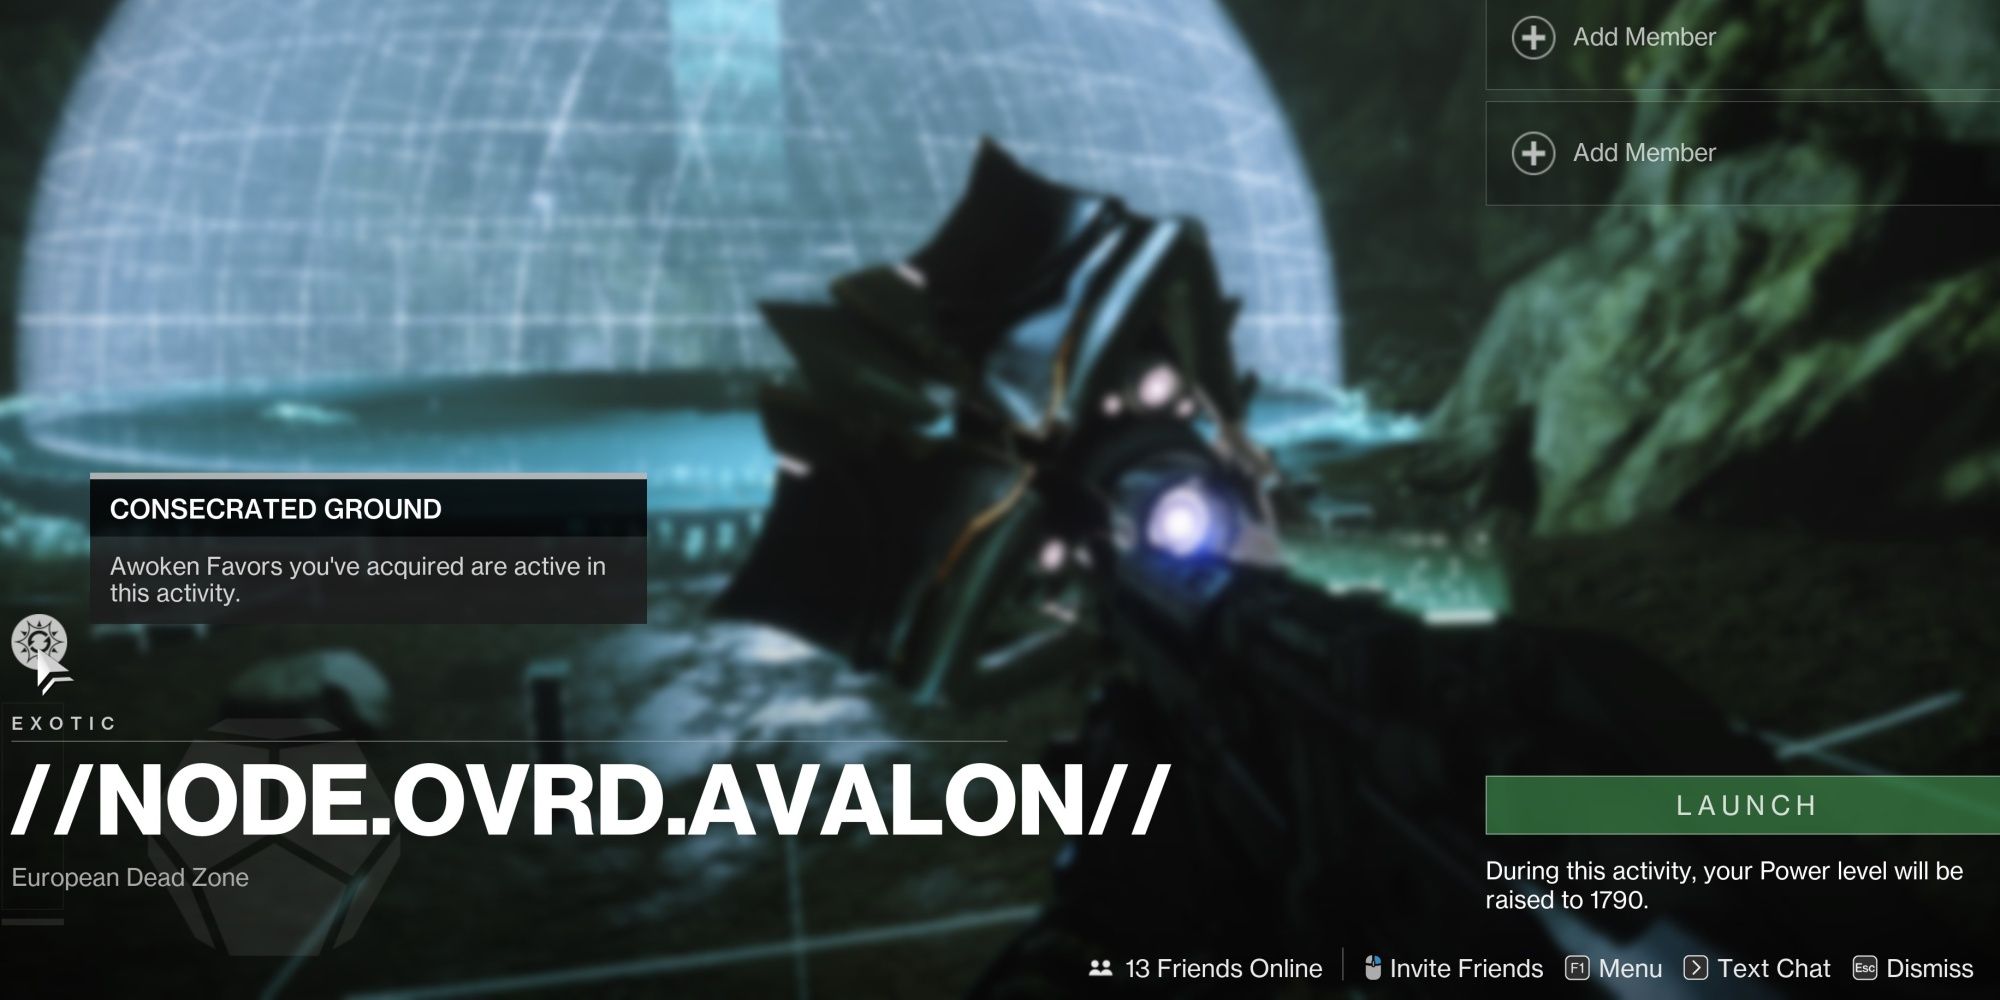
Vexcalibur's quest is hidden and isn't acquired from any vendor or activity, similar to how Whisper of the Worm and Outbreak Perfected were originally acquired. To start this quest, make your way to The Gulch in the EDZ. You're looking for six floating Vex cubes scattered across the area. Walk next to the cube to gain a Simulated Access Code. You have 30 seconds to find another cube before you must start over. Grabbing all six ends this timer and allows you to enter a hidden cave in The Gulch (not the Lost Sector). Interact with a familiar friend inside to start the //NODE.OVRD.AVALON// Exotic mission.
Exact Vex cube locations can be found below:
You don't need to grab the Vex cubes in order. These are labeled for the sake of convenience.
Everything beyond this point is a quest spoiler.
Starting //NODE.OVRD.AVALON//
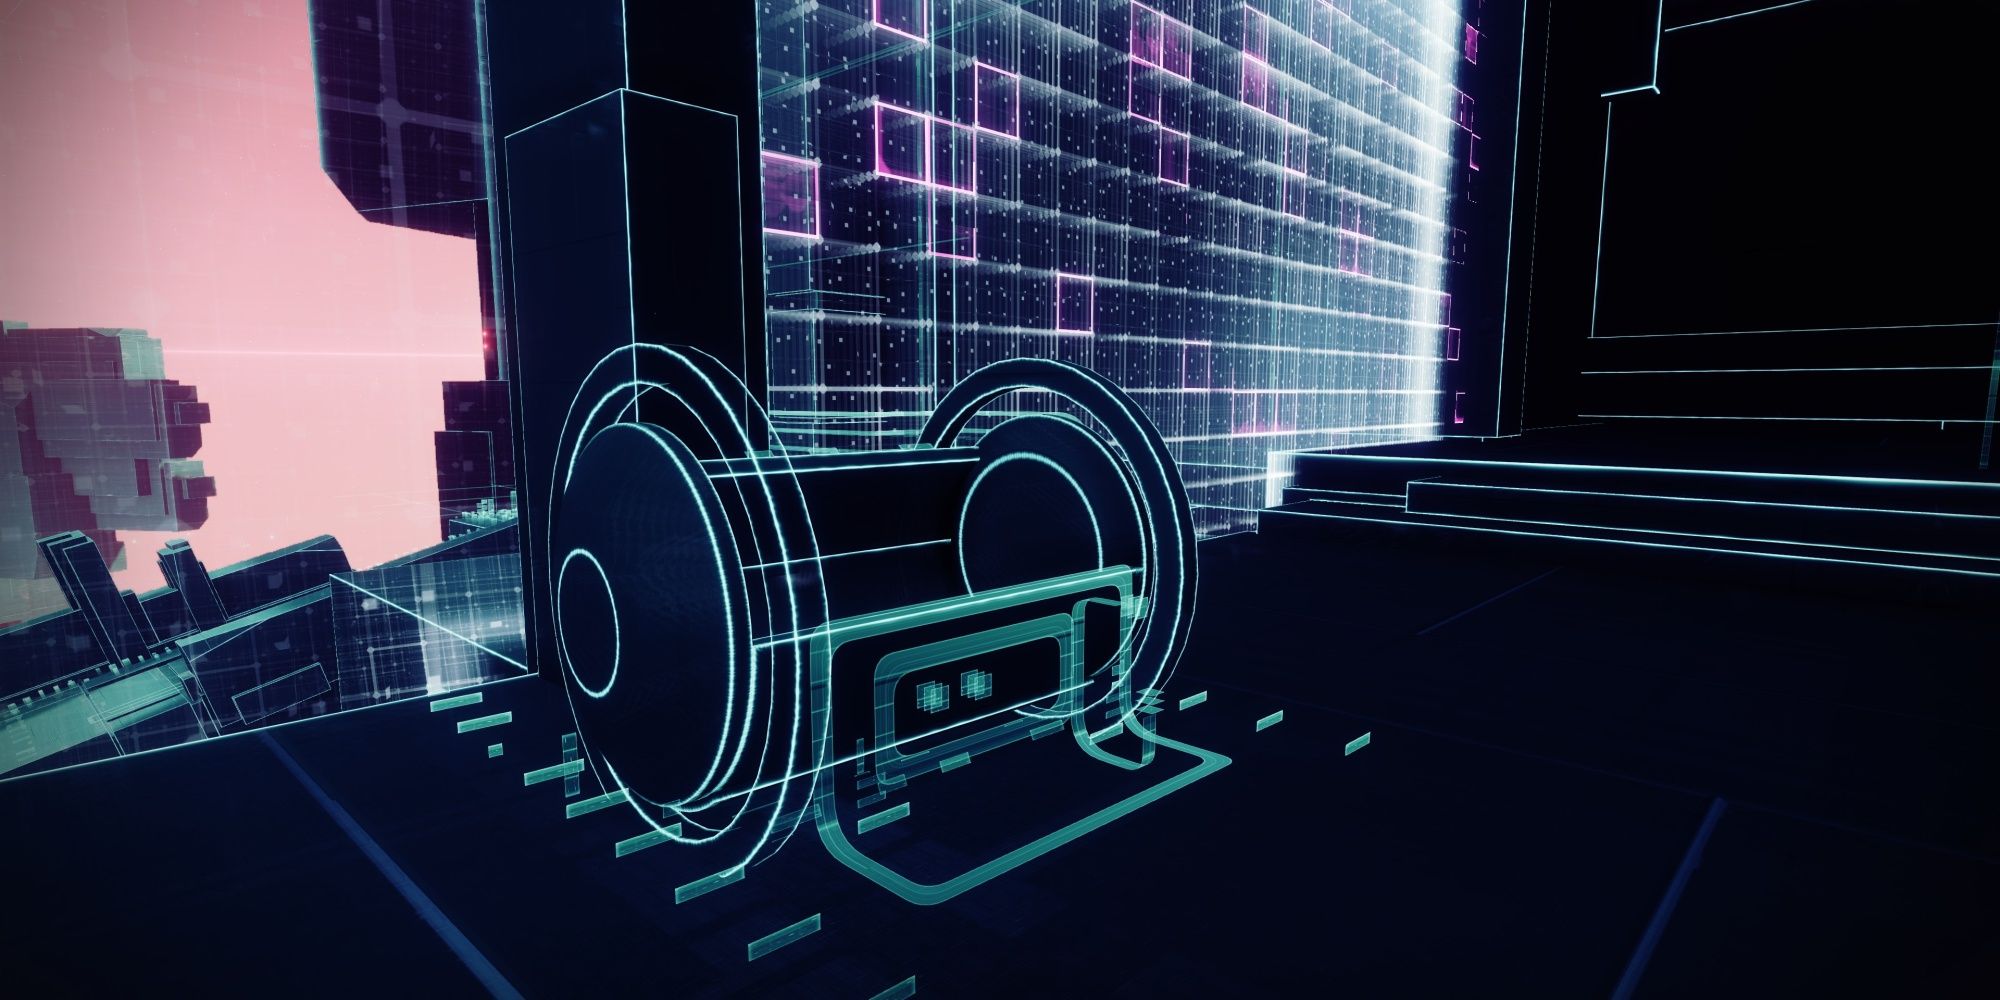
Now that you have a full simulated cave code, make your way to the cave on the southeast corner of The Gulch, right next to Vex cube #6. Reach the bottom of the cave to find the portal to the mission. Interact with the friendly Harpy to start the mission. The only modifier is a Power limiter, locking your Power level to 1,790. In terms of difficulty, it's similar to Operation: Seraph's Shield and Presage but with slightly weaker enemies. This mission is not timed, so take your time. You can also bring two other players if you get stuck at any point.
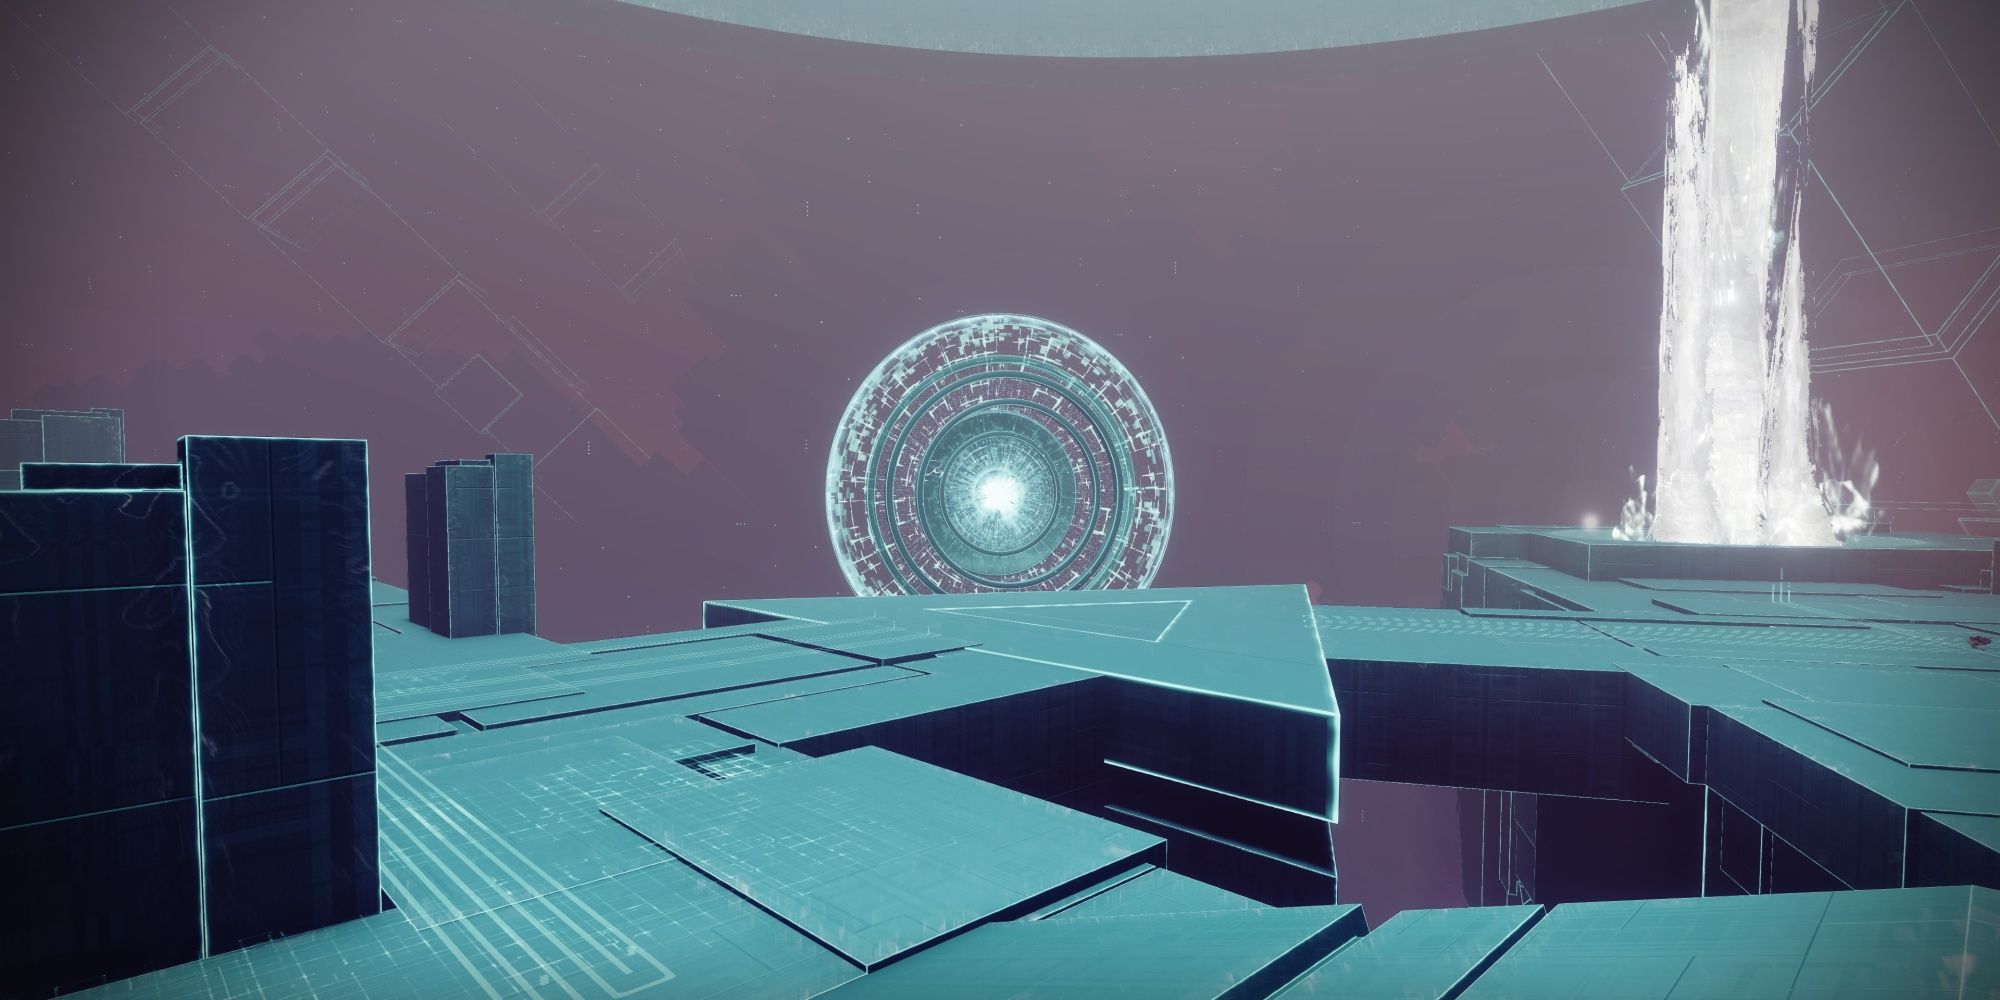
Enter The Vex Network
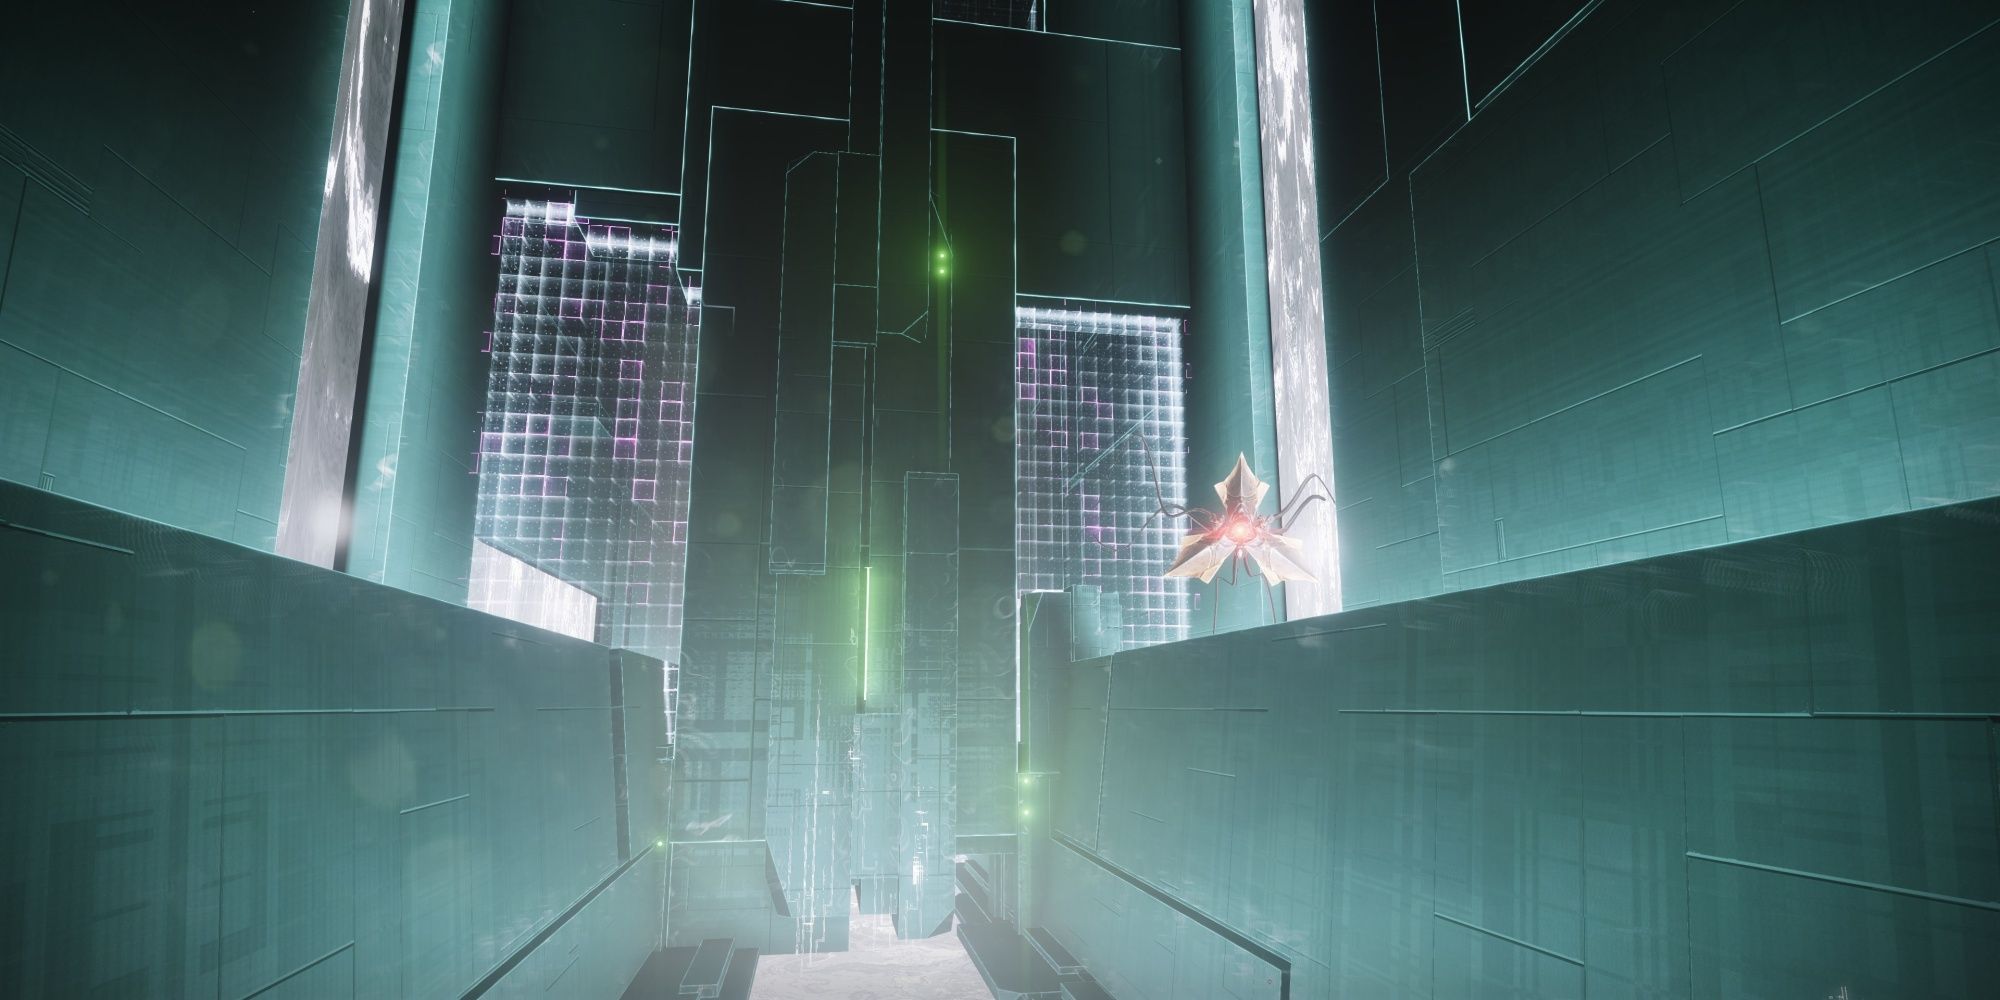
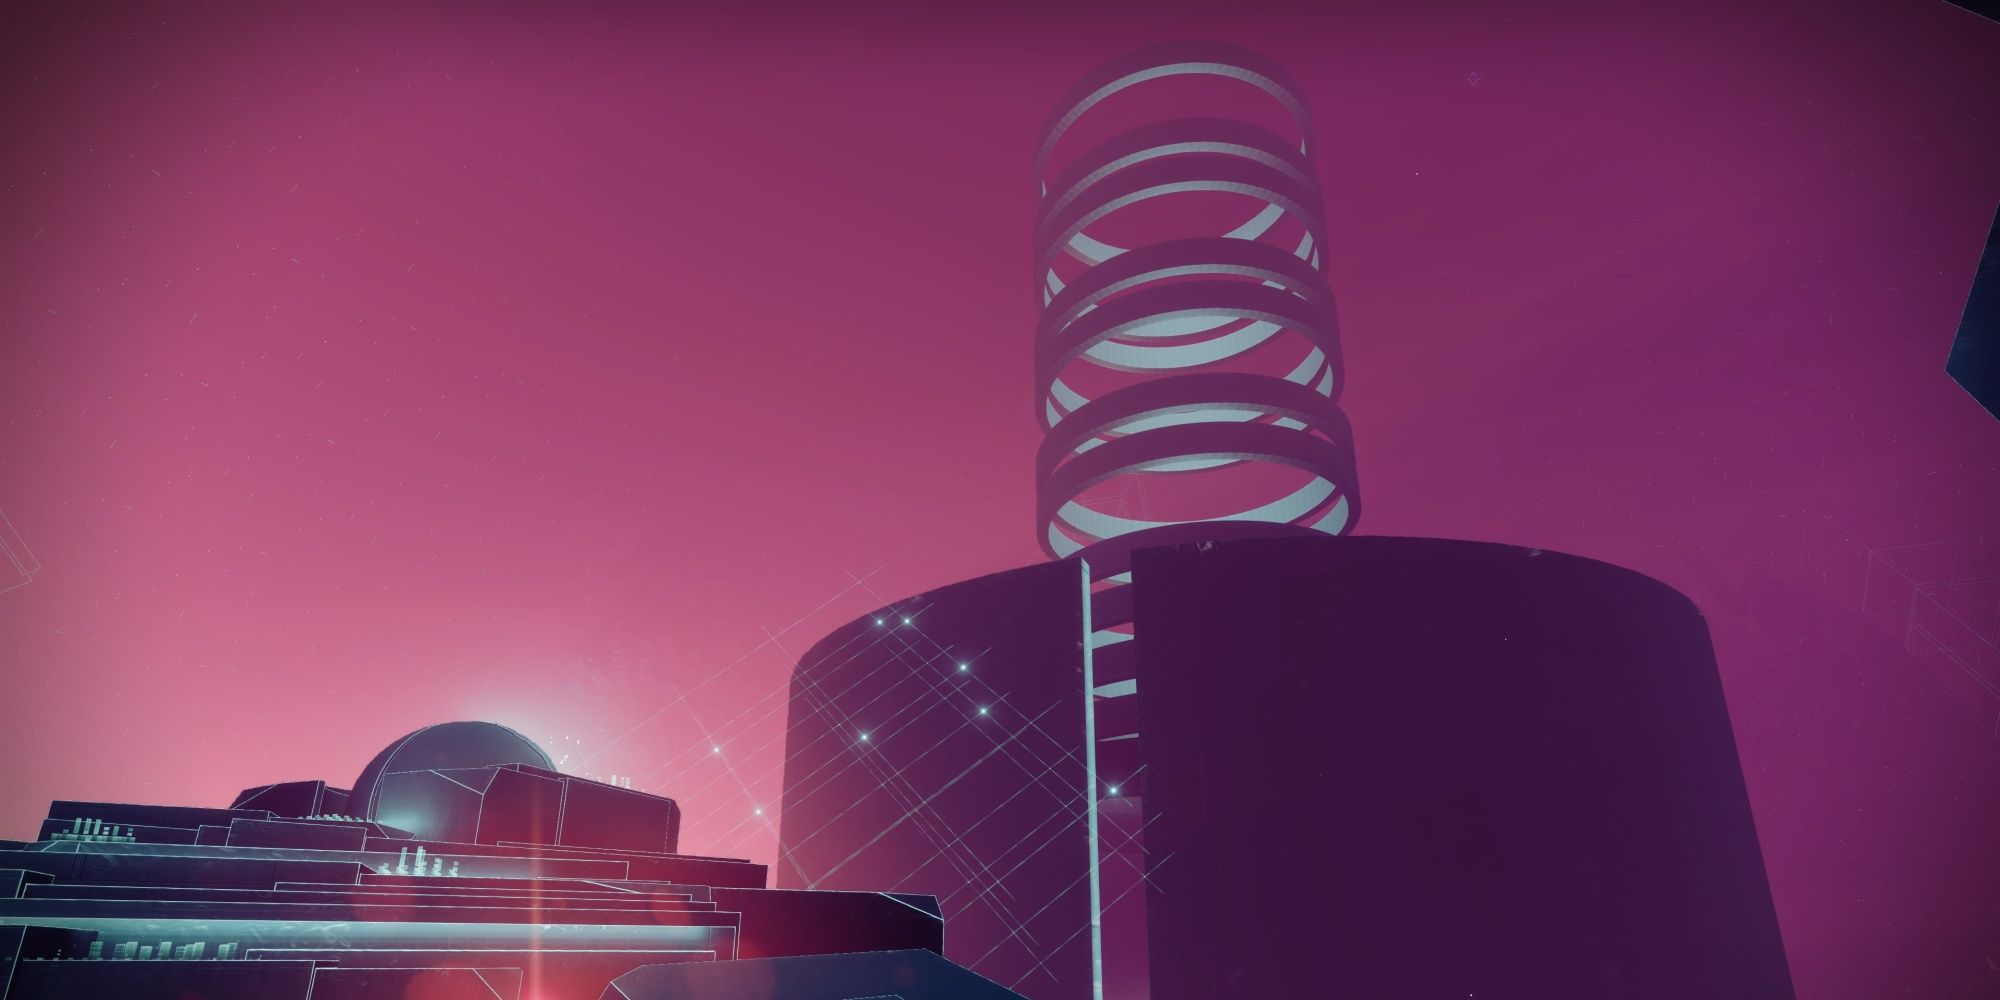
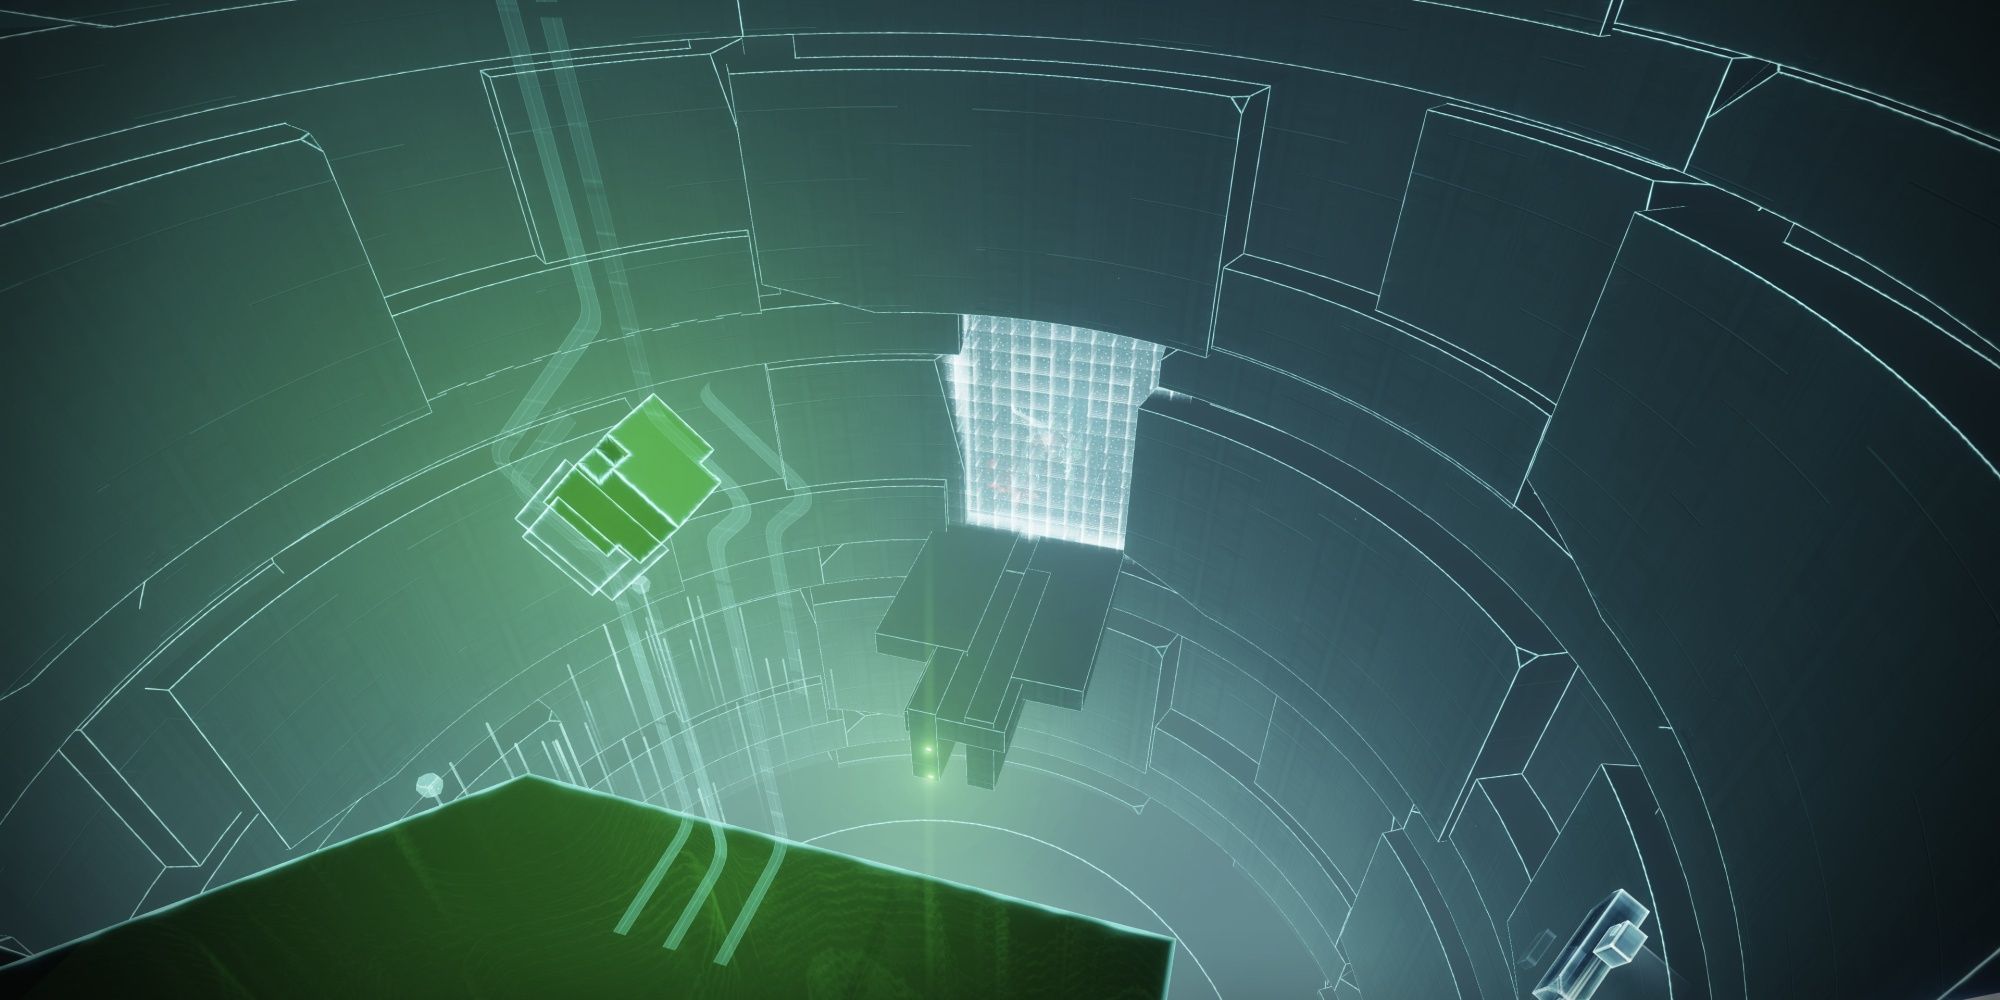
You'll start the mission deep within the Vex Network, similar to Season of the Splicer's Expunge missions. The first part of this mission is a short jumping puzzle. Drop down to the gravity lift below you to enter the zone. You'll need to descend until you reach a room with multiple barriers blocking the way. Look for a small gap in the bottom of the room and slide across. You might need to wait for this to open.
Follow the stream of Vex fluid until you reach a couple of Harpies. Kill them, then look for a small gap in the wall. Enter this gap and continue to descend until you reach the first encounter.
Enter The Access Codes
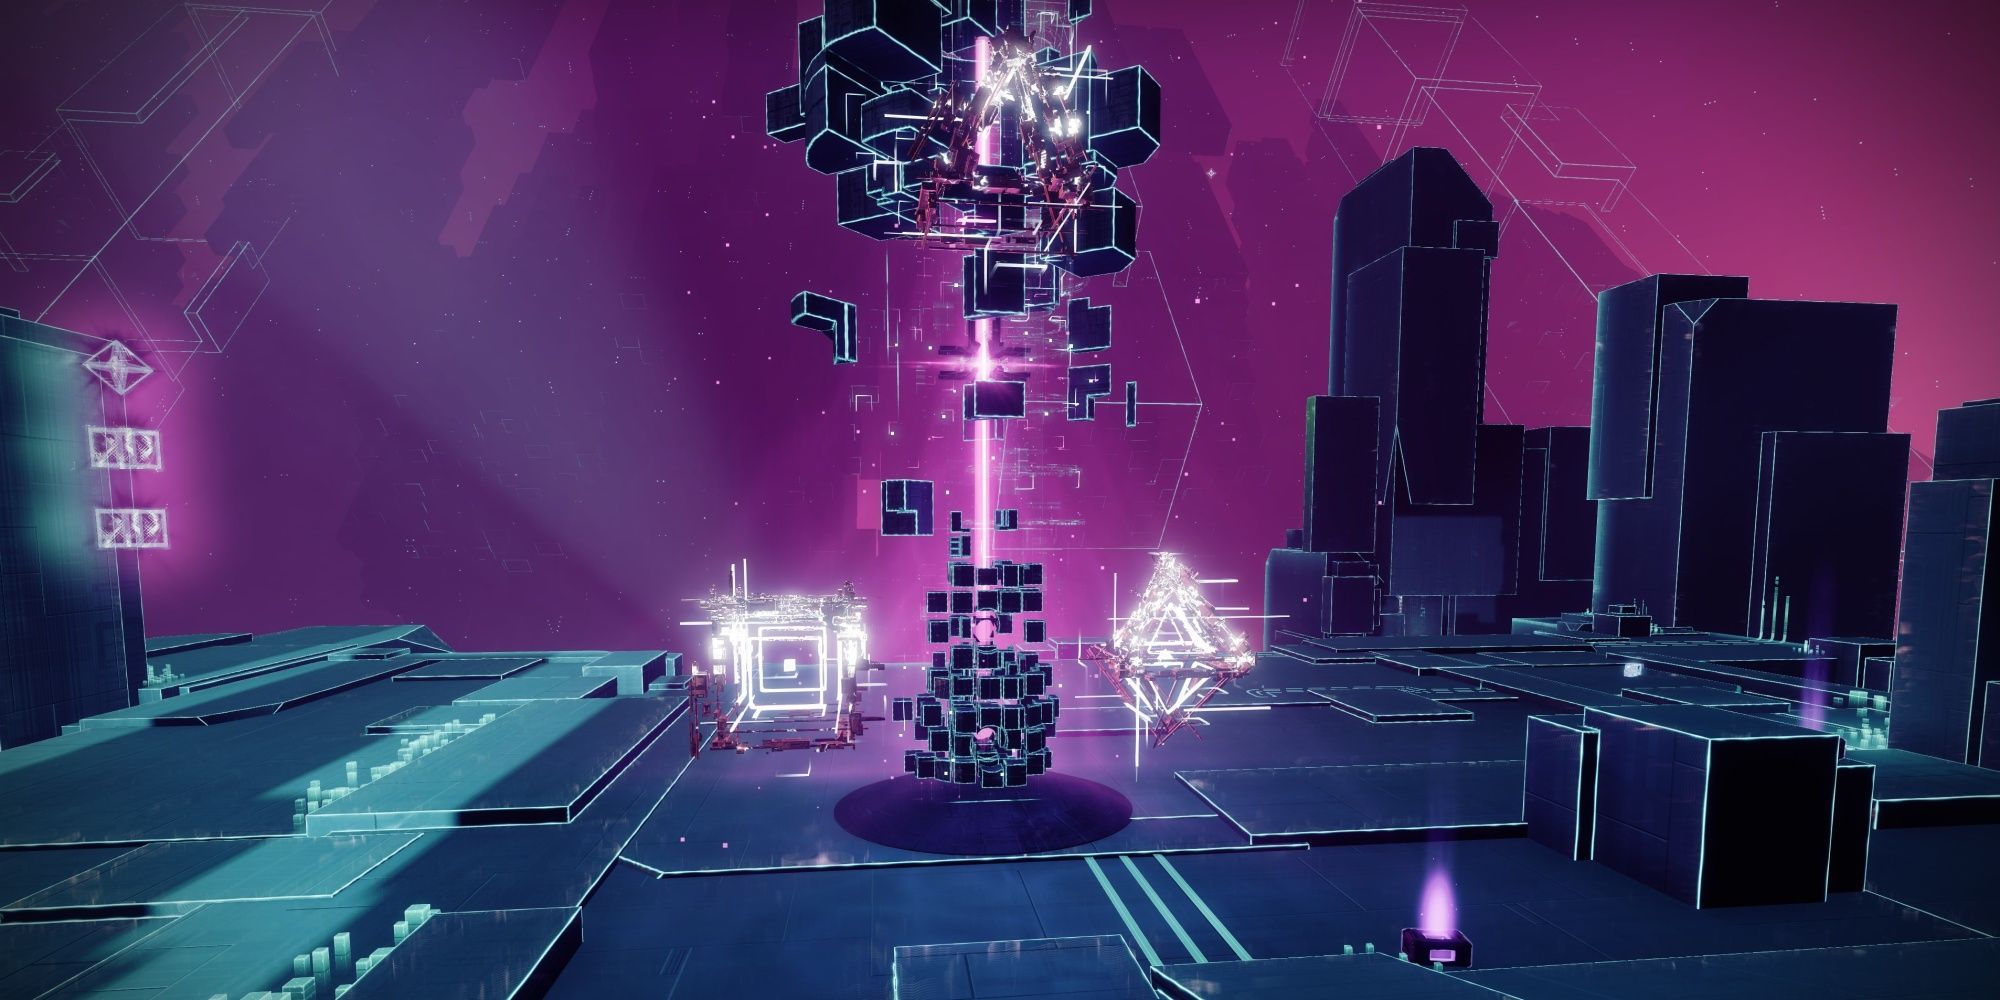
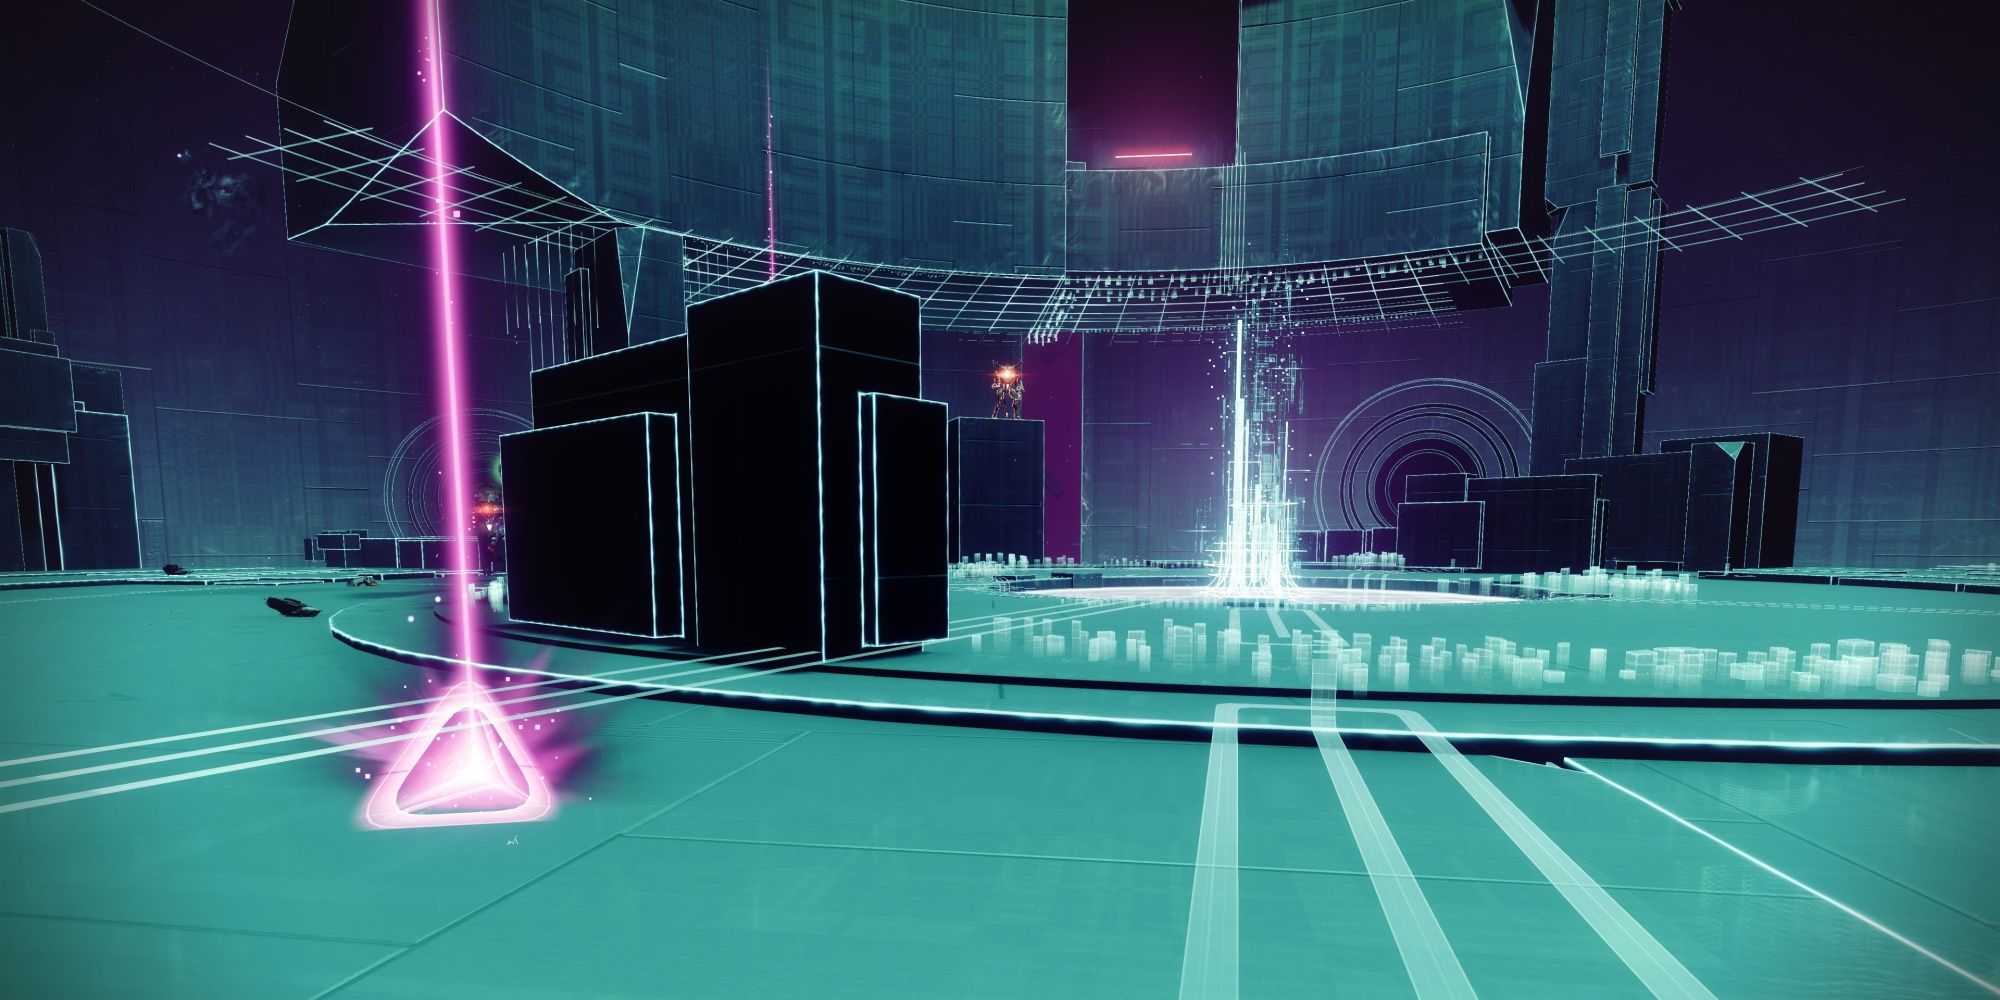
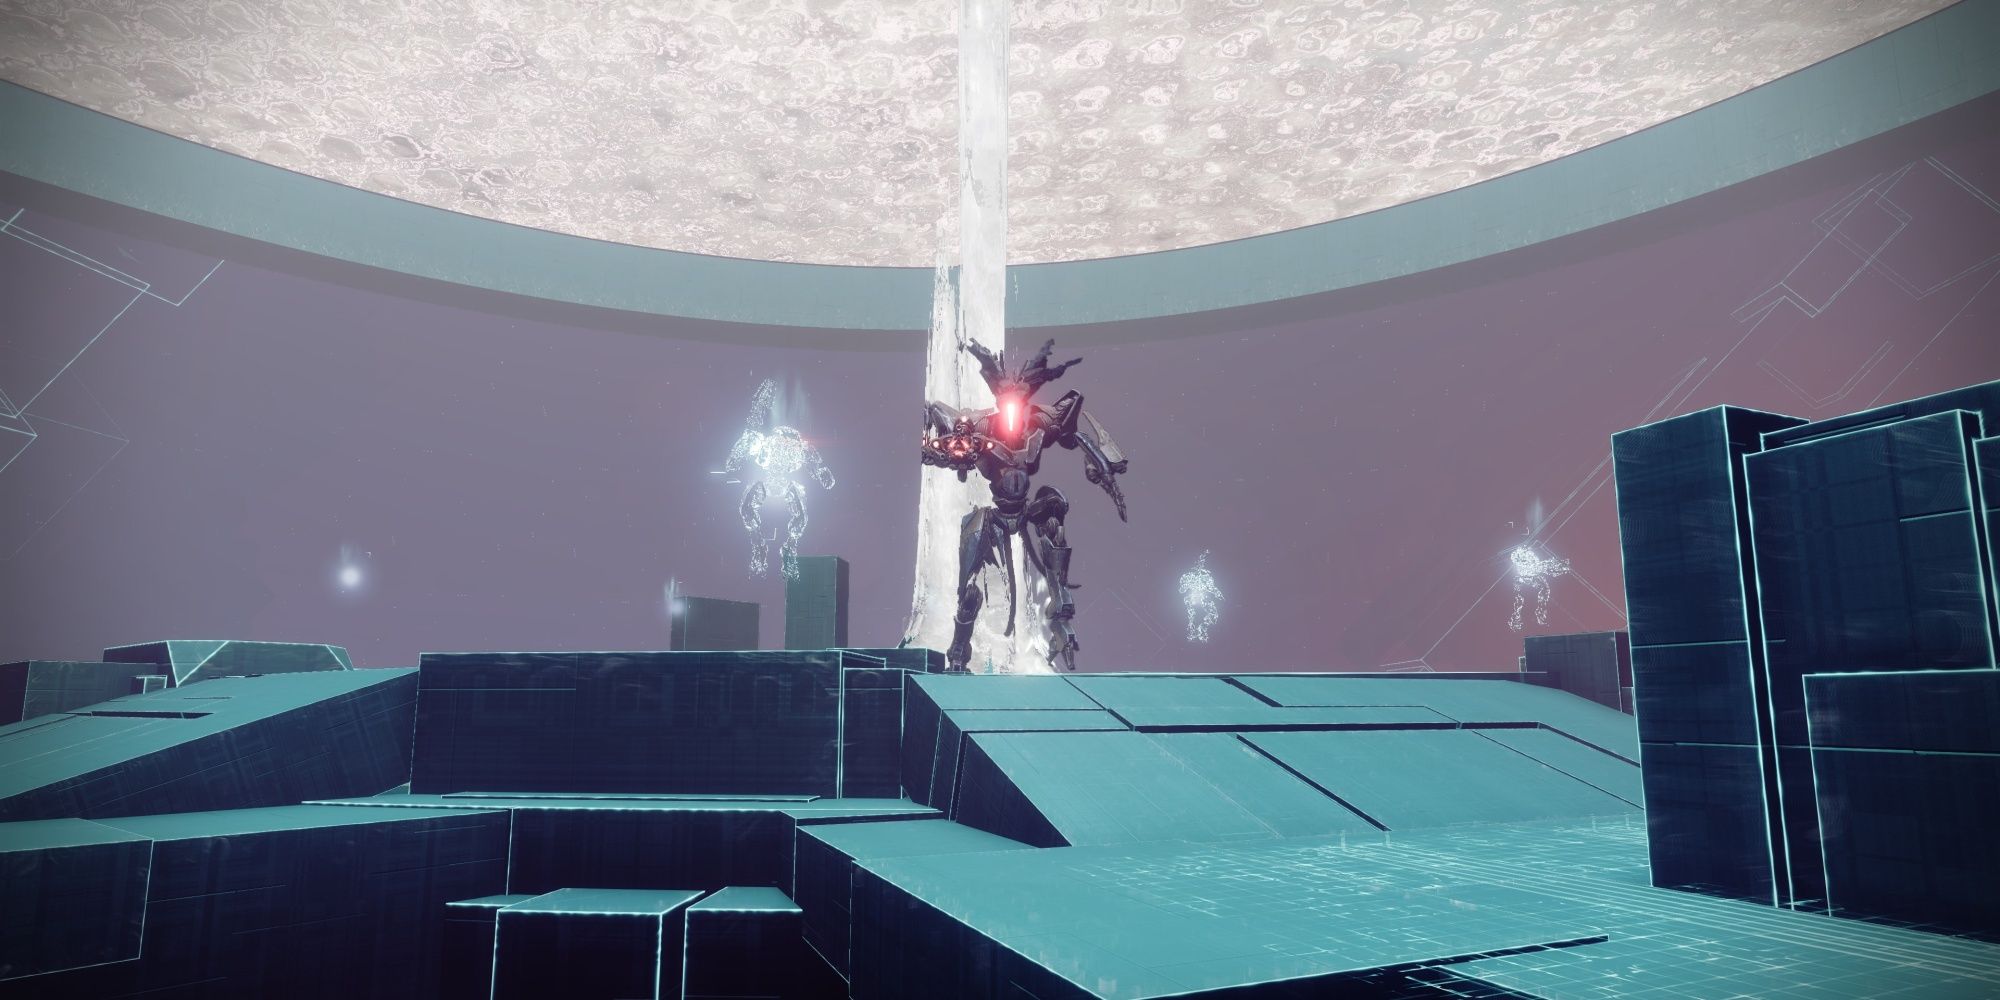
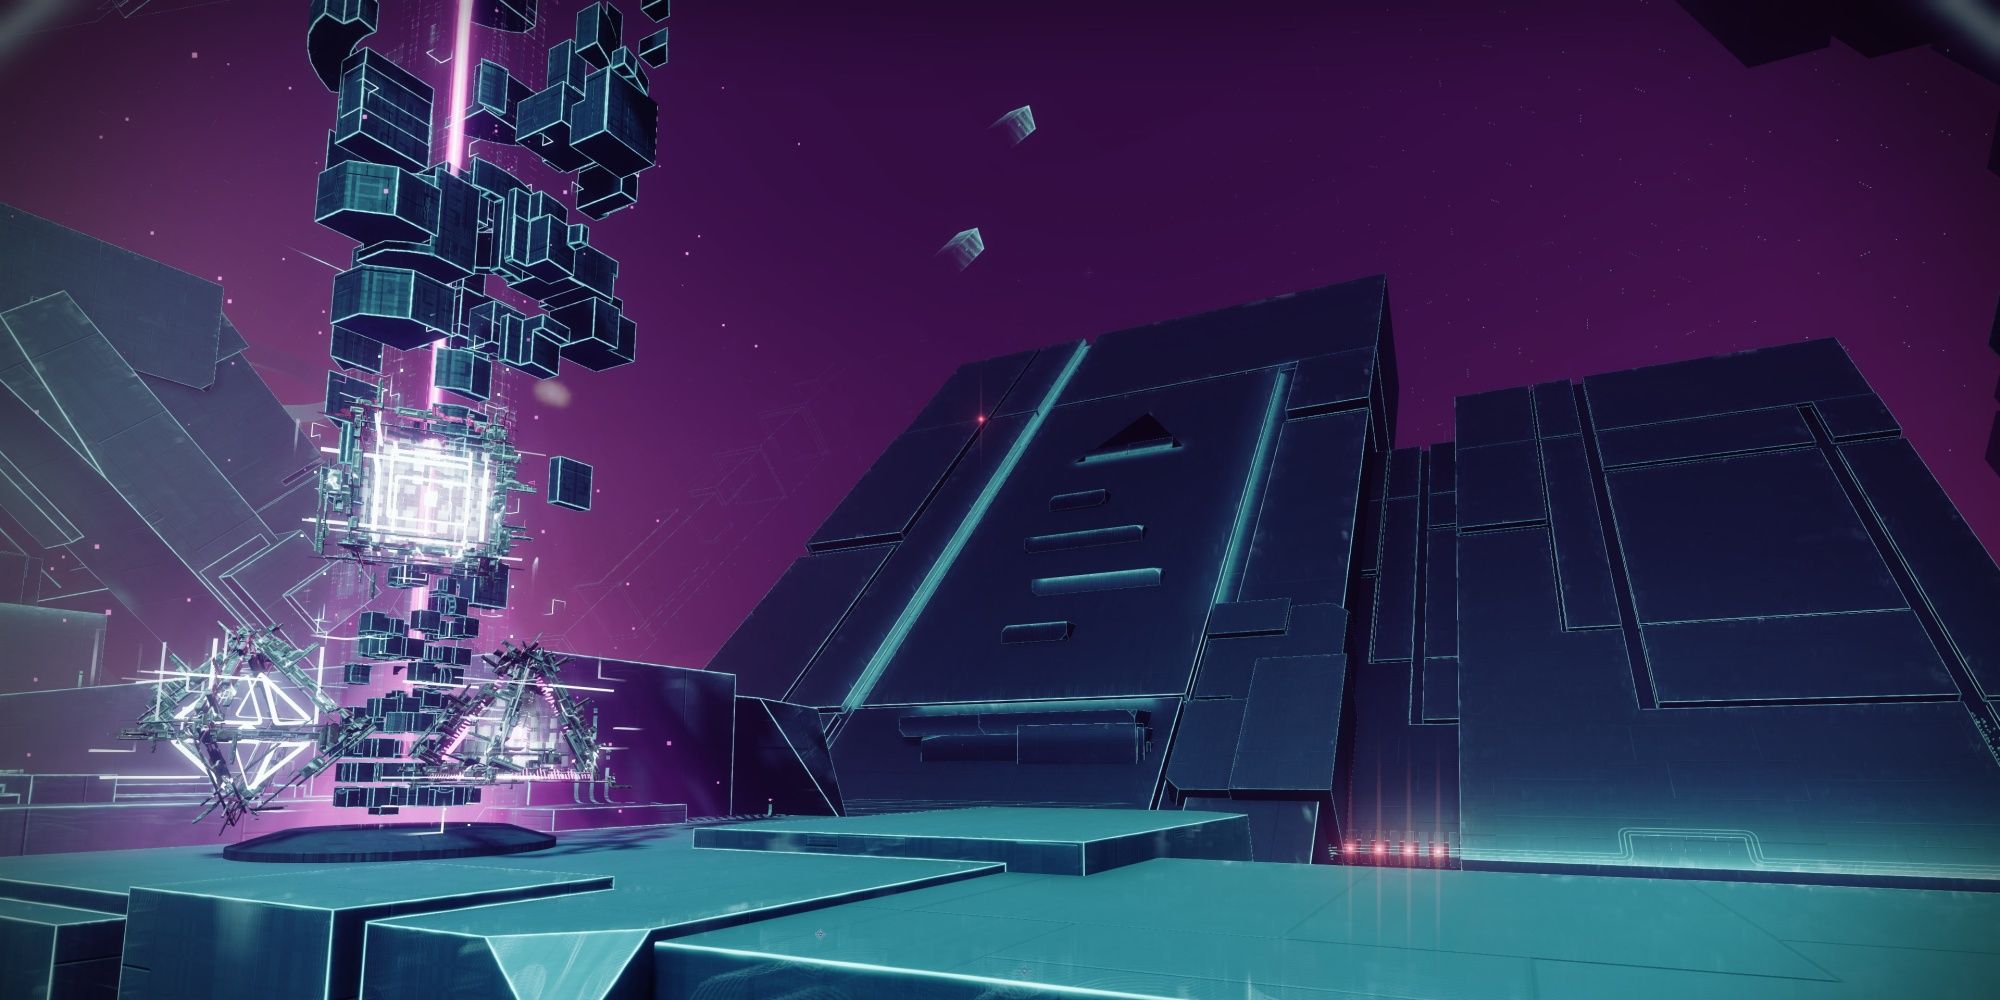
The first encounter of this mission is similar to the 'Breakneck' mission in the Lightfall campaign. Start the encounter by getting close to the Vex patrolling the area. A pillar of Vex data will spawn near the center of the arena, accompanied by a string of symbols toward the right of the pillar. The goal of this encounter is to enter the correct sequence by destroying symbols that spawn around the Vex pillar.
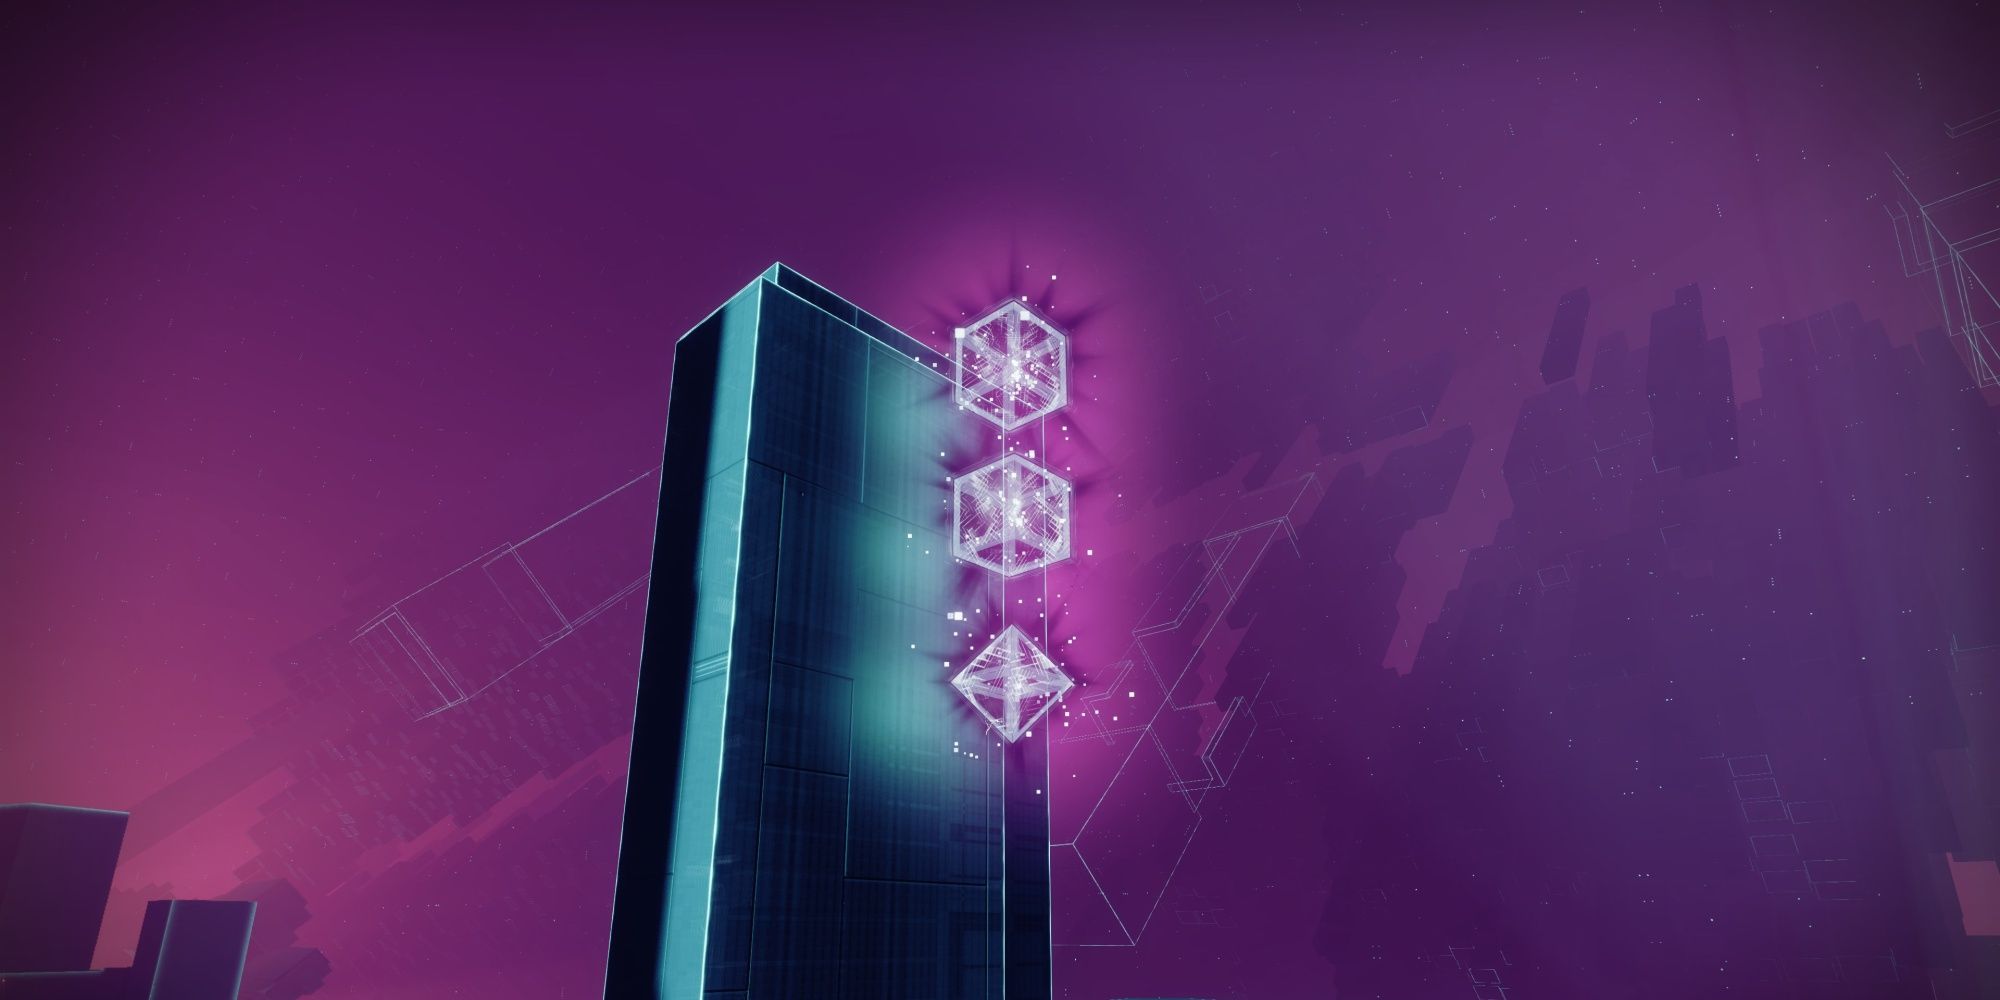
Every few seconds, the Vex pillar is going to spawn three symbols: a cube, a diamond, and a pyramid. Right beside the Vex pillar is going to be a sequence of symbols. In the above example, we received cube, cube, and pyramid. You must destroy the symbols in order from top to bottom. In our case, we would shoot the cube, wait for more symbols to spawn, then shoot the cube and pyramid. Failing to destroy the symbols in the correct order will reset your progress and randomize the sequence. There's no time limit here, so feel free to shift your attention to the Vex if they start to overwhelm you.
Upon entering three codes successfully, a new section of the arena will open. Repeat the same process as before, entering the codes in the correct order while fending off any enemies that get in your way. Doing this three more times will spawn a small army of Vex at the opposite side of the room. Clear them out to finish the encounter.
Explore The Vex Network
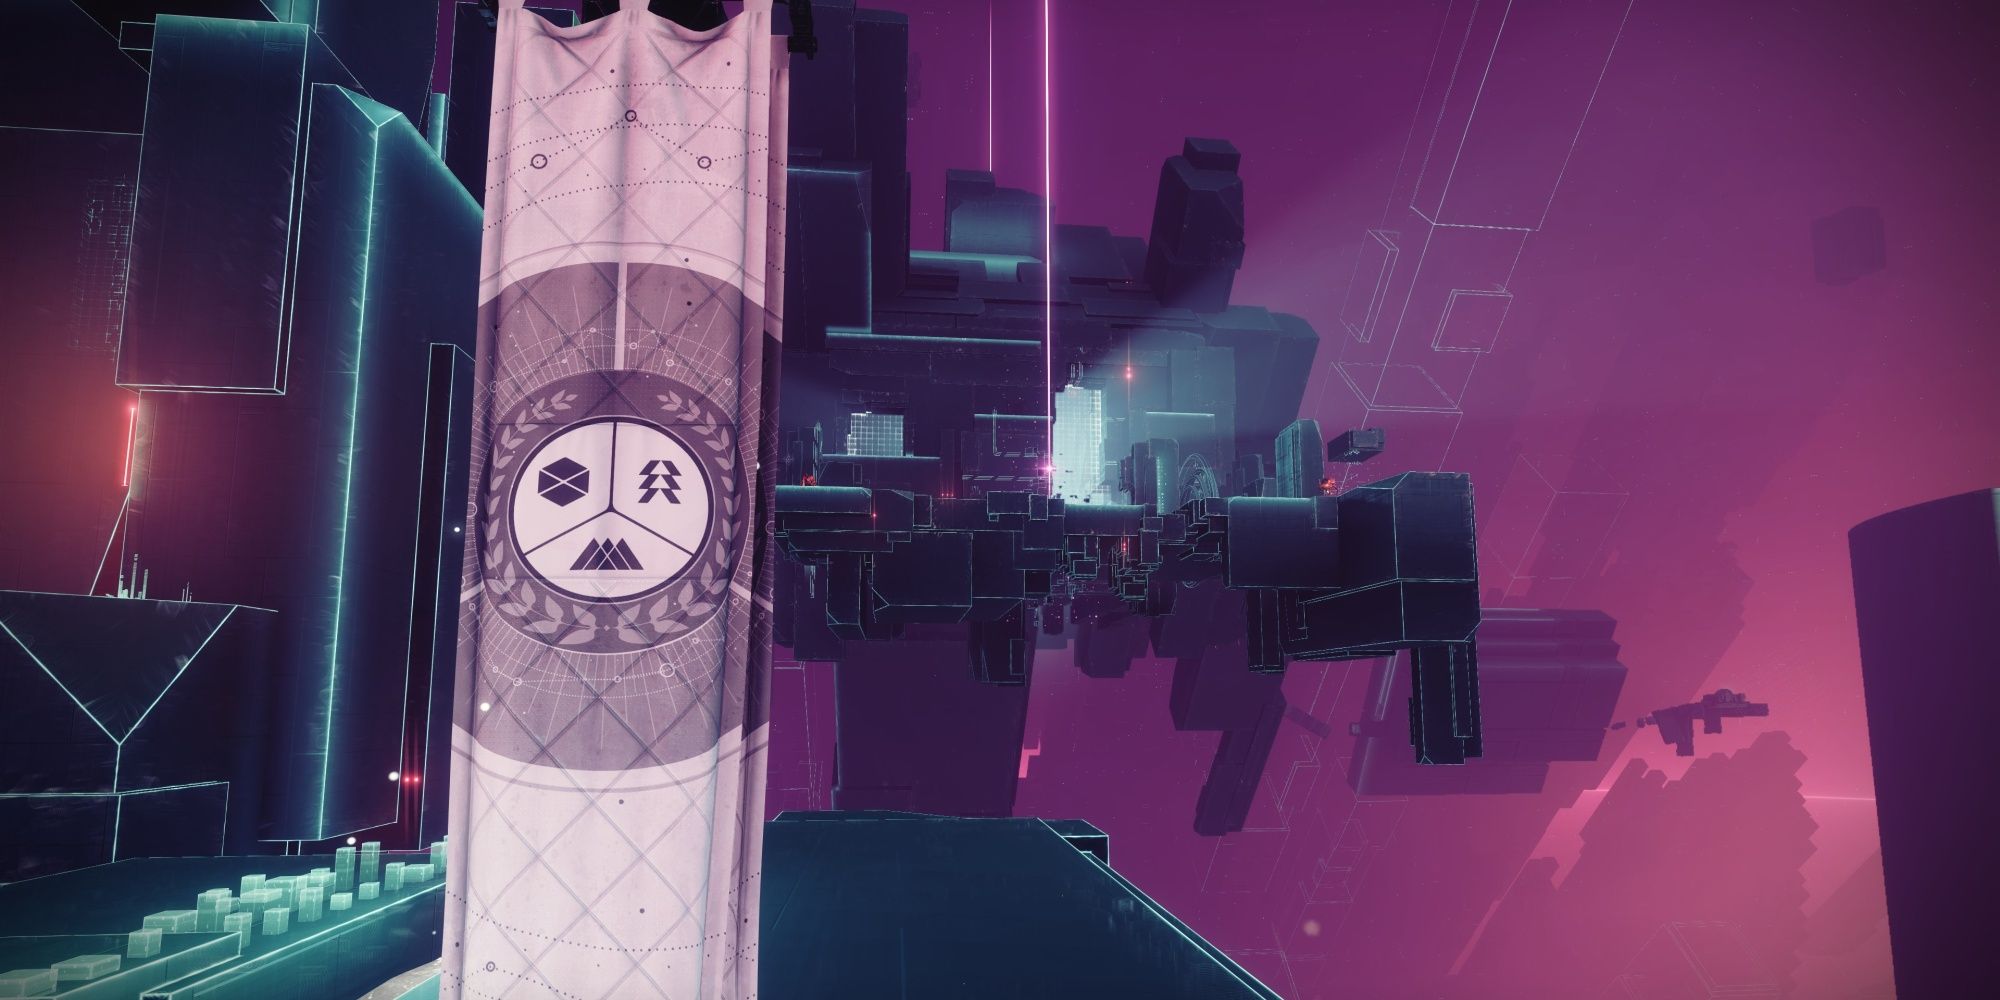
As before, you'll need to complete a short platforming section before you reach the next encounter. In the next room, jump around the Vex barrier or use Strand to bypass it entirely. A triangular structure will lead you to a narrow platforming section. Pistons will attempt to push you off during this part. Take it slow, only moving when a piston has just receded into the wall. The other side will have a gravity lift that will take you to the next encounter. Be sure to plant a Rally Banner before using the gravity lift.
Defeat The Data Nullifier
Start the encounter by entering the gravity lift. You'll land next to a small group of Harpies floating beside a Hydra. Shortly after defeating the Harpies, a wipe mechanic called Deletion Cycle will begin. You must defeat headless Goblins and deposit their motes at the central Vex pillar to hide from the wipe mechanic. You have 40 seconds to grab eight motes off the Vex. We highly recommend using your abilities and Heavy weapon—notably a Machine Gun—to speed up this section. The second you get enough motes, deposit them to reveal a hole in the floor directly under the Vex pillar. Drop down into the hole and wait for the wipe mechanic to occur.
After repeating this a second time, the Data Nullifier will spawn. This is a rather tough Vex Hydra with a massive health pool. Melt through the first 40% of its health bar with your Super and Heavy weapon. Once its HP is lowered, it'll retreat and begin the Deletion Cycle again. You must find ten and then 12 motes to avoid the next two wipe mechanics. Afterward, the Hydra will come out of hiding and attempt to kill you. Kill the Data Nullifier to end this encounter. All the adds will despawn shortly after the Hydra dies, so focus all your attention on the boss.
Enter The Node Core
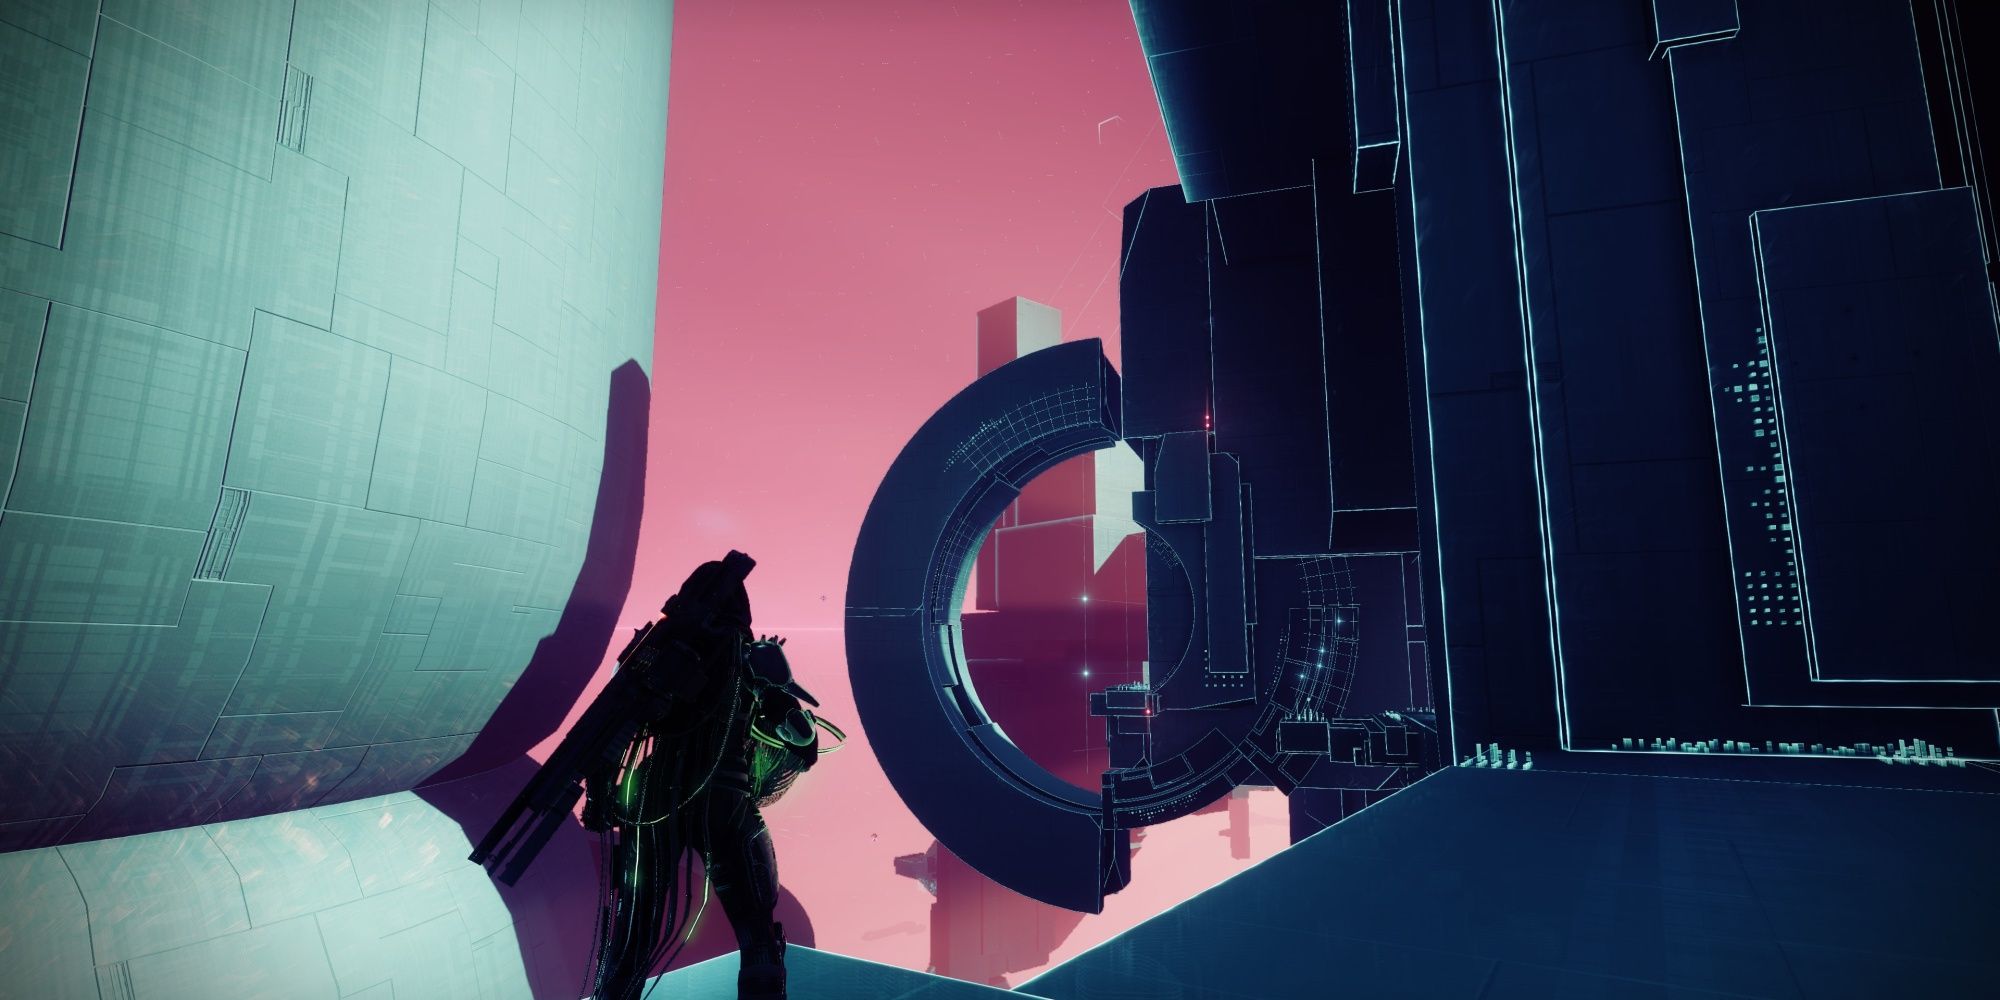
Continue your descent into the Vex Network. Run past the Data Nullifier's spawn location to find the path forward. The next section will require you to avoid another set of pistons before entering a gravity cannon. Once again, wait for the one in front of you to retract back into the wall before moving forward. When you reach a barrier, jump around it to progress. The rest of the platforming section is rather straightforward. Finish this section to reach the final encounter.
Defeat Brakion
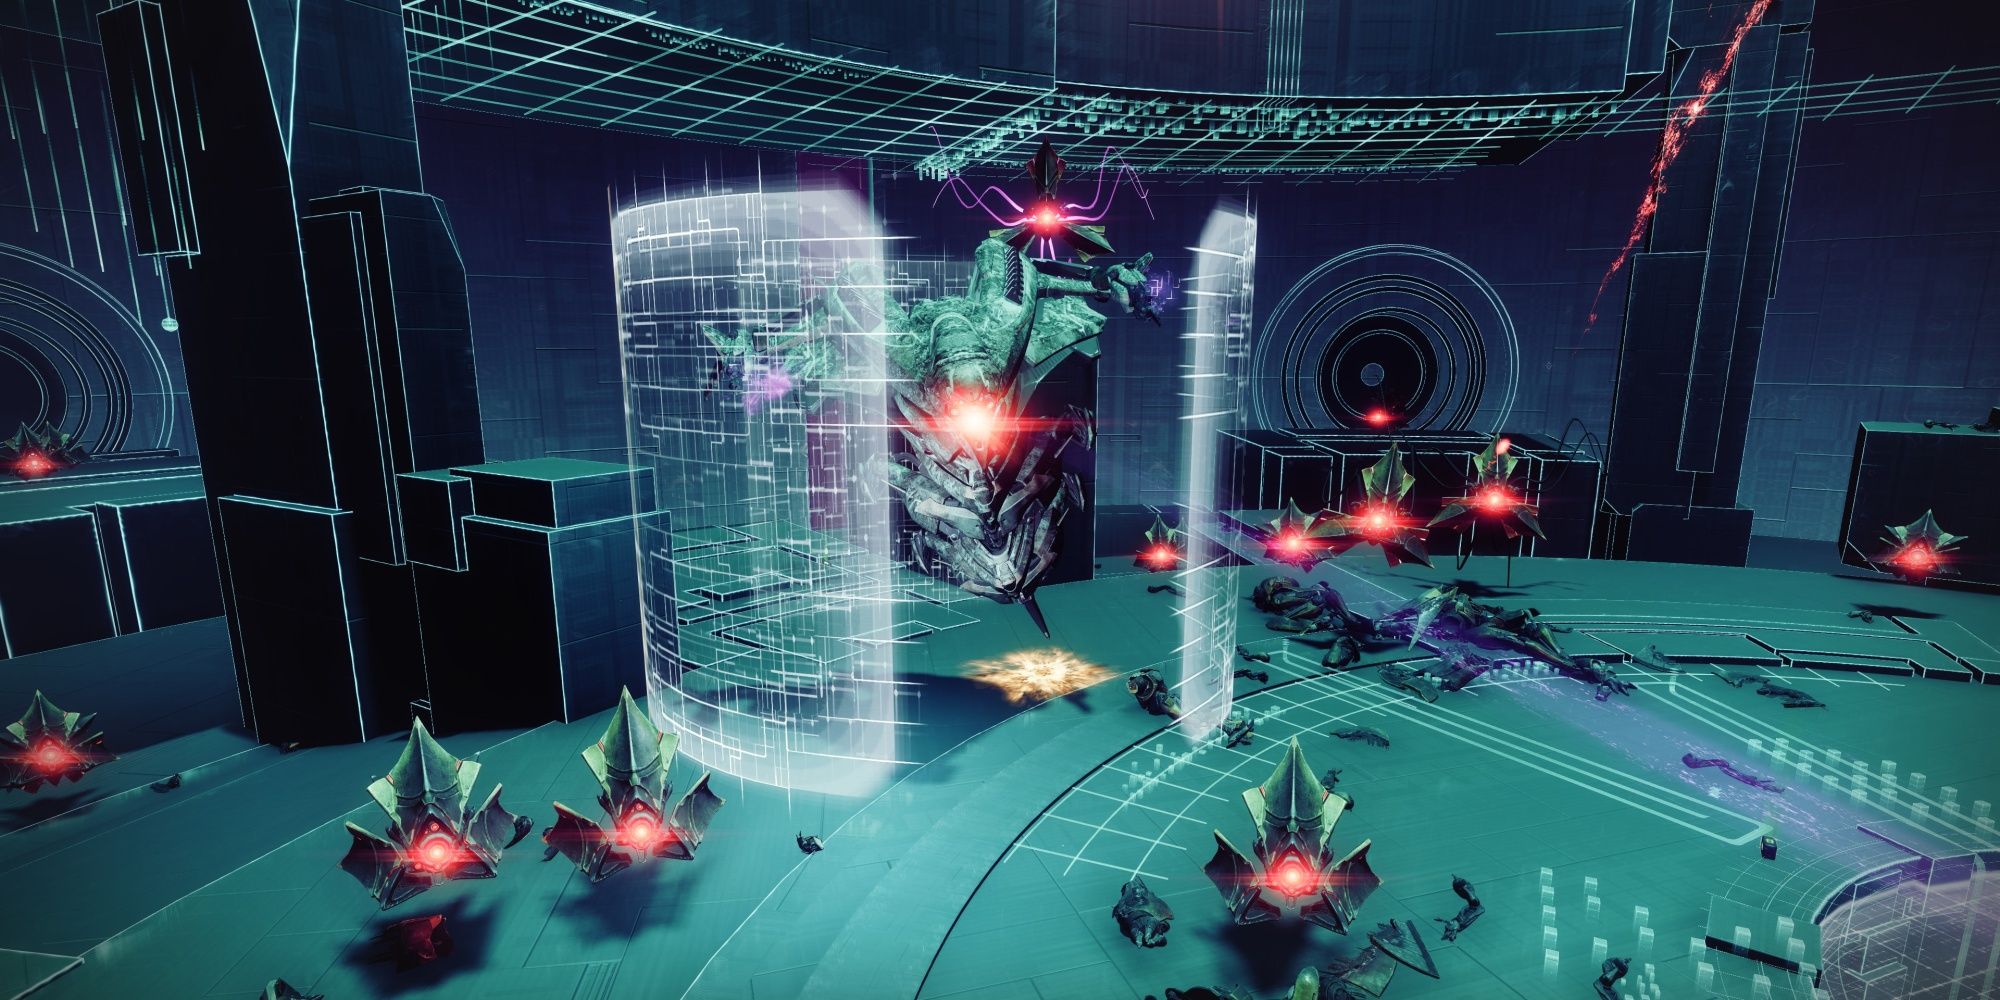
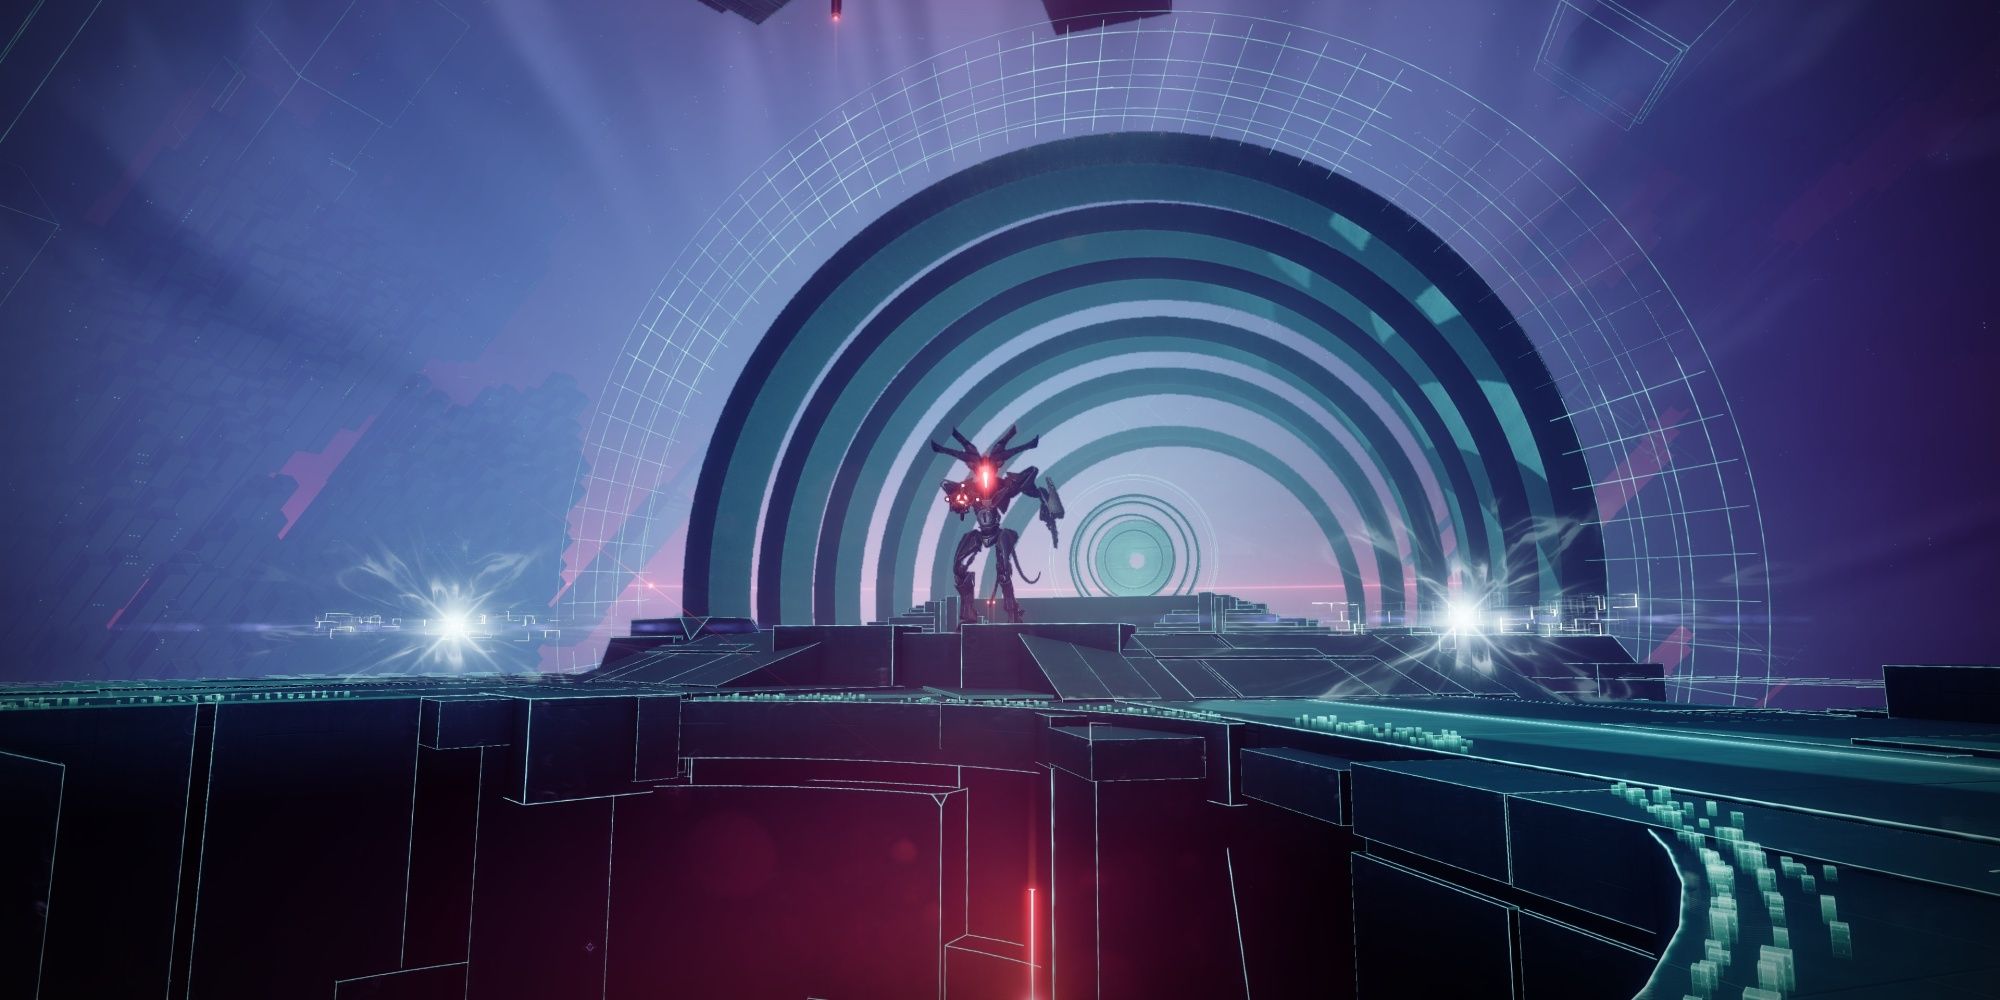
Red War veterans will immediately recognize Brakion as the final boss of the Pyramidion strike back in D2Y1. The fight is a mesh of the original Brakion fight and this Exotic mission's code-splicing mechanic. Start the encounter by approaching the portal at the other end of the arena. This will spawn Brakion and a small army of Vex units.
The first phase requires you to lower Brakion's HP, nothing more. Feel free to use your Heavy or Super to quickly chunk Brakion's HP, but mind the swarm of adds that surround the boss. If you get too close to Brakion, there's a good chance you'll be shotgunned by dozens of projectiles or flung off the map. Damaging the boss enough will force Brakion and its forces to retreat, opening the nearby portal. Hop inside to start phase two.
Wish-Ender Cheese
The Wish-Ender Exotic Bow can pierce the barrier Brakion hides behind during phase two. You can use this to greatly lower Brakion's HP before completing the encounter mechanic. Do not phase Brakion while they're immune or the mission will soft-lock, forcing you to restart.
Brakion's second phase requires you to enter codes in a central Vex pillar to start DPS. Spawning this Vex pillar will require you to defeat an Encryption Daemon, a Hydra major. Once the pillar spawns, head to either corner of the arena beside Brakion to find the code sequence. You'll need to destroy five symbols to start the DPS phase, where you'll have roughly 20 seconds to damage Brakion. You have an infinite number of attempts here. We recommend leaving one symbol and stocking up on ammo before you start the damage phase. Finder mods and Artifact mods can be incredibly useful here. Lower Brakion's HP by another 33% to open yet another portal.
The final phase requires you to kill Brakion, no mechanics this time. You have little cover and tons of adds rushing you. We highly recommend you clear the adds first before fighting Brakion, using your Super or Heavy weapon to quickly clear them out. The boss itself will lose its head when it reaches roughly 25% HP, revealing a critical spot on its chest. Give Brakion everything you've got to finish this mission. Return to the H.E.L.M. when you're done to receive the Vexcalibur Exotic Glaive.
Unlocking Crafting Options And Catalysts For Vexcalibur
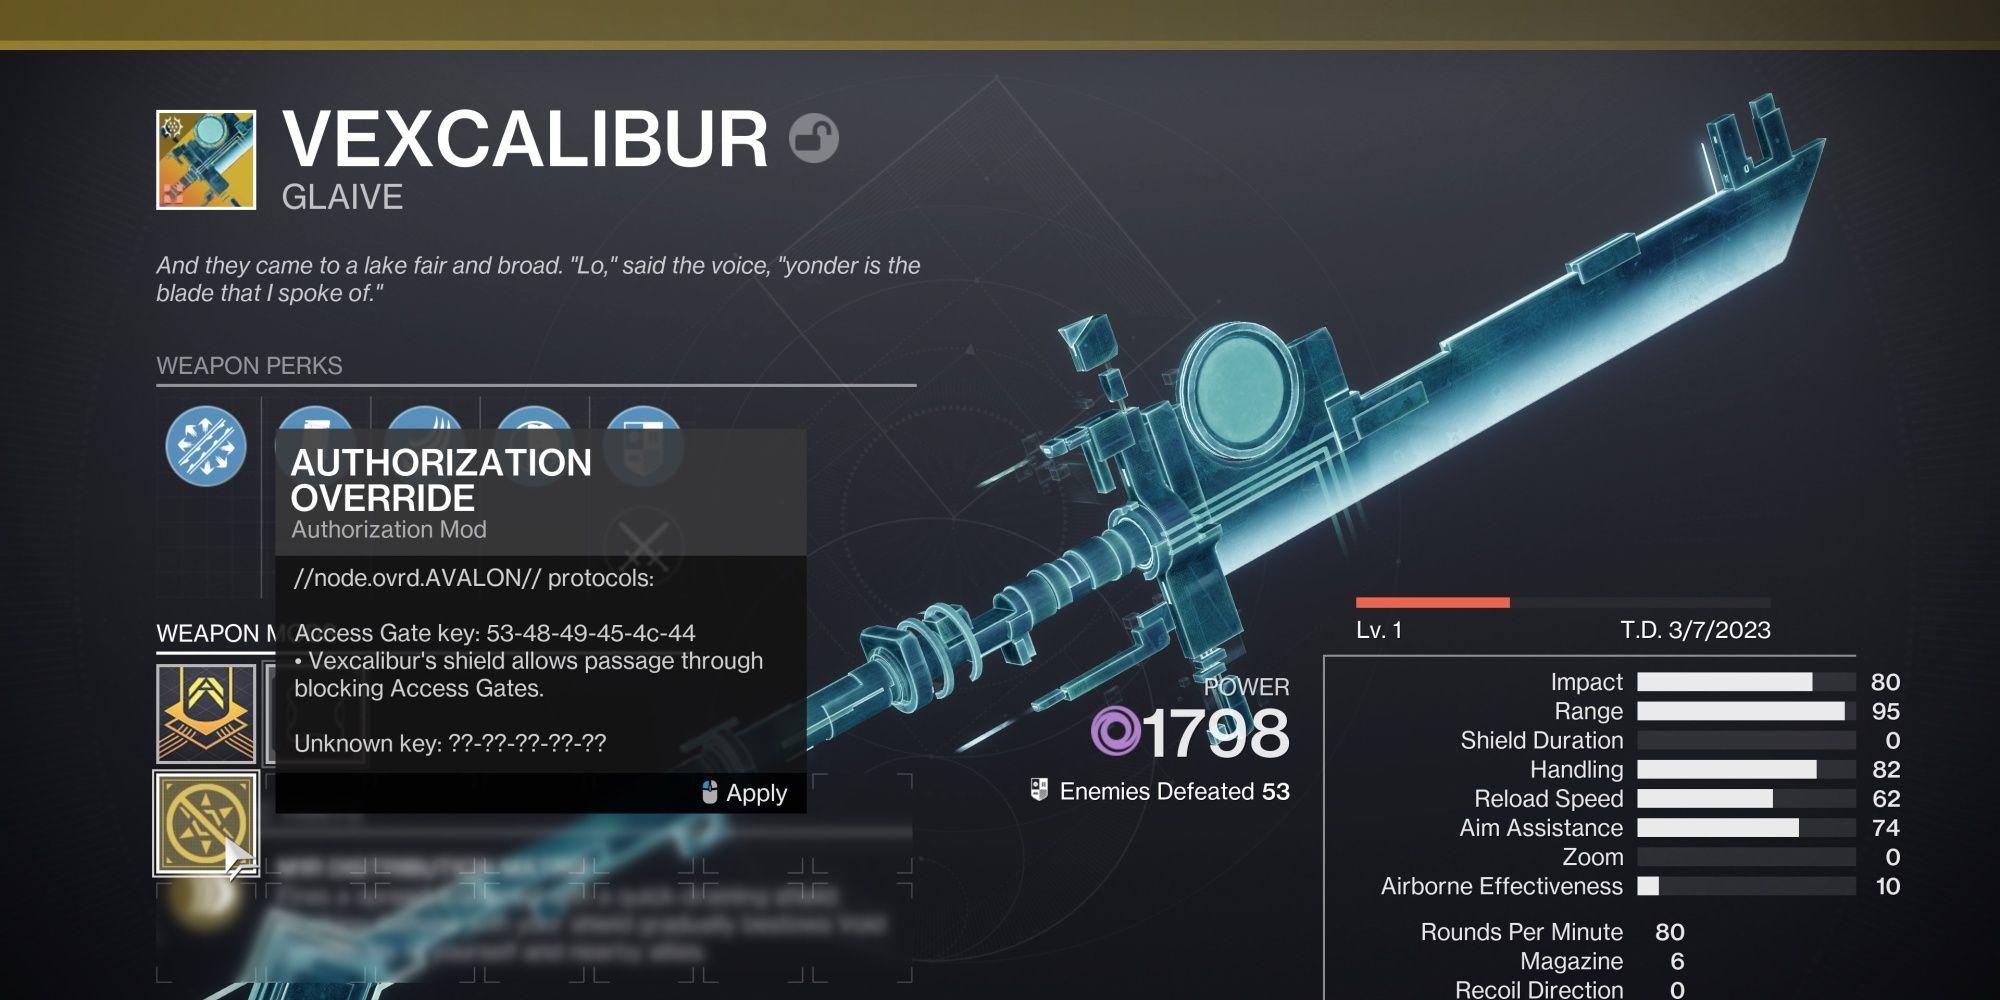
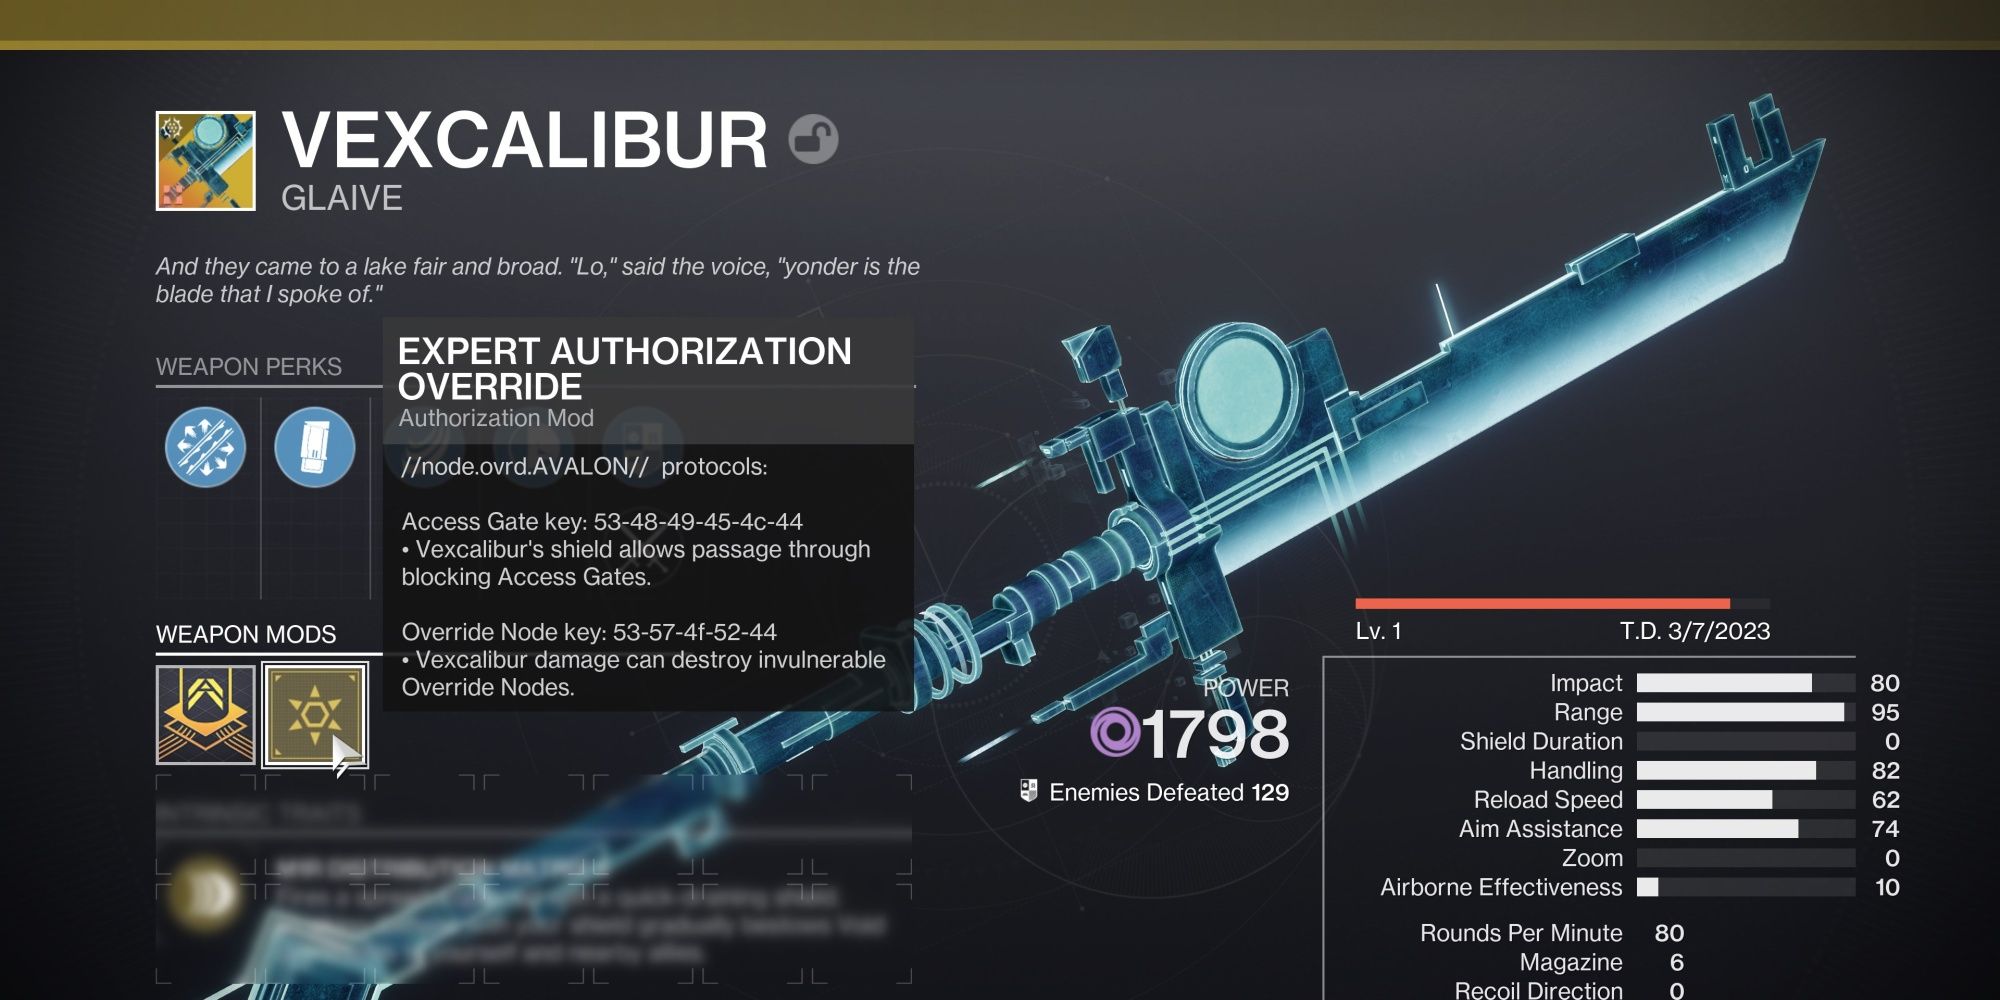
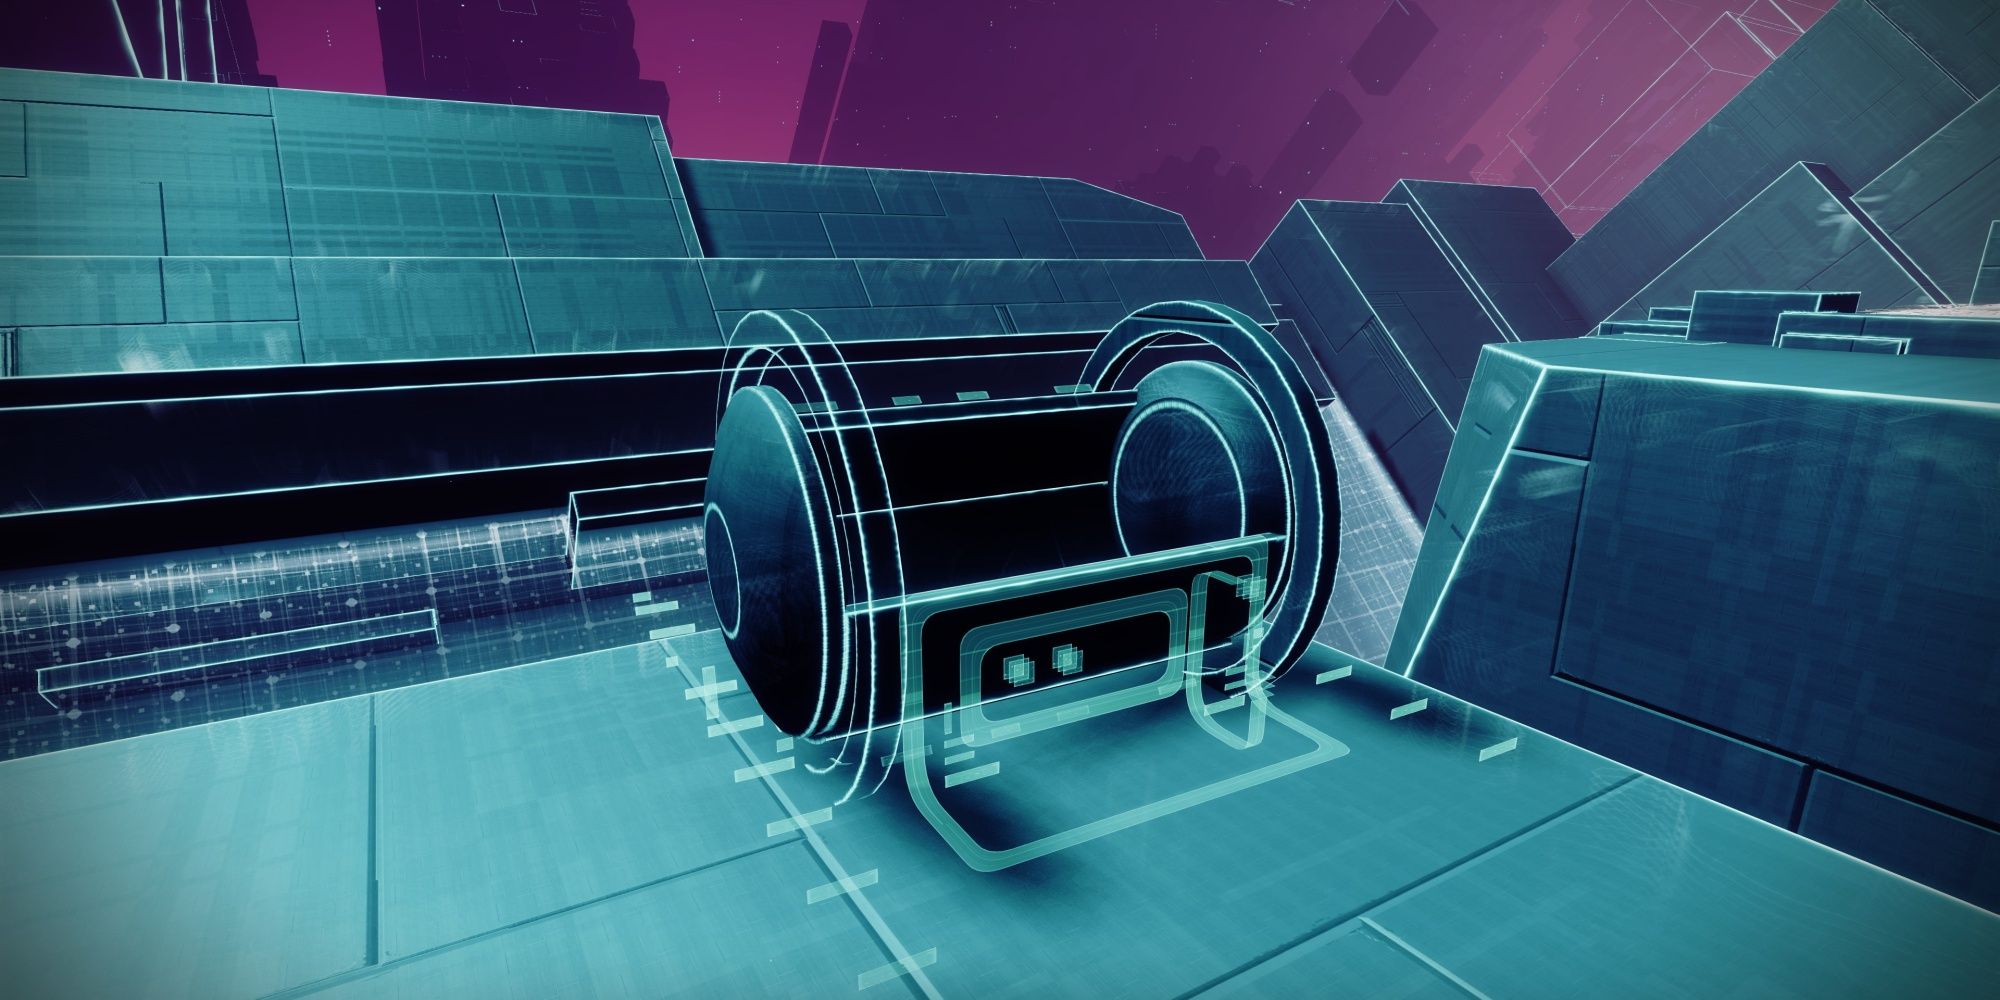
Similar to Revision Zero in Season of the Seraph, Vexcalibur has three Exotic Intrinsics that unlock every week. After acquiring Vexcalibur, visit the H.E.L.M. to receive a weekly Legendary quest. This quest will require you to defeat enemies with Vexcalibur to receive a new mod type. These mods may be socketed into the weapon itself, allowing you to access one of seven hidden chests hidden in the //NODE.OVRD.AVALON// mission.
Equip the mod, boot up the mission, find the hidden chests, complete the mission, then visit the Enclave on Savathun's Throne World to reforge the weapon with new intrinsics, similar to how Revision Zero worked in Season of the Seraph. As for Exotic Catalysts, they drop from Brakion upon clearing the Avalon mission on Legendary difficulty. Intrinsic upgrades may be obtained on any difficulty. One Intrinsic is given for completing the mission for the first time, while the last two upgrades are unlocked by opening five and seven hidden chests, respectively.
Vexcalibur Hidden Chest Locations
You must have Vexcalibur equipped to open most of these chests.
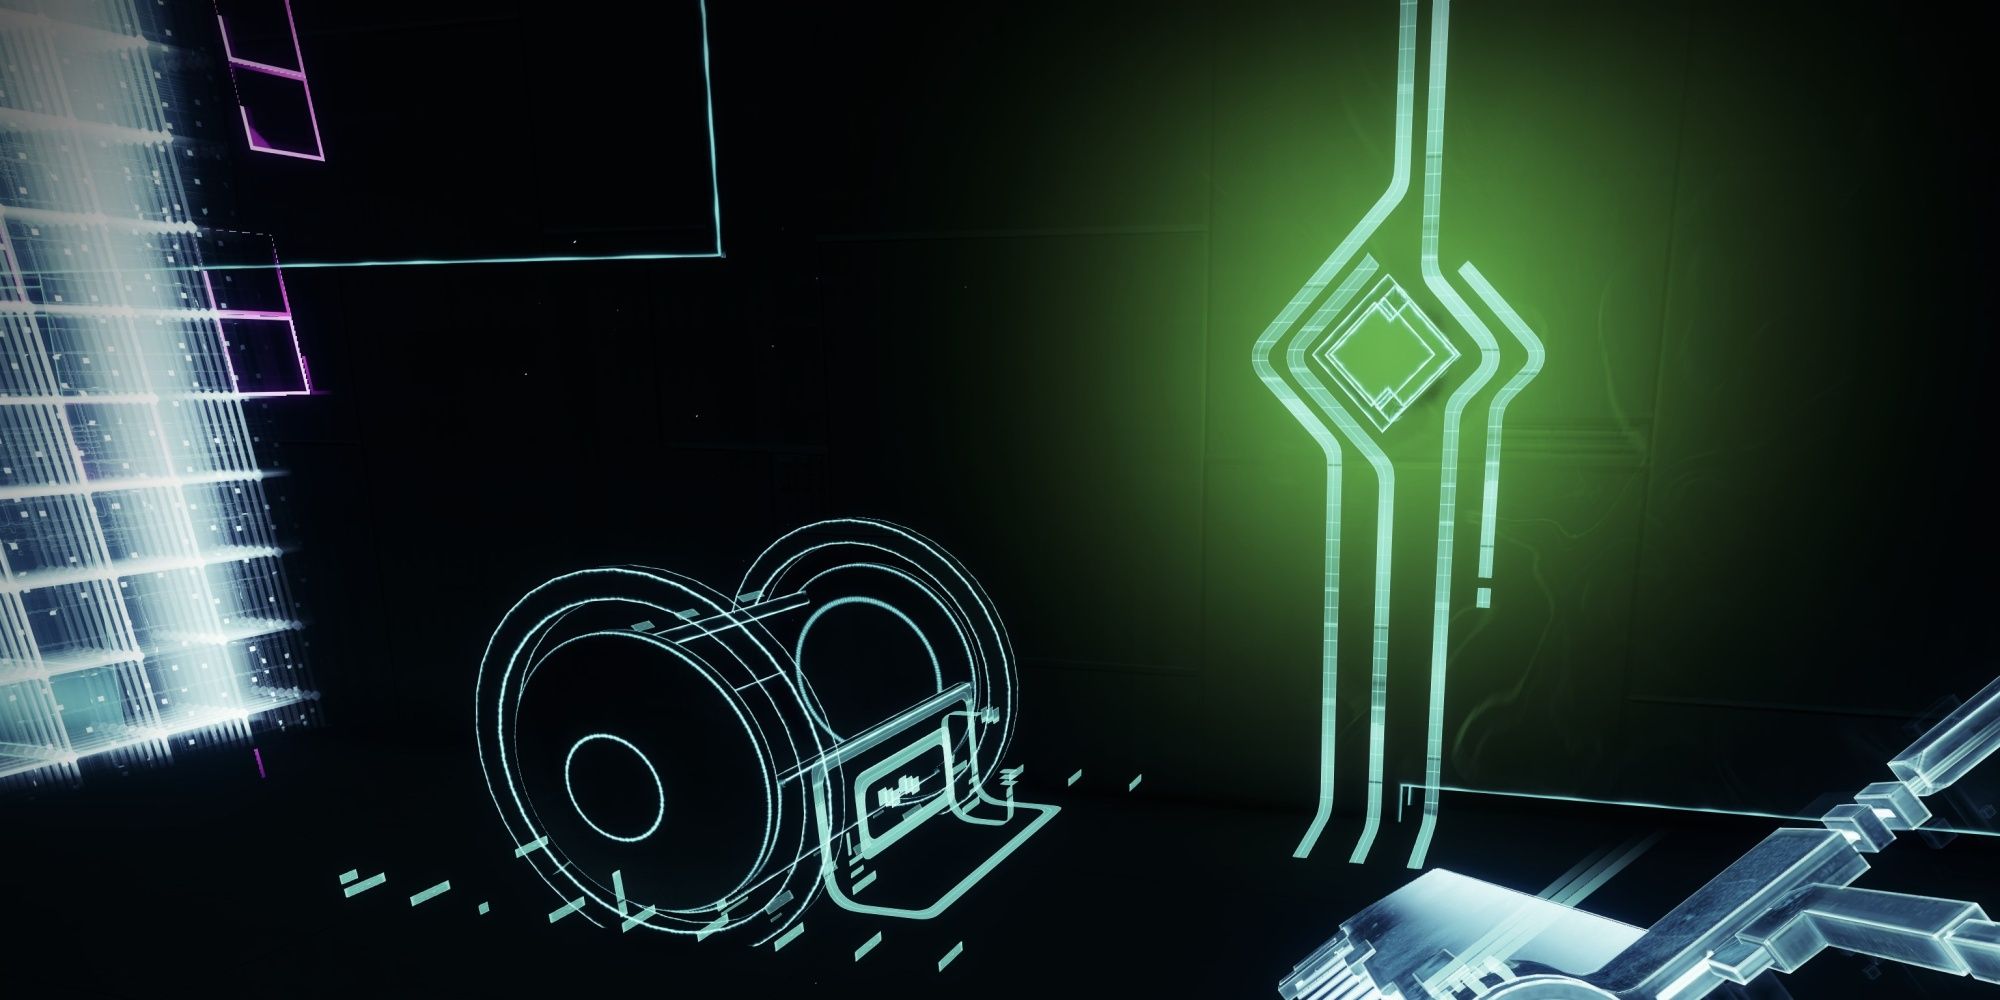
There are seven hidden chests hidden in the Avalon Exotic mission. Opening these chests will give upgrade materials, seasonal drops, and intrinsic upgrades for the Vexcalibur Glaive.
Data Retrieval: Substrate Chest
- Location: First jumping puzzle (above Vex fluid stream)
- Mod Required: Authorization Override
You'll find the first chest during the opening jumping puzzle. After you slide past the first set of Vex barriers, turn around and climb up the left barrier to find a switch. Activate it, then make your way to the bottom of the Vex stream. You should see a rectangular room above the stream that's blocked off by Vex barriers. Equip Vexcalibur and block to bypass the barrier. Interact with the switch inside to spawn the chest.
Data Retrieval: Aberrant Chest
- Location: First jumping puzzle (after the Vex fluid stream)
- Mod Required: None
After you grab the previous chest, enter the crack in the wall and fall about halfway down. You'll find a switch you can interact with. Use it, then look for a damaged Hobgoblin stuck in a cage. In this room, you'll want to turn around and look upward. Jump up to the nearby ledge to interact with a second switch, freeing the Hobgoblin and spawning a chest in its place.
Data Retrieval: Disposal Chest
- Location: After first encounter (before the multi-door passageway)
- Mod Required: Expert Authorization Override
After you've beaten the first encounter, navigate the Vex Network per usual until you reach a barrier blocking the main passage. Use Vexcalibur to breach the barrier and climb up. You'll find a switch to your left, activating a laser chamber that'll continuously kill Vex. Beside you will be another data pillar, requiring you to enter a code. To access this code, climb up the diagonal wall that's to the right of where you're supposed to go. Stand on the triangle hole in the wall to fling yourself upward. Turn around mid-flight to find the code floating above a platform. You might want to use Strand or create Stasis glaciers to make this part easier.
Once you have the code, run back to the data pillar. Enter the code you just found to spawn a chest. If your code has pyramid symbols, you must use Vexcalibur to break them.
Data Retrieval: Hard Data Deposit
- Location: After the multi-door passageway (before the Data Nullifier fight)
- Mod Required: Authorization Override
After you pass the multi-door passageway, you'll enter a short corridor with a stream of Radiolarian Fluid. Instead of running left to reach the Data Nullifier encounter, head right instead. You'll find an orb that's locked in a Vex cell. Use Vexcalibur's block effect to breach the cell, allowing you to grab the orb. Escort the orb to the other side of the zone. You'll find a deposit station just before you crawl through the various traps that lead to the Data Nullifier fight. The chest will spawn upon dunking the orb.
Data Retrieval: Quarantine Subject
- Location: Final jumping puzzle (before using the gravity cannon)
- Mod Required: Expert Authorization Override
During the final jumping puzzle in Avalon, you'll need to use a gravity cannon to reach the final platforming section. When you reach the gravity cannon, turn around and interact with the switch on the wall. Some Vex Goblins will spawn where you just came from. Crouch through the trapped wall once again to find two Vex Goblins in cages. Block with Vexcalibur to breach the first jail cell, then destroy the pyramid symbol inside. This will free both Goblins and spawn a chest.
Data Retrieval: Cannonball Chest
- Location: Final jumping puzzle (after you take the gravity cannon)
- Mod Required: Expert Authorization Override
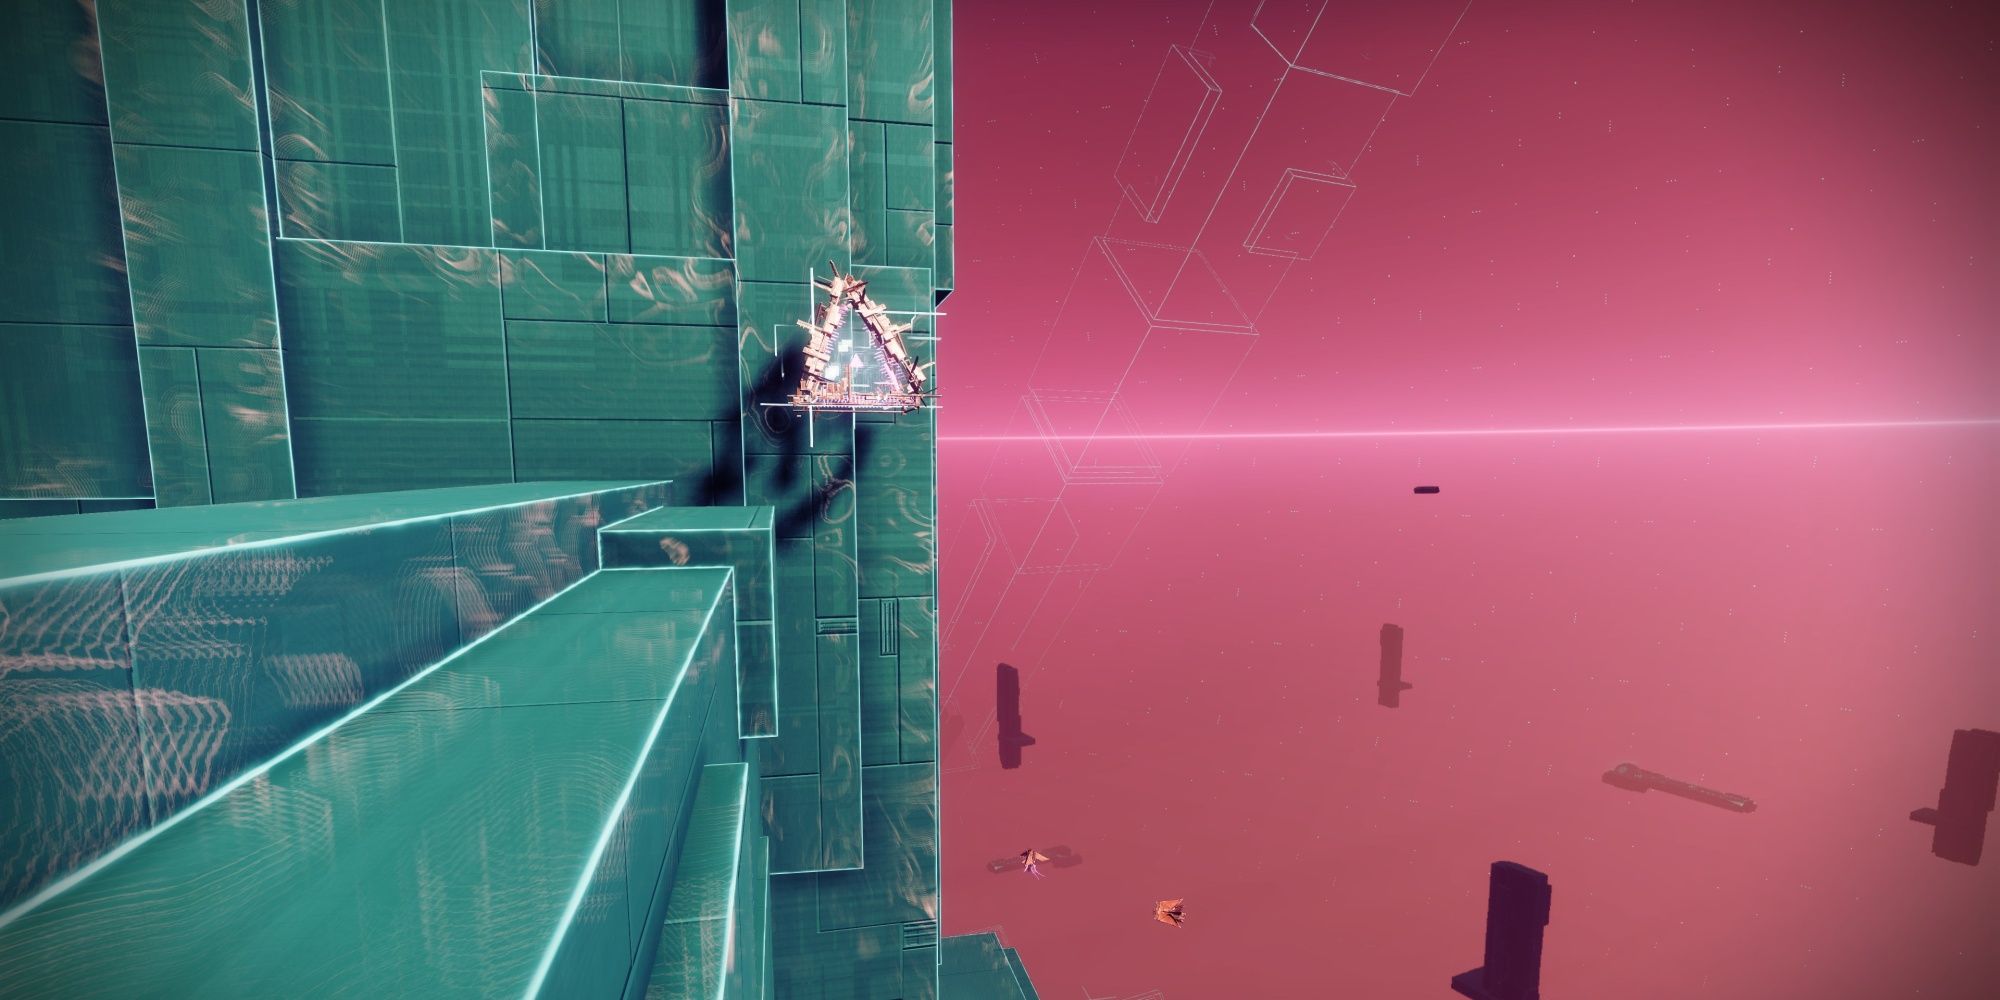
Shortly after you beat the Data Nullifier boss and descend from the arena, you'll have to use a gravity cannon to cross a massive gap in the Vex Network. Right after you finish using the gravity cannon, you must find three pyramid icons and destroy them with Vexcalibur. The locations are as follows:
- Directly above you as you exit the gravity cannon.
- Look off the ledge to your right. The pyramid will be floating next to a wall.
- From the single Goblin that keeps respawning, look for a gap in the wall above you.
Destroying all three pyramid symbols will spawn a chest near the first symbol you destroyed.
Data Retrieval: Accurate Prediction
- Location: Brakion Boss Arena
- Mod Required: Expert Authorization Override
Defeat Brakion but do not open the final chest. The arena you're in has three pillars of Radiolarian Fluid at each corner. You must find a way under the pillar and use Vexcalibur to reach a hidden room. These rooms will have a pyramid symbol you can destroy. Break all three pyramids to spawn a portal directly across from the end-of-mission reward. Jump through the portal to find the final hidden chest.

