Quick Links
The Last Chance is the penultimate mission in Destiny 2's Witch Queen campaign. Featuring tough encounters and hundreds of Hive enemies, this is arguably one of the hardest missions in the campaign to beat flawlessly on Legendary or Master difficulty.
Dozens of Knights, multiple Lightbearers, and Wizards are present on this mission. You'll need to spec heavily for Arc damage and survivability if you want to survive. This guide will cover which subclasses and weapons to bring for this mission, and we'll give tips on how to best complete every encounter. If you're attempting to beat the Master variant solo flawless, make sure your Power is near the recommended amount; this one's tough.
Modifiers And Recommended Loadout
Breach The Apothecary Wing
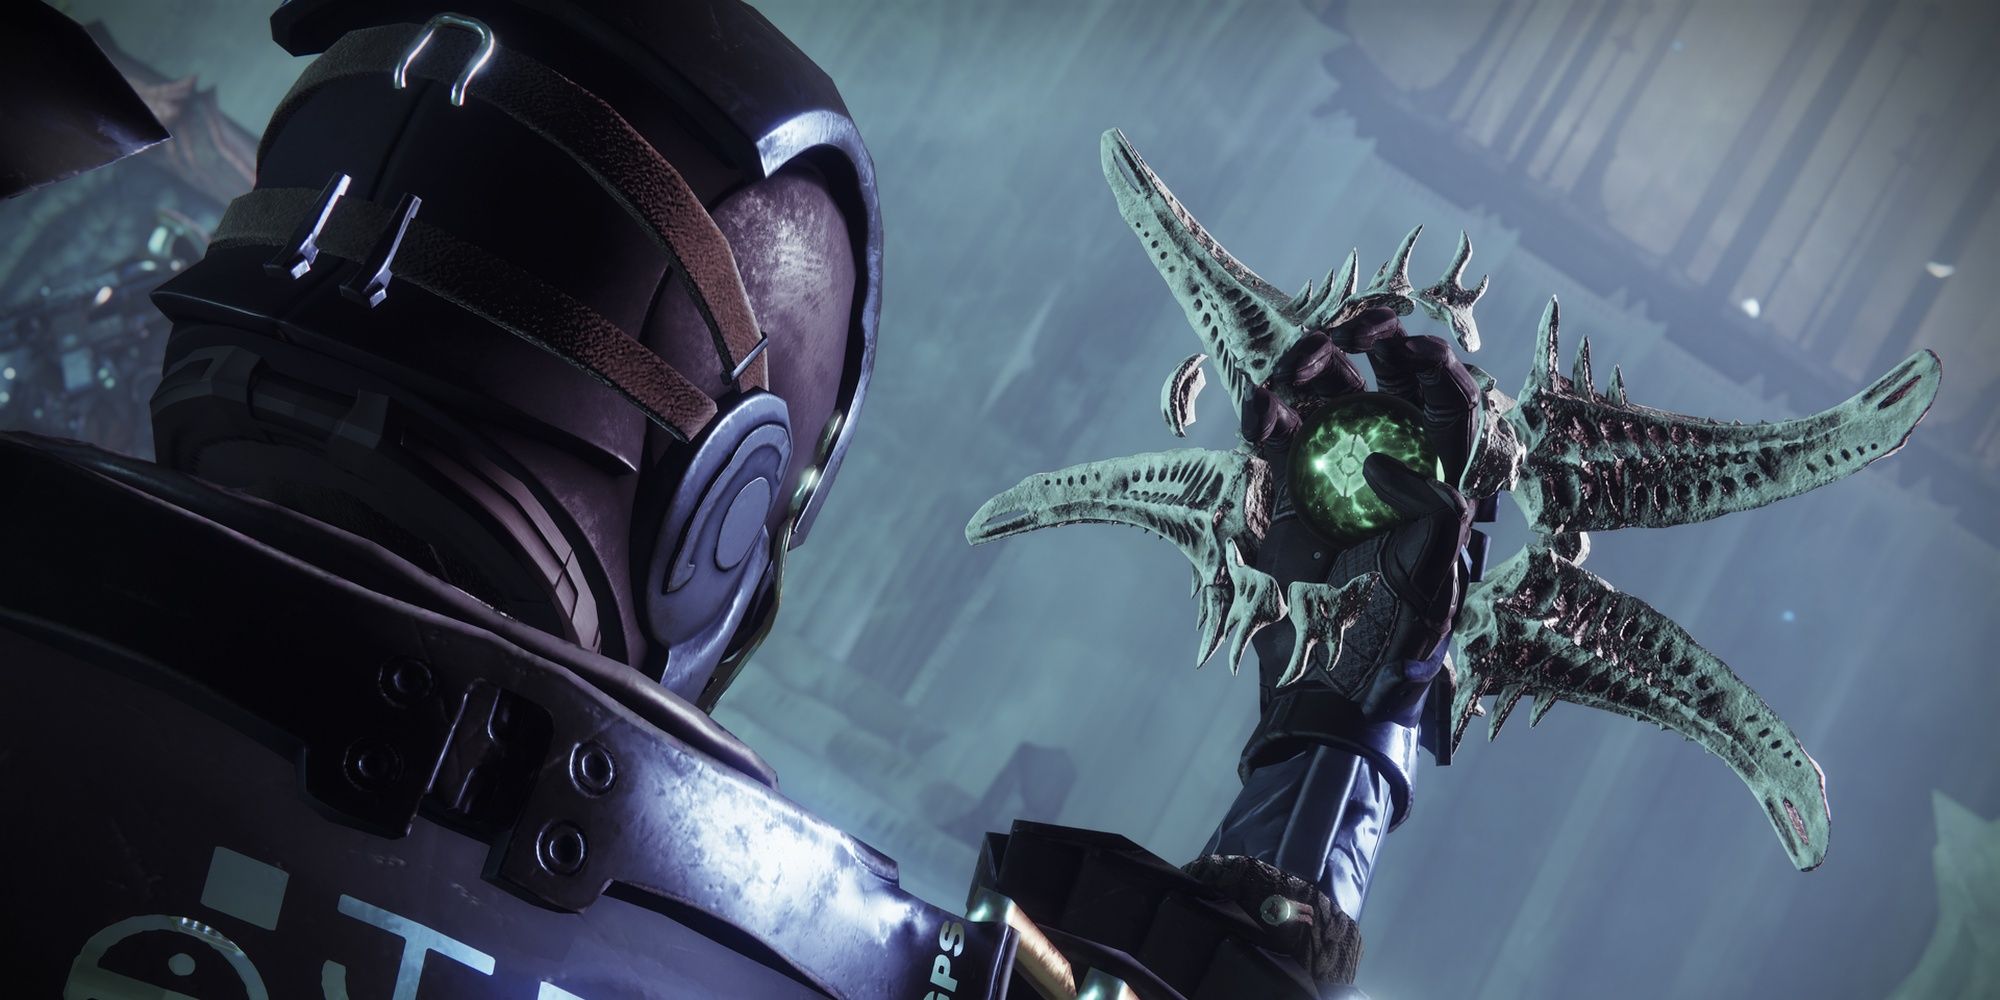
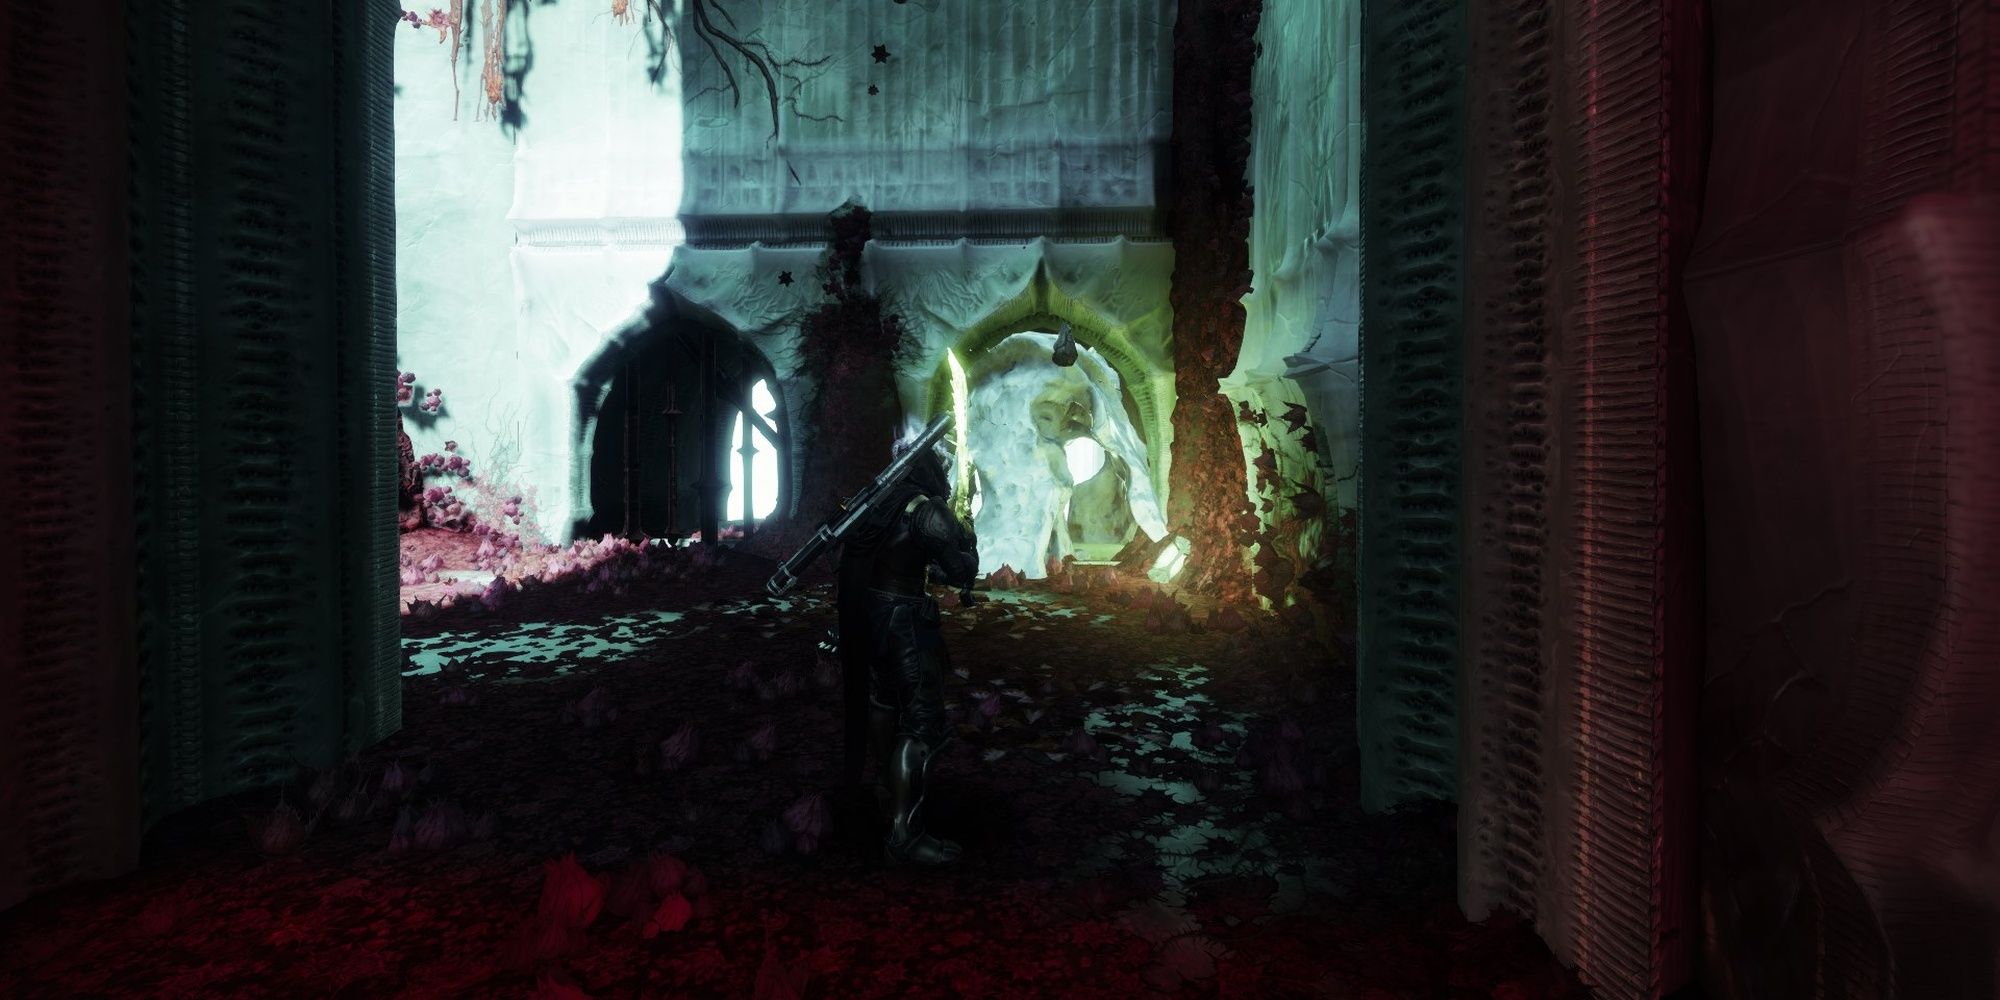
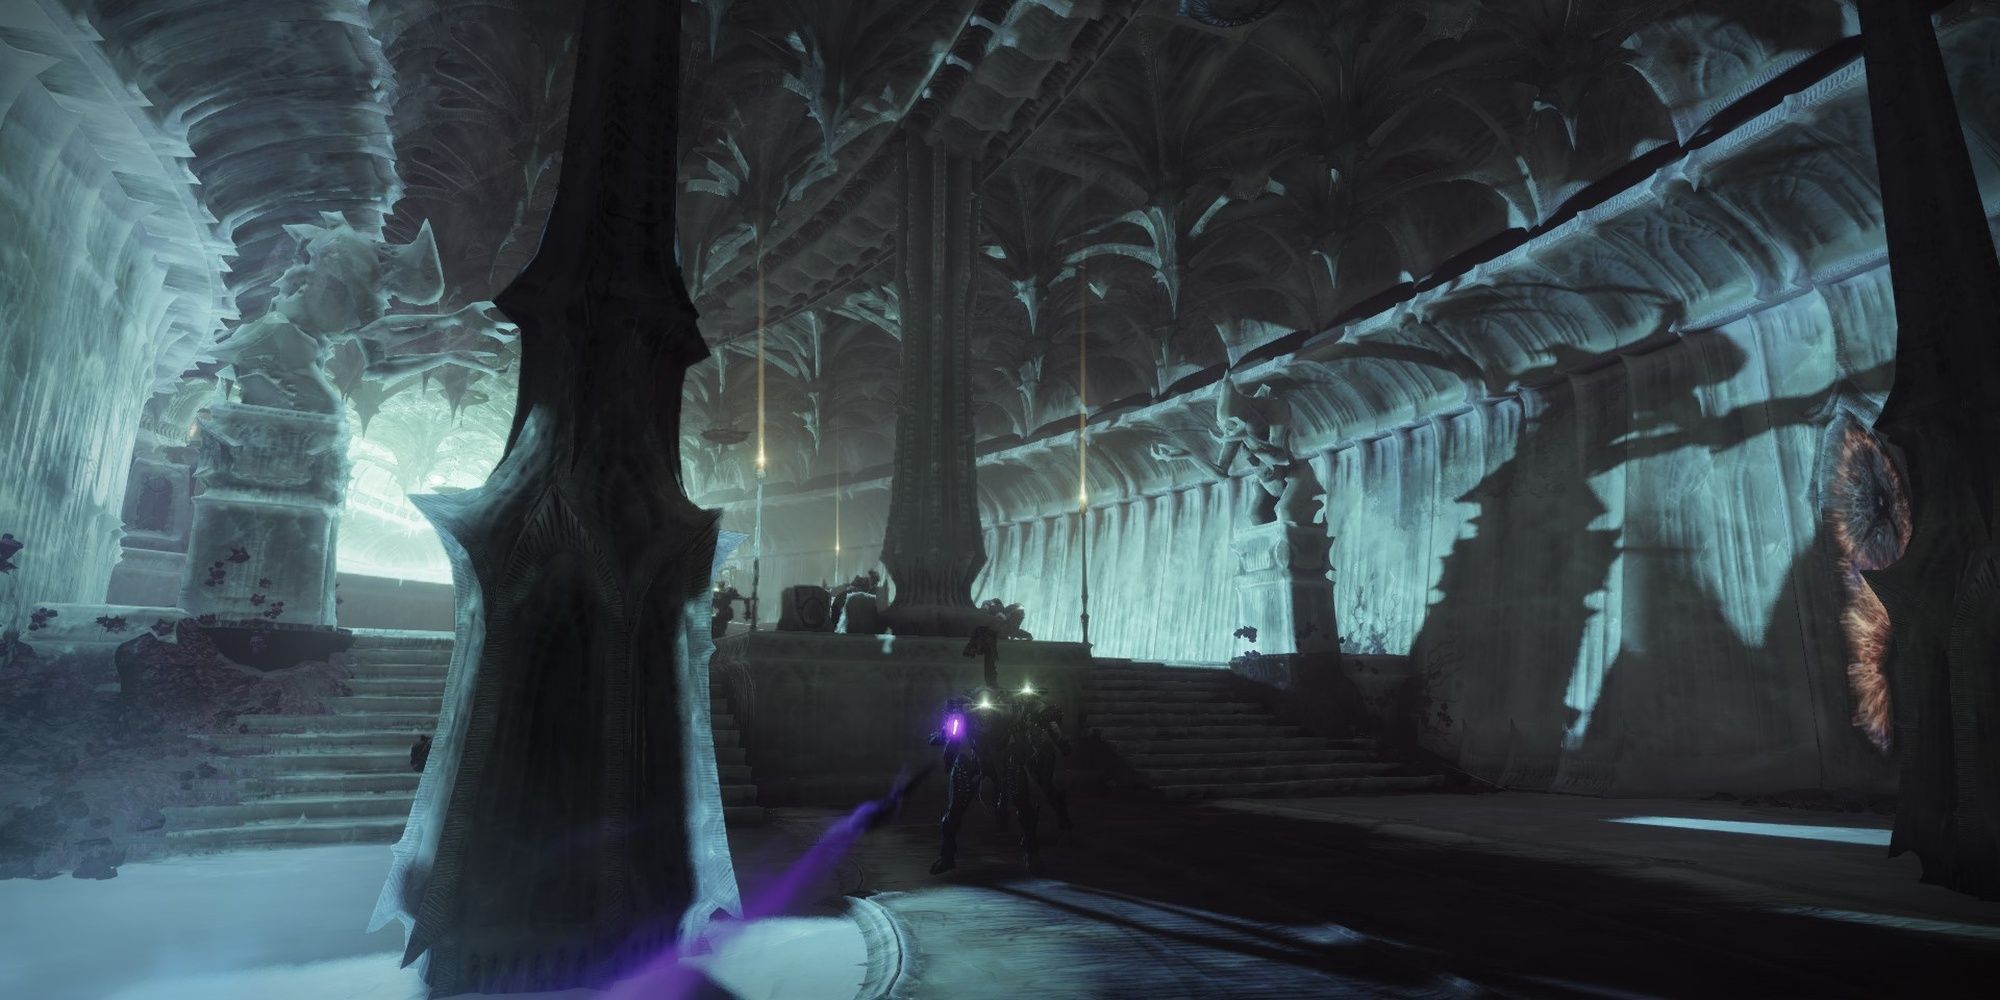
You'll start this level just outside of the Apothecary Wing of Savathun's Throne World. Follow the platforms in front of you to enter the first zone. A series of Hive Acolytes are guarding some sort of Hive gunk. You'll need to kill a Hive Knight to obtain its Sword, allowing you to destroy the gunk. The Knight spawns shortly after you've killed most of the Acolytes.
When you've destroyed the Hive gunk, you'll reveal a Deepsight Orb. Interact with it, then turn around to find a series of new platforms. Climb up the platforms and towards the other end of the zone. You can safely snipe the small pack of Hive from where you're at before dropping down.
You'll find yourself in yet another small arena, this time inhabited by Wizards, Knights, and Acolytes. On Master difficulty, the Knights are Barrier Champions. Have your anti-Champion weapon or ability ready to take care of them. Most enemies will run towards the opposite end you come from, giving you a chance to find some cover or throw out a few grenades. Feel free to use your Heavy weapon to take them down; you'll get a Rally Flag in the next area. Once again, grab the Knight's Sword when you're done to break free a Deepsight Orb, revealing the path forward.
Countering Barrier Champions With No Mods
If you're struggling to counter Barrier Knights, use Stasis. Duskfield Grenades will freeze a Barrier Knight before they can deploy their shield, letting you damage them with no penalty. If there are no good Barrier mods available in a given season, you can always use Stasis or Arbalest.
Continue along the path to find another small band of Hive guarding a set of stairs. Up the stairs will be another Knight and some Acolytes—the Knight being a Barrier Champion on Master. Use the same strategy as before to kill them. Grab the Hive Knight's Sword when done to destroy some Hive gunk to your left, revealing the path forward.
Enter The Alluring Curtain
|
Encounter Breakdown |
|
|---|---|
|
Objective |
Enter the building and defeat the Lucent Lightbearer. |
|
Notable Enemies |
Hive Ogres, Knights, Wizards |
|
Shields |
Legendary: Arc, Solar |
|
Master: Arc, Solar |
|
|
Champions (Master Only) |
Barrier and Unstoppable |
Once you plant the Rally Flag down, be ready to counter an Unstoppable Ogre on Master difficulty. On Legendary, immediately find cover. You'll be swarmed by multiple Acolytes, Wizards, Knights, and an Ogre. The Knights are Barrier Champions on Master difficulty, so keep that in mind.
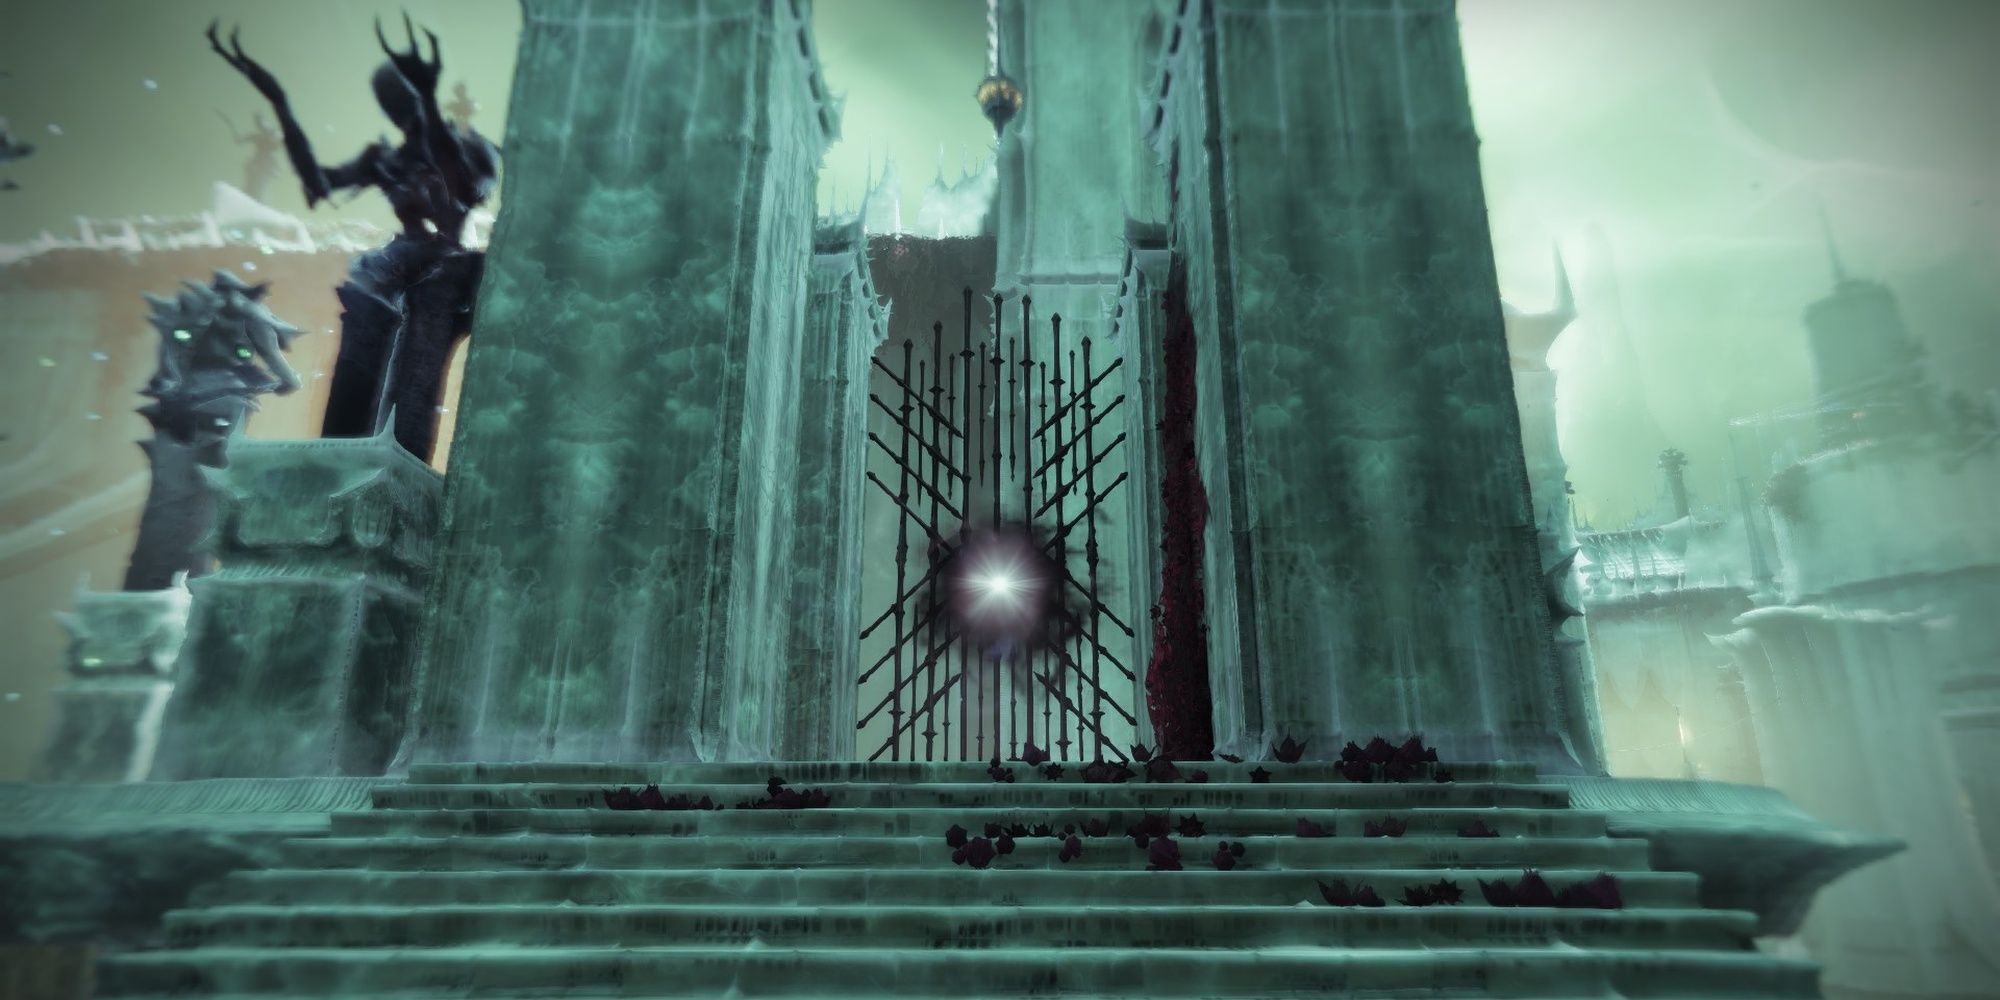
This encounter is a nightmare when it starts. Immediately Super the pack of enemies that spawn at the beginning. Find some cover afterward, using your weapons and abilities to pick off the enemies at the other end of the arena. One of the Hive Knights will drop a Sword when slain. Use it to open the entrance to the building.
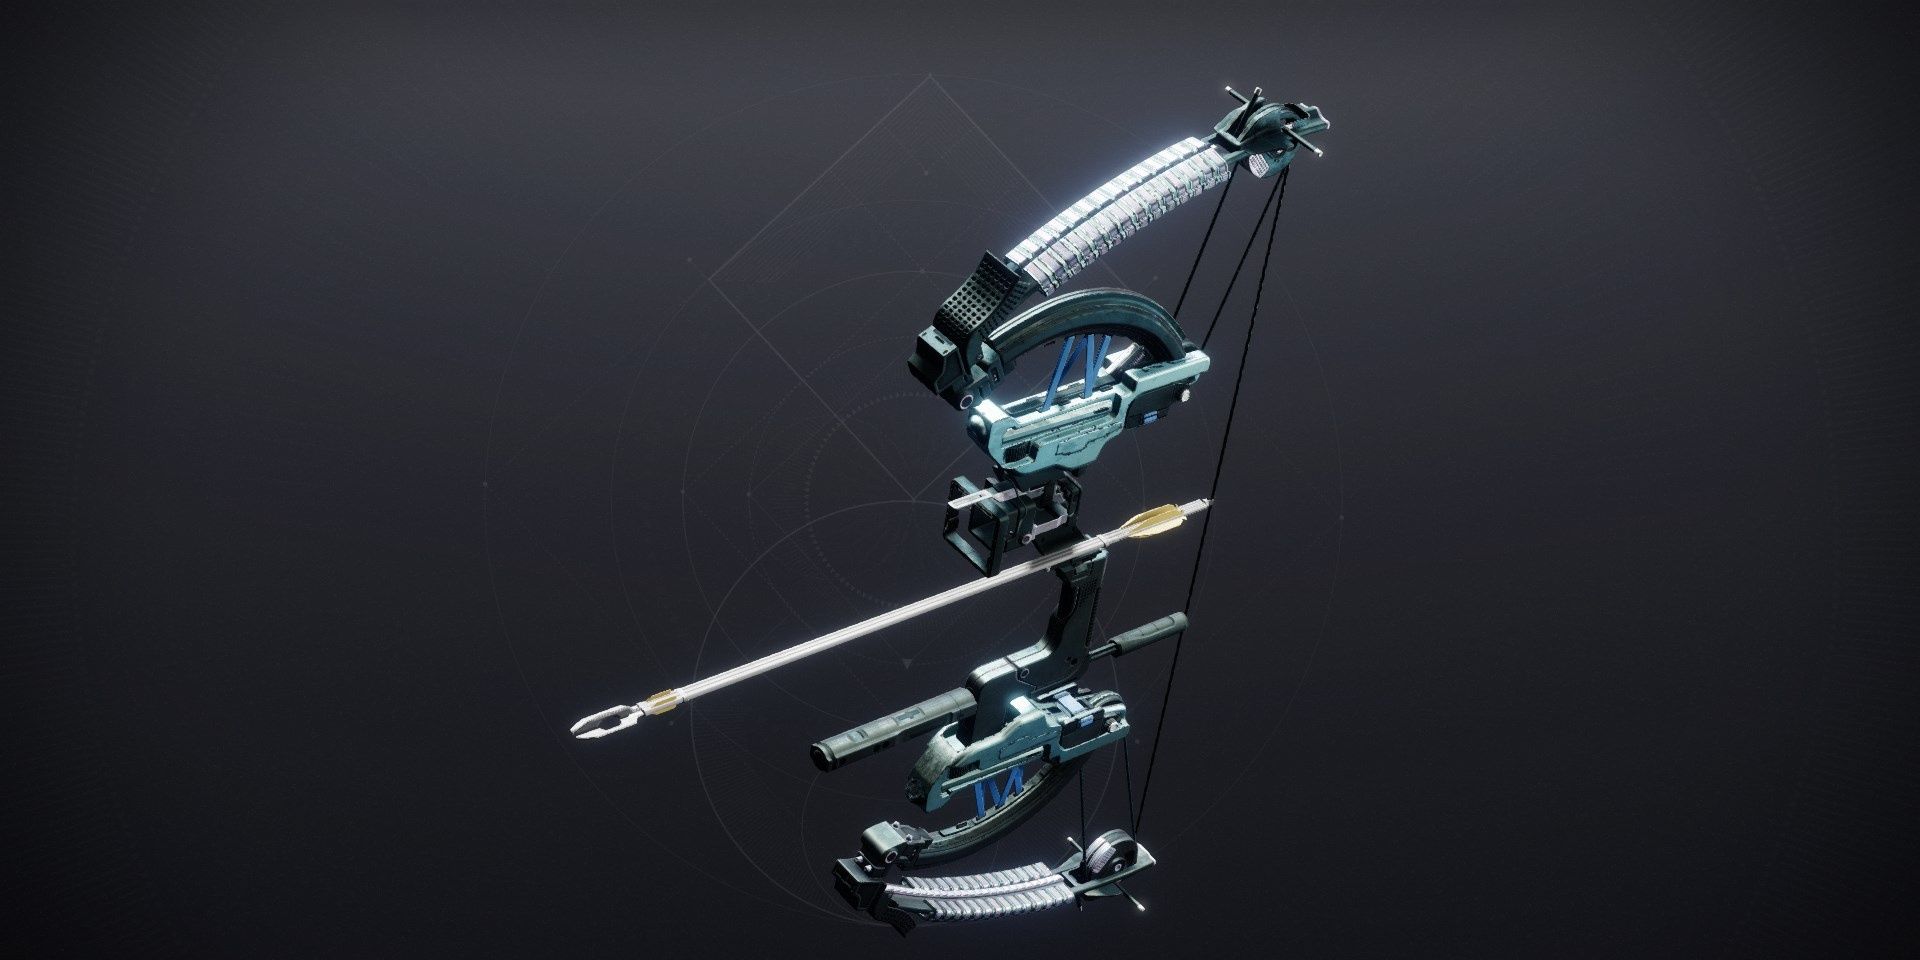
Inside will be a small army of Hive units, one of which is a Lucent Lightbearer. This unit is a Hunter that uses a Blade Barrage Super. Whenever it casts its Super, find some cover behind the nearby pillars. Beyond that, you'll need to deal with a ton of Acolytes and Knights, nothing too deadly. Stick back and take them out with your Bow. Master difficulty has a Barrier Knight in this room, but you can take it out from the entrance with little issue. Be sure to crush the Lightbearer's Ghost when you can.
Break The Locks Outside The Apothecary
|
Encounter Breakdown |
|
|---|---|
|
Objective |
Break the locks outside the building with Hive Swords. |
|
Notable Enemies |
Hive Ogres, Knights, Wizards |
|
Shields |
Legendary: Arc, Solar |
|
Master: Arc, Solar |
|
|
Champions (Master Only) |
Barrier and Unstoppable |
This is arguably the most tedious encounter in this level. You'll need to destroy two locks dotted on the platform just outside the Apothecary building. Similar to the Deepsight Orbs from earlier, you'll need to grab Hive Swords from slain Knights to break the gunk off of these locks. Each lock is located at each end of the platform.
You'll start the encounter fighting a Knight, Wizard, and some Acolytes. If the Knight doesn't immediately spawn, you'll need to kill the adds and push towards the Apothecary bridge to spawn it. When it spawns, immediately backtrack to kill the Knight and take its Sword. Use that Sword to break the Hive lock on that side. You'll then need to run to the other end of the platform to kill a second Knight and break that lock.
Be careful doing this. An Ogre spawns every time you break a lock, and the lack of cover makes dealing with them quite difficult. The Ogre is Unstoppable on Master, so keep that in mind. A Lucent Lightbearer (Titan variant) also spawns near the middle of the arena during this part. We recommend killing the Ogre first, then dealing with the Lightbearer. You'll need some cover, invisibility, or a copious amount of damage resistance to safely crush the Lightbearer's Ghost for this part. You can also try killing the Wizard here, but you'll need to dump most of your Heavy into it. It's best to do so later.
The other end of the platform has multiple Knights and Acolytes, one Knight being a Barrier Champion on Master. Kill the Knights, grab the Sword, break the lock, then deal with the Ogre (Unstoppable on Master) that spawns. You can now kill the Wizard near the Apothecary bridge. Once that Wizard is dead, make your way inside the building. But be sure it's safe before doing so; you can easily die during this part.
Locate Savathun's Right Hand
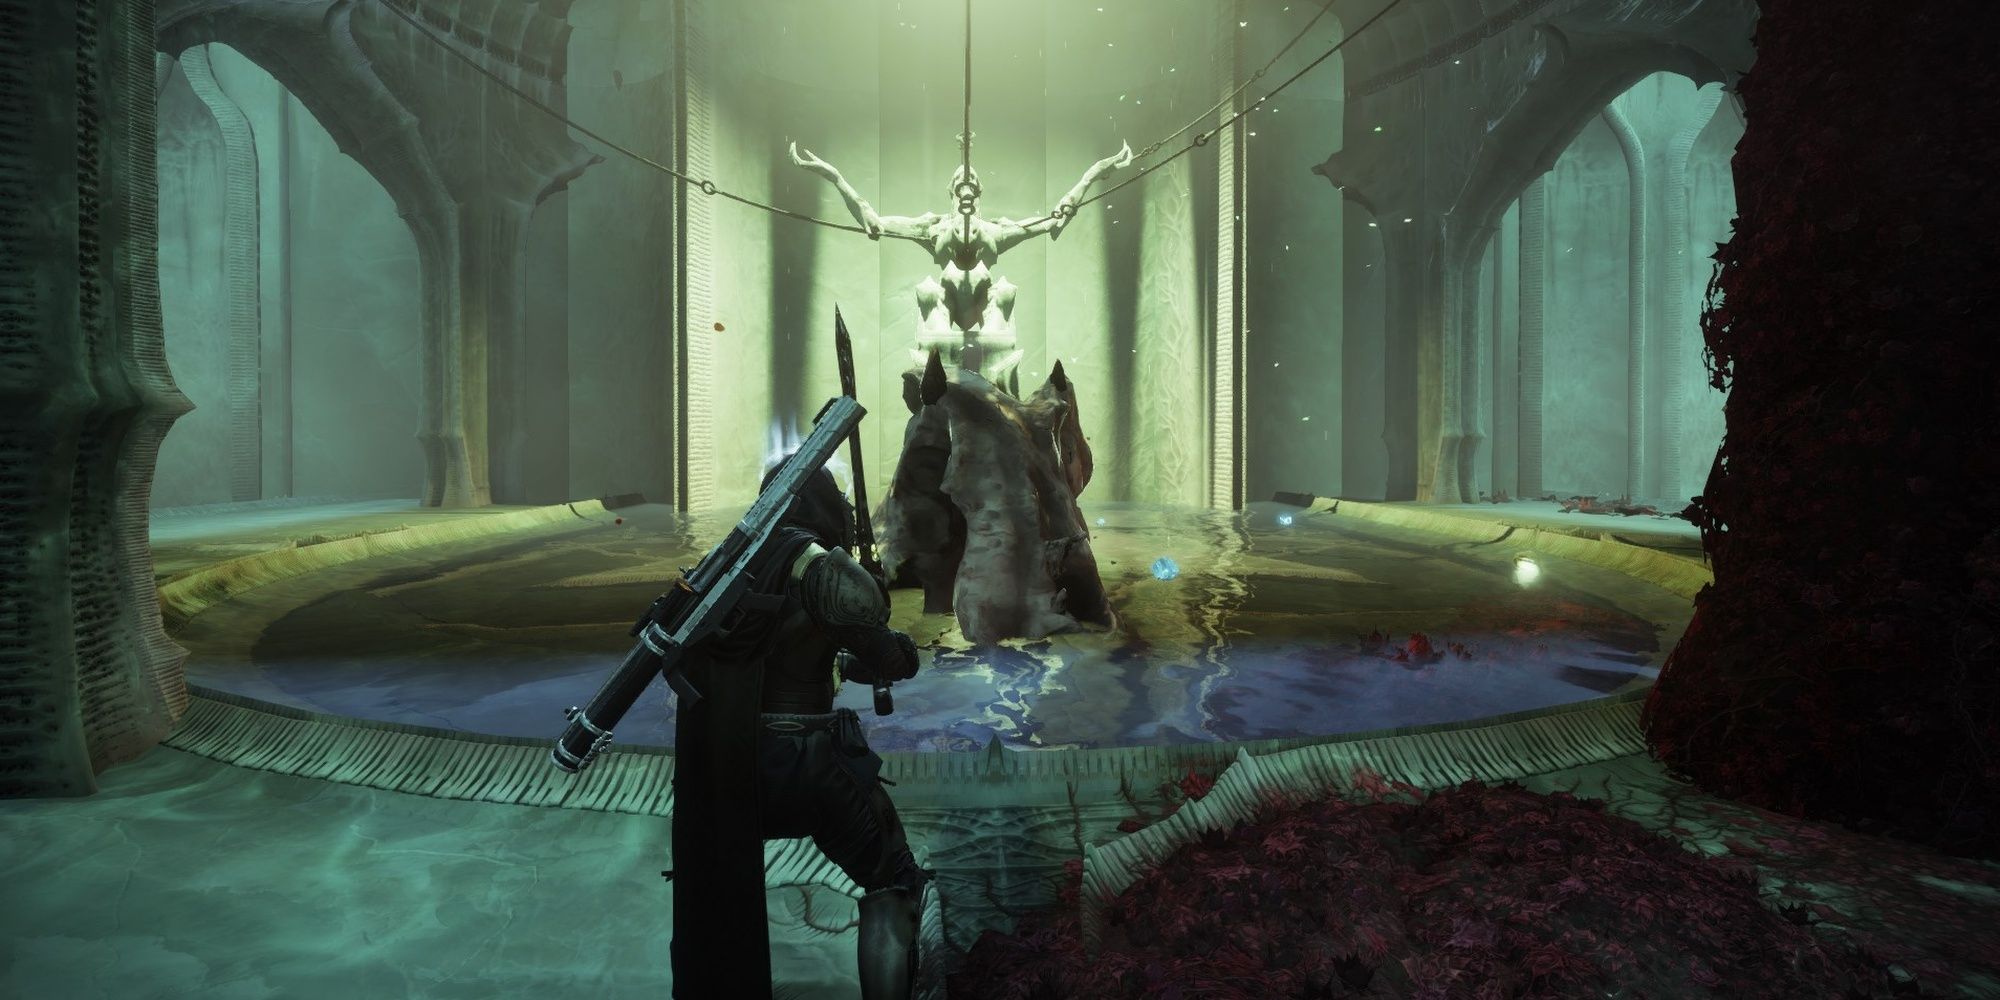
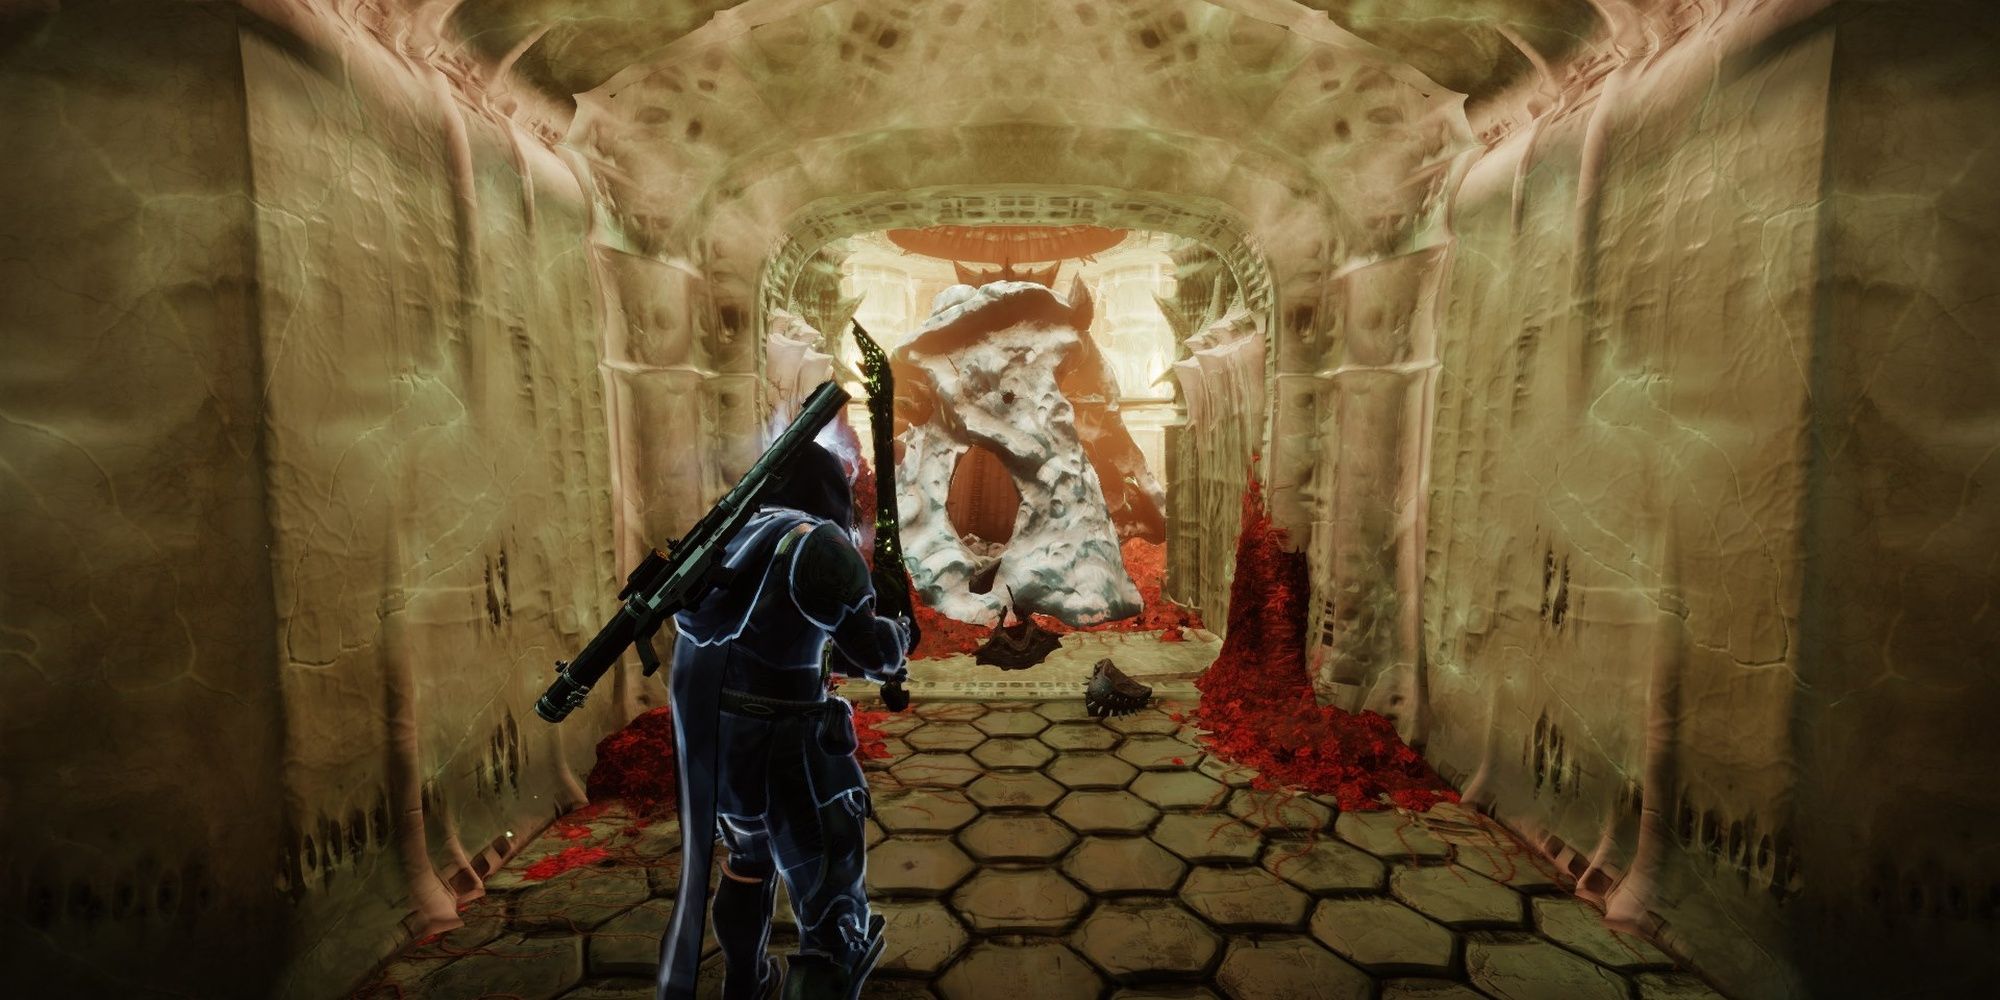
The Apothecary section of this mission is divided into three floors. Each floor requires you to kill a Hive Knight, grab its Sword, and then destroy a Hive lock on that floor. You'll find yourself on the first floor when entering the building. Run up the ramp to your right to find the first pack of Hive. Two Knights—one of which is a Barrier Champion on Master—will guard the entrance. Kill them, then make your way up the corridor. You'll find some Acolytes and an Ogre—Unstoppable on Master—but they shouldn't pose much of a threat.
You'll find the Hive Knight at the very back of the following room. Kill the Acolytes first to give yourself some breathing room, then kill the Knight. Immediately turn around to where you came from and deal with the new pack of adds. On Master, an Unstoppable Ogre will spawn as well, so be sure to have your Unstoppable counter ready. Grab the Sword when you're done to break the lock right outside the room. Climb up the Deepsight platforms to reach the next floor.
Dealing with the second floor is slightly easier than the last. This room has far more cover and is divided into vertical platforms, making it easier to pick off enemies from safety. Kill the Ogre inside and all fodder enemies. You'll find the Knight at the top-most platform. Kill them and grab the Sword. When you drop down, you'll also want to drop the Sword; a group of enemies in the next room will try to ambush you, one of which being an Unstoppable Ogre on Master. A well-placed grenade or Heavy shot can kill most of them. Grab the Sword when you're done to reveal the path to the last floor.
Defeat Savathun's Right Hand
|
Encounter Breakdown |
|
|---|---|
|
Objective |
Defeat the Lucent Lightbearer and its minions. |
|
Notable Enemies |
Lucent Lightbearer (Titan), Hive Ogres, Wizards, Knights |
|
Shields |
Legendary: Arc, Solar |
|
Master: Arc, Solar |
|
|
Champions (Master Only) |
Barrier and Unstoppable |
In this encounter, you must clear three rooms of Hive enemies and kill two Lightbearers, all of which must be done without dying. There isn't much cover, and you'll be swarmed by enemies. The good news is they all spawn next to one another, so good add-clearing weapons will have a field day here.
Start the encounter by killing the Acolytes praying near the exit of the first room. A Lucent Lightbearer (Wizard) will spawn shortly thereafter. Immediately damage the Wizard until it loses 33% of its HP. Use your Super, Heavy, whatever you've got. A large group of Hive units will spawn beside the Wizard shortly after it spawns. Backtrack to the other side of the room when this happens. Tons of Knights and Acolytes will attempt to charge you. Make good use of your abilities to keep them at bay. An Unstoppable Ogre also spawns on Master. Kill the enemies, grab the Sword, and break the lock to the adjacent room.
The next room will be guarded by two Hive Knights. Killing them will spawn the Wizard again. It'll try to use its Super and kill you this time, so immediately burn the Wizard to 33% of its HP. If you don't you'll quickly die to its Stormtrance Super or Storm Grenades. Once again, a wave of Knights and Acolytes will spawn right as the Wizard spawns. This is the perfect time to use your Super and Heavy weapon to quickly get the room under control. Master features a Barrier Knight in this wave, so have your Anti-Barrier weapon ready. Use the Hive Knight Sword when you're ready to open the third and final room.
A Lucent Lightbearer will be guarding the third and final room, this time a Titan variant. This is the only enemy you'll face when entering the room, so you can take this part slowly. Try to save some Heavy for the next part. If it Supers, immediately find cover or suppress it. Beyond that, it's a straightforward fight. Don't let its shields hit you, and run away from any Suppressor Grenades it throws out.
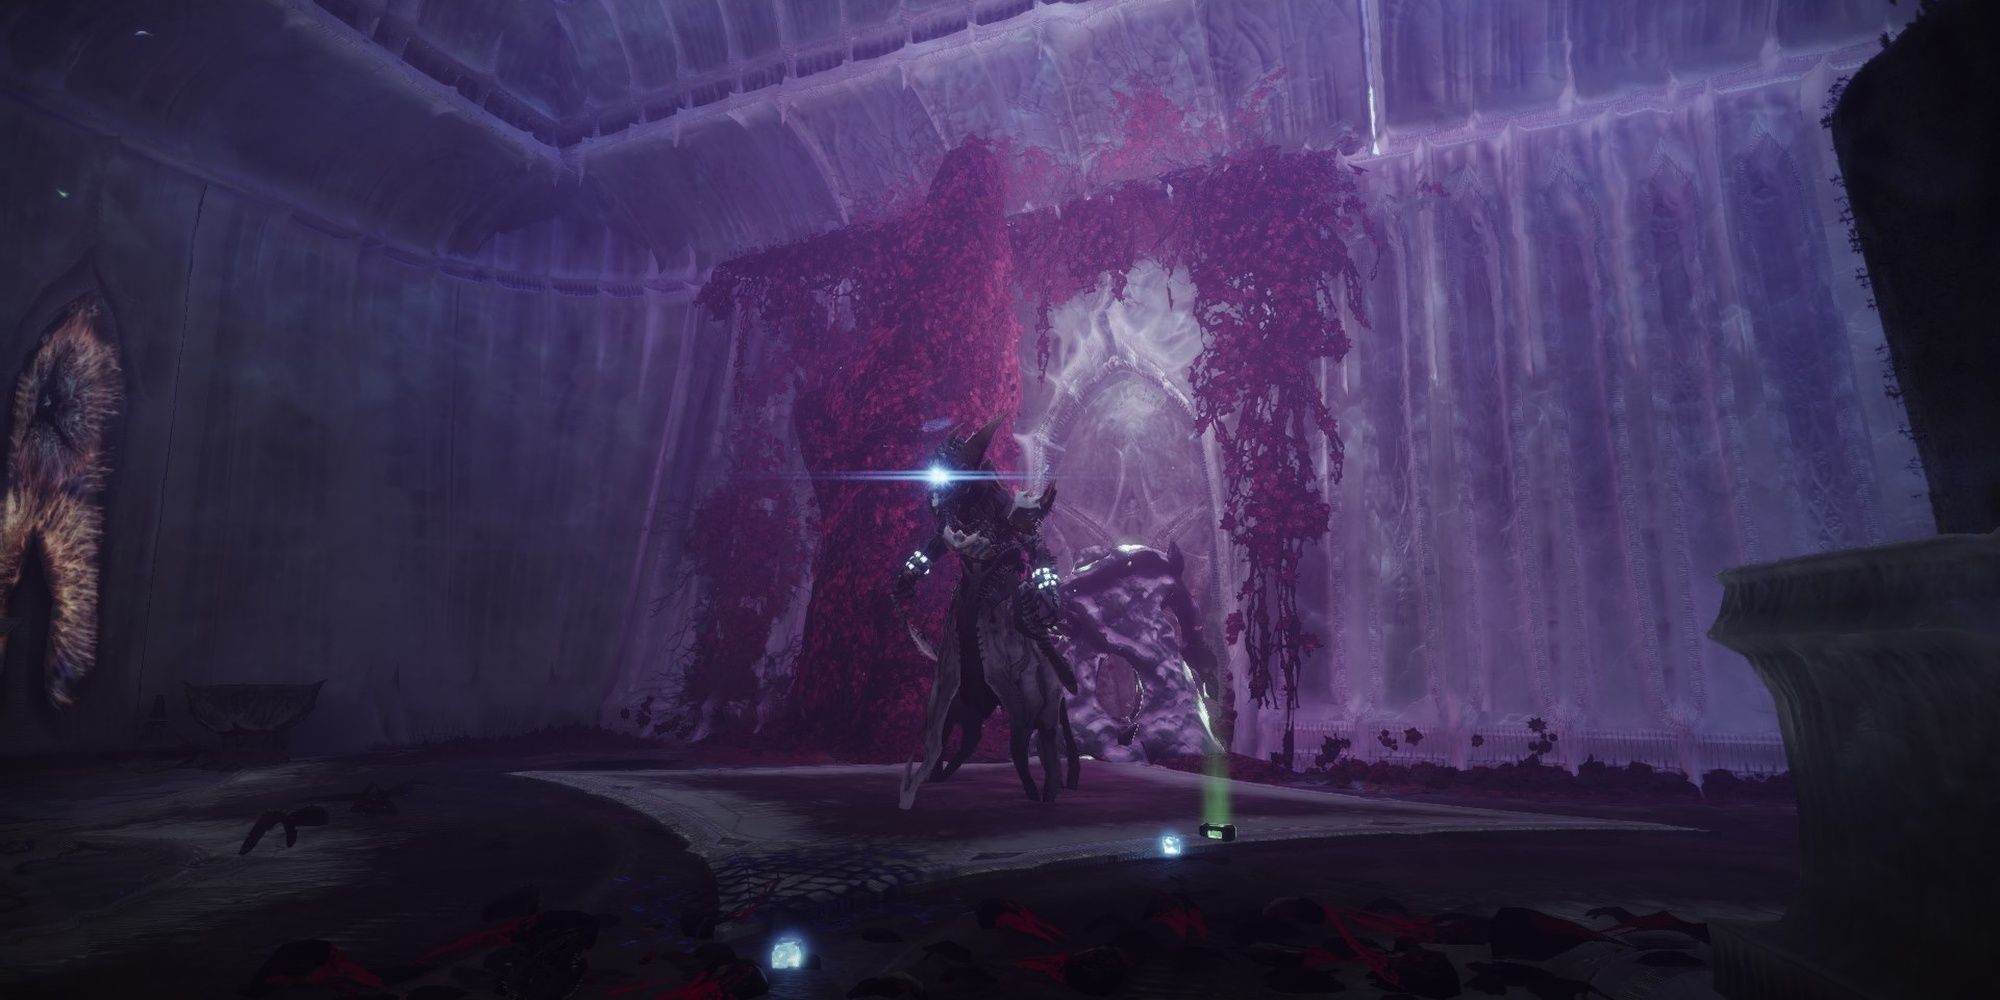
Upon crushing that Knight's Ghost, the Wizard will spawn one last time. You can finally kill it, so use your Super and Heavy to kill the Wizard as fast as you can. The second that Wizard dies, the encounter ends. If you need to play it more defensively, stick to the back of the room as you pick off the Wizard's army of Hive allies. Keep doing this until you can burst down the Wizard. Crush its Ghost, then grab the crystal to finish the mission.

