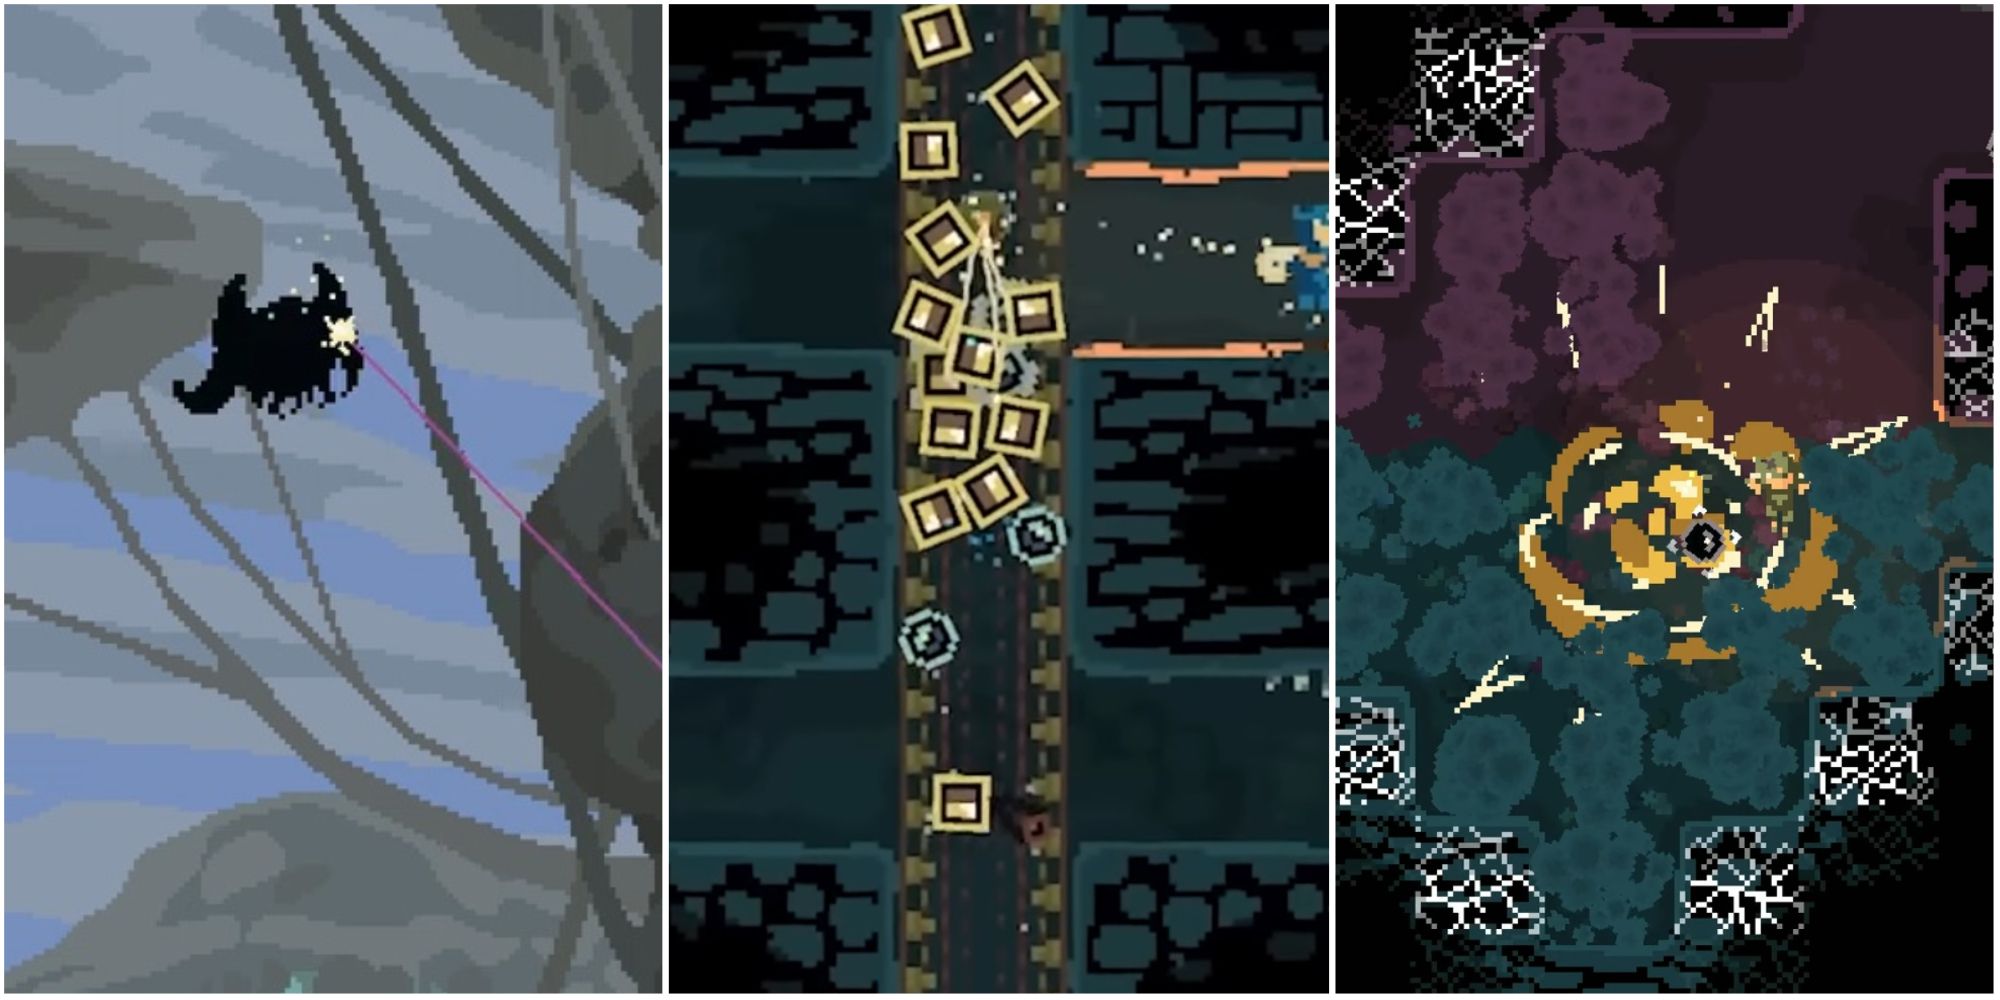
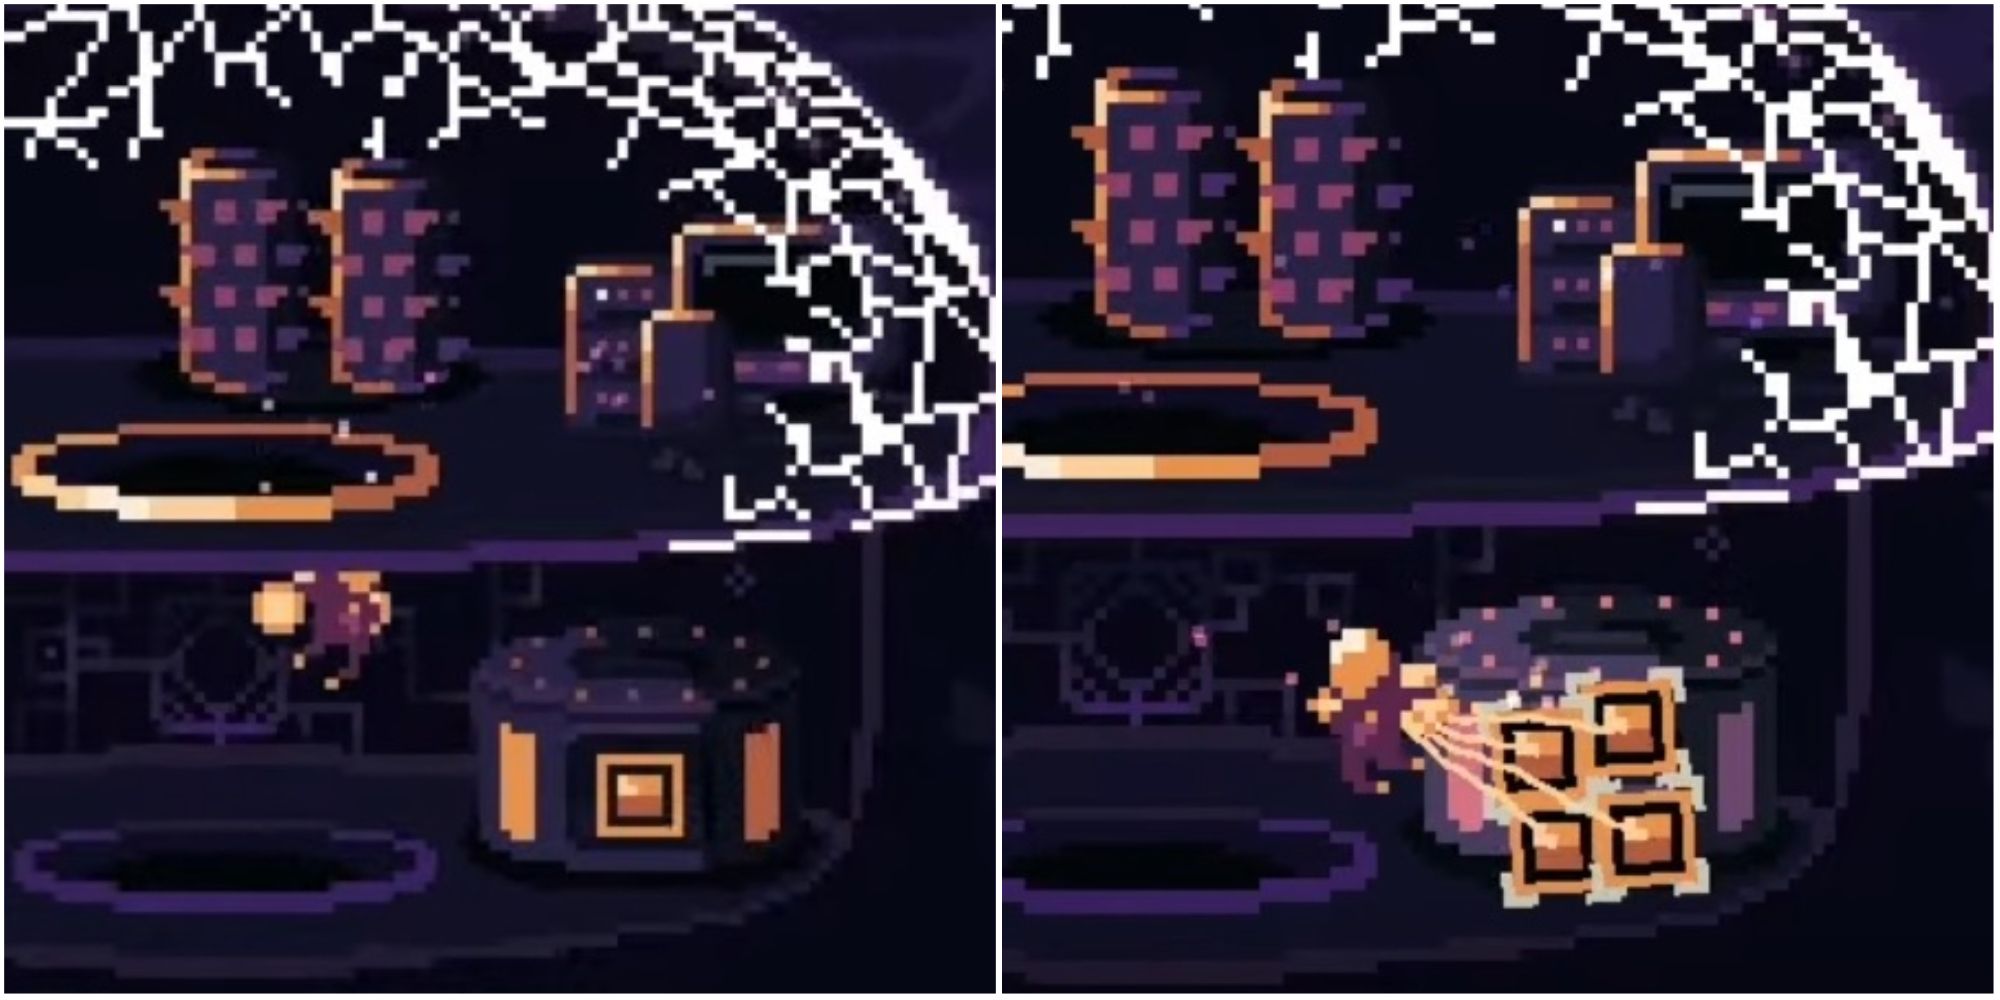
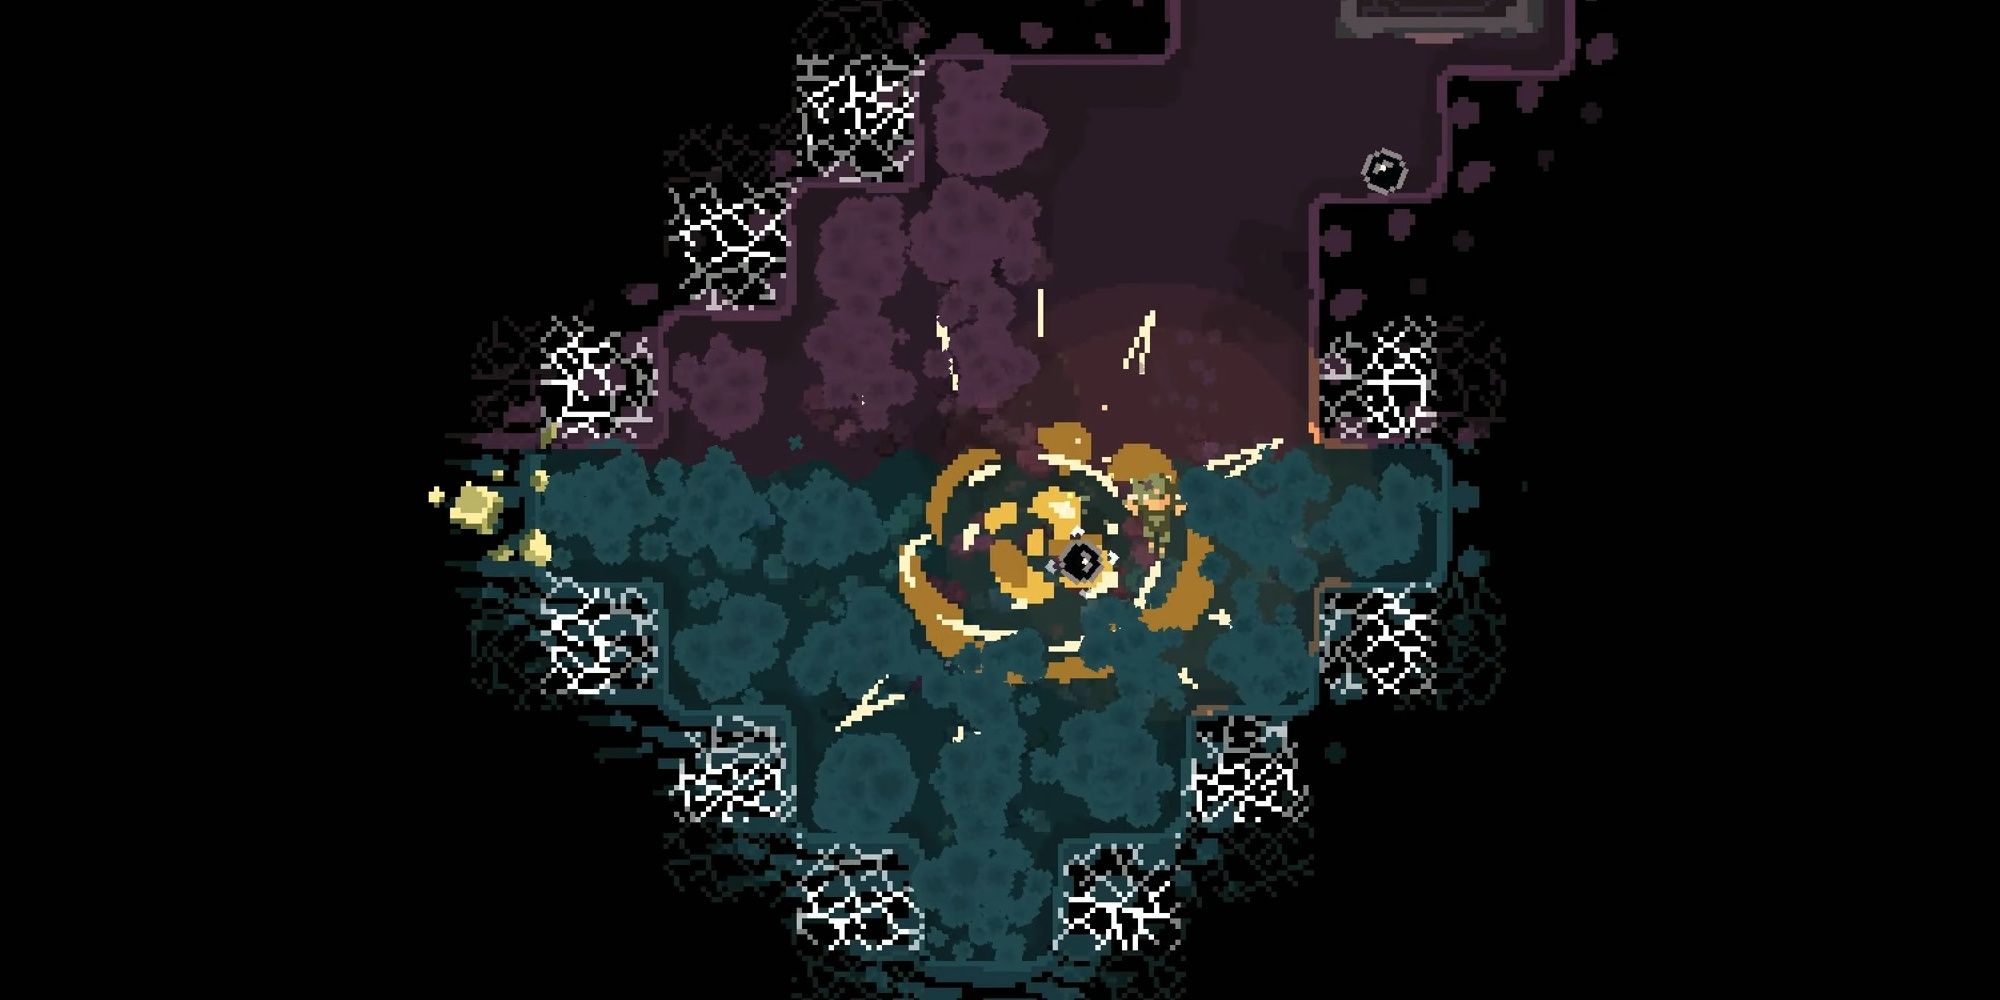
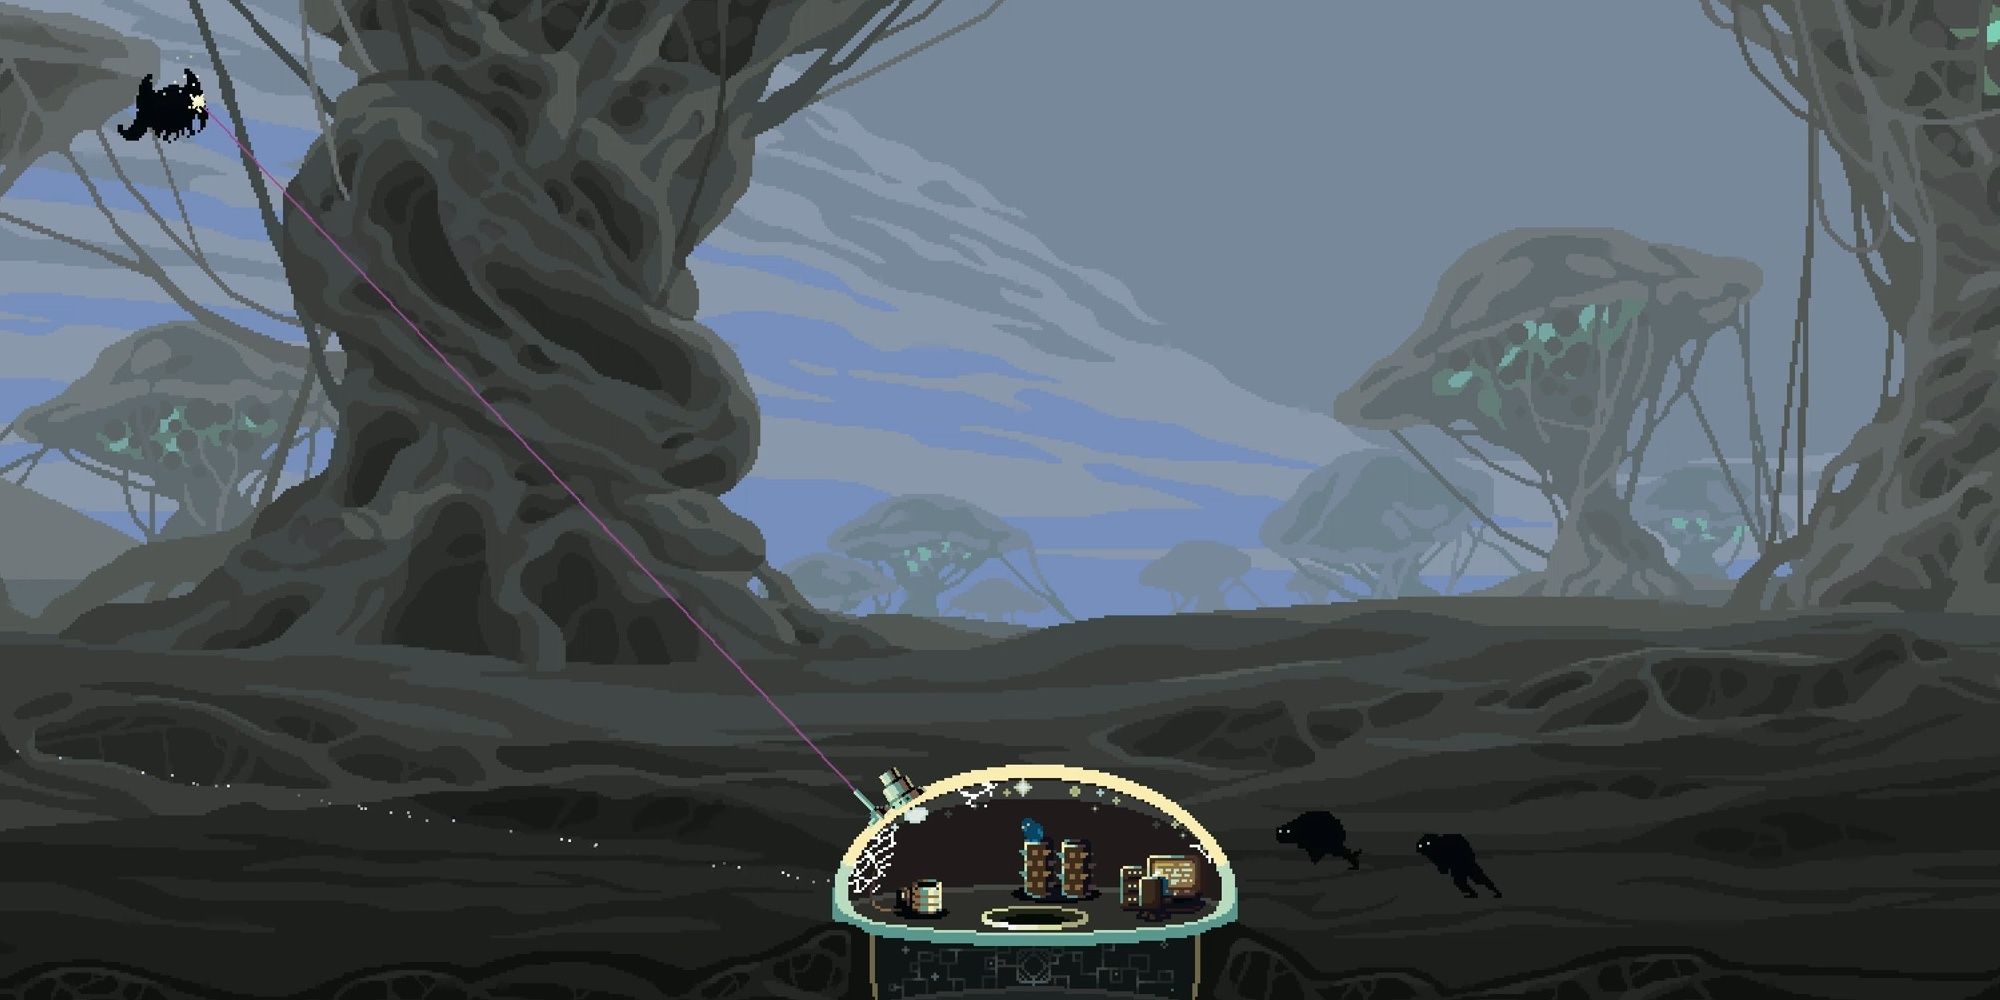
Dome Keeper is an indie roguelike base defense game where you’re tasked with both defending the titular Dome as well as gathering resources so that you can improve your defenses and mining capability, all with the goal of obtaining a Relic hidden somewhere in the level and so you can carry back to your home with you - or gather resources and get off the planet if you’re playing Prestige Mode.
To help you with your task, you have access to nifty gadgets that help you with mining, base defense, or resource management. Three of these gadgets are always available to choose from at the start of the run: the Shield, Repellant, and Orchard, the rest are found while mining.
Since you can only equip your Dome with so many gadgets, and they’re relatively rare, it’s best to choose the most effective for any given job. It can be hard to tell exactly what each one does and since some of them are just better than the others, here they are, ranked.
11 Orchard
The Orchard seems like such a cool concept: a tree that deposits a fruit that empowers your Keeper while they mine, as well as entangling attacking enemies if you buy the upgrade. Unfortunately, the fruit takes too long to spawn, the effects don't last nearly long enough, and they’re not even strong enough to supplant just upgrading your mining and speed stats.
Its combat ability isn’t very useful either, since it doesn’t snare many enemies, and the ability to explode them is less spectacular than it sounds. It also does nothing against aerial enemies. You’re better off picking the Shield or Repellant at the start of a run.
10 Condenser
The Condenser produces Water slowly - faster if you upgrade it - but doesn’t do much else. It doesn’t really need to, but its usefulness is largely up to RNG, since no matter how fast it actually produces water, it’s not going to be useful if you already find a well of water while mining. Of course, it’s a lifesaver if you find yourself short of water on a run, but with such a slow production time, it won't really save you if you’re truly unlucky.
It does have a neat function where it can overcharge your starting gadget if you’ve unlocked that function in the related gadget already, meaning that you’ll get the associated effect without having to think about it. Unfortunately, it’s a rather pricey upgrade.
9 Resource Converter
Like the Condenser, the Resource Converter’s effectiveness is inversely proportional to how bountiful the mines are. It’s a little more flexible since it can produce different kinds of resources, provided you’re willing to exchange another resource.
This Gadget is ultimately more useful, even if the exchange rates aren’t great, since you can also upgrade it to multiply your Iron supply. Iron, while plentiful, is also used in almost every upgrade, so you can never have too much.
8 Probe
Though the best way to get resources and explore the mine is to do a Minecraft-style strip mine - basically to dig straight down under the Dome and then branch to the left and right every two blocks - the second best and most immediate way to get resources is to just go where the Probe tells you.
When activated, the Probe sends out a ping that will briefly mark nearby resources. It’s a simple of then digging your way to them. It’s a pretty easy-to-use Gadget that doesn’t really require upgrading to remain useful.
7 Drillbert
You can set this cute little drill-nosed fella to drill blocks in a set horizontal direction, which he’ll do until he gets tuckered out and falls asleep - or if an alien wave starts, which will put him to sleep.
Even with upgrades, Drillbert is seldom more effective than you at breaking blocks, especially if you keep up with the Drill upgrades, but he’s still pretty useful. You can have him drill a different part of the mine, so you cover more ground, or you can bring him with you to double-team tough blocks. Go far enough in his upgrade tree, and you even get his brother Drilliam to really bust some rocks and cover even more ground.
6 Shield
The base starting Gadget you get on your very first run, the Shield is a reliable workhorse that doesn’t really stand out, embodying the very definition of ‘mid’. It’s easy to use, being always active whenever an alien wave starts, taking damage for your Dome until depleted.
Its upgrades are pretty standard: more durability, and the ability to overcharge it for a short burst of extra durability at the cost of one Water. It has one neat trick, if you invest in the upgrade: it can also be electrified briefly, once per wave, dealing damage to melee enemies and stunning them. This functionality is particularly useful if you have a Sword Dome, since it will buy you time to engage enemies in close combat.
5 Teleporter
The Teleporter is exactly what it says on the tin, allowing you to teleport between two points. The one at the Dome is fixed and the other one, you bring into the mines and deposit where you please.
There’s a delay between uses and some travel time, but it’s still faster than flying, for the most part. However, because of how it’s designed, it’s easy to accidentally teleport back and forth when attempting to move the Teleporter, which wastes a lot of time.
An alternate and arguably better use for the Teleporter is to get the upgrade that removes its return function in favor of instead teleporting nearby resources back home, while still retaining the ability to teleport out of the Dome.
4 Blast Mining
If you’d rather blow out a cavern than meticulously mine, then you should get Blast mining. Occasionally, it will spawn a bomb in your base that you can bring into the mines and set off, clearing out blocks in a certain radius regardless of how tough there are and leaving behind any resources excavated in the process.
Simple as it is spectacular, you can upgrade it to spawn bombs more often, have a bigger blast radius, explode on impact instead of on a timer, and even spawn three smaller bombs instead of one big one.
3 Stun Laser
The only Dome defense tool that isn’t one of the starting Gadgets, the Stun Laser is useful for helping you juggle enemy waves and does a good job of keeping you from being overwhelmed.
The laser also does (admittedly very little) damage, but it has a much stronger stun effect than the Laser Dome. It’s particularly good at handling the little popper enemies, since it kills them quickly without using too much power. The Stun Laser is definitely worth upgrading, right behind your main weapon, since it can be a lifesaver - especially late in a run.
2 Lift
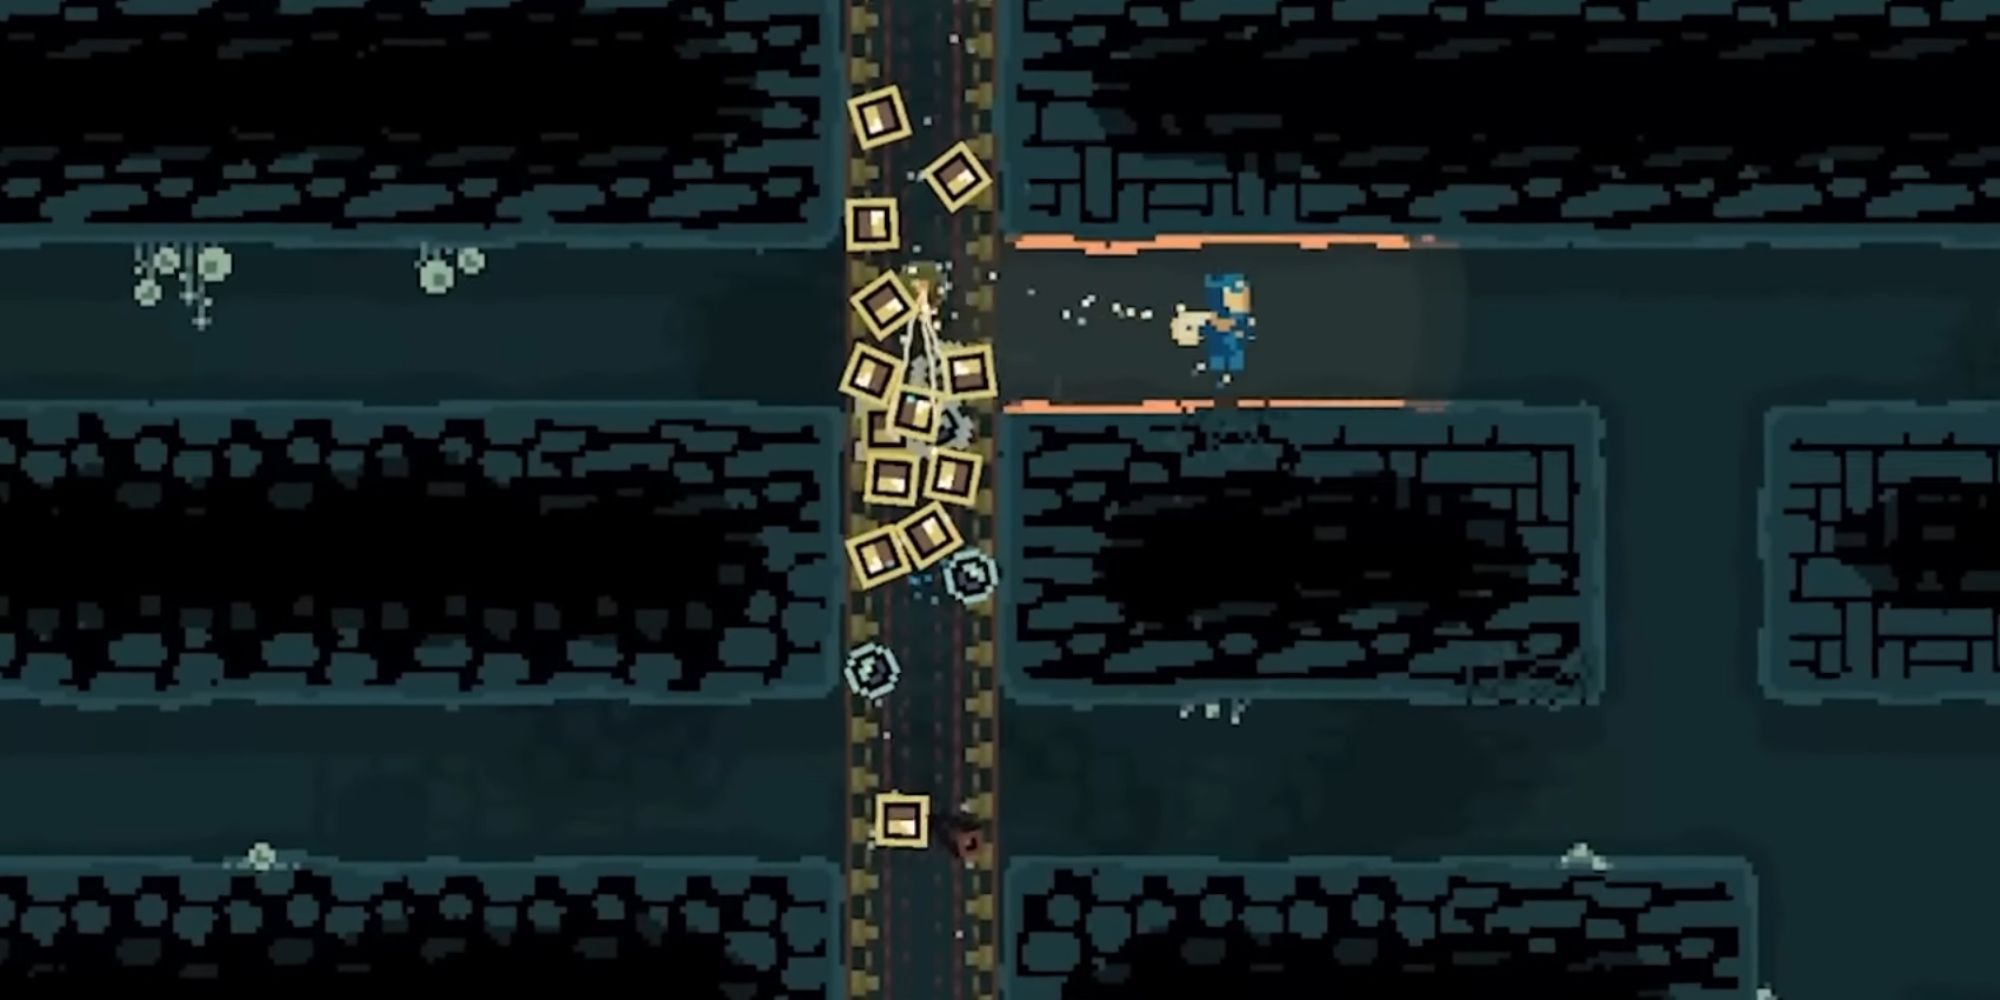
The Lift emits a beam directly underneath your Dome, straight down until it hits a block. This beam suspends all resources left in it. Two orbs slowly travel the length of the beam, collecting up to three resources on the return trip to the Dome.
It may not be flashy, but the Lift is arguably one of the most valuable mining Gadgets in the game, since it makes mining far more efficient. Especially if you invest in some upgrades, like the ones that make you move much faster when traveling up the beam, add extra orbs, and allow them to carry more resources.
1 Repellent
The Repellent does a lot, and what it does, it does well, which is why it’s the best Gadget in the game. Its base functionality is to occasionally delay the alien wave, buying you time in the mines. At its base form, it can do this about once every other wave, giving you a good chunk of time. You can upgrade the Repellent to trigger more often and for a longer time.
On top of its already potent main functionality, it has one of the best combat abilities in the game as well. Its default allows you to release a slowing mist that gives you plenty of time to prioritize and then vaporize your enemies. Later, you can also unlock the ability to deal direct percentage damage to enemies, instead of slowing. The best part is, if you upgrade that ability tree to the end, the poison mist also deals constant damage to enemies, melting them down in concert with your weaponry.

