Quick Links
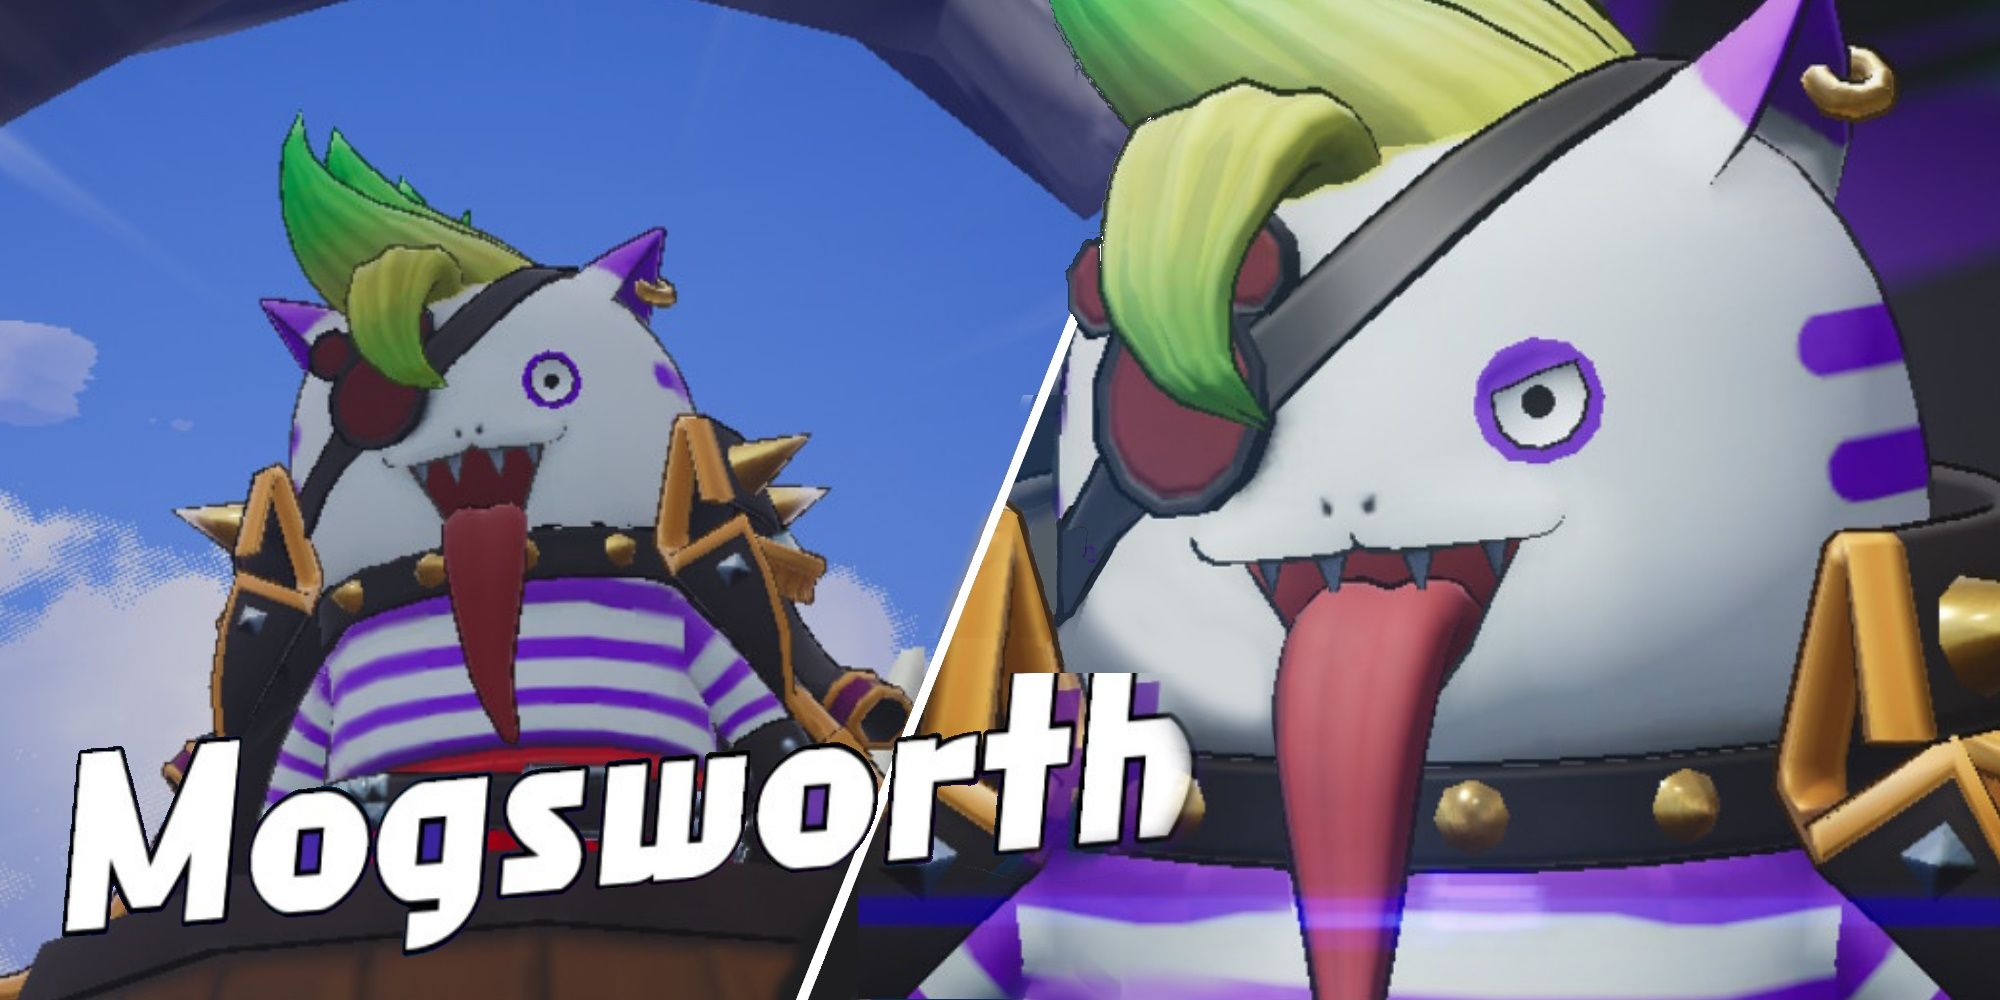
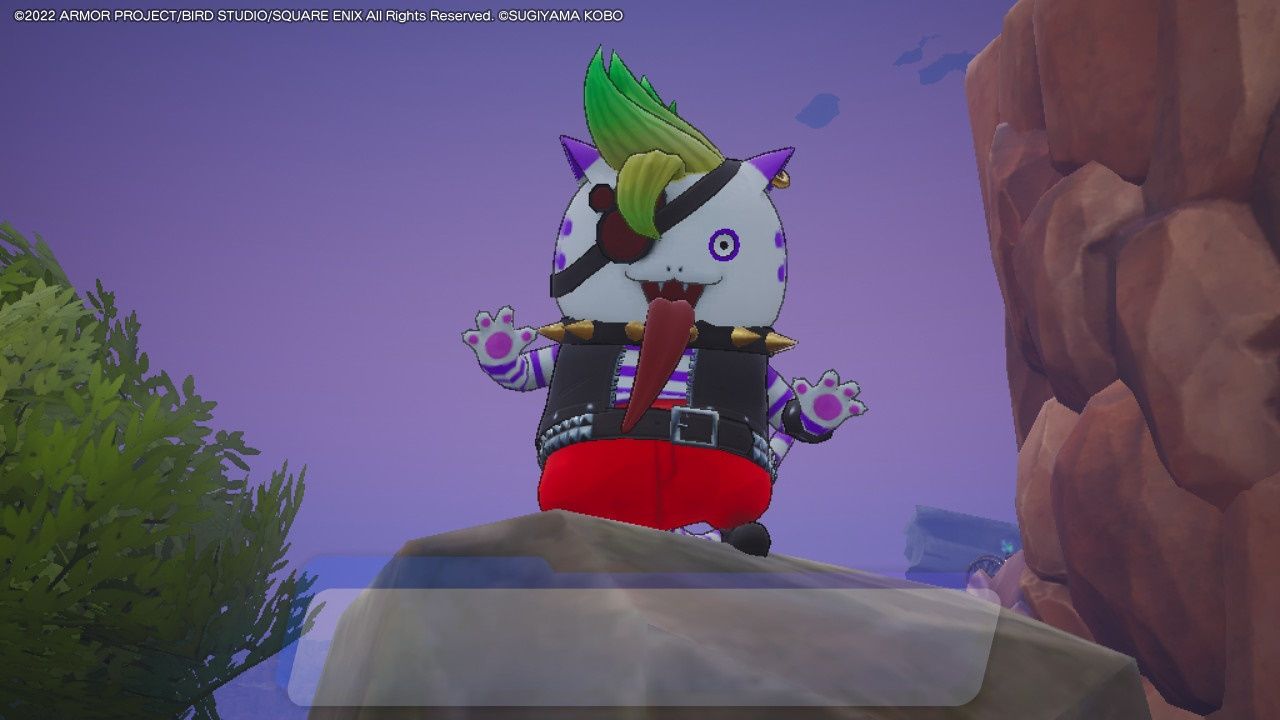
Admiral Mogsworth is one of the first characters you encounter in Dragon Quest Treasures. Not long after he is unceremoniously excommunicated from The Thunderous Plunderers, you will be able to challenge him in a number of treasure-hunting-based quests.
While you will be able rewarded with the typical string of treasures for completing these challenges, but that isn't all you will get. This is one of the few questlines that will actually result in you recruiting a character! So, grab your shovel and your plundering bag, because we have some treasures to unearth.
Find Mogsworth's Treasure Chest
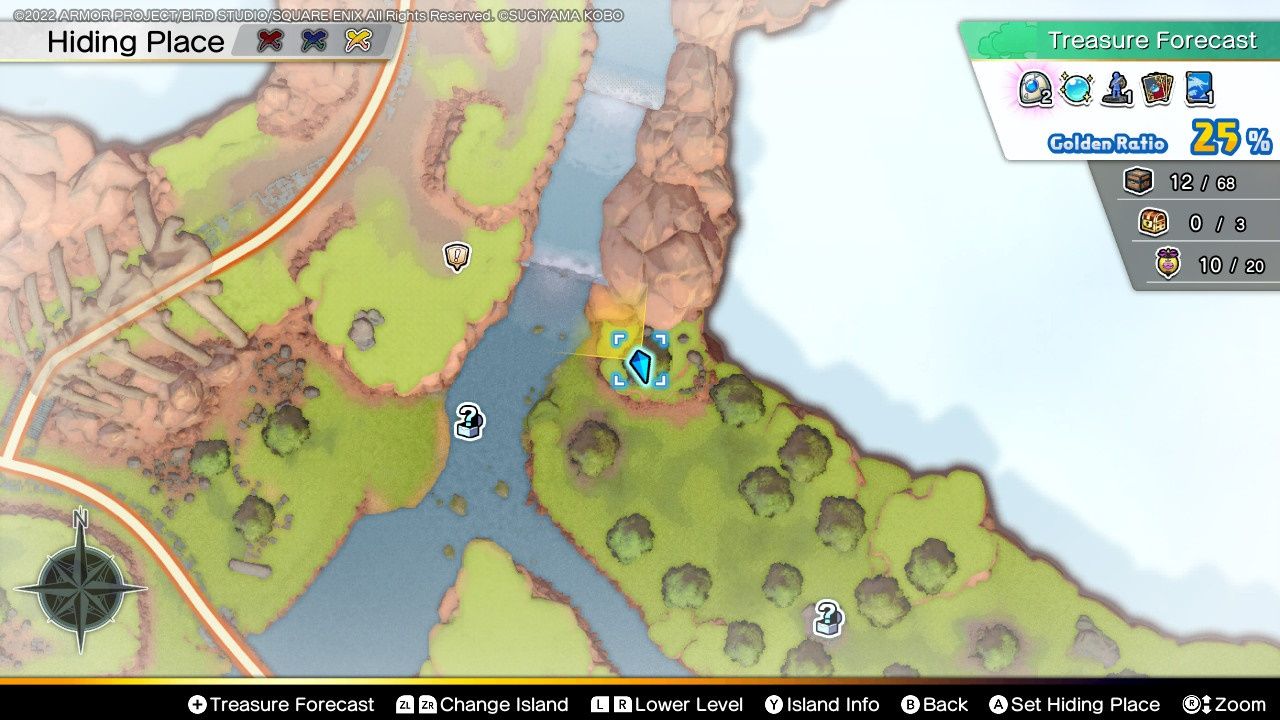
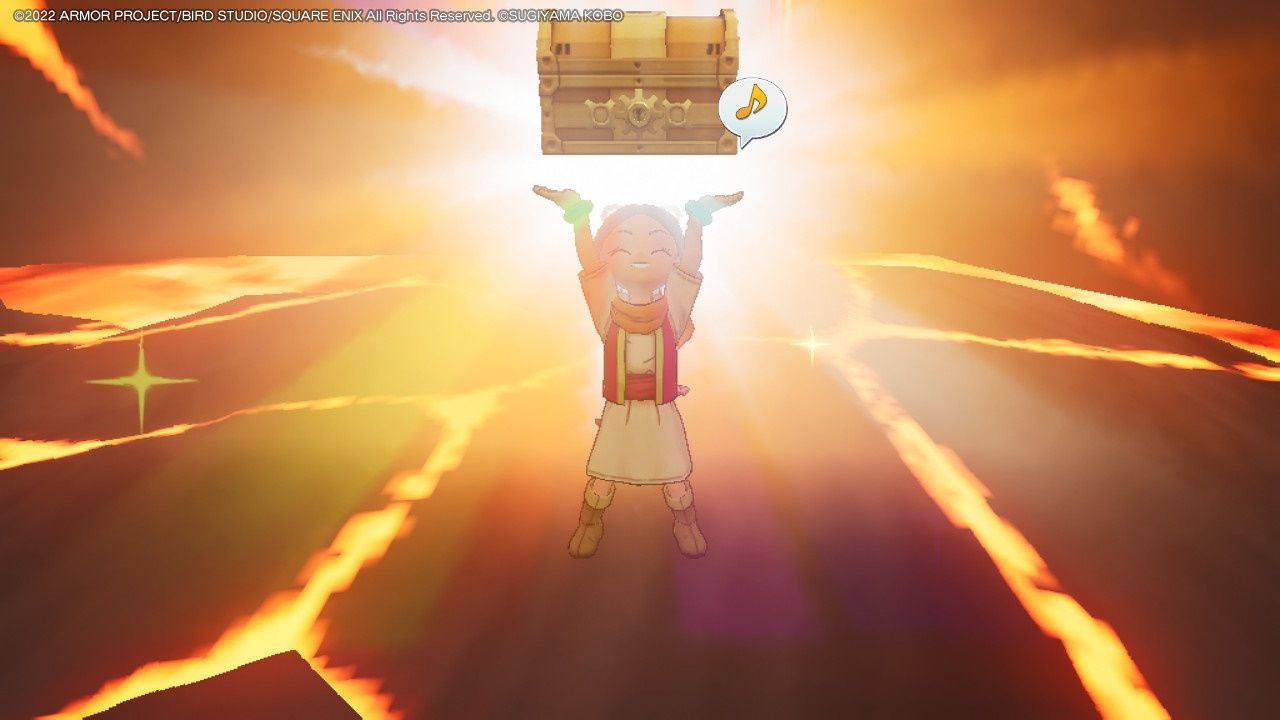
This is how you will begin the whole Mogsworth questline. Simply head to the Swoop Swamp Station in the Wingswept Moors. Then, go to the marker north of the station. You'll find a treasure chest basically sitting out in the open. Claim the chest and Mogsworth will appear. This will conclude the quest, and you will be rewarded with the Pirate's Provisions and a Chimaera Wing.
When you open the chest, you will get the Admiral's Platter. You are better off not using this, as it will be a requirement for something later on in the questline.
The Hunt Is On! Part 1
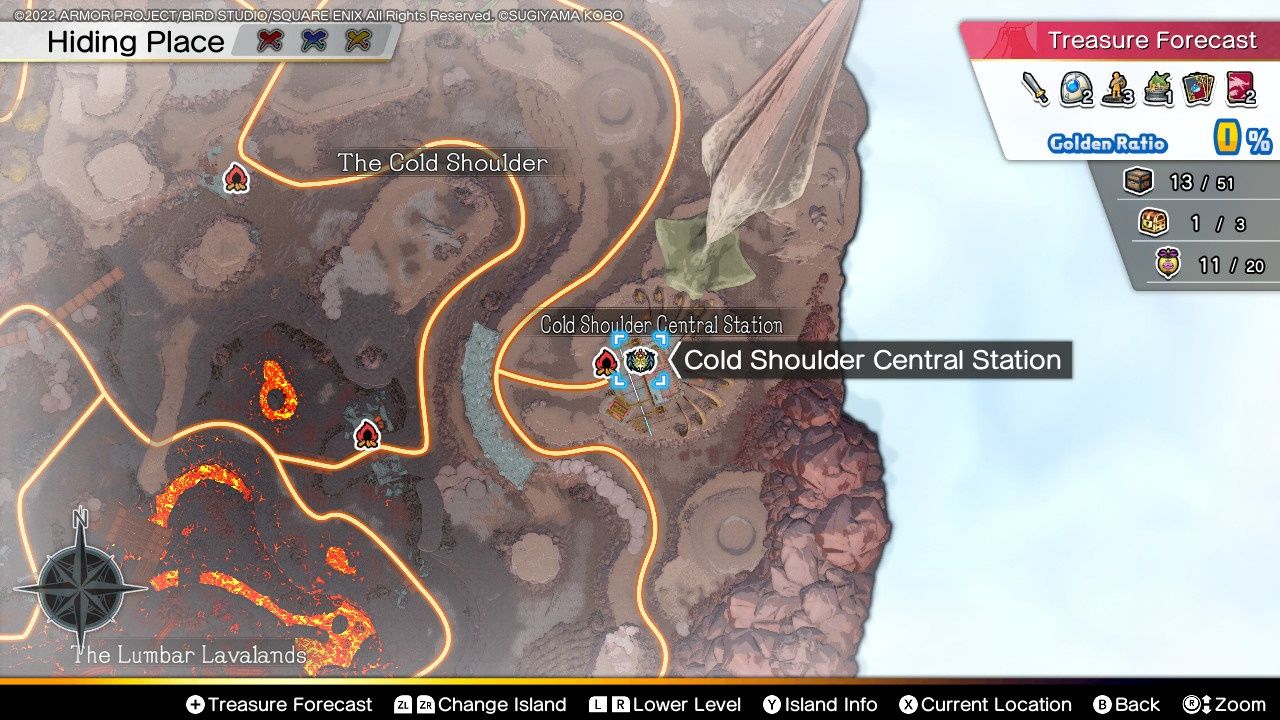
Talk to Mogsworth at the Cinderback Ridge at the Cold Shoulder Central Station and you will "Accept Mogsworth's Challenge". Find a piece of treasure worth one million gold coins. This is not a particularly difficult challenge. Just gather treasures from the surrounding area, and you will easily locate treasures worth a substantial amount more (just focus on getting proper Treasure and not Bric-A-Brac). Head back to your base, get your treasures appraised, and then "Report Back To Mogsworth". You will be rewarded with the Pirates' Tent Model and a Chimaera Wing.
The Hunt Is On! Part 2
The moment you turn in the first part of The Hunt Is On quest, you can then immediately talk to Mogsworth again and begin the second part. You will need to find three mint treasures this time. Once again, this isn't really the most difficult challenge. Just run out into the wild, take some of your beefier monsters who can hold more treasures, and find as many treasures as you can. Make sure your Golden Ratio is high so that you encounter more treasures quicker. Within a trip or two of loading up on treasures, you will surely have acquired three mint treasures. They aren't that rare. You will be rewarded with Mogsworth's Mantle and a Chimaera Wing.
If you are confused about what a "mint" treasure is, that is simply a quality rating your treasures can receive during appraisal. After all your treasures have been individually appraised, the final screen will show you the condition they are all in. If a treasure is mint, this is where the game will tell you.
The Hunt Is On! Part 3
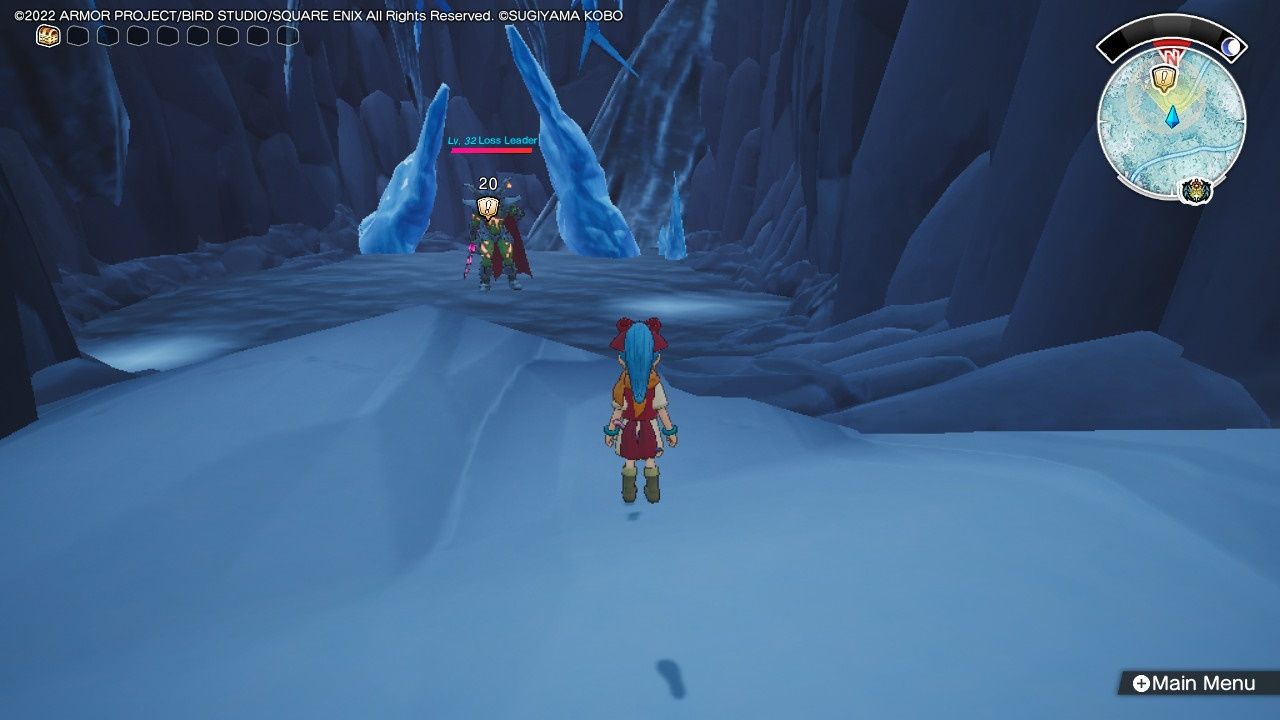
This is the first quest that doesn't require you to just wander around and find random treasures. Instead, you will be chasing down a specific treasure. This will be in the Hinterlands. You will need to face down the Loss Leader here. They can be found at the base of The Bitterbutte in the Hinterquarters. A marker will guide you there, but since this area has multiple levels, it is easy to get a little disoriented. Just always drop down to the lowest level.
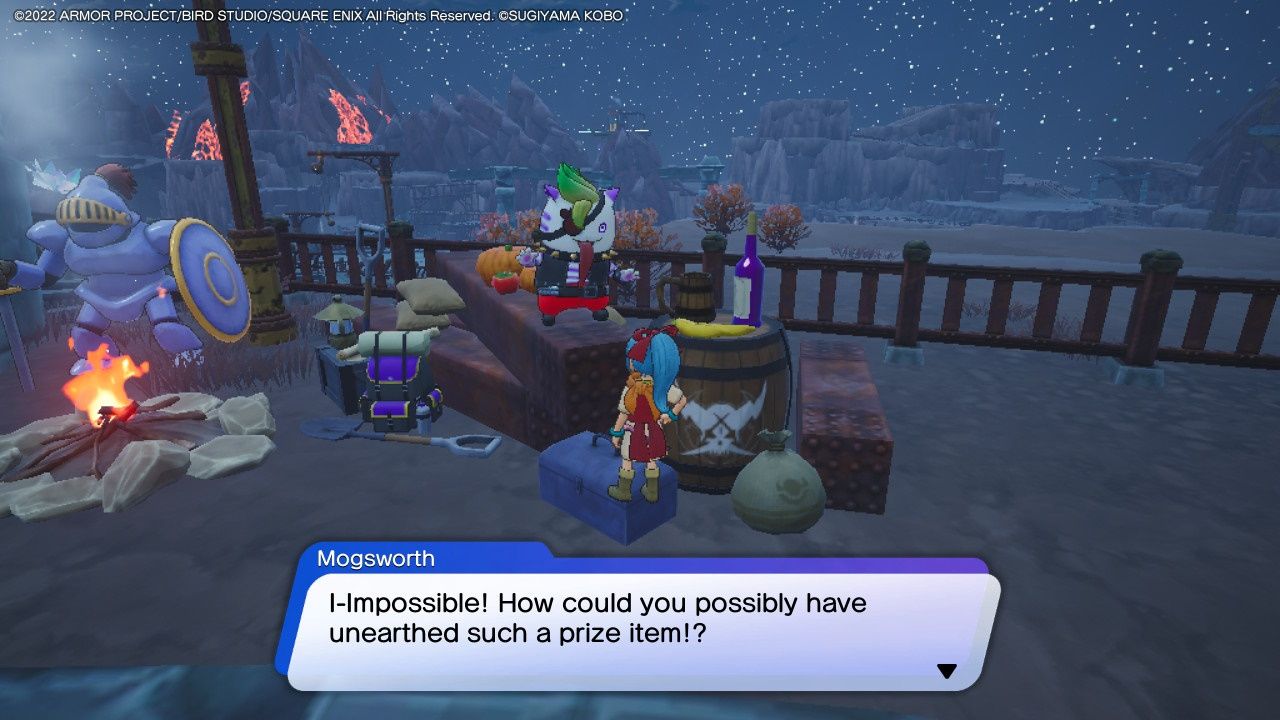
Once you arrive at the checkpoint, you will fight the Loss Leader. They are weak to lightning, so you are going to want to bring Zap bullets. Once you defeat the Loss Leader, Mogsworth will steal the treasure. Meet him back at the Cold Shoulder Central Station. You will be rewarded with a Miniature tree trinket and a Nadirian Sword, and a Chimaera Wing.
The Hunt Is On! Part 4
This one is intriguing, as it tasks you with acquiring crystal treasures that can only be obtained from specific, jewel-based enemies. If you encounter one in the wild, defeat them, and you will be rewarded with a crystalline treasure. While this mission is pretty daunting at first, these jeweled creatures are, thankfully, highly predictable.
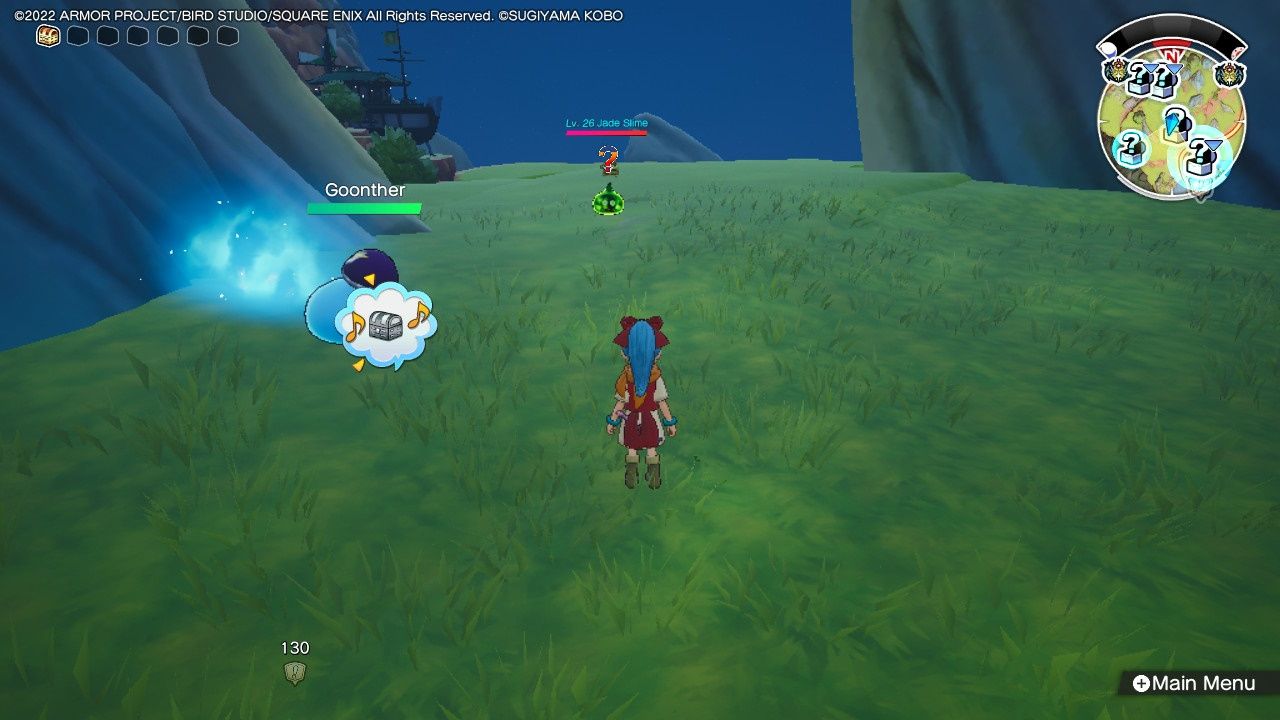
There are three jeweled monsters in the Paternoggin. On the upper-level of the Paternoggin, you can find a Jade Slime. On the lower level there is an Amber Dracky, and a Ruby Golem. The two things you need to know about all of these creatures is that they only appear at night, and they appear in the same location (though randomly). As an example, you can find the Jade Slime on top of the hill that overlooks the section of the Palatial Plains where the Restless Armor roam.
If you come up here at night, you will either see a sleeping Slime, or the Jade Slime. If it is the sleeping Slime, don't wake it. Instead, travel to the east and rest at the campfire until the evening, then return to the Slime. If it is still just the regular Slime sleeping, repeat the campfire step. Sooner or later you will encounter the Jade Slime. You can just farm this Slime for all five treasures.
Once you kill a Jeweled Monster, you will need to leave the island before you will be able to encounter them again.
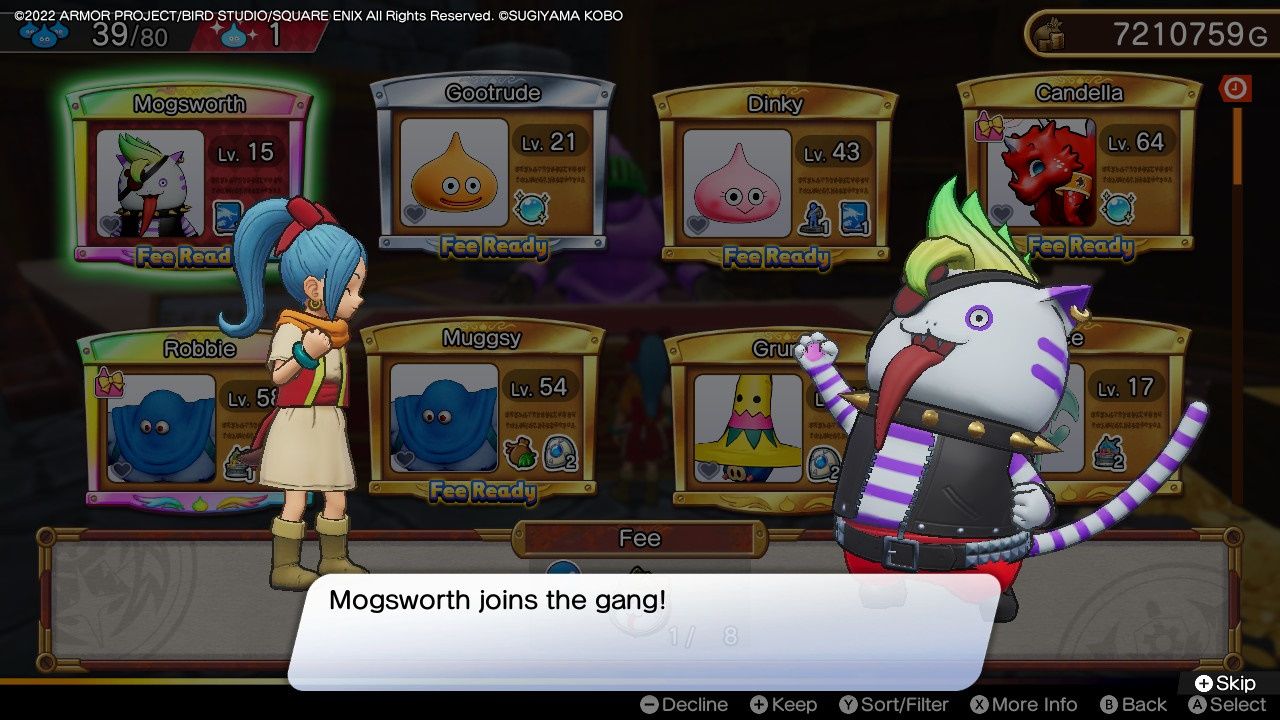
Once you have claimed five crystalline treasures, simply head back to the Cold Shoulder Central Station one more time. Present Mogsworth with the treasures, and you will complete his final quest. You will now be rewarded with an Admiral Mogsworth Statue and a Chimaera Wing. But more importantly, you can head back to your base and recruit Mogsworth! The only requirement for recruiting him is an Admiral's Platter. Which you will be able to cook due to the very first part of this questline!

