Quick Links
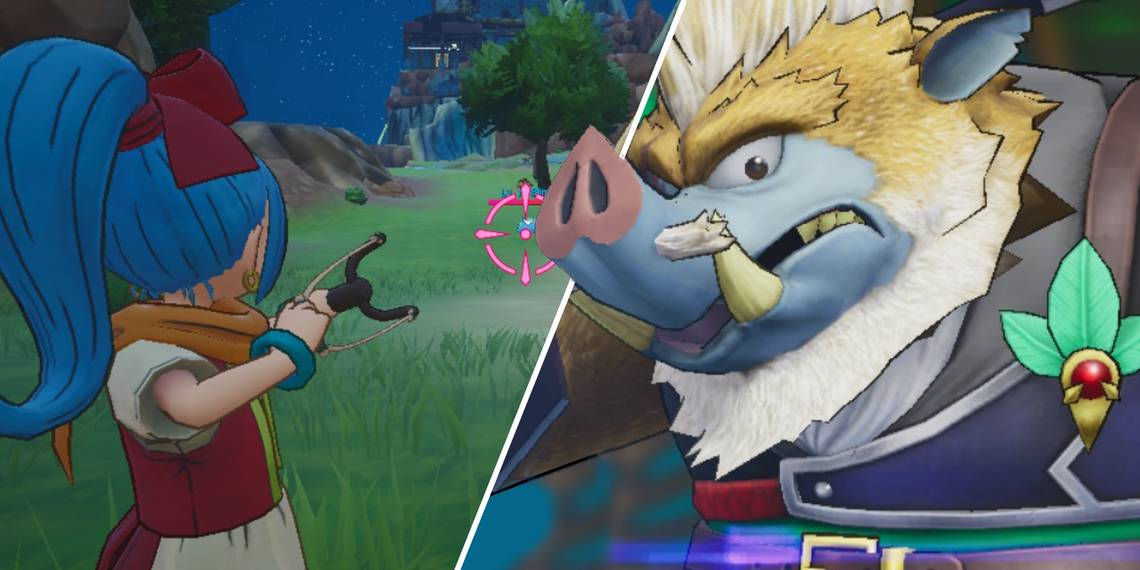
Dragon Quest Treasures is filled with a cast of colorful characters. Captain Levanter is among the first you encounter. He can be found in the Sylphanian Stockade, which is on the southern tip of The Paternoggin, and will provide you with a number of quests.
What do these quests entail? Well, they sorta act as a series of tutorials that gradually increase in difficulty. Forcing you to engage with the game's systems. However, that isn't to say that you can bang these out early, you will be completing this rugged warrior's requests well into the middle-parts of the game.
Updated December 23, 2022: There was clearly a great deal of information that needed adding for some sections of the Levanter quests. Since the initial writing of this guide, many more guides have been written for other quests. Quests that intertwine with this one. So, we have linked them where appropriate.
Where To Find Captain Levanter
From the Snouterhorn Station, you are going to travel south. If you look at your map, you will see that there is a trail that runs across the entirety of it. Follow this trail, and it will lead you directly to the Sylphanian Stockades. Levanter is sitting in front of a tent here just to the right of the entrance.
Training Camp: The Basics

|
Practice issuing orders |
Issue 10 commands to your monsters |
|---|---|
|
Practice using Fortes |
Use 10 Forte abilities |
|
Practice using the catapult |
Fire your catapult 10 times |
This three-part quest couldn't be much easier. Just hammer the up and down buttons on the D-Pad to issue orders. You finish that requirement in a matter of seconds. Similarly, hold the left bumper and cycle between your Fortes to complete the second requirement.
As for the catapult challenge, just leave the camp and shoot some of the basic enemies strutting around this area. This is obviously all very simple, but you want to bang this quest out as quickly as possible. Once you complete this quest you will be rewarded with a Treasure Hunter's Table and a Chimaera Wing.
Training Camp: Intermediate

|
Practice Pinching From Enemies |
Pinch from 10 enemies |
|---|---|
|
Practice using Treasure Visions |
Use your Treasure Vision 10 times |
|
Acquire Some Treasure |
Find 10 pieces of treasure |
The next section is a touch trickier. You are going to need to steal an item from 10 enemies. You "Pinch" by crouching (pressing the left analog in like a button) and then pressing the A button. Your pinch ability it shockingly rangy. Once you collide with the enemy, you will have to time your button press so that your indicator aligns with the notch at the top.
The other two will be something you are going to do anyway. You can progress in the game without collecting treasures, and most treasures are pretty difficult to obtain without using your Treasure Vision Forte. Once you have completed these tasks, head right back to Levanter so that you can move on to the next set of goals. You will also be given a Substantial Shank and a Chimaera Wing.
None of the treasures you have obtained up to this point in the game will count toward these quests. That is why you want to complete the Levanter quests as quickly as possible.
Training Camp: Advanced

|
Practice Collecting Monster Medals |
Obtain 5 Medals |
|---|---|
|
Practice using your Wild Side Special |
Use the Wild Side Dragon Attack 5 times |
|
Practice using Dragon Attacks |
Perform 5 Dragon Attacks |
Monster medals can be obtained from almost anywhere, but you are far better off going to your home base and entering the Snarl. The Snarl will have you face off against a series of enemies. However, the real benefit of this dungeon is that it will provide you with guaranteed monster medals!
As for the other two criteria, they simply require that you perform five Dragon Attacks and use your Wild Side Dragon Attack 5 times. Of course, you can already see what is clearly the most efficient way to perform these challenges. Just build meter, and every time you will fill a bar, use your Wild Side Dragon Attack. Do this 5 times, and you will fulfill both criteria. After you complete these goals, go back to Levanter, and he will reward you with a Sylphanian Tent Model and a Chimaera Wing.
Training Camp: Expert

|
Acquire some Monster Jewels |
Obtain 3 Monster Jewels |
|---|---|
|
Acquire some treasure that's in excellent condition |
Find 5 treasures in excellent condition |
|
Display some treasure in the vault |
Display 5 different treasures in your vault |
|
Acquire some gold coins |
Obtain 500,000 gold coins |
This final batch is another series of quests that simply require you to play the game. Unfortunately, there is no real "trick" to getting Treasures in excellent condition, or gathering gold. You will eventually complete all of these goals by simply seeking out treasures.
As for the Monster Jewels, these will be found in those colored chests. In order to open those chests, you will need to complete the Anemone quests. You can follow this guide, it will tell you everything you need to know in order to obtain the Monster Jewels you need. As for the jewels themselves, this guide will point you to the chests in the Paternoggin that contain them.
However, the treasure displaying task will require you to swap out treasures. So, for that task, you are going to want to go straight to your vault and swap out the treasures you have on display. Do this and you will quickly complete that task. From there, just play the game as you normally would, seeking out treasure, and accumulating gold. Then, when you are finished, go back to Levanter and you will be rewarded with a Captain Levanter Statue and a Chimaera Wing.
Training Camp: Master

|
Defeat the Masquerading Hornbull |
Find the Masquerading in a treasure dungeon in the Maneland region and then defeat it. |
|---|---|
|
Defeat the Masquerading Proudmane |
Find the Masquerading in a treasure dungeon in the Hinterquarters region and then defeat it. |
|
Defeat the Masquerading Rimeblood |
Find the Masquerading in a treasure dungeon in the Cinderback Ridge region and then defeat it. |
This quest is a giant pain. However, it isn't particularly complicated. You just need to keep dispatching monster parties. You then need to hope they come back with treasure maps. If they do, follow the maps, and hopefully you get lucky and the treasure dungeon you enter has the associated Masquerading creature. You will also be able to find these bosses in the treasure dungeons you randomly encounter in the field, so if you find one hop in and cross your fingers.
It doesn't matter which island the treasure dungeon is located in. That has no baring on which boss you will encounter.
The boss fights themselves are pretty simple. These are the same as the bosses you fought in The Snarl. Except they are higher level, and they come packing shields that you will need to break through. Unfortunately, you will not be able to tailor the monsters you bring to the weaknesses of these bosses, but you can, of course, use support pellets to imbue your monsters with the element each boss is vulnerable to. You should also make you have bomb ammo instead of pellet ammo, as the masquerading bosses have a ton of health. More than anything, though, the real challenge here is just finding them in the first place. It is whole pile of RNG. Good luck!
If you do die while fighting the Masquerading boss, worry not. You are allowed to repeat the dungeon. So, the steaks are pretty low here.