Quick Links
Treasure remains one of the critical parts of Dragon Quest Treasures. You want to explore the islands throughout the game, find all the chests, and see what you can discover during your exploration. Doing so requires you to go through the map, which can initially seem daunting.
Luckily, the game offers a scan ability and your monsters to help you with the search. However, narrowing down the exact locations and getting there can sometimes be challenging. If you want some help to get all the chests on Paternoggin, you can take advantage of some screenshots to make the process easier.
What Makes Chests Different From Treasure And Bric-a-Bracs?

As you go through the game, you'll come across chests, but you'll also find treasure and Bric-a-Bracs. However, those aren't the same as chests since the treasure you put into your vault appears if you use the Fortune Finder Forte. As for Bric-a-Bracs, they light up if you get close to them. You must dig into the ground and find the buried chests for either option.
On the other hand, chests refer to boxes you'll find around the island. You don't need to use an ability to find them, but you can make your search more manageable with the Scan ability. With that in mind, ensure you recruit a monster with Scan to help you identify chests in the area.
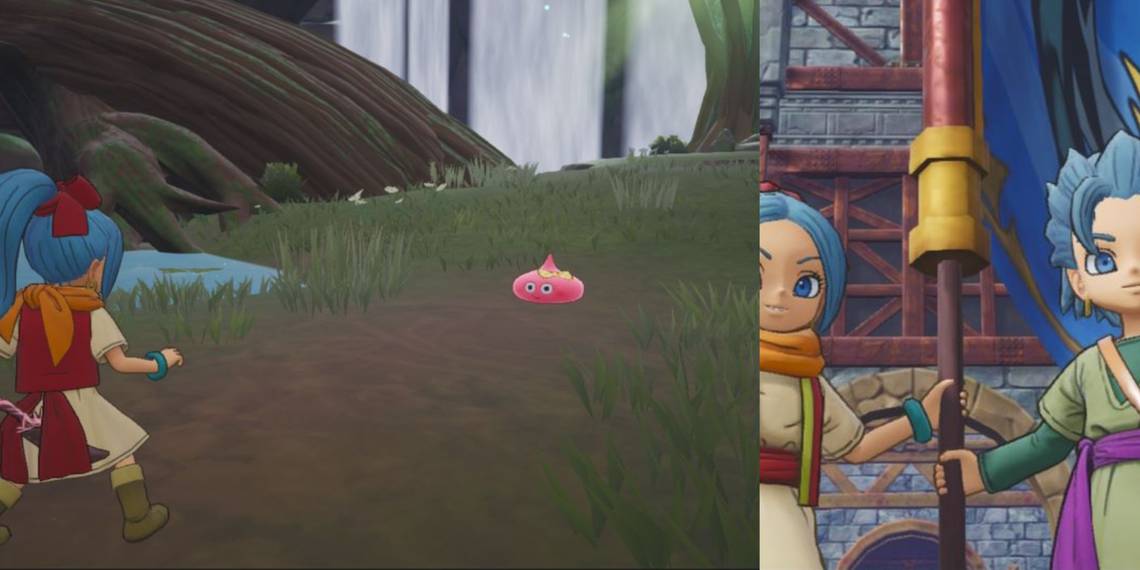
These treasure chests usually contain small items, like pellets, to help you on your adventure.
Recommended Fortes

Before you start your search, we recommend you bring three crucial fortes with you: Scan, Launch, and Glide. Scan, as previously mentioned, will help you find all the treasure chests. While you'll see materials in the area, you'll also see the chests. Most materials have rougher and rounder shapes, but the chests have distinct rectangular shapes, making them easier to find. That way, as you use the scan along with the chest guide, you'll find them more accessible. You can get the Scan ability from an Ogre early in the game.
As for Launch and Glide, you can use them to traverse the map. You'll automatically get these Fortes from Oozabella and the Dracky that join your party early on. Launch lets you reach higher heights, such as chests on buildings. Glide gives you a bit of a boost up and then forward, allowing you to make horizontal distances. If you plan to go treasure hunting, bring these two along with Scan to make the search as easy as possible.
At the start of the game, recruit two Ogres. You can leave one at your base and use the other for searching the land. Otherwise, you'll have to go back into the field, recruit another Ogre, and hope you have the materials to get it on your team.
Where To Find Every Chest

As you go through the island, you may question if you found all the treasure. Luckily, you can utilize a chest guide to check all the locations, see if you got them, and continue your search for everything Paternoggin offers. Since Paternoggin has two levels, you can find the chests for the upper and lower sections while getting the four colored chests.
Upper Paternoggin Chests
You can start with Upper Paternoggin since the area has weaker monsters. You may have trouble finding some of them, but you won't have to worry about monsters knocking you out.
|
Chest Location |
World Map Location |
How To Reach The Chest |
|---|---|---|

|

|
On the ground and near the lift, making it easy to find. |

|

|
You'll find it in the old factory next to one of the stairs. |

|

|
Hidden behind one of the staircases. |

|

|
You'll need to use Launch to reach the higher platform. Stand on one of the pipes if you find the jump difficult. |

|

|
Continue through the factory, and you'll find this one. |

|

|
Another easy one close to a fireplace. |

|

|
Look for the cliff in this area, and you'll easily get to it. |

|

|
It's close to the cliff, so head in that direction. |

|

|
You'll need to crouch and walk toward the chest to reach it. |

|

|
You can go around the station to reach this one, or go out the exit and jump to it. |

|

|
Look on the left side of the stone structure to find this one. |

|

|
You'll need to crawl through the stone structure for this one. |

|

|
You'll need to use Launch to get behind the metal crates. |

|

|
You should use Launch to get on top of the factory, then use Glide to make the jumping easier. |

|

|
You'll need to get on top of the factory, so use Launch and Glide to reach this location. |

|

|
Just look for the stone area next to the field. |

|

|
Use Launch to get to this higher area. |

|

|
You'll need Launch to reach this location since it's one of the highest places on the map. |

|

|
Another one on top of the factory, so bring Launch. |

|

|
You'll get this one as you follow the edge of the island. |

|

|
Another one is near the edge of Teardrop Falls. |

|

|
Bring Launch along to make this one easier to reach. |

|

|
You'll need Launch to get here. Look near the water. |

|

|
Follow the river to get to this chest. |

|

|
It's hidden inside the waterfall. Use the jump button to swim through the river against the flow. |

|

|
Use Glide to reach this one since you may find the jump hard to make. |
Lower Paternoggin Chests
The lower level has tricky locations, so check out the tips to ensure you know how to reach them while having an idea of where to look.
|
Chest Location |
World Map Location |
How To Reach The Chest |
|---|---|---|

|

|
Bring Launch with you to jump up and get on top of the Old Gobbet Station area. |

|

|
This one is easiest to reach by using Launch from below or Glide from the log. |

|

|
Look to the top of the rocks and use Launch to make the jump easier. |

|

|
You'll need to run to the back of the cliff or use Launch. |

|

|
Follow the river to reach this one easily. |

|

|
Look for the rock structure and run up to it to get to the chest. |

|

|
Go to the waterfall and use Launch behind the area to reach it. |

|

|
You can use Launch to reach this one or go through the gap with Stealth. Either way, look for the rock structure. |

|

|
Go to the Pirate Camp and jump on the tent with Launch. |

|

|
Return to where you found your first treasure and use Launch on the rocks to the right. |

|

|
Leave the Pirate Camp and follow the left edge of the island. |

|

|
It's on the ground in the Pirate Camp. |

|

|
In front of one of the tents in the Pirate Camp. |

|

|
Leave the Pirate Camp and crawl through the cave nearby. |

|

|
You can only reach this one in the Forsaken Station once you have unlocked all the railway stations in the game. |
Colored Chests
All the colored chests are on the lower floor, but they can be challenging to find. They require you to finish the Princess Anemone quests, so wait until you start the quests before you worry about these chests.
|
Chest Location |
World Map Location |
How To Reach The Chest |
|---|---|---|

|

|
You'll need Launch and Glide to reach this one. Go around to reach the cave, use Launch to hop, and Glide through the gust of wind. |

|

|
This one is relatively easy to reach. Just look for the rocks and stay near them. |

|

|
It's near the entrance and tree roots of the lower area. You should use Launch to reach the higher places. |

|

|
This one requires Launch or Stealth to reach the gust of wind. From there, you'll use Glide to fly upward and on top of the leaves. |
Finding treasure can be hard sometimes, so having screenshots and directions can help you. That way, you'll know what directions to take and any abilities you need to navigate the area. As you spend time going through each island and finding all the treasures available, you can score some sweet items and make the most out of your exploration and experience in Dragon Quest Treasures.