The Snarl is Dragon Quest Treasures' randomized dungeon. Each level holds ten encounters. Most of these are with monsters, but some of them are with treasure. You can never predict what the next floor of The Snarl will hold.
If you start working your way through The Snarl at your earliest opportunity, you will likely find that there are a number of enemies you have never encountered before. Moreover, each level ends with a boss battle. This guide will teach you the ins and out of The Snarl while also guiding you through some of the tougher encounters!
Overview Of The Snarl

You will find that all the floors in The Snarl contain monsters roughly ten levels higher than the previous floor. This means that level B1 has monsters that hover around level 10, B2 has monster that hover around level 20, and so on. The monsters' levels are fixed here. So, if you come back when you are stronger, the monsters' levels will not scale to match you.

One of the most valuable roles of The Snarl is providing you with a place to acquire medals. On nearly every run, you will encounter three chests, these always contain medals. You will also always be rewarded with a medal once you complete a floor of The Snarl. You can repeat any given floor of The Snarl as much as you like, too. So this is the best place to get equipment for all your troops!
It also may just be our imagination, but we swear that monsters drop medals far more frequently in The Snarl.
Another thing worth noting about the Snarl is that you can absolutely recruit enemies here. You can't recruit the bosses, but every other enemy is fair game. This is notable as The Snarl will give you some pretty strong monsters early on. Of course, they are lower level, but this will be your first shot at acquiring a bunch of these creatures.
Level B1
|
Unlock Level |
Unlocks At Gang Level 4 |
|---|---|
|
Reward |
Sanguinite, A Medal |

The first level of the Snarl features a wide variety of enemies. Basically, everything you fight on the Paternoggin will show up here. However, lower-level monsters exclusive to other areas, such as the SheSlime, Grotty Hand, Dread Dracky, and Tundra Dracky are also present. You won’t need a whole lot of strategy for the majority of these encounters, seeing as none of these monsters hit particularly hard. The most powerful encounters you will run up against here will probably be the King Orcs. They do have a charging attack which can do pretty decent damage. Just roll to the side when they charge you, and you’ll be fine.
Golden Goliath 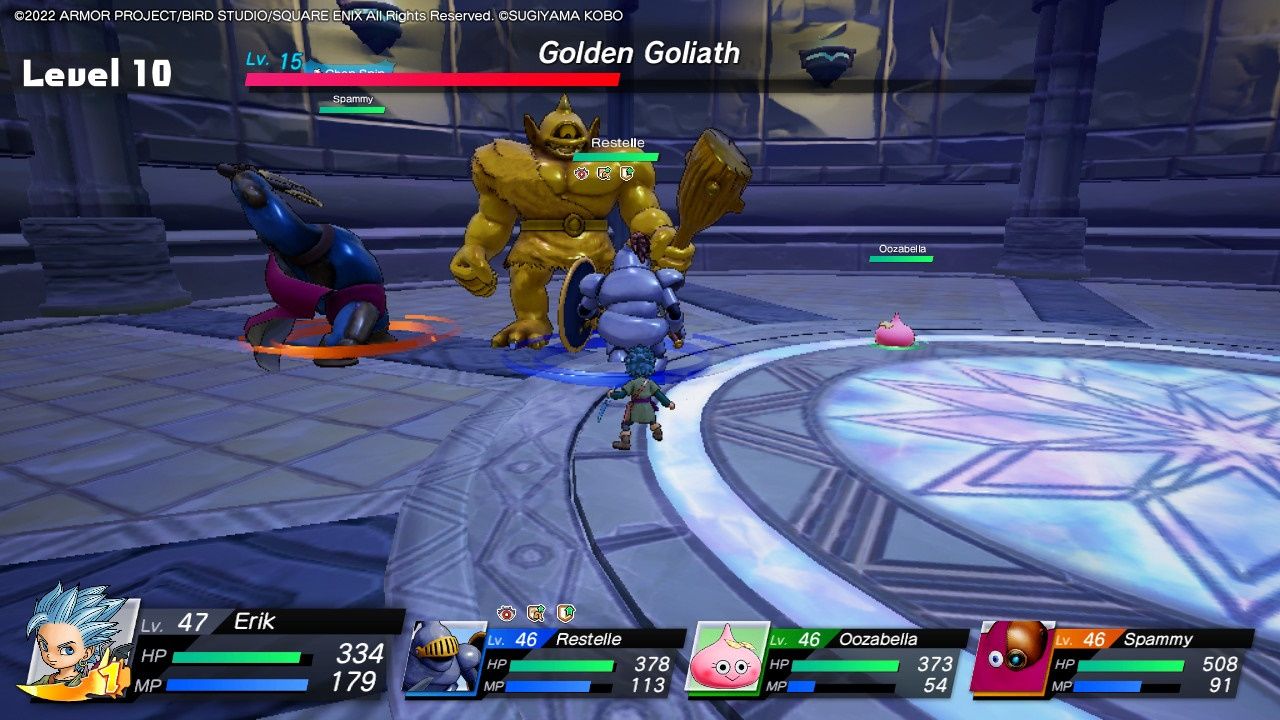
The Golden Goliath is, for all intents and purposes, just a standard Goliath with more health. They have a big wide swing, which is very telegraphed. He is also weak to dark, so if you have any Zam pellets on hand you can use those to make short work of this great golden galoot. If you don’t have Zam Pellets on hand, Sizz pellets will do as he is also weak to light.
Level B2
|
Unlock Level |
Unlocks At Gang Level 6 |
|---|---|
|
Reward |
Sanguinite, A Medal |

The second floor of the Snarl comes packing a lot of familiar fights. You will still encounter a lot of the same enemies as you did on the first level, but they will all be stronger here. On top of that, you will see far less of the weaker enemies (such as standard slimes) and encounter more of the tough enemies. Speaking of tough enemies, the Wight King, Hardened Hand, and Umbra will be joining the fold. When the Wight King joins the fray, don’t let them sit back and hammer you with spells. Pursue them aggressively.
Ultra Marine

The Ultra Marine is substantially more formidable than the Golden Goliath. He has large attacks that are able to cover a huge amount of space. He is also pretty sprightly and can cover distance alarmingly fast. That being said, he is weak to lightning attacks, and extremely weak to dark attacks. You should have plenty of monsters with darkness-based magic. So, bring them with you, support them with healing pellets, and hit Ultra Marine with Zam pellets if you have any on hand.
Level B3
|
Unlock Level |
Unlocks At Gang Level 8 |
|---|---|
|
Reward |
Sanguinite, A Medal |

The third floor is the first level in the Snarl which ends with a major boss. Which is to say that this boss isn’t just a souped-up version of the standard monsters you encounter in the field. The monsters you encounter here will be hovering around level 30, so you are going to be well along in the game before you should brave this level.
The monsters you encounter here will be an iterative step on B2’s bestiary. You will be seeing that Wight King far more often here. You will also start encountering monsters like the Dark Sabercat, Silver Sabercat, and Valhalla Vultures
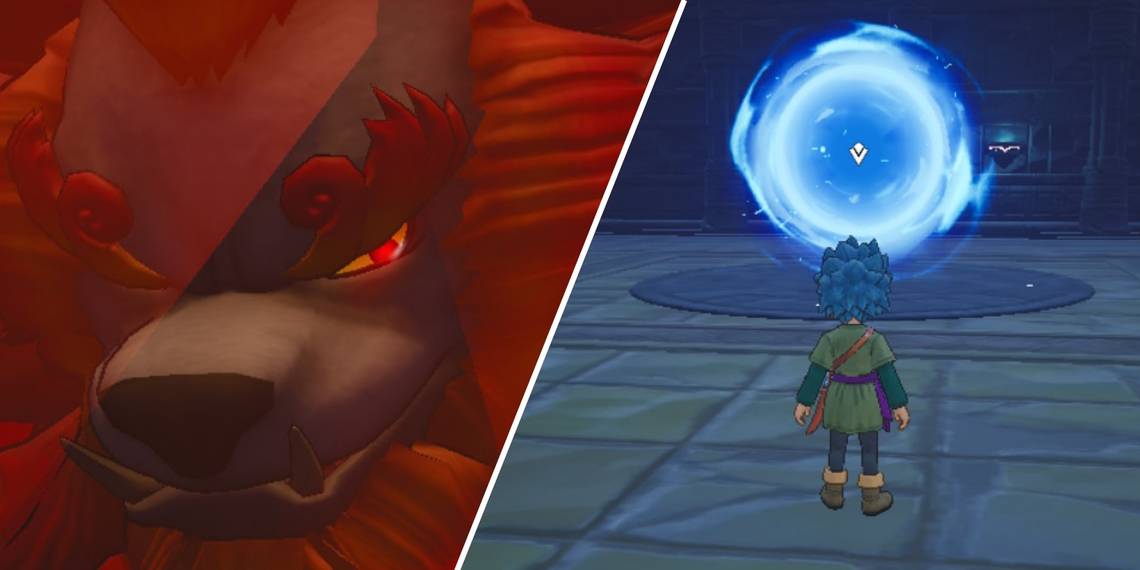
Proudmane, Sentinel of the Cinders

Proudmane is a giant, fire-breathing lion. He is, unsurprisingly, pretty strong when it comes to fire attacks, but notably weak to ice. So, you are naturally going to want to bring enemies you recruited from the Hinterlands for this encounter. Queen Slimes like to use a lot of ice magic, so they are a solid bet.
Proudmane has a number of fire-based attacks. They can breathe fire (which you can escape by hiding behind one of the boulders) and create explosions all around them. They will also fly into the air and slam down on you. Just try to hit the gem on the talisman around their neck with Crack pellets and keep your troops healed from a distance.

There is also a gimmick to this fight. There are giant boulders placed around the arena. When Proudmane burrows into the ground, they are going to head straight for you. Well, get next to one of these giant boulders and when they pop out of the ground they will stun themselves. Whenever Proudmane is stunned, you want to hammer its weak point, which is the talisman around its neck. Beyond that, make sure to pepper him with Crack pellets, and you will eventually overcome this fiery foe.
Level B4
|
Unlock Level |
Unlocks At Gang Level 10 |
|---|---|
|
Reward |
Sanguinite, Ruby Heart |

The fourth floor is a tough one. The monsters will be sitting somewhere in the 40s, so you are talking pretty close to end-game levels. The boss this time will be ice-based, so we’re are going to come packing monsters who have fire-based magic. As for new enemies, we started encountering Orc Queens, and Glyphic Golems on this level.
Rimeblood, Sentinel of the Snows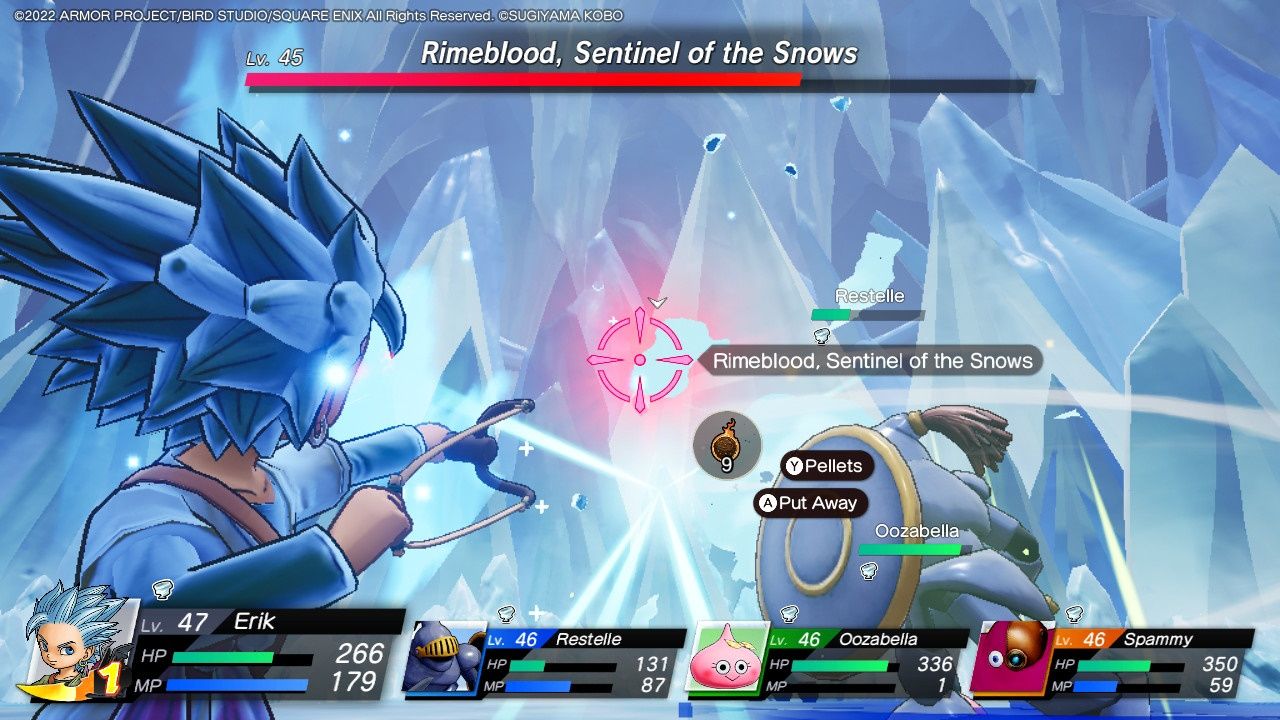
Rimeblood actually sorta feels easier than Proudmane. The boulders aren’t here this time, but they also don’t have that burrowing attack, nor do they have the butt slam. They do, however, have ice magic that is very reminiscent of Proudmane's fire attacks (but, you know, ice). There big thing is that they like to disappear. When they do that, a glowing orb will appear hovering in the air. Just shoot that, and you will reveal Rimeblood while also stunning them. When stunned, you should hit that gem on their head. Use Sizz pellets. If you need some Sizz pellets, there are tons litters around the outskirts of the arena in jars.
Finishing this battle with reward you with the Ruby Heart! Not only is this one of the core objectives, but it will also net you a cool 50 million. Not bad! This will also complete your Explore The Snarl quest.