Quick Links
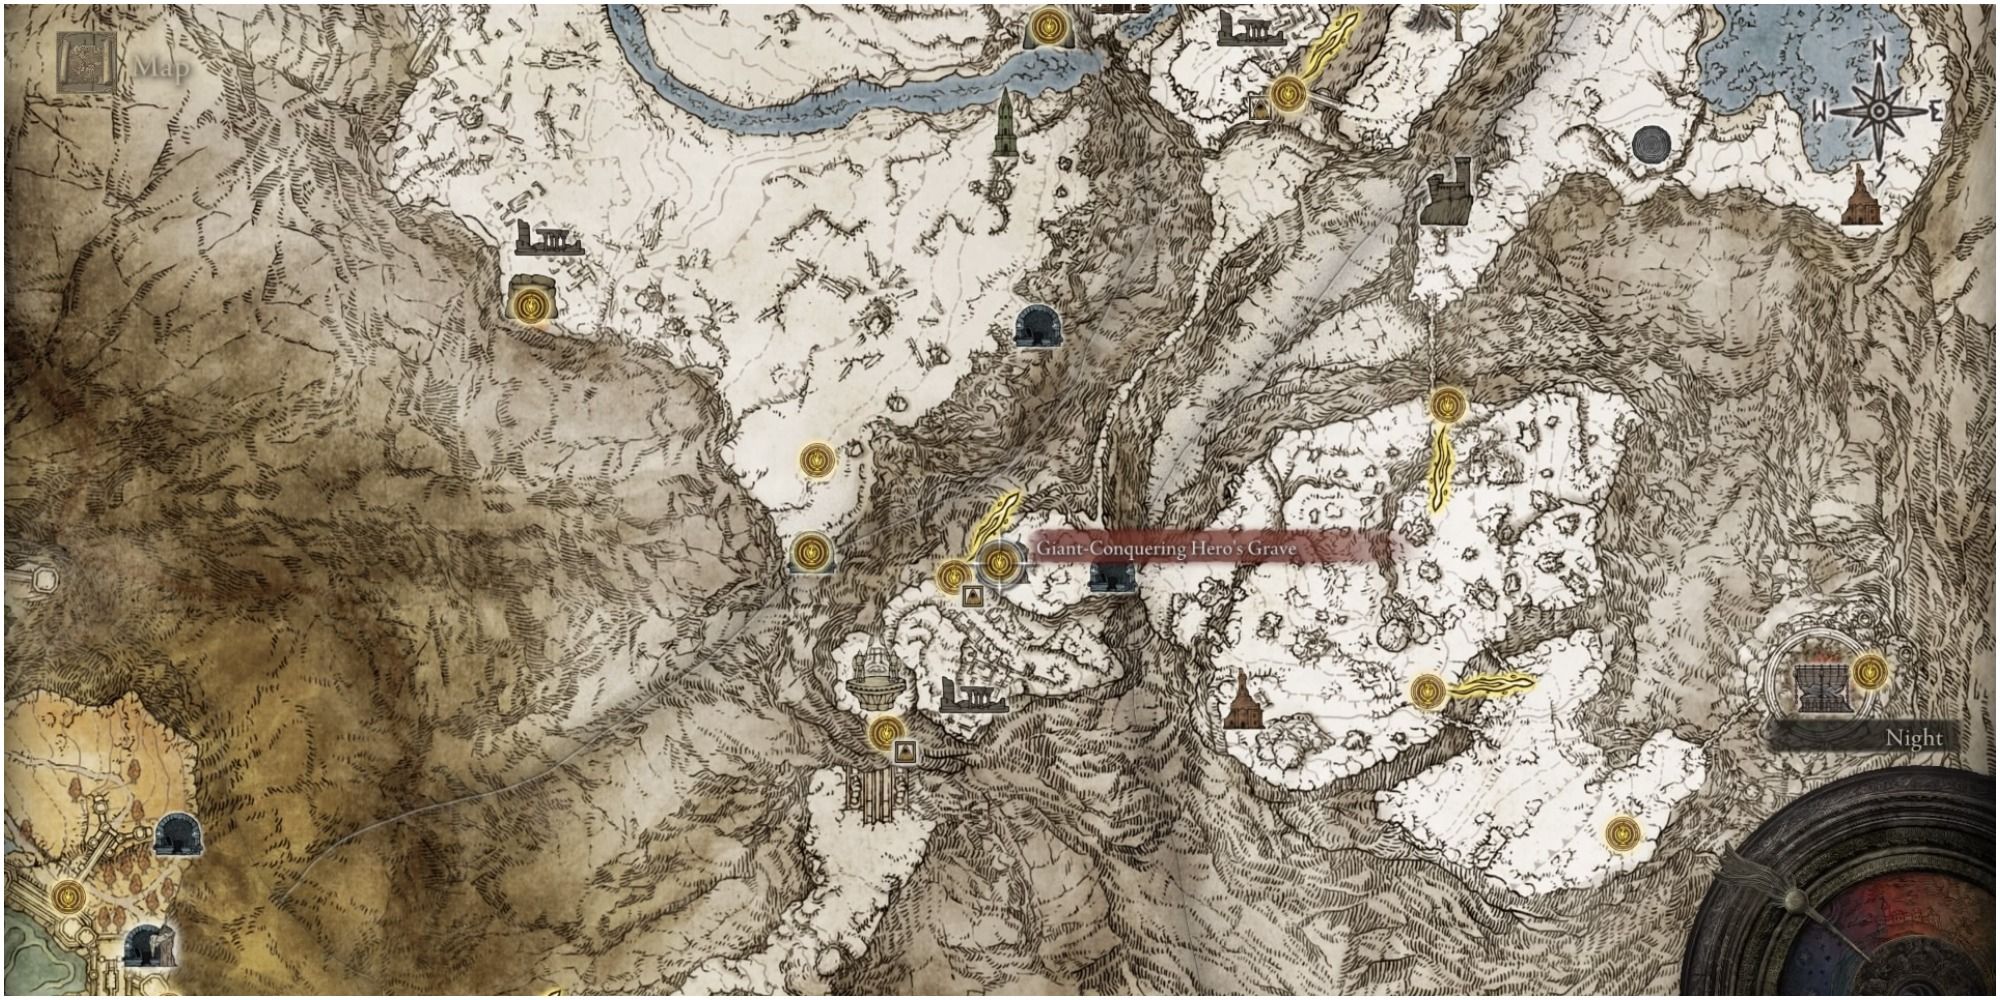
Giant-Conquering Hero's Grave is a dungeon in Elden Ring. It is located in the Mountaintops of the Giants. Reaching the Grave is not difficult; however, you will need to progress through the area quite a bit before accessing the path that leads to the area. The dungeon does not have any Chariots but does have Shadow enemies that need to touch the Golden Seal before you can do any damage to them.
Be sure to check whether you have enough Stonesword Keys for this Grave or not. You will need two keys required for two different Imp Statues behind, which are good items. You can still complete the dungeon without the use of a key. Here is all you need to know about Giant-Conquering Hero's Grave.
Giant-Conquering Hero's Grave Overview
|
Giant-Conquering Hero's Grave Overview |
|
|---|---|
|
Bosses |
Ancient Hero of Zamor |
|
Enemies |
Fire Monk, Fanged Imp, Lesser Burial Watchdog, Fire Prelate, Troll. |
|
Notable Loot |
|
How To Reach
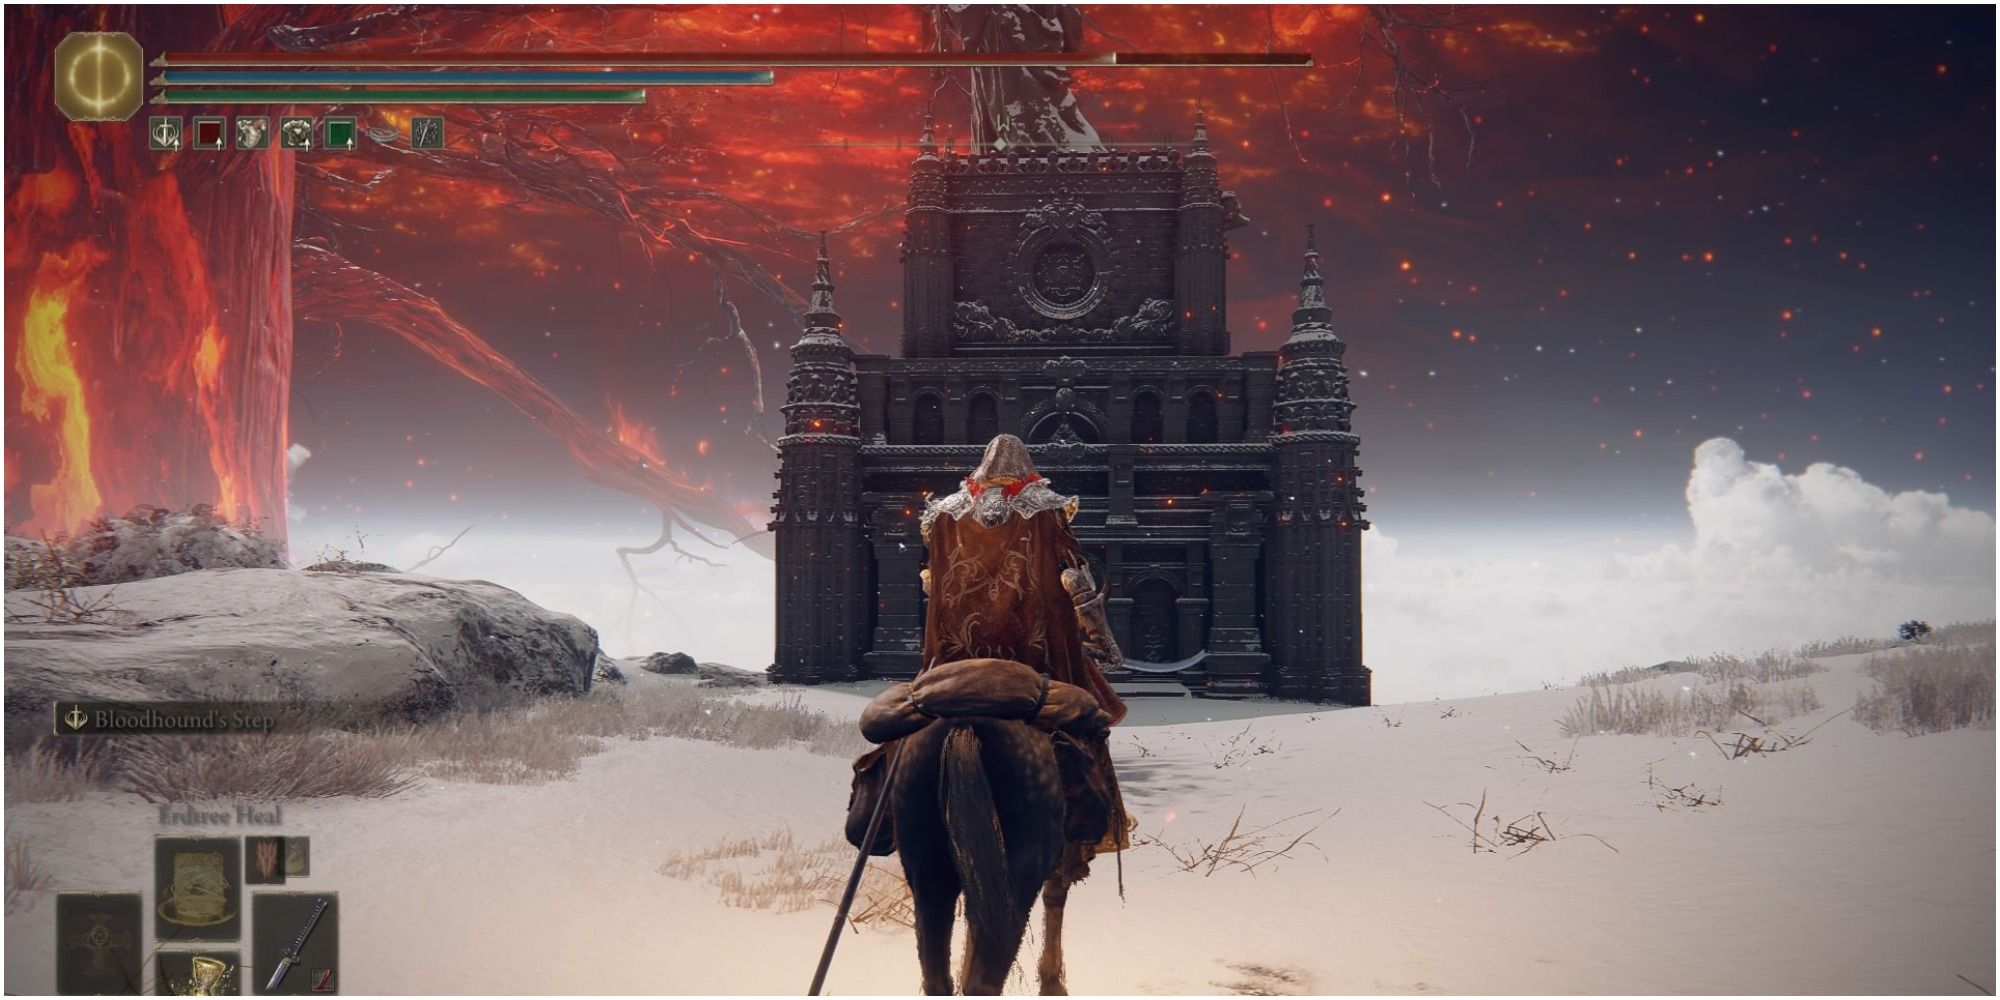
Looking at the map can confuse any player. As the Hero's Grave is situated on top of the mountain near Zamor Ruins, one might think there is a way to go up through there. However, that is not the case. To reach the Hero's Grave, one needs to make their way to the Giant's Gravepost (Site of Grace), where you find the map of the area. From there, you need to head west towards the Grave, and you will see a small gap that you can jump across. Watch out for the Fingercreeper that appears here and can kill you with its high output damage. Ride along the path a little more, and you will come to the entrance of the Hero's Grave.
Dungeon Walkthrough
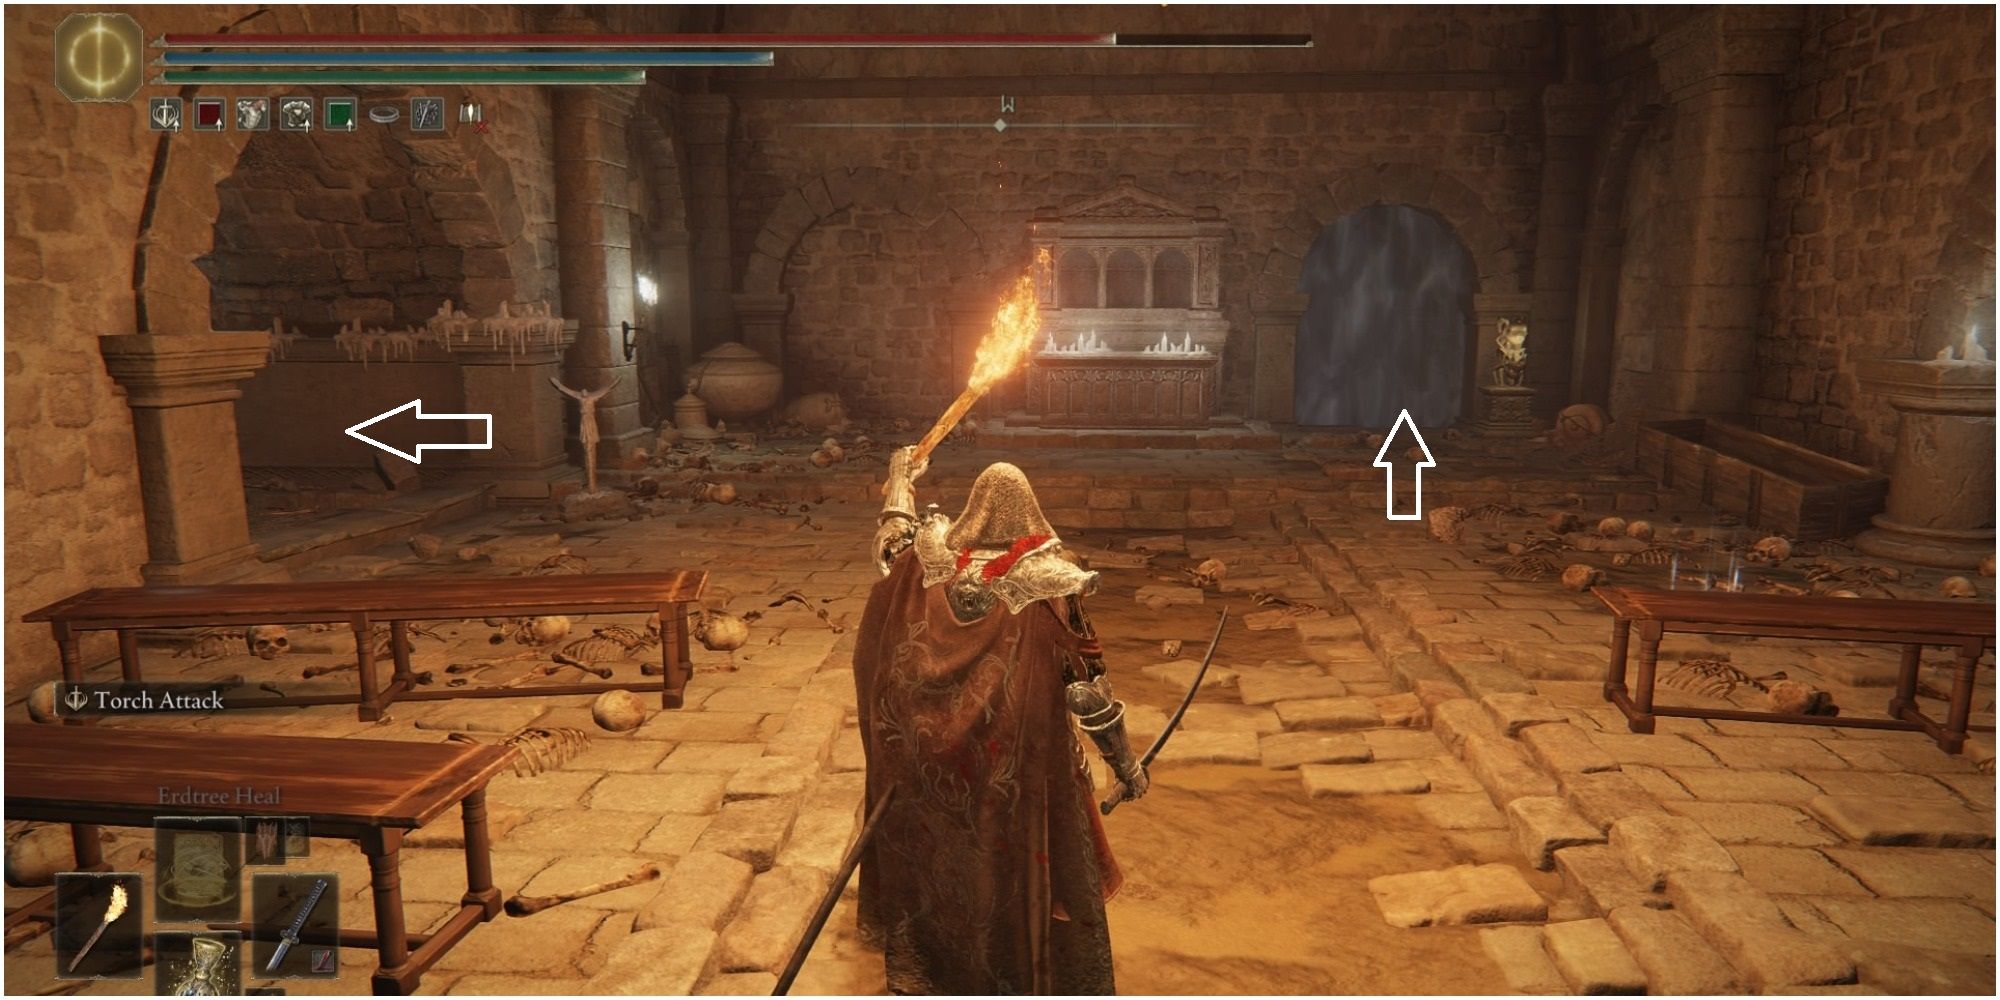
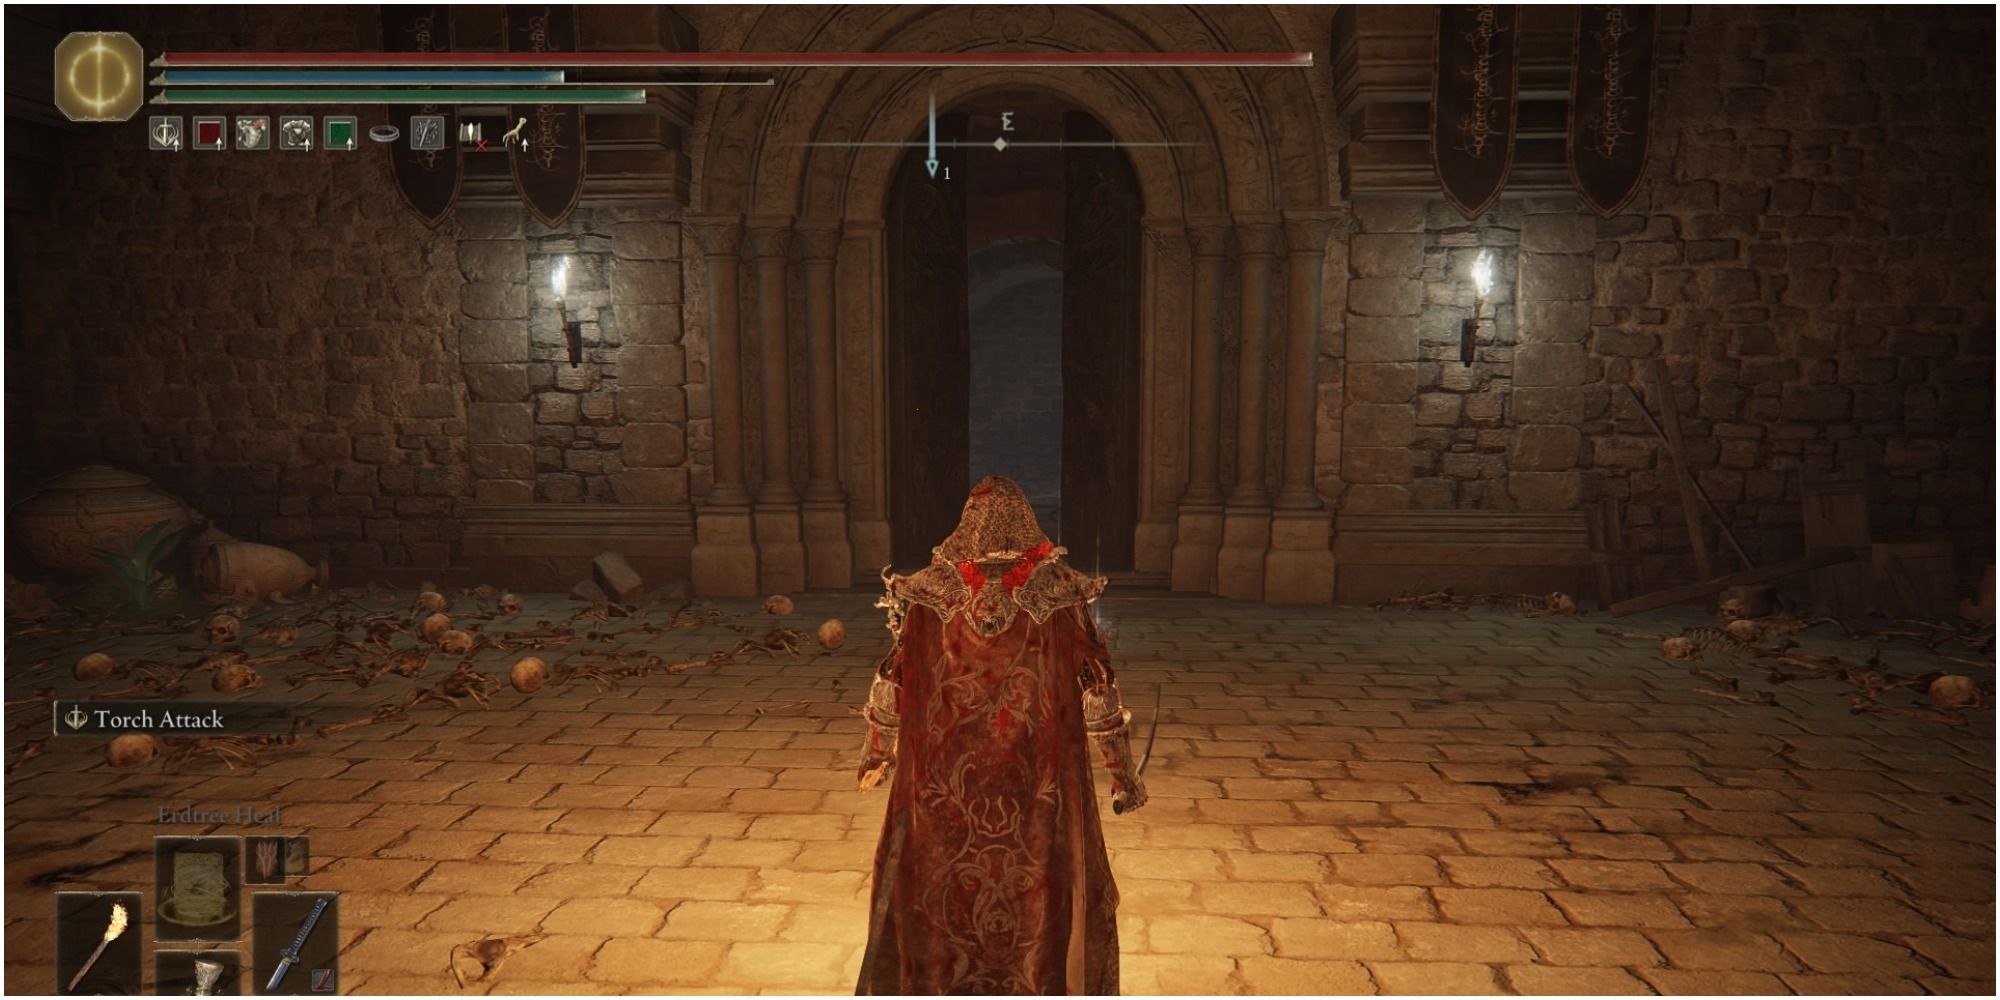
From the entrance, go inside and take the lift down. You will come to the Site of Grace and two doors. One passageway is through your left, and another is a fog door that is locked by an Imp statue. You need to place a Stonesword Key to be granted access. Go inside the room and collect the Flame, Protect Me (Incantation). Go through the left passage now, and you will see a Fire Monk patrolling the area that you need to deal with.
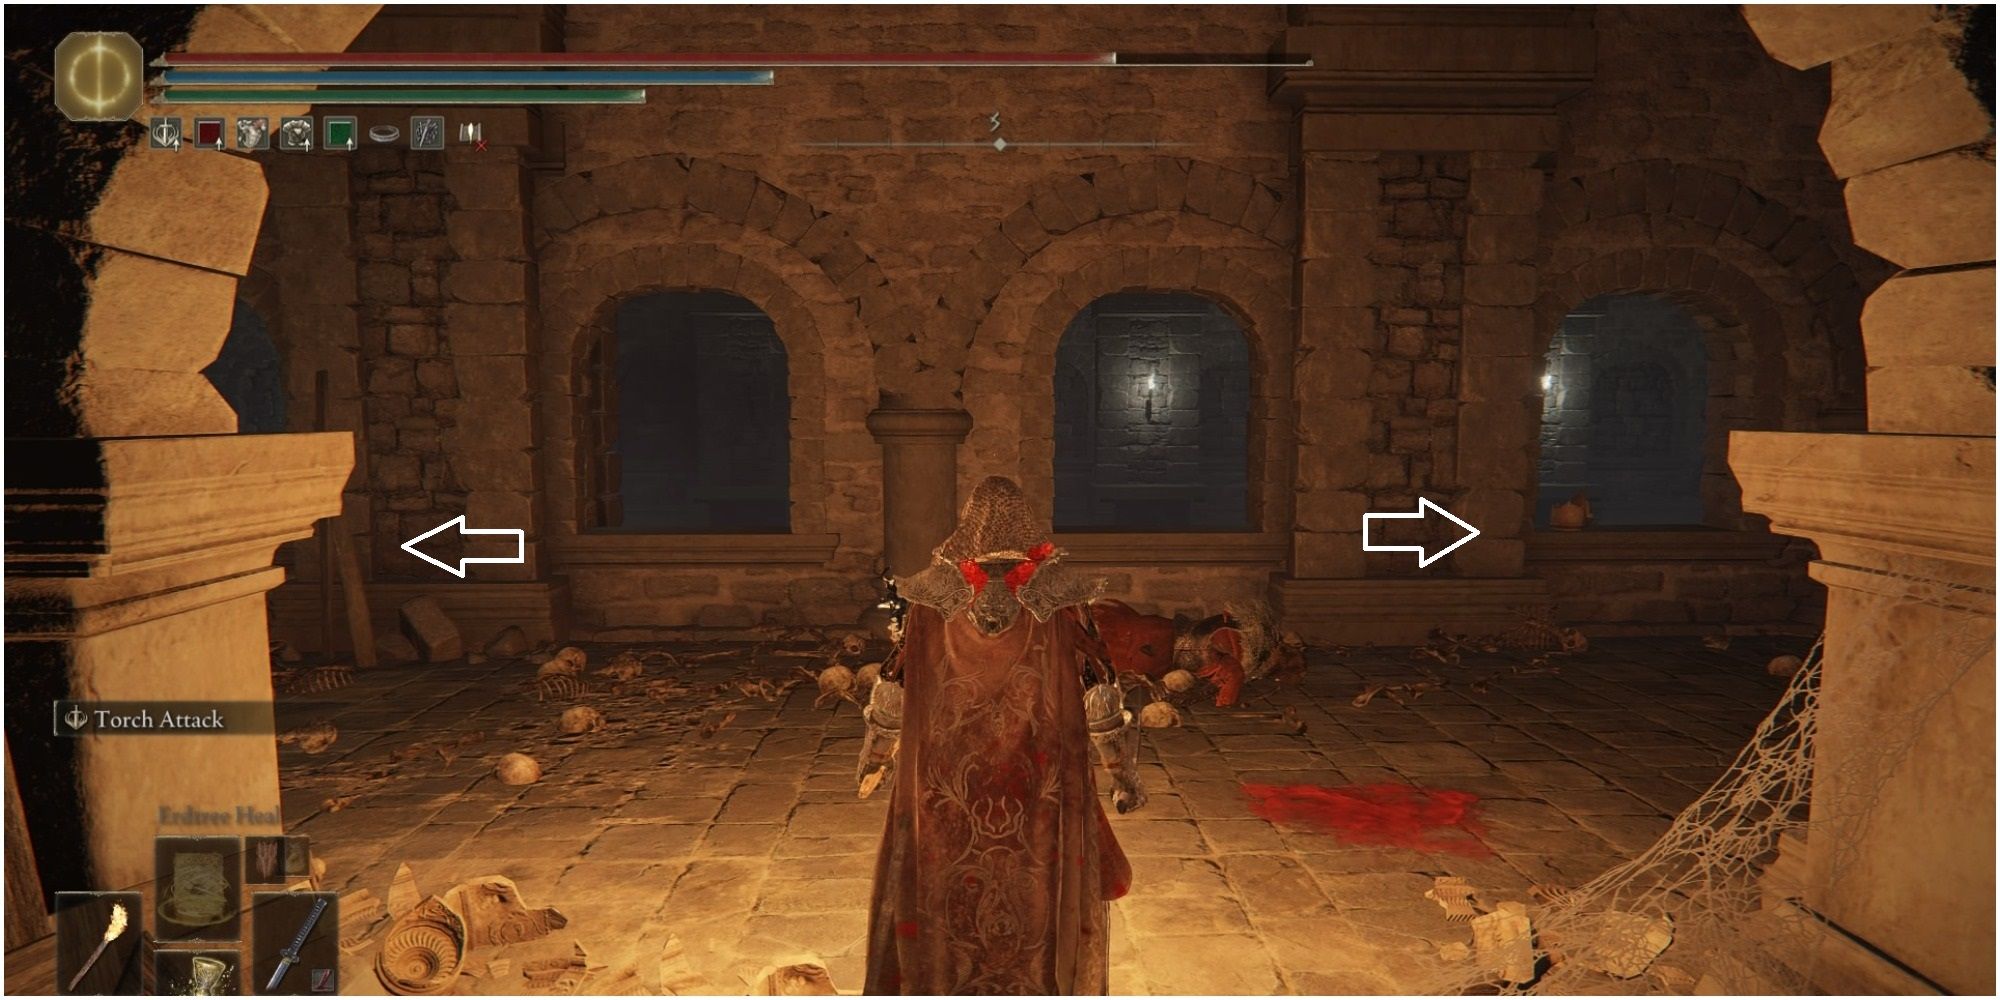
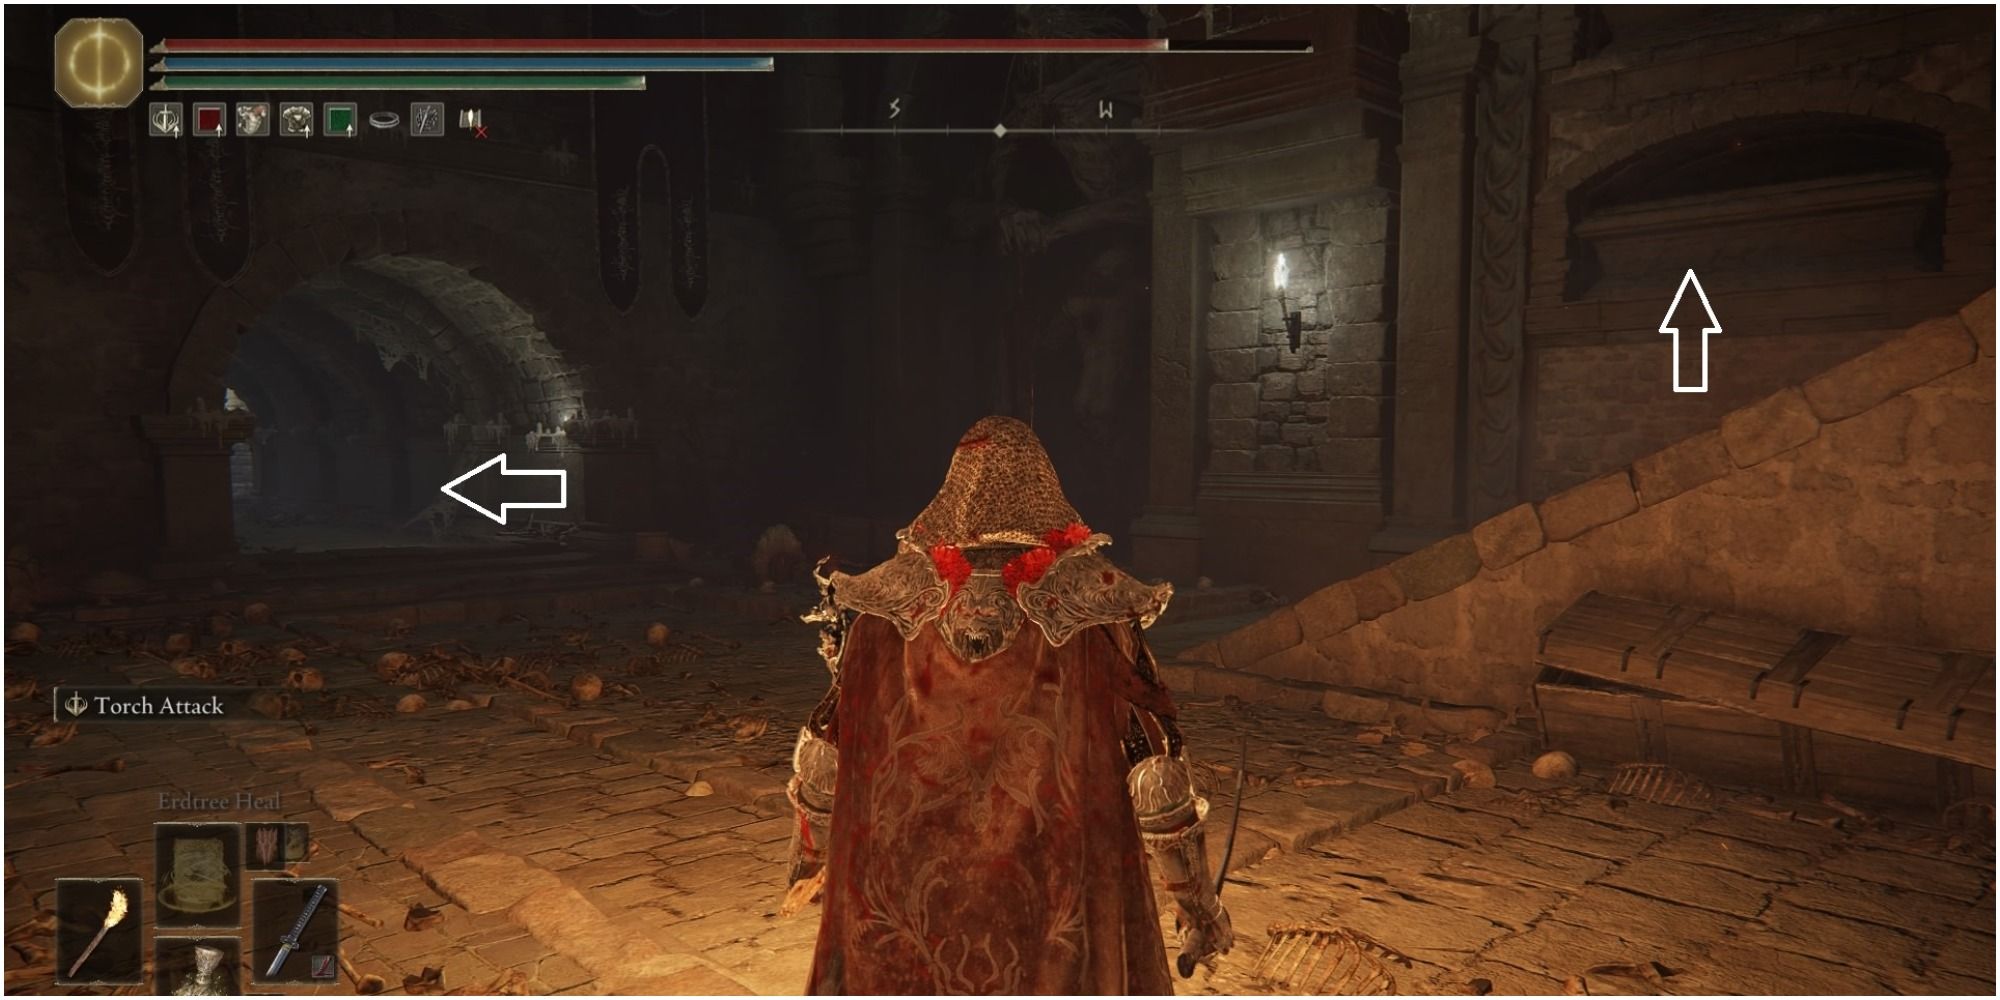
You will see two paths, one to the left and one to the right. First, you need to go right to what seems a dead end.
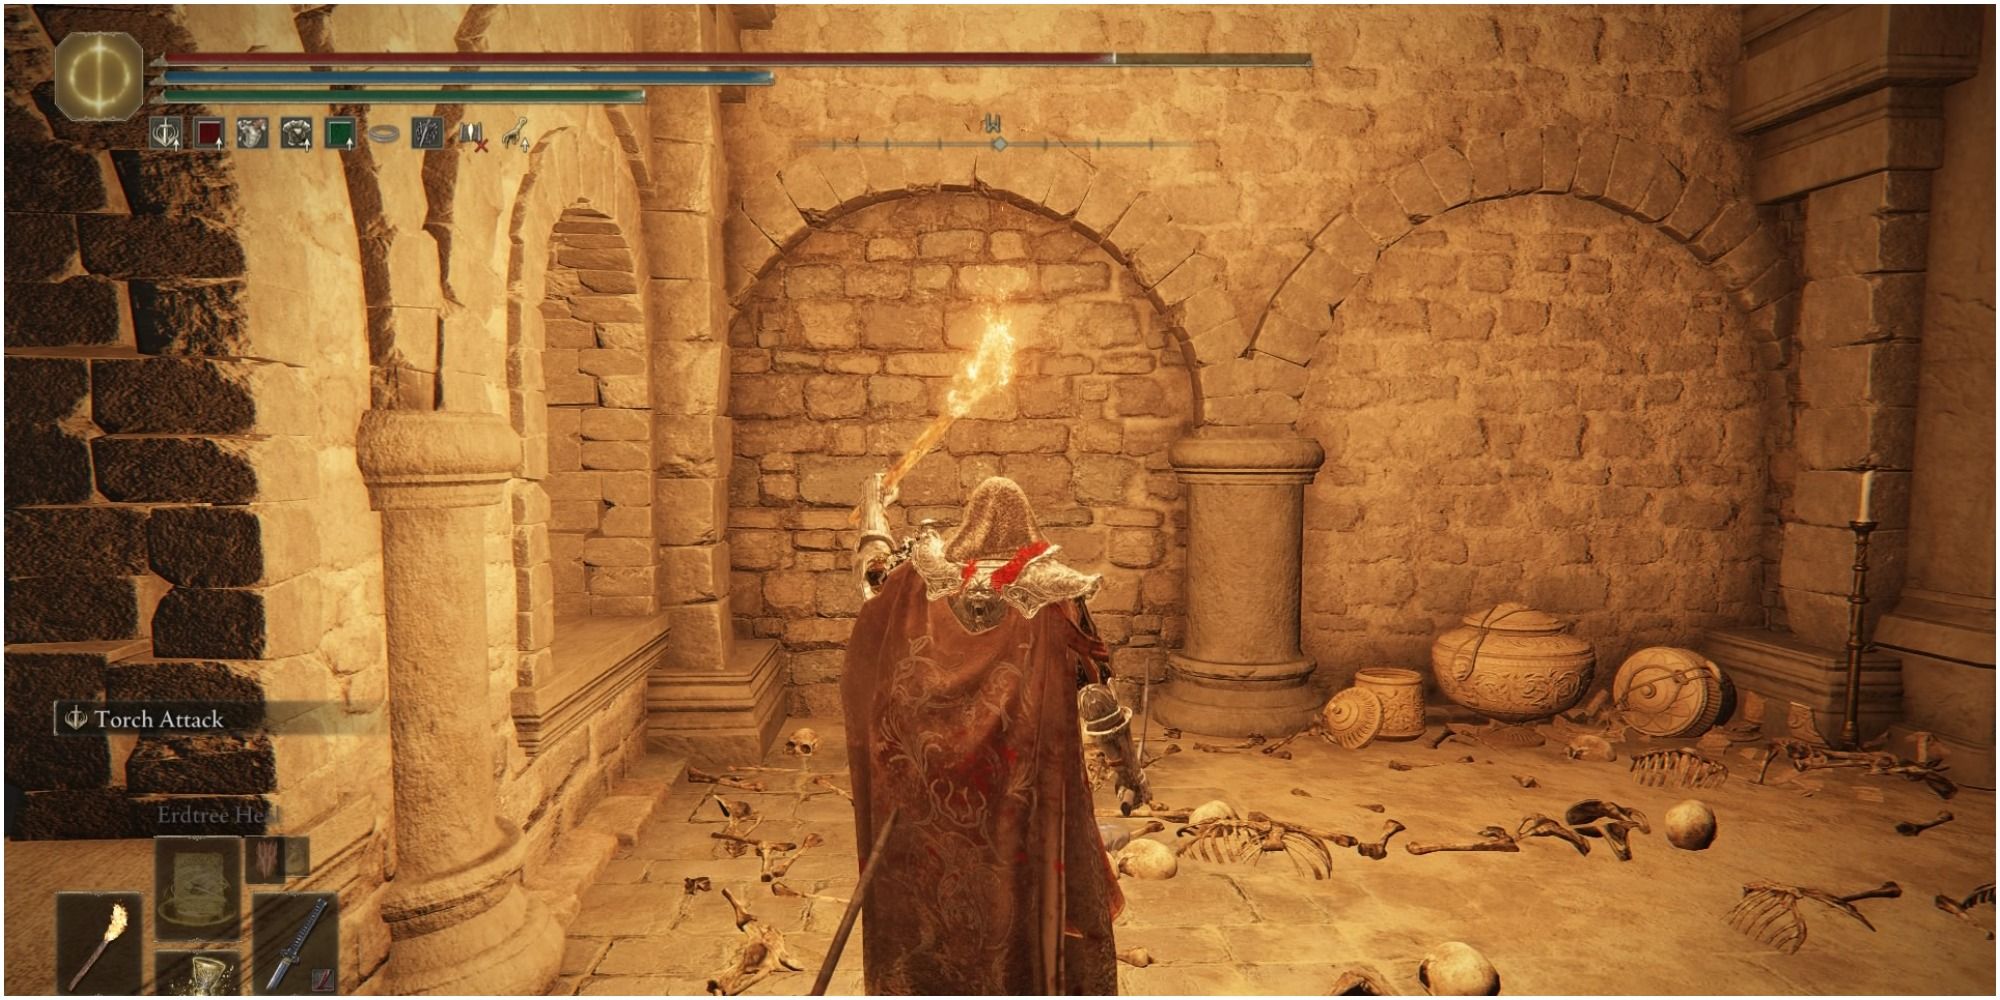
There is a wall here that you can attack and reveal an illusionary wall. Keep going straight, and you will find Golden Rune [11] above a window. Collect it and go back to where the Fire Monk was and go to the left path.
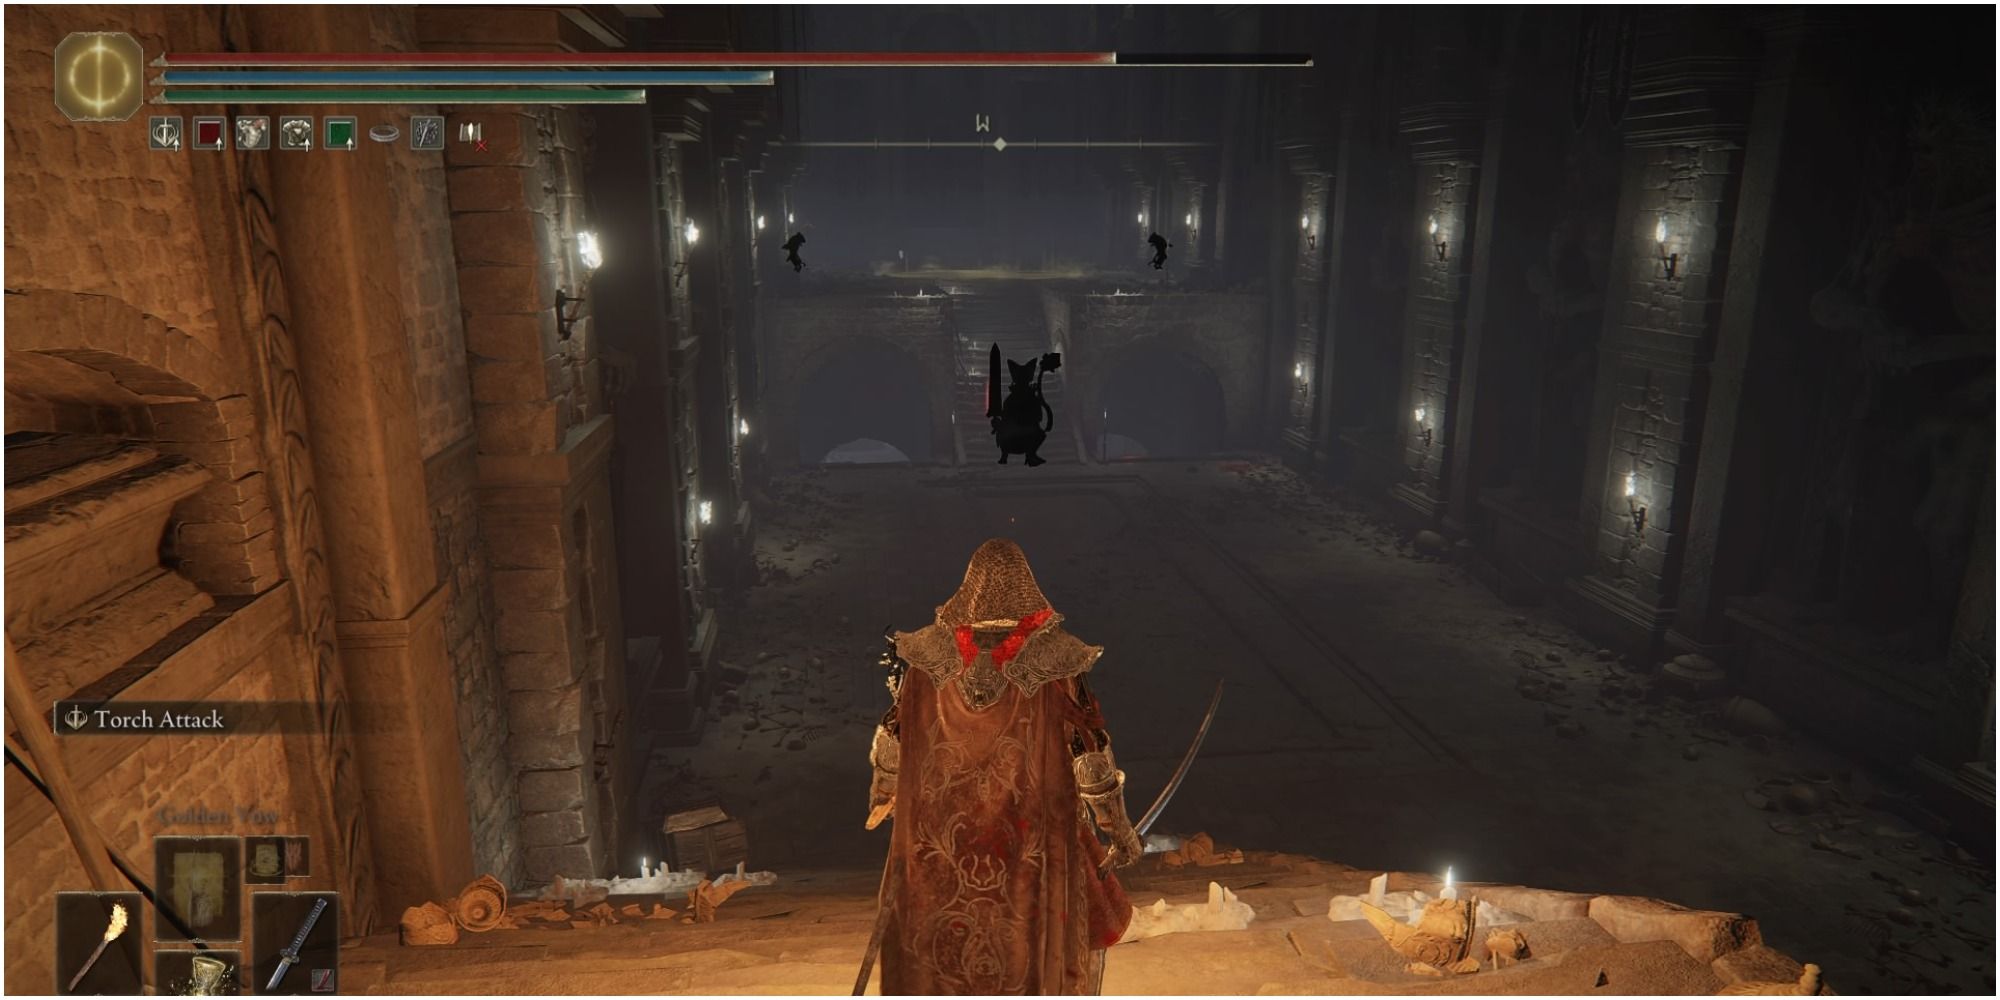
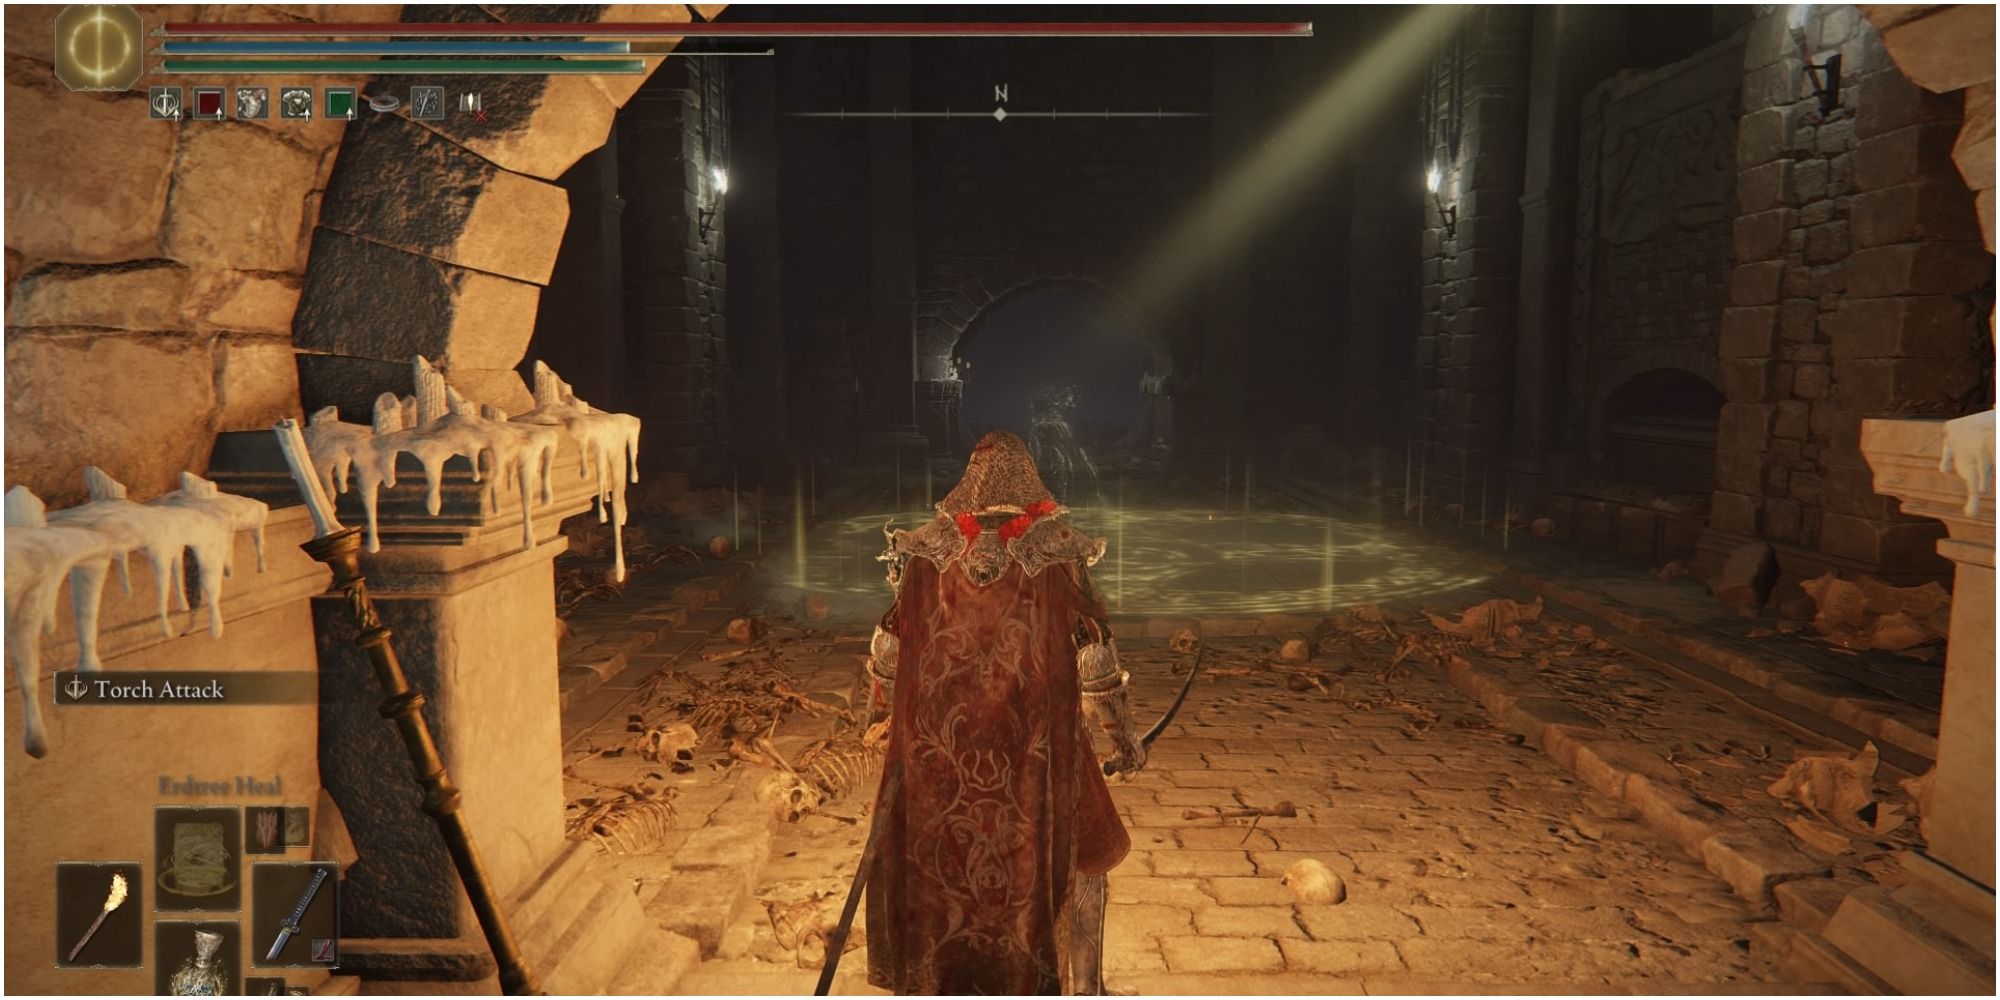
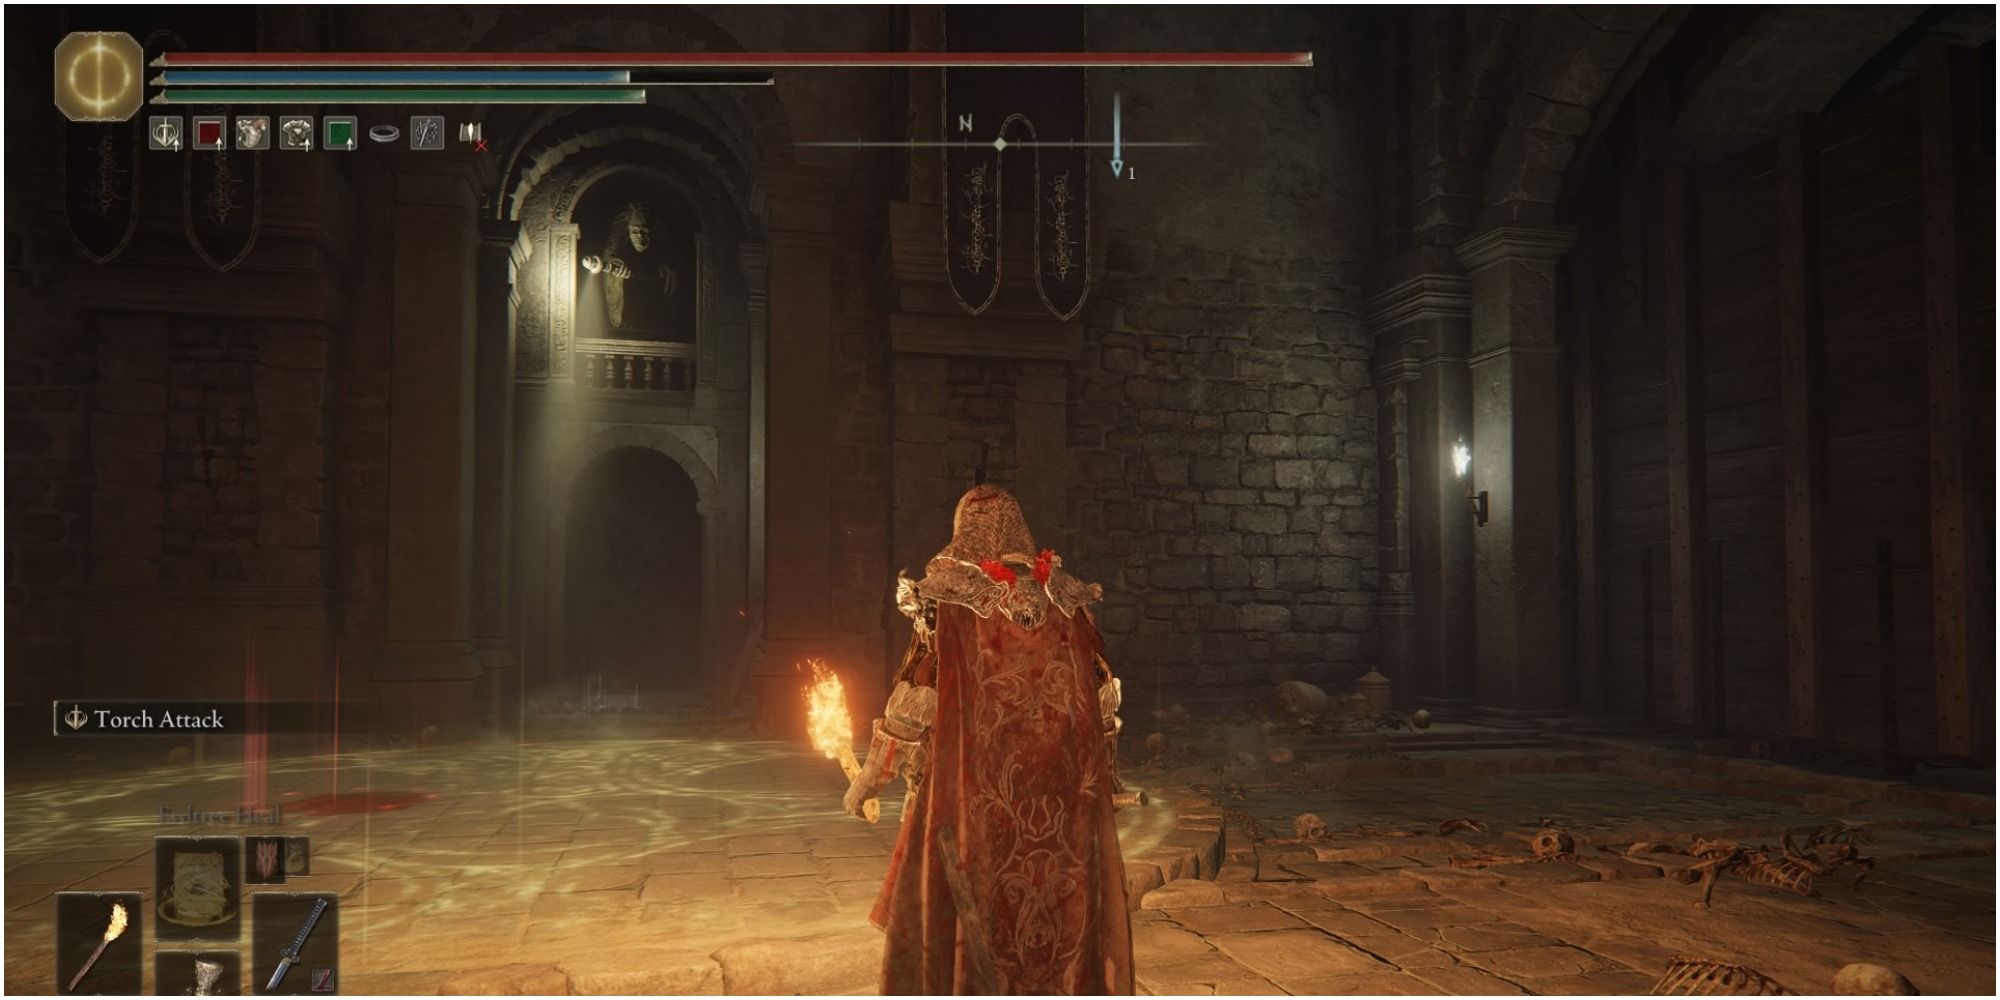
You will see two Fanged Imps and a Lesser Burial Watchdog. However, all of these enemies are in Shadow form, which means they will not take any damage. You need to make all of them touch the Golden Seal on the ground above the stairs. This will make them non-Shadow and staggered for a few seconds. Kill all of them and go to the room below where the Watchdog was. Here you will find Grave Glovewort [9] at the end and two more Shadow Imps. Deal with them and head to the main path.
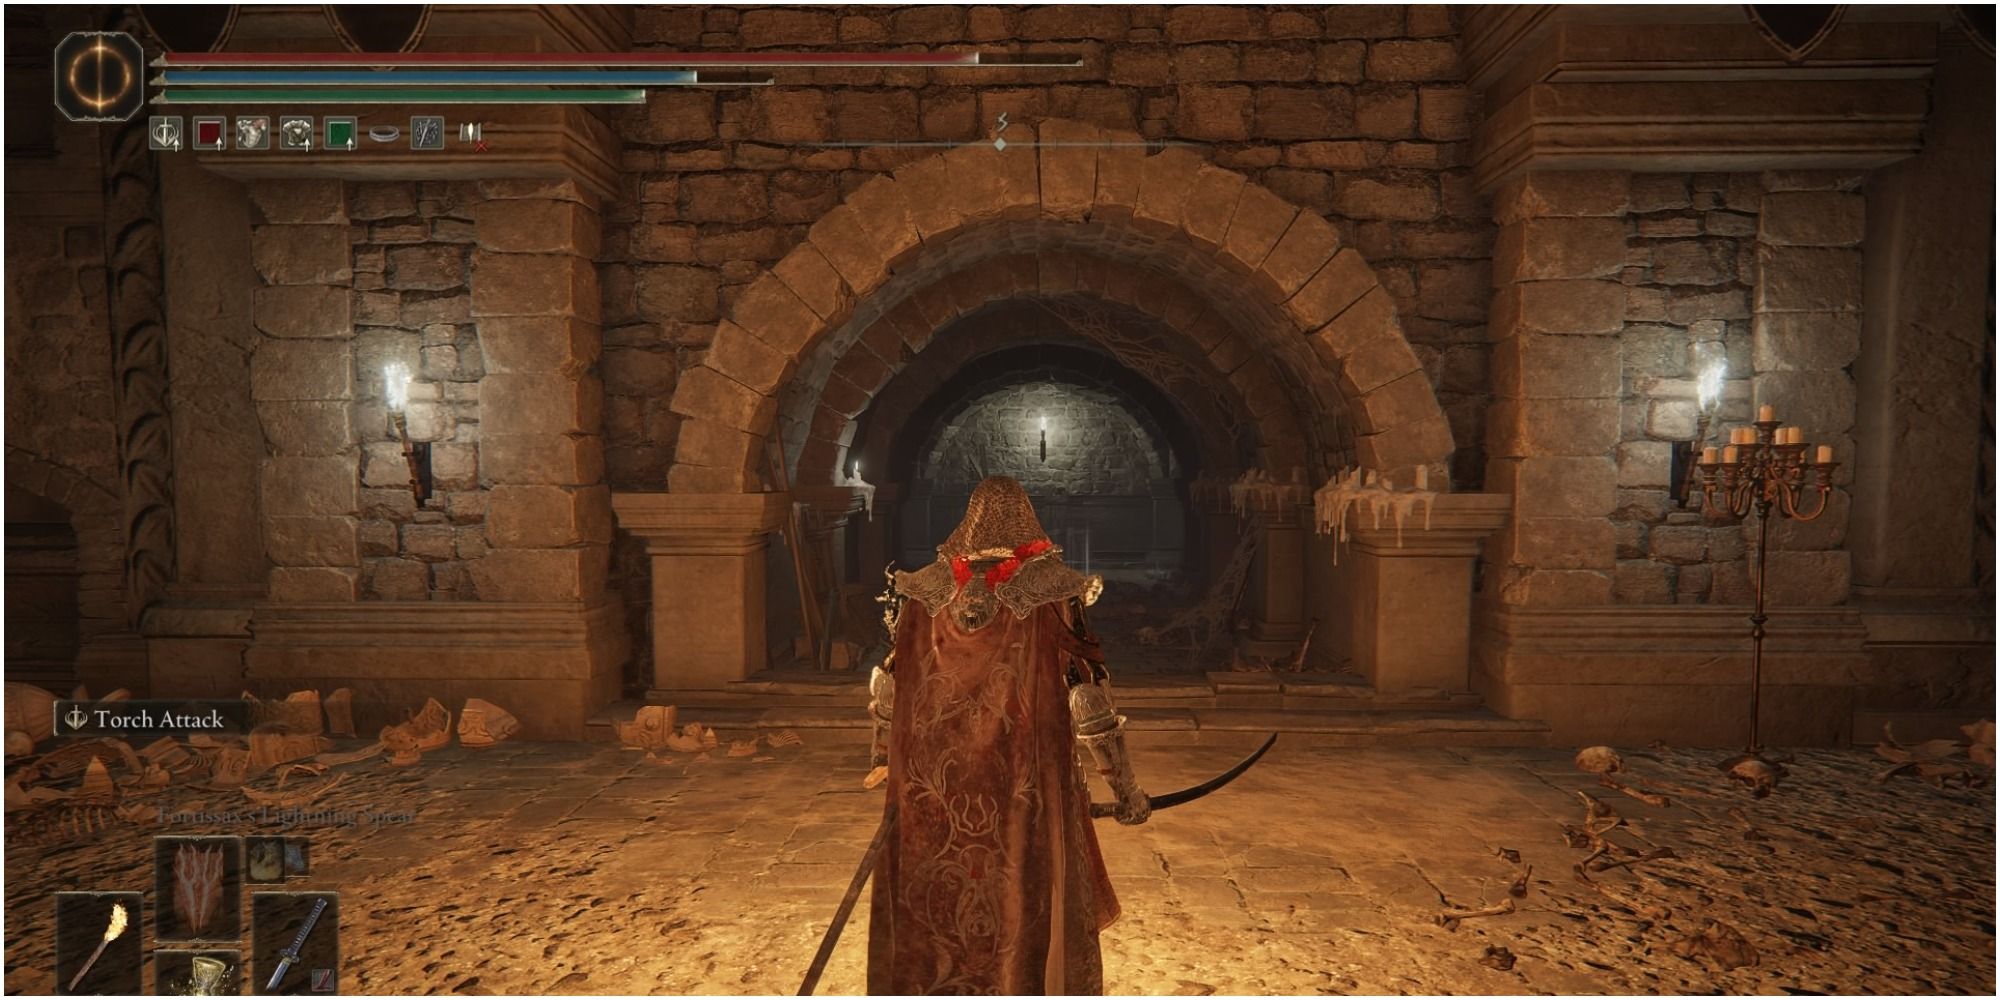
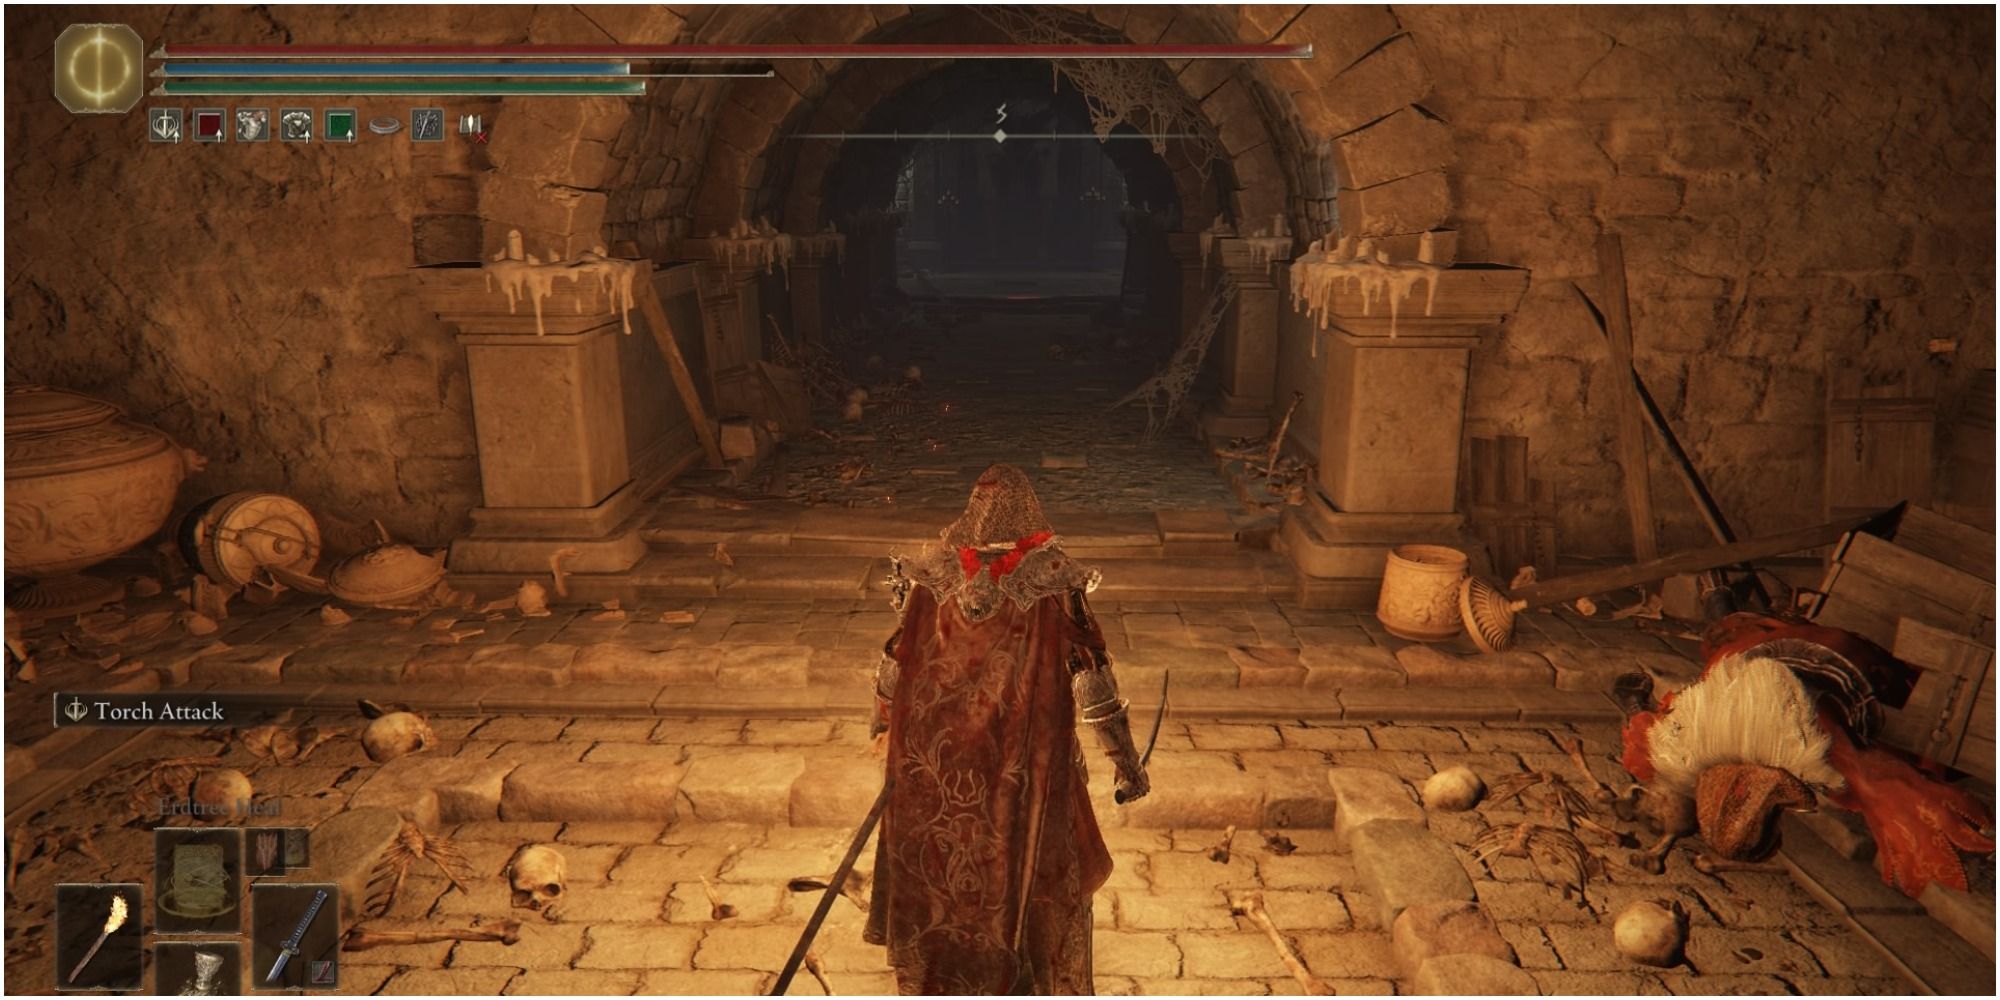
Be careful of right as a fire contraption is activated. There is a Fire Monk inside a small gap in the hallway waiting you ambush you. Deal with him and go past the contraption. Do not attack the contraption, as it will deactivate the seal above it. Go up the stairs, and you will reach two paths.
Go up the stairs first and collect the Freezing Grease and activate the Imp Statue using a Stonesword Key. Inside, you will find a seal on the floor, and further ahead is a room.
Proceed inside the room to find three Shadow Imps. Pull them back to the Golden Seal and kill them all. Go back inside the room to collect Grave Glovewort [8] and Cranial Vessel Candlestand. Go back down the stairs and go straight and take the lift down.
After getting off the lift, turn back and activate it and get off immediately. This will make the lift go up and the Golden Seal appear in this room.
Pull the lever to the wooden gate, and you will see a Shadow Troll in the distance. Attract it and bring it towards the Golden Seal. Once it gets staggered, kill it to make the Heavy Door behind him open. Pick up the Ghost Glovewort [9] on your left and go through the gate to reach the boss gate.
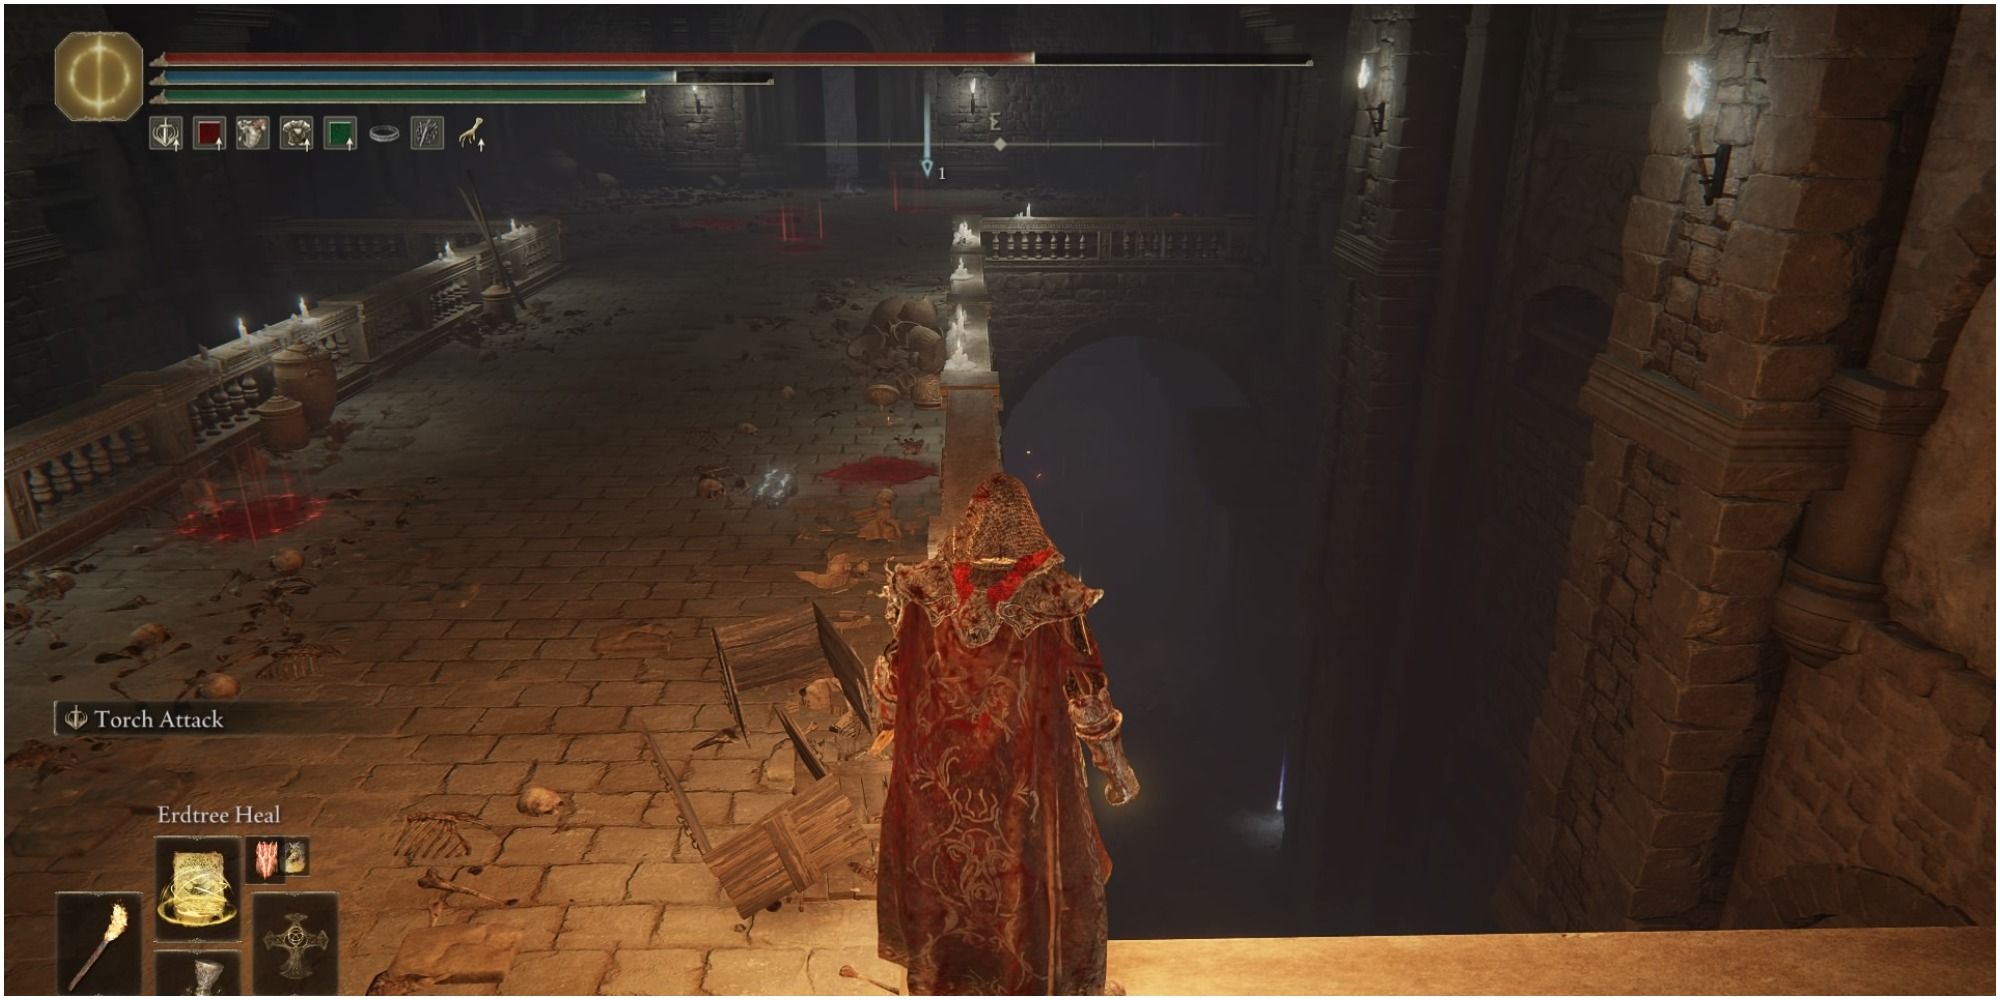
After you defeat the boss, backtrack to the same room where you found the Troll and go to the area below the room. To do this, you will need to jump down from the stone railings.
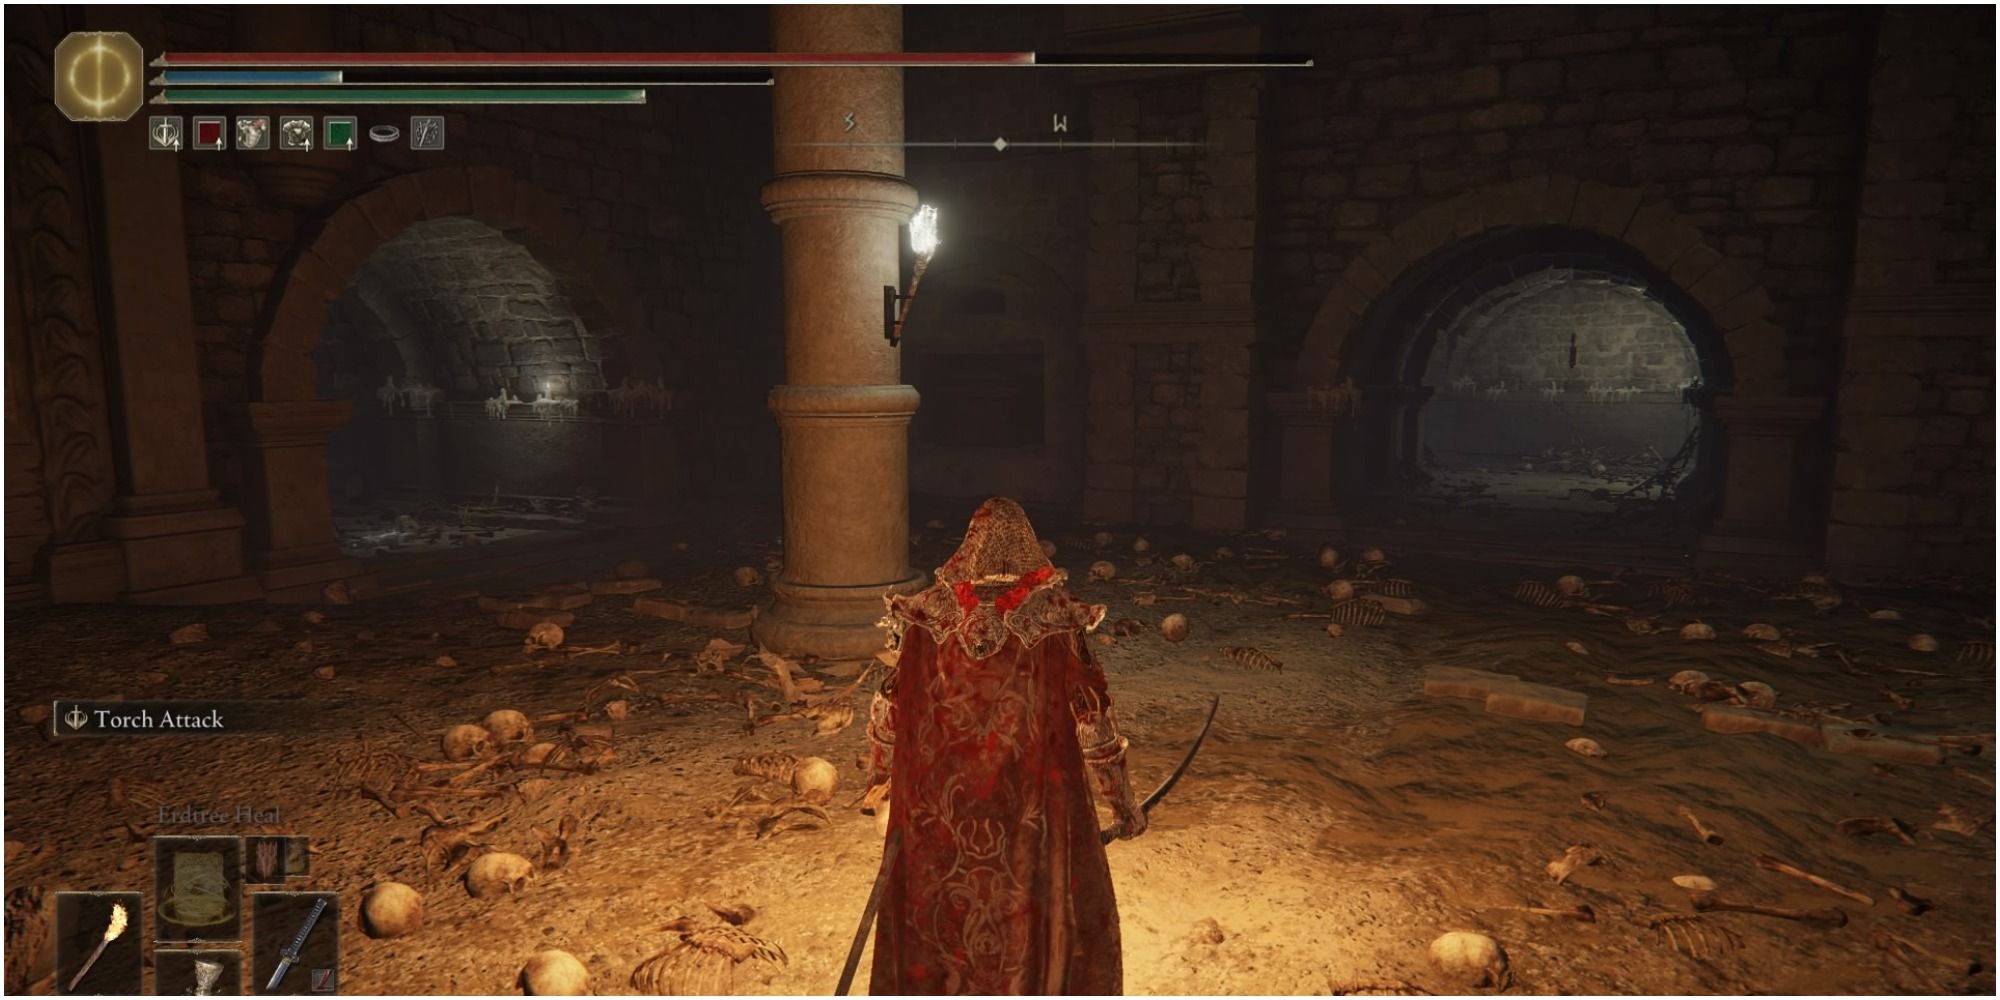
In the room below, you will find a Fire Prelate that you have to kill. Once that is done, collect the Great Grave Glovewort and Giant's Seal from this room and look towards the two passageways.
You can go down the ladder on your left to reach two Shadow Lesser Burial Watchdogs. Collect Grave Glovewort [8] and Grave Glovewort [9]. Killing the Watchdogs is not necessary; you can leave the area after collecting the Gloveworts.
Ancient Hero of Zamor Boss Fight
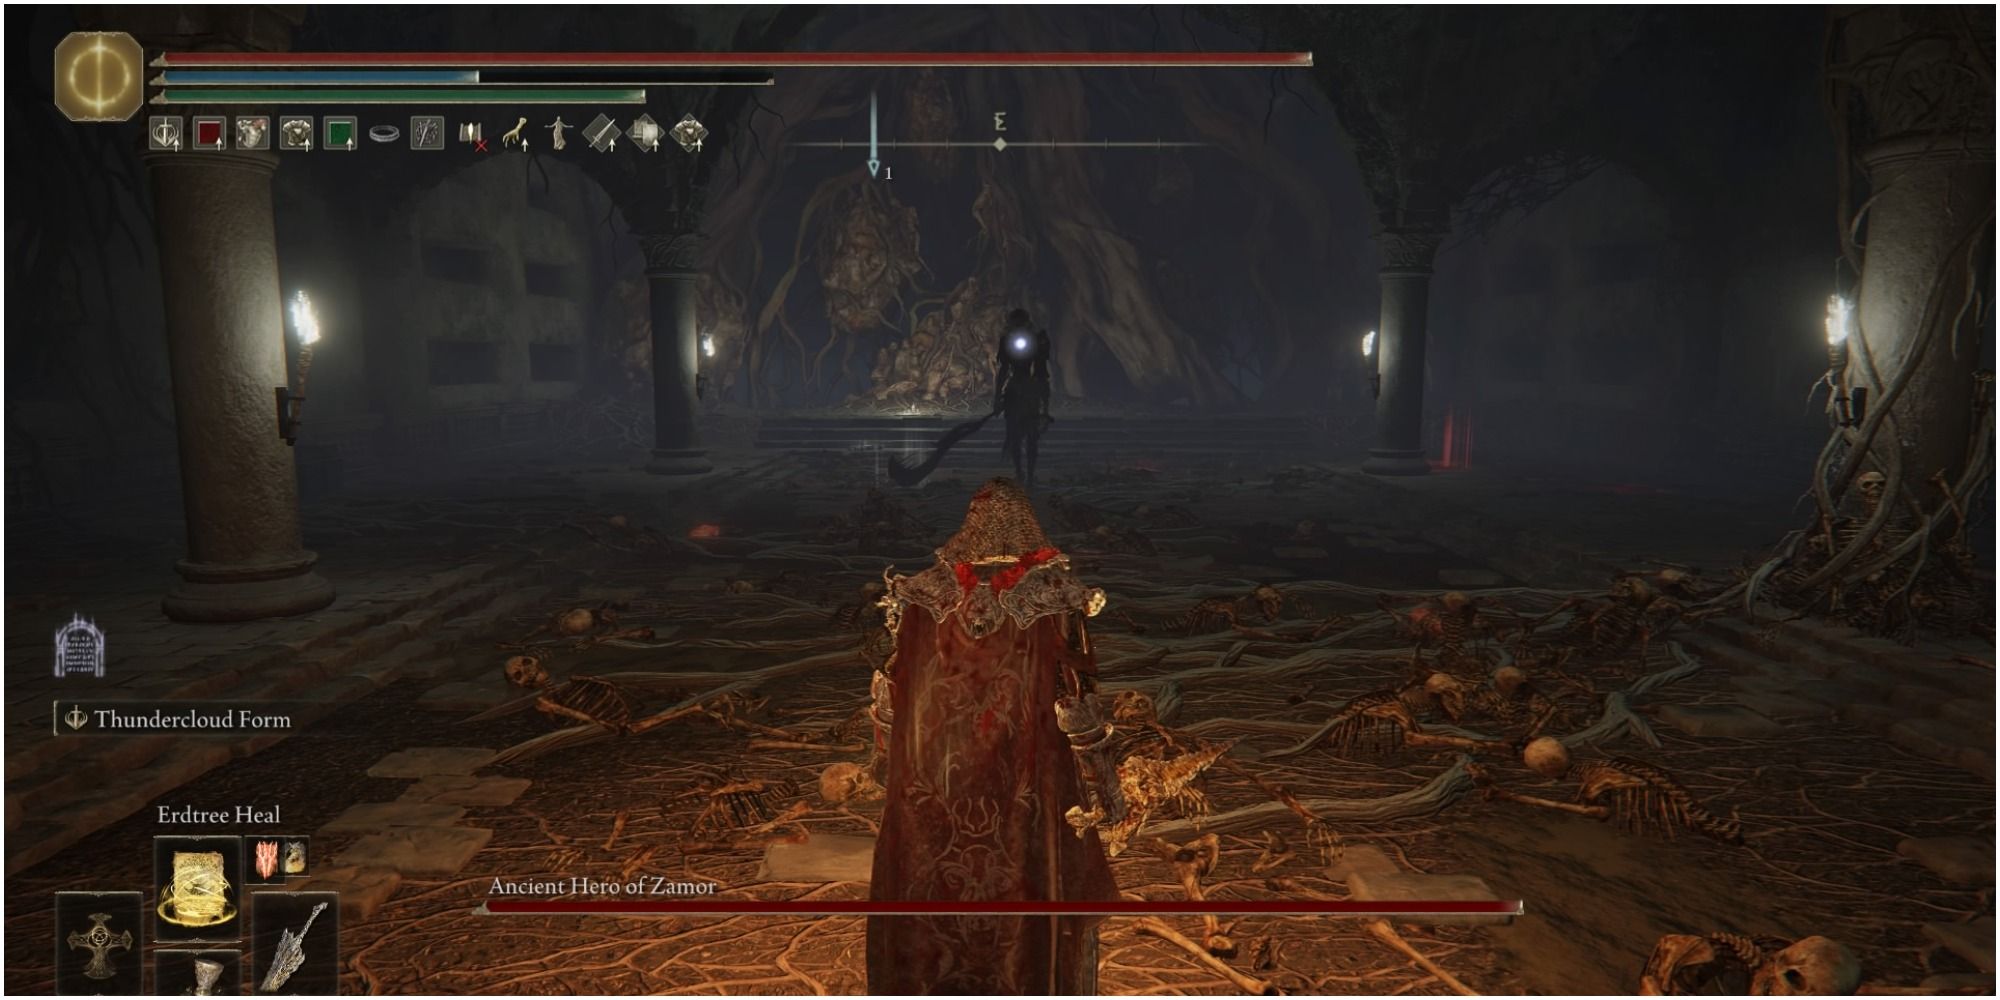
Ancient Hero of Zamor is the boss located inside Giant-Conquering Hero's Grave. The boss has the same attacks and moveset as the version you fight inside an Evergaol in Weeping Peninsula. The boss fight is quite easy because of the use of Spirit Ashes and Fire/ Lightning Incantations.
As the boss is weak against Fire and Lightning, spells like Fortissax's Lightning Spear, Placidusax's Ruin, and Flame of the Fell God are excellent for this fight. These deal serious damage to the boss and can make the boss go into his second phase faster, where he sits for a couple of seconds to buff himself. This is a good time to stay aggressive and get more hits in.
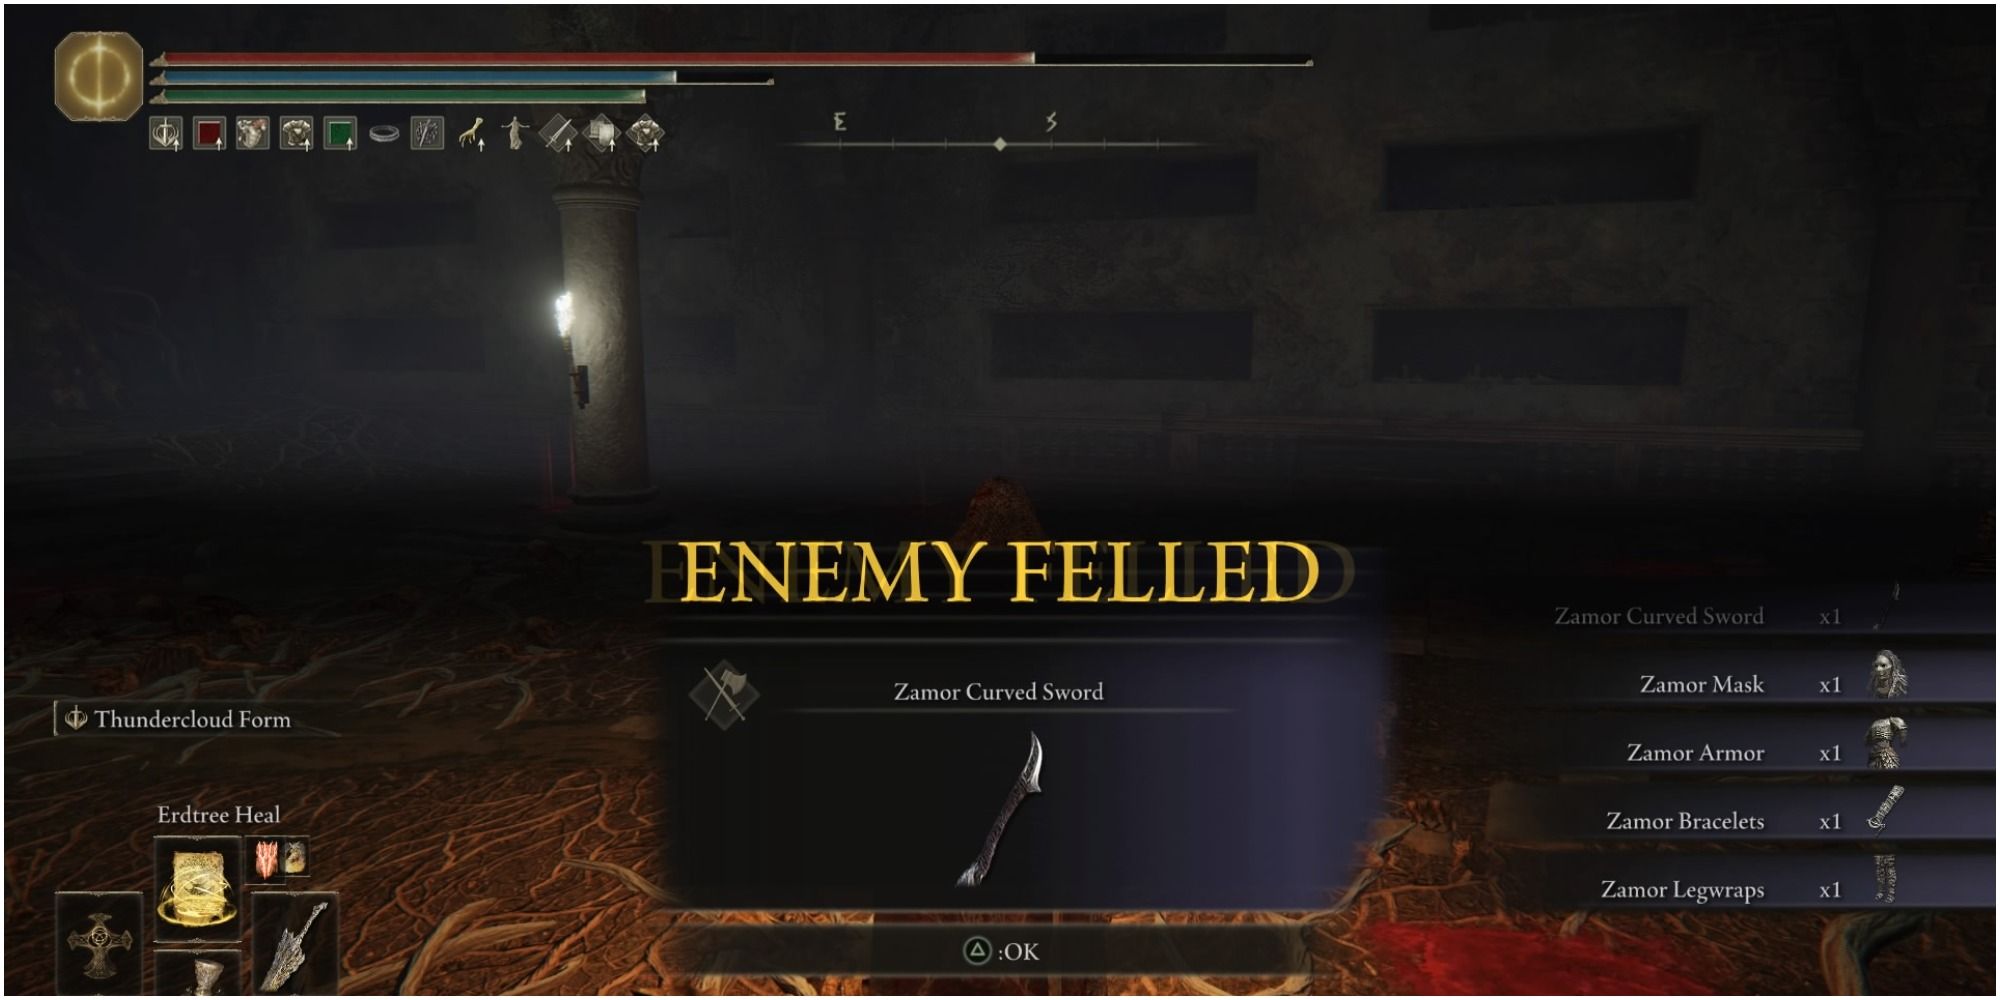
Defeating the boss will drop Zamor Curved Sword, Zamor Mask, Zamor Armor, Zamor Bracelets, and Zamor Legwraps.

