Quick Links
Once you've passed your entrance exam and been inducted into the prestigious Escape Academy full and proper, you'll get to choose the levels you take on. You're given a choice of two, to begin with, and this is one of them. As you'd expect, it isn't too tough - that would be a mean trick to play on you.
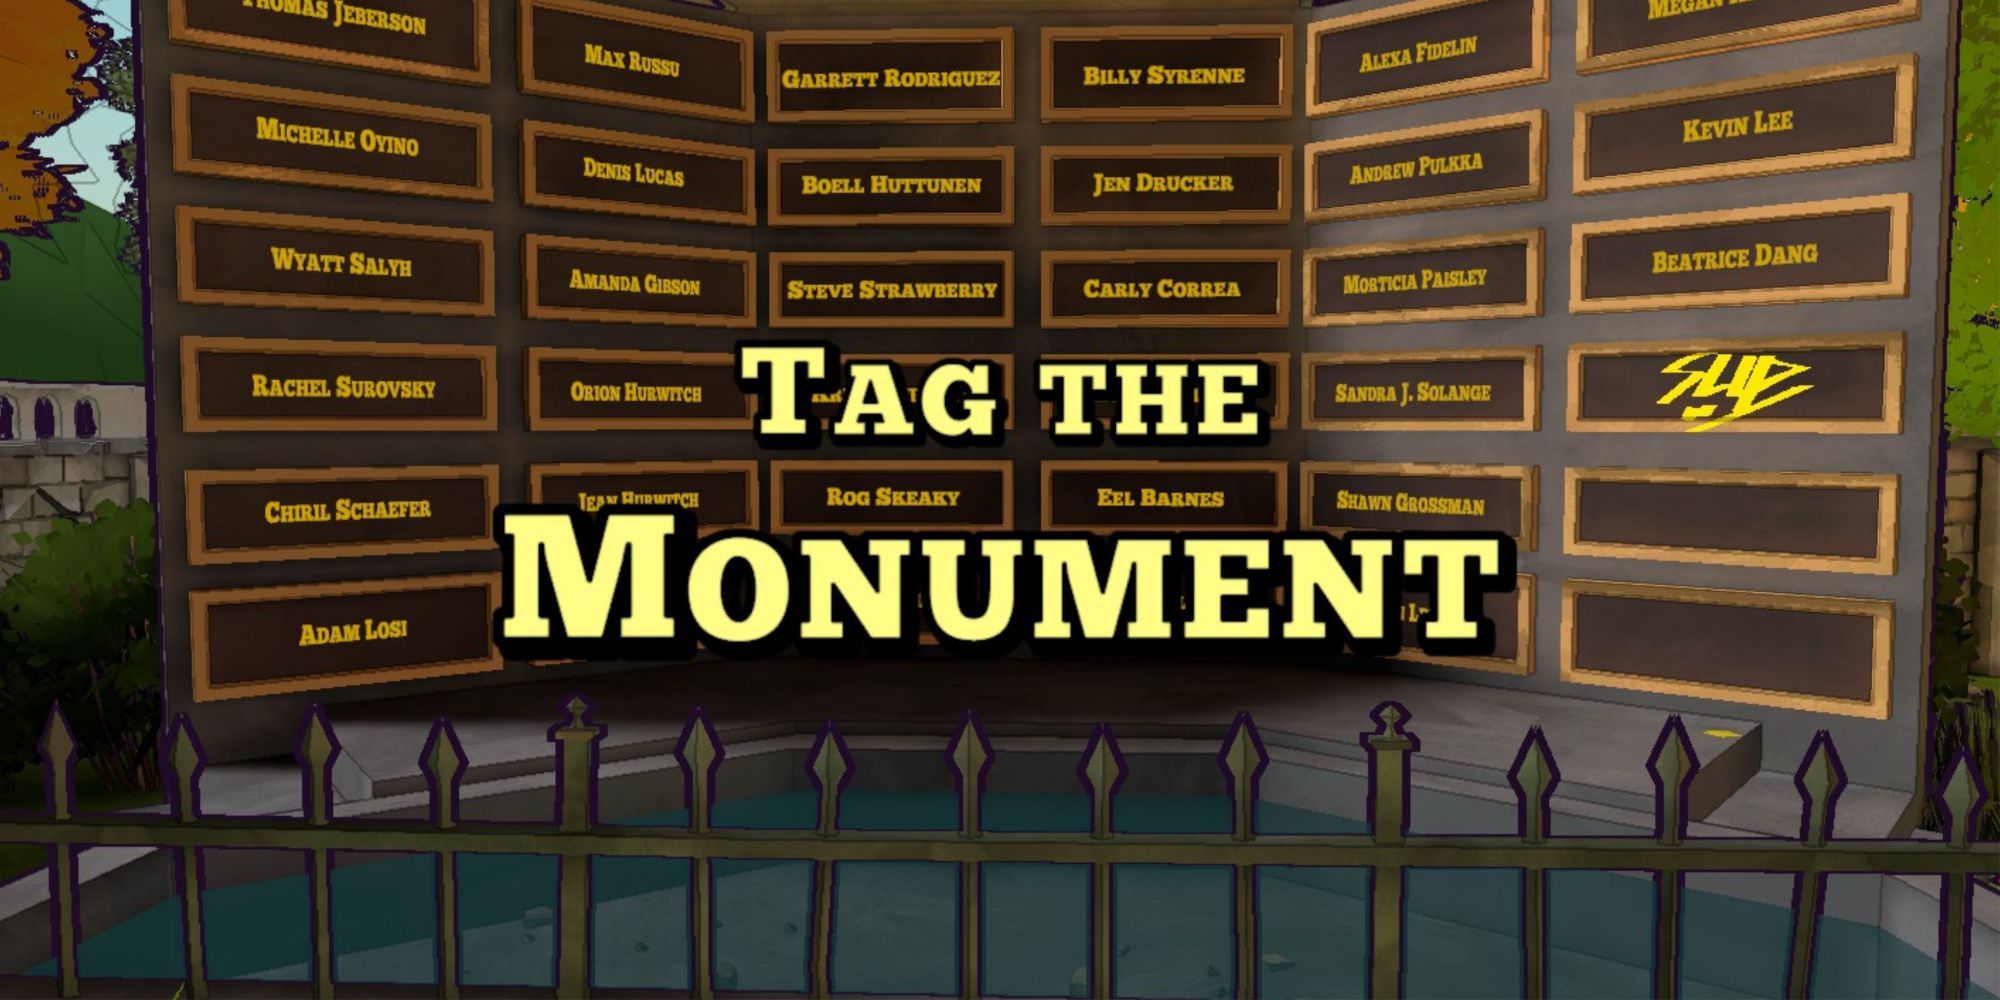
That said, the level does have a 30-minute time limit, so you should be expecting something more involved than the other levels you've beaten so far. You'll learn from Slip, an artsy teacher at the academy, that your goal is to add your tag to the monument at the end of the plaza.
Updated August 26, 2022: We've added a video walkthrough to this guide, which includes showing you how to tag the monument.
How To Get Paint From The Art Office
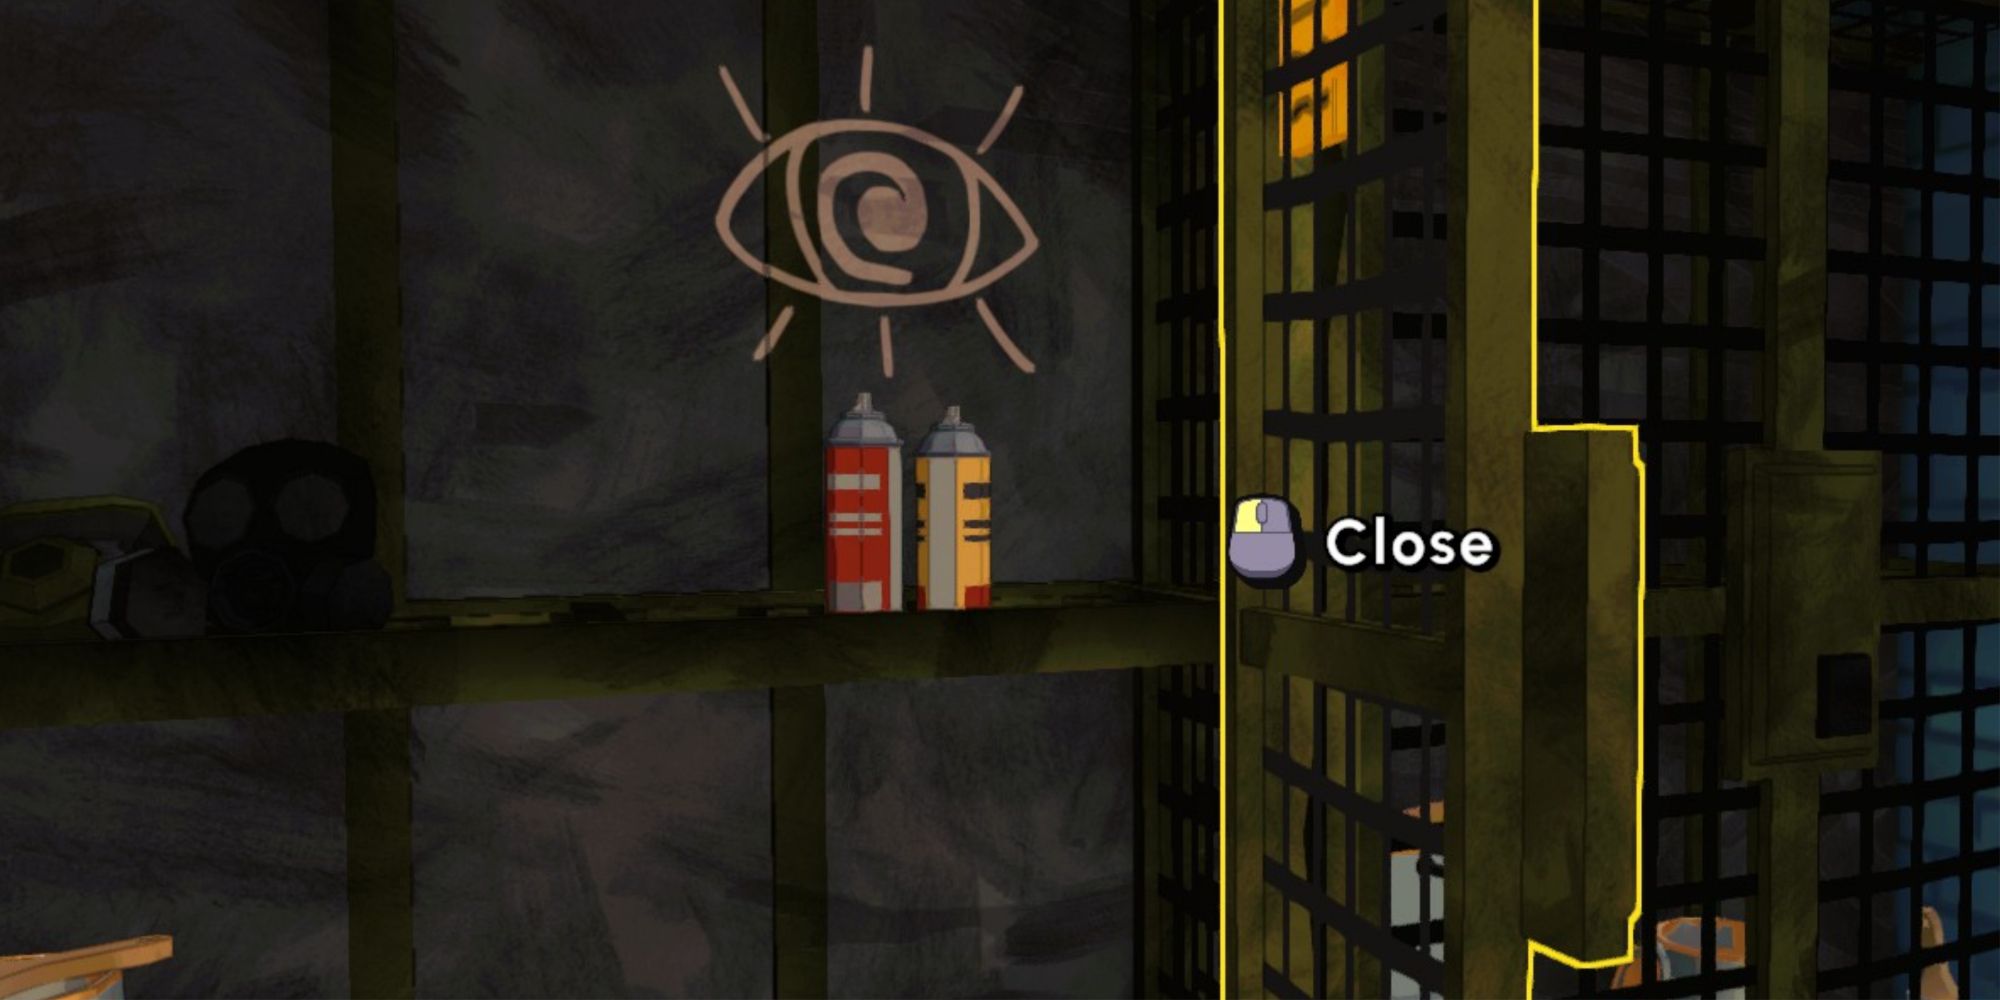
How will you tag the monument if not with paint? Sure, there's a ton of the stuff splattered all over the place, but you'll need something lightweight and portable if you want to get the job done. Fortunately for you, there are some spray paint cans waiting for you in Slip's office. Unfortunately for you, you'll have to solve some puzzles to get them.
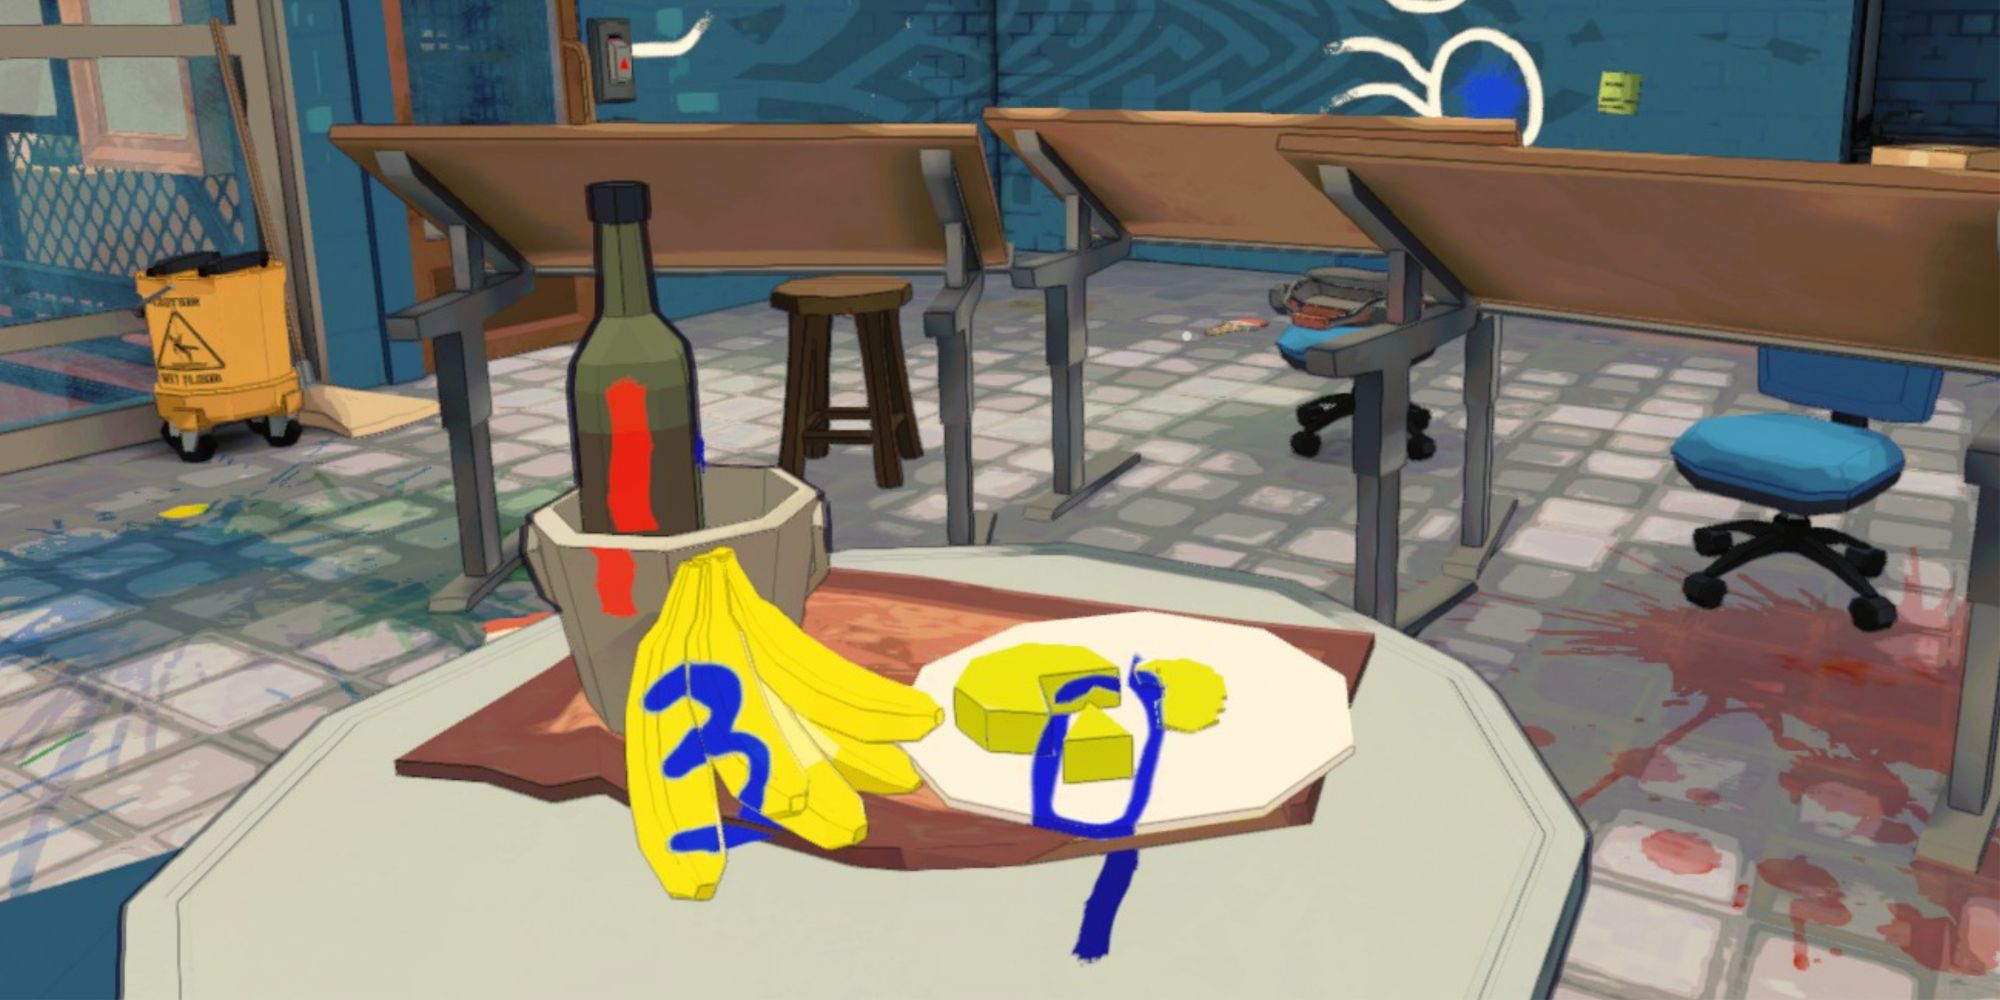
Enter the room on the right of the plaza to find the remains of a still-life class. The first thing you'll have to do in this level is complete the still-life - it's the key to revealing a precious code that you'll need. The still life is missing three items:
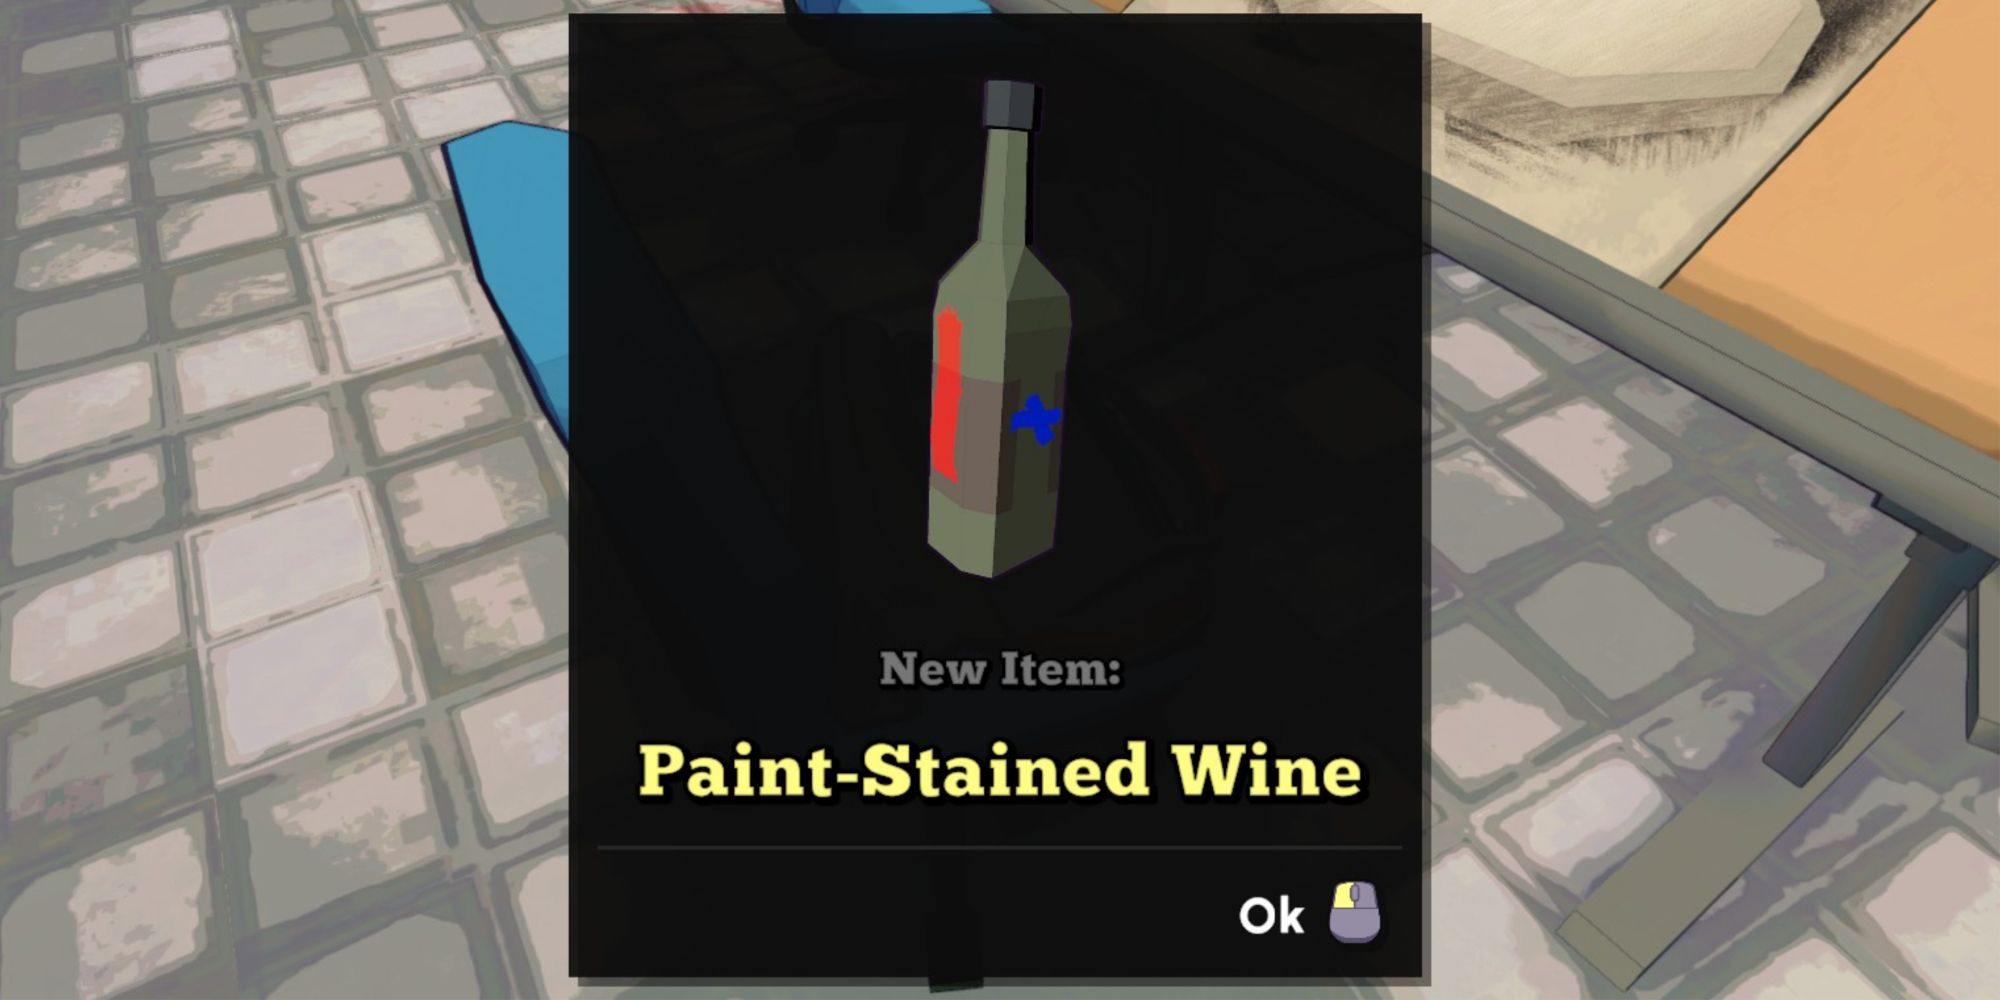
- A Paint-Stained Wine bottle, which you can find on one of the chairs in the classroom.
- Some Paint-Stained Cheese, which you can find on a stool next to one of the easels in the middle of the classroom.
- A bunch of Paint-Stained Bananas, which you'll find in the middle locker against the wall.
With all three stained items, interact with the table and replace them all gently. A note on one of the easels will let you know that you should be looking at the still-life from behind to see the true meaning. Head behind the still-life and you'll be able to see a code if you stand in just the right place: 139.
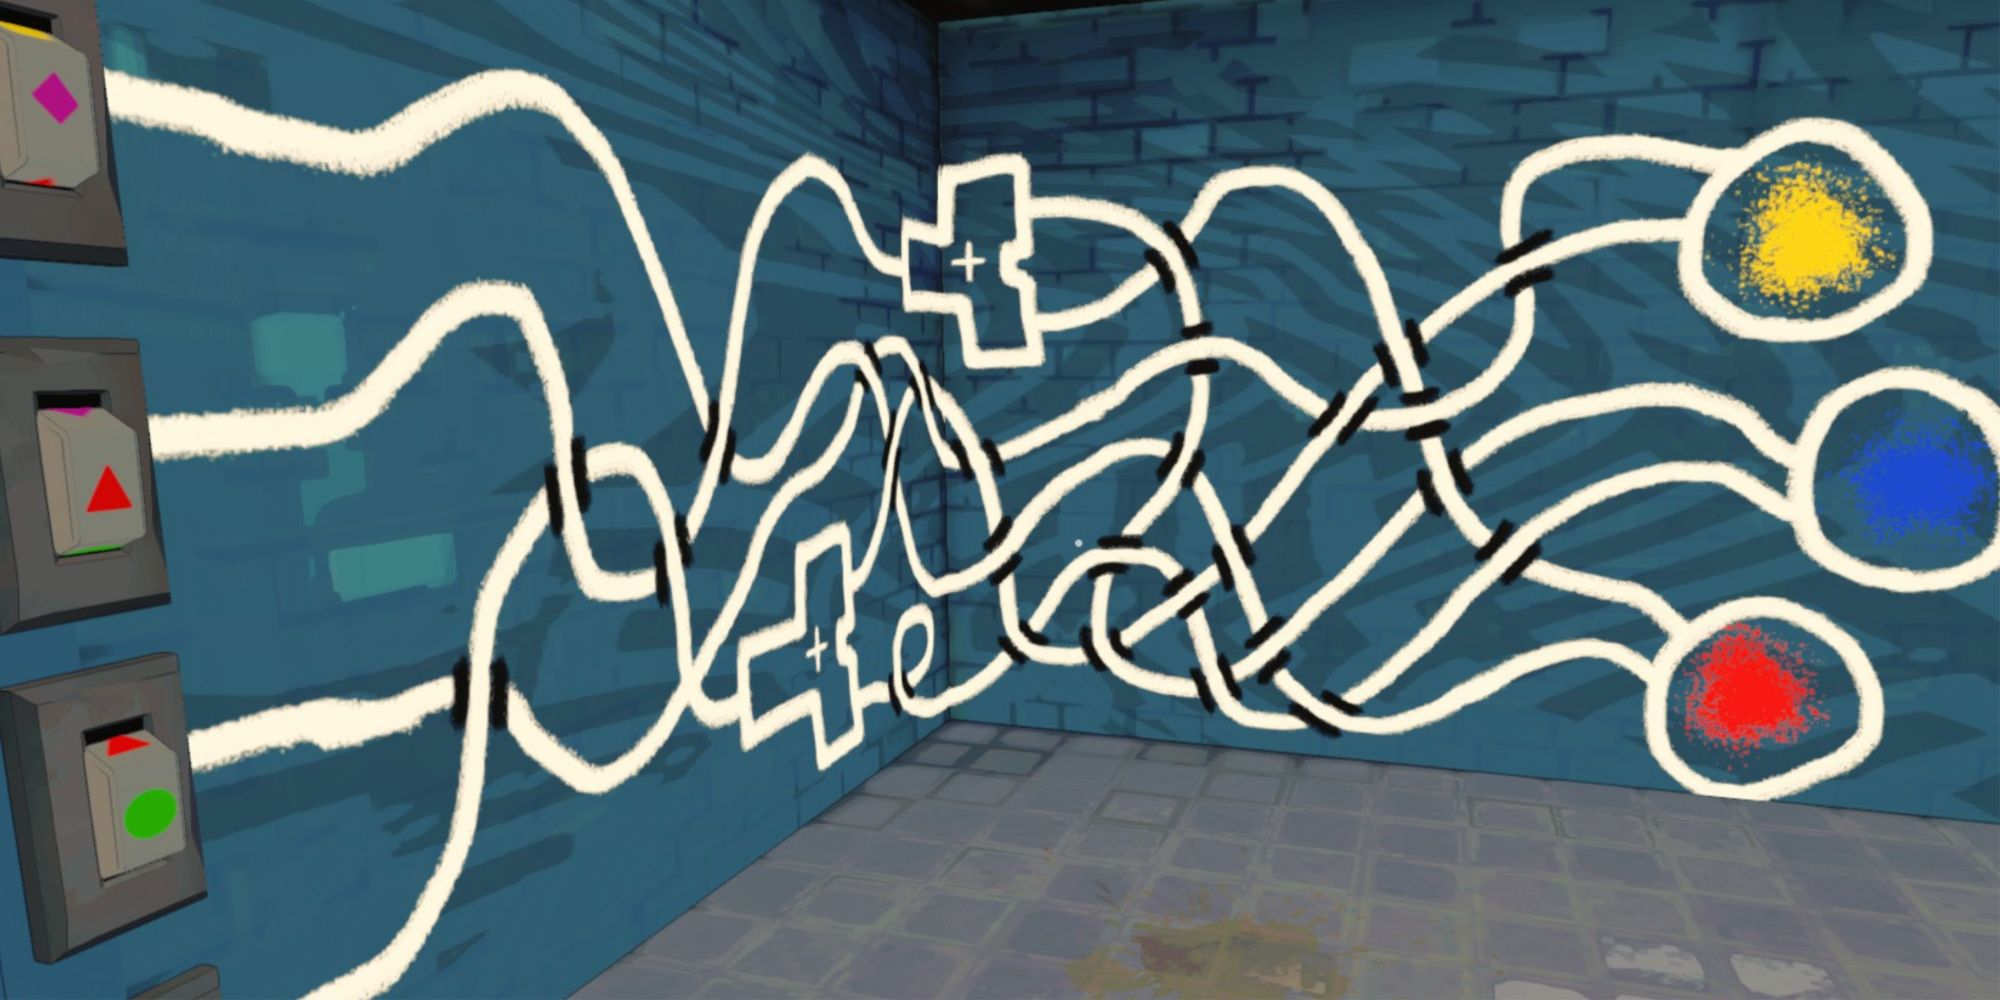
This code will crack the lock on the rightmost locker. Inside, you'll find Anti-Invisible Ink. Use this on the wall in the classroom to reveal a chaotic mess of white tendrils that makes a maze.
The puzzle here involves you linking the white lines from the left-hand side of the mural to the colors on the right. Follow the lines extremely carefully, noting when a line is split in two. When this happens, you'll have to imagine that the colors are mixing on the way, meaning the result on the color wheel is a secondary color, not a primary one. That is: a color made up of two other colors.
From top to bottom, the color wheels should show:
- A red triangle. This line leads directly to red.
- A purple diamond. This line splits off into two, one that reaches blue, and one that reached red.
- A yellow pentagon. This line leads directly to yellow.
- A green circle. This line splits off into two, one that reaches blue, and one that reaches yellow.
The door will open, granting you access to the office. Inside, open the second cabinet from the right and pick up the Spray Paint.
How To Get The Stone Nose
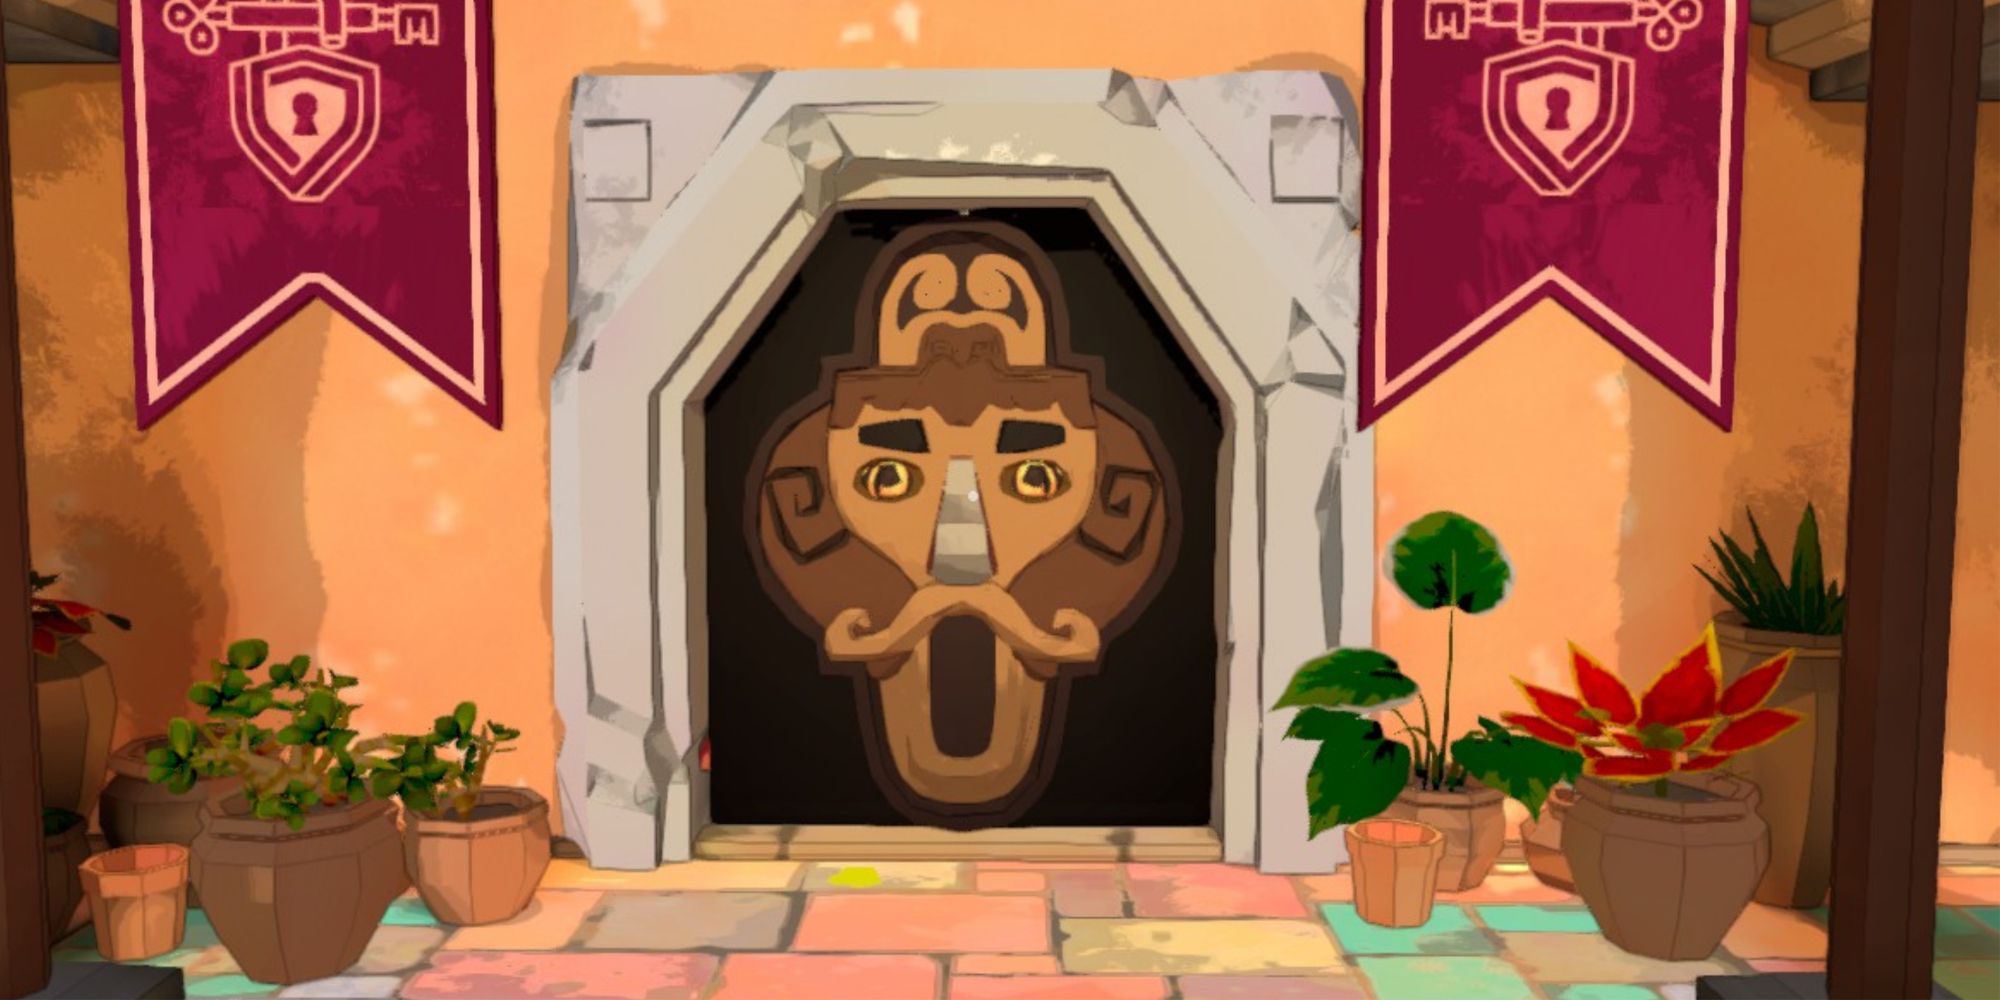
You'll have noticed the ominous face on the door opposite the art classroom. This is the focus of our next puzzle. The poor guy seems to be missing a nose, so that's the first thing on our agenda. There are two puzzles in this step, both taking place back in the art room.
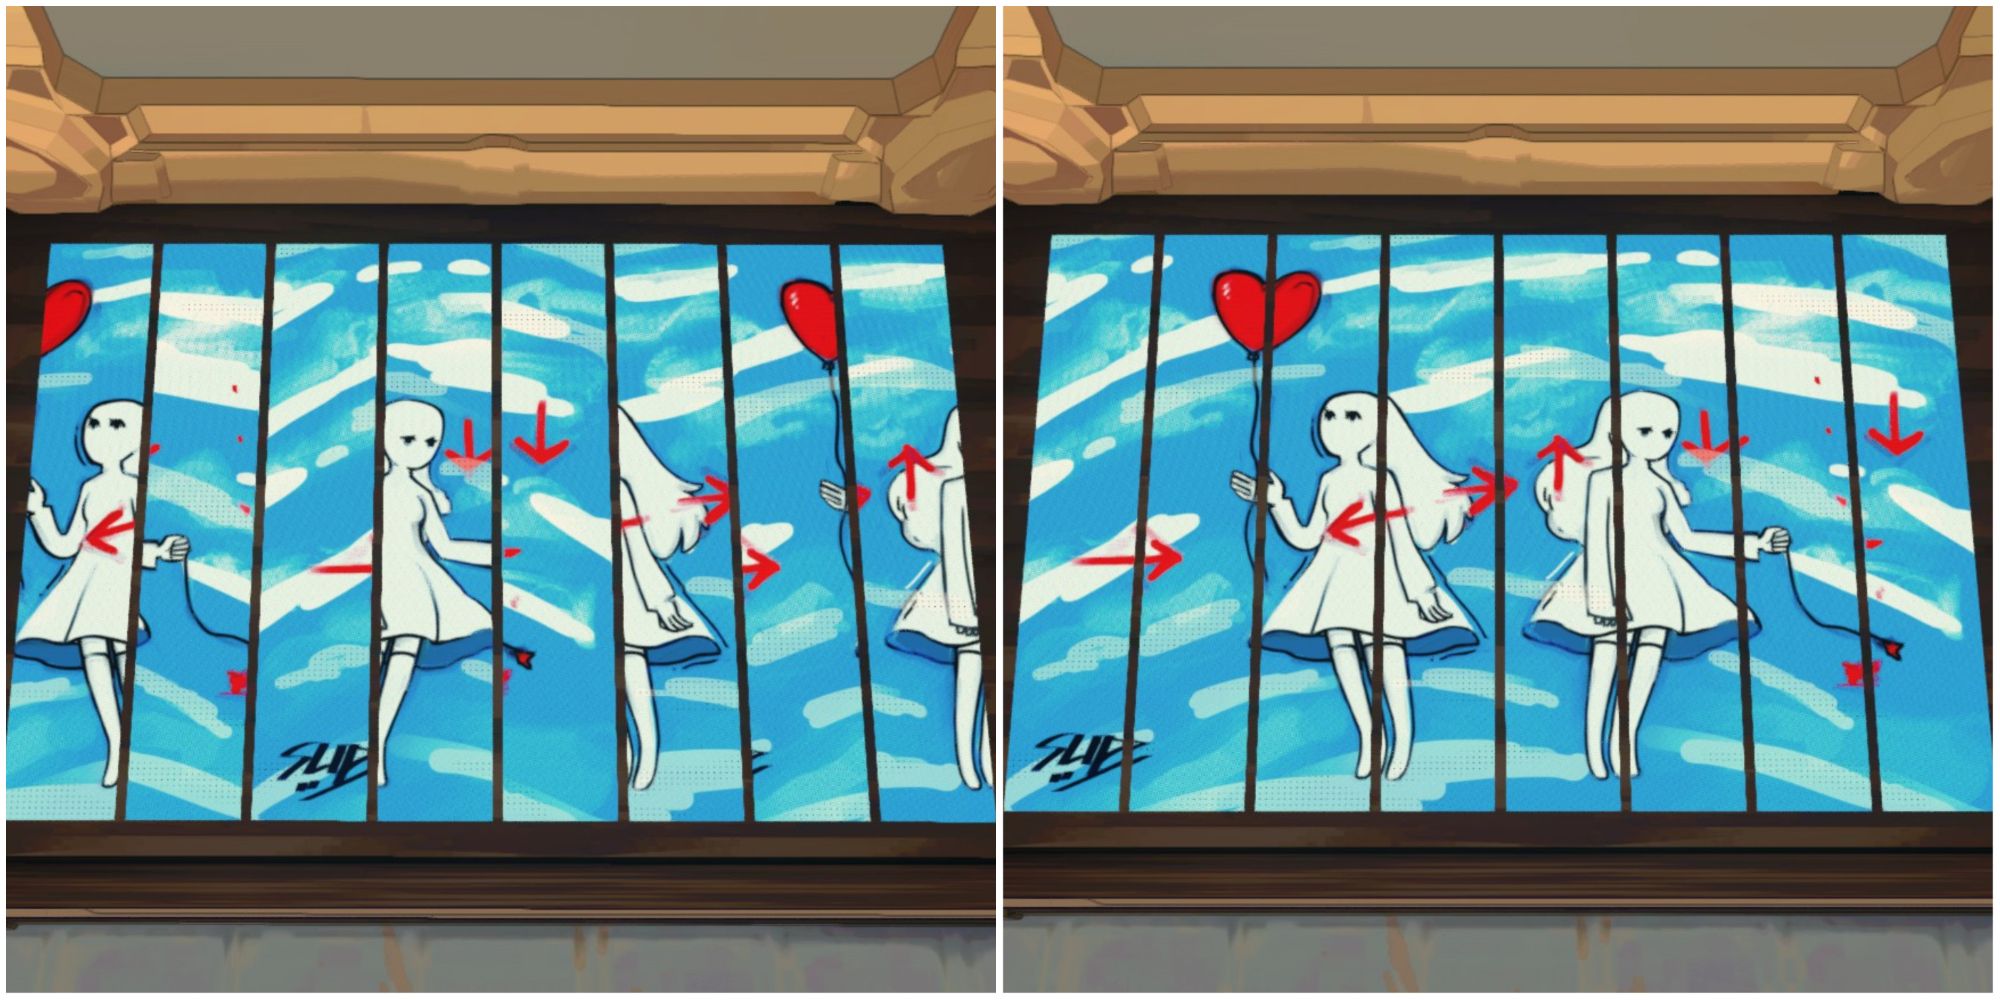
Firstly, pick up the painting that you'll find in the leftmost locker. Place it in the frame to the right, next to the nameplate with 'Open Sesame' on it. The frame will shred the painting, turning it into a puzzle. Click on any two shreds to swap their places.
You're looking for the painting to turn out like the one depicted in the image above. A good starting point is with Slip's signature, which will go in the bottom left-hand corner of the painting.
Once you've put the painting together again, you'll have an arrow code: Right, Left, Right, Up, Down, Down. Input this code into the lock opposite the puzzle you just completed.
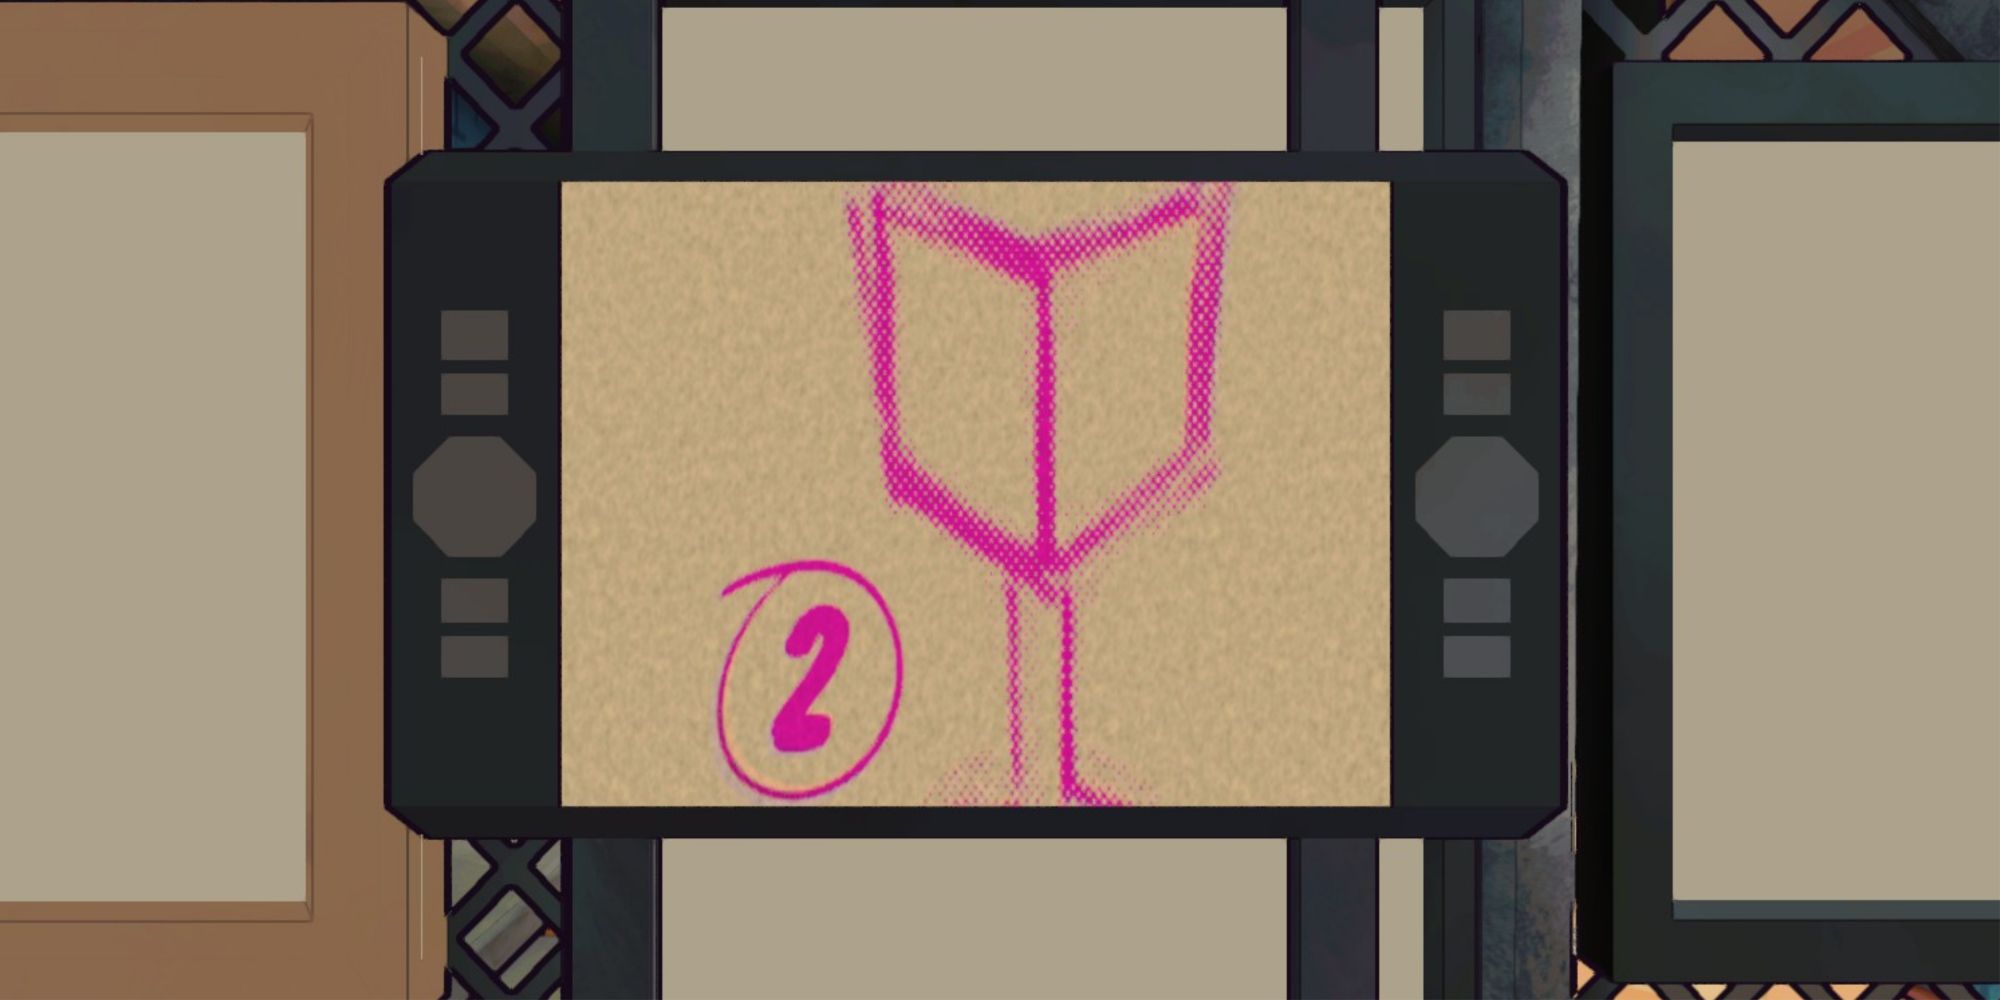
The Stone Nose is in the safe in the next room. To work out the safe's code, you'll need to use the scanning device on the other wall. Using this device to scan the seemingly blank canvases, you can see that the key to working out the code lies in the artworks in the plaza.
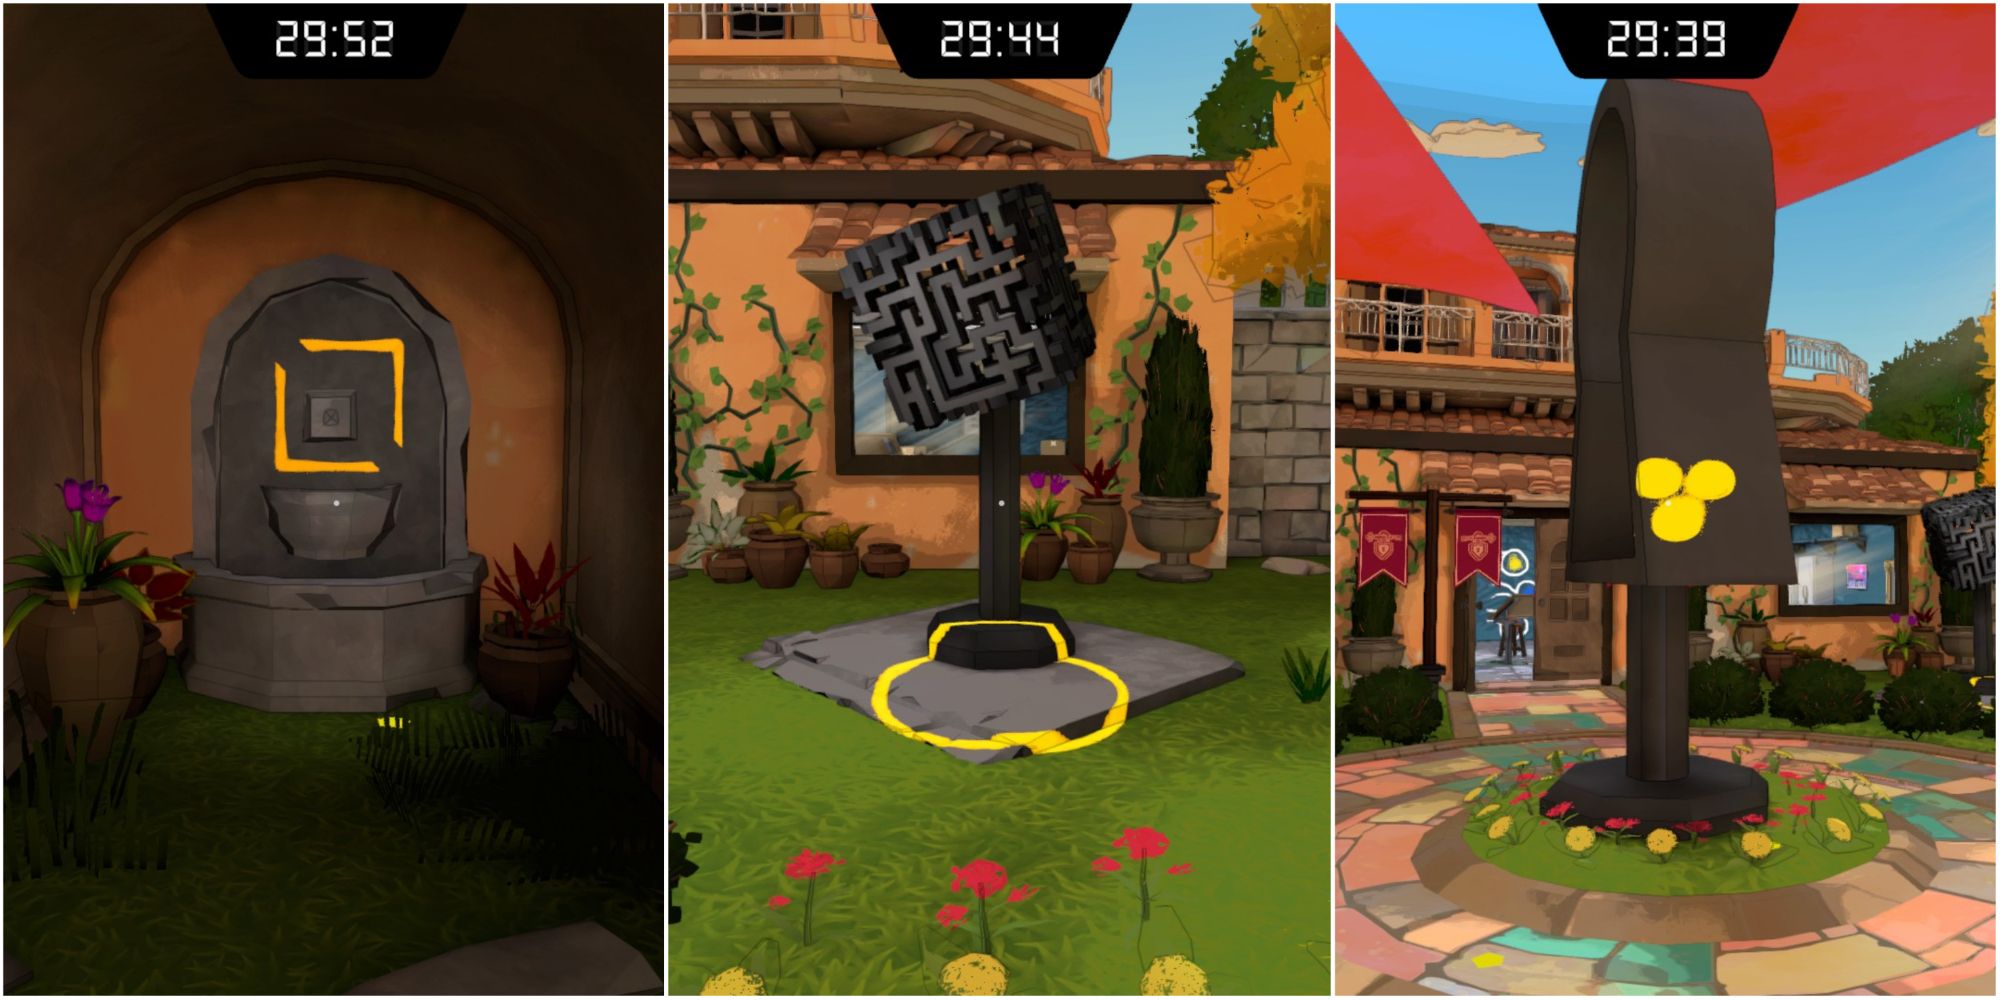
The fourth and final canvas has a 3x3 grid with nine symbols in it. You'll find these symbols on the artwork outside, and the symbols' placement on the grid corresponds to their buttons' placement on the safe's lock. With this information, we can deduce the following:
|
Position |
Artwork |
Symbol |
Placement |
|---|---|---|---|
|
First |
Wall Fountain |
Square with no corners |
Middle-left square |
|
Second |
Cube on a Pole |
Empty circle |
Middle-right square |
|
Third |
Giant Keyhole |
Three filled circles |
Bottom-left square |
Press those buttons in the right order, and you'll be able to pick up the nose, called a Mysterious Object by the game. You'll also get a hint on how to use it.
How To Open The Stone Door
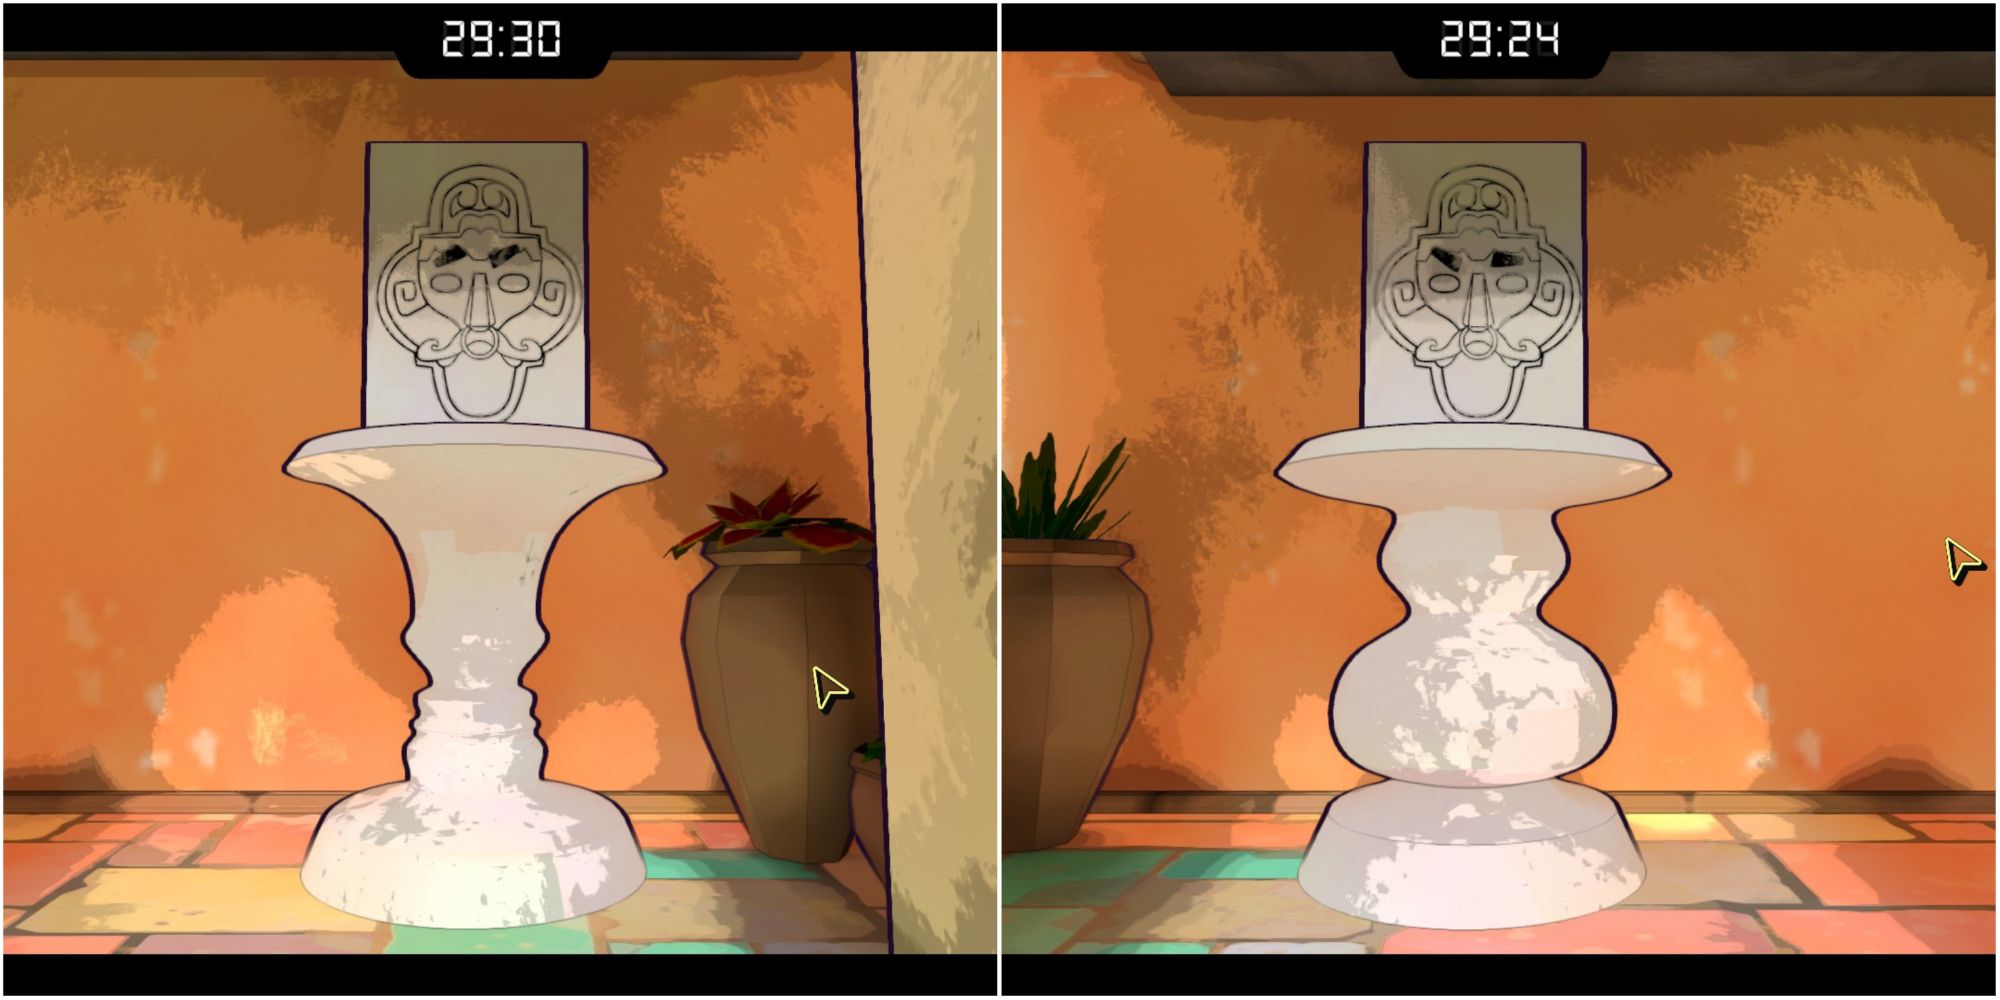
Firstly, make a note of the picture in the safe. It's a classic optical illusion that allows you to see either a vase or two people facing each other. This is an important thing to remember for this puzzle.
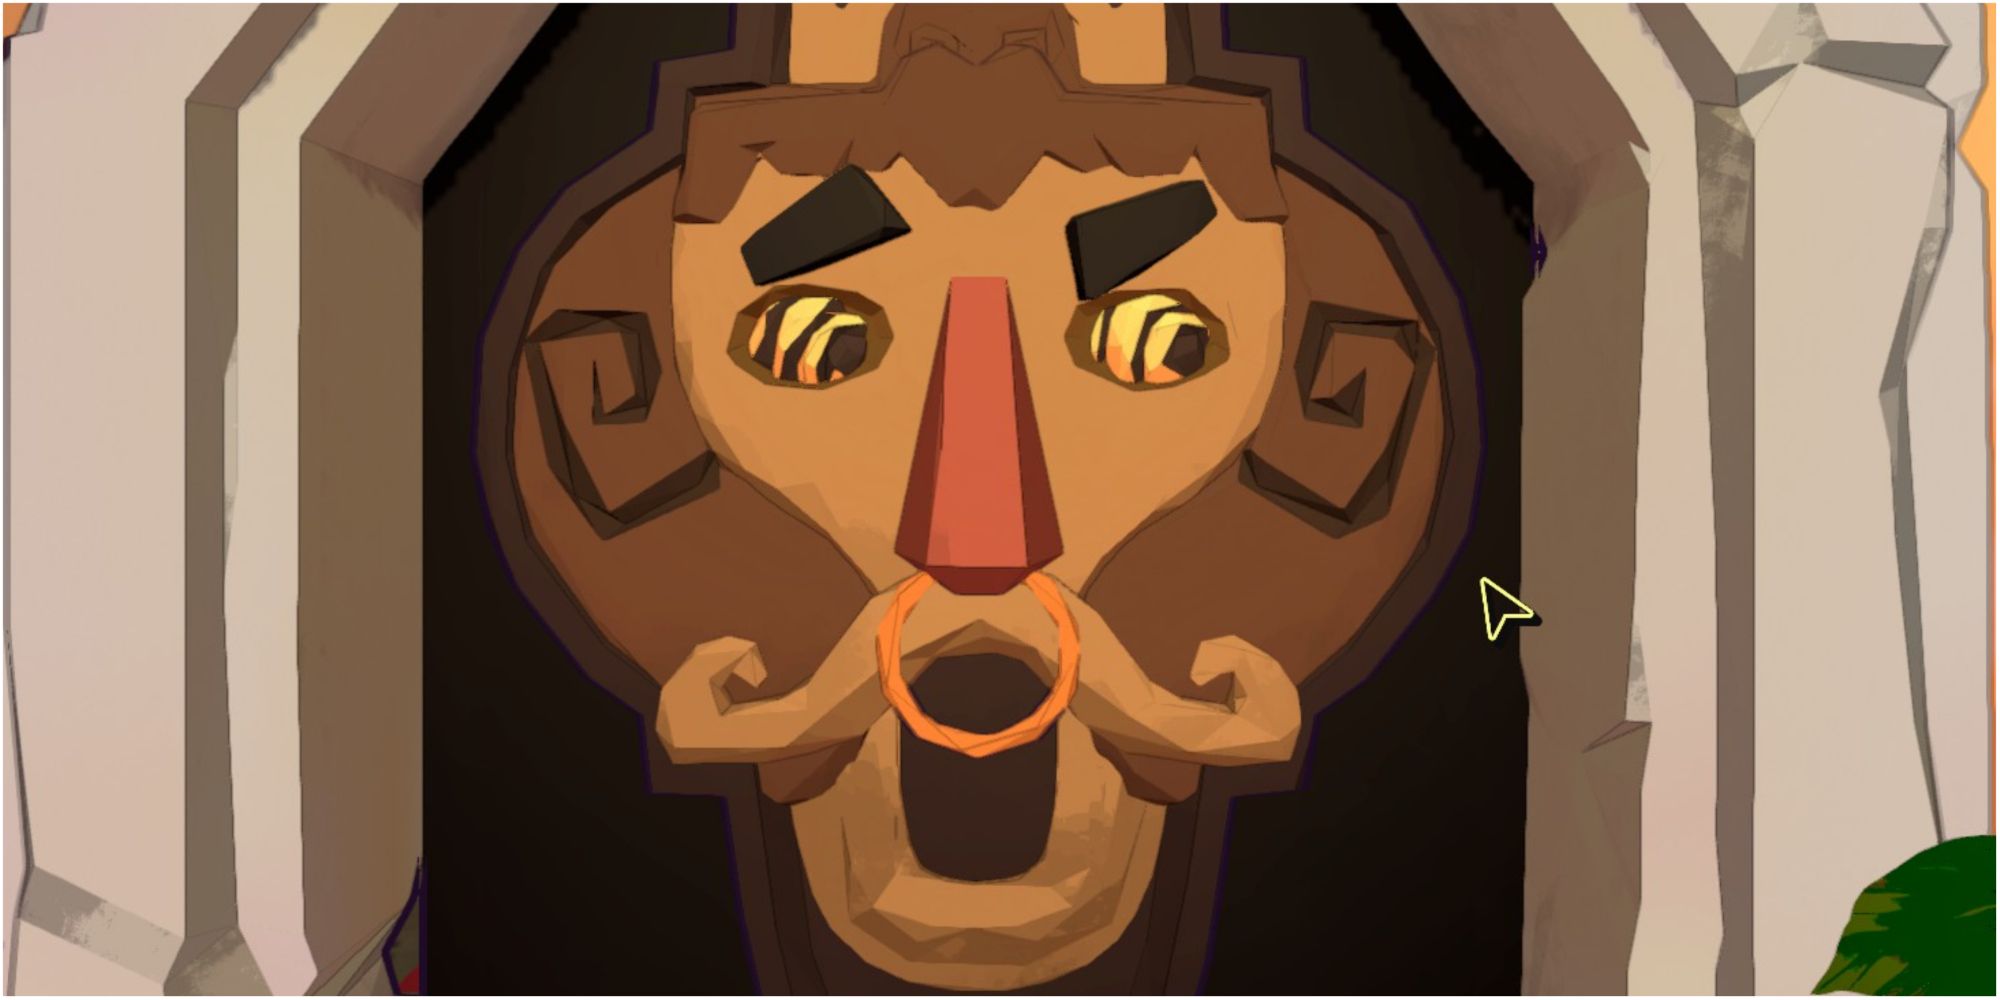
Head outside and attach the Mysterious Object/Stone Nose to the face in the door. It looks like the gold ring is a knocker, and you'll use this to open the door once you've arranged the face. You'll need to alter the following features until they're in the correct place:
- The face's eyebrows.
- The face's eyes.
- The face's mouth.
To work out what configuration these facial features need to be in, you'll have to check out the statues to the left and to the right of the stone door. Each statue is composed of two things: a tablet featuring a face, and a vase underneath. Some of these vases are identical to the optical illusion you saw in the safe.
Make a note of the facial features you can see in the tablets on top of the vases that resemble faces:
- The first tablet has the face's eyes facing to the right.
- The second tablet has the face's eyebrows slanted from the lower left to the upper right.
- The third tablet has the face's mouth halfway open.
Interact with the face and arrange it as if combining the three tablets above. The image below will show you what it should look like. Then, click on the nose and you'll be granted access to the gallery.
How To Complete The Gallery Puzzles
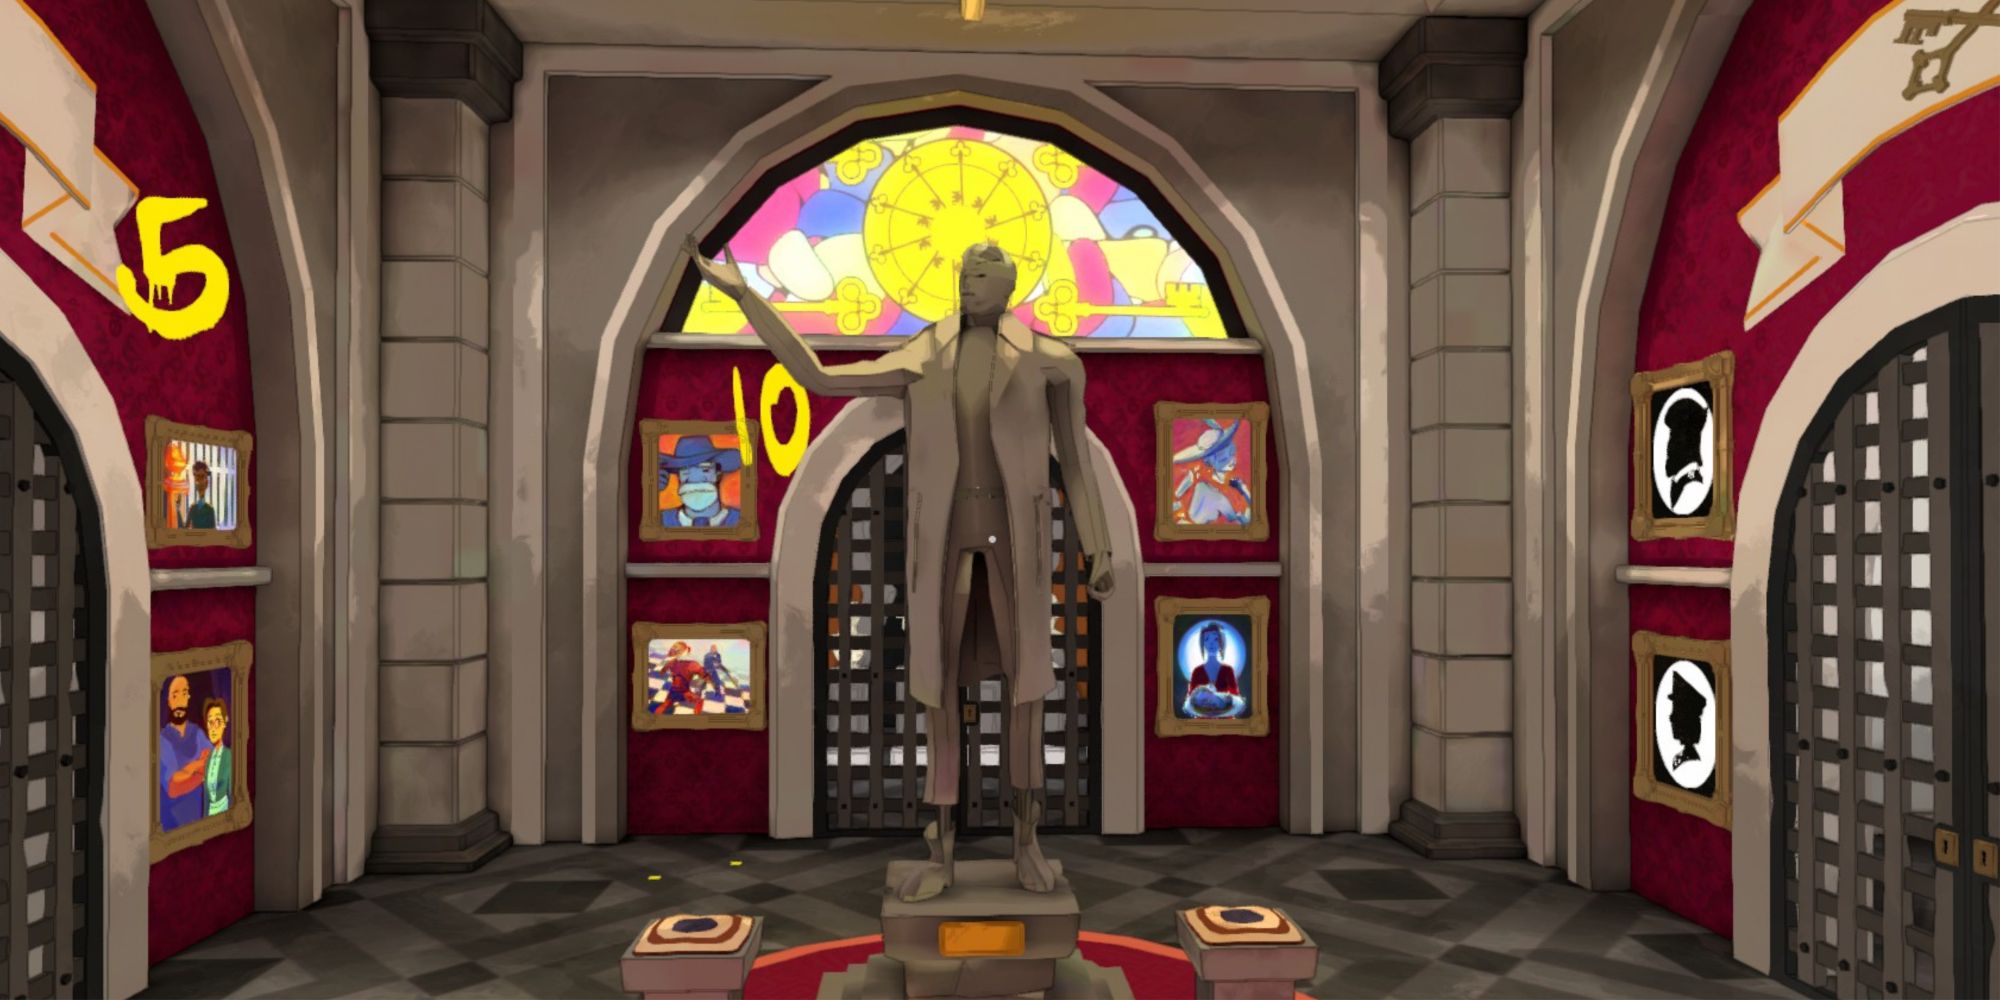
There are three doors to puzzles in this gallery, and you'll have to solve them all before you can reach the monument. Firstly, pick up the two keys on either side of the statue. There are labeled '2' and '5.'
Examine the doors. They all have two keyholes and they all have a number painted on top of them. Add together two and five and you get seven, so put the two keys you just picked up into the keyholes on the seven door.
How To Solve The Seven Door Bust Puzzle
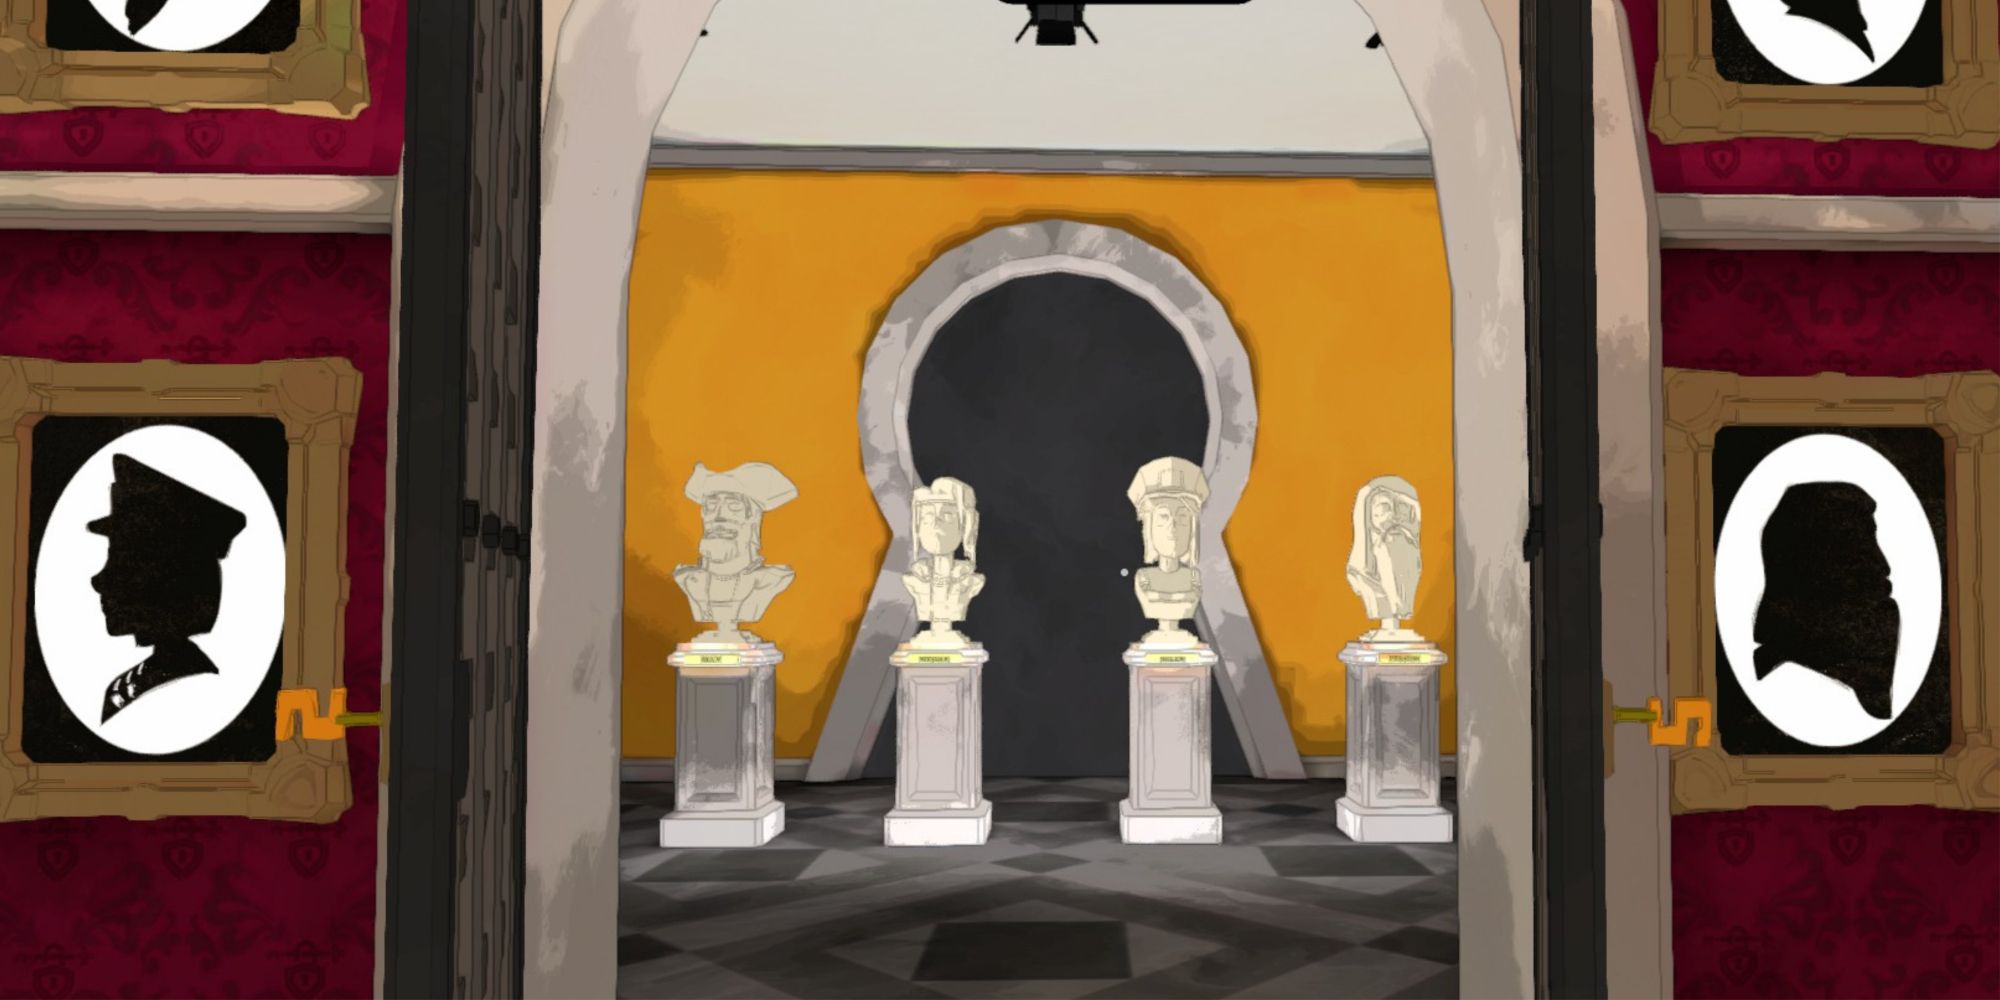
There are four busts inside this door. Examine the four paintings to the right and to the left of the door - you'll be able to see that each painting closely matches a respective bust inside the room.
Interacting with a bust lets you turn its head to the right or to the left. Turn them to these configurations:
- Turn Max's head to the left.
- Turn Megan's head to the right.
- Turn Belen's head to the left.
- Turn Fergus' head to the right.
The keyhole door behind the busts will open, netting you three more numbered keys.
Use the '7' and '3' keys to open the ten door.
How To Solve The Ten Door Bust Puzzle
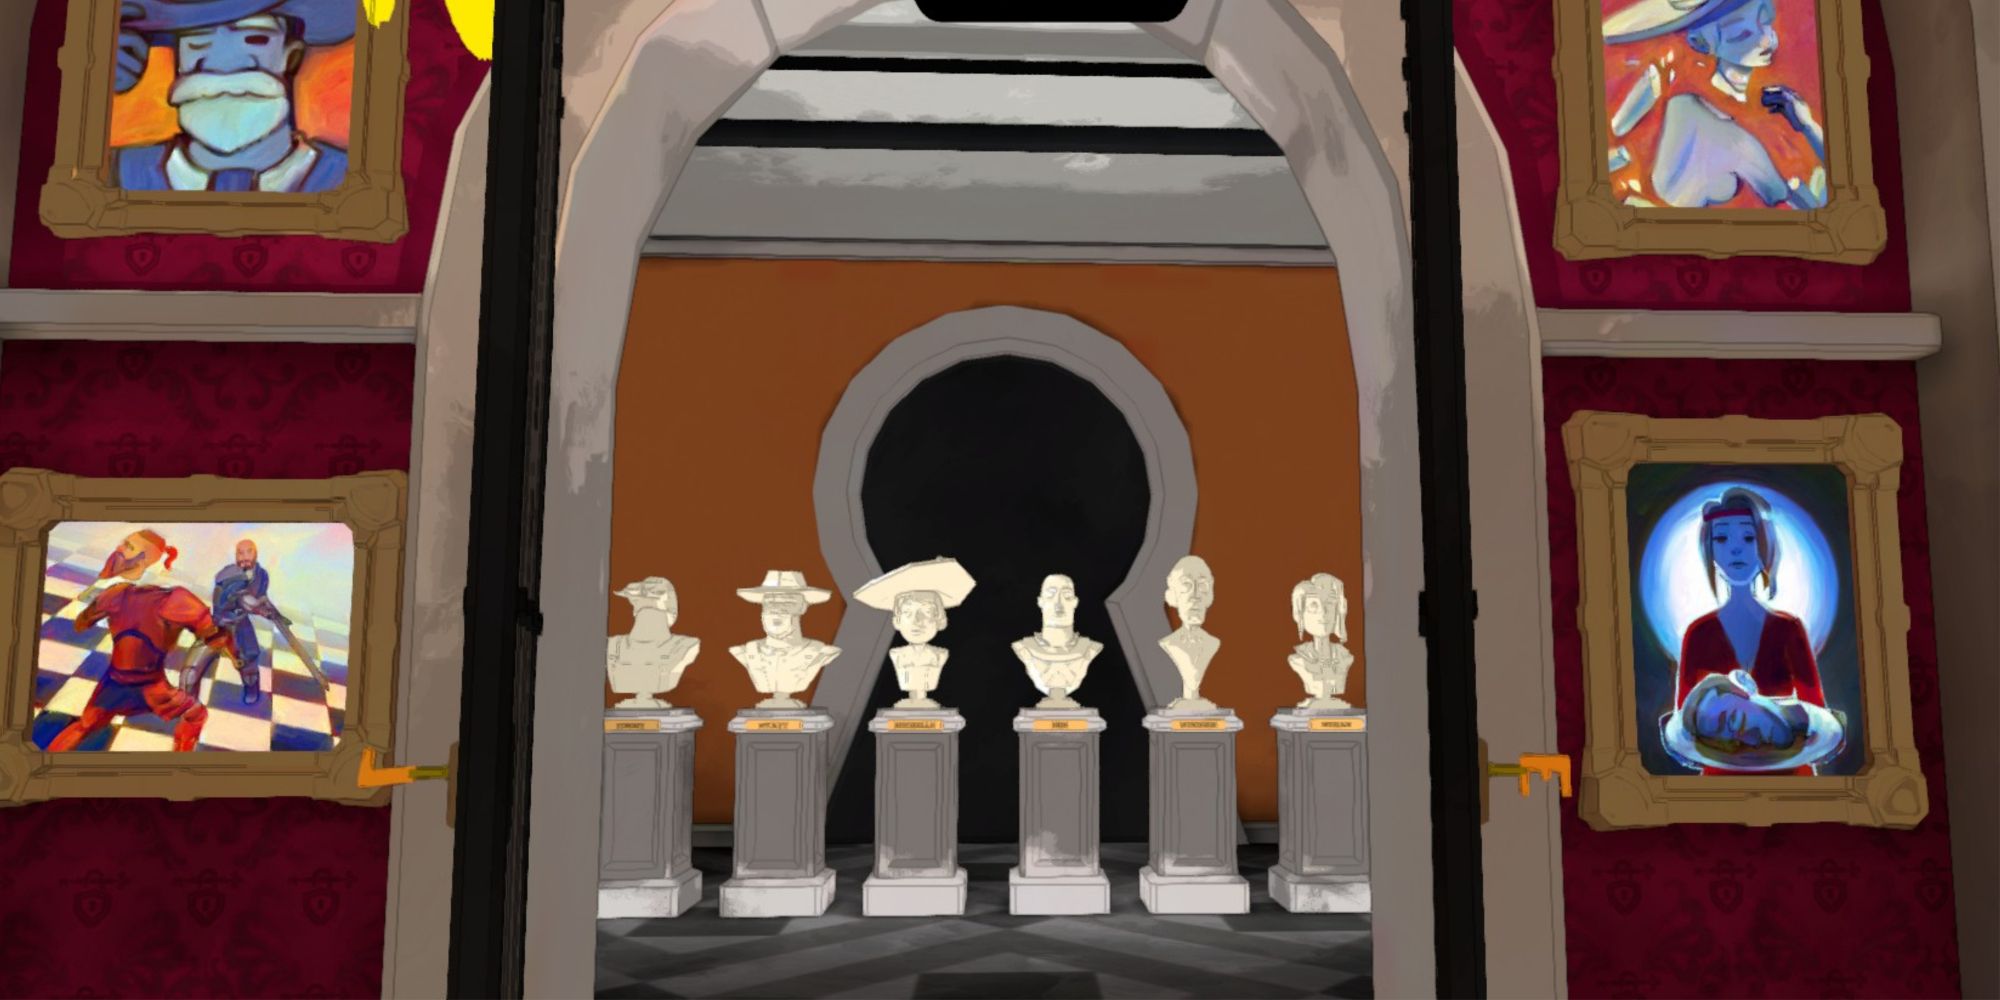
More busts behind this door, and more paintings to serve as clues. This time, interacting with a bust makes their head lean back, making it look like they have been decapitated.
You'll soon notice that the paintings all depict a person who has lost their head and they look like the busts in the room before you. With that in mind, interact with the following busts, making them look headless:
- Timmy
- Michelle
- Megan
Another keyhole door will open, and you can pick up the '1' key. Use this with the '4' key to open up the '5' door and the final puzzle.
How To Sole The Five Door Bust Puzzle
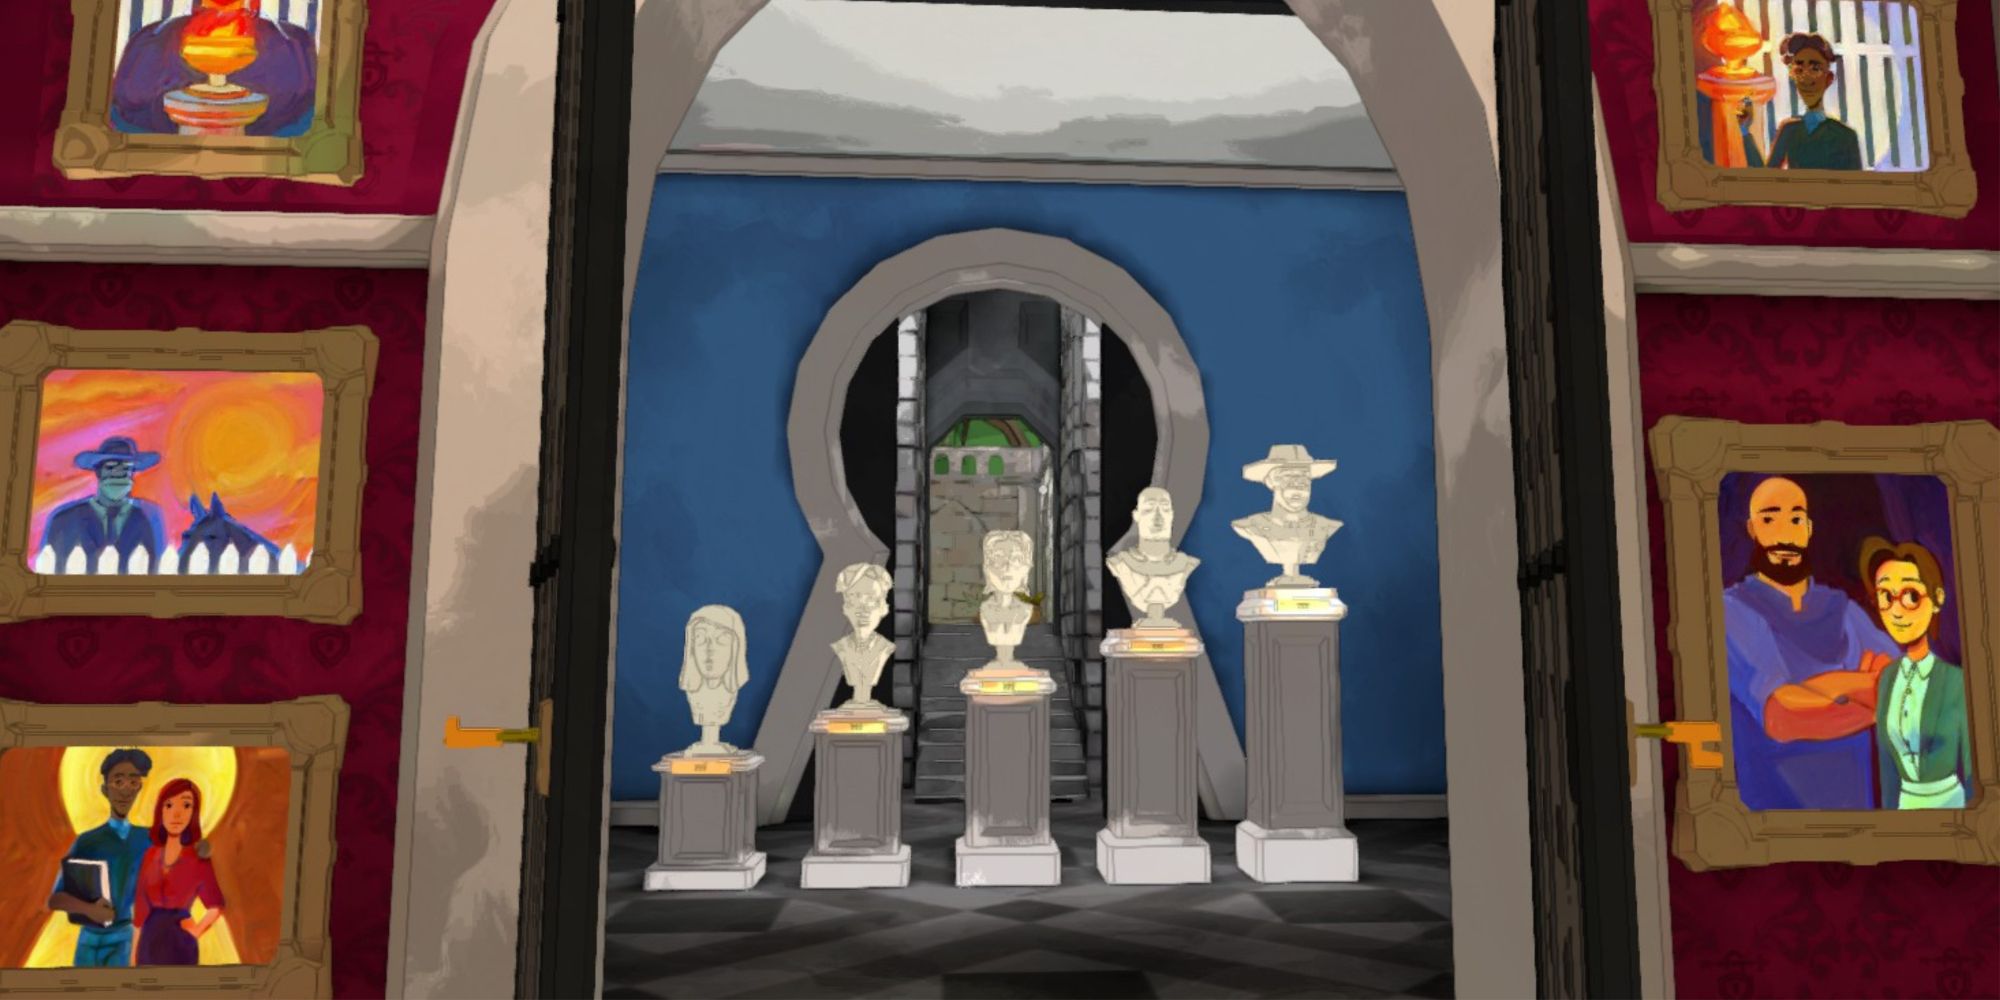
This puzzle is the trickiest of the bunch, and requires that you use the paintings to the sides to figure out how tall the people depicted by the busts were. Shortest on the left, tallest on the right.
Using the paintings, you can figure out that the man in the hat is the tallest, based on his height compared to the fence. From there, you can work out that the bald man is next, and the woman with glasses is between him and the man with glasses. Finally, you know that the woman without glasses is the shorted.
Thus, the order is, from shortest to tallest:
- The woman without glasses.
- The man with glasses.
- The woman with glasses.
- The bald man.
- The man with a hat.
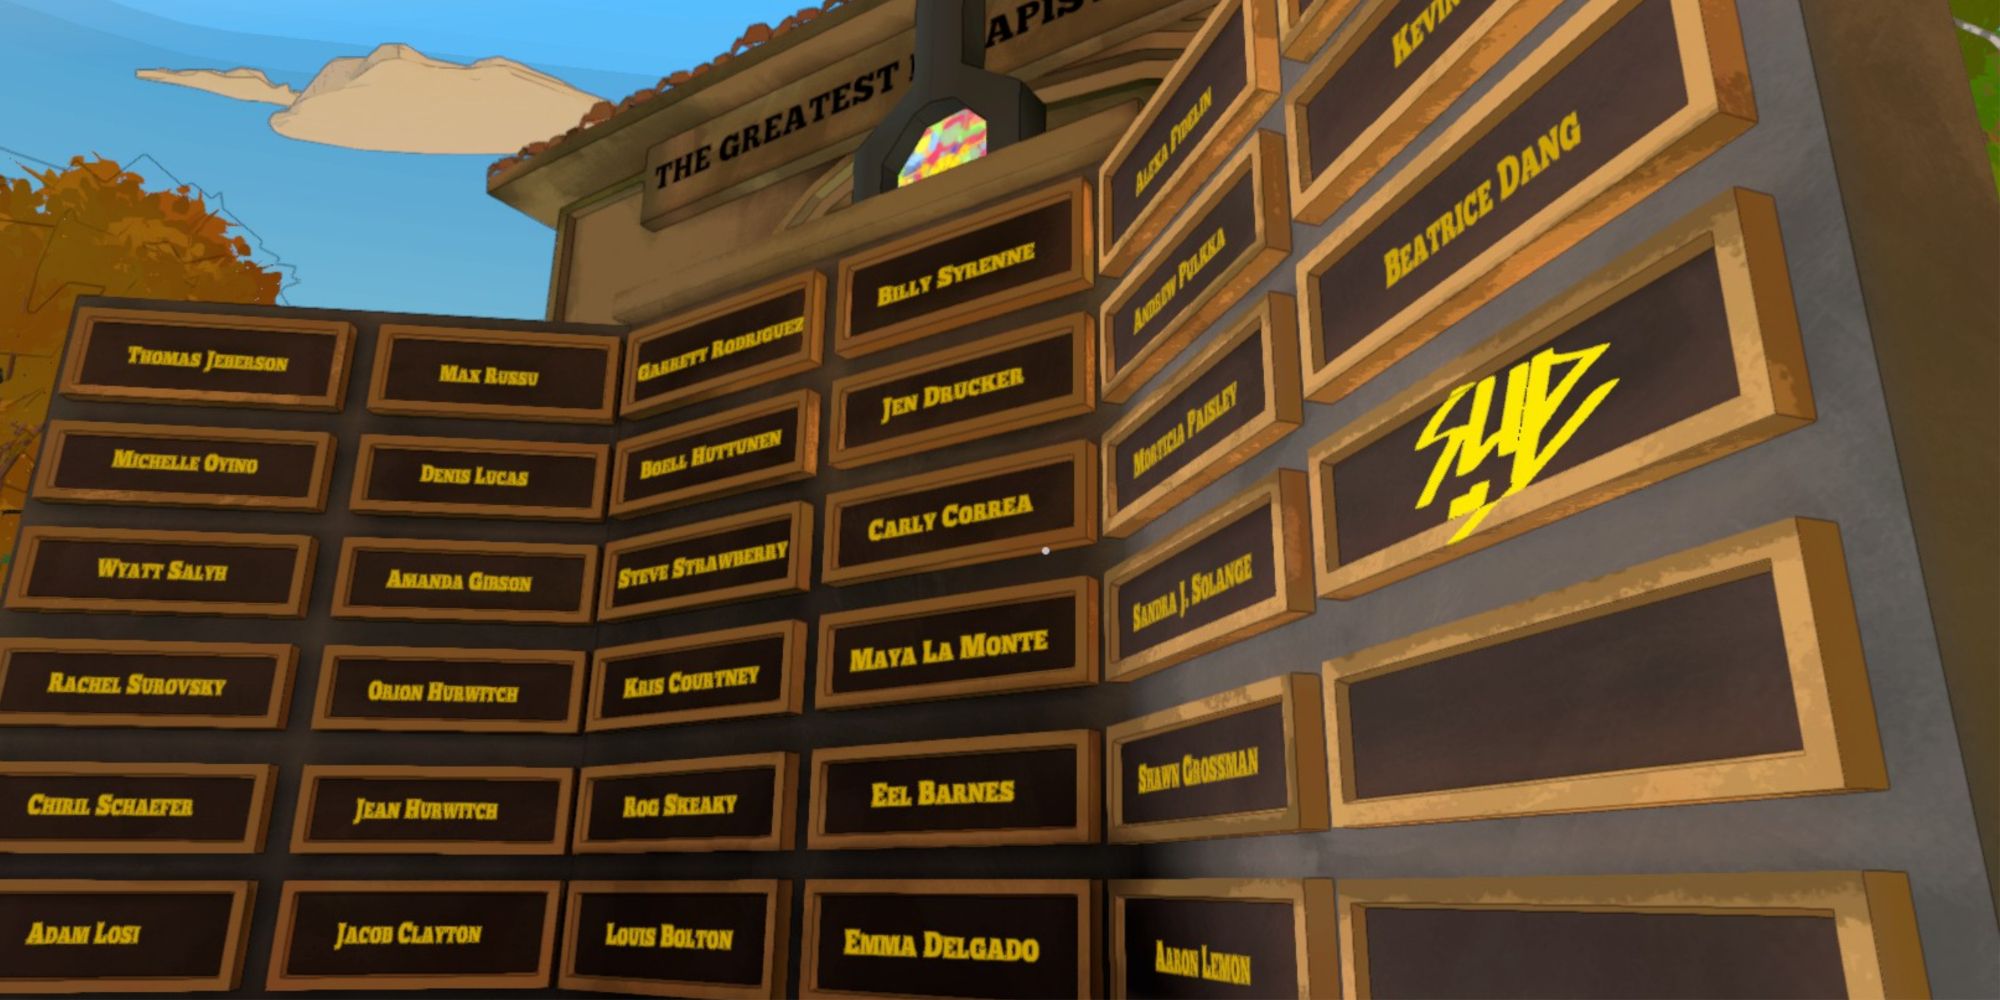
Solving this puzzle opens up a route to the monument. Using the Spray Can, tag the monument to end the level.


