After the release of Halo 4, fans' seemingly unwavering appreciation of the series was at risk. Fast forward to the release of Halo 5: Guardians, 343 Industries has redeemed themselves entirely. Halo 5: Guardians is a masterpiece with 4K dynamic resolution scaling at 60 frames per second. For those players looking to replay Halo 5: Guardians to gain 100% completion, or to take part in modified exhilarating Halo action, finding skulls is a necessity.
Each skull is unique in appearance and function. For example, the Thunderstorm Skull makes all enemies more difficult than their highest difficulties, whereas the Cloud Skull disables your motion sensor radar, making you unable to detect nearby enemies. This is every skull location in Halo 5: Guardians (and where to find them).
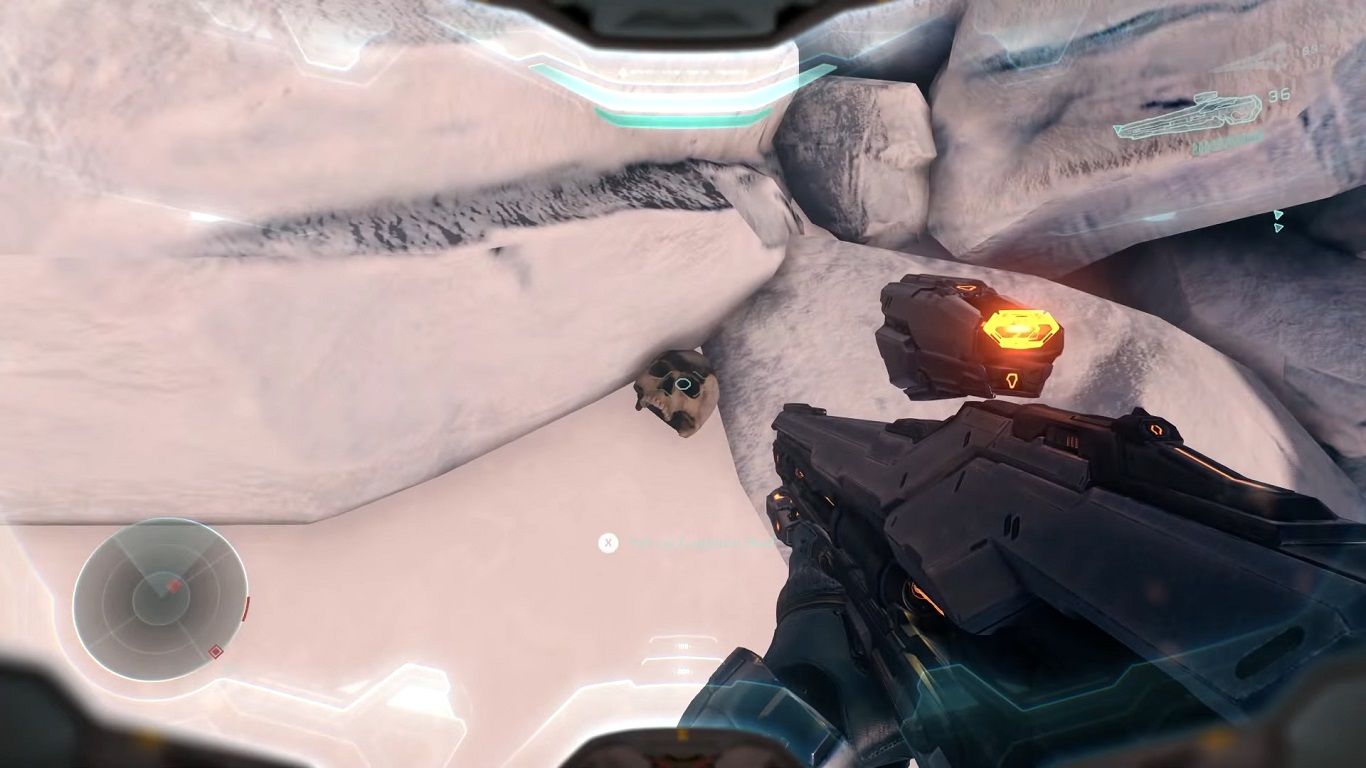
13 Mission 1: Osiris (I Would Have Been Your Daddy Skull)
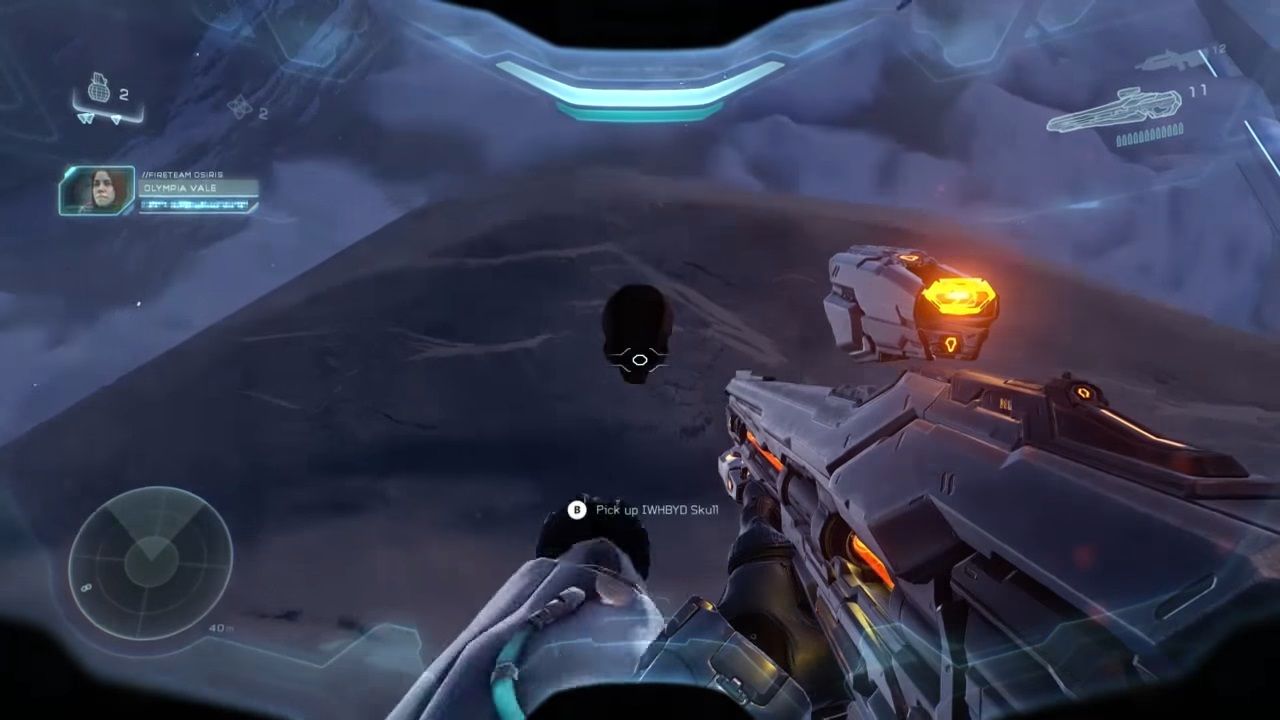
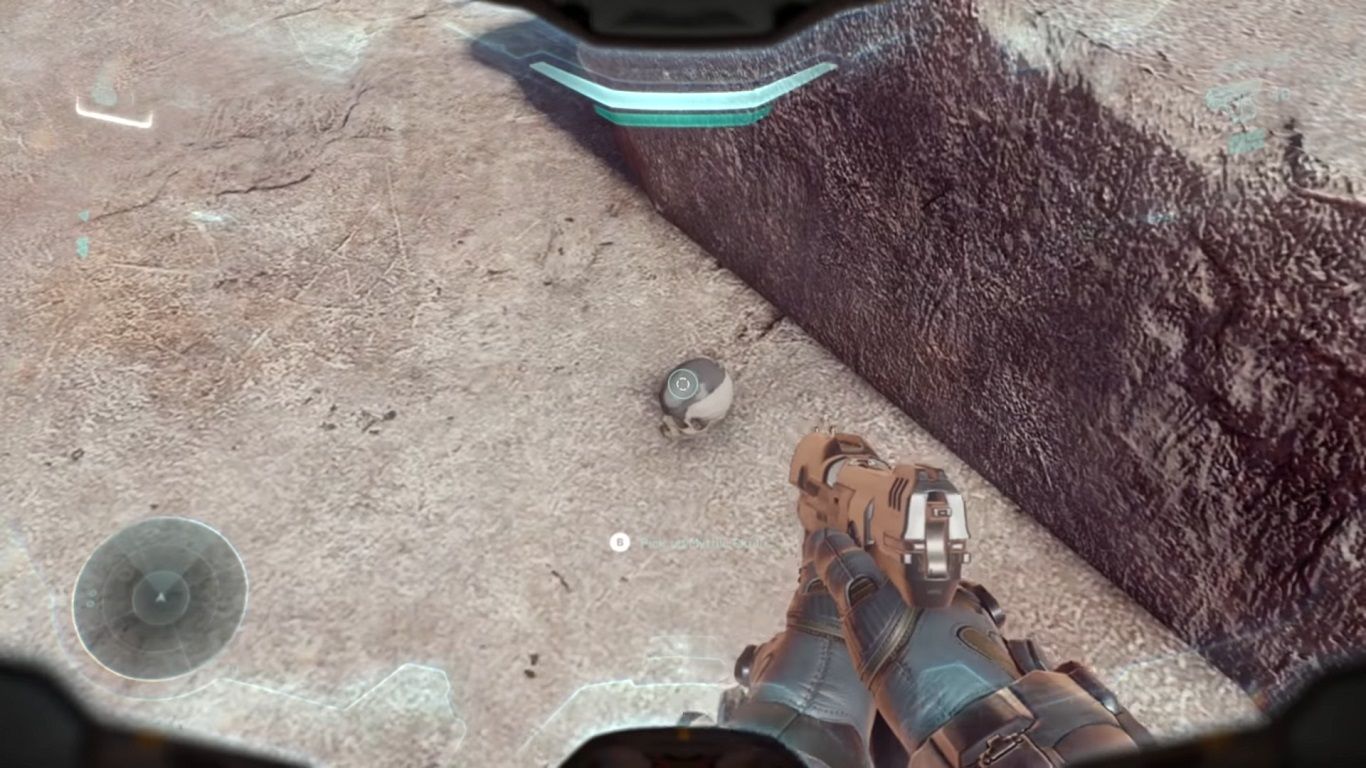
This silver skull is desirable for not altering the game in any way except for the extra humorous dialogue that it adds. The skull's name is based on a line in Halo: Combat Evolved. Seargent Johnson's quip would become the name for a recurring skull throughout the Halo series from Halo 2 and beyond.
To find this skull, you merely have to head to the large door before the elevator and Forerunner security station and take a left. Climb the bank by jumping on objects nearby. Stay along the wall, and you'll see the skull sitting next to the cliff.
12 Mission 2: Blue Team (Black Eye Skull)
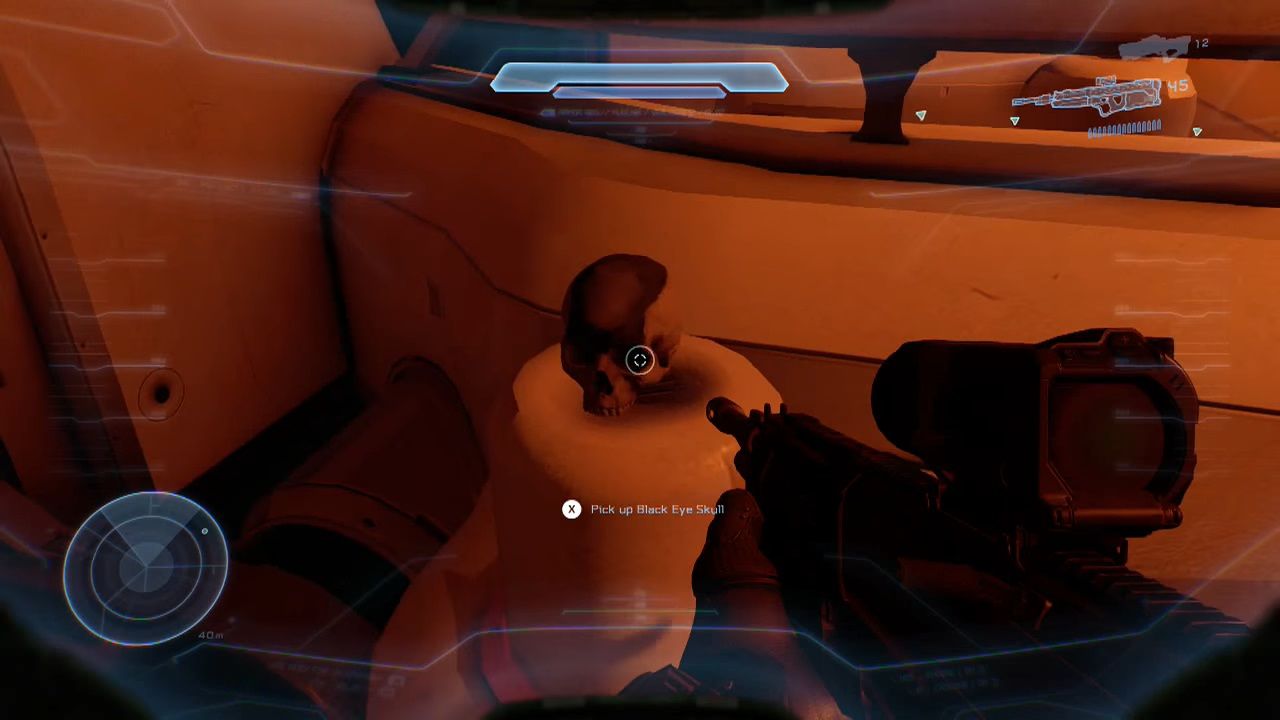
This skull requires a few more steps than the previous one. You'll be able to find this skull in the Reactor Control Room. Once in the Reactor Control Room, make a left and go to the wall and try to jump on the pipe. Once on the pipe, follow it until there is a platform ahead of you.
In the wall, there is a dark, red-lit room that has a vent on the floor. You'll need to ground pound the vent to make it to the next area. This area contains the Black Eye Skull sitting on a post.
11 Mission 3: Glassed (Iron Skull)
To find the Iron Skull, you have to be on the Legendary difficulty. Grab a Scorpion from the garage before you get to the station. While moving in the Scorpion, try to take down the Phaeton flying near the Meridian Station Gate. After doing this, the Iron Skull will spawn in one of three places.
One location is in the middle of the garage. Find two containers sitting next to a rocky wall and push them aside to reveal the skull. The second place is between yellow containers along a fence next to a cliff. The final place is near a few different containers in the garage. You'll have to take a set of stairs to get to this last place.
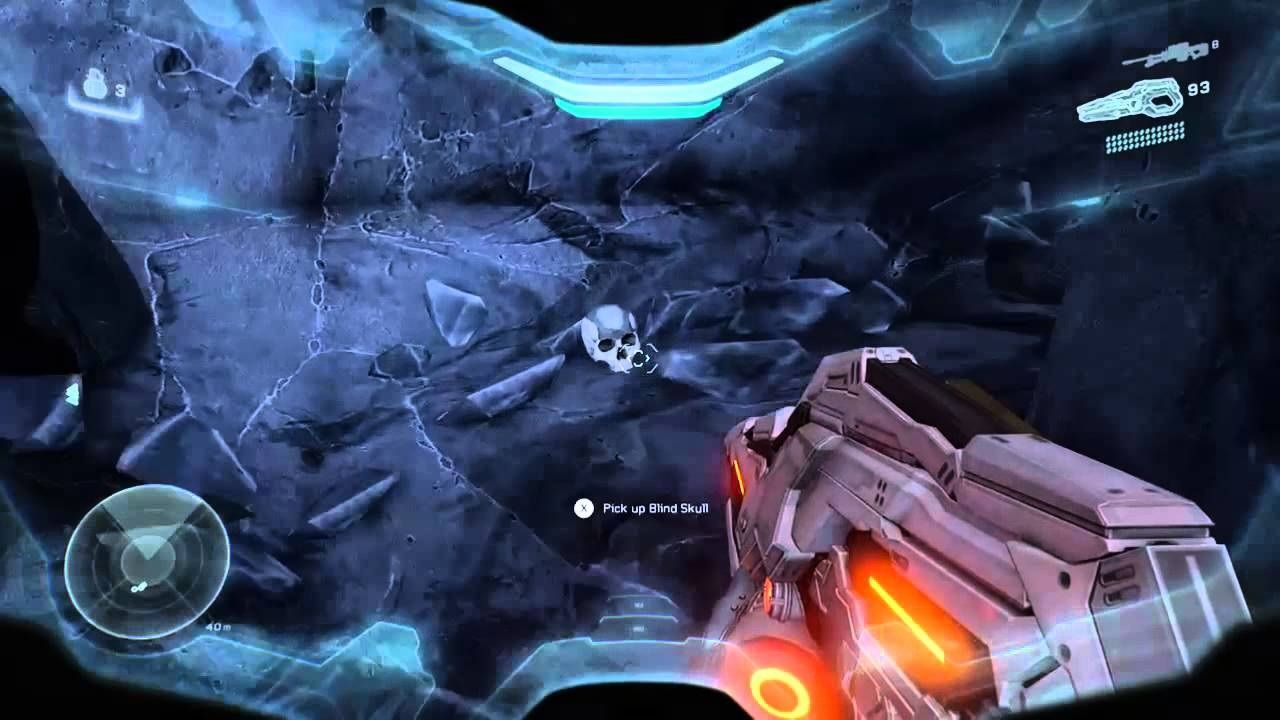
10 Mission 5: Unconfirmed (Blind Skull)
To get this skull, you can find it by going inside of the mine. You'll encounter a few enemies in a big battle. Then, as you enter the big door, take a bunch of steps in the mine then turn around. You'll see some pipes on the roof, which can be reached by jumping on objects against the wall.
You should be able to see a small opening on the ceiling, and you can jump to this area. After reaching the area above, the Blind Skull will be lying on a pile of rocks.
9 Mission 6: Evacuation (Thunderstorm Skull)
While at the part where you drive a Mongoose, you'll need to shoot four different pylon cones to make this skull appear. Continue driving until you see a pylon on the right. You'll also see another pylon on the right after crossing the broken bridge. Keep driving for a little while until you see a pylon cone next to a big stand-up canister. Continue moving, and you'll find the last pylon on the left next to a rock.
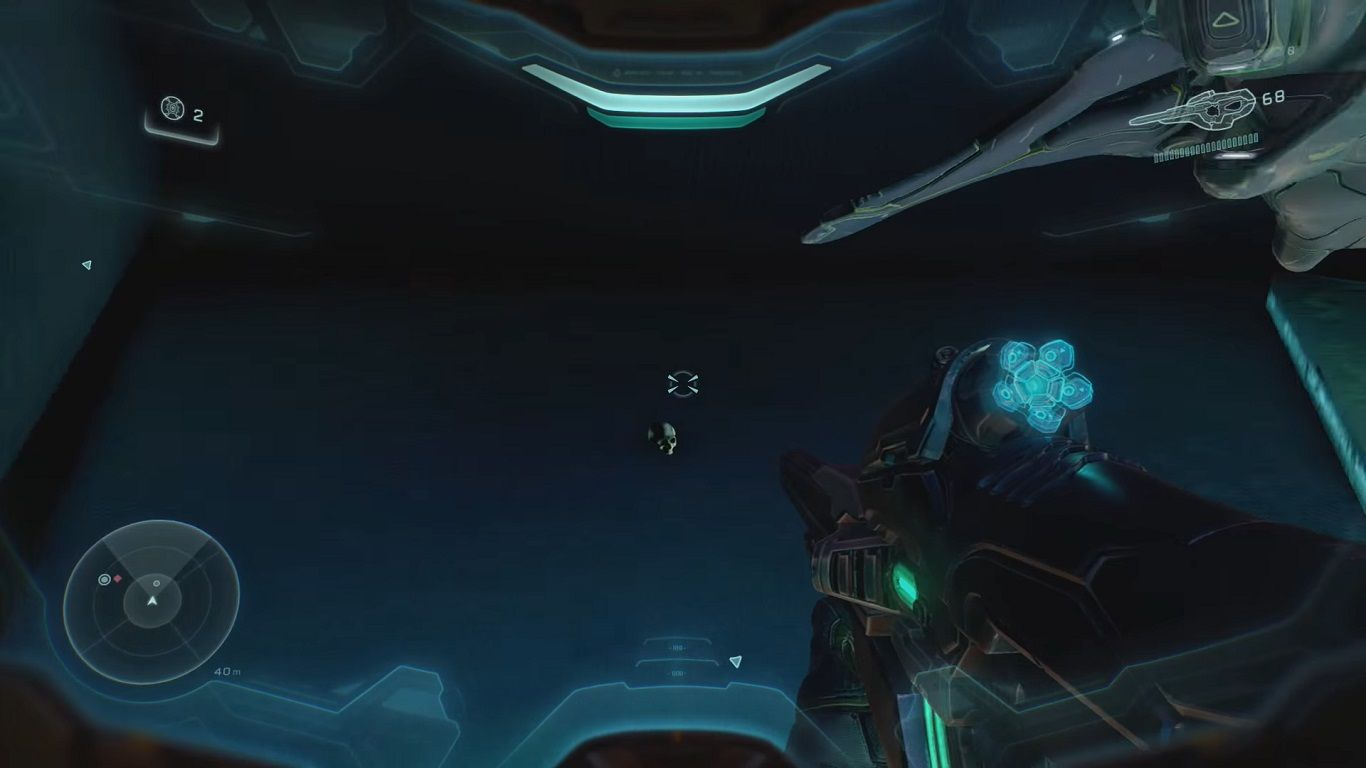
To find the skull, you'll have to walk past the "LANDING PAD" sign and take a right to the outside. You'll feel resistance from the shock waves, but continue moving. Not far ahead, you'll see the Thunderstorm skull on the ground.
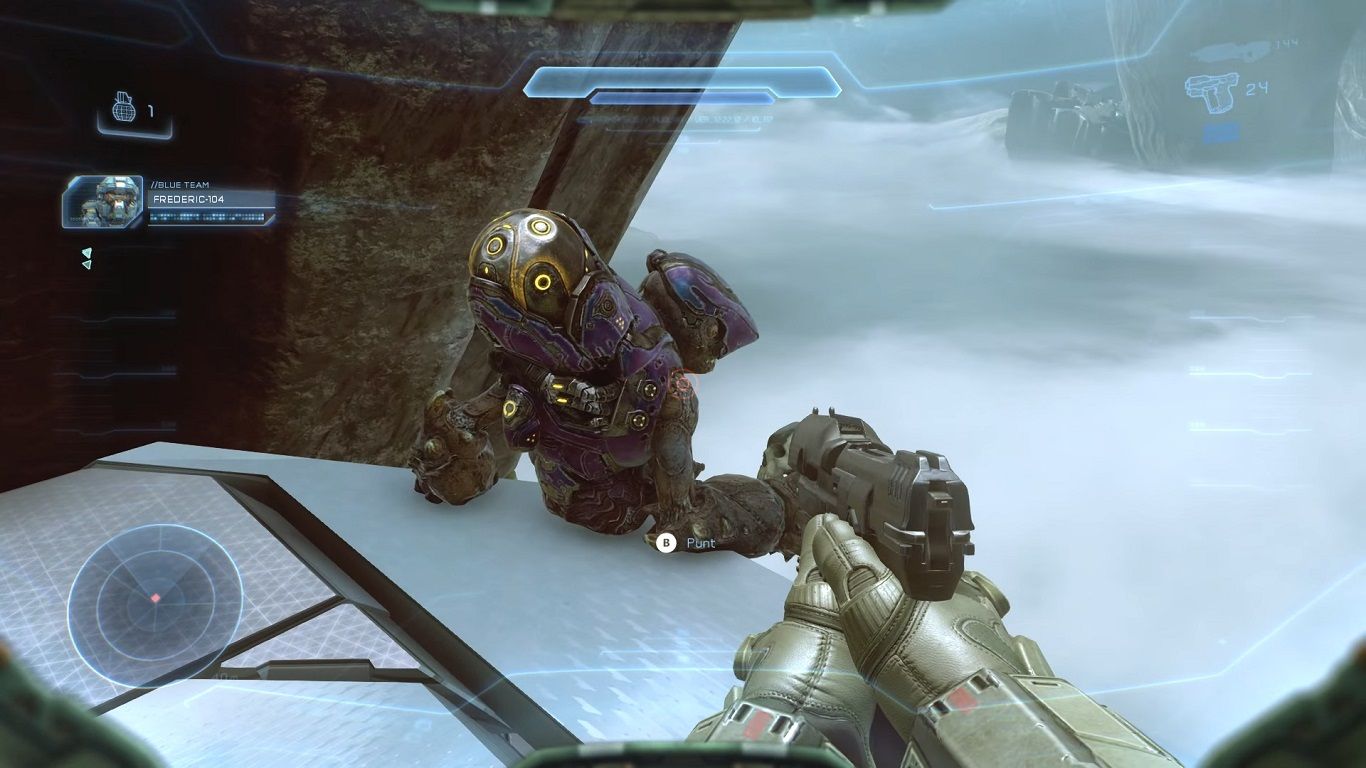
8 Mission 7: Reunion (Grunt Party Skull)
This skull can be found early on in the Mission 7: Reunion map. Progress through the map until you reach a canyon with a group of conniving Covenant.
Take a right and go through a small tunnel, and after this, you should see a solo grunt singing while sitting on a ledge. Sneak up behind him and punt him off the level with B. This Grunt will drop the Grunt Party Skull.
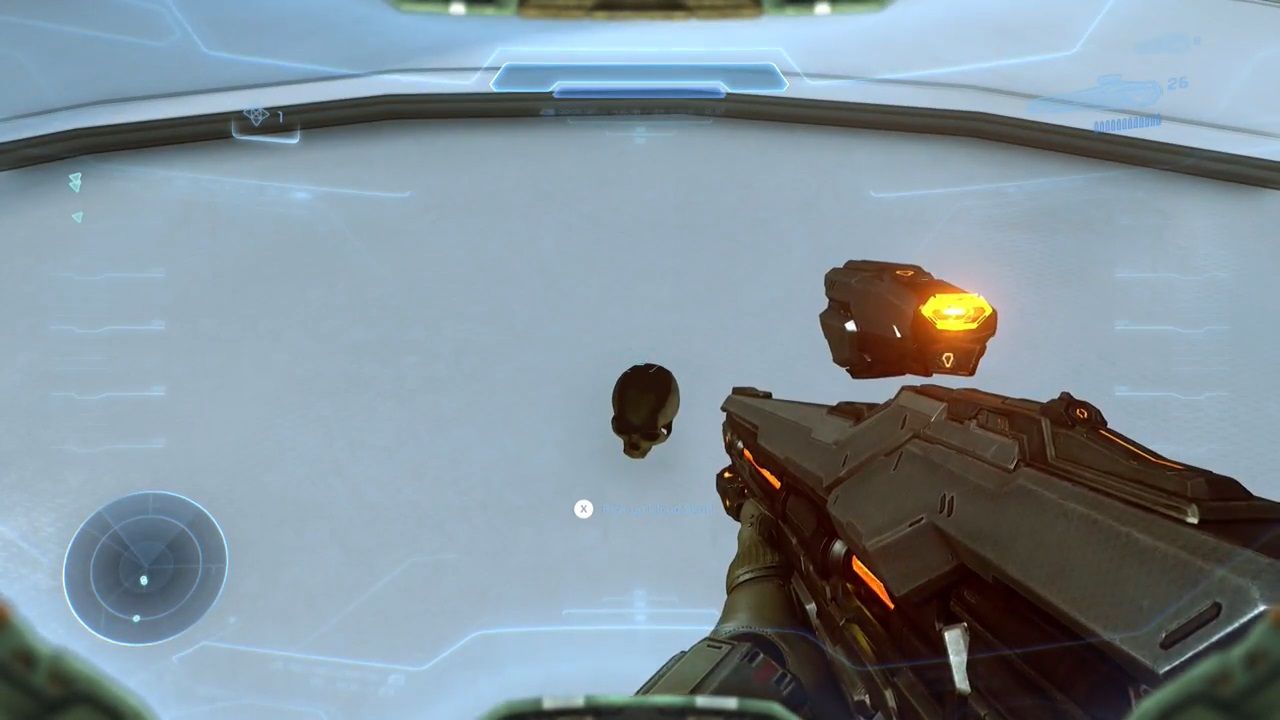
7 Mission 7: Reunion (Cloud Skull)
This skull is the second skull of Mission 7: Reunion, and it can be found closer to the end of the mission. Before heading to the Gateway, follow the path to the right.
Follow it upwards until you reach a platform/landing pad and here, you'll find the Cloud Skull. It's a relatively easy skull to see if you take a right at the correct place.
6 Mission 8: Swords Of Sanghelios (Mythic Skull)
When you get to the part of Mission 8: Swords of Sanghelios where a fleet of Covenant ships fly overhead (at the Hornet's Nest checkpoint of the mission), you'll have to climb the pillars.
You then have to jump to a platform near the pillars by doing a boost and a ground pound to drop the extra distance. Here, you will find the Mythic Skull.
5 Mission 10: Enemy Lines (Catch Skull)
Get to the part where you reach the Banshee hangar. Turn around in the Banshee hangar, and you should be able to see a green tunnel up above.
You have two choices in this part: you can do a skillful jump on the wall to get up or fly a Banshee to obtain the Catch Skull. Flying a Banshee is the most comfortable choice for most people.
4 Mission 12: Battle Of Sunaion (Cowbell Skull)
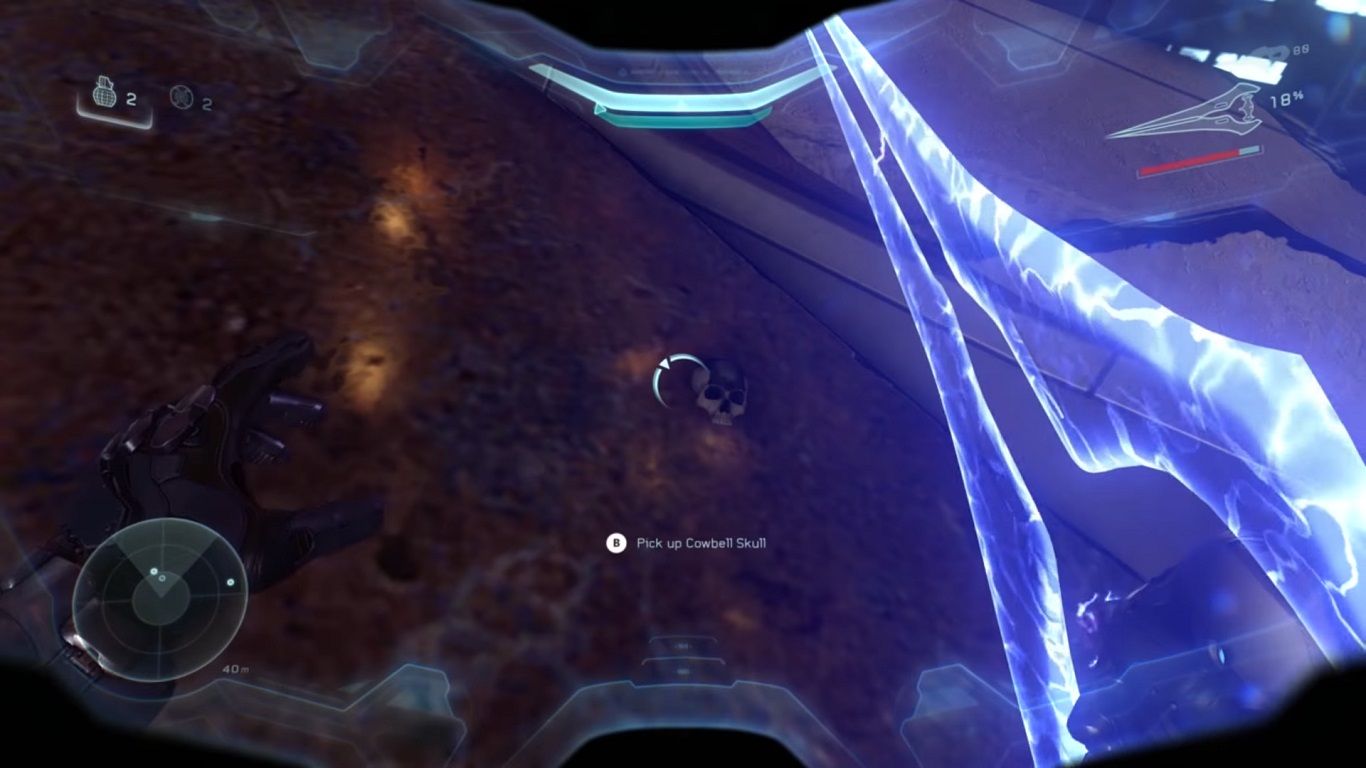
This skull can be obtained at the part of the mission near the end after you defeat two Hunters. The Arbiter has an Energy Sword at this part.
You have to go to the end of the platform, and you will find the skull by jumping down a level. It shouldn't be too difficult to find this skull since the place you drop down to is easy to spot.
3 Mission 13: Genesis (Tilt Skull)
This skull is found after the part where you get out of the Scorpion tank. You will have to fight two Wardens during this part. Climb the hills, passing a red flower on the way, and get to the top.
The Tilt Skull will be waiting at the edge of the cliff. To make it easier, use the photo above to help you find it, and be sure to spot the red flower.
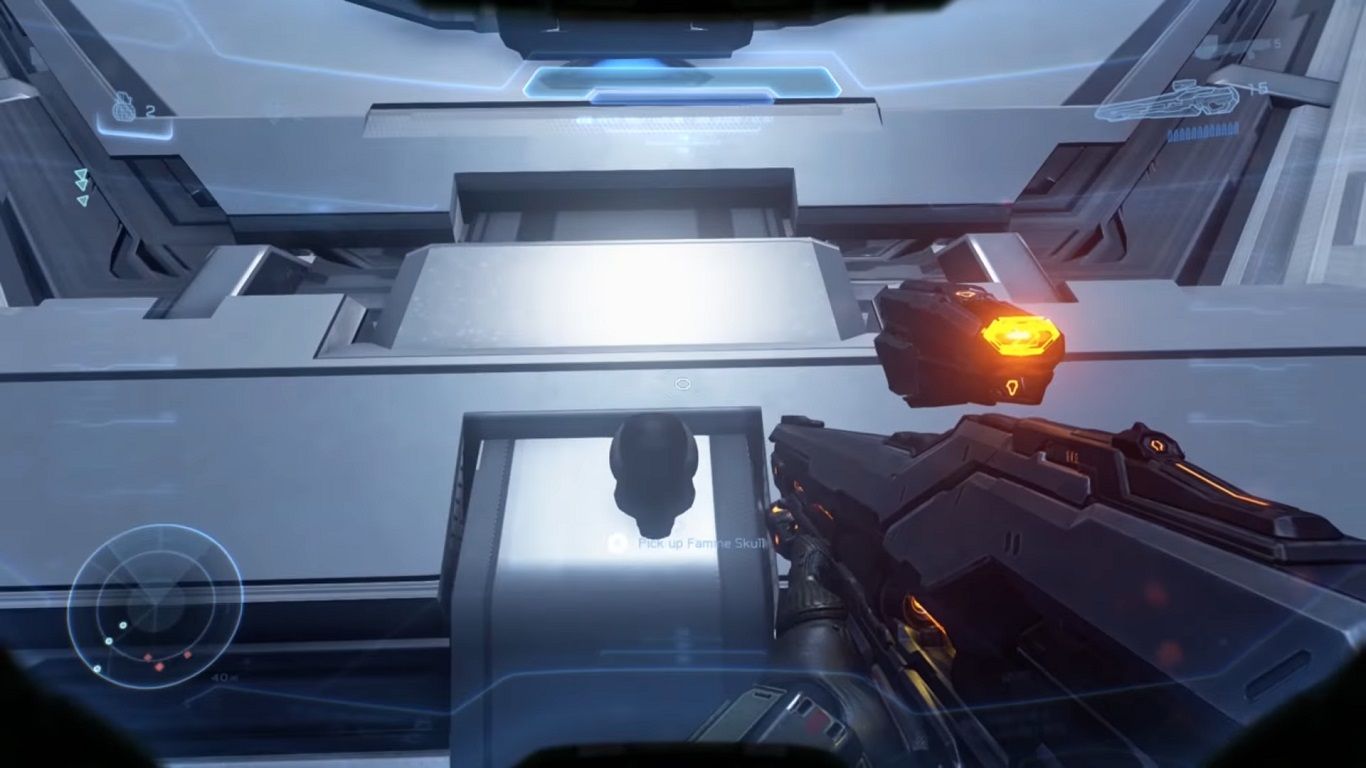
2 Mission 14: The Breaking (Famine Skull)
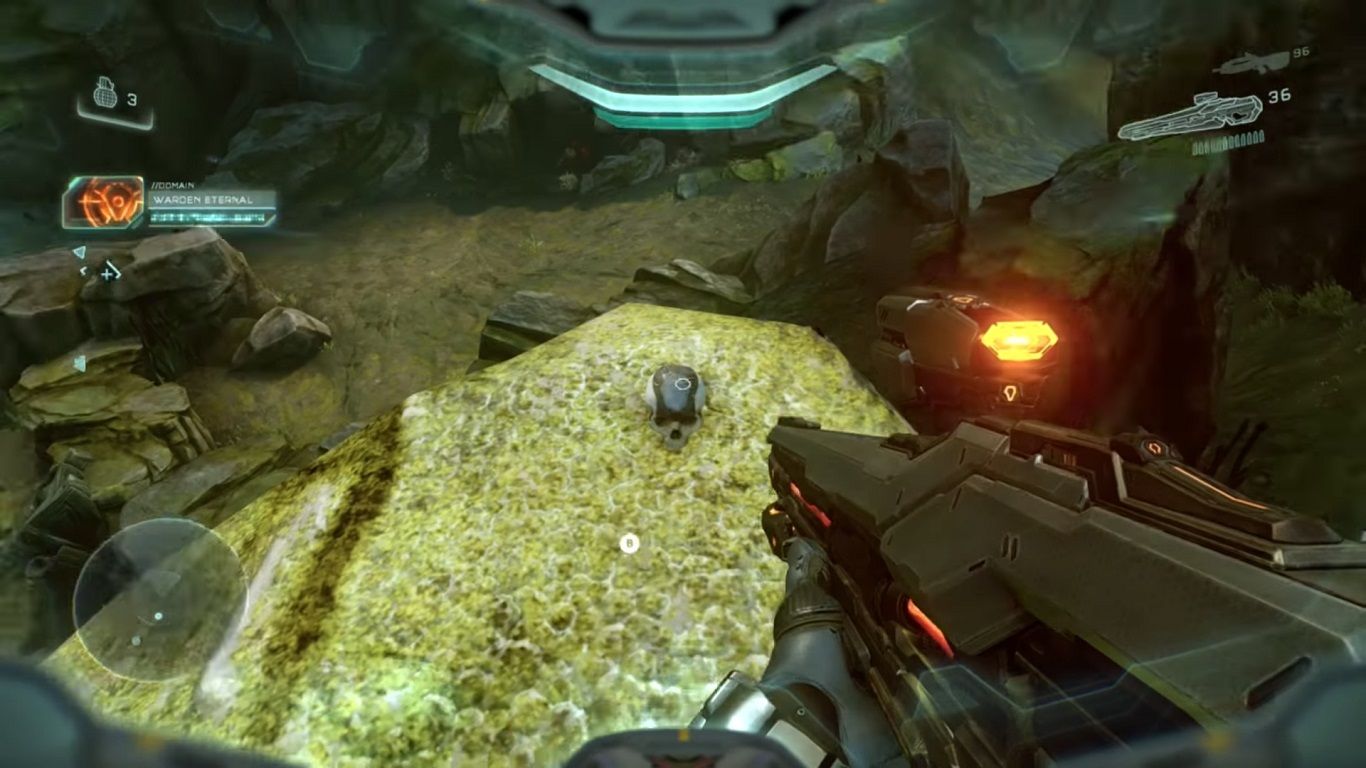
When nearing the middle of the mission, you'll encounter a Warden that you must defeat. At this part, Frederic will ask, "How are we gonna stop her, Chief?"
You can defeat Warden Eternal, but you won't have to defeat him to get this skull. Take a left turn when you see the Warden Eternal and it will be waiting on a platform just beside the Warden.
1 Mission 15: Guardians (Tough Luck Skull)
And so we come to the last skull found in Halo 5: Guardians. You'll know you are near this skull when you see a big blue orb near the end of the mission.
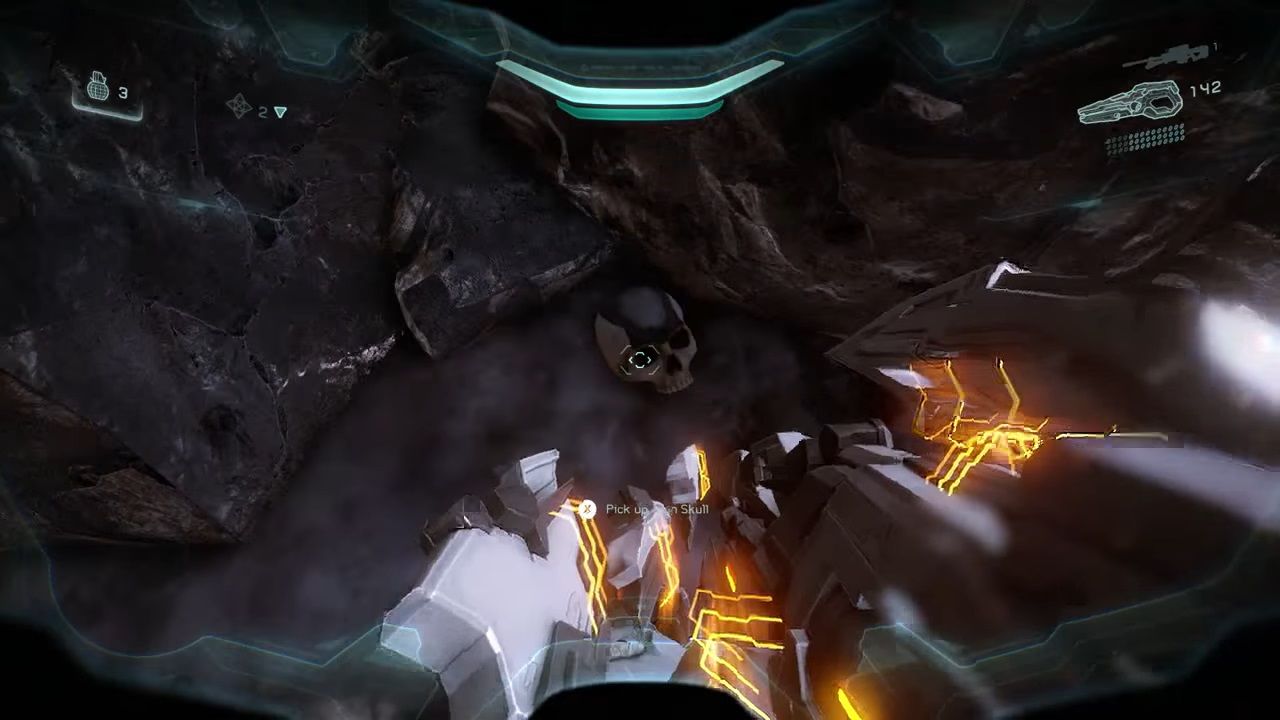
From there, you have to head to the right corner and jump along the ledges against the wall. The Tough Luck skull is found in a crevice against the wall.

