Fallen Legion Revenants is split into several chapters, with each Chapter consisting of multiple choices and levels. Your choices determine your levels, and those levels, in turn, determine which mini-bosses you will end up fighting on your journey. All of this is true from Chapter One, so get ready to fight, rewind, and fight again.
Chapter One has three mini-bosses in the form of New May Leader, Vile Abattoir, and Catoblepas. Whilst these enemies are not quite on the same level as a full Chapter Boss, they are substantially more powerful than your standard enemies and require a bit more thought to put down for good.
How To Beat New May Leader
-Cropped.jpg?q=50&fit=crop&w=740&dpr=1.5)
This is the first mini-boss you will face in Fallen Legion Revenants, and she is by far the easiest. She is also mandatory, so you will always cross her on your path. She is largely a tutorial, so getting through her should not be an issue - even on harder difficulties.
New May Leader’s Attacks
New May Leader only has two attacks, making her very easy to read and react to.
|
Attack |
Explanation |
Counter |
|---|---|---|
|
Single Shot |
New May Leader fires her rifle at the closest Exemplar. She will use this attack until she drops to around 50% HP. |
This attack travels at a decent speed and can be reflected with a Perfect Parry. |
|
Homing Shot |
New May Leader fires three shots at the same time that spread out and then converge towards the closest Exemplar. This attack replaces Single Shot. |
This attack is noticeably harder to react to due to the visuals of the attack itself. The timing of the shot is not too dissimilar to Single Shot, and it can be reflected with a Perfect Parry. |
Which Exemplars To Use
You don’t have a choice on which Exemplar’s to use for this fight - just make sure Zulifqar is out front so he can tank each attack.
Battle Strategy
This battle is very simple. All you have to do is attack New May Leader - ideally staggering your attacks to maintain your Chain and to spread your AP expenditure. You will also need to Block/Deflect/Perfect Parry her attacks.
You have two options for this, you can either time your blocks, or you can use Zulifqar’s Deathblow which automatically Deflects any attack that strikes Zulifqar during the animation. This won’t Reflect New May Leader’s attacks, but it will prevent them from doing damage. Not only that, but this Deathblow also deals very high BP damage, which is great for Breaking New May Leader.
How To Beat Vile Abattoir

Vile Abattoir, unlike New May Leader, can be quite a tricky fight. It is one you can quite easily lose if you aren’t careful. Not only that, but Vile Abattoir is not a guaranteed fight. To unlock this mini-boss, you will need to select the Dolar Hills the second time the option crops up. This is chosen instead of Realis Cemetery.
Vile Abattoir’s Attacks
Vile Abattoir is not only a deadly combatant but also a potent support. Being a tarted-up Shield Bearer, this thing is both tanky and powerful.
|
Attack |
Explanation |
Counter |
|---|---|---|
|
Melee Strike |
Vile Abattoir moves into range of the party and attacks, dealing heavy damage. |
This attack is well telegraphed and can be easily Blocked/Deflected/Parried. You can then counter attacks of your own. |
|
Lightning |
Vile Abattoir unleashes a powerful AOE lightning attack that deals damage to every Exemplar in your party. |
This attack is tricky to block, and despite being a ranged attack, it classes as a melee strike - so you can’t reflect it. Be prepared to drop a heal from Rowena to offset any mistimed blocks. |
|
Summon Minions |
Vile Abattoir can have up to three minions at a time and can summon all three of them at will. These will always be Pitchfork Farmers. |
You will want to kill these as quickly as possible as Vile Abattoir will hide in their ranks making him harder to attack, and they can deal a lot of damage when buffed. Speaking of which… |
|
Onslaught |
This is arguably Vile Abattoir’s most dangerous attack. Vile Abattoir closes its shield, blocking most damage, and will begin to cast a spell. Once cast, every tile on Vile Abattoir’s side will contain a ground buff that increases the Speed and Attack of every unit. Not only that, every enemy can now attack at the same time - as opposed to one at a time. |
This attack is incredibly dangerous if Vile Abattoir has a full set of minions backing him up. The damage increase is fairly substantial, and having three enemies attacking at the same time makes it very hard to block. Either kill every minion before this goes off, interrupt Vile Abattoir with a Push/Pull attack before the spell casts, or get the timing down and block every attack. |
Which Exemplars To Use
You will only have access to Zulifqar, Aleister and Burgundy for this fight, so bring all three. Make sure that Burgundy is at the back and Zulifqar is upfront for optimal tanking.
Battle Strategy
The strategy here is to make sure Vile Abattoir does not have any allies waiting in the wings to gang up on you. For this, you want to try and use AOE Deathblows and regular attacks to mince any minions that get spawned.
Outside of this, you want to try and deal damage to Vile Abattoir as much as possible. The quicker it dies, the less time it will have to summon new minions and buff them with Onslaught.
Remember, you can interrupt Vile Abattoir’s casting whenever his shield is closed with Push and Pull Abilities. This will not only prevent the spell from casting, but it will also stagger Vile Abattoir. This will let you deal bonus damage for a short time, making this fight much easier. Vile Abattoir will always launch a melee attack after they recover from stagger, however, so don’t be overzealous.
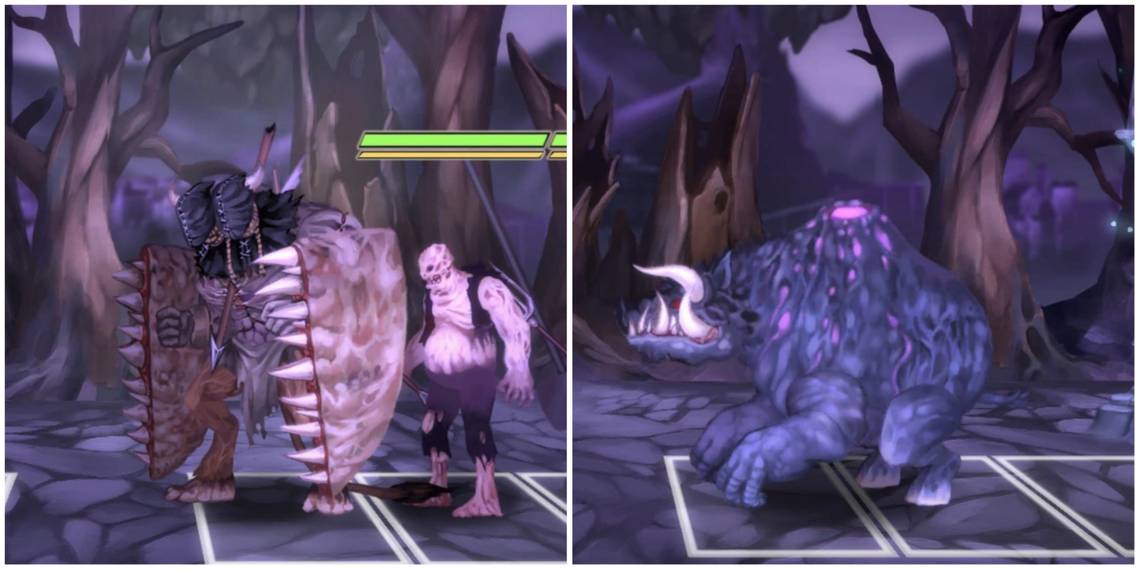
How To Beat Catoblepas

Catoblepas is likely to be a boss you won't encounter on your first run through Chapter One. This is because the choices you make in Chapter One tend to push you away from the level Catoblepas resides. To fight Catoblepas, you need to head to Realis Cemetery instead of Dolar Hills when the option crops up. This will lead you to Catoblepas, and it will also unlock a new Exemplar - Solomon.
Catoblepas' Attacks
Catoblepas, like with Vile Abattoir, is much more dangerous than New May Leader. However, of the three, we would rank Catoblepas as the second hardest boss. They don't have quite the same tricks as Vile Abattoir, but it does make up for that with more damaging, harder-to-block attacks.
|
Attack |
Explanation |
Counter |
|---|---|---|
|
Spit Projectile |
Catoblepas fires a purple ball of spit at the closest enemy. This attack travels very quickly. |
This attack is deceptively hard to Block - let alone Parry. This attack moves very quickly, and if Catoblepas is standing on the closest tile, your reaction window is very slim. Try and push Catoblepas to the back of his area to give you more time to react. |
|
Sulphur Mist |
Catoblepas breathes Sulphur on the party, dealing massive damage to every Exemplar in range. |
This is Catoblepas' most dangerous attack, and it can wreak havoc if you don’t actively deal with it. This attack covers multiple tiles and is always used as a counter to your attacks. To deal with it, make sure your party is at the back of your play area, and Catoblepas is as far back as he can go. The attack will always miss - assuming you aren’t attacking during the animation. This attack can also be blocked - it’s just hard to pull off. |
|
Frail Earth |
Catoblepas will occasionally opt to use Frail Earth instead of Sulphur Mist. This attack is quite a nuisance as it drastically reduces your party's defence. |
This attack can’t be countered. The attack covers your entire play area, and can only be removed by casting Celestial Grace multiple times. You can also just wait it out. Sulphur Mist becomes substantially more dangerous with Frail Earth being active, so be careful. |
Which Exemplars To Use
For Exemplar’s, it depends on who you have access to - or more accurately, if Catoblepas is fought after Vile Abattoir. If this is the case, then you want Zulifqar, Aleister, and Jacquine. If not, then swap Jacquine for Burgundy.
Battle Strategy
The strategy is simple - keep Catoblepas away from you. You want to use Zulifqar, Rowena, and Jacquine to push Catoblepas to the back of his area, and then keep your party as far back as possible too. This will give you more chance to react to Catoblepas’ projectiles and put you out of range of Sulphur Mist.
The name of the game here is to play it safe - especially if Frail Earth is in play. You want to keep your party away, and only attack in response to a Perfect Parry. The moment you see Catoblepas start casting, stop attacking and fall back. You don’t want to eat Sulphur Mist, and you don’t want to spend Mana on healing - you want to spend it on movement abilities.
It will take three or four Breaks to kill Catoblepas, so this can be quite a long fight.