The brilliant thing about the games of the Final Fantasy series, besides the well-rounded characters and the captivating plots is the fantastic landscapes. However, it is important to note that not all of the playable areas are as stunning and entertaining as we hoped that they would be.
Today we will be exploring some of the best and the worst areas in Final Fantasy 12. Please note that this quasi-ranking is entirely subjective and different players may loath places we love (and vice versa.)
10 BAD: Feywood
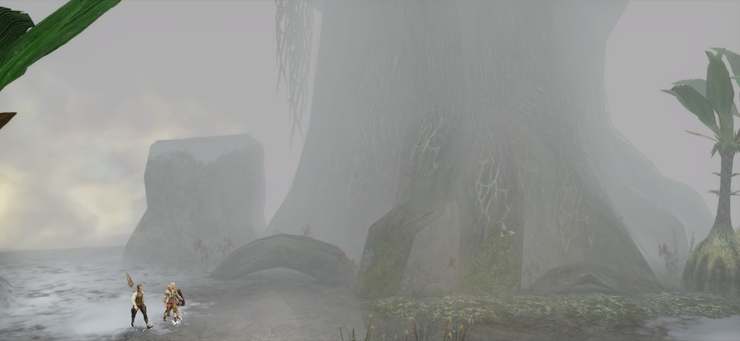
This area has a dense fog that hides enemies and also all the features of the area such as the various structures in the area with strange glyphs as well as any chests. There is a quest later in the game that requires you to vanquish all enemies in the two (very large) zones at the end of the area which is very difficult for two reasons.
You can't see them in the mist until you are nearly on top of them and enemies also respawn a few times when you aren't looking too.
9 GOOD: Necrohol of Nabudis

The Necrohol is a lore rich optional location full of tough (but not too tough) monsters that can pursue you through screen transitions, has a secret merchant and is jam-packed with endgame level gear as well as some very important spells.
This area is like a spooky vault of treasures.
8 BAD: Garamsythe Waterway
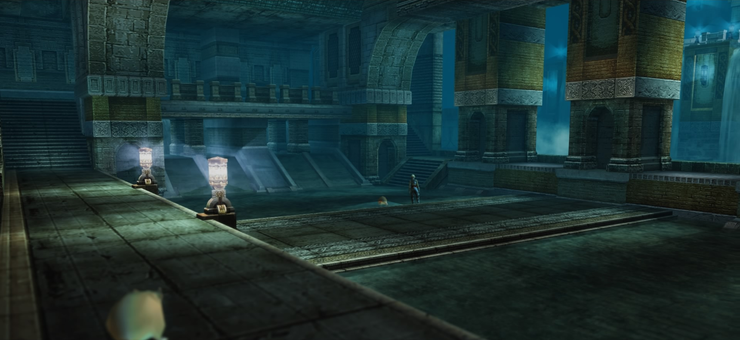
This is an area that you will find yourself in many times as part of the main quest, a few sidequests and some treasure hunts. There's only one really big problem with this area. The sluice gate and flow control puzzles.
You press some buttons and toggle some switches to determine which areas of this inexplicably spacious sewer you can access. You can accidentally trap yourself with some monsters that may be out of your league if you activate the buttons and switches in the wrong order too early.
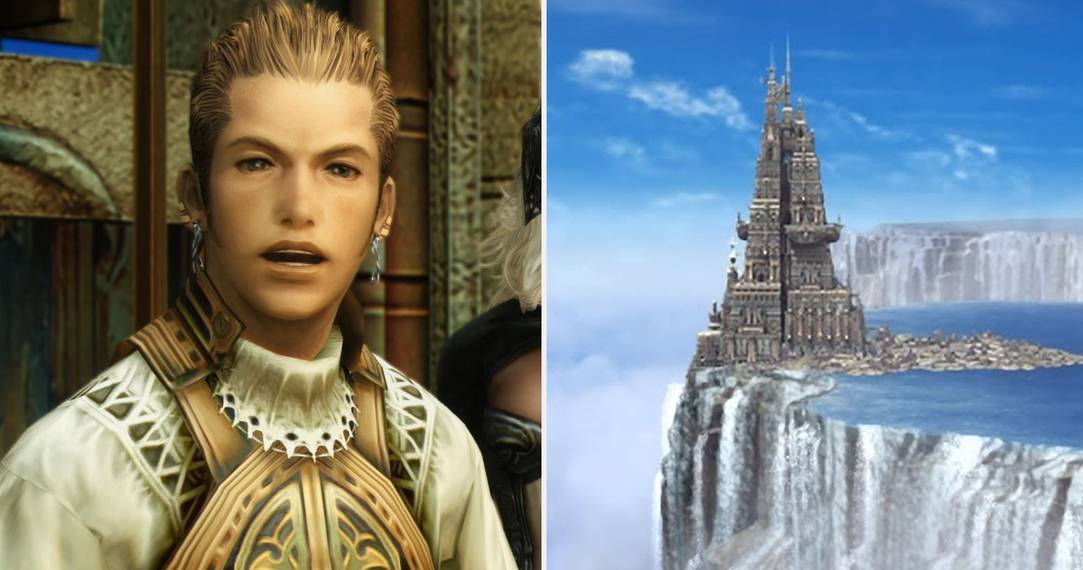
7 GOOD: Bhujerba and the Lhusu Mines.

Bhujerba is a massive floating city with an attached mine full of the crystal that keeps it afloat. The city is super cool and deserves a mention but the Mines are actually a really great area.
It gradually opens up as you progress through the game, has a variety of environments and some memorable boss fights. Though you can delve really far into the mines you can ride the mine carts back to the entrance for a quick escape.
6 BAD: Mosphoran Highwaste

Mosphoran Highwaste isn't a very big zone but is a very big bother to navigate. Over half of the areas are inaccessible when you first arrive. You open it up gradually by activating shrines of the winds and getting on chocobos, (a staple of Final Fantasy games and also usually a delight.
But kind of pointless in this game.) To navigate through bushes and to access the rest of the area. The Highwastes roundabout routes actually interconnect in a way that would be kind of neat if it wasn't such a pain to navigate.
5 GOOD: Paramina Rift

The Paramina Rift is a beautiful snowy mountain area with a big frozen river and lake on it. It also has a weather pattern of heavy snowstorms you can activate by entering from the Feywood.
You can pick up the very useful revive spell her as well as the mostly useless Death spell.
4 BAD: The Great Crystal
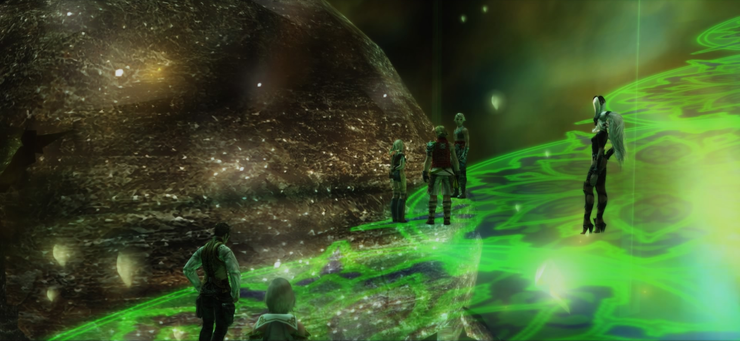
The Great Crystal blows on so many levels and is the pinnacle of terrible areas in this game. In the Great Crystal you navigate a series of platforms and bridges via teleport crystals and gates named after astrological signs which have a time limit between pressing a button that opens them and passing through the gates. The crystals also don't connect to each other in a logical way. There are various rooms that infinitely spawn high level enemies and there are a collection of optional bosses you can run into in here as well which are completely overpowered.
And worst part of all is there is no map or minimap of the area so if you get lost in the maze of samey platforms you may be trapped in there forever. But there's lots of great loot in there so despite it being mostly optional, we recommend that you clean it out.
3 GOOD: Zertinian Caverns
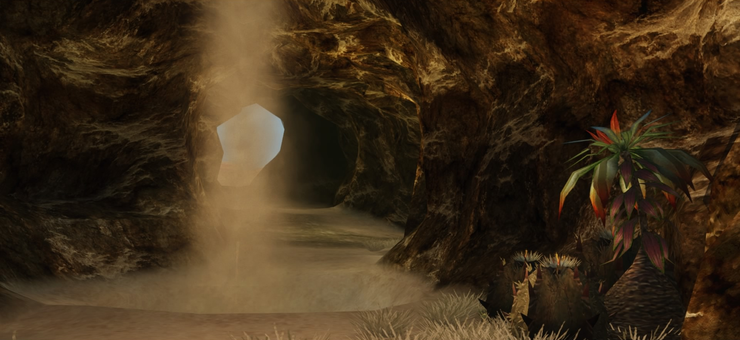
These caverns sprawl under a large amount of the central area of the map and connect some faraway areas to each other. It also offers some midgame rewards and a suitably challenging optional summon boss.
If you're not careful you can accidentally run into some level 99 monsters in the deepest depths so do be wary spelunking deep too early in the game.
2 BAD: Ridorana

The Pharos at Ridorana is a big tower with 99 floors going up, as well as three basement floors. The basement floors are entirely optional, only opening up at the end of the game. It is also pitch black down there but the bigger issue we have is with the upwards portion of this tower. First of all 99 floors is extravagant.
There are teleport crystals and elevators that skip large amounts of floors. This mandatory tower scaling proves to be very mazelike with lots of challenges such as fake walls, a teleport crystal puzzle, airborne enemies that attack from the areas off of staircases. There's also a lot of back tracking between areas waiting for a specific enemy to spawn. You need to defeat these enemies to get their essence so you can construct walkways between platforms. Overall this tower is a long slog with a lot of minor annoyances.
1 GOOD: Salikawood

The Salikawood is an area where you traverse the canopy of a jungle. This area is sparsely populated with monsters though there seems to be a large amount of bomb type enemies up here. You also run into the cutest construction crew in history in this area. They are a crew of Moogles that are actually on the way to another location but some of the crew wandered off and it falls to you to locate them.
This area also gets some points for connecting to the best area in the game: The Necrohol of Nabudis. The concept of walking in the tree canopy is rad af and the area is pretty peaceful compared to most of the rest of the gm.