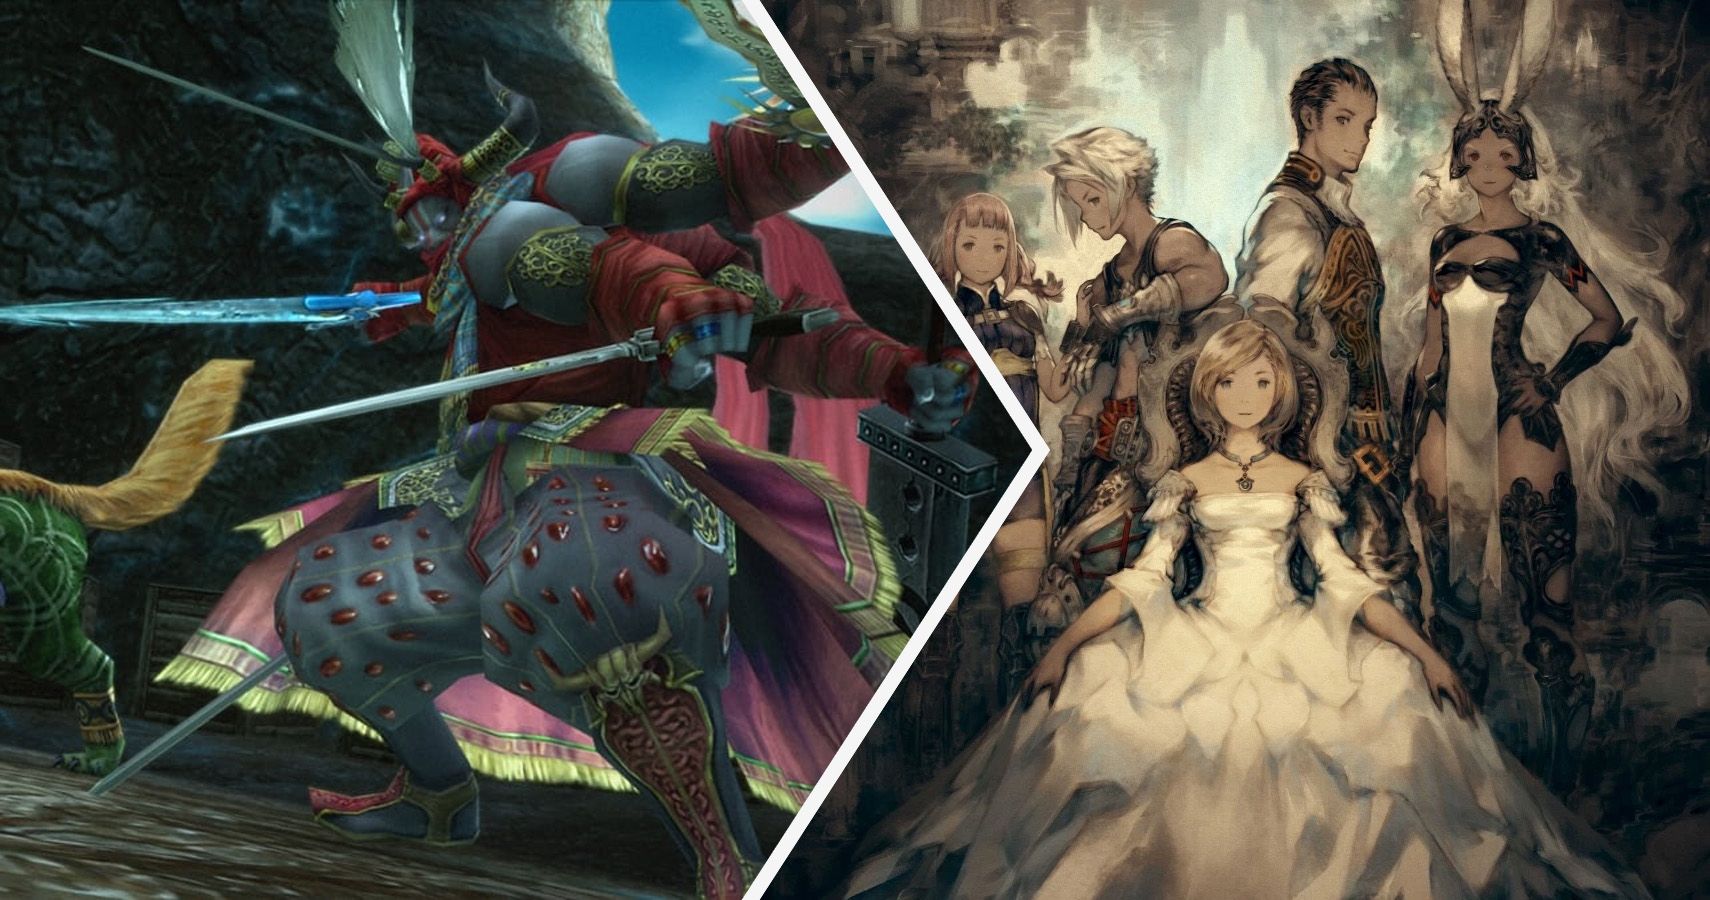
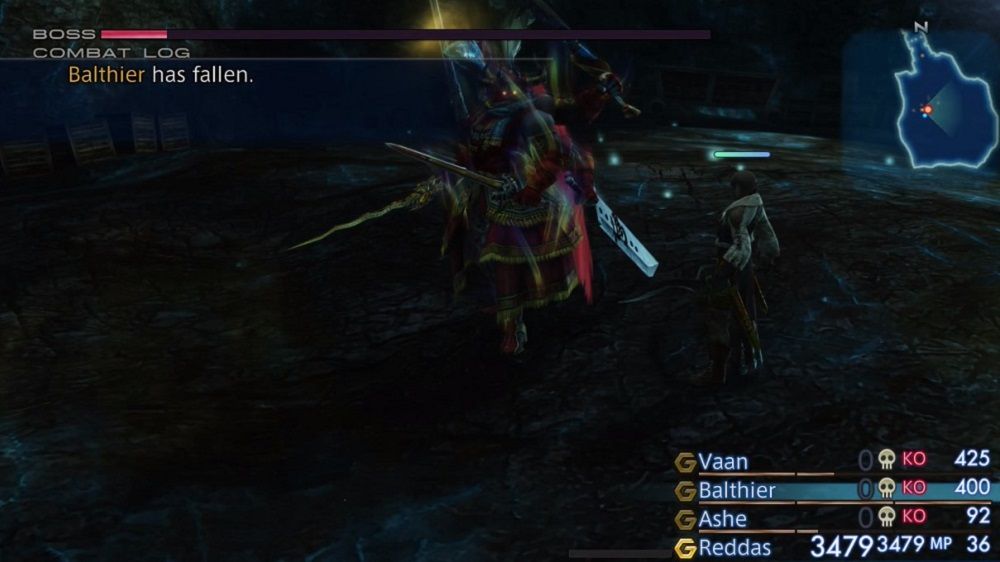
The Final Fantasy games feature many recurring elements throughout the franchise and often players will discover the same bosses or characters in various titles in the series. Final Fantasy 12 is no exception and one familiar face that re-appears is Gilgamesh as an optional boss.
Gilgamesh is an Elite Mark and players will earn the "Master Swordsman" achievement/trophy for defeating him. For information on where to start the quest, where to find Gilgamesh, and how to beat him, we've got everything you need to know right here.
Antlion Infestation Hunt
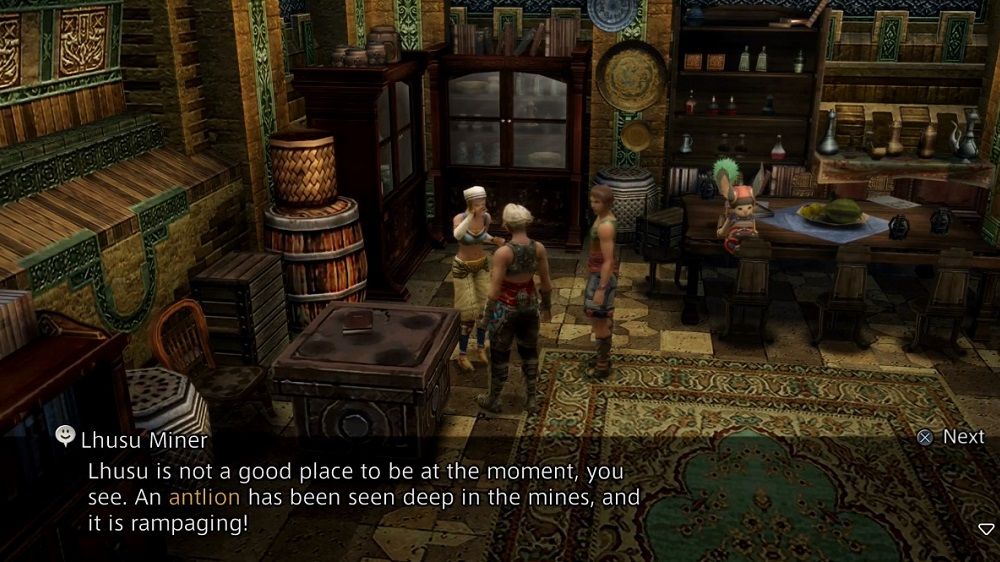
In order to access the area where Gilgamesh is, you first need to complete the Antlion Infestation Hunt. This hunt becomes available after you have visited Mt Bur-Omisace. The Petitioner for this hunt is called Niray and they can be found in the Staras Residence in Bhujerba.
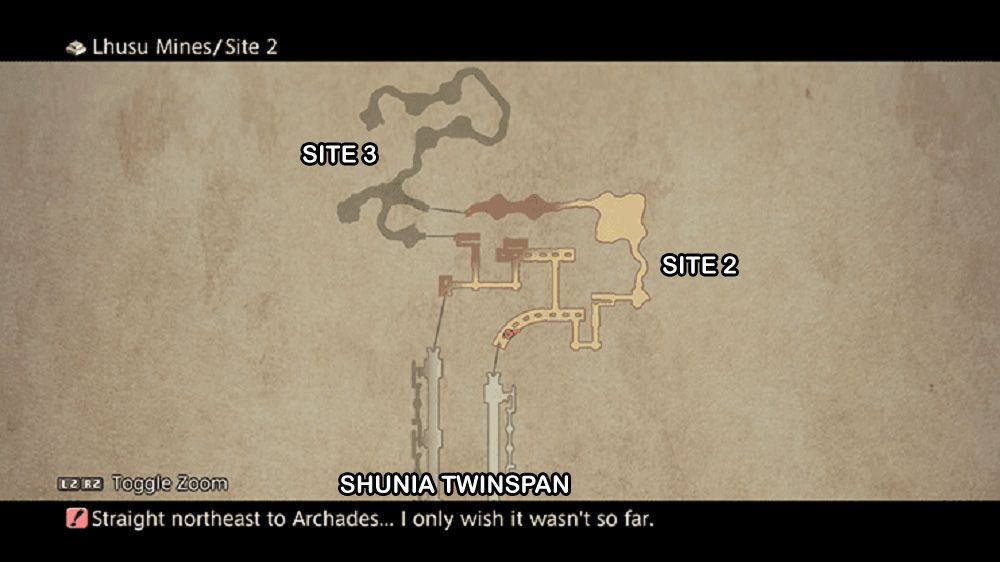
The Antlion mark can be found in the Lhusu Mines and Niray will give you the Site 3 Key item in order to access the area where the mark is. Head into the Lhusu Mines and use the Site 3 Key Wrought Iron Gate in Site 2 to open the way into Site 3. Work your way through Site 3 and head down towards the western side of the Shunia Twinspan, then continue south into Transitway 1. Head west into Transitway 2 and be sure to use the orange save crystal here (it's important for later).
Continue heading west into Site 9 and then move south to find Antlion. Defeat all of the Killer Mantises close to Antlion, as otherwise, it will consume these during the fight to replenish its HP.
Be sure to buff your party, Protect and Haste is a must for all, then Bubble and Decoy should be used on your tank. Faith and Bravery can help the fight go a little faster too. It's important that you have an Esuna Gambit prepped as Antlion will cast Disable on your party.
This fight is pretty straightforward, but if for some reason you find you are struggling, you can use the Nihopalaoa and Remedy trick, and then cast Silence, Slow, and Disease on Antlion.
After the battle, the children will tell you that they lost the Site 11 Key and that it will turn up somewhere. The exact place it will turn up is Phon Coast at the Hunter’s Camp, just lying on the ground beside a Fallen Bhujerban, so be sure to head over there and grab it. After you have defeated Antlion, return to Niray for your reward of 4,300 Gil, a Bubble Belt, and a Sickle Blade.
Unlocking the Battle on the Big Bridge Hunt
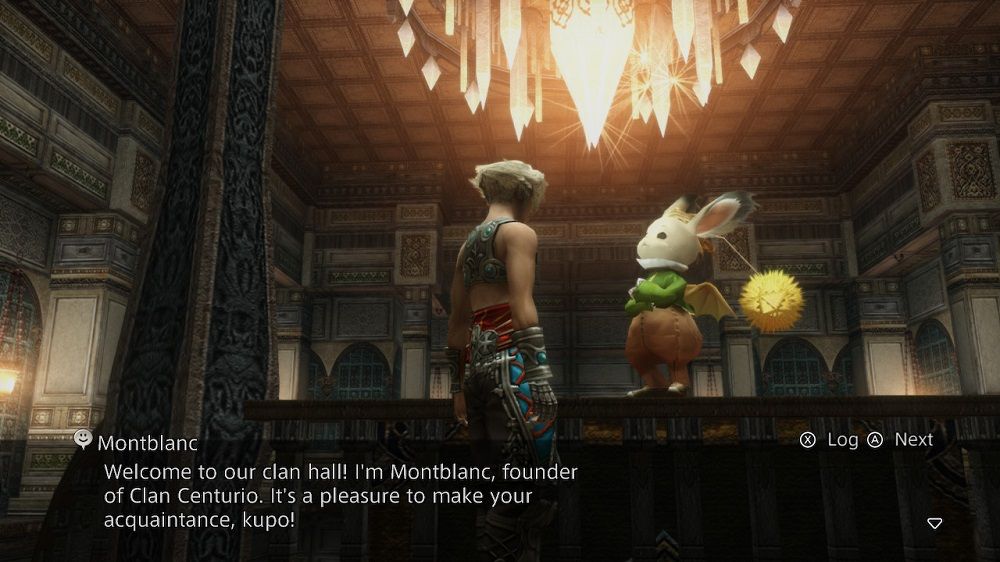
The Petitioner for this hunt is the leader of Clan Centurio, Montblanc, and he can be found in the Clan Hall in Rabanstre. This hunt only becomes available after players have completed the Draklor Laboratory part of the storyline.
Gilgamesh Location (Part 1)
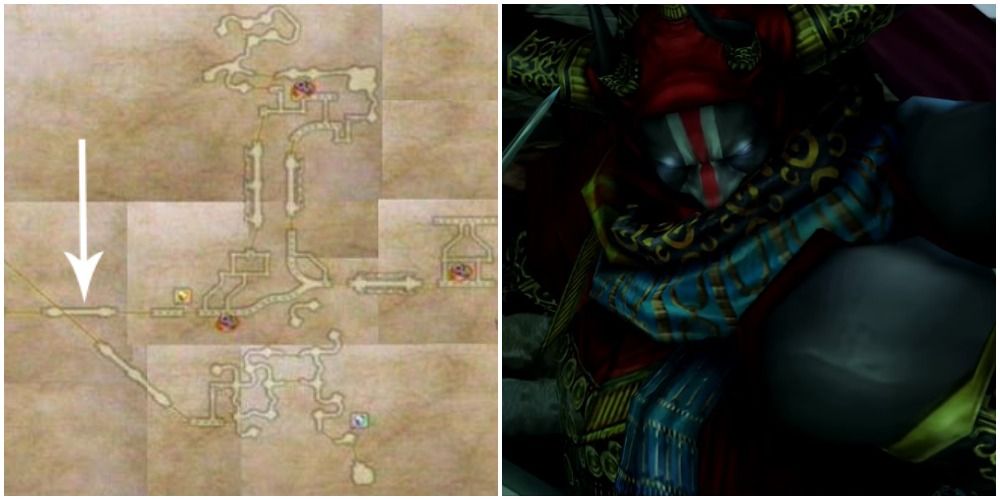
The Gilgamesh hunt is split into two parts, with the first taking place on a bridge as a tribute to "Clash on the Big Bridge" from Final Fantasy 5. The first time you will fight Gilgamesh is in the Tasche Span area of the Lhusu Mines (shown above). Warp to the orange save crystal and then head west into the Tasche Span.
Battle Strategy (Part 1)
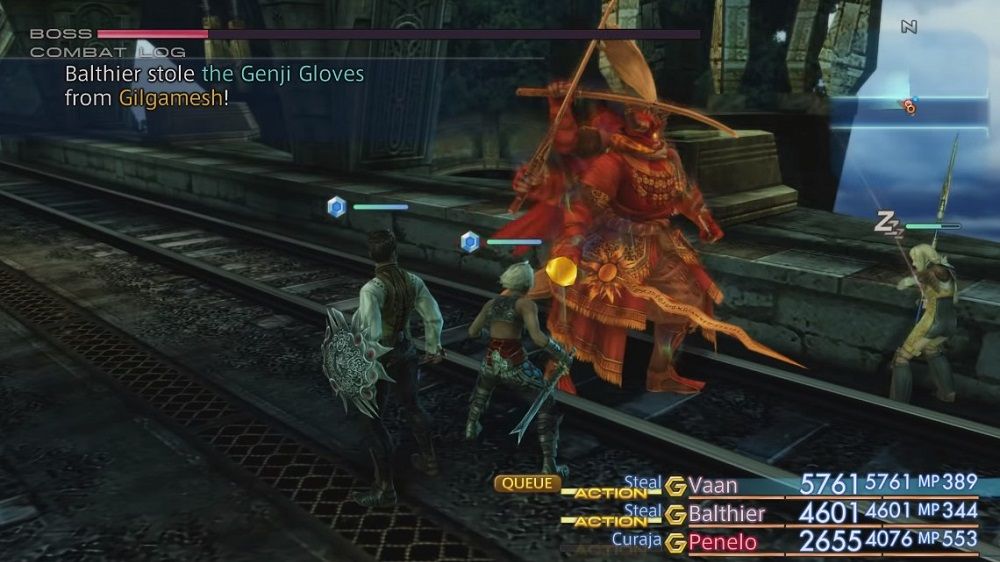
One of the most important things to know about this fight is that you are able to steal some of the best items in the game from Gilgamesh. Each time he pulls out a different sword (and a short cutscene plays), the items you can steal from him change. During this first fight, the key moments are when his health reaches 40% and 20%, as you are then able to steal the Genji Shield and Genji Gloves, respectively. It's worth saving before the fight so you can reload if you are unsuccessful in stealing these items.
Make sure your party is buffed fully when you go into the fight, with Protect, Haste, and Bubble being your main priorities. Gilgamesh and his dog Enkidu begin the battle buffed also, so Dispel these. Gilgamesh will regain his buffs each time he pulls out a new weapon. It's best to set up a Dispel Gambit to stay on top of this.
Take care of Enkidu first. One of the easiest ways to do this using the Nihopalaoa accessory to Sleep him, then promptly oil him and use Fire Magick to take him down. The battle from here on out should be relatively straightforward. Gilgamesh will use Ultimate Illusion and Perfect Defense which will grant him immunity from attacks for a short time, but just wait it out and then resume your attack. Overall, you should have no trouble with this fight.
Gilgamesh Location (Part 2)
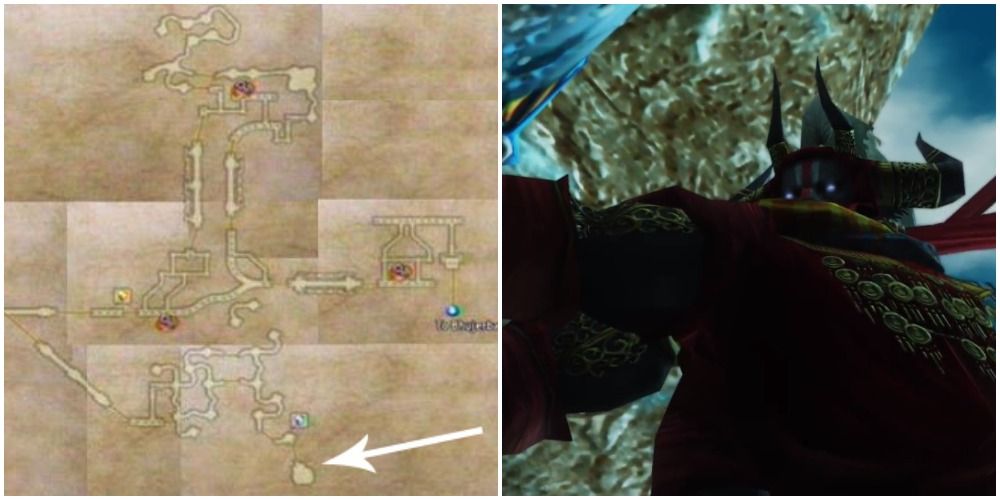
The next Gilgamesh fight takes place in Site 7 in the Lhusu Mines (shown above) and you'll need to have retrieved the key from the Hunter's Camp to get there. Head back to the orange save crystal in the mines and travel west once more and into Site 9. In the northern area of Site 9 is a locked gate, so use your key and open it to head on through. On the northern wall of this next area, use the Gate Switchboard to go into the following area and then head east into the Lasche Span.
Proceed into the next map, Site 5, then head east into Site 6 before traveling south into the Staging Area. Use the blue save crystal before moving south into Site 7 and beginning the battle.
Battle Strategy (Part 2)
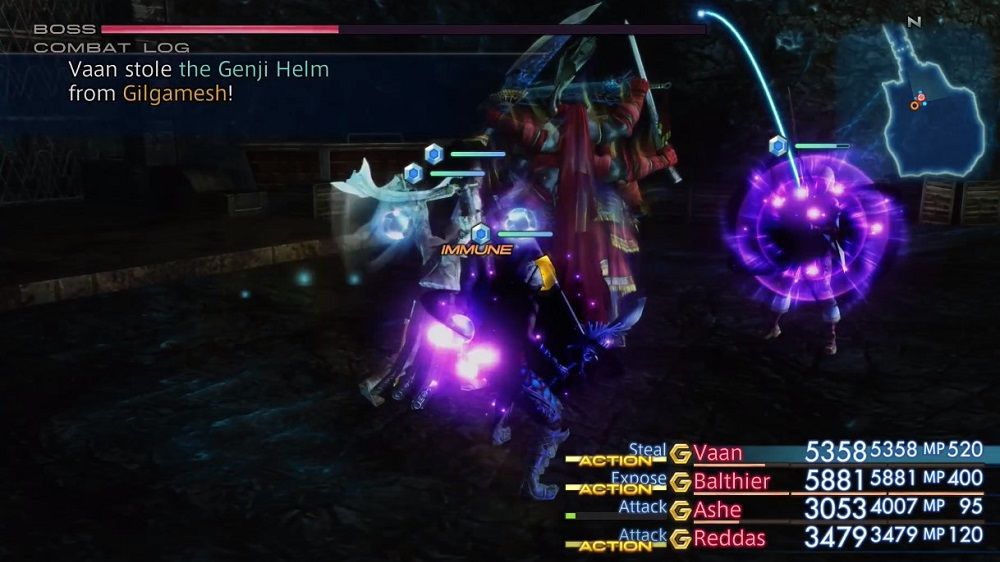
This fight will be similar to the first in many respects, but most importantly, you can steal the other two Genji items from him. When Gilgamesh's HP drops to 40% you can steal the Genji Helm, and once his HP drops to 20% you can steal the Genji Armor — make sure you steal these.
Once more, Gilgamesh and Enkidu will begin the fight buffed and these will be replenished every time he draws out a new weapon, so keep on top of dispelling these. Make sure your own party is buffed too.
This fight is a lot harder than the last one in more ways than one, but most importantly, Gilgamesh's stats have all increased so he'll be hitting a lot heavier and quicker this time around. Additionally, Gilgamesh will regularly inflict Sleep, Break, and Disable, so you should set up Gambits to help relieve these.
Focus your energy on Enkidu first again, and you can use the same Nihopalaoa trick again too. He'll take longer to take down as he's stronger, so while both Gilgamesh and Enkidu are in play, use Slow and Blind on Enkidu to dampen the damage he deals somewhat. Keep on top of healing and revive any characters that fall, it will likely happen a lot.
Once Enkidu is down and you begin focusing on Gilgamesh, the more his HP drops, the more deadly he becomes. As his HP falls, he will start using new attacks and start chaining attacks. Having an Arise Gambit set up here will be super helpful and you should aim to have both Protect and Bubble active throughout the battle. Gilgamesh will use his Perfect Defense move again, so just wait out the immunity and keep your party looking healthy.
If the levels of your party members are prime numbers they will have more advantages throughout the battle. If their levels are divisible by a multiple of 2, 3, or 4, you're going to find the battle more difficult.
Once his HP reaches 0%, Gilgamesh will flee and leave a sword behind. You can examine the sword, but can't pick it up, so just head out of the area and watch a short cutscene. Return to Montblanc to receive your reward of 10,000 Gil and the Excalipur sword (Zodiac version) or the Masamune sword (original game).

