One of the great things about Final Fantasy 12 is that there are plenty of optional bosses and hunt marks to challenge even the best of players. One of the trickier monsters to defeat is the aptly named Trickster — a white Chocobo that is ready to put you through your paces.
Defeating the Trickster will earn you the "Sharpshooter" trophy/achievement. For everything that you need to know about how to unlock this hunt, where to find the mark, and how best to beat it, just take a little look at our guide below.
Unlocking the Paramina Run Hunt
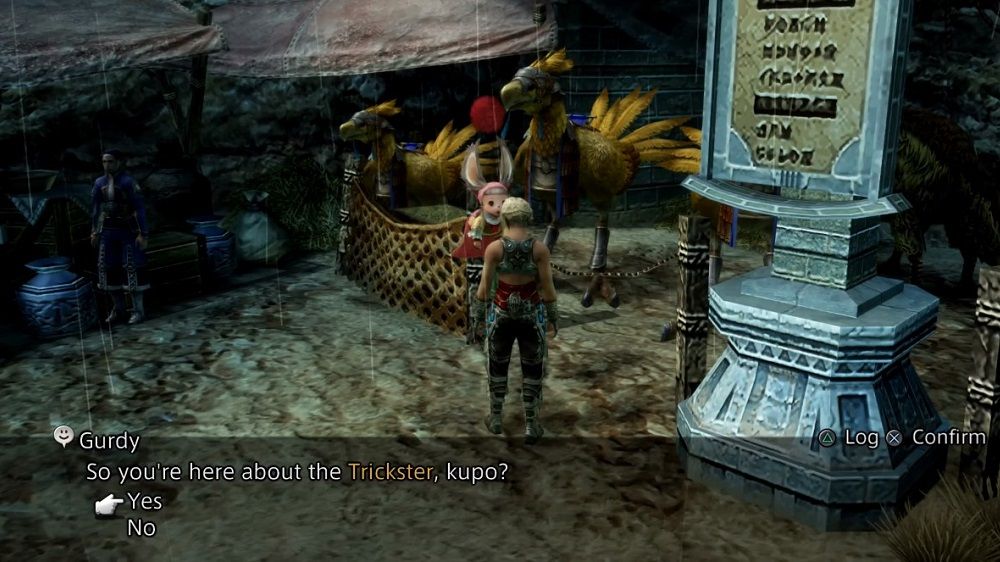
You can pick up the Paramina Run Hunt by speaking to Gurdy, who is near the Chocobo pen at the entrance to Mt Bur-Omisace. For this quest to become available, you must have a Clan Rank of Headhunter or above and have progressed the story to the point where your party has visited Mt Bur-Omisace for the first time.
Trickster Location
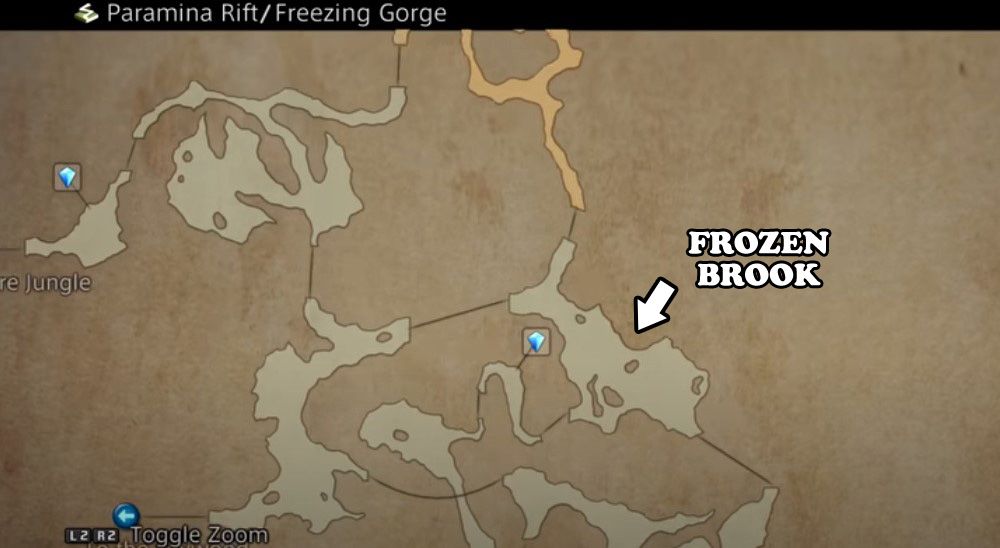
The Trickster is found in the Frozen Brook section of the Paramina Rift map, just south of Mt Bur-Omisace. Each time you enter this area, there is a 30% chance that the Trickster will spawn. There is an NPC named Monid in this area, and the first time Trickster is around they will inform you of its presence.
However, Monid will not tell you on any subsequent occasions, so you'll have to check for yourself if you didn't find and kill the Mark when Monid told you. Trickster can be particularly difficult to spot as it is practically invisible from a distance and runs around very quickly.
Battle Strategy
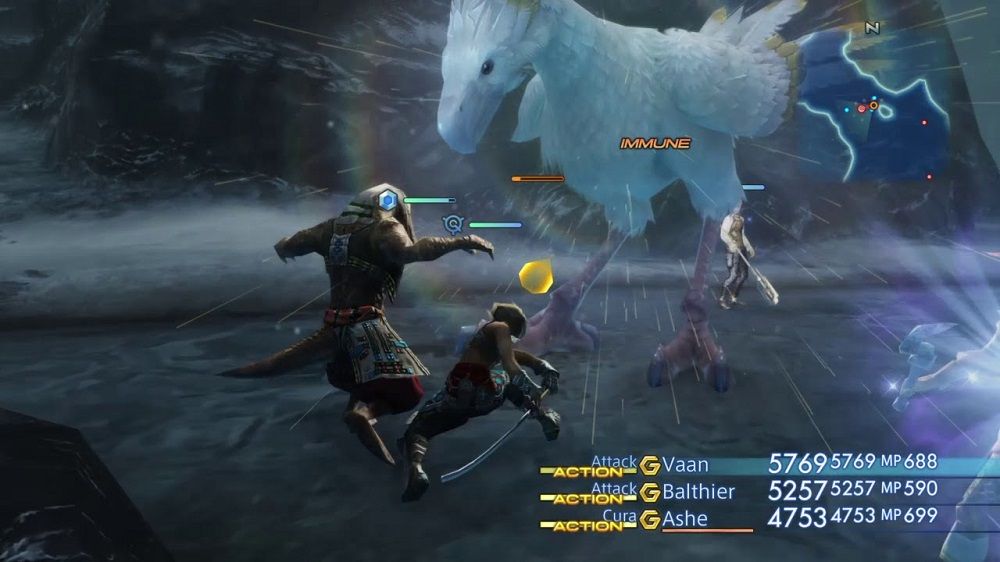
Monid will join you for this battle. First and foremost, you're going to want to dispel Trickster's Protect and then just start whittling down the Chocobo's HP and keeping an eye on your party's health.
This fight seems deceptively straightforward at first, but the Trickster is just getting started. Once its HP drops to roughly 50%, it will get a lot harder. At this point, Trickster will start using a powerful attack called Choco-Comet, so keep all your characters spread out to reduce the damage done to them. Trickster's attack speed will increase and it can hit up to six times, so be sure to keep on top of healing. Occasionally, it will use White Wind, which makes it immune to status effects for two minutes.
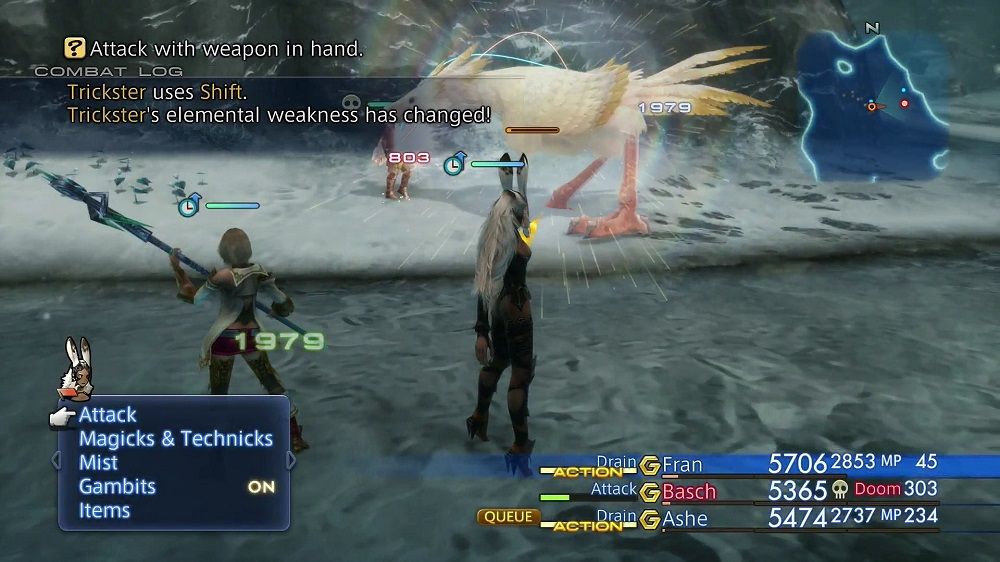
The Trickster will use a paling and become immune to physical damage and all magickal damage will heal it apart from one element. When you successfully use this chosen element on the Trickster, it will use Shift and change which element it is vulnerable to. Though non-elemental spells such as Bio, Scourge, and Drain were effective in the original release for this part of the battle, this no longer works in the Zodiac version, however, Balance is still just as effective.
The Trickster may run away at random points of the battle, you can choose to follow it or simply wait for it to return and resume its attack. It's best to just wait for it to return so that you don't accidentally get the attention of other nearby enemies.
A suggested strategy is to put the Trickster to sleep shortly before it gets to 50% health. This can be achieved by using the Nihopalaoa and Prince's Kiss trick to put it to sleep. If you don't have the Nihopalaoa, you can use an Indigo Pendant and the Sleep spell instead. Then follow this up by using Balance on the Trickster, which is more effective when your party HP is low and you have Faith active. However, if you use the Sleep method, you have to get rid of Monid, otherwise, this NPC will keep attacking and will wake the Trickster up.
If you can't Sleep the Trickster, aim to get a Quickening chain going before the Trickster unleashes its full power. This method does not work if the Trickster already has its paling active.
Once the Trickster is defeated, be sure to return to Gurdy to claim your reward of 4,800 Gil and the Deimos Clay item required to obtain the Morbid Urn.

