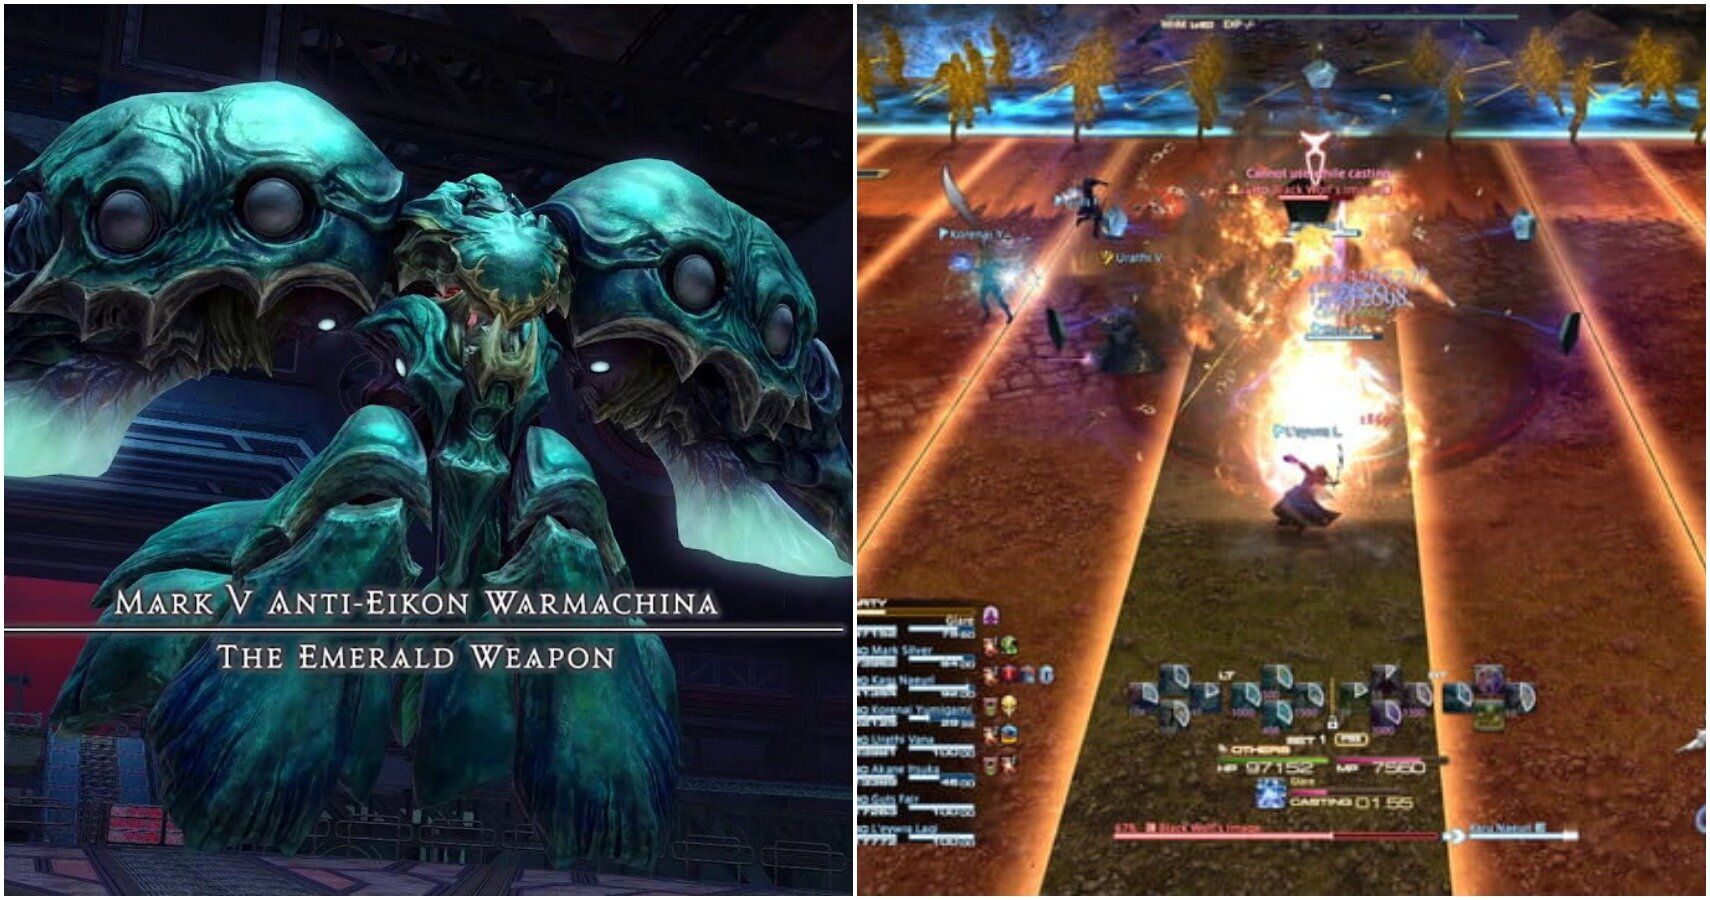
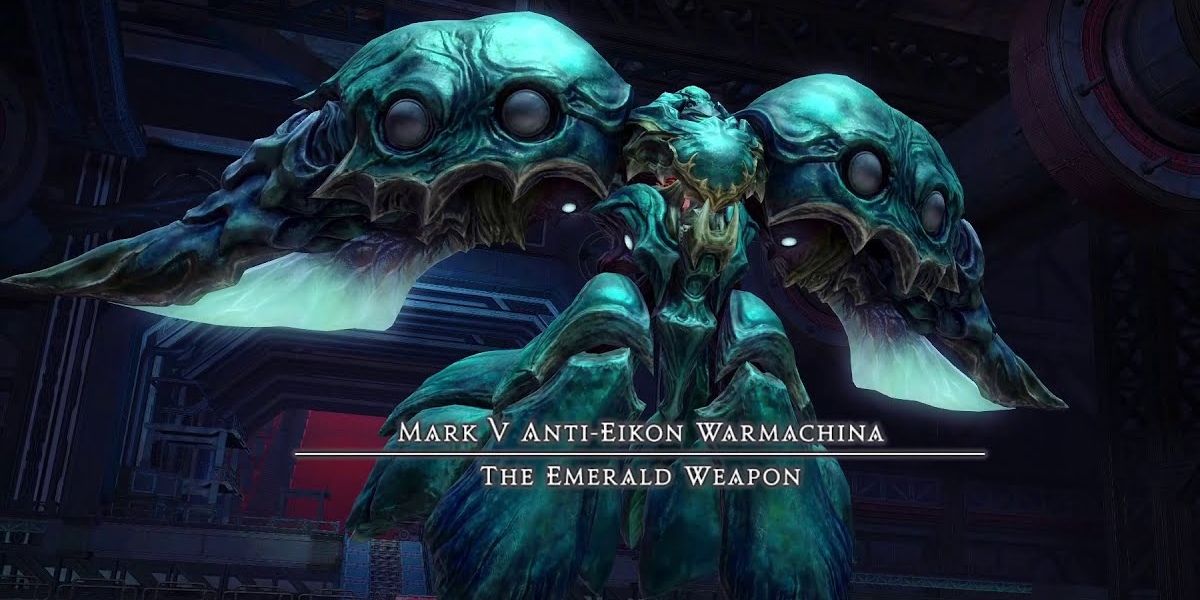
Introduced in patch 5.4 of Shadowbringers, Castrum Marinum is a level 80 trial with an item level requirement of 470. It is unlocked in the quest, Blood of the Emerald, which can be picked up by a Resistance Officer in Porta Pretoria in The Lochs.
A lot of players have gotten lost in getting to Terncliff after accepting the quest. To get to Terncliff, players should turn 180 degrees and walk straight until they come across an NPC called Resistance Escort. They will take players to Terncliff.
As for the fight itself, luckily, this fight only has two phases.
Phase One
Healers and tanks should be prepared for some hard hits immediately, as the Emerald Weapon opens with a tankbuster called Emerald Shot and proceeds with up to seven attacks on top of each other.
Next, the boss will execute Emerald Beam. This mechanic combines movement ques and AoE's that players are familiar with, but now they are stacked into one. The AoE will hit back the front and rear end of the boss while it spins clockwise. So players will have to move around the boss as it moves.
On top of the front and rear AoE, the Emerald Weapon will also have a pulsing circle AoE that goes off one layer after the other. It is recommended that players do a zigzag motion while running clockwise to avoid both of these AoE's at once. Also, players should not run on the outer edges of the arena, as the blasts of the AoE will make the area shrink down.
Healers should do what they can to heal any injured players, as the boss will then make mines appear, and all of them will have an AoE. Two of these mines will be tethered and have a negative or positive charge above them. Right before detonation, the bombs will move according to their change. For example: if they are both the same charge like positive and positive, they will move away from each other and detonate. If one is positive and one is negative, then they will come together before detonation. Position in anticipation to how the bombs will react to each other, because it will be too late to move once the bombs move.
Any stragglers will be moped with Optimized Ultima, which does raid-wide damage. Next is Sidescathe, which deals damage to half of the field. To dodge Sidescathe, players must pay attention to which of the boss's wings are glowing. They must stand on the side without the glowing wing to dodge the attack.
By then, the boss should use Split to shed its legs. They will do a pushback attack so players should position themselves in a way that they won't fall off the edge when pushed.
Emerald Beam will happen again and further shrink the arena. Players will need to stick close to the boss as it does a donut-shaped AoE after that. The team should then space out for Divide Et, an attack that hits the tank, and then everyone else.
Another bomb phase will occur and then some linear strikes will happen which are not complicated to avoid. The boss will use Split again, but this time its hands will be sending orb bombs from both sides of the arena for players to dodge. However, this will occur while the boss does another Sidescathe and leg knockback attack. So watch out for the glowing wing, the knockback, and bombs all at once. Proceed until the boss's first phase is defeated.
Phase Two
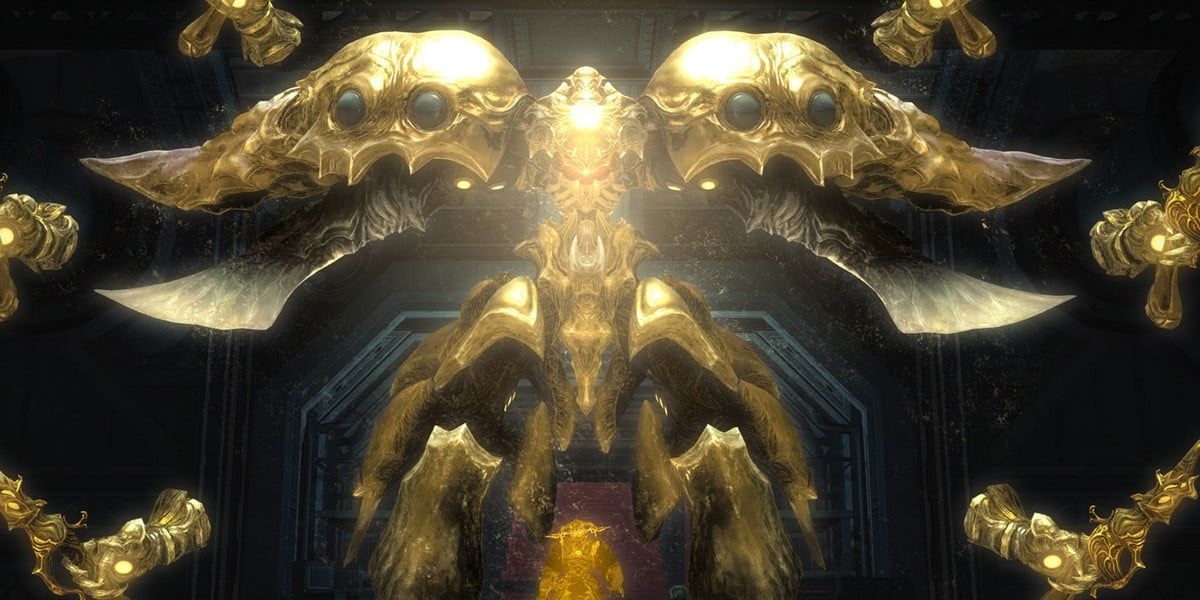
After a cutscene, players will enter phase two of the battle. The arena has changed so players are no longer in danger of falling off. However, the edges should still be avoided.
The good news is this is a checkpoint in the fight. If the party wipes from here on, they will only start over at phase two. Phase one does not have to be done again.
The part of phase two opens with Primus Terminus Est, a knockback attack that targets three players. There will be other area attacks while Primus Terminus Est pushes, so those three targeted players should position themselves in a place where a pushback will not land them in an AoE. Note that the pushback will affect more than just the targeted players if they are caught up in the line of fire.
Next, the boss will perform Secundus Terminus Est. Every player will get a marker that will be placed where they stand. Those markers will have large swords attack horizontally and vertically of where the marker is placed. At that point, it will look like mayhem, as nearly the entire arena will likely be covered in AoEs. Players should use sprint and find safety asap.
The last attack to watch out for in this phase is Legio Phantasmatis. The boss will summon Garlean ghost soldiers and they will line up on one edge of the battle map. They attack in a sequence of three layers and the players must spot a missing soldier in each layer to find a safe spot to stand and dodge the soldiers.
Everything else will repeat until the boss is defeated.


