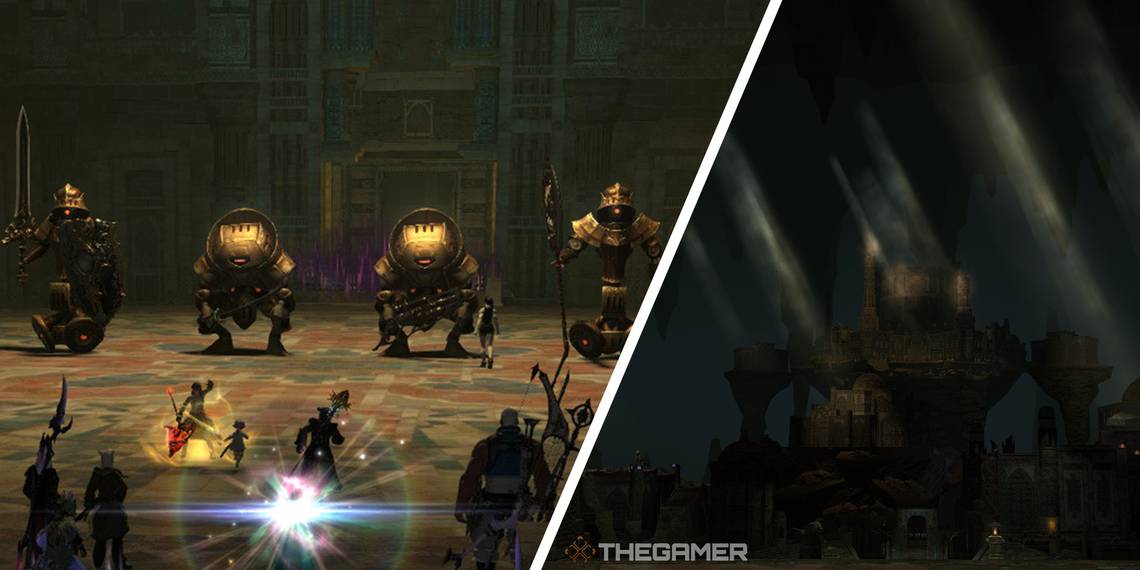
Your journey through Final Fantasy 14's Delubrum Reginae continues with the dungeon's third boss, the Queen's Guard. After defeating Trinity Seeker and Dahu, you will reach the Hall of Hieromancy, where four robotic guards will be waiting for you.
Let's take a look at each of the Queen's Guard's attacks and mechanics, and how you can avoid them.
Queen's Guard Walkthrough

The third boss of Delubrum Reginae is actually four separate enemies that you will fight one at a time. The fight will begin with your party fighting all four at once, but once they reach roughly 80 percent health, they will jump away. The order you face the Queen's Guard in is random.
The arena you face the Queen's Guard has a death zone surrounding its edge, which will apply the debuff Twice-come Ruin. Getting two stacks of Twice-come Ruin will inflict Doom, which will instantly kill you. Avoid the edge of the arena during this fight.
Queen's Gunner

The Queen's Gunner will use the following attacks.
- Shot in the Dark: The Queen's Gunner will deal a large amount of damage to the main tank. Mitigate and heal as necessary.
- Queen's Shot: The Queen's Gunner will deal damage to all party members. Have a few raid-wide heals handy for this attack.
- Automatic Turret: The Queen's Gunner will summon two turrets that both have a directional arrow facing either the other turret or a random spot outside the arena. To make this more simple, we will refer to the turret that is facing the other turret as Turret 1, and the turret that is facing outside the arena as Turret 2. After a short delay, the Gunner will shoot at Turret 1, which will then bounce the shot to Turret 2, which will bounce it again outside the arena. This attack will do damage to any players who stand between each shot.
- To avoid this attack, pay attention to where the turrets are facing, and avoid accordingly.
- The next time the Queen's Gunner uses this attack, it will instead summon four turrets, and will shoot two times, simultaneously.
Queen's Warrior
The Queen's Warrior will use the following attacks.
- Rapid Sever: The Queen's Warrior will deal a large amount of damage to the main tank.
- Blood and Bone: The Queen's Warrior will deal damage to all party members.
- Bombslinger: The Queen's Warrior will toss small and large bombs around the arena that will explode after a few seconds.
- Above Board: After using Bombslinger, the Queen's Warrior will use Above Board to launch all bombs and players into the air. After a short delay, the larger bombs will fall to the ground before exploding, effectively creating a safe zone in the air where the large bombs used to be.
- To avoid this attack, stack on top of a large bomb before being launched into the air.
- Reversal of Forces: The Queen's Warrior has a chance to use this ability before using Above Board. Reversal of Forces will reverse the weight of the bombs the boss tethers to, making small bombs drop first and large bombs drop second.
- If the Queen's Warrior uses this ability, remember to stack on a small bomb.
Queen's Knight

The Queen's Knight will use the following attacks.
- Optimal Play: The effects of this attack differ based on what stance the Queen's Knight is currently in.
- Sword Omen: Indicated by blue swords circling the boss, Sword Omen will change the area of Optimal Play's damage to a small circle centering on the boss. When the Queen's Knight switches to Sword Omen, move away from the boss.
- Shield Omen: Indicated by pink shields circling the boss, Shield Omen will change the area of Optimal Play's damage to the entire arena, with a safe space directly surrounding the boss. When the Queen's Knight switches to Shield Omen, move as close as possible to the boss.
- Additionally, the Queen's Knight will utilize Rapid Sever and Blood and Bone, which have the same effects as the other Queen's Guards that use these abilities.
Queen's Soldier
The Queen's Soldier will use the following attacks.
- Double Gambit: The Queen's Solider will summon four non-targetable Soldier Avatars before tethering itself to two of them. After a short delay, all four adds will begin casting Pawn Off, which will deal sizable damage in a large radius. However, only the two adds that the boss is tethered to will deal damage; the other two will be safe to stand in. The key to avoiding this attack is to remember which Soldier Avatars are tethered to the boss and react accordingly.
- Subsequent uses of this attack will have the Soldier Avatars jump around and change places, meaning you and your party will need to keep track of the untethered adds and where they ultimately end up.
- Additionally, the Queen's Soldier will use Rapid Sever and Blood and Bone during this portion of the fight, which have the same effects as previous versions of these attacks.
Aetherial Ward

After you have defeated each Queen's Guard one-on-one, they will all appear at the same time and cast an Aetherial Ward on themselves. This is the final phase of the fight and acts as an enrage timer. You will need to destroy each Queen's Guard's Aetherial Ward before they finish casting Blood and Bone, which will instantly kill all party members.
During the Aetherial Ward, the Queen's Guard will cast Coat of Arms. This ability will provide a barrier on two sides of the Guard. Attacking the barrier will slightly knock you back, deal damage, and inflict Twice-come Ruin. To avoid this barrier, you will need to attack the Queen's Guard on the sides that do not have one. After a short time, the Guards will cast Coat of Arms again, switching the barriers to different positions.
There is more than enough time to destroy the Aetherial Wards before the Queen's Guard finishes casting Blood and Bone, so take your time when finding the sides without barriers to avoid Twice-come Ruin.
Loot
Guaranteed:
- 3 Bozjan Silver Coin
Chance to receive the following:
- Bozjan Gold Coin
- Field Notes on the Queen's Guard
- Forgotten Fragment of Clarity
- Forgotten Fragment of Contention
- Forgotten Fragment of Divinity
- Forgotten Fragment of Finesse
- Forgotten Fragment of Fortitude