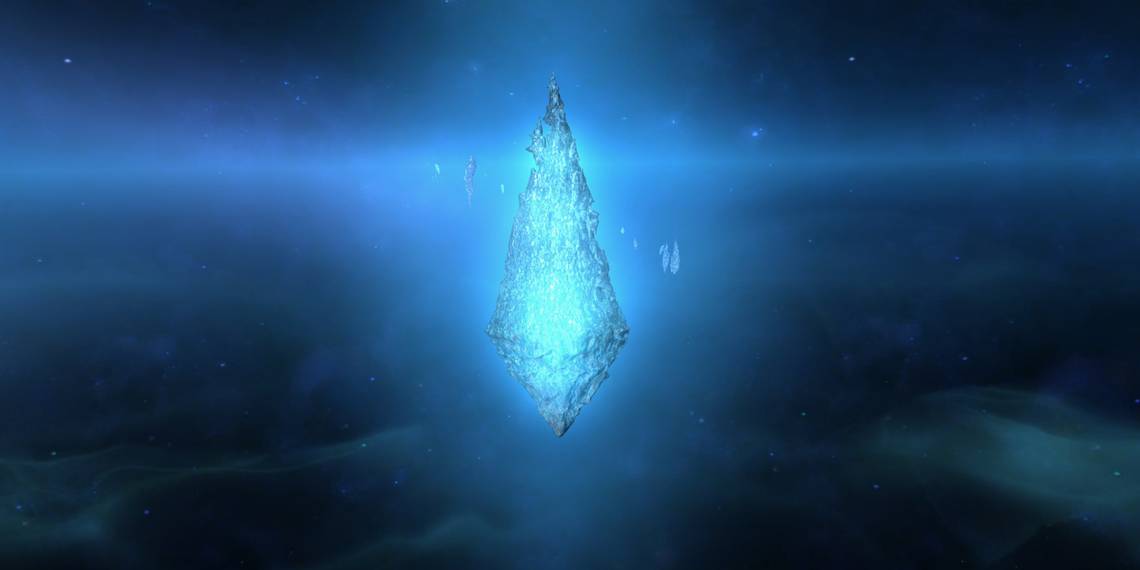
The Mothercrystal is a level 89 Trial in Final Fantasy 14: Endwalker. After clearing the Aitiascope, you will arrive at the Mothercrystal, where Hydaelyn resides. However, before she will tell you how to find Meteion, you will need to prove your worth to the Goddess of Light.
Hydaelyn is a challenging opponent, and this Trial will put your skills to the test. Whether you go in with other players or Trust allies, prepare for a tough fight. Let's hear, feel, and think our way through this Trial and go over all of Hydaelyn's attacks and mechanics.
How To Unlock The Mothercrystal
The Mothercrystal trial is unlocked through the following main story quest.
-
Accept the Main Scenario Quest 'Her Children, One and All'
- NPC Location: Fourchenault - Labyrinthos (x:13.3, y:27.5)
Follow this quest until you reach the Aitiascope dungeon. After completing the dungeon, you will unlock The Mothercrystal.
Trial Walkthrough

For your first time attempting the Mothercrystal, we recommend using the Trust system. This is the first and, so far, only Trial you can enter with seven Trust allies, and they can help immensely when learning how to do the fight. They will dodge attacks and give call-outs for where to move during certain mechanics, so take advantage of them whenever possible.
Additionally, if playing with Trusts, you will start the fight with two stacks of Willful, allowing you to revive instantly if you are killed. If you go through both stacks of Willful and still fail, you will be granted an additional stack of Willful.
Hydaelyn's main mechanic in the Mothercrystal is her ability to switch her equipped weapon. When she equips different weapons, she will unleash unique attacks that you'll need to dodge. Later in the fight, this mechanic will be compounded with Crystallize, further increasing the number of mechanics you'll need to watch out for.
Surrounding the arena is a thin golden edge; walking in this will instantly kill you, even if you have stacks of Willful remaining. While Hydaelyn does not use any knockback abilities, you'll still need to watch carefully and stay away from the edge of the arena.
Listed below are each of the attacks and mechanics you'll encounter while fighting Hydaelyn.
Phase 1

- Heros's Radiance: Deals moderate damage to all party members. Use AoE heals to recover.
- Heroes Sundering: Targets the main Tank and deals high damage in a cone AoE towards them. The main Tank should face the boss away from the rest of the party to avoid having them be hit with this attack.
-
Dawn Mantle: Hydaelyn will cast this attack multiple times throughout the fight, changing which weapon she currently has equipped. Each time she changes her weapon, she will use a different attack, depending on which weapon she equips.
- Dancer Chakrams (red symbol): Large AoE attack that covers a majority of the arena. There will be a small safe spot directly underneath Hydaelyn, so move underneath the boss to avoid this attack.
- White Mage Staff (green symbol): A point-blank circular AoE attack surrounding Hydaelyn. Move towards the edge of the arena to avoid this attack.
- Paladin Sword (blue symbol): A cross-shaped AoE attack to the cardinal directions of the arena. Move to one of Hydaelyn's corners to avoid.
- Mousa's Scorn: Hydaelyn will target the main Tank with a stack marker. The off-Tank will need to group up with the main Tank to split the damage of this attack.
- Magos's Radiance: Deals damage to all party members.
Crystals of Light Phase

When Hydaelyn reaches roughly 80 percent health, she will become untargetable and summon six Crystals of Light. Additionally, she will begin building the Conviction gauge. You will need to destroy all six Crystals before the gauge is filled to complete this phase without dying.
Hydaelyn will use the following attacks during this phase.
- Hydaelyn's Ray: Hydaelyn will create an orange line AoE down the center of the arena. This attack functions similarly to a proximity AoE; the further away from the center of the arena you are, the less damage you will take. Run to the edge of the arena to avoid. Hydaelyn will repeat this attack in between the following two attacks.
- Crystalline Stone III: Targets a random player with a stack marker. Group up on the affected player to spread out the damage of Crystalline Stone III.
- Crystalline Blizzard III: Targets all players with an AoE marker. Spread out to avoid overlapping this AoE.
- Exodus: Deals high damage to all players, and deals additional damage depending on how high the Conviction gauge is. This attack will be used when all six Crystals are destroyed, and will end the current phase.
Phase 2

After destroying the Crystals, the Trial will enter its second phase. Hydaelyn will gain access to the following attacks.
- Crystallize: Either targets one player with a stack marker or all players with an AoE marker. Hydaelyn will cast this before using Dawn Mantle; the mechanics of Crystallize won't appear until during or immediately after Hydaelyn uses Dawn Mantle, so prepare to deal with an additional mechanic after dodging her weapon change attack.
- Parhelion: A series of three sets of line AoEs will shoot out from the boss, leaving a Chakram at their destination around the edge of the arena. These will fire in the order they are created. After dodging the first wave of Parhelion, Hydaelyn will use Subparhelion.

- Subparhelion: The Chakrams created from Parhelion will shoot back along their lines from the previous attack, dealing damage in their path. These will cover most of the arena, and will fire back in the same order as before. To avoid Subparhelion, stand in the AoE of the Chakram lines that will fire last, giving you time to move into the area of the first lines once they explode.
- Parhelic Circle: Green lines will appear on the ground which will explode and deal damage after a few seconds. Then, light orbs will be created on top of each green line, which will use an AoE attack surrounding themselves. Run to where there is a gap between the green lines and stay there while the orbs explode to fully avoid Parhelic Circle.
- Radiant Halo: Deals damage to all party members.

- Lightwave: Four waves of light will spawn in each of the cardinal directions of the arena. These will begin slowly moving down the arena in a line, dealing damage in their path. The time they start moving will be staggered, meaning they won't all start moving at the same time. Use this delay to your advantage while avoiding the waves, or stay close to the corner of the arena to dodge the Lightwaves.
- Echoes: Hydaelyn will target a random player with a stack marker. Echoes will strike multiple times, so stay grouped up for the duration of this attack. This attack will occur during Lightwave, so watch for the waves as you group up.
After you have seen Lightwave and Echoes, Hydaelyn will repeat all of her attacks from phases one and two for the remainder of the fight. The main things to watch out for during this Trial are Dawn Mantle, Crystallize, and Parhelion. Keep an eye on which weapon Hydaelyn is switching to, and watch the order of the Chakrams during Parhelion to have the best chances of clearing this Trial.