Quick Links
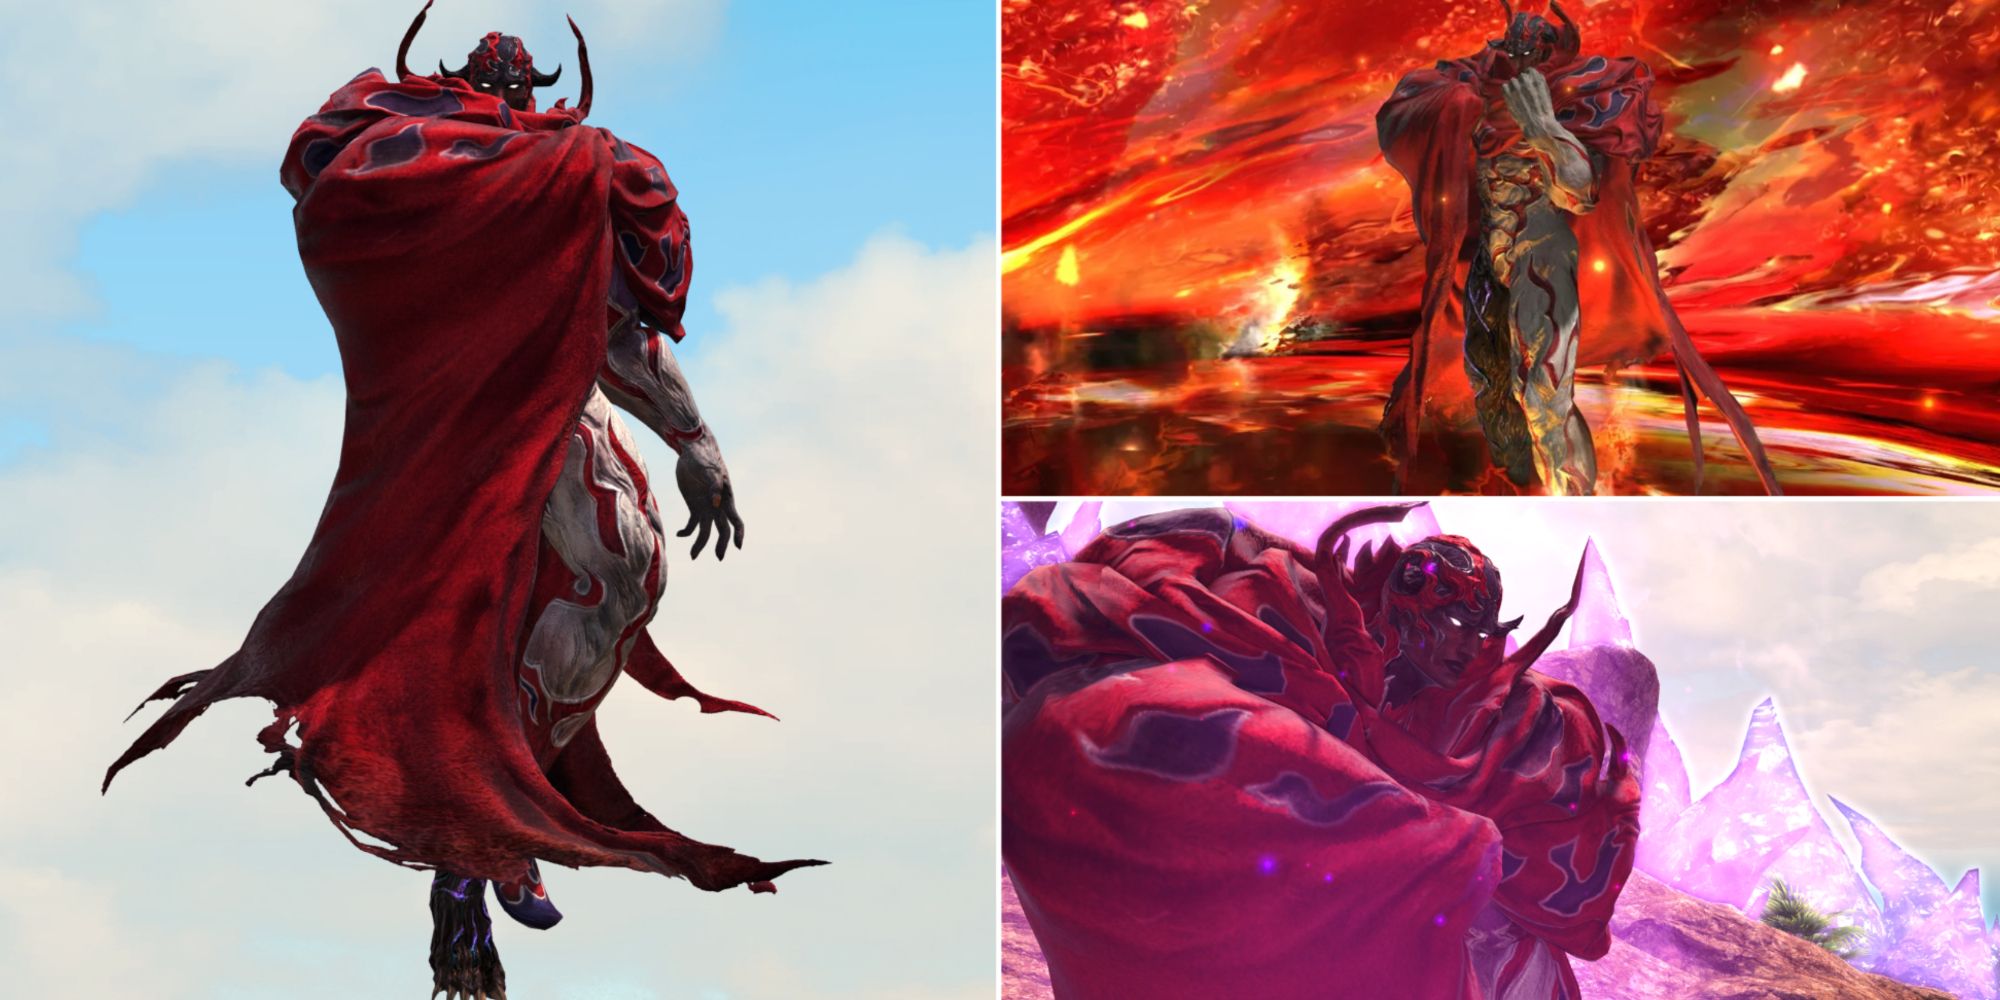
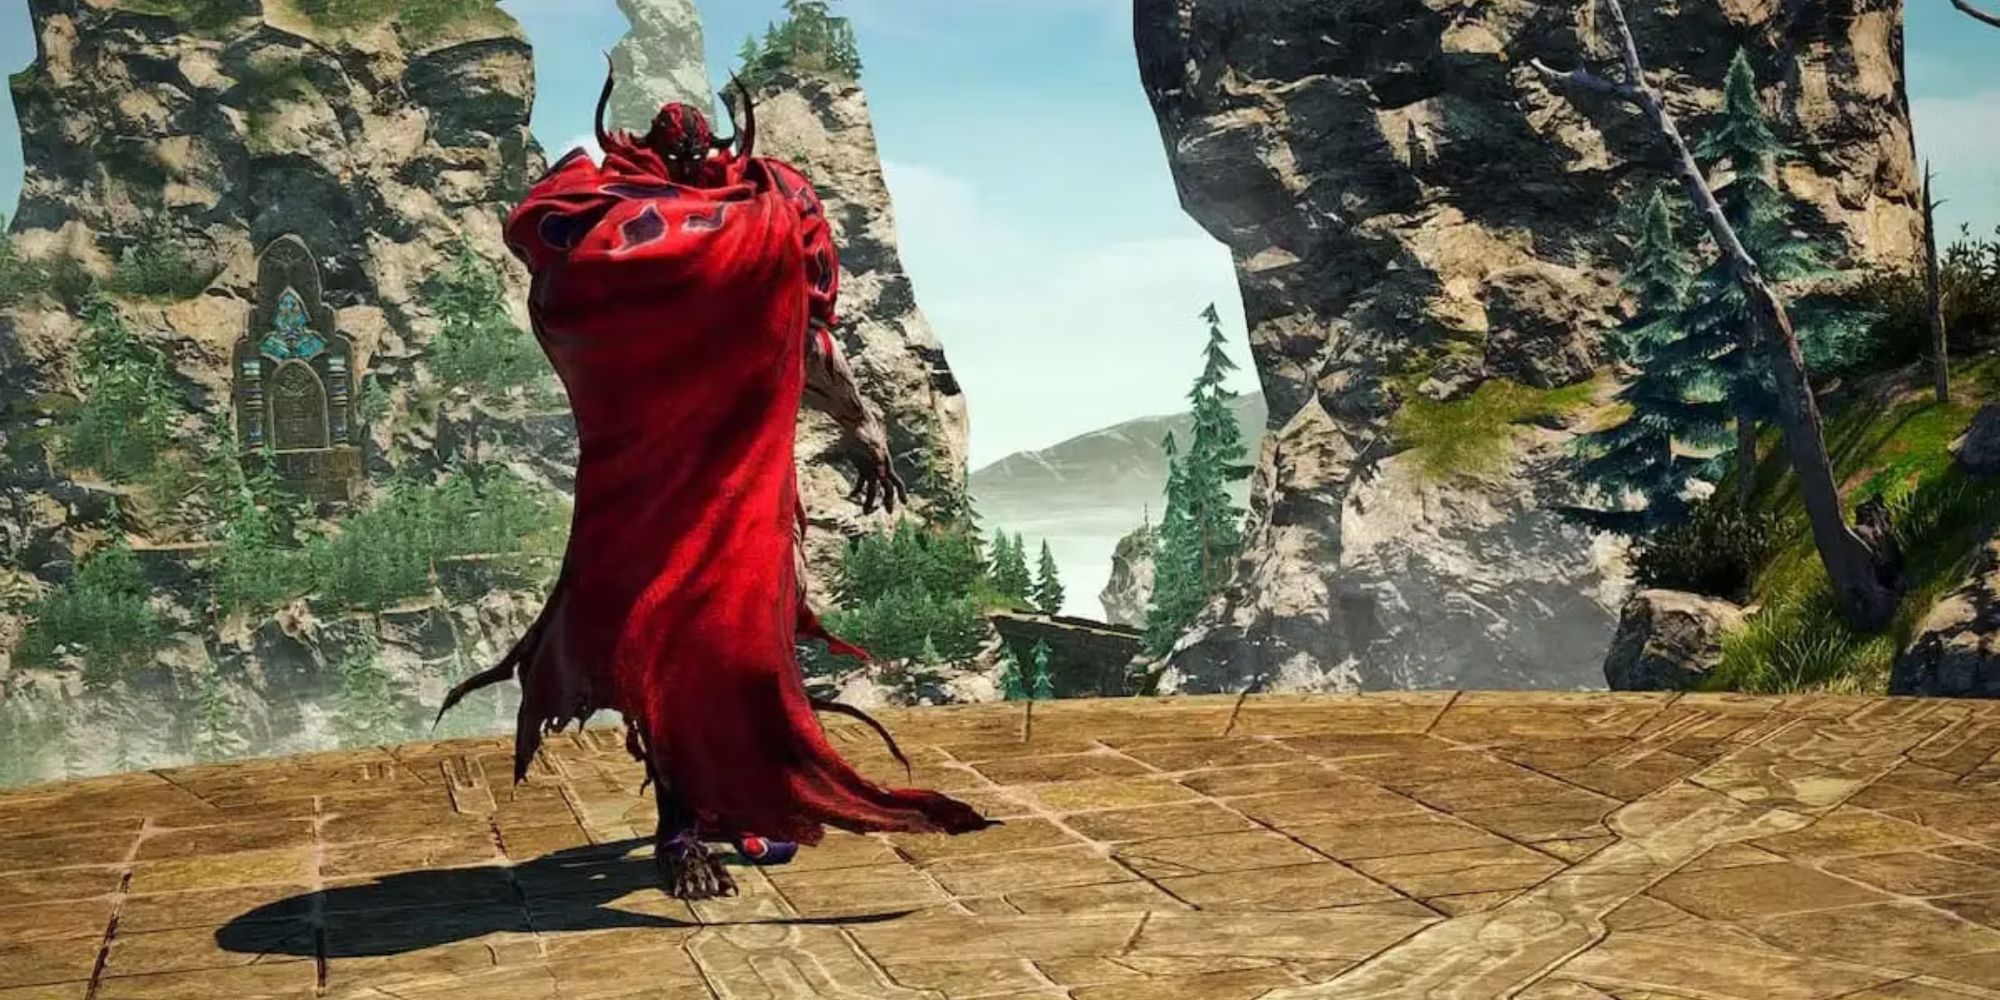
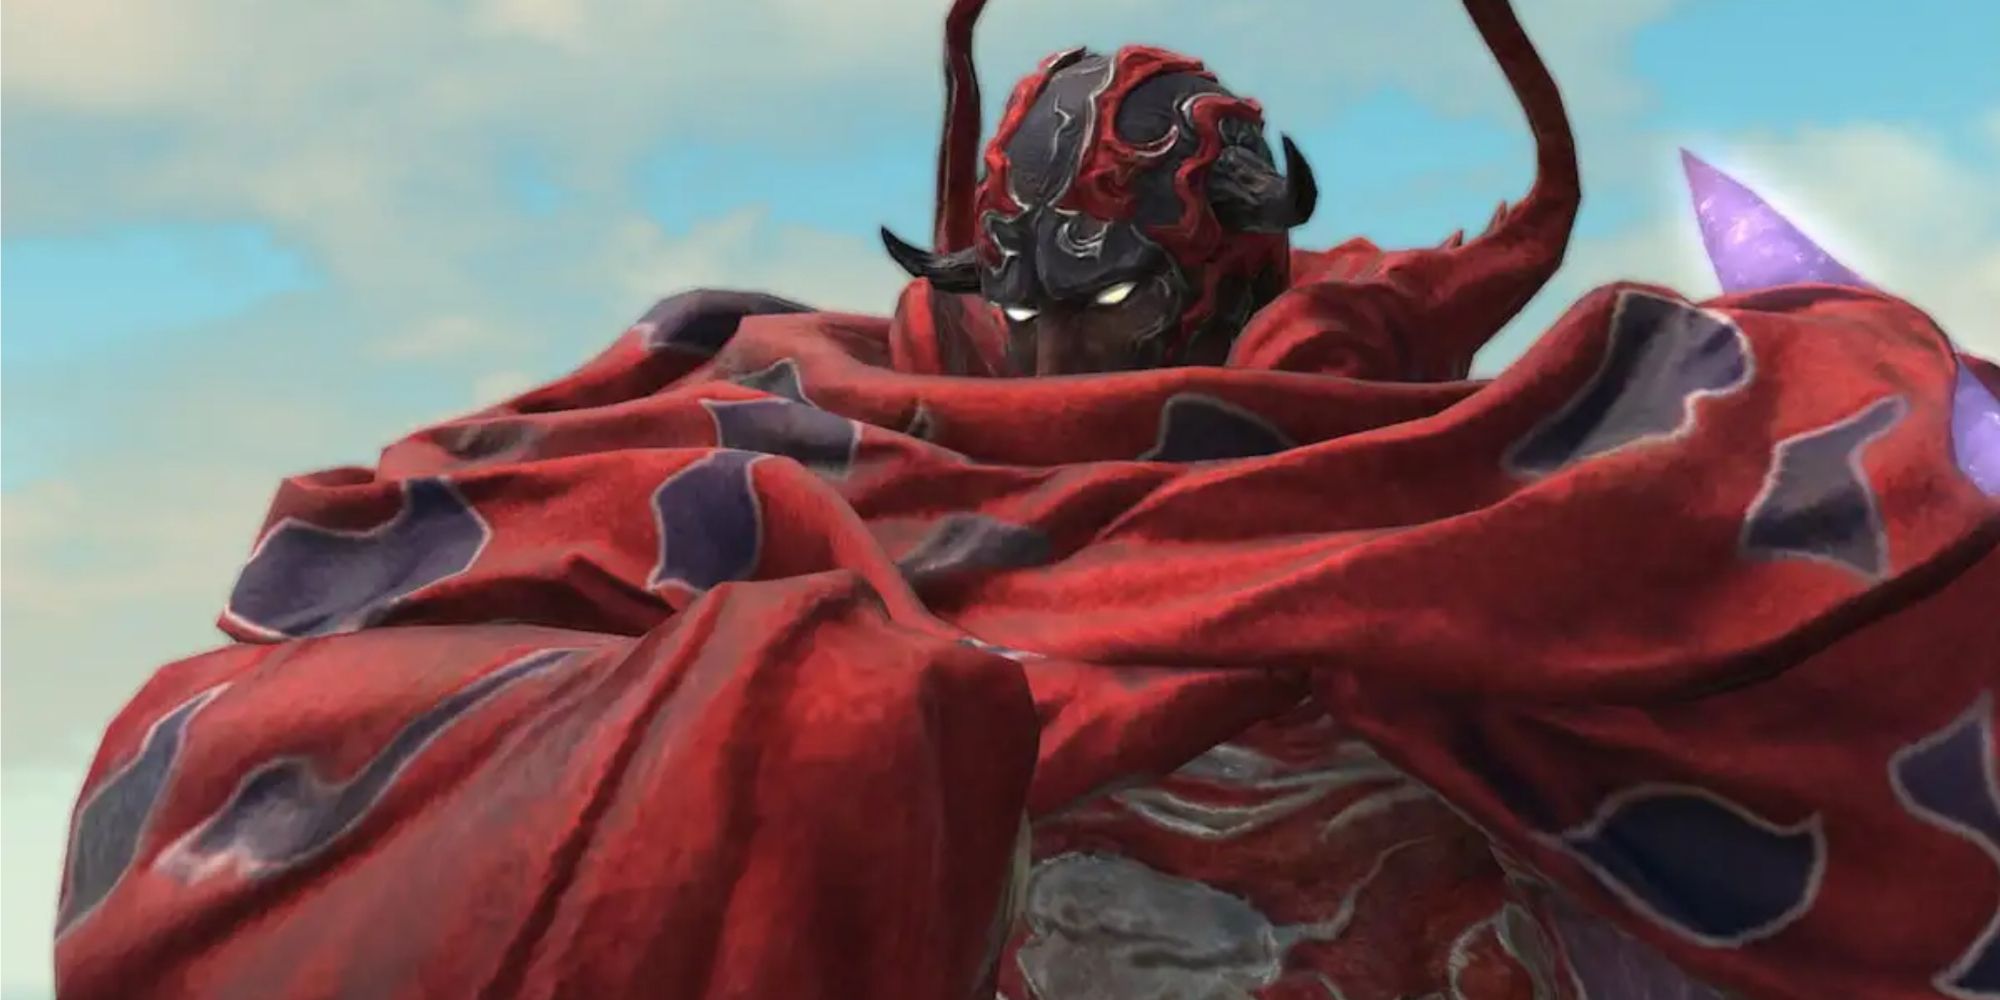
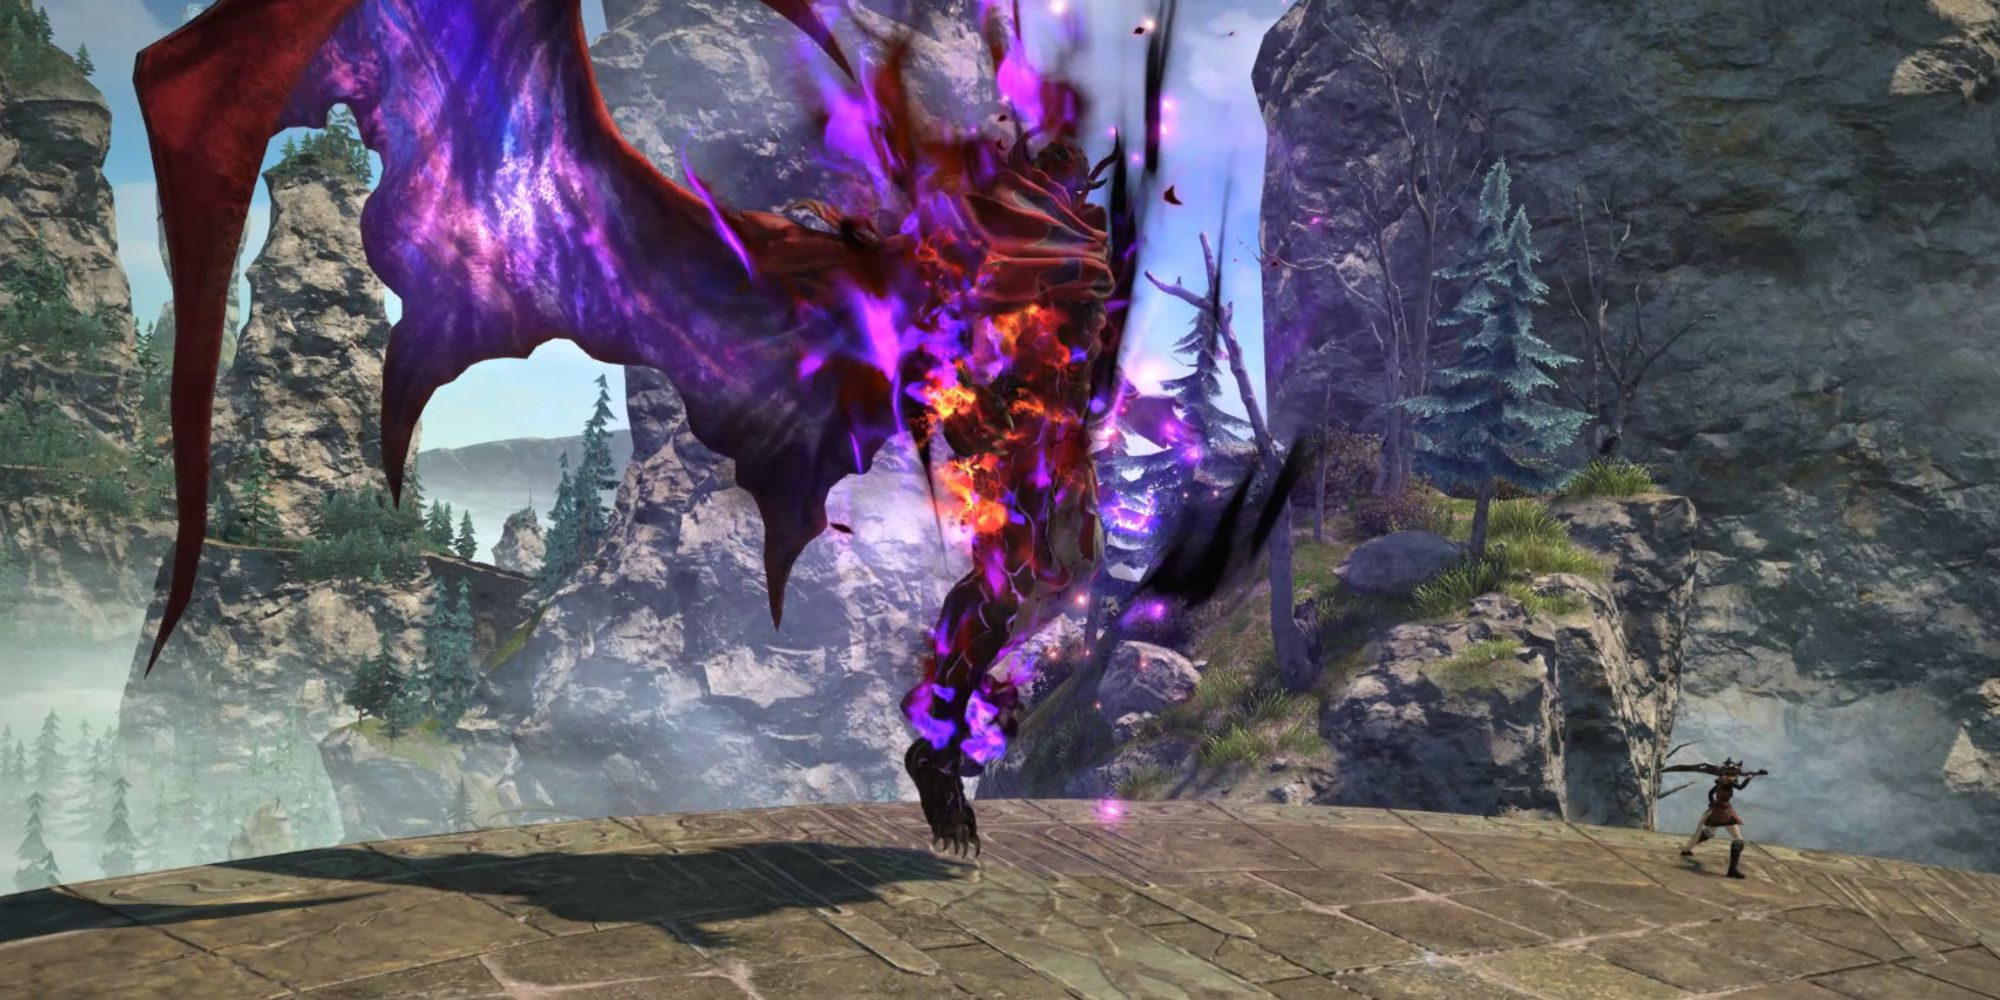
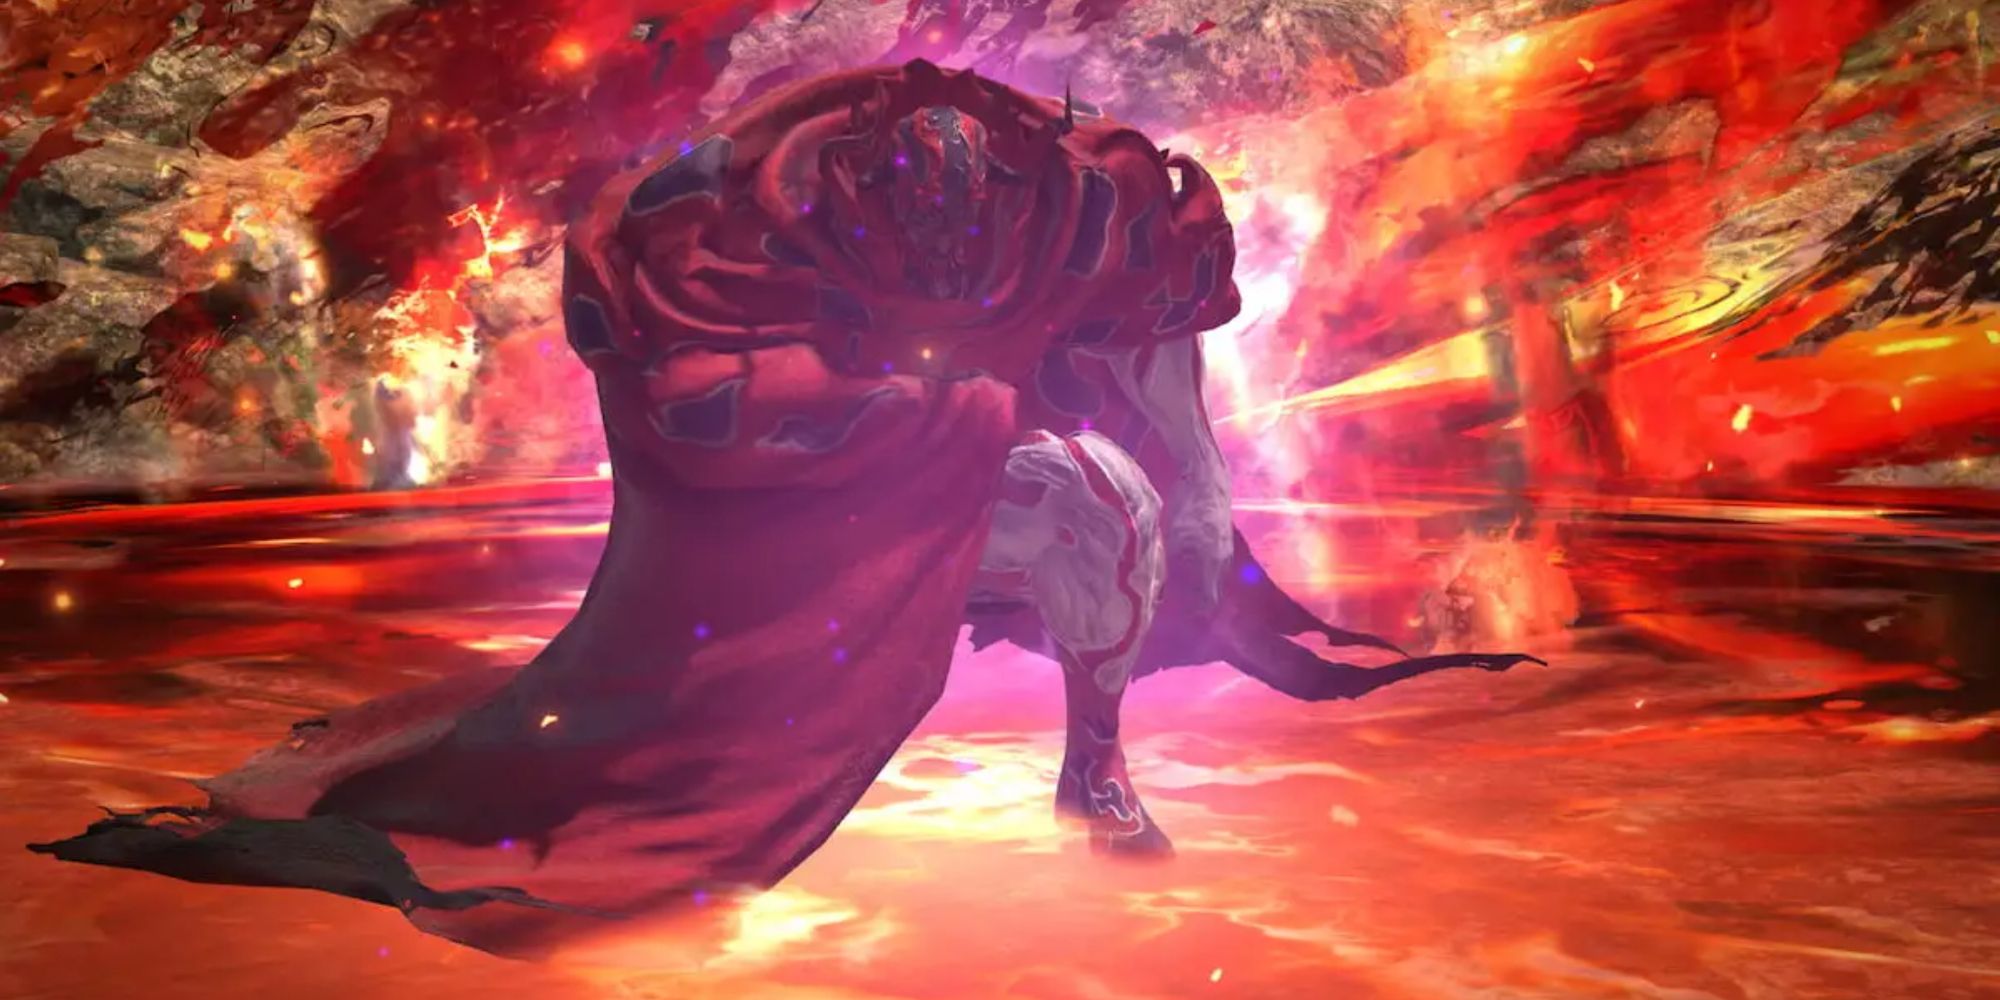
Patch 6.3 of Final Fantasy 14 is here, ushering a new Extreme Trial to throw yourself at in Party Finder for hours on end, hoping you find the Party of your dreams that can execute it properly. While this is a much more challenging encounter than the Storm's Crown Extreme Trial, at least in Party Finder, it isn't impossible once you get a general grasp on the mechanics.
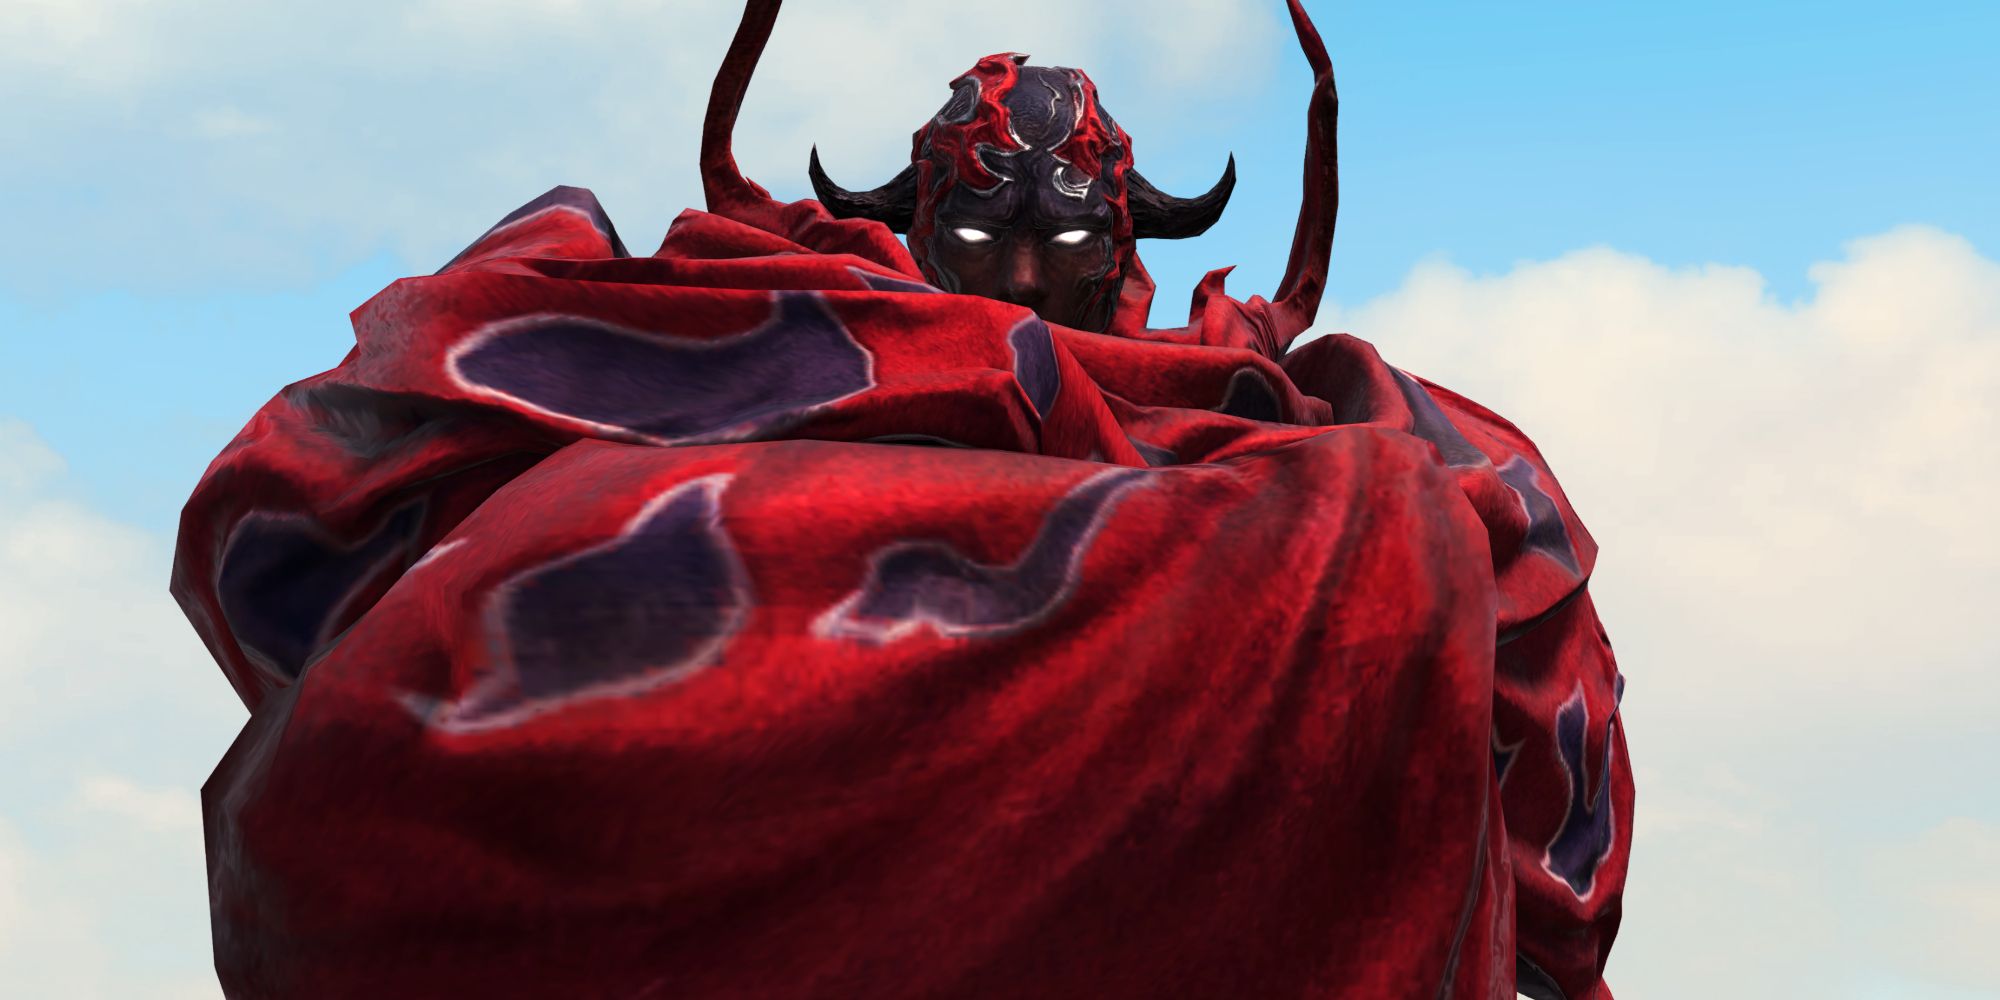
The Mount Ordeals Extreme Trial is a long and demanding encounter that will test your endurance and patience. Still, you've already bested Rubicante once to get here and can do it again with a little bit of knowledge, practice, and luck. If this is your first Extreme Trial, you have your work cut out for you. If you've done some in the past, you should be able to tackle this with a bit of effort and the proper Party.
Mount Ordeals Extreme Overview
While you may want to give Rubicante his comeuppance immediately, you must meet a few requirements before tackling the Mount Ordeals Extreme Trial. You can find that information and more in the section below!
Requirements
- Complete 6.3 MSQ "Desires Untold"
- Have an iLevel of at least 610
If you meet the above prerequisites, you can then head to Old Sharlayan. Once here, make your way to the Wandering Minstrel (X:12.7, Y:14.3) and speak with him. Recount the tales of fighting Rubicante in the "Desires Untold" quest to unlock the Extreme Trials version of the encounter. With this unlocked, you can now access it via Party Finder or tackle it with a pre-made party.
Mount Ordeals Extreme Waymarks
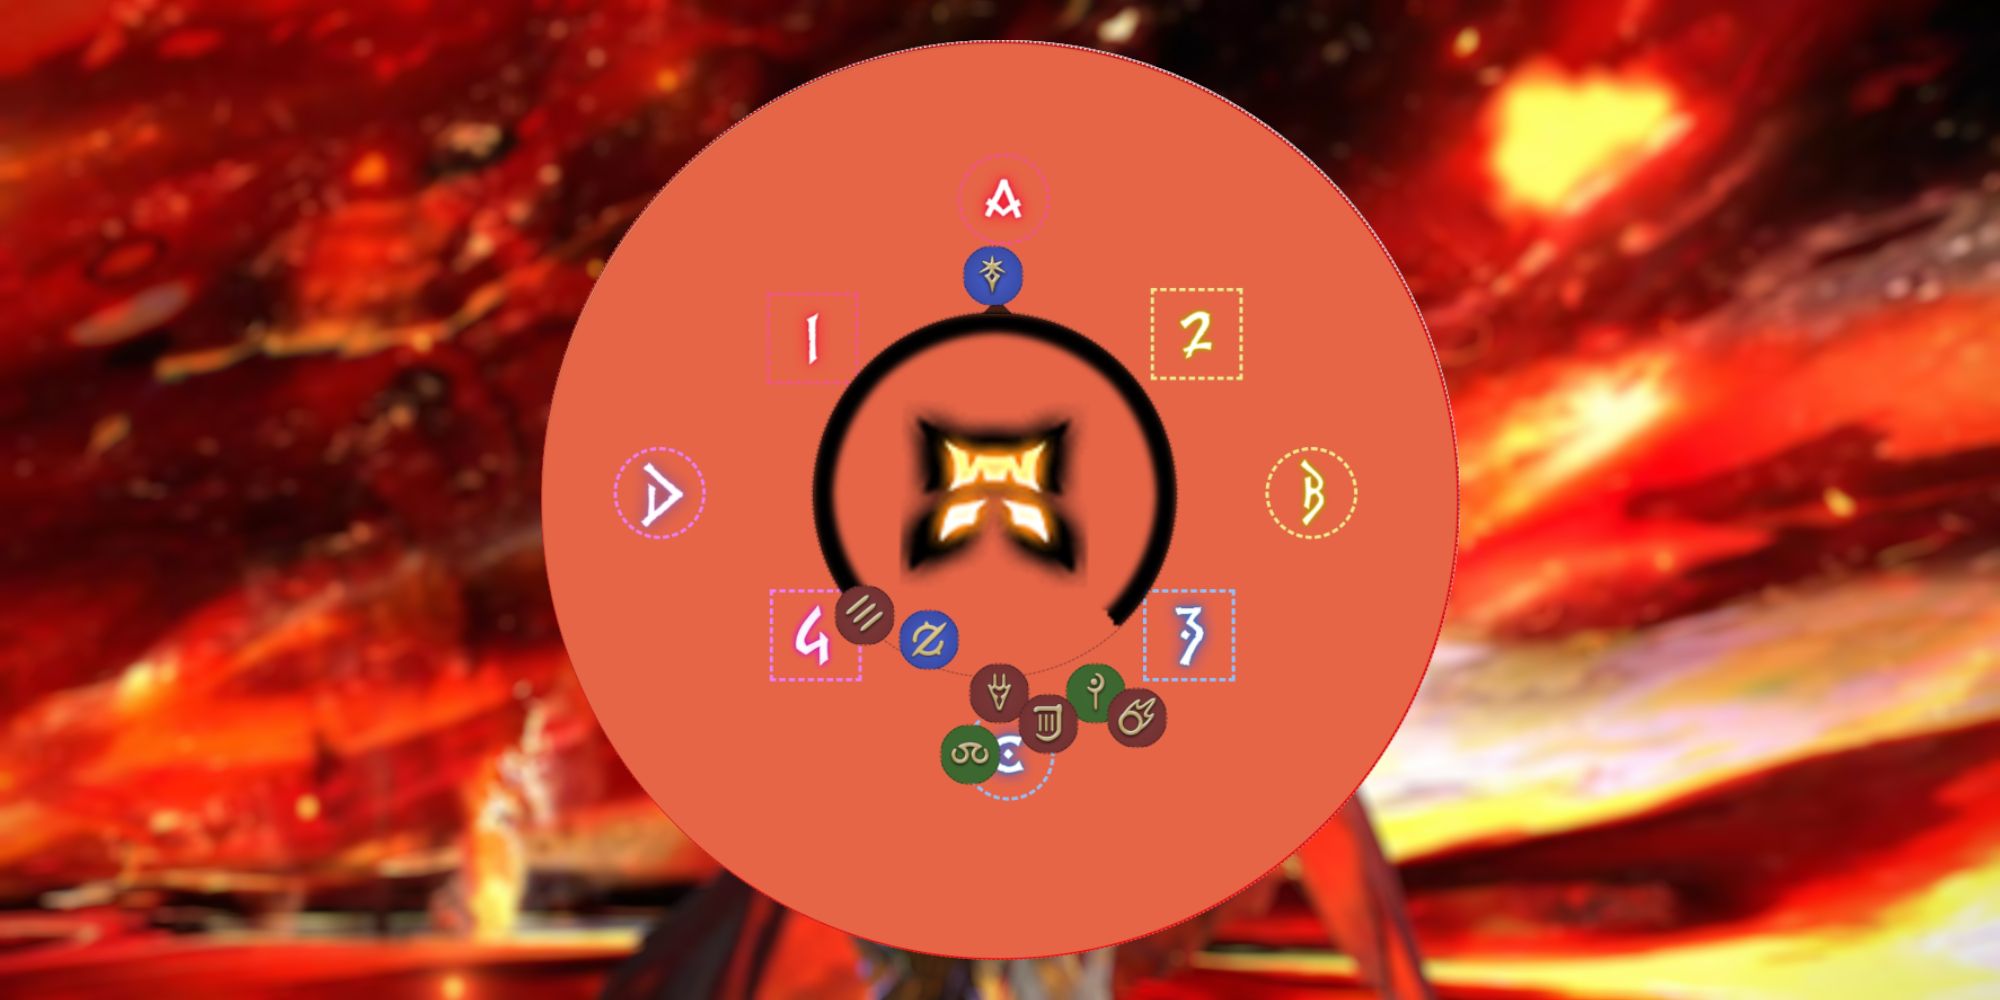
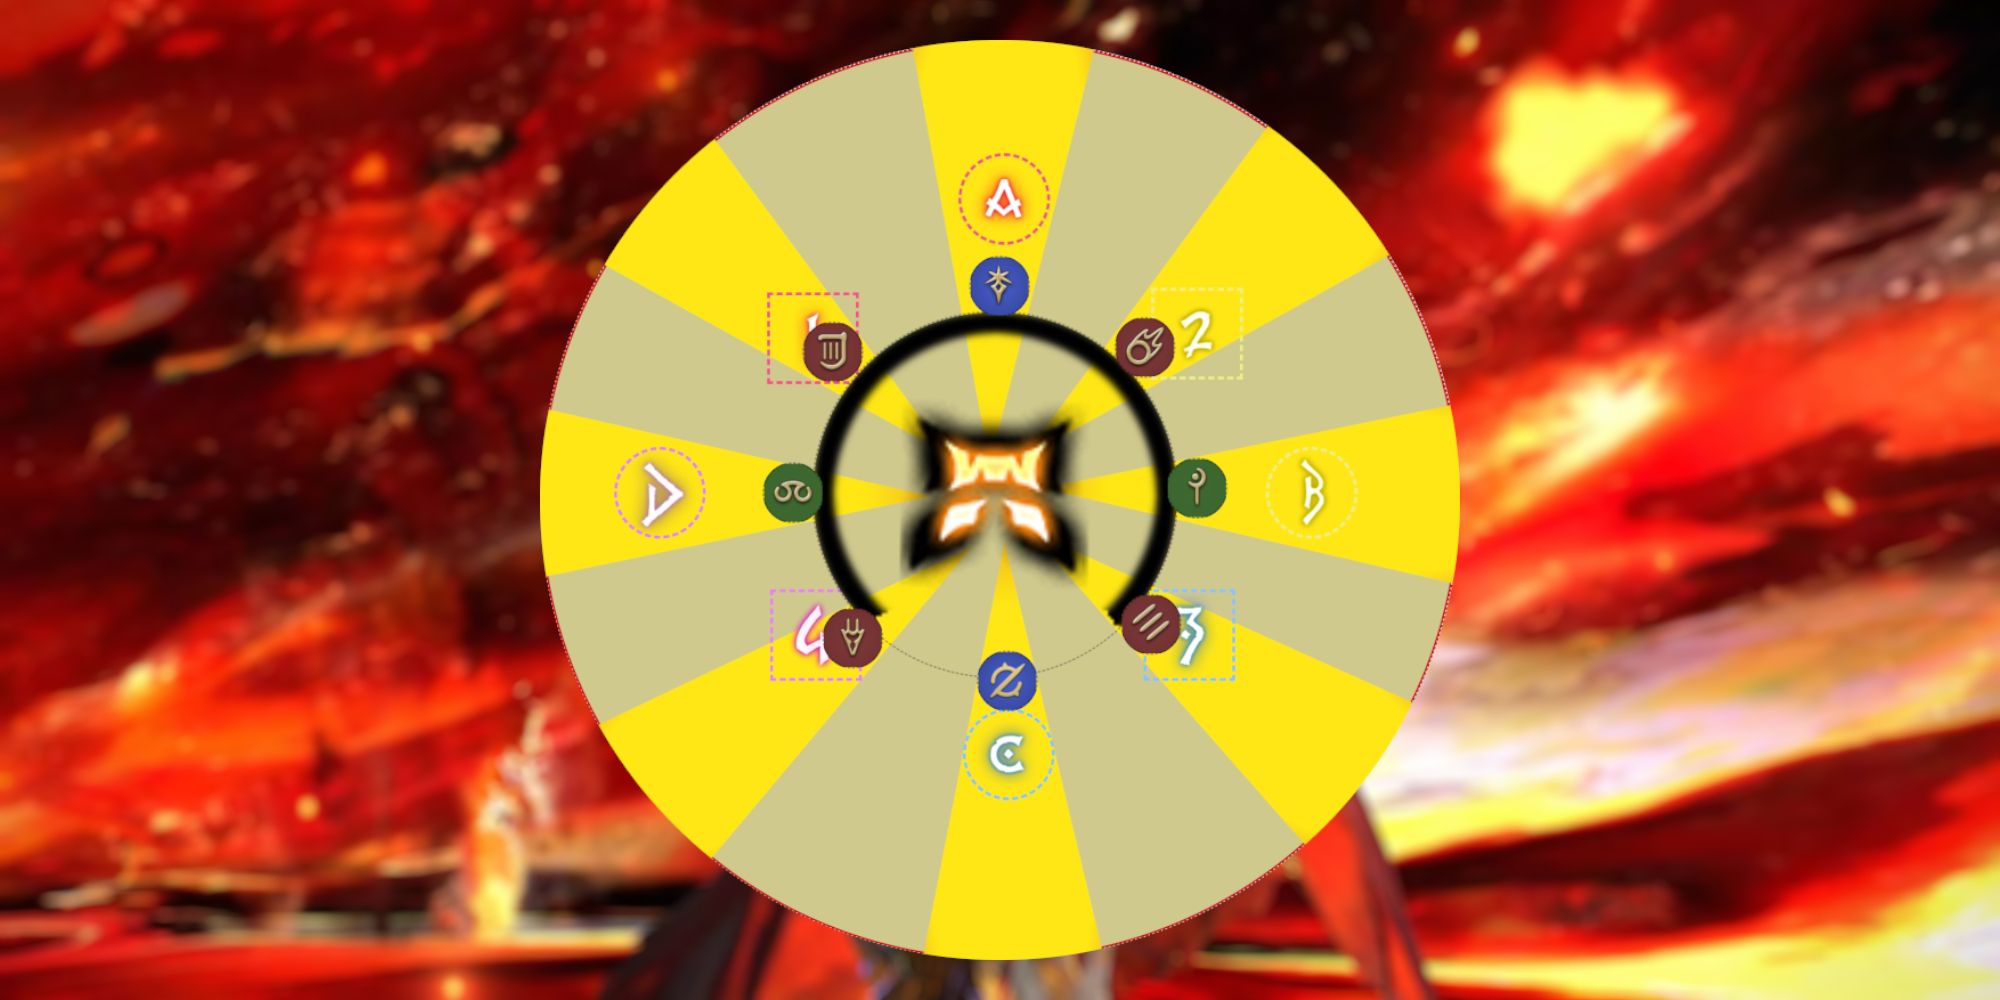
Assuming you've done any endgame activity in Final Fantasy 14 before, you know how crucial setting up Light Parties and Clock Positions are to your group's success, as it will give each member a safety net to fall back on throughout the course of the encounter. However, if you are new to this, you can learn more about both in the sections below!
Light Parties
Splitting your group into Light Parties consists of making two groups with one Tank, Healer, Melee DPS, and Ranged DPS, allowing you to overcome various mechanics in the encounter. For example, suppose there are two Stack Markers present. In that case, you will almost always split off into your assigned Light Parties and have the group's Healer patch everyone up. Stacking four players on top of one another will help mitigate the overall damage applied to everyone.
Clock Positions
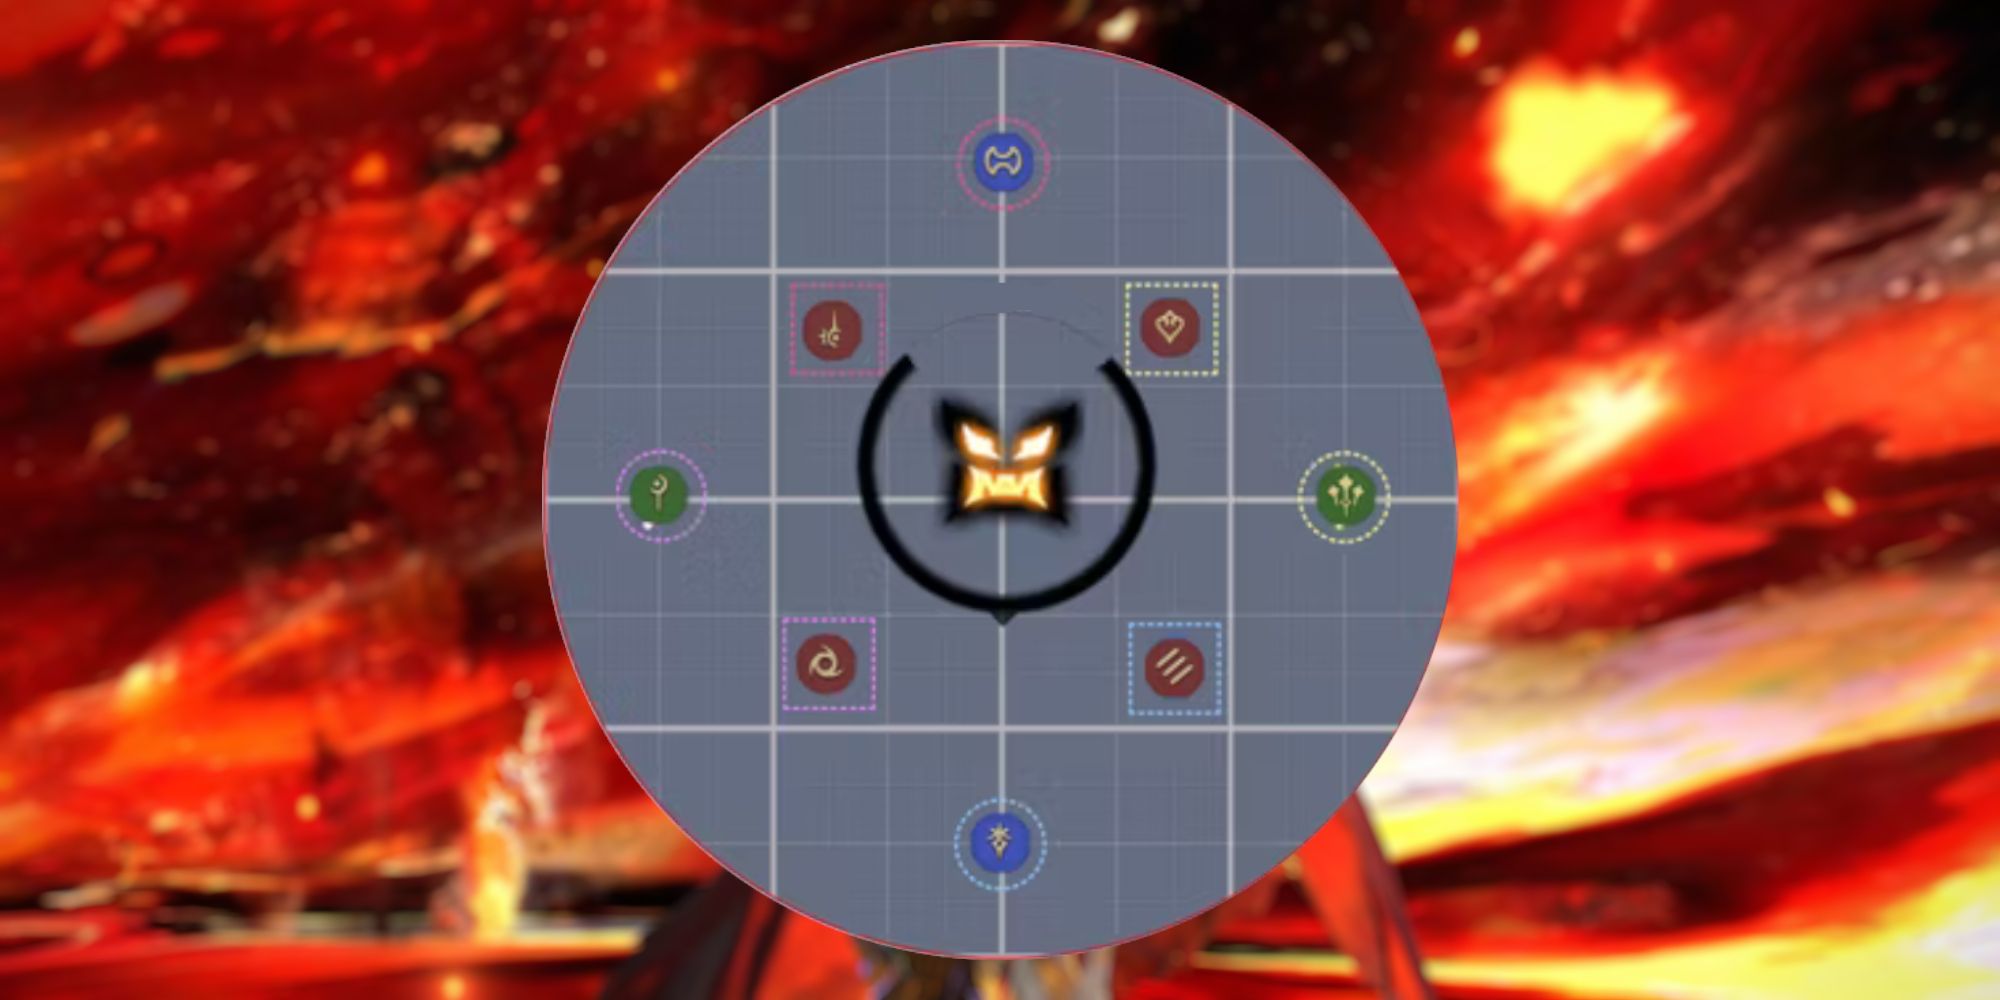
Clock Positions are crucial to your overall success as well and will make or break a party, especially when it comes to Party Finder. Like every endgame encounter, you will be assigned a Clock Position and must remember it throughout the battle, so you can safely retreat to it at key moments during the fight.
The cardinal directions (North, South, East, and West) will be made up of your Tanks and Healers, with the Tanks taking the North and South Points and the Healers taking the East and West ones. The intercardinal directions (Northeast, Northwest, Southeast, Southwest) belong to the Melee DPS and Ranged DPS Jobs. The Northeast and Northwest Points will be assigned to your Ranged DPS, while your Melee DPS Jobs will cover the Southeast and Southwest Points.
Mount Ordeals Extreme: Phase 1
The first Phase of the encounter has several mechanics for you to familiarize yourself with, with the Ordeals of Purgation being the most crucial one to wrap your head around, as you will see several more iterations of it throughout the battle. This Phase is long but not nearly as demanding as some of the later ones, so if you can get down where you need to be and how to read some of Rubicante's actions, you should be golden.
Inferno
As with most Extreme Trials, Mount Ordeals has Rubicante open up with a raid-wide attack, which in this case is known as Inferno. Simply shield before the mechanic goes out and mitigate to overcome this mechanic.
Ordeals Of Purgation: Parts One And Two
Next up is a mechanic that will consistently evolve and reappear in the encounter, and that's the Ordeals of Purgation. All stages of this mechanic will have three circles, one red, one purple, and then another red, all with lines connecting to either a blue or red symbol. From here, you will see arrows pointing in a direction on the aforementioned circles. This will allow you to map out where the lines will end up after the circles rotate, so you can move to a safe position to avoid wiping.
Part one of the Ordeals of Purgation will have arrows on both red circles, one controlling the lines in the center of the arena and the other controlling the red and blue shapes on the outer ring. Your objective here is to work out where the only complete line connects one of the shapes to the center of the arena. Once you have that mapped out, quickly ascertain the shape's color. If it is blue, a cone-shaped AoE will emit from it, so you simply have to move to the side of it. If the shape is red, however, it will cause a cleave AoE on half the arena, meaning you must position yourself on the opposite side of the arena to avoid taking damage.
Part two of this mechanic features two orbs in the middle that will travel down separate lines to a shape, having you try to work out where you need to stand in relation to where the outer red circle will rotate to. However, this is much easier to solve, as it will always lead to two red shapes, and all you have to do to resolve this mechanic is to move behind the point of the "V" shape in the center of the arena that's made by the two intersecting lines. Be sure to move to the middle ring when doing so to avoid any damage.
Arch Inferno
Before this next mechanic begins, you will want to pair up in your light party groups, with the Main Tank standing at the A position. After Rubicante casts Shattering Heat on the Main Tank, they will quickly join their group to take on the Arch Inferno mechanic.
Arch Inferno makes the middle of the arena a hazard, so avoid it at all costs, and also spawns in circle AoEs at either the one and three positions or the two and four positions. This means that one light party needs to be on the east side of the arena, and another needs to be on the west side of the stage. The circle AoEs will then begin to explode and work their way around the arena, and both groups will have to rotate clockwise to avoid them.
As you begin rotating around the arena, you will get two of three possible mechanics you will need to resolve on top of avoiding the big circle AoEs, which we will outline below:
- Stack: A stack marker will appear on one member of each group, simply huddle together to share the damage and resolve the mechanic.
- Enumeration Stacks: Blue icons will appear over everyone's head. To resolve this mechanic, you will have to create two pairs and spread them far enough apart to avoid clipping each other. We recommend always pairing the Tank and Melee DPS together and placing them near the center of the arena, and always pair the Healer and Ranged DPS together and position them near the edge of the arena.
-
Spread: This will display a red marker above every party member, indicating you cannot be near one another when the effect goes off. To resolve this, send the Tanks and Melee DPS in toward the middle and have the Tank go clockwise and the Melee DPS counterclockwise. Then, send the Healer and Melee DPS toward the edge of the arena and send the Healer clockwise and the Ranged DPS counterclockwise.
- The Melee DPS will be briefly standing in an incoming circle AoE, which is fine as long as they swiftly get out of dodge the moment the Spread Marker resolves itself.
After you make it past one of the two possible mechanics outlined above, Rubicante will cast Conflagration, which sends an extensive line AoE through the center of the arena, from the north to the south end. To avoid taking damage, each Light Party should position themselves in front of the AoE if possible, which will be one of the intercardinal positions and depends on where the circle AoEs started at the beginning of the mechanic. From here, you will have to resolve one of the other mechanics outlined above, which will then move into the next mechanic.
Radial Flagration
As Arch Inferno begins to end, Rubicante will begin casting Radial Flagration, which targets all cardinal and intercardinal directions. To resolve this, simply head to your assigned Clock Position from the beginning of the encounter.
Ordeals Of Purgation: Parts Three And Four
The finale of the first phase is more sets of Ordeals of Purgation, both of which are resolved differently than before. So, let's get into how to solve them.
Part three of Ordeals of Purgation will feature all blue icons on the outside edge with two flame orbs in the middle, meaning you will get two cone AoEs and must work out how to dodge them. The simplest way to resolve this mechanic is to remember that these two cones will always be right next to one another or 90 degrees away from one another. To solve this, if you get two cones next to one another, you will have to move to the side of the cones to evade the incoming damage. If they are 90 degrees away from one another, the safe spot will be between the two cones. The best way to tell which one will be which is if you get two straight lines, then they will be the 90-degree one, and if you get one of the angled lines, they will be right next to each other.
Part four of Ordeals of Purgation has all red symbols on the outside, meaning you will have to avoid two cleave AoEs covering half the arena, leaving only an eighth of the arena safe. The only ring that rotates in this section will be the purple one in the middle, so focus on which direction the ring will shift and see where the connected lines will be. For example, if a straight line connects to the northmost section of the arena and one at the southeast end, the safe spot will be near the southwest portion of the arena. Remember that the cleave only covers the half of the arena the line is on, so find the area that is opposite of both lines.
Mount Ordeals Extreme: Phase 2
With the long-winded first phase out of the way, it's time to focus on the next one, which is one long-ish mechanic. In this phase, Rubicante will be untargettable, and you will instead have to deal with six Adds promptly before he casts "Rubicante's Power," a raid-wide enrage that will wipe the entire Party. You can learn how to deal with each Add below!
Rubicante's Power
As covered above, phase two has you square off against six Adds instead of Rubicante. There will be three Adds near the top of the arena, a large one in the middle, and then two near the bottom. The large Add in the center will be your primary target, but let's go over what each of them does and how to resolve their mechanics in the section below!
- Middle Add: Casts Ghastly Torch periodically over time, causing Bleed to all players, having them lose gradually lose health. This effect will Stack if Ghastly Torch is cast multiple times.
- Northmost Add: Spawns several circle AoEs around the arena. Don't step in the AoEs to resolve this mechanic and avoid taking damage.
- Northeast and Northwest Adds: These Adds will tether two random players with Tank Busters. Here, have the Tanks pick the tethers up and make their way near the Adds to avoid clipping with other players.
- Southeast and Southwest Adds: Will randomly tether two players. To resolve this mechanic, whoever got tethered must run through the Add and toward the arena's edge. When the tether is over, they will receive a cleave, so you need to be pointed out to avoid clipping with other players.
All of the mechanics above will repeat themselves until the corresponding Add(s) are killed, so we recommend taking them out in the following order:
- Middle Add
- Southeast and Southwest Adds
- Northeast and Northwest Adds
- Northmost Add
If you eliminate them all before Rubicante enrages, he will be targetable again and will instantly cast Blazing Rapture. This is a raid-wide attack, so shield and mitigate as needed. All players will receive a debuff about halfway through Rubicante casting Blazing Rapture, which essentially boils down to no one will be at max health unless they heal or shield after the raid-wide goes off, so make sure to have the Healers top everyone up after.
Mount Ordeals Extreme: Phase 3
Phase three is another long-winded one with lots of new mechanics, so buckle up for this part of the encounter as it is arguably the most complex portion of the entire battle. You can find out how to resolve every mechanic in the sections below!
Flamespire Brand
Flamespire Brand kicks off the third phase, and we recommend pairing up into four pairs before the mechanic even starts and position yourselves in the following manner:
- Main Tank + Ranged DPS: Between the "One" and "A" Waymarks
- Off Tank + Ranged DPS: Between the "Two" and "B" Waymarks
- Healer + Melee DPS: Between the "Three" and "C" Waymarks
- Healer + Melee DPS: Between the "Four" and "D" Waymarks
Once you are in the following groups and Flamespire kicks off, everyone will receive debuffs randomly. Four of the same role (All DPS or All Tanks + Healers) will receive Flare Markers, one member of the opposite role will receive a Stack Marker, and after the Flare and Stack go off, everyone will receive Spread Markers.
After everyone receives their Markers, Rubicante will cast Flamerake, a spinning circle in the center of the arena with arrows pointing in four directions. When this stops spinning, pay attention to where the arrows land, as it will be followed up with an AoE that covers the length of the arena in each direction they are pointing. Move to a safe space beside the AoE to avoid taking damage. After this AoE goes off, whoever received the Flare Markers will need to go out, while whichever role group received the Stack Marker will have to meet in the middle of the map.
Next, more line AoEs will appear, and depending on what was cast with the first Flamerake will determine which areas are now safe. If, at first, the cardinal directions were unsafe, they will now be the safe areas and vice versa. After this AoE goes off, groups with the Flare AoE will have to move out, while the ones with the Stack Marker can meet safely in the middle again.
Lastly, the outer edges of the stage will now be targeted with the line AoEs and the Bpread Markers are finally about to pop. To resolve this mechanic, the group that had the Flare AoEs will need to inch their way inward slightly to avoid the new AoE while trying not to clip with other players. The group that met up in the center, however, will need to move slightly out and away from each other to avoid stacking on one another to resolve this mechanic safely.
Flamespire Brand: Inferno
Following Flamespire Brand will be another raid-wide Inferno, but it will hit the party via Spread Markers due to Rubicante being in his evolved state (one wing out). To resolve this mechanic, simply move to your assigned Clock Positions.
Scalding Signal And Scalding Ring
Immediately following the Inferno raid-wide will either be Scalding Signal or Scalding Ring. Both are resolved by staying on your Clock Positions but will require you to either move inward or outward. You can find which is which below!
- Scalding Signal: Rubicante's hitbox becomes unsafe, so move outward from your clock position and take the line AoE that follows to resolve this mechanic.
- Scalding Ring: The middle of the arena is the only safe area, so move inward from your clock position and take the line AoE that follows to resolve this mechanic.
Sweeping Immolation
Sweeping Immolation is quite possibly the most complex mechanic in Rubicante's repertoire and is likely the thing tripping most people up. The best way to telegraph what's coming is to look at his wing and see if he has three small stars on it or one large one. With that information available, you can learn the following things:
- Three Small Stars: The mechanic will end with each Party Member receiving a Spread Marker. All players must safely spread apart to resolve the mechanic if this is the case.
- One Large Star: The mechanic will end with one Party Member receiving a Stack Marker. If you get this, all players must huddle together to absorb and share the damage to resolve.
However, before the Spread Markers or the Stack Marker appears, Rubicante will perform a wide cleave AoE that covers half of the arena, which will then be followed up with the line AoEs from the previous section. This, as a result, only leaves four small sections available for you to stand on, which makes resolving the Spread Markers especially difficult.
If you're fortunate enough to get the Stack Markers, choose one of the safe areas and collapse on it to resolve the mechanic. If it is the Spread Markers, however, you will have to find a method to fit two Party Members in each of the safe spots, which can be tricky.
For this, you can either have pre-made spots for everyone or can use a popular method where everyone rotates counterclockwise from their original Clock Position during the line AoE phase, and whoever is on the safe side stays while everyone else then safely travels in a straight line ahead of them. Make sure the Tanks and Melee DPS are in the front, the Healers and Ranged DPS are in the back of their respective spot, and you are golden.
This is the trickiest aspect of this mechanic and encounter, so whichever method works best for you and your group is the one you should tackle. The latter is preferred, however, as you can quickly discern if you are in the safe area, and if you aren't, all you have to do is simply move straight ahead to fix that problem.
Dualfire
After Sweeping Immolation, Rubicante will target both Tanks with Dualfire, which has him perform a broad cleave AoE attack on both. To resolve this mechanic, one Tank heads to the One Waymark and the other to the Two Waymark, while everyone else heads south to avoid the AoE.
Ordeals Of Purgitation: Parts Five And Six
Next up is the final wave of new Ordeals of Purgation mechanics. Let's get into what's different about them without wasting any time.
Part five of Ordeals of Purgation has alternating blue and red symbols outside the arena and one line in the middle. The center ring and the middle ring will be the ones rotating, so figure out which way they are spinning and ascertain where the line will connect after they rotate. If it lands on a blue symbol, head to the side of it to avoid the cone AoE, and if the symbol is red, head to the area of the stage opposite of it to avoid the enormous cleave AoE that covers half the stage.
Part six of Ordeals of Purgation has the same alternating blue and red symbols on the outside, but with only the middle purple ring rotating this time and with two lines. This will always target one blue and one red symbol, so to resolve this mechanic, you need to head to the side of the blue symbol and opposite the red one to avoid getting hit by the cone and cleave AoE.
After this mechanic resolves, Rubicante will perform a raid-wide Inferno. Shield and mitigate through it as you did the others.
Mount Ordeals Extreme: Phase 4
You've made it to the final phase of the Mount Ordeals Extreme Trial. While this is one new mechanic here, the good news is that everything else is something you have already dealt with and know how to resolve.
Flamespire Claw
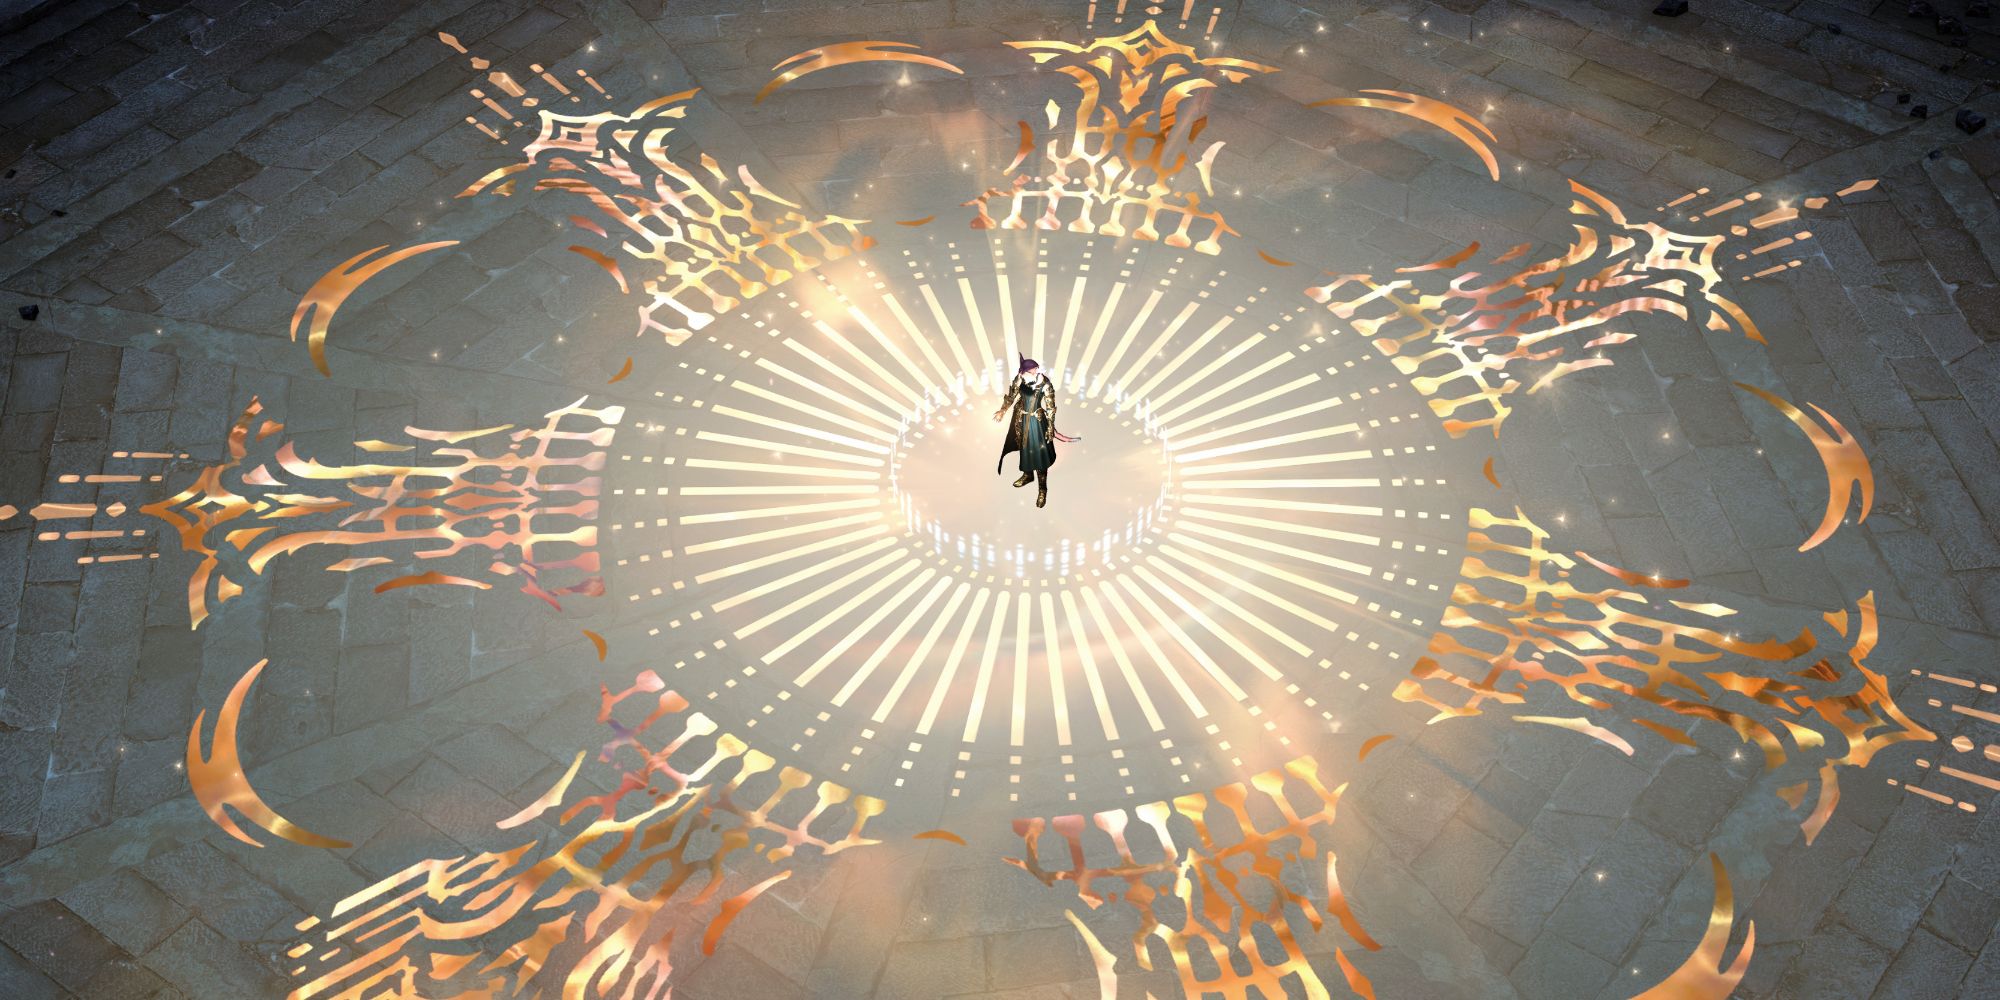
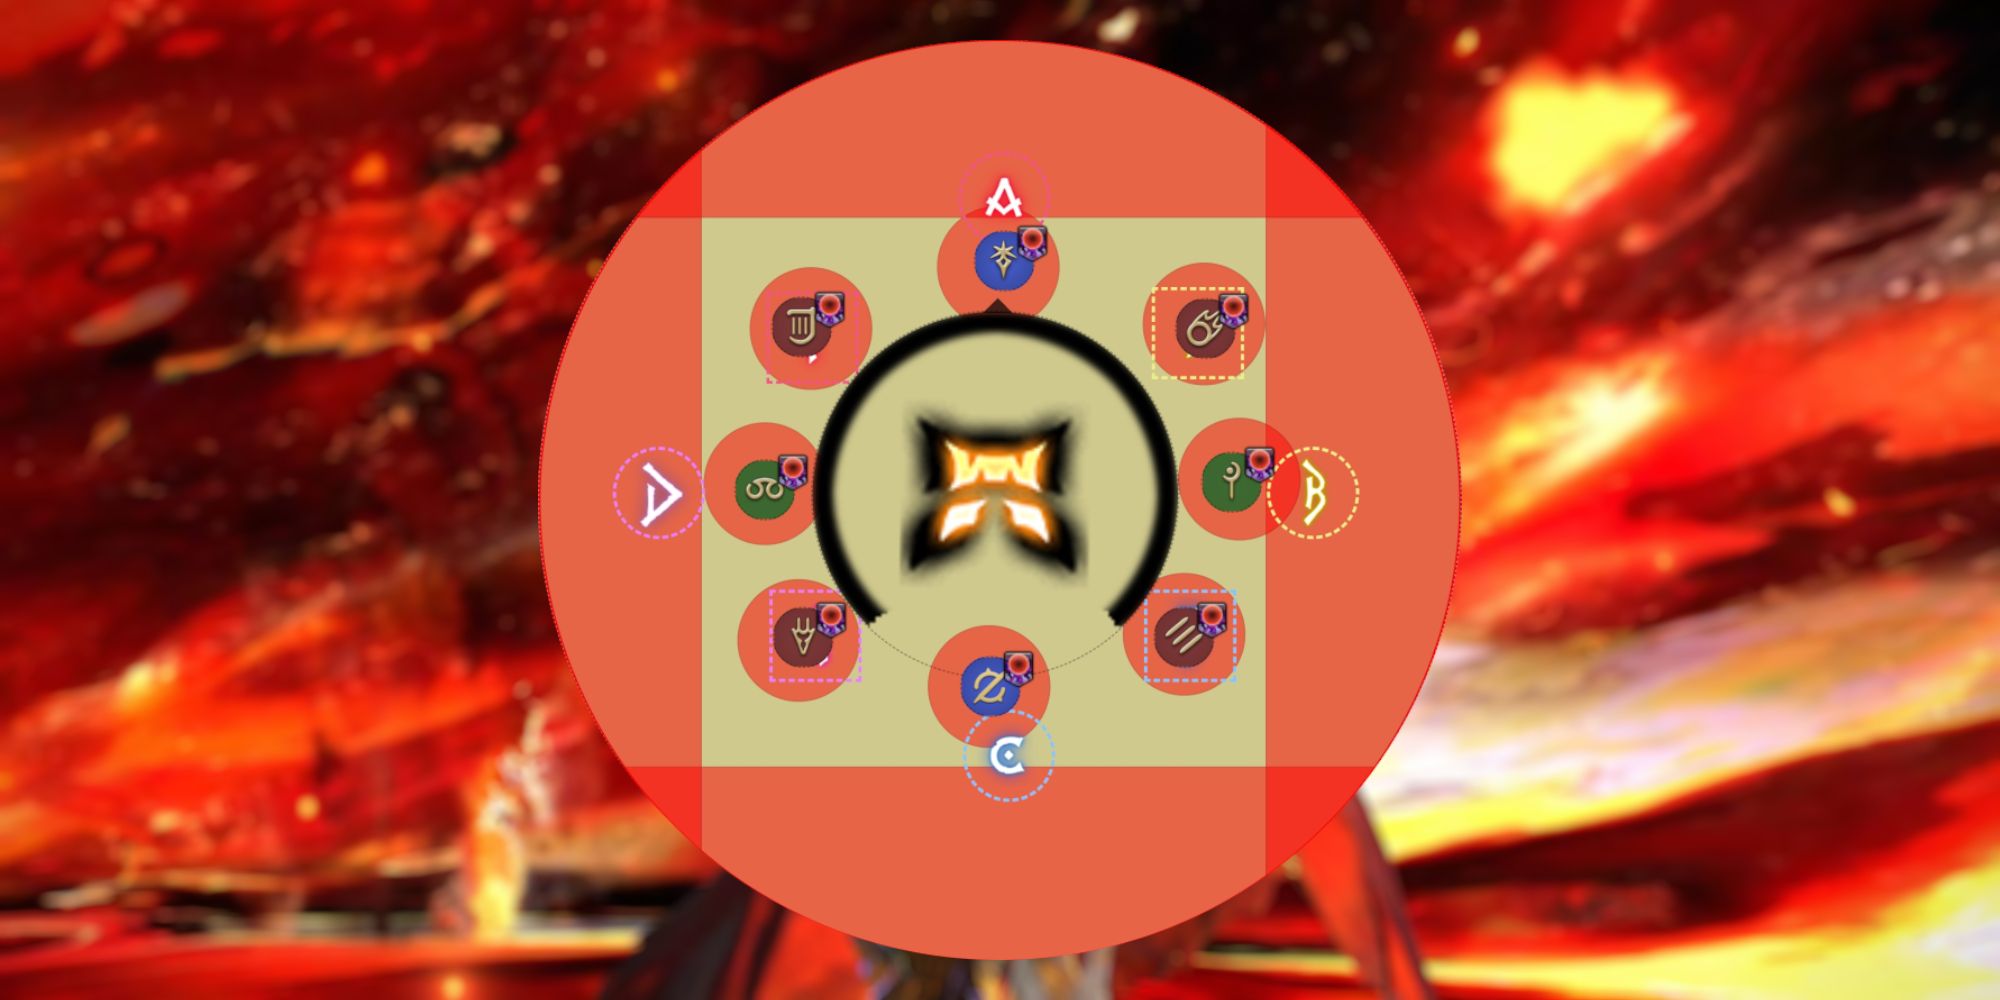
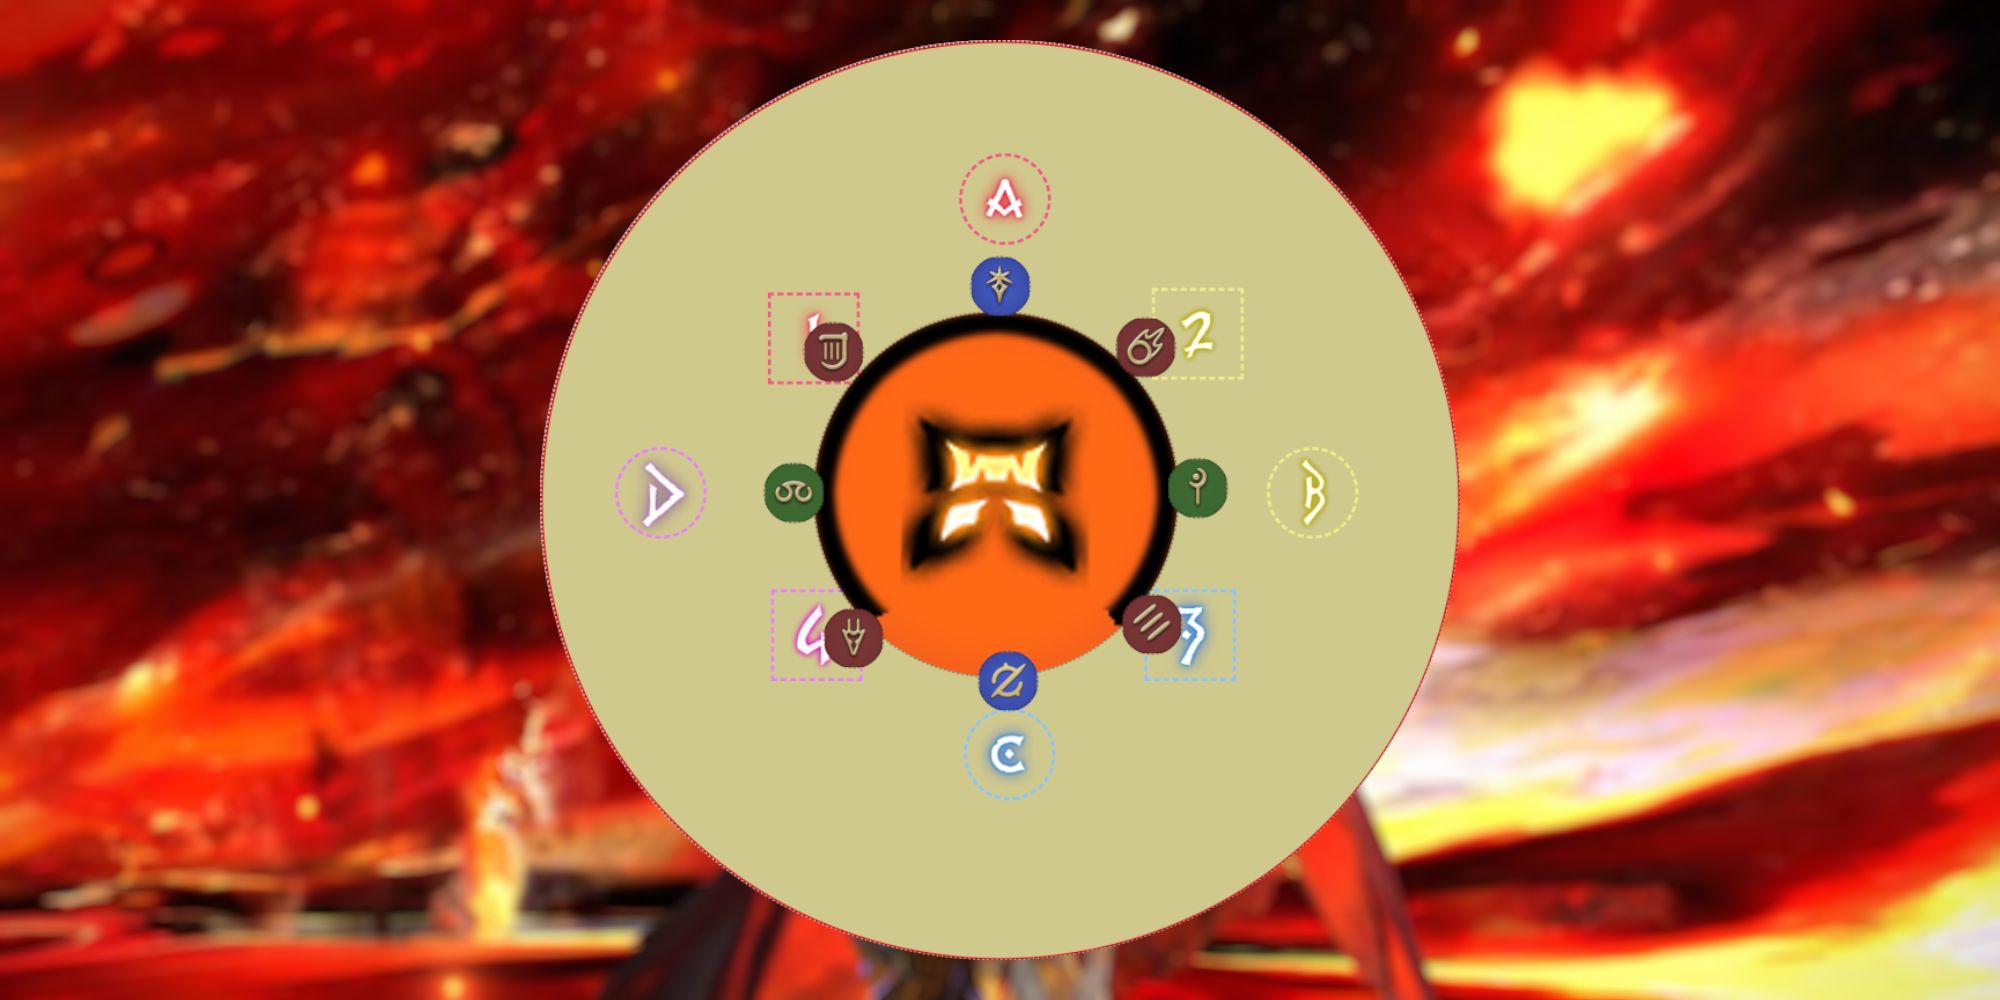
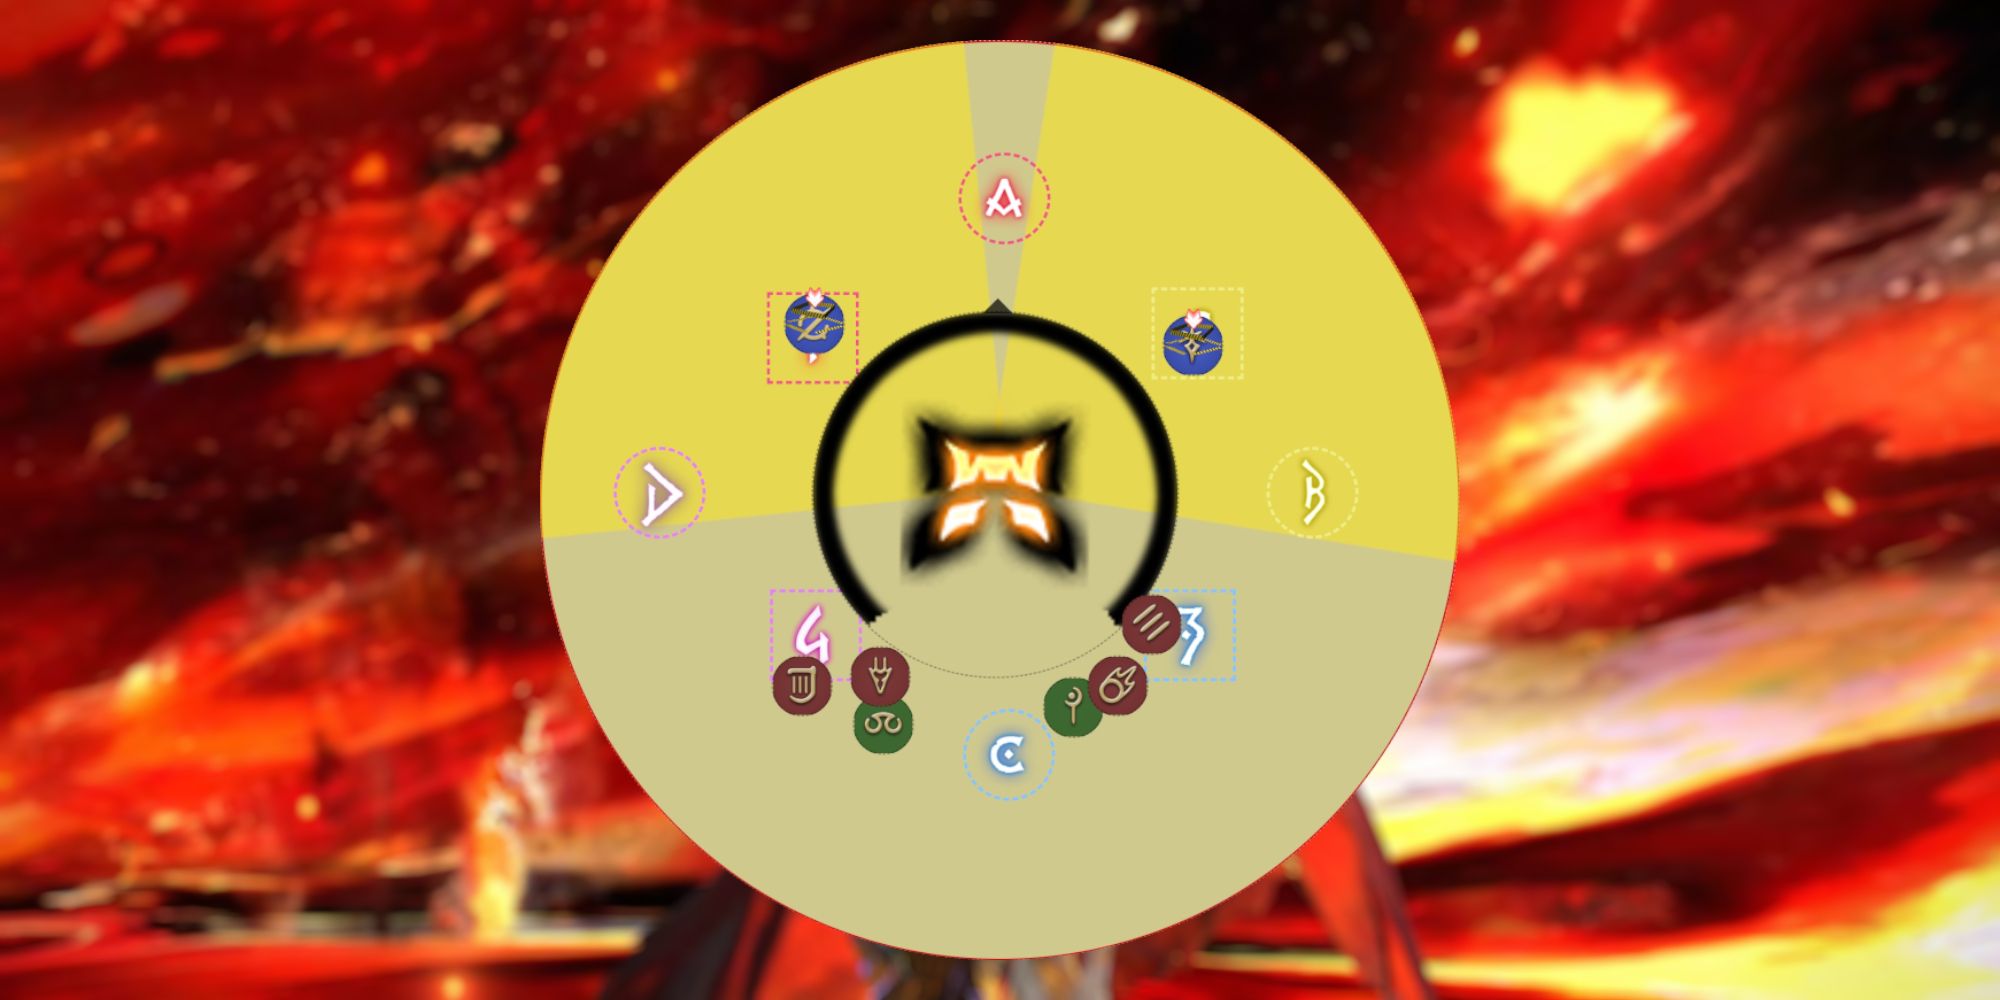
Before Rubicante casts Flamespire Claw, we suggest spreading out a bit like in the images above so you can quickly identify your number for this mechanic as it is Limit Cut (joy!). This means that dots will be placed over everyone's head, with the Blue Dots representing even numbers and Red Dots marking odd numbers. For Flamespire Claw, these mark the order in which Rubicante will cleave you, and you cannot get cleaved more than once, so rotation is crucial here.
For this, we strongly urge all Blue Dots to go to the left side of the arena and all Red Dots to the right side. Then, Number One will head north, while Number Two will head south. Before the first cleave goes off, two players will be tethered. Have Number Seven and Number Eight take the tether, as if you get cleaved while tethered, you're toast. However, whoever is tethered will also receive stacks. If that stack reaches five, Rubicante enrages, and the party is wiped.
To avoid enrage, after Number One and Number Two are cleaved, they will pick up the tether, then pass it on to Number Three and Number Four after they are cleaved, and so forth. After Number Eight gets cleaved, the tether will be removed, and the mechanic will be complete! From here on out, you will be tackling mechanics you already did, which we will lay out below.
Repeated Mechanics
- Inferno (Evolved): Spread to Clock Positions to resolve.
- Scalding Signal or Scalding Ring: Solved the same way as last time.
- Sweeping Immolation: Solved the same way as last time.
- Dualfire: Solved the same way as last time.
- Ordeals of Purgation: Selects two Ordeals of Purgation randomly, which can be any of the Six Parts. All are solved the same way as before.
Inferno: Enrage
Lastly, if you survive the above mechanics, Rubicante will cast Inferno, but this time it will be his enrage. If this goes off, it's a party wipe, and you will have to start over, so give it all you got to finish him off here!
Mount Ordeals Extreme Rewards
Whether you're here to look at the rewards waiting for you at the end of the tunnel or you have successfully defeated Rubicante in the Mount Ordeals Extreme Trial - congratulations if that's the case - your efforts are not in vain as there are loads of incredible rewards waiting for you. That is if you are lucky enough to have them drop and even luckier to get a high roll on them to acquire them. Nonetheless, you can find all Mount Ordeals Extreme Trials Rewards below!
- Random Flamecloaked Weapon (iLevel 625, Guaranteed Drop)
- Flamecloaked Weapon Coffer (iLevel 625, Guaranteed Drop)
- Pearl of Flames (Crafting Material, Rare Drop)
- Faded Copy of Forged in Crimson (Forged in Crimson Orchestrion Roll, Rare Drop)
- Lynx of Righteous Fire Flute (Mount, Very Rare Drop)
- Rubicante Card (Automatically Added To Inventory)
In addition to everything outlined above, you will also receive x2 Flamecloaked Archfiend Totem upon each successful clear of the Mount Ordeals Extreme Trial. After accumulating ten Flamecloaked Archfiend Totems, you can exchange them for a Flamecloaked Weapon of your choosing by visiting Nesvaas in Radz-at-Han (X:10.6, Y:10.0). So, if you are unlucky to get a favorable roll on the Weapon Coffer or random Flamecloaked Weapon, you can purchase it outright with a little bit of grinding. You can find all the weapons in the table below!
Flamecloaked Weapons
|
Windswept Weapon |
Job |
Item Level |
Cost |
|---|---|---|---|
|
Flamecloaked Scutum |
Paladin |
iLevel 625 |
x3 Flamecloaked Archfiend Totem |
|
Flamecloaked Broadsword |
Paladin |
iLevel 625 |
x7 Flamecloaked Archfiend Totem |
|
Flamecloaked War Axe |
Warrior |
iLevel 625 |
x10 Flamecloaked Archfiend Totem |
|
Flamecloaked Guillotine |
Dark Knight |
iLevel 625 |
x10 Flamecloaked Archfiend Totem |
|
Flamecloaked Gunblade |
Gunbreaker |
iLevel 625 |
x10 Flamecloaked Archfiend Totem |
|
Flamecloaked Cane |
White Mage |
iLevel 625 |
x10 Flamecloaked Archfiend Totem |
|
Flamecloaked Codex |
Scholar |
iLevel 625 |
x10 Flamecloaked Archfiend Totem |
|
Flamecloaked Torquetum |
Astrologian |
iLevel 625 |
x10 Flamecloaked Archfiend Totem |
|
Flamecloaked Wings |
Sage |
iLevel 625 |
x10 Flamecloaked Archfiend Totem |
|
Flamecloaked Rod |
Black Mage |
iLevel 625 |
x10 Flamecloaked Archfiend Totem |
|
Flamecloaked Index |
Summoner |
iLevel 625 |
x10 Flamecloaked Archfiend Totem |
|
Flamecloaked Degen |
Red Mage |
iLevel 625 |
x10 Flamecloaked Archfiend Totem |
|
Flamecloaked Cavalry Bow |
Bard |
iLevel 625 |
x10 Flamecloaked Archfiend Totem |
|
Flamecloaked Revolver |
Machinist |
iLevel 625 |
x10 Flamecloaked Archfiend Totem |
|
Flamecloaked Chakrams |
Dancer |
iLevel 625 |
x10 Flamecloaked Archfiend Totem |
|
Flamecloaked Baghnakhs |
Monk |
iLevel 625 |
x10 Flamecloaked Archfiend Totem |
|
Flamecloaked Bident |
Dragoon |
iLevel 625 |
x10 Flamecloaked Archfiend Totem |
|
Flamecloaked Cleavers |
Ninja |
iLevel 625 |
x10 Flamecloaked Archfiend Totem |
|
Flamecloaked Blade |
Samurai |
iLevel 625 |
x10 Flamecloaked Archfiend Totem |
|
Flamecloaked Scythe |
Reaper |
iLevel 625 |
x10 Flamecloaked Archfiend Totem |

