Quick Links
There are many fascinating, fun, and powerful jobs in Final Fantasy 14, but the pet controlling, elemental bending Summoner is one of the most unique. This Magical Ranged DPS class has excellent burst damage, movement speed, and a genuinely engaging and easy to learn kit accessible for any player, old or new.
Final Fantasy 14: Complete Guide To Playing White Mage
Here's everything you need to know to master the rod as a White Mage in Final Fantasy 14!Furthermore, your ability to resurrect fallen comrades and provide heals makes you an essential part of the team, allowing you to keep everyone afloat in hectic situations. Dealing high burst damage from a distance, healing yourself or injured allies, and bringing people back from the brink of death make this role thrilling and rewarding to fill.
Updated November 1, 2023: While the Summoner hasn't received massive changes in Patch 6.5, its Opener has been slightly more optimized, enabling us to touch it up to bring it up to the best possible rotations to help squeeze the most out of it. While its Best In Slot has remained the same, you should notice a considerable improvement during encounters with the new Openers!
Becoming A Summoner
The Summoner, like the vast majority of jobs, isn't available until after you reach Level 30 with a starting class, which can be picked during the character creation or picked up as an alternate job once you start your adventure.
The prerequisite class is the Arcanist, which will place you in the city of Limsa Lominsa if picked. However, if you don't select it as your starting class, you can obtain it by heading to Limsa Lominsa Lower Decks and speaking to Murie at the Arcanist's Guild (X:4.5, Y:11.2) to pick up the quest "Way of the Arcanist."
Finishing this quest will unlock the Arcanist class for you. All you have to do now is achieve Level 30 with your new class to transition into the Summoner job!
From Arcanist To Summoner
Upon reaching Level 30 as an Arcanist, you can finally take the steps needed to specialize into the Summoner job. Once at this step, travel to Limsa Lominsa Lower Decks and talk to Thubyrgeim (X:4.7, Y:11.4) to receive the quest "Austerities of Fire." Finishing this quest will give you the soul crystal Soul of the Summoner, allowing you to equip and level the job.
The rest of the guide will primarily cover a Level 90 Summoner's responsibilities and general gameplay. If the Summoner is an alternate job, or you aren't Level 90 at the moment, we recommend checking out our leveling guide for tips on making this process less painful.
If you need more information on unlocking jobs, check this guide out for details on obtaining every class and job in the game!
Rotations
Due to the Summoner being a unique class and filling the role of Magical Range DPS, their standard rotation is vastly different than most other classes and can take some time to get used to if you're coming from a different role or job.
Rather than chaining actions together to form short combos, you will alternate between phases while choosing Single-Target or Multi-Target GCD Actions, depending on the situation.
Please note that the rotations below won't be covering any Off-GCD Actions and will focus only on the GCD Actions needed to perform basic combos.
Basic Single-Target Rotation
- Phase 1: Summon Bahamut > Astral Impulse
-
Phase 2: Summon Garuda, Ifrit, and Titan > Gemshine
- Order of Primal Summons doesn't matter. Gemshine also changes based on whichever Primal is out.
- Phase 3: Summon Phoenix > Fountain of Fire
- Phase 4: Repeat Phase 2, then back to Phase 1 and repeat.
Basic AoE Rotation
- Phase 1: Summon Bahamut > Astral Flare
-
Phase 2: Summon Garuda, Ifrit, and Titan > Precious Brilliance
- Order of Primal Summons doesn't matter. Precious Brilliance also changes based on whichever Primal is out.
- Phase 3: Summon Phoenix > Brand of Purgatory
- Phase 4: Repeat Phase 2, then back to Phase 1 and repeat.
Rotational Phases Breakdown
Since the Summoner job can be unnecessarily confusing in specific areas, we will go over what each summon does to give better context on each phase of the rotations highlighted above. You can find each Summon below, their phase, and what actions they affect when called upon.
Summon Bahamut (Phase 1)
- A Demi-Bahamut gets Summoned for fifteen seconds
- Ruin III becomes Astral Impulse (Single-Target)
- Tri-disaster becomes Astral Flare (AoE)
- Astral Flow becomes Deathflare
- Enables Enkindled Bahamut
-
Readies Ruby Arcanum, Topaz Arcanum, and Emerald Arcanum
- Ruby = Ifrit
- Topaz = Titan
- Emerald = Garuda
Summon Garuda (Phase 2 and 4)
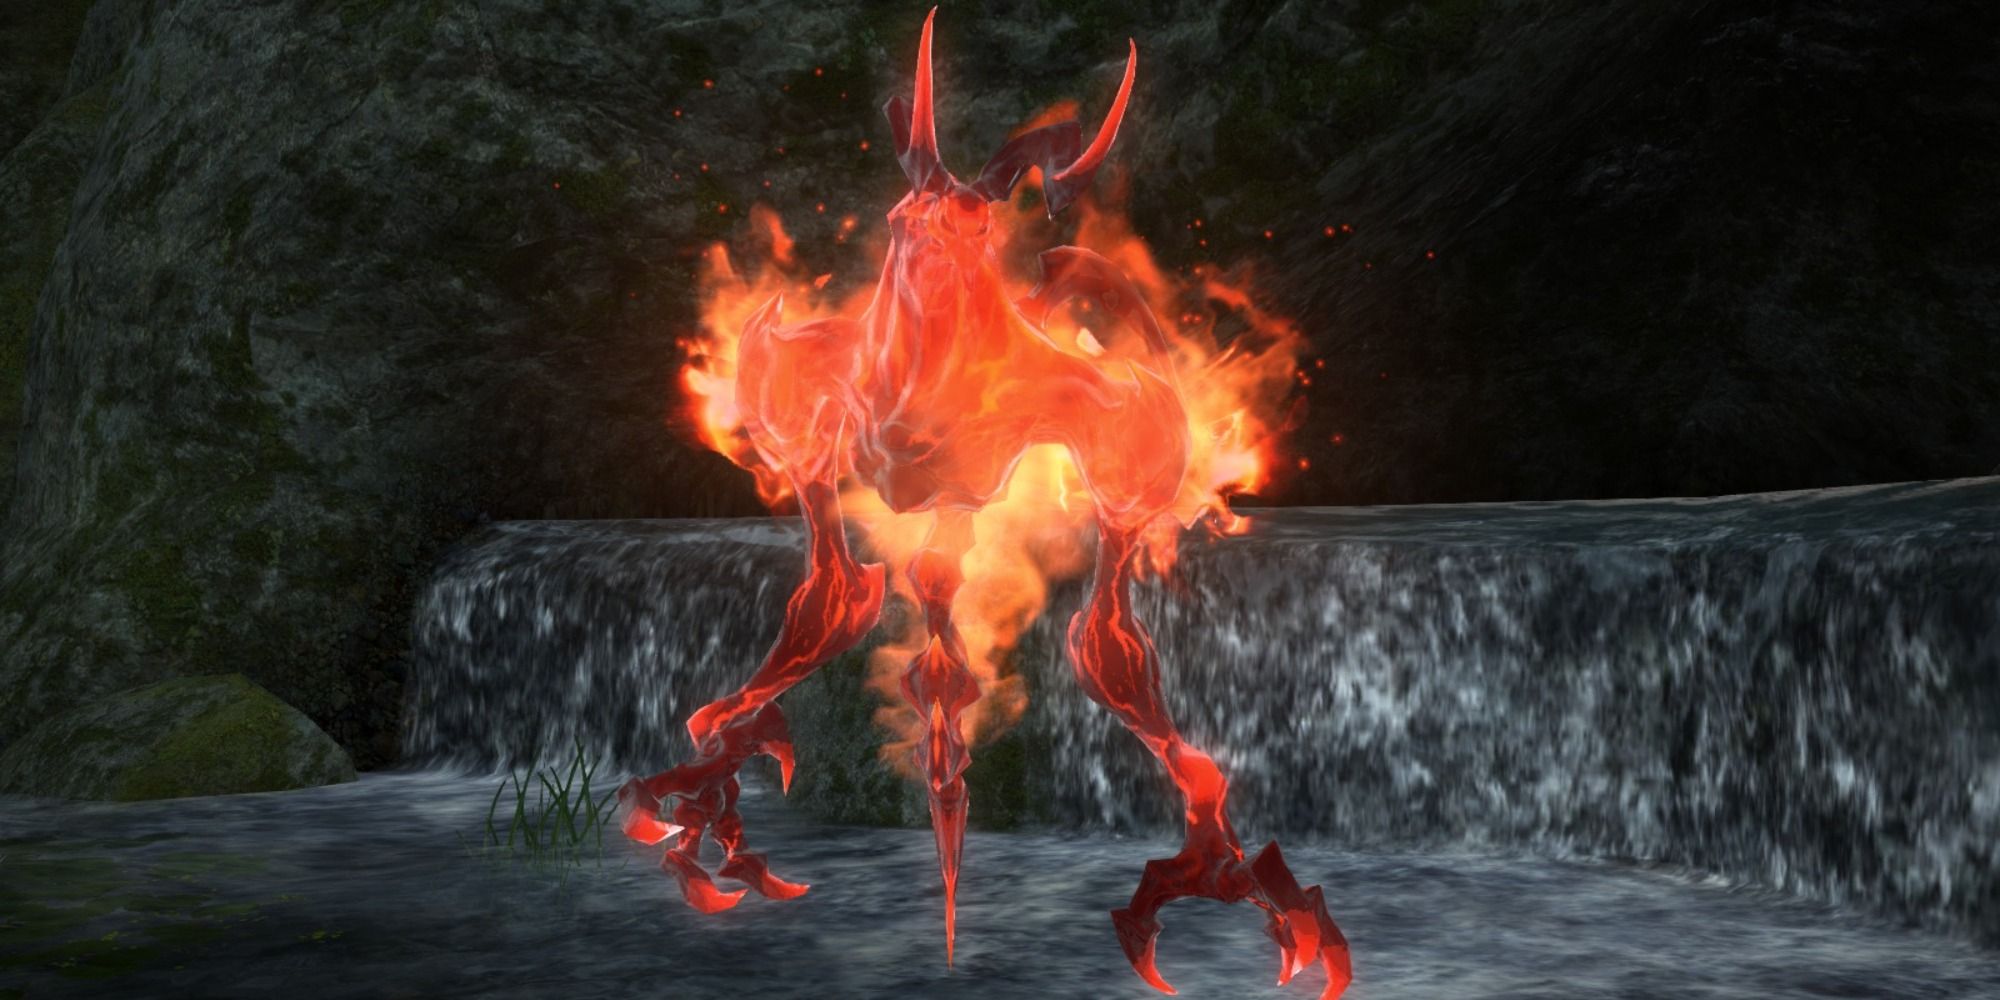
- A Garuda-Egi gets Summoned and casts an Aerial Blast
- Gemshine becomes Emerald Rite (Single-Target)
- Precious Brilliance becomes Emerald Catastrophe (AoE)
- Astral Flow becomes Slipstream
- Gain four stacks of Wind Attunement
Summon Ifrit (Phase 2 and 4)
- An Ifrit-Egi gets Summoned and casts Inferno
- Gemshine becomes Ruby Rite (Single-Target)
- Precious Brilliance becomes Ruby Catastrophe (AoE)
- Astral Flow becomes Crimson Cyclone, which combos into Crimson Strike
Summon Titan (Phase 2 and 4)
- A Titan-Egi gets Summoned and casts Earthen Fury
- Gemshine becomes Topaz Rite (Single-Target)
- Precious Brilliance becomes Topaz Catastrophe (AoE)
- Astral Flow becomes Mountain Buster
- Gain four stacks of Earth Attunement
Summon Phoenix (Phase 3)
- A Demi-Phoenix gets Summoned for fifteen seconds
- Ruin III becomes Fountain of Fire (Single-Target)
- Tri-Disaster becomes Brand of Purgatory (AoE)
- Astral Flow becomes Rekindle
-
Readies Ruby Arcanum, Topaz Arcanum, and Emerald Arcanum
- Ruby = Ifrit
- Topaz = Titan
- Emerald = Garuda
Off-GCD Actions
With the more convoluted aspect of the Summoner covered, it's time to highlight some of the key Off-GCD Actions available to you. While there are many more actions available, the ones laid out below will be the ones you use excessively and during your Openers. Head to the next section for a complete Opener of a Level 90 Summoner!
|
Action |
Recast Time |
Information |
|---|---|---|
|
Searing Light |
120s |
Increases the damage of your and nearby party member's attacks by three percent for 30s. |
|
Energy Drain |
60s |
Attack with a potency of 200. Gain maximum stacks of Aetherflow. Further Ruin is also granted to you for 60s. Energy Drain shares a recast timer with Energy Siphon. |
|
Akh Morn |
N/A |
Attack with a potency of 1,300 to the first target and 60 percent less to surrounding enemies. Akh Morn can only be used when Demi-Bahamut is Summoned. |
|
Fester |
1s |
Attack with a potency of 300. Fester consumes one stack of Aetherflow. |
|
Swift Cast |
60s |
You cast your next spell immediately. Swift Cast lasts for 10s. |
Patch 6.4 has increased the radius of Searing Light from 15 to 30 yalms.
Support Actions
|
Action |
Recast Time |
MP Cost |
Information |
|---|---|---|---|
|
Radiant Aegis |
60s |
N/A |
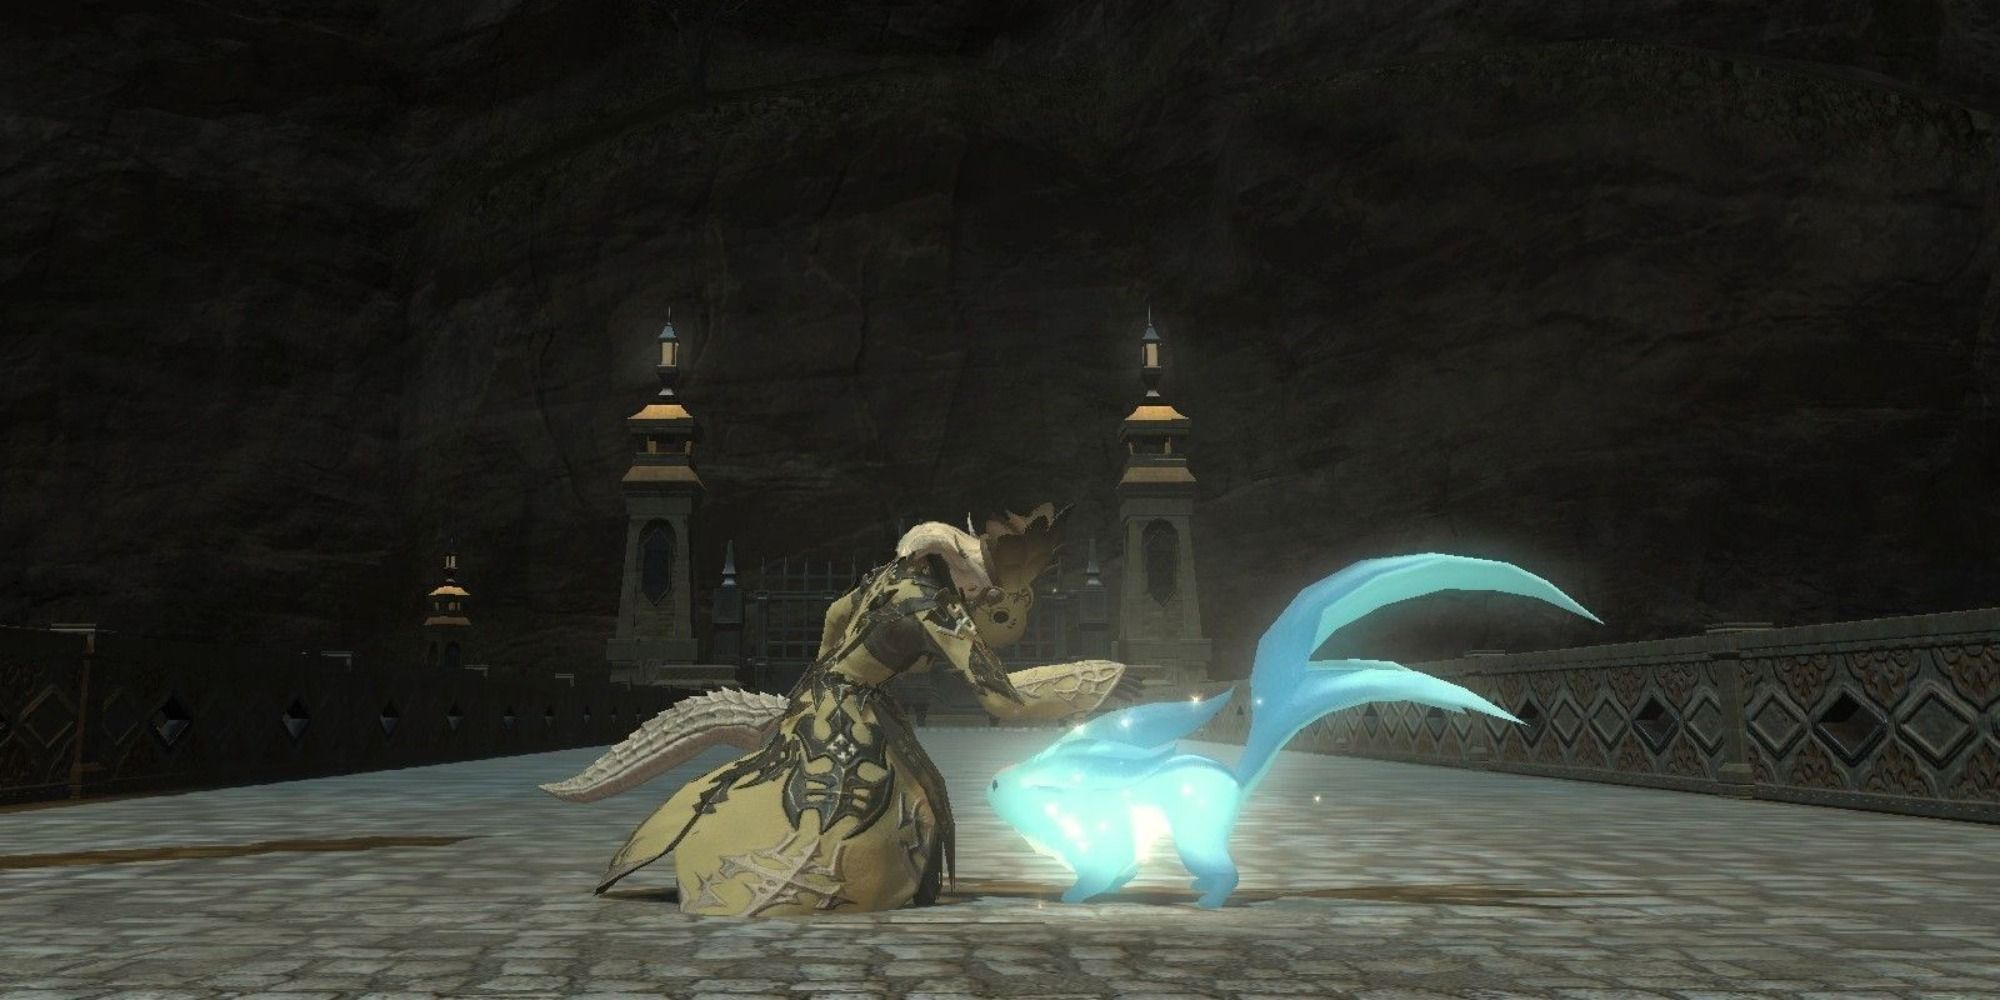
Send your Carbuncle to perform Radiant Aegis. Radiant Aegis generates a barrier around yourself that can receive incoming damage up to 20 percent of your maximum health for 30 seconds. Radiant Aegis has two charges and can only be used whenever Carbuncle is summoned. |
|
Physick |
2.5s |
400 MP |
Restore your target's health with a cure potency of 400. |
|
Resurrection |
2.5s |
2,400 MP |
Revives a downed target to a weakened state. |
Openers
Keeping what you've learned about the Summoner's phase system above, along with the highlighted Off-GCD Actions, we can now focus on combining the strengths of each ability to create a coherent combo string that deals significant damage while optimizing your cooldown timers, actions, and buffs.
The actions presented in bolded parentheses are Off-GCD Actions that you will weave throughout your Opener to maximize your job's potential.
Opener One
- Pre-Pull: Ruin III
- Phase 1: Summon Bahamut > Astral Impulse (Searing Light) > Astral Impulse (Grade 8 Tincture of Intelligence) > Astral Impulse (Energy Drain) > Astral Impulse (Enkindle Bahamut + Fester) > Astral Impulse (Deathflare + Fester) > Astral Impulse
- Phase 2: Summon Titan II > Topaz Rite (Mountain Buster) > Topaz Rite (Mountain Buster) > Topaz Rite (Mountain Buster) > Topaz Rite (Mountain Buster) > Summon Garuda II (Swiftcast) > Emerald Rite > Ruin IV (Slipstream) > Emerald Rite > Emerald Rite > Emerald Rite
Opener Two
- Pre-Pull: Ruin III
- Phase 1: Summon Bahamut > Astral Impulse (Searing Light) > Astral Impulse (Grade 8 Tincture of Intelligence) > Astral Impulse (Energy Drain) > Astral Impulse (Enkindle Bahamut + Fester) > Astral Impulse (Deathflare + Fester) > Astral Impulse
- Phase 2: Summon Garuda II (Swiftcast + Slipstream) > Emerald Rite > Emerald Rite > Emerald Rite > Emerald Rite > Summon Titan II > Topaz Rite (Mountain Buster) > Topaz Rite (Mountain Buster) > Topaz Rite (Mountain Buster) > Topaz Rite (Mountain Buster)
Whenever Phase 2 of your Opener ends, you will transition into the rotation provided above. Additionally, the first Opener is excellent for the vast majority of post-game content. The second Opener is the best choice for tackling raids where you have a party that relies heavily on fifteen-second buffs.
Equipment And Materia Management
One of many underutilized systems in Final Fantasy 14 is the ability to meld Materia to your equipment to focus stats and craft builds for specific jobs and playstyles. Overall, there are tons of different combinations you can experiment with to give you better odds in an encounter.
The build below focuses on maintaining a low GCD cooldown without using Quicktongue Materia (Spell Speed). While the build below is excellent for most cases, you could easily mix and match all kinds of Materia and make it work if you wanted to prioritize other stats. So long as it's beneficial to the job, role, and situation.
|
Equipment |
Materia |
Stats |
|
|---|---|---|---|
|
Weapon |
Grimoire of Ascension |
|
|
|
Head |
Augmented Credendum Circlet of Casting |
|
|
|
Body |
Augmented Credendum Surcoat of Casting |
|
|
|
Hands |
Ascension Gloves of Casting |
|
|
|
Legs |
Ascension Longkilt of Casting |
|
|
|
Feet |
Augmented Credendum Sollerets of Casting |
|
|
|
Earrings |
Ascension Earring of Casting |
|
|
|
Necklace |
Augmented Credendum Necklace of Casting |
|
|
|
Bracelets |
Ascension Bracelet of Casting |
|
|
|
Left Ring |
Ascension Ring of Casting |
|
|
|
Right Ring |
Augmented Credendum Ring of Casting |
|
|
Equipping the "Best In Slot" gear and finely tuning your Materia will significantly boost your overall damage output and performance. However, as showcased above, using the Grade 8 Tincture of Intelligence early in your Opener will give you an even more tremendous boost to your stats.
Furthermore, consuming meals like the Baked Eggplant before queueing up for activities will also be incredibly beneficial to you, allowing you to squeeze the most out of your Summoner with hardly any effort.

