Quick Links
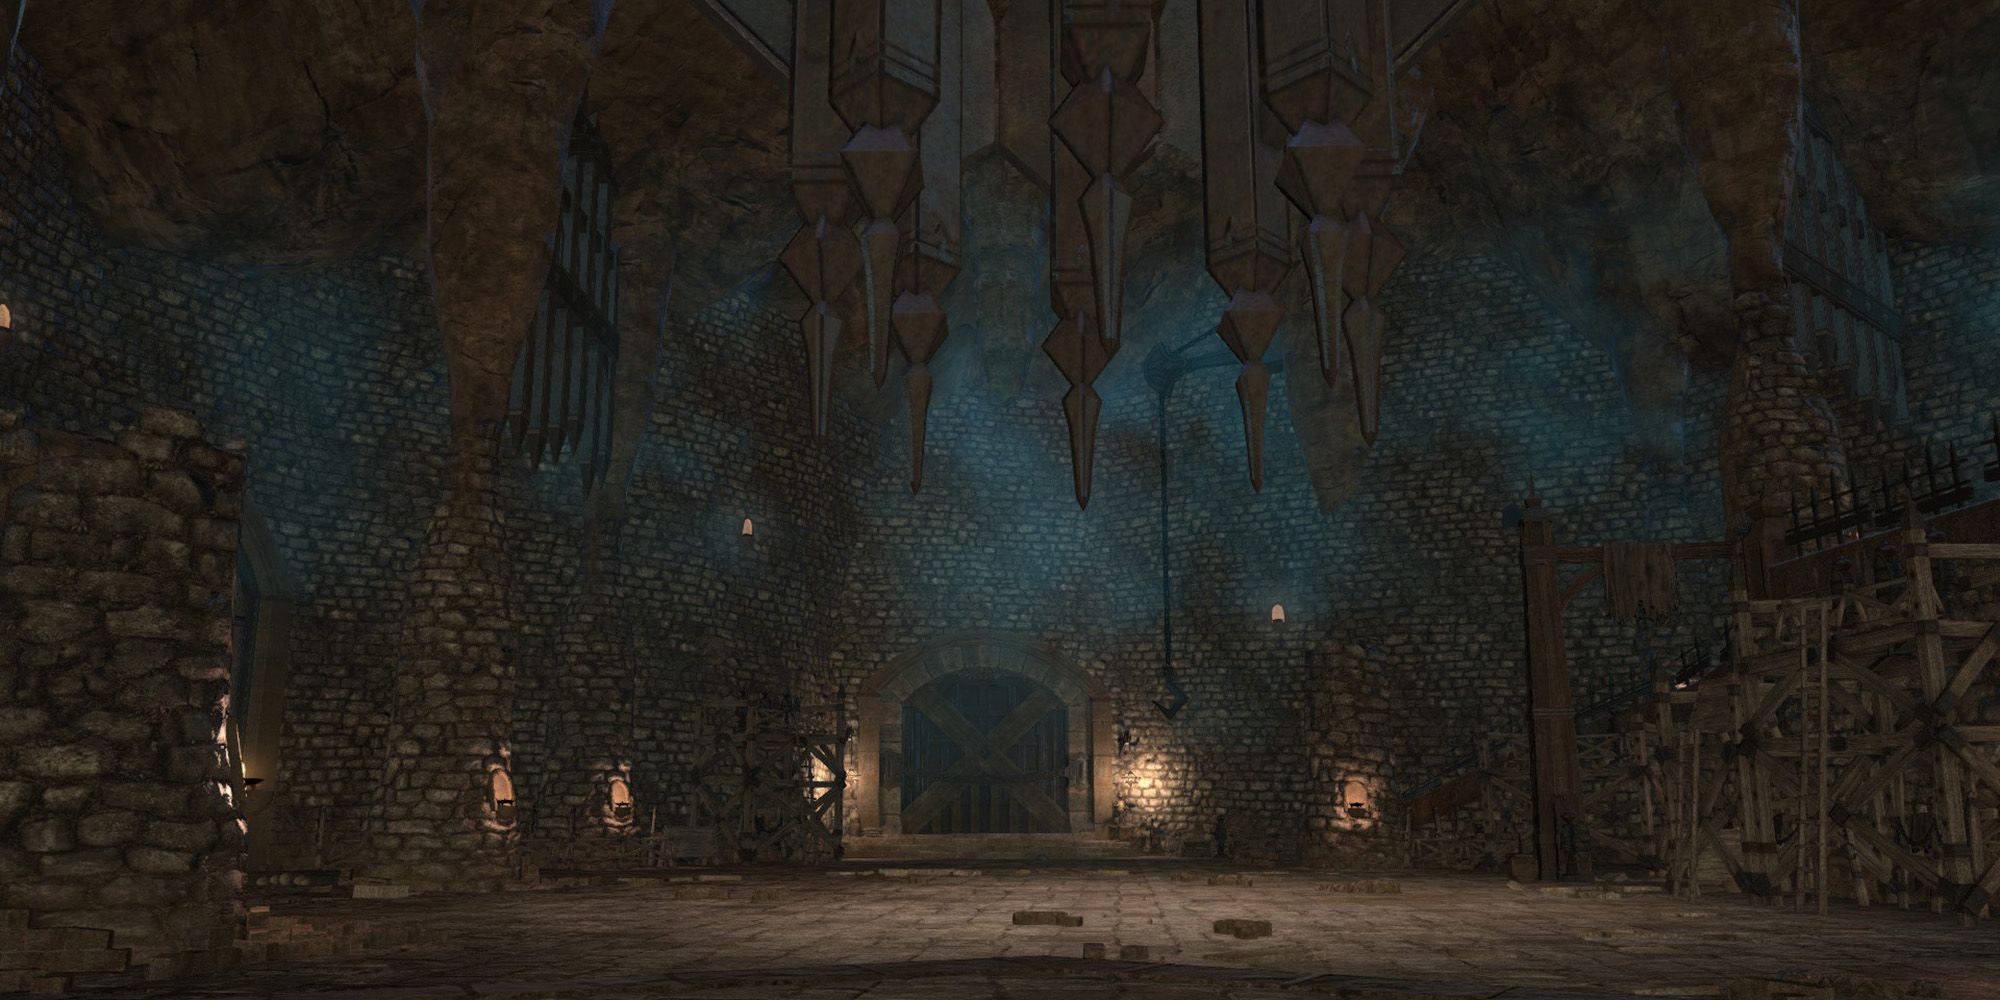
Halatali (Hard) is an optional level 50 dungeon in Final Fantasy 14. In this dungeon, you will return to the coliseum of Halatali, now completely refurbished as a battleground for training gladiators. Throughout this dungeon, you will brave the trials of Halatali, and complete your gladiator training.
While the Hard version of this dungeon features similar scenery, you'll be fighting some new and difficult bosses. Let's take a look at each boss you'll face in Halatali (Hard), their attacks and mechanics, and how to beat them.
How To Unlock Halatali (Hard)
This dungeon is unlocked through the following side quest.
-
Accept the quest 'This Time's for Fun'
- NPC Location: Hugubert - Mor Dhona (X:22.0, Y:8.7)
This quest will appear after completing the Main Scenario Quest 'The Ultimate Weapon', as well as the level 20 quest 'Hallo Halatali', in which you complete the normal version of this dungeon.
Dungeon Walkthrough
When you enter the dungeon, head northwest through the closed gate to proceed to the first section of this dungeon. As you make your way through, watch for the falling iron balls that suddenly drop on the path, dealing damage and inflicting Vulnerability Up, increasing the amount of damage you take.
Defeat the four Mammets in this area, then speak with the Gladiator Trainer to be taken to the first boss.
Additionally, you'll need to speak with more Gladiator Trainers later in the dungeon to proceed deeper inside, so be on the lookout for these NPCs.
Pyracmon
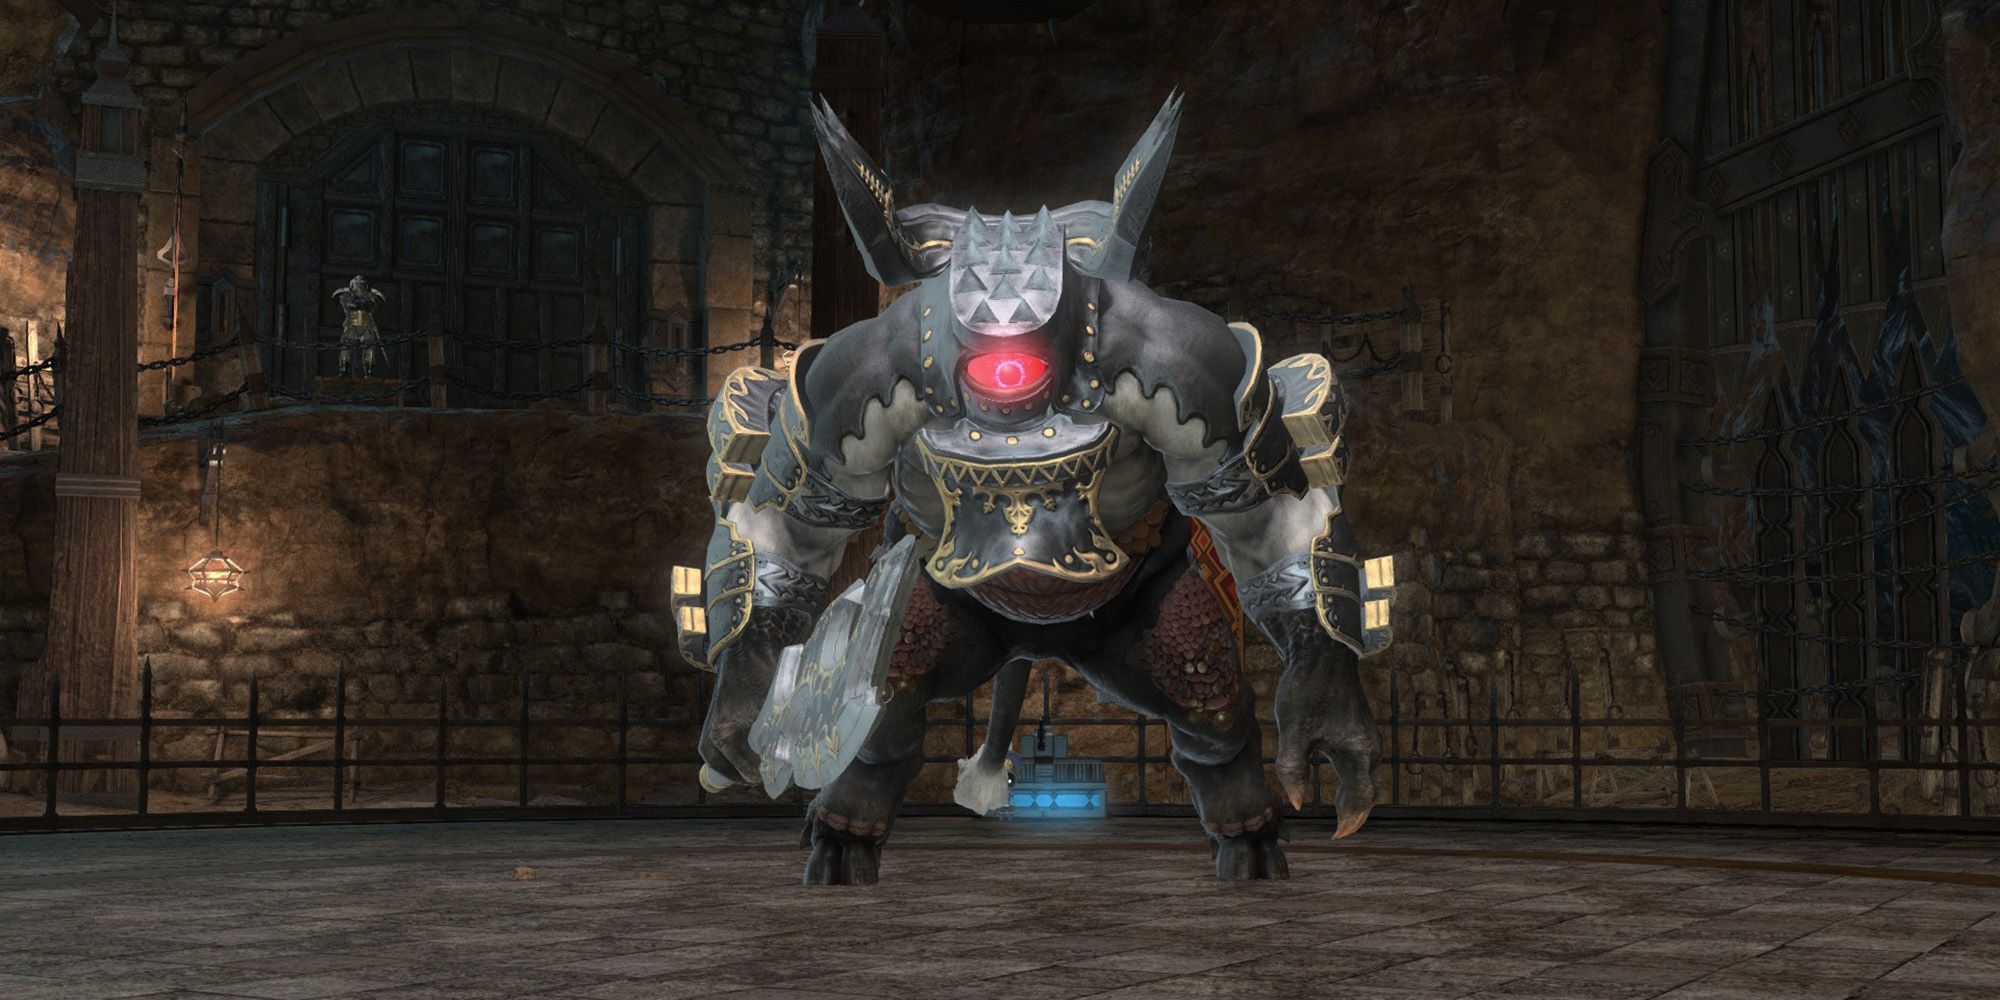
The first boss of Halatali (Hard) is Pyracmon. This boss is very similar to the second boss of the Aurum Vale, the Coincounter, in appearance and mechanics. Pyracmon's attacks and mechanics are detailed below.
- 100-tonze Swipe: Pyracmon will deal damage in a wide cone AoE to its front, knocking back players. The Tank should face the boss away from the rest of the party to avoid hitting them with this attack.
- 100-tonze Swing: Pyracmon will deal damage and knockback in a point-blank AoE around itself. Quickly move away from the boss when it starts casting 100-tonze Swing to avoid taking damage.
-
1000-tonze Swing: Pyracmon will move to the center of the arena and begin long-casting this attack. When the cast is complete, Pyracmon will deal extremely high damage to all players. To prevent this, interact with the Mammet Activator near the back of the arena to signal to the roaming Mammet to cast Manawall.
- When the Mammet casts Manawall, it will create a friendly AoE around itself that grants a buff of the same name to players standing inside. This buff will make you immune to 1000-tonze Swing, allowing you to avoid taking damage.
- Eye of the Beholder: Pyracmon will deal damage in a large conal-AoE to its front, inflicting Electrocution, which deals damage over time. To avoid this attack, run close to or behind the boss when it quickly turns around.
- Piercing Glower: Pyracmon will turn towards a random player before dealing damage in a line AoE towards them. Similar to Eye of the Beholder, quickly move out of the boss's area of attack when it turns suddenly.
Pyracmon will repeat these mechanics until it is defeated. One player should remain near the Mammet Activator throughout the fight, ready to interact with it to create a Manawall buff when the boss uses 1000-tonze Swing.
After defeating the boss, exit to the southeast and speak with the Elite Gladiator Trainer to continue.
Catoblepas
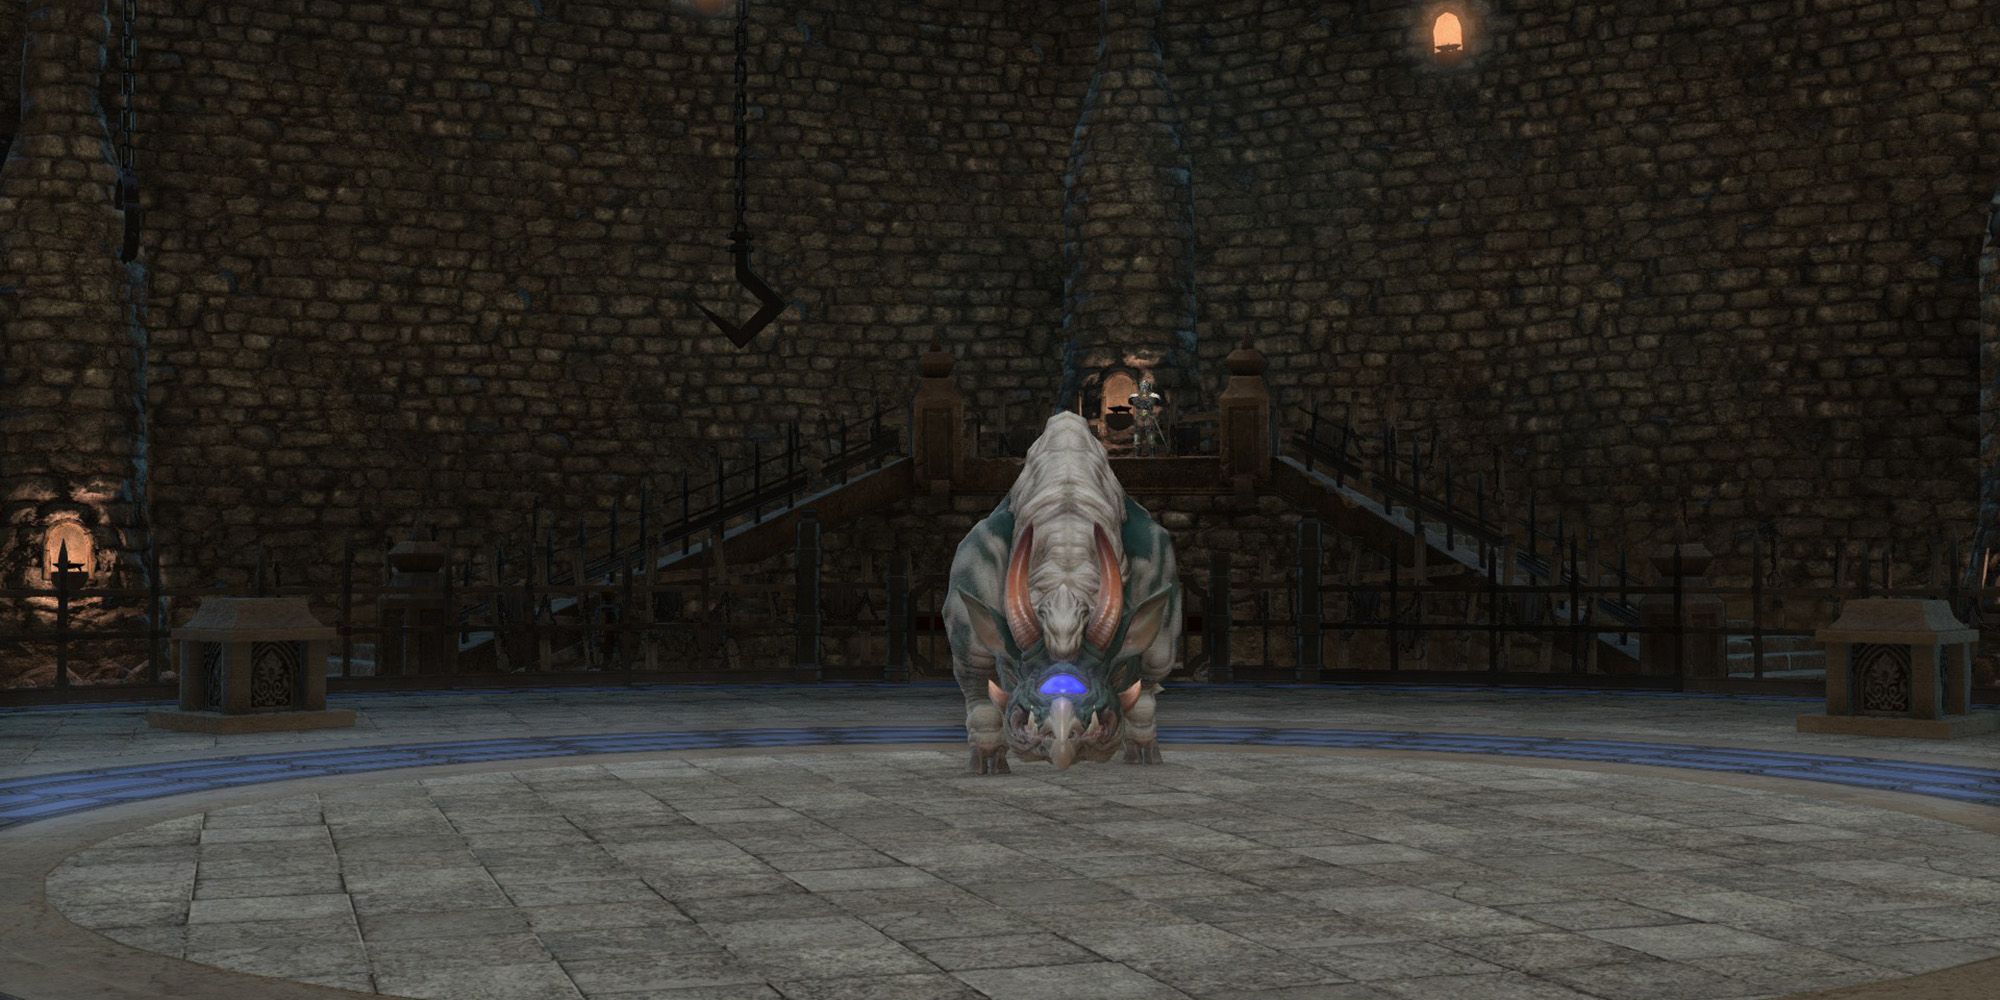
The second boss of Halatali (Hard) is Catoblepas, who will use the following attacks and mechanics.
- Cold Stare: Catoblepas will deal damage and inflict Paralysis in a cone AoE. This attack is easier to avoid the closer you are to the boss, so quickly run out of the AoE indicator to avoid taking damage.
- Jettatura: Catoblepas will use this attack throughout the fight, creating a circle AoE below party members, which deals damage. When a line appears below you, quickly run out of the AoE circle.
-
Demon Eye: This is Catoblepas's main mechanic. The boss will change the color of its eye to yellow then red, at which point it will Petrify all party members. Then, the boss will summon a targetable Tainted Eye. While the Tainted Eye is active, Catoblepas will continuously attack with Bestial Roar. To avoid being petrified by Demon Eye, all players need to interact with a Shadowy Orb around the arena to grant themselves Gloam, which reduces accuracy but makes you immune to the effects of Demon Eye.
- Bestial Roar: Deals damage to all party members and inflicts Vulnerability Up debuff, increasing damage taken. Destroy the Tainted Eye to stop the boss from using this attack.
To quickly activate the Shadowy Orb and avoid Demon Eye, all players should stand near the Orb they intend to interact with. This will allow you to quickly activate the Orb, while preventing players from running around the arena searching for an Orb.
Mumuepo's Final Test
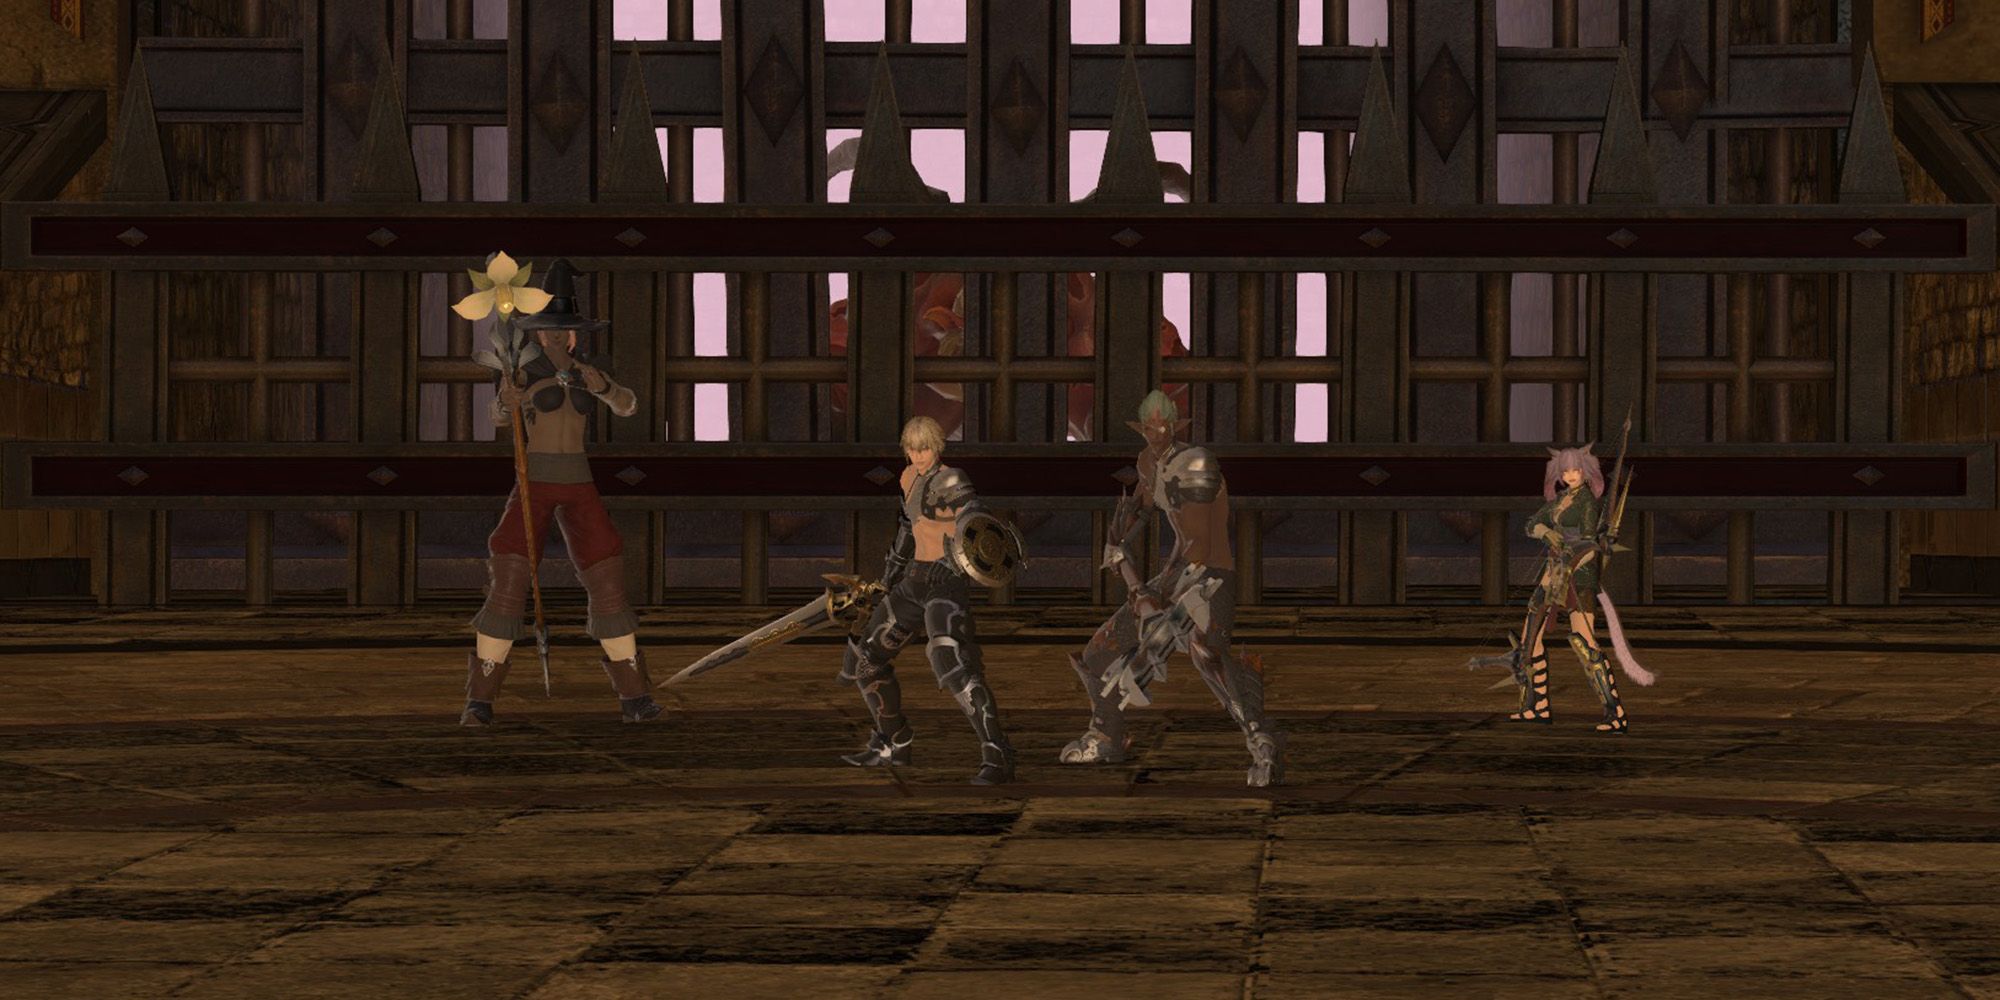
The final boss of Halatali (Hard) is Mumuepo the Beholden, his four allies, and Narasimha. At the start of the fight, you will face Silent Moss, Franz, Langloisiert, and U'linbho, who will use the following attacks.
- Silent Moss the Solemn will heal her allies, and will periodically tether to one, granting them a regen effect. Focus on defeating Silent Moss first.
- Franz the Fair is a Tank who will cast Spirits Without, which is a short line AoE to his front. This attack is easy to avoid, so you should focus on killing Franz last.
- Langloisiert the Lionheart is a lancer who can't be aggroed, meaning he will attack players at random. Langloisiert will use a large cross-shaped AoE, dealing damage in the area. After defeating Silent Moss, focus on Langloisiert.
- U'linbho the Sand Devil is an archer who will periodically cast Venomous Bite, applying a debuff of the same name on her target. This debuff will deal damage over time, and can't be cleansed using Esuna. We recommend focusing on U'linbho third, after Langloisiert.
Later in the fight, Mumuepo the Beholden will appear with Narasimha, who will use the following mechanics.
-
Mumuepo the Beholden
- Fire II: Mumuepo will deal damage in a circle AoE. Move out of the AoE indicator to avoid taking damage.
- Thal's Fury: Mumuepo will chain two random players to Thal's Scepter, preventing them from moving or attacking. Then, he will cast a large circle AoE over their position, which will deal high damage. One of the unchained players needs to quickly interact with Thal's Scepter to free the chained players, who should move out of the circle AoE.
-
Narasimha:
- Fireball: Narasimha will target a random player with a circle AoE that deals damage. Simply move outside the AoE indicator to avoid this attack.
- Heat Breath: Narasimha will deal damage in a large cone AoE to its front. The Tank should face the boss away from the rest of the party.
- Tail Smash: Narasimha will deal damage in a cone AoE to its back, if there are players behind the boss. Quickly move out of the AoE indicator to avoid taking damage.
Mumuepo and Narasimha will repeat these attacks until they are defeated. Focus on Mumuepo first, as his attacks can deal extremely high damage if you aren't careful. If any of the first four adventurers are still standing when Mumuepo appears, focus on defeating them before Mumuepo, saving Narasimha for last. When all combatants have been defeated, Halatali (Hard) will be complete.

