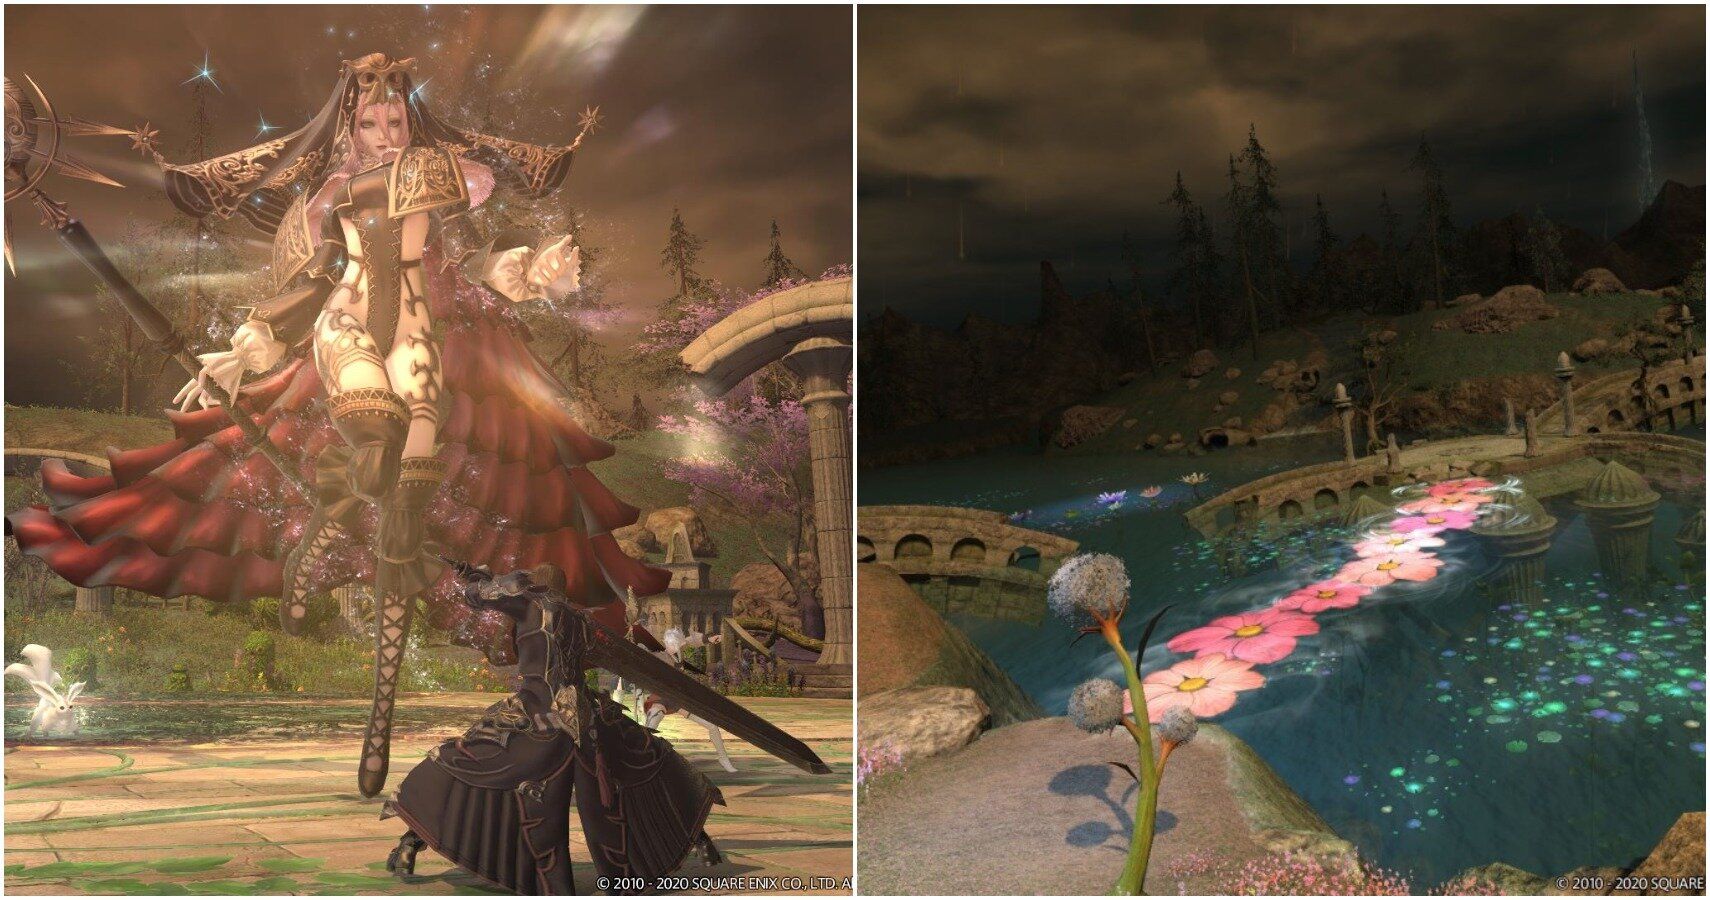
Introduced in patch 5.3, The Heroes Gauntlet is a pretty memorable journey. It ties most of the places the player visited in the Shadowbringers expansion together in a single dungeon. The players get to run through Amh Areang, Ill Meg, and finally Lakeland.
Compared to some other dungeons, this one is quite cinematic so it is worth taking your time to explore and enjoy on your first run. The three bosses your party will face are not that difficult, but do have some mechanics worth knowing to avoid a party wipe. One boss is tied to each area and once defeated, the players teleport to the next.
Important things to know before entering The Heroes Gauntlet include the fact that the required level item to do the dungeon is 460. Obviously, the player must be level 80. The dungeon is unlocked during the main quest, The Converging Light, and becomes available after an epic cutscene plays in Eulmore.
Boss One: Spectral Thief
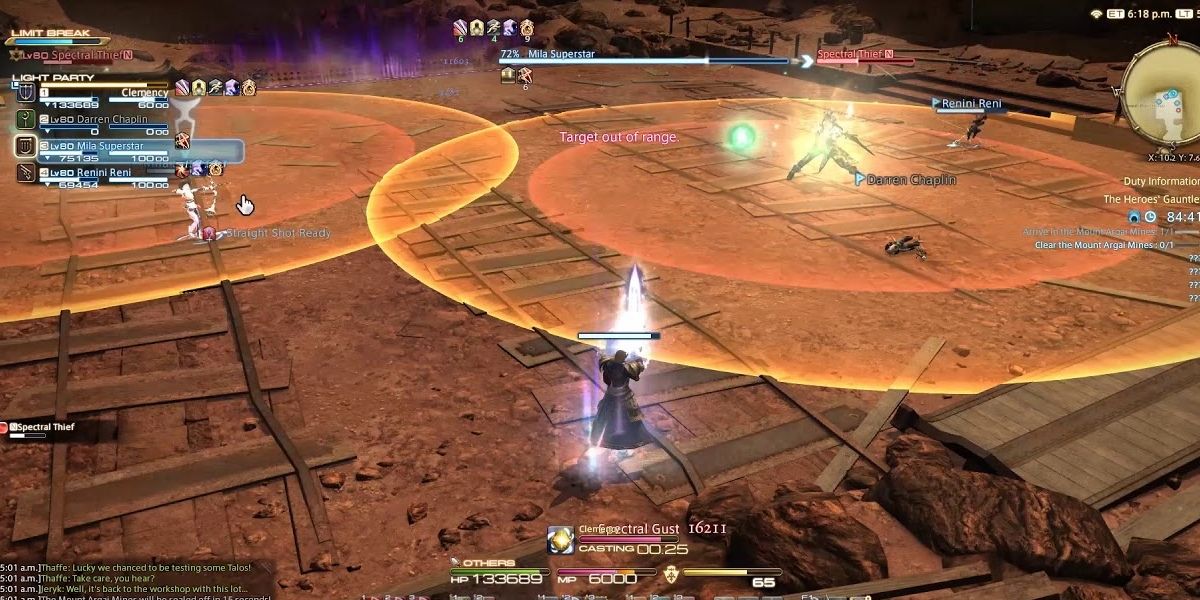
At the end of the Amh Areang area, there is the Spectral Thief boss. The biggest mechanic that catches players off guard is the boss's Dash and Shadowdash attacks. Like a typical fight, AoE's will appear. However, what players have to really keep an eye out for is markers that appear along with the AoEs.
Dash dishes out a circle AoE but also makes a tether on the ground. Green orbs will count down around the boss and it will deal the AoE upon the tethered spot once the count down runs out. So players must avoid the tethered spots as quickly as possible.
Shadowdash can be harder for players to avoid. The boss will have an AoE but this time tether two spots on the battle map. In escaping from one, make sure to not run into the other. These AoE attacks can take up to 70 percent of the whole area, so be careful.
Shadowdash can be used at the same time as players each get their own targeted AoE. If that happens, players will have to spread out in a small space while also not stepping on where Shadowdash will land.
Getting hit by these avoidable attacks can stack vulnerabilities on players to the point that healers cannot help them anymore. Dodging is crucial for this fight. Once the AoE mechanics are figured out though, the fight is easy and players can move on to the Ill Meg area.
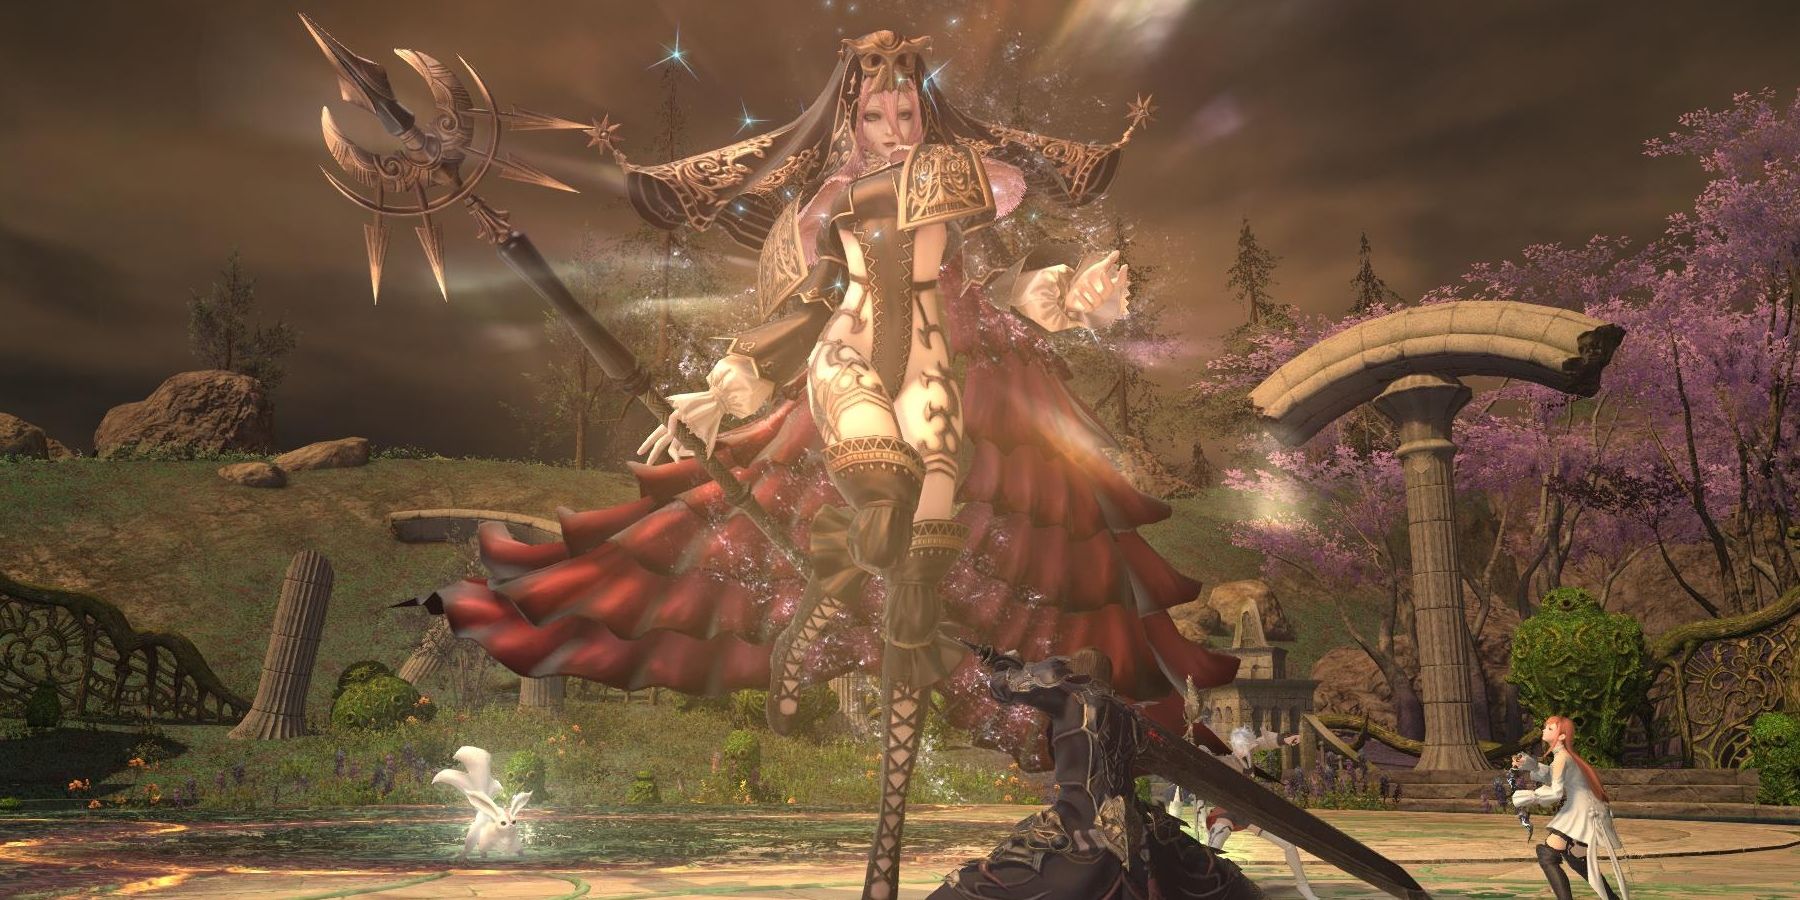
Boss Two: Spectral Necromancer
After having a fun time fighting side by side with the creatures of Ill Meg, players will meet the second dungeon boss. Like the Spectral Thief, this Necromancer will make players have to work to best utilize their space without getting a ton of damage.
What players have to watch out for in this fight are running undead adds that the Necromancer summons. The adds cannot be killed, and one gets tethered to each player. They will chase the player but die after a bit. It is recommended to stack them all together close to the boss. Next, the Necromancer will cast Necroburst, which will make the the add bodies explode with an unmarked AoE attack.
Stacking the adds together helps players have a lot of room to dodge Necroburst, however they will need to make extra sure that they dodge because the AoE's stacked have massive damage.
There is a second version of the Necromancy spell. This time, the adds are crawling towards the players, and players have tethered targets over their heads. Unlike the first round of undead adds, this time players will have to spread out. The adds will latch onto players and make them stop moving and explode. The players must be spread out so that the damage they take does not overlap.
It takes only a single player not knowing how these mechanics work to make this fight difficult. Luckily though, players can get the hang of it quickly enough.
Boss Three: Spectral Berserker
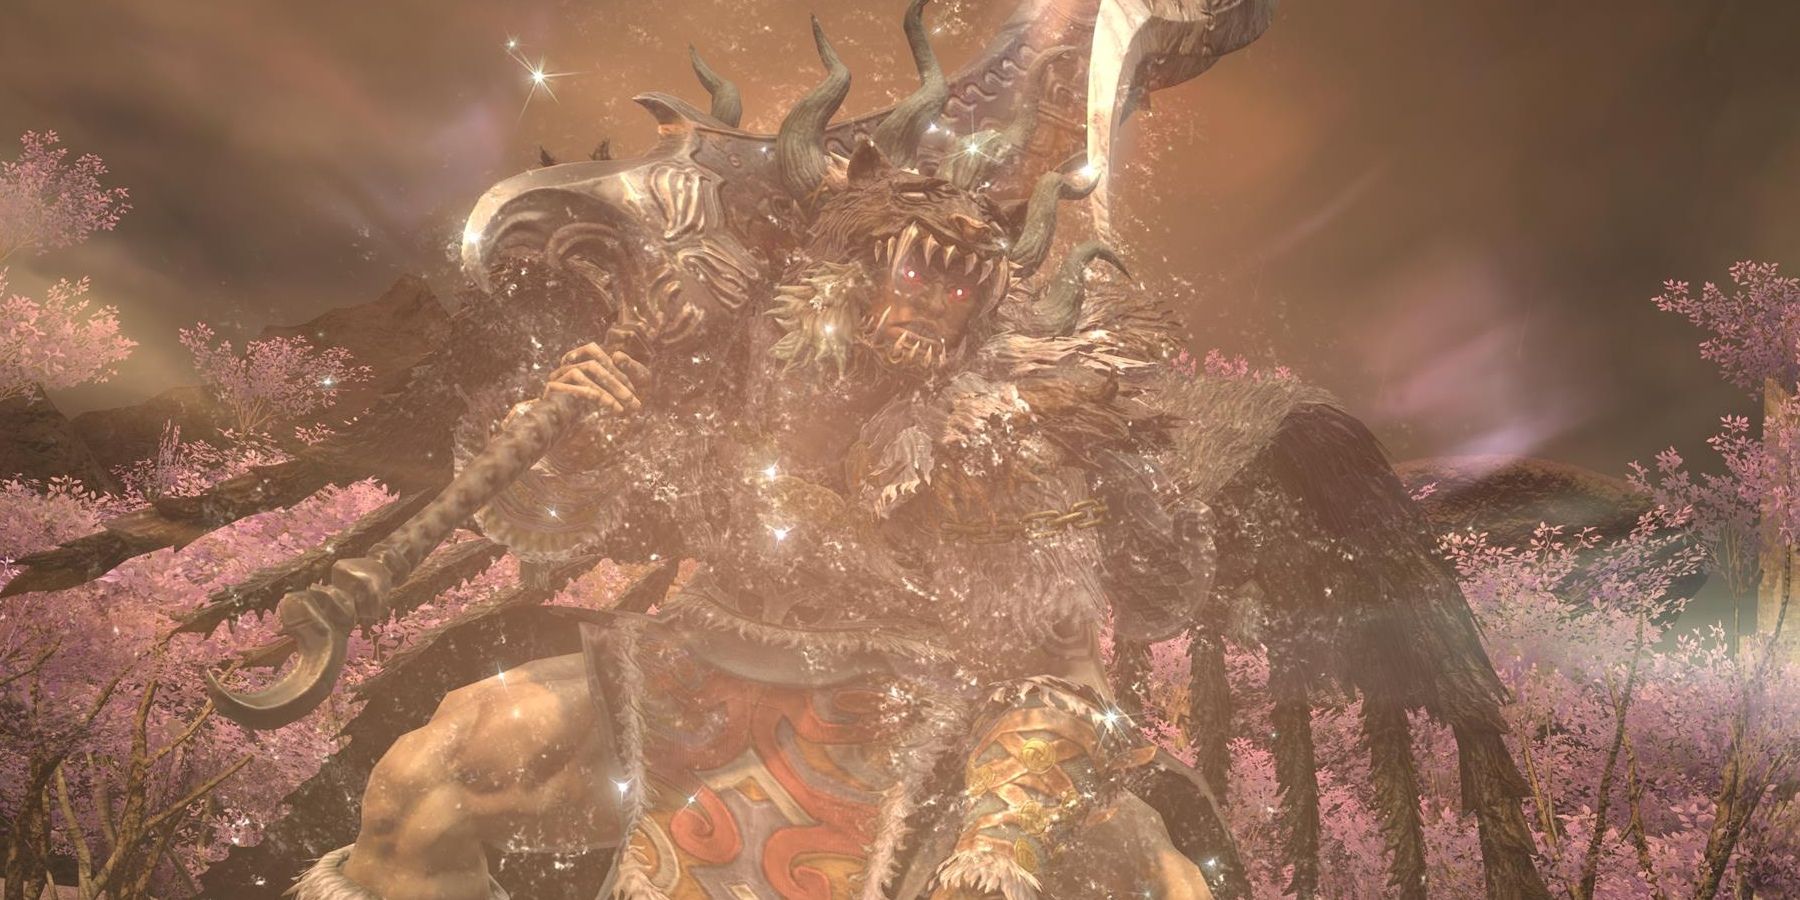
Once players get to the end of Lakeland, they get to fight the final boss. While the Berserker has no tankbusters, he can easily deal a ton of damage to a distracted player.
His attack, Raging Slice, is one such attack that can do a lot of damage to a player that isn't paying attention. During that attack, he faces a random player in the party and will swing down. There is no marker, so players need to always see where he is facing and make sure to get around to his back if he faces them during Raging Slice. He does this attack up to three times in a row, so players will constantly need to move.
There is a part of the fight where players get a stack marker. This can be confusing, because players are not actually supposed to stack together. Instead, they need to hide behind the rocks that have fallen onto the arena.
The last couple of mechanics players should be aware of is the Berserker's Wild Rage and Wild Rampage. Wild Rage will have the Berserker hit two sides of the area. Players just need to adjust themselves to not get knocked back to the outer edges of the area, which means standing near where the Berserker will land without actually touching the blue AoE marker.
Wild Rage will leave two holes in the ground, which is important for Wild Rampage. Wild Rampage deals damage to the entire field and the only way it is dodged is by hiding in the holes the Berserker created. However, do not stay in the hole too long. It will give the player confusion. Just wait for Wild Rage to be over and immediately pop back out.
Notable Loot
This dungeon gives out the Shadowless gear sets, which all have an item level of 475. Coffers sometimes give out level seven material. Lastly, the dungeon can give out the orchestration roll, Where All Roads Lead.


