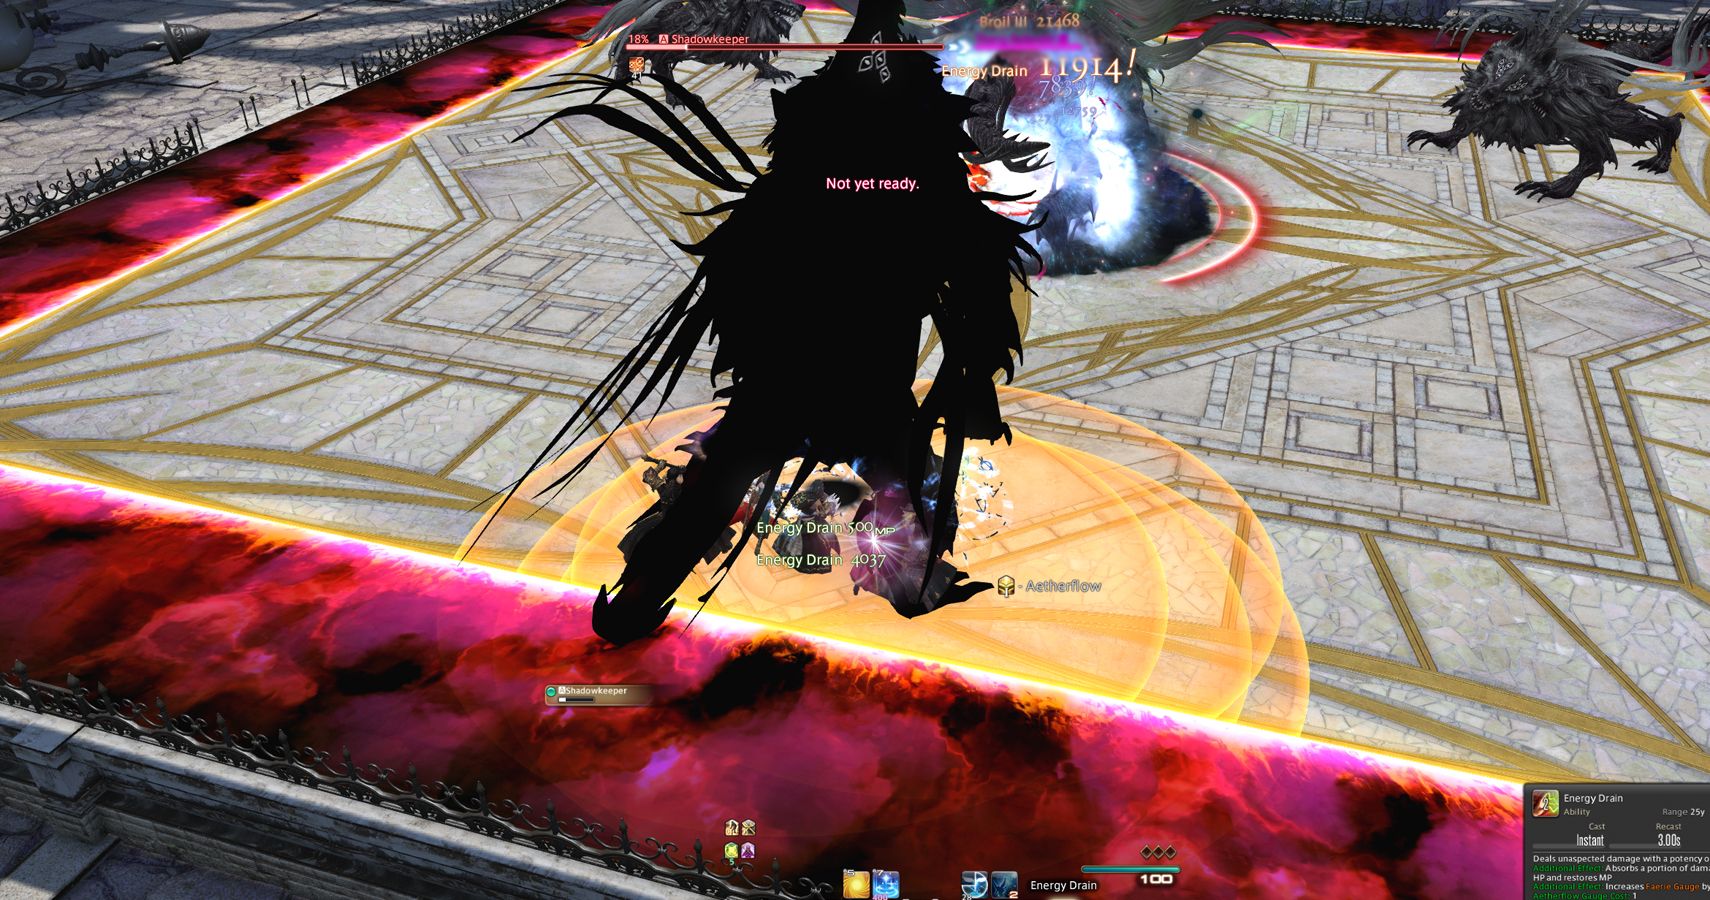
Final Fantasy 14 Patch 5.4, Futures Rewritten, continues to pit us against creatures of darkness spawned inside of Eden with the Litany fight. Like a lot of the new gear in this update, the Litany raid boss looks like something that crawled out of Bloodborne (or perhaps some sort of tortured version of Cerberus from the Crystal Tower).
Litany is the second fight of the last tier in the Shadowbringers raid series where you'll fight the Ravening Antihero, The Shadowkeeper. This creepy beast pulls some tricky moves by playing with shadows, so you'll need to react quickly and make sure he's not pulling a fast one on you.
Completing the second floor of Eden's Promise will reward you with one token towards your weekly loot count for the raid, five Allagan Tomestones of Revelation, and ten Allagan Tomestones of Allegory.
Phase One, Shadowkeeper Introduction
He may seem a little scary at first, but Shadowkeeper isn't so bad as long as you remember a few key elements in this fight. His shadow will determine which direction his attacks launch, so keep a close eye on it. That's his big tell in the lead up to most things he does, so if you're trying to dodge once you see the orange telegraph on the floor, it's probably too late and you'll take a ton of damage.
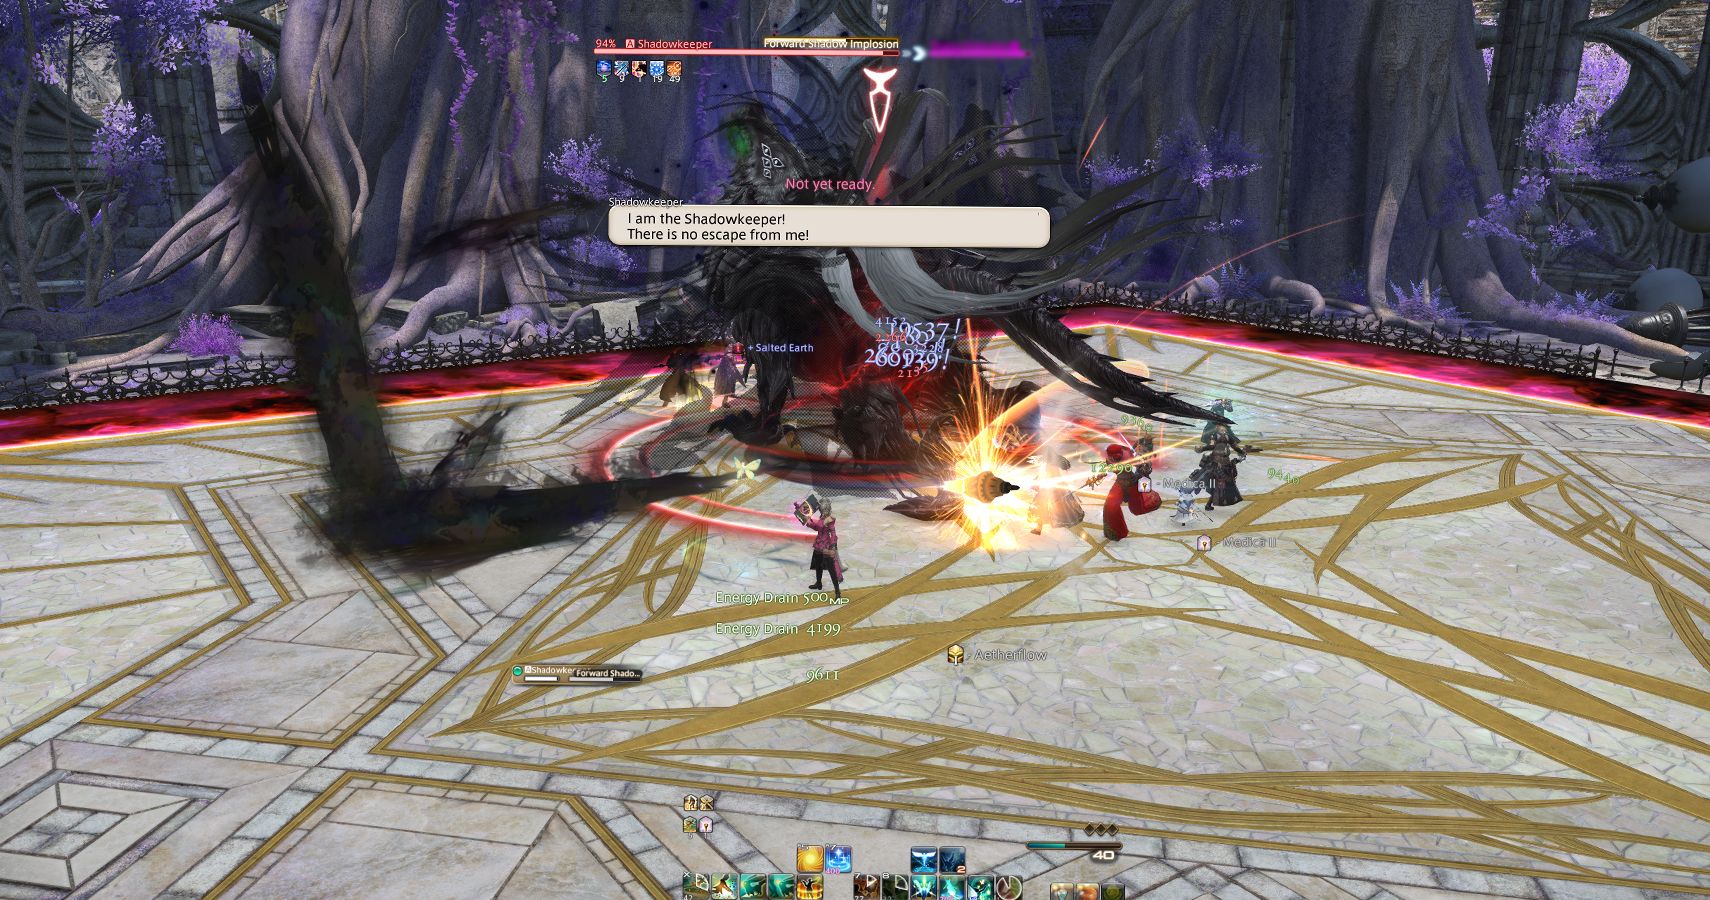
Things start off easy with either Forward Shadow Implosion or Backward Shadow Implosion. It's easy enough, just jump in front of him or behind him to dodge the directional AoE. He'll do it a second time immediately after, but this time he'll cast a shadow in one of the cardinal directions. You need to use this shadow to understand where to move and ignore the direction the boss is facing. Shadow Implosion will happen relative to the direction of the shadow the boss drops.
Next up, Shadowkeeper will unleash Deepshadow Nova in an unavoidable raid-wide AoE, so shield up and heal. It's easy enough to deal with. Shortly after, the boss will spawn three shadows. Shadow Warrior will tether one of these little guys to the main boss, so you'll want to carefully follow his movements as he jumps around the arena. Whenever the mini Shadowkeepers stop, the tethered one will turn and cast a giant AoE over most of the arena. Make sure you're safely behind that add, or else you'll take a ton of damage again.
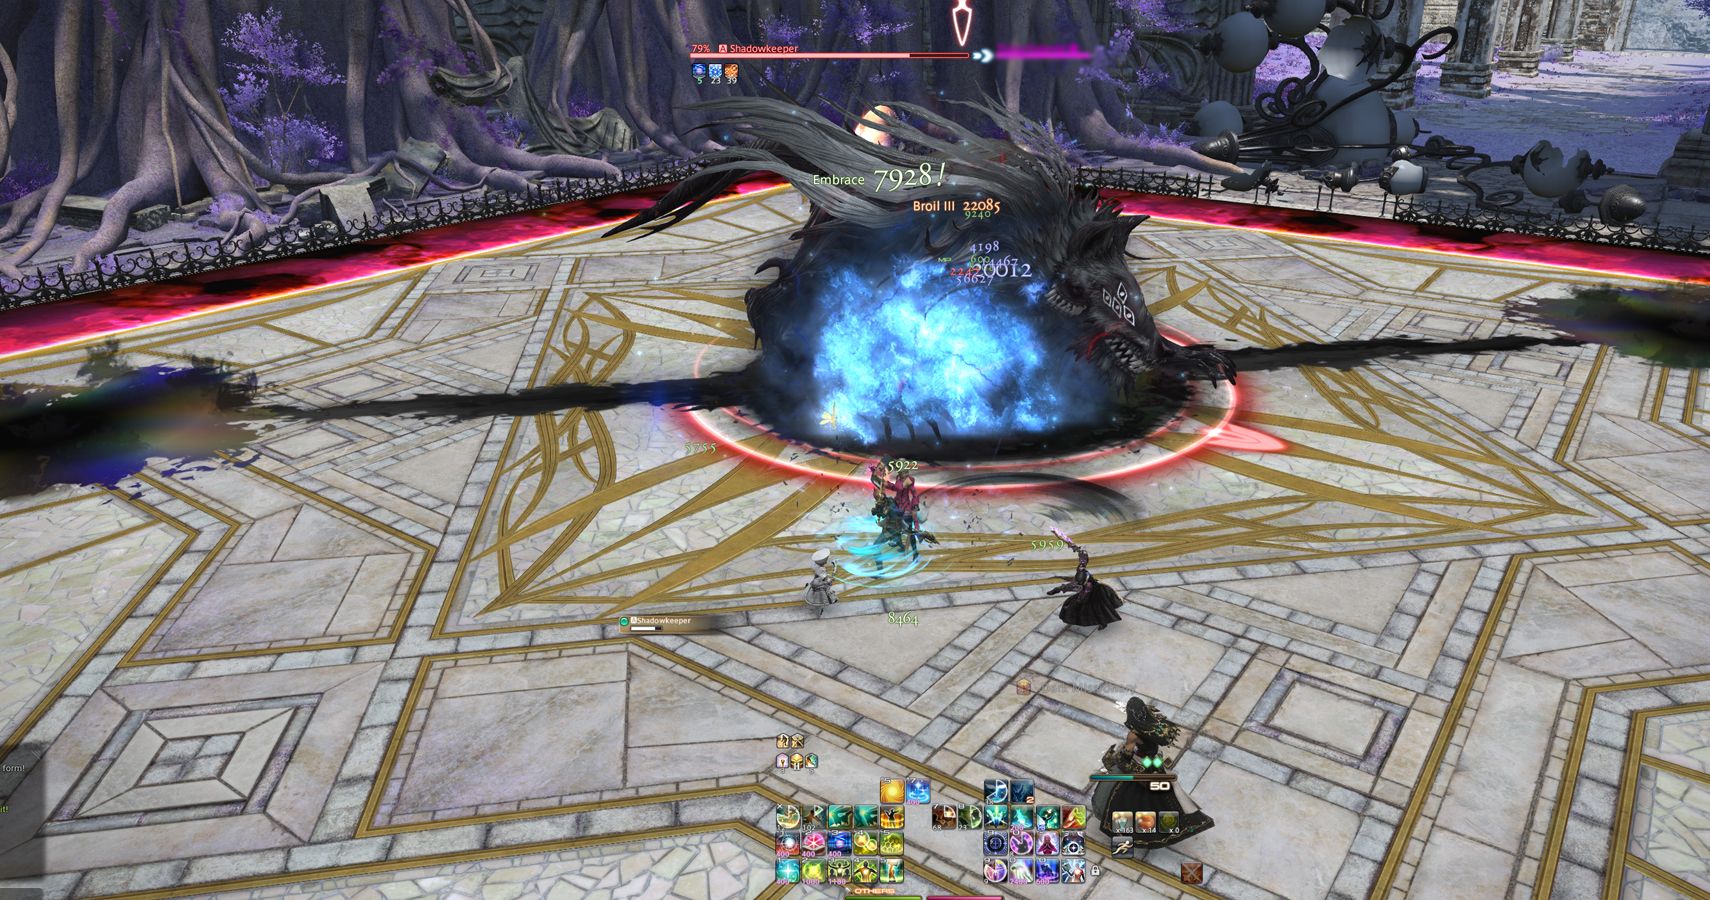
Fade to Shadow pops up next and spawns a big circular AoE around each of their dark puddles in two intercardinal directions. That means you need to move to the opposite corners of the arena to avoid their large range.
Phase Two, Standing Shadowkeeper
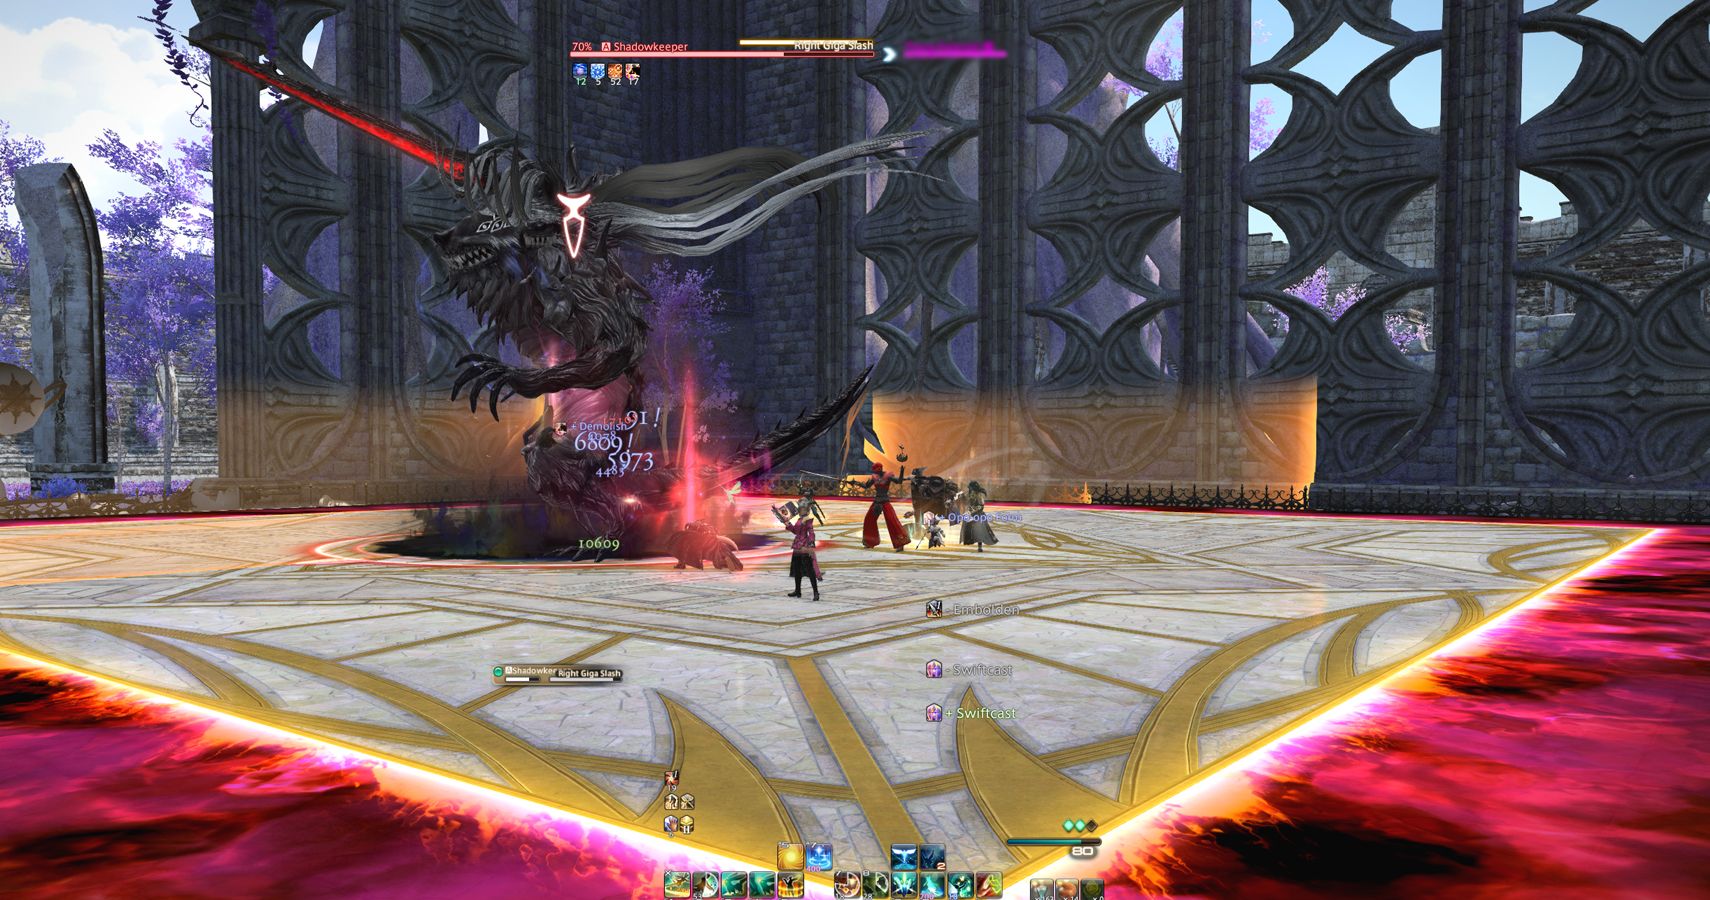
Things pick up the pace as the Shadowkeeper casts Throne of Shadow and stands up on his hind legs. Quickly move away when he does this to avoid the large circular AoE that surrounds him and begin to watch for the sword he's wielding.
He'll use that sword to hit the main tank multiple times next in Umbra Smash. It's four hits and debuffs the primary target, so make sure your tanks swap once the attack ends. Shadow's Edge immediately follows up, and it hits pretty hard. Things will transition into his next attack, right or left Giga Slash. Shadowkeeper will target half of the arena for a cleave, so just move to the opposite side. This happens again in the form of right or left Shadow Slash. Remember dodging in relation to the boss' shadow earlier? You'll need to do this again, twice in a row with his slash attack.
Voidgate is next, you'll need six players to soak three circles. Players can go in pairs of two to complete the mechanic, but be careful about jumping in the puddles too early because they do have a nasty bleed effect.
Phase Three, New Mechanics and Repeat
Shadowkeeper will go back down to all fours and cast Distant Scream to knock you away from the boss. You can use Surecast or Arm's Length to avoid the knockback, or you can simply run close to the boss and take it. Whatever you do, just make sure you don't hit the wall of the arena.
Shadow Warrior clones will spawn again, but this time they've got an added mechanic. Shadow Eruption will immediately follow his clone cast, targeting your party with AoE circle attacks underneath them. It's important to quickly fight the safe clone to stand behind, stack up, wait for the clone's attack to resolve, then run from the AoE underneath your feet.
The Shadowkeeper will continue these same few attacks and forms over and over now, occasionally swapping things up or adding another clone in for added difficulty. There's nothing else you haven't seen though, so DPS him down quickly and snag your rewards from the encounter.

