Quick Links
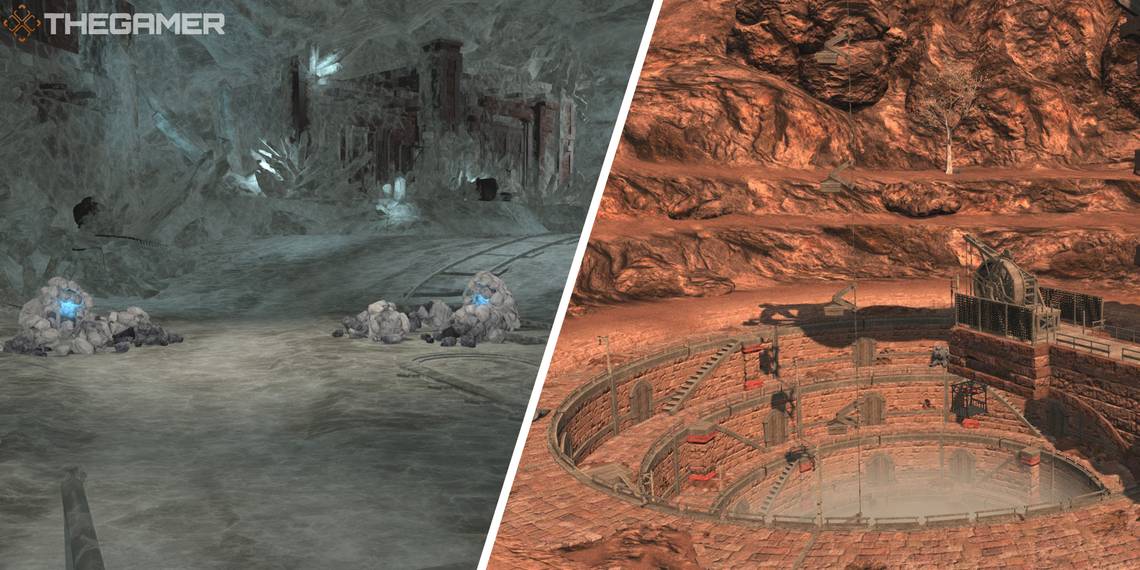
Malikah's Well is a level 77 dungeon in Final Fantasy 14: Shadowbringers. After learning of the existence of a Lightwarden in the abandoned ruins of Malikah's Well, you and your allies will need to brave the depths of these mines and bring the night back to Amh Araeng.
As you near the end of the Shadowbringers patch 5.0 dungeons, you would expect an increase in difficulty from the dungeon's inhabitants. However, Malikah's well is rather straightforward when compared to the dungeons immediately before and after it. Regardless, let's take a look at each boss you'll fight in this dungeon, their attacks and mechanics, and how to beat them.
How To Unlock Malikah's Well
Malikah's Well unlocks through the following Main Scenario Quest.
-
Accept the Main Scenario Quest 'A Fresh Start'
- NPC Location: Ryne - Amh Araeng (X:15.8, Y:29.1)
Dungeon Walkthrough

As usual, you will have the option of entering Malikah's Well with Trust allies. While significantly slower than real humans, Trusts will teach you the mechanics of the dungeon far better than most Mentors. We recommend using Trust allies on your first run through the dungeon to help get a better grasp on the mechanics inside.
Later in the dungeon, you will encounter Forgiven Indecency trash monsters. These enemies will appear in a broken-down state, but will slowly start to activate. Focus on one of these enemies at a time to destroy them before they activate.
Greater Armadillo

The first boss of Malikah's Well is the Greater Armadillo. As its name suggests, this armadillo is pretty big. Listed below are each of this boss's attacks and mechanics.
- Falling Rocks: The Greater Armadillo will cause two sets of four circle AoEs to fall to the ground, dealing damage in the area. This attack will occur after every attack except Pack Armadillos. Be mindful of the falling rock AoEs as you dodge the following attacks.
- Stone Flail: Deals high damage to the Tank. Use defensive cooldowns as necessary.
- Head Toss: Targets a random player with a stack marker. Group up on the affected player to spread out the damage of this attack. The boss will additionally drop its tail rock after this attack, causing it to use Right Round immediately after.
- Right Round: Deals damage in a point-blank AoE surrounding the boss and knocks players back. This attack has no indicator, but will occur immediately after Head Toss. Move away from the boss after stacking for Head Toss to avoid Right Round.
- Flail Smash: A proximity AoE will appear in the center of the arena, which will be immediately followed by a large ring AoE around the edge of the arena. Move to the edge of the arena to reduce damage from the proximity AoE, then quickly run to the center of the arena to avoid the ring AoE.
- Pack Armadillos: The Greater Armadillo will summon two Pack Armadillos. The Tank should group up these enemies and the rest of the party should focus on defeating them first.
The Greater Armadillo will repeat these attacks until it is defeated. Watch out for the falling rock AoEs that occur after each attack and you'll be able to make it through the first boss fight of Malikah's Well.
Amphibious Talos

The second boss of this dungeon is the Amphibious Talos. When a sentient rock puts water buckets on its hands and head, you know you're in trouble. Each of the Amphibious Talos's attacks and mechanics are detailed below.
- Efface: Deals high damage to the Tank.
- Wellbore: The Amphibious Talos will move to the center of the arena and begin casting a large AoE attack. Move to the edges of the arena to avoid. Immediately after the Wellbore AoE resolves, four smaller AoEs will appear around the arena, which will create large waterfalls. These will remain on the arena for the boss's next two attacks.
- High Pressure: Knocks back all players from the boss. You will need to position yourself between two of the waterfalls to avoid being knocked into them.
- Swift Spill: The Amphibious Talos will move to the center of the arena and begin charging this attack. The boss will spin around to the left or right and deal damage and knock back players at set intervals. You will need to move around in a circle with the boss to avoid each attack while also avoiding running into the waterfalls.
The Amphibious Talos will repeat these attacks until it is defeated. The main mechanic to watch out for is Wellbore; don't forget to position yourself correctly during this attack.
Storge

The final boss of Malikah's Well is Storge. Prepare to dodge a number of AoEs as you fight the Lightwarden of this dungeon. Each of Storge's attacks are listed below.
- Intestinal Crank: Deals damage to all party members. Use AoE shields and healing to recover from this attack.
- Heretic's Fork: Storge will create a square-shaped pattern around itself. After a short delay, this pattern will emit a cross-shaped AoE from the boss, dealing damage to its cardinal directions. Stand near the corners of the square to avoid this attack.
- Breaking Wheel: An AoE attack that covers the entire arena, leaving a safe spot directly underneath the boss. Move into Storge's hitbox to avoid this attack.
- Crystal Nail: Storge will call down four feathers around the arena, which will deal damage in an AoE as they land. The boss will immediately follow up with Heretic's Fork or Breaking Wheel.
- Censure: The boss will cause the four feathers from Crystal Nail to use Heretic's Fork or Breaking Wheel, depending on which attack the boss used last. These attacks will occur in a sequence around the arena, giving you time to run and avoid each one as it occurs. Finally, the boss will repeat either of these attacks.
Storge will repeat these attacks until it is defeated. When Storge uses Censure with Breaking Wheel, multiple AoEs will appear at the same time. Watch the order they appear in to make sure you move inside the correct safe spot.