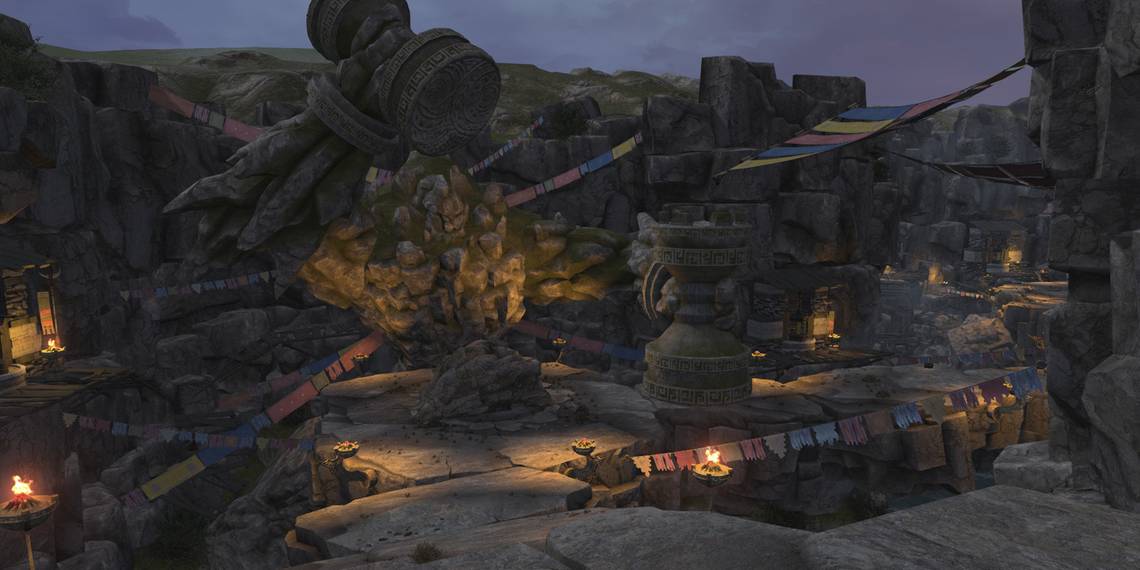
Bardam's Mettle is a level 65 dungeon in Final Fantasy 14: Stormblood. To participate in the Naadam and fight alongside the Mol, you must first prove yourself as a warrior of the Steppe. Complete the trials of Bardam the brave, tame a Yol, and you may just earn that title.
Bardam's Mettle has some unique mechanics, including a boss that you don't actually fight. You'll need to be at the top of your game if you want to make it through this dungeon. Let's take a look at each boss in Bardam's Mettle, their attacks and mechanics, and how to beat them.
Updated May 26, 2023: Patch 6.4 changed a few mechanics in the Garula and Yol boss fights, so we've taken this opportunity to improve the formatting of this guide while updating the new changes to these bosses.
How To Unlock Bardam's Mettle
This dungeon is unlocked through the following main story quest.
-
Accept the Main Scenario Quest 'In the Footsteps of Bardam the Brave'
- NPC Location: Hien - The Azim Steppe (X:11.3, Y:11.2)
Dungeon Walkthrough
As you progress through Bardam's Mettle, be on the lookout for the Greater Gulo Gulo enemies. These monsters deal more damage than normal trash mobs, and should be Tanked with care.
After the second boss, you will progress through a narrow cave. In this section, watch for giant boulders that will roll down the path. Pull trash mobs to the side of the path to avoid being crushed.
Garula

The first boss of Bardam's Mettle is Galura. This boss is pretty straightforward, but can be deadly if you're not careful. Garula's attacks and mechanics are detailed below.
|
Attack Name |
Type |
Details |
|---|---|---|
|
Heave |
AoE |
A wide cone AoE to the front of the boss. Move outside the AoE indicator to avoid. |
|
Crumbling Crust |
AoE |
Garula will move to the center of the arena before creating circle AoEs around itself. Avoid as necessary. |
|
Rush |
Tether/AoE |
Targets a random player with an orange tether. The boss will then rush towards its target, dealing damage in a line AoE. This attack deals more damage the closer you are to the boss, so move far away to reduce this attack's damage. You can tell when Rush will deal less damage when the tether turns purple. |
|
Warcry |
Special |
Garula will activate the sleeping animals around the arena, which will shortly perform an attack. Each type of animal will use a different attack, which can be avoided by running outside of the AoE indicators.
|
|
Earthquake |
AoE |
Occurs after Warcry. Garula will deal damage to all players just before the animals' attacks go off. Quickly recover with AoE healing. |
Garula will repeat these attacks until it is defeated. Be sure to run away from Rush until the tether turns purple, and dodge the other AoEs accordingly.
Bardam

The second boss of Bardam's Mettle is Bardam. This boss is unlike any you've fought so far, as Bardam itself does not have a health bar and will not attack you directly. Instead, you will undergo a Trial in which you'll need to dodge different mechanics correctly.
Failing any mechanic twice in one phase will place you in fetters, and you will be unable to act until the next phase. At least one player needs to complete each phase correctly to move on. This fight is split into three distinct phases, which are detailed below.
Phase 1
The first phase will begin with the Hunter of Bardam spawning in the center of the arena. Then, you will need to dodge the following four attacks, which all occur at roughly the same time.
|
Attack Name |
Details |
|---|---|
|
Magnetism |
Pulls all players toward the Hunter of Bardam. |
|
Empty Gaze |
Begins casting this immediately after Magnetism. The Hunter of Bardam will prepare a direction-based attack; look away from the boss to avoid failing this mechanic. |
|
Shockwave |
The Hunter of Bardam will use this at the same time it begins charging Empty Gaze. Shockwave is a series of two AoEs; first a point-blank circle AoE, followed immediately by a large ring AoE that covers the remainder of the arena. You will need to avoid these AoEs while facing away from the boss to avoid Empty Gaze. |
|
Spear Charge |
Creates a series of criss-cross AoEs around the arena. Move between the various safe squares to avoid. The Hunter of Bardam will use a second Empty Gaze during this attack. |
Phase 2
These attacks will occur in the following sequence.
|
Attack Name |
Details |
|---|---|
|
Pillars |
Three pillars will be summoned. All three need to have at least one player standing near them to avoid all players being hit with a lightning attack. |
|
Rings |
Two players will be marked with a large ring-shaped AoE. The affected players should group together, while the other two players either move inside or outside the ring. |
|
Firestorm |
All players will be marked with a marker that will continuously call down fire bombs at their location. Run around in a tight circle to avoid your own AoEs, while additionally making sure you aren't running through other players' paths. |
|
Heavy Strike |
A series of three 270 degree AoEs to the front of the Hunter of Bardam. Move behind the enemy to avoid. |
|
Star Shard |
Four meteors will drop onto the arena, creating circular AoEs where they land. Move to the outer edges of the arena or directly in the center to avoid. |
Phase 3
|
Attack Name |
Details |
|---|---|
|
Looming Shadow |
A meteor marker will appear in the center of the arena. You will need to hide behind one of the Star Shards to avoid being hit with this attack. |
|
Warriors of Bardam |
Bardam will break the left and right Star Shards, summoning Warriors of Bardam. After a moment, these enemies will both cast Heavy Strike. This will occur at the same time as the following combo of attacks. Additionally, these Heavy Strikes will damage one of the two remaining Star Shards, leaving only one left to hide behind. |
|
Magnetism, Spear Charge, Shockwave |
A combo of these attacks will occur in sequence, followed immediately by the arrival of the Looming Shadow meteor. You will need to quickly dodge all of these attacks, then move to the unbroken Star Shard to avoid Looming Shadow. |
After Looming Shadow is cast, you will have completed Bardam's trial. Pat yourself on the back, collect your loot, and move on to the final boss.
Yol

The final boss of this dungeon is Yol. Get ready to dodge some AoEs. Yol's attacks and mechanics are listed below.
|
Attack Name |
Type |
Details |
|---|---|---|
|
Feathercut |
AoE |
Deals damage in a cleave to the front of the boss. The Tank should face Yol away from the rest of the party to avoid them getting hit. |
|
Wind Unbound |
AoE |
Deals damage to all party members and summons wind orbs around the arena. These orbs will repeatedly target players with line AoEs, and persist for a while. Move accordingly to dodge them. |
|
Flutterfall |
AoE Markers |
Targets all players with an AoE marker. Spread out to avoid overlapping these. |
|
Eye of the Fierce |
Gaze |
A Gaze attack that will apply Confusion to hit players. Turn away from the boss when the glowing red eye appears to avoid. |
|
Corpsecleaner Eagle |
Adds |
Around 50 percent remaining health, Yol will fly away and summon these adds. While the Eagles are alive, Yol will appear at the edge of the arena and charge forward in a line AoE. Watch for Yol's position as you kill the Eagles. When both Eagles are down, Yol will reappear and the fight will resume. |
|
Left/Right Wings |
Adds |
When Yol reaches roughly 10 percent health, it will become untargetable and begin casting AoE circles that rotate around the arena. You will need to destroy both of its wings to continue. |
|
Wingbeat |
AoE/Knockback |
Occurs when Yol's wings are targetable. Yol will mark a random player with a knockback marker, which will blow back the affected player to the edge of the arena. Watch your position to ensure you aren't knocked into any of the rotating AoEs. |
here are a lot of AoEs to deal with during this fight, but luckily most of them don't hit too hard. Dodge as much as you can to reduce the burden on the Healer. After defeating Yol, Bardam's Mettle will be complete.