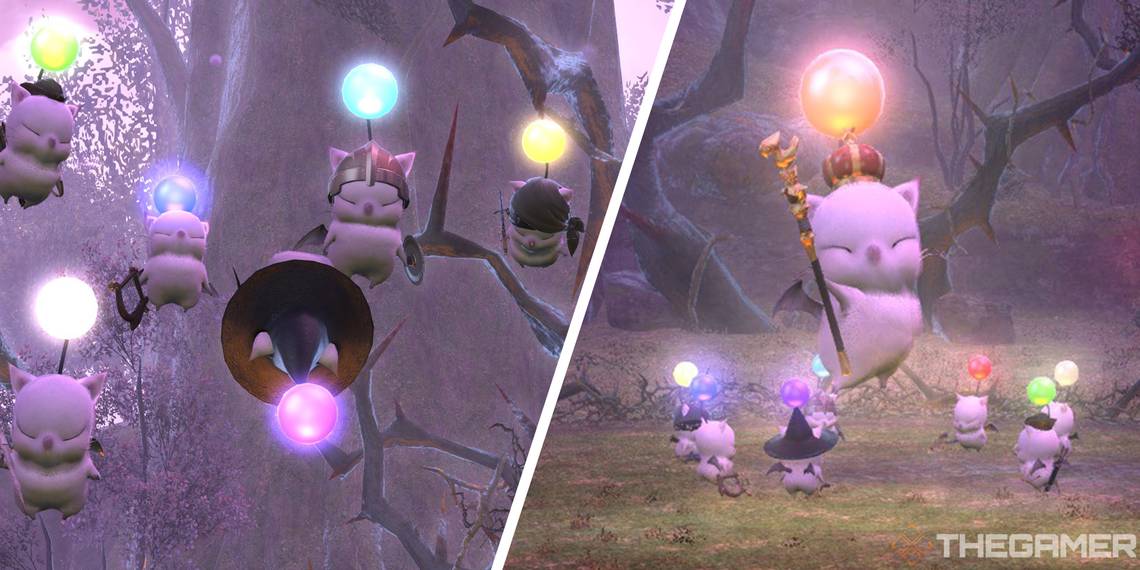
With dozens of Trials in Final Fantasy 14, there's always something new to challenge. Released in patch 2.1, Thornmarch (Hard) is a Trial unlike any other. Here, you'll contend with Good King Moggle Mog XII and his seven Mogglesguards as their very presence threatens Gridania's peaceful pastures.
Despite their cute appearances, King Mog and the Mogglesguard will put up a challenging fight if you're not prepared. Let's go over each phase of this Trial, each member of the Mogglesguard, and ultimately how to clear Thornmarch (Hard).
Updated September 9, 2022: With the release of patch 6.2, Thornmarch (Hard) has been completely reworked. We've updated this guide with all the new information on how to beat Good King Moggle Mog and his Mogglesguard.
How To Unlock Thornmarch (Hard)
This Trial will unlock through the Main Scenario with the following quest.
-
Complete the Main Scenario Quest 'You Have Selected Regicide'
- NPC Location: E-Sumi-Yan - Old Gridania (X:6.0, Y:10.6)
Thornmarch (Hard) Trial Walkthrough

This Trial is a bit different from others you've faced so far. Rather than facing a single boss, you will instead fight each member of the Mogglesguard before challenging the Good King himself. In the first half of the fight, you will face the Mogglesguard in four different waves in which a certain Moogles will appear. After defeating them all as they come, the Good King will be summoned, and the fight will move into its second phase.
In the second half of this Trial, you will face King Mog, who will summon his loyal Mogglesguard to assist. Let's go over both phases of this fight and what you can expect from each.
Phase One
At the beginning of this Trial, Whiskerwall Kupdi Koop, the Paladin, will face you alone. After defeating him, the next Mogglesguard will spawn in the order listed below. Additionally, each of their attacks are also listed.
Wave 1:
-
Whiskerwall Kupdi Koop (Paladin)
- Spinning Mogshield: A circle AoE that deals moderate damage and inflicts vulnerability up, increasing the amount of damage you take from all attacks.
Wave 2:
-
Ruffletuft Kupta Kapa (Warrior)
- 1000-koponze Swipe: Kupta Kapa will deal high damage in a conal AoE, inflicting vulnerability up. Move out of the AoE indicator to avoid this attack.
-
Wooly Wart Kupu Kogi (Archer)
- Mograin of Death: Kupu Kogi will target a random player with an AoE marker, dealing damage in the area when it resolves. The targeted player should move away from the rest of the party to avoid hitting them with this attack.
Wave 3:
-
Puksi Piko the Shaggysong (Bard)
- Moggleday Night Fever: Puksi Piko will target a large conal AoE, inflicting Rhythemetic Fever in the area, causing players to dance uncontrollably for the duration of this debuff. Quickly move out of the AoE to avoid being forced to dance.
-
Furryfoot Kupli Kipp (White Mage)
- Pom Holy: Kupli Kipp will deal damage in an area around itself. Heal through the damage of this attack.
- Pom Cure: If Puksi Piko is damaged, Kupli Kipp will cast Pom Cure, restoring their health. Defeat the White Mage first to avoid them from healing Puksi Piko.
Wave 4:
-
Pukna Pako the Tailturner (Rogue)
- Moogle Thrust: Pukna Pako will deal high damage to the main Tank. Use defensive cooldowns to reduce the damage of this attack.
-
Pukla Puki the Pomburner (Black Mage)
- Pom Meteor: Pukla Puki will summon four meteor markers around the arena, causing meteors to fall there. After a few seconds, the meteors will land, dealing high damage four times to all party members, and inflicting a stack of vulnerability up for each meteor. To avoid this, one player needs to stand in each of the meteor circles to partially absorb the damage of its explosion.
After defeating each Moogle, they will summon their Good King Moggle Mog XII, and the fight will enter phase two.
Phase Two

In this phase, only King Mog will be targetable, while the Mogglesguard use their attacks as the King decrees. You won't need to worry about defeating the Mogglesguard again, just focus your attention on the King and which attack he is casting, which are detailed below.
-
Good King's Decree: This is King Mog's main mechanic that he will repeat throughout the fight. Each time Good King's Decree is used, various Mogglesguard will be summoned and use their signature attacks, in the order listed below. Additionally, King Mog will attack with Mog Stone IV and Pom Holy during or after the Mogglesguard have used their attacks.
- First Decree: King Mog will summon the Rogue to use Pom Bog, creating a puddle of poison in the center of the arena that deals damage over time, and the Archer to use Mograin of Death, targeting a player with an AoE circle.
- Second Decree: King Mog will summon the Paladin, Bard, and Warrior, who will use Moogle-Go-Round in tandem, creating three large circular AoEs around the arena. Avoid the first AoE, then move into where it previously was to avoid the next two. After Moogle-Go-Round, the Bard will cast Moogleday Night Fever, which can be avoided in the same way as before, and King Mog will cast Twin Pom Meteor. This attack will place a Tank stack marker on one of the two Tanks. Both Tanks should group up to split the damage of this attack.
- Third Decree: King Mog will summon the Black Mage to use Pom Meteor, which is the same attack as before, and the White Mage, who will use Mog Stone III, creating a circle AoE in the center of the arena, followed by a ring AoE. Stand just on the outside of the circle AoE, then quickly step inside the area after it resolves to avoid the subsequent ring AoE.
- Mog Stone IV: King Mog will target a random player with a stack marker. Group up on the targeted player's position to spread out the damage of Mog Stone IV. King Mog will use this attack throughout the fight, during each Decree.
- Pom Holy: This attack is the same as the version Kupli Kipp, the White Mage, uses. Heal through the damage of this attack.
- Mog Creation: King Mog will deal high damage in a line AoE, inflicting vulnerability up. Move away from the front of the boss to avoid Mog Creation.
- 1000-kuponze Charge: King Mog will deal high damage to the main Tank. Use defensive cooldowns as necessary to mitigate this damage.
King Mog will continue casting Good King's Decree, repeating the order above, until he is defeated. After you've learned how to deal with each of the Mogglesguard's attacks from the first phase, remember to employ the strategies for avoiding them when they are re-summoned during phase two.