Quick Links
Every expansion brings a wealth of fresh content to Final Fantasy 14. How's Eureka these days? It's not so bad once you get the hang of it, but it can feel like a lot to take in — especially since it's been years since its grand debut back in Stormblood.
Players who do elect to invest their time in Eureka can have a blast while doing so, and there are some snazzy rewards here that are unavailable anywhere else in FF14. From its unique elemental spinner to a bunch of happy-go-lucky bunnies, there's a lot going on here at the Isle of Val, and it won't seem half so head-spinningly dense with a little help from this guide.
Updated on May 30, 2023 by Quinton O'Connor: Eureka's participation seems to have risen at least somewhat in the past few weeks, so we've gone back to the proverbial drawing board with this article to include more information, including further reference to Elemental Armor.
How To Unlock Eureka
If you're just starting out on your grand Eorzean adventures, you can safely set all thoughts of Eureka aside for a good long time. Eureka isn't available until after the story quest entitled 'Stormblood' has been finished.
As its name implies, the 'Stormblood' quest is a climactic part of the Stormblood expansion itself; it's the final scenario mission of 4.0, the big batch of narrative fare that launched in June 2017.
Once you've accomplished this great deed, swing by Rhalgr's Reach where you'll be greeted by Rowena's niece, Galiena. She'll send you back to Kugane.
There, at the Shiokaze Hostelry, esteemed proprietress Kotokaze kickstarts a series of cutscenes involving Krile, Hancock, and Rowena herself.
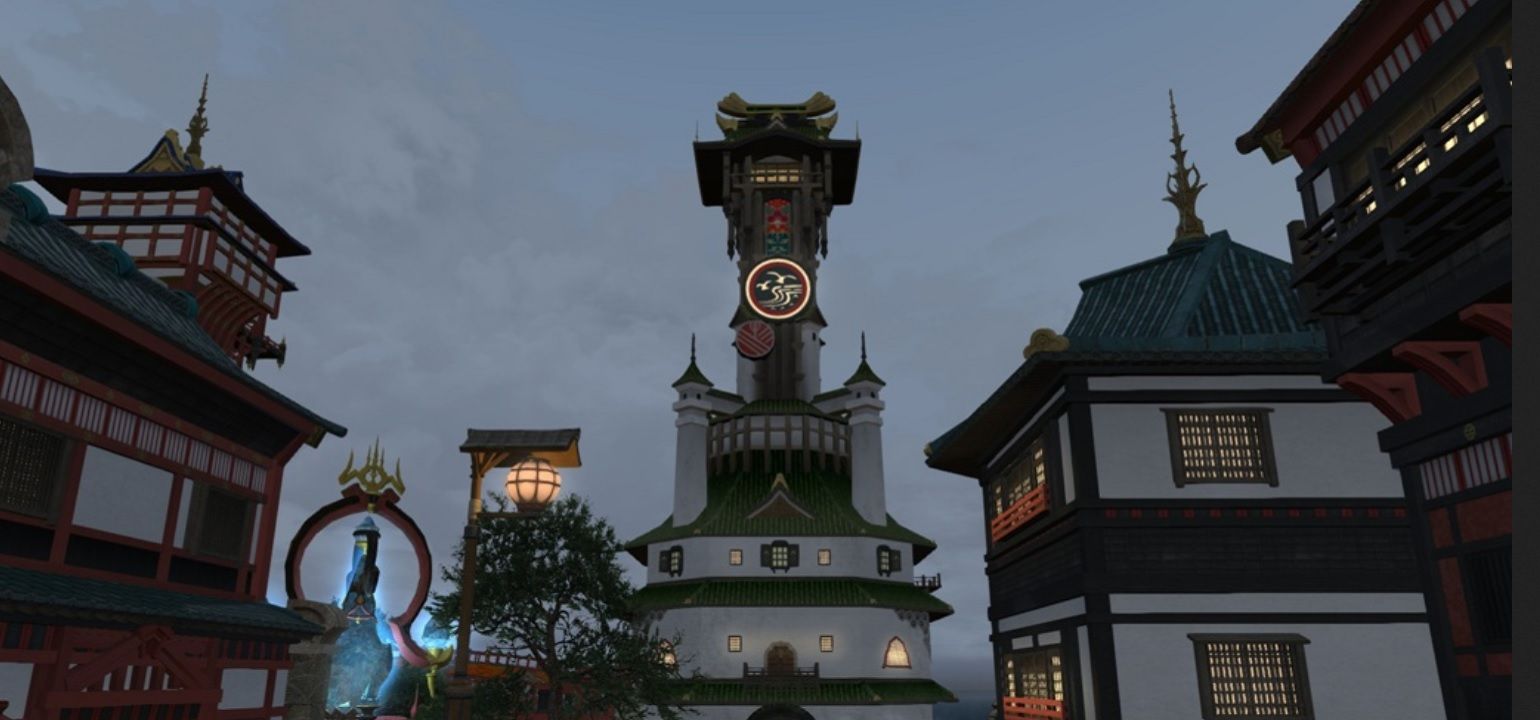
After these intriguing scenes have ended, traipse the short ways to Kugane's Pier #1. Before you know it, you'll be off to Othard's mysteriously arisen island.
The Basics
Eureka's quite the place. In some ways, it's a series of zones just like La Noscea, Thanalan, the Far East, and so forth. But it's also instanced, with a firm cap of 144 players at any given time.
Due to this, many players refer to Eureka as an "instanced duty." They're not wrong, but it's important to note that unlike other instanced duties, you can join with other players to form parties and even disband at will.
There are four zones in total, each with their own full-scale map. They're unlocked in a set order: Eureka Anemos, Eureka Pagos, Eureka Pyros, and lastly, Eureka Hydatos.
An overarching questline ties together all of Eureka's main content. Among other things, these quests explore what happened to the Isle of Val and its inhabitants, as well as whether rebuilding efforts are in the cards for the Sharlayan outreach team tasked with investigating the land.
Leveling in Eureka is completely different from other locations. Instead of relying upon your standard Disciple of War and Magic levels, players are beholden to a system called elemental level.
Like traditional leveling systems, this is a measure of the experience you've accrued in combat and through quests. The major difference, of course, is that it applies here and only here. (It also includes an important mechanic called elemental armor.)
You'll still be reliant upon your combat classes despite this shift, and you can swap between jobs at Port Surgate.
As of Patch 5.1, mounts are unlocked immediately upon arriving in a new Eureka zone. You're limited to terrestrial travel, however — sorry, Midgardsormr, but even you can't flap freely in Eureka.
Eureka also boasts its own section in the weekly Challenge Log. This is a great way to accrue elemental experience (and some pocket money) when you're roaming the island on your lonesome.
Magia Board And Elemental Affinities
Elemental strengths and weaknesses don't play quite as substantial a role in Final Fantasy 14 as they do in some other chapters of Square Enix's celebrated series. This is understandable; after all, you can't expect a Paladin or Machinist to solo monsters who are impervious to most forms of physical hit and mandate a powerful, say, ice-elemental spell to the face.
With Eureka, Square has found a hip way to shuffle all that. Every enemy you'll encounter has its own established elemental affinity. Helpfully, they're all marked with a designated symbol that illustrates their element of choice.
Recognizing this, and taking advantage of it, will mean the difference between felling a foe in short order or hacking away it not unlike the proverbial Blizzaga-deficient Paladin.
There are six elements: Fire, Ice, Wind, Water, Lightning, and Earth. Increasing your affinity with a given element allows you to deal more damage to certain monsters at the expense of — you guessed it — less damage to others. Let's take a look at how all it shakes up.
|
Element |
Strong Against |
Weak Against |
|---|---|---|
|
Fire |
Ice |
Wind |
|
Ice |
Wind |
Fire |
|
Wind |
Fire |
Ice |
|
Water |
Earth |
Lightning |
|
Lightning |
Water |
Earth |
|
Earth |
Lightning |
Water |
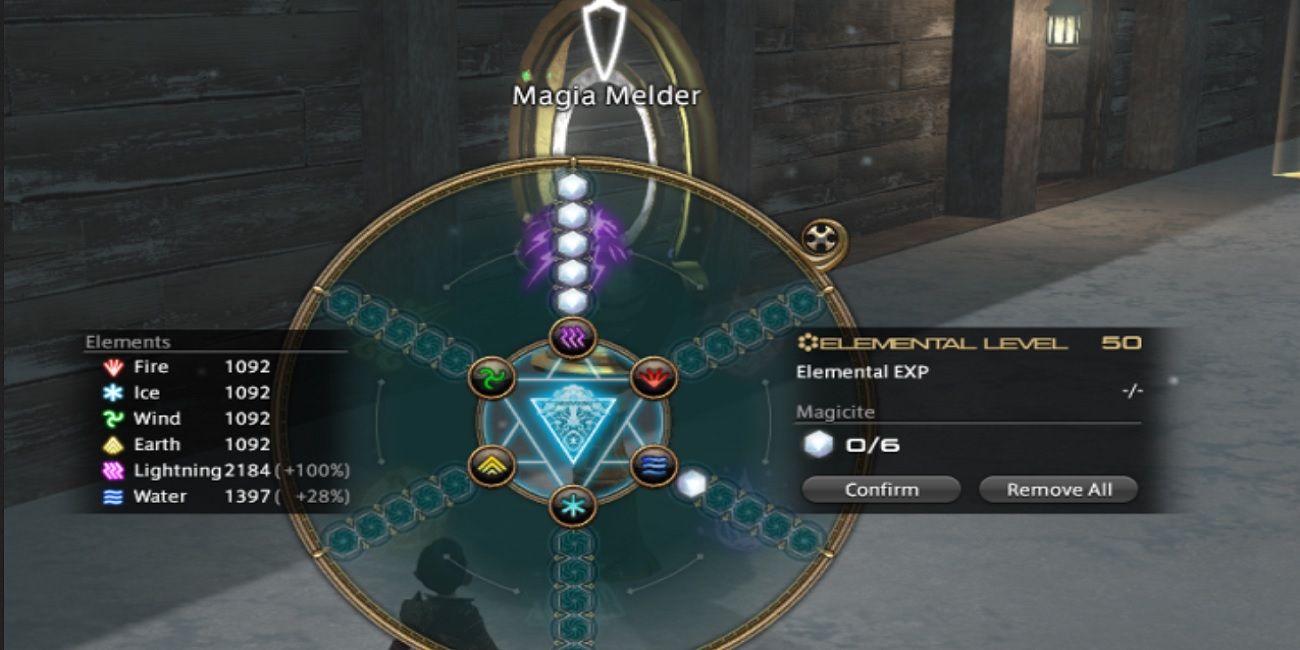
As you can see, there are two distinct circles. Fire, Ice, and Wind form one trinity; Water, Lightning, and Earth forms the other. But how can we attune ourselves accordingly? This is done through the Magia Board, which you'll receive very early into your expedition.
The Magia Board is divided into six categories, each one representing a separate element. By melding Magicite, which is earned through story progression, players can strap it into the Magia Board in preparation for specific sets of encounters.
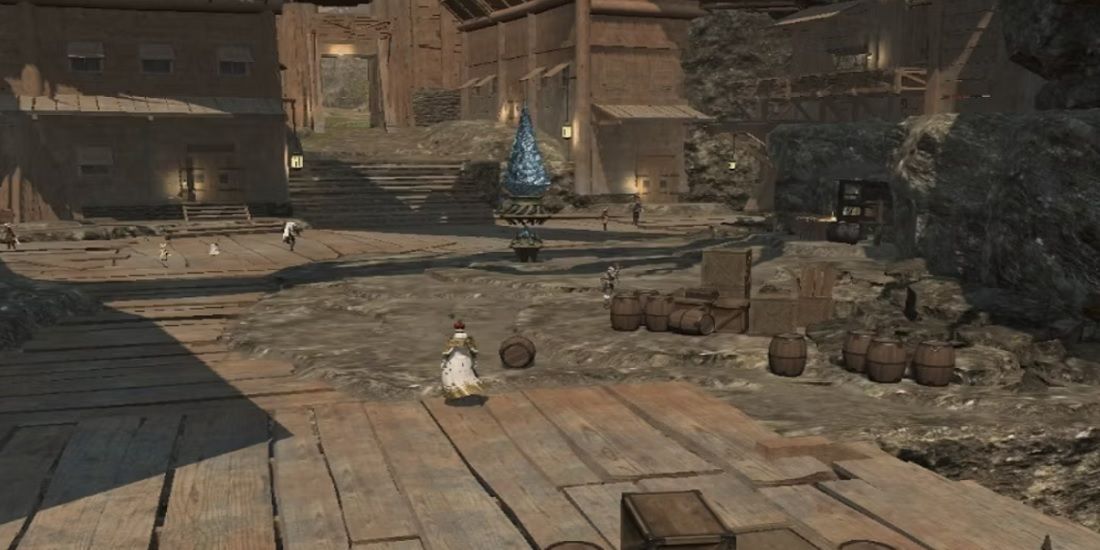
Magicite placement will thus need to be rearranged several times during your stay in Eureka. This is done at Port Surgate.
You can also spin the Magia Board at any given time, saving you from yet another trip back to Port Surgate. The board will be spun through each category until it lands on one at random, with the amount of Magicite actively strapped into the categories reflective of your current arrangement.
The one downside to this approach is that spinning the Magia Board consumes a unit of Magia Aether. (Don't worry, this recharges over time.)
Notorious Monsters And Happy Bunnies
During your travels, you'll undoubtedly bump into especially fierce creatures called Notorious Monsters. Think of these as Hunt Marks without the hunting. Or the marking. Okay, maybe just think of them as tough.
Spawning Notorious Monsters requires the wholesale slaughter of specific types of enemies. Dozens will need to be slain before the boss appears, at which point all hell breaks loose.
Not only should you join a party for these fights for their difficulty; you should really consider doing so simply on the grounds that killing so many regular "mobs" will take bloody forever otherwise.
Hence, we implore you to look into hunt trains when tackling this kind of content. This is the shorthand term for all those groups you'll see moving from one zone to another across Eorzea and beyond, calling out Hunt Mark locations whilst flocks of fellow players request a party invite.
Together, you share in the spoils without breaking a sweat. Eureka's Notorious Monsters still inspire this tradition even years after the location's debut.
As for Happy Bunnies, these are in essence the polar opposite of Notorious Monsters. When you see cute fluffy friends in trouble, and you'll see a lot of cute fluffy friends in trouble, take the time to help them out, and you'll be rewarded for your efforts.
The rescued critters will follow you around like companions for a few moments, during which time you should feed them lots of Lucky Carrots. Presumably, this makes them even happier. More to the point, they'll point you in the direction of hidden treasure.
Most of this is admittedly outdated for folks who are already engaged in post-Stormblood content, as the majority of the chests contain Level VI Materia.
And yet, it's not always such a downer. Other hidden treasure rewards include 10,000 Gil; 25,000 Gil; 100,000 Gil; Modern Aesthetics: Form and Function; and the Happy Bunny Triple Triad Card.
Main Rewards
If rescuing wildlife was the only thing Eureka had going for it, most of us would pass it by without so much as a second thought. (That's actually really sad, but this is an MMO. We want things.)
The main rewards for completing all of Eureka's content include Eurekan Weapons and Armor, including Elemental Armor. Much like Zodiac, Resistance, and other forms of special questline equipment, Eurekan fare has several tiers. Upgrading these tiers involves furthering the story... and a fair bit of busywork along the way.
For starters, some good news: you do not need to have completed the Zodiac and Anima quests in order to qualify for Eurekan Gear. You do, however, need to complete the Level 70 Class Quests for any weapons and armor you wish to upgrade.
This is how Antiquated Gear is obtained, and Antiquated Gear, as it happens, is the first stage on the journey to crafting ultimate Eurekan Gear.
Eurekan Relic Weapons
|
Weapon Tier |
Obtained Via |
Additional Requirements |
Item Level |
|---|---|---|---|
|
Antiquated |
Level 70 Job Quests |
None (Can reacquire via Calamity Scavengers) |
290 |
|
Anemos |
Complete 'And We Shall Call It Eureka' |
1,300 Protean Crystal; 3 Pazuzu Feather |
355 |
|
Elemental |
Complete 'And We Shall Call It Eureka Anemos' |
31 Frosted Protean Crystal; 500 Pagos Crystal; 5 Louhi's Ice |
370 |
|
Pyros |
Complete 'And We Shall Call It Eureka Pagos' |
650 Pyros Crystal; 30 Logos Actions; 5 Penthesilia's Flame; 2 Smoldering Protean Crystal |
385 |
|
Eureka |
Complete 'And We Shall Call It Eureka Pyros' |
350 Hydatos Crystal; 5 Crystalline Scale |
405 |
|
Physeos |
Complete 'And We Shall Call It |
100 Eureka Fragment |
405 (Note: Power is increased over Eureka Weapons in Eureka zones only) |
Eurekan Armor Sets
|
Armor Tier |
Obtained Via |
Additional Requirements |
Item Level |
|---|---|---|---|
|
Antiquated |
Level 70 Job Quests |
None (Can reacquire via Calamity Scavengers) |
290 |
|
Anemos |
Complete 'And We Shall Call It Eureka' |
3,000 Protean Crystal |
350 |
|
Elemental |
Complete 'And We Shall Call It Eureka Pyros' |
200 Pyros Crystal; 50 Logos Actions |
380 |
|
Physeos |
Complete 'And We Shall Call It Eureka Hydatos' |
190 Hydatos Crystal; 133 Eureka Fragment |
390 |
Most of the items necessary for the construction of Eurekan Gear are dropped by enemies on the island's four main zones. Eureka Fragments are the exception to this rule. Eureka Fragments are acquired through completion of the Baldesion Arsenal, Eureka's dungeon.
The Baldesion Arsenal
Unlike most dungeons, the Baldesion Arsenal is "open." What we mean by that is that, rather than accessing it through the Duty Finder, it's entered through portals that spawn in the Eureka Hydatos zone instead.
The portals themselves will spawn after a Boss FATE called 'I Don't Want to Believe' has been beaten. The FATE tends to pop up during the Umbral Turbulence weather effect and pits parties against a monster known as Ovni.
If your elemental level is 60, and you successfully participate in 'I Don't Want to Believe', you'll gain the Aetherically Primed buff and can enter one of 56 blue portals that will soon appear all over Eureka Hydatos.
You can hop into the red portals that appear five minutes later should you happen to miss the blue round.
Clearing the Baldesion Arsenal earns players the 'We're on Your Side' achievement, unlocking the rare (and really rather darling) Demi-Ozma mount. On most servers, this mount is uncommon enough to turn heads wherever you'll roam, so dress yourself up all prim and proper-like and enjoy a night on the town. On a ball.

