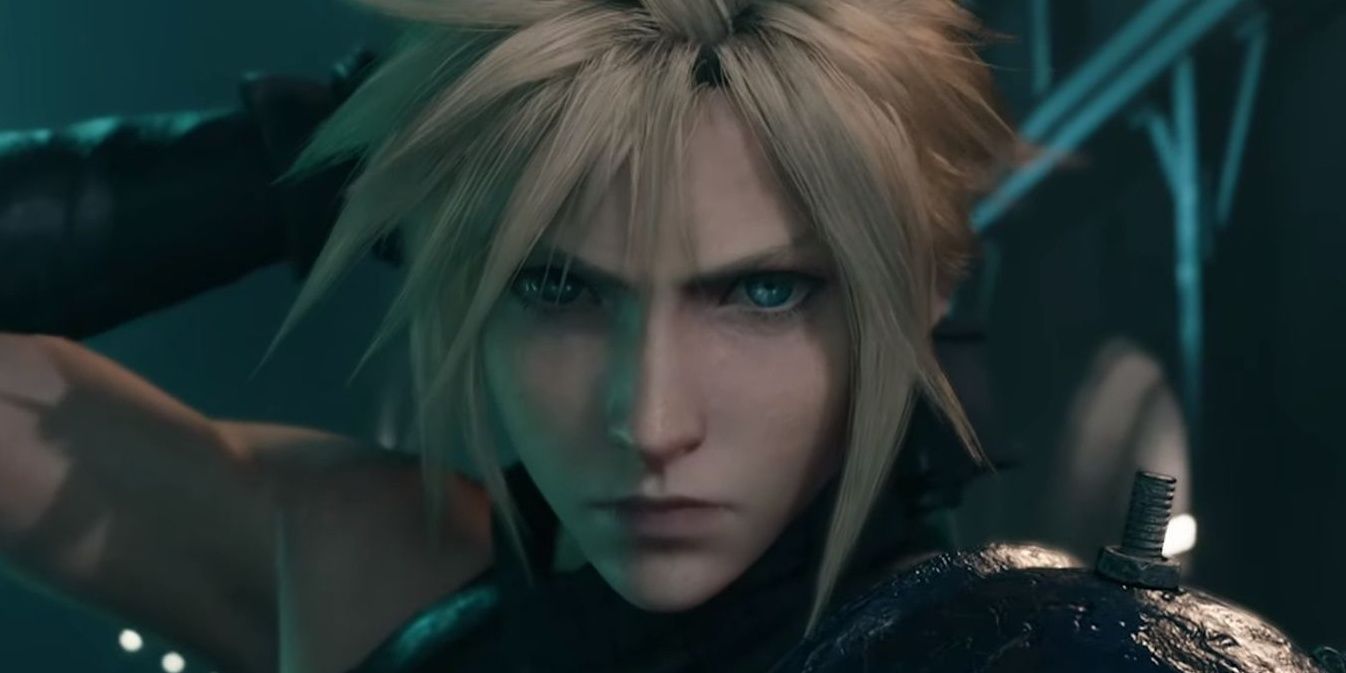
Final Fantasy VII Remake makes quite a few changes to the battle system found in the original game. The most notable of these is the switch from turn-based combat to a new hybrid system that combines real-time elements with classic turn-based mechanics via its ATB system. This isn't the only major change though, with abilities also having been completely reworked for the title.
Each playable party member starts with one unique ability but can learn up to six more by collecting all of the game's 24 weapons. Initially, they'll only be able to use an ability while a certain weapon is equipped. By using them repeatedly or completing certain tasks, however, it's possible to master them which will allow them without the need for specific equipment. As you might expect, each one has its own pros and cons and so it's important to understand exactly what all of them can do.
Cloud
Braver - Default (1 ATB Bar)
This is Cloud's default ability and offers a good mixture of damage and stagger potential. It's great for earlier parts of the game, although is eventually outclassed by several of his other abilities. That said, it's still very useful for the battle with Rufus and Darkstar towards the end of the game.
Focus Thrust - Buster Sword (1 ATB Bar)
The primary use of Focus Thrust is to build an enemy's stagger gauge, although its damage potential isn't too bad either. It's particularly effective against pressured enemies and will therefor be one of your most used abilities during a standard playthrough.
Triple Slash - Iron Blade (1 ATB Bar)
Triple Slash offers the best damage return per ATB bar and is very useful when you find yourself up against multiple enemies. It also builds the stagger gauge a little, but is nowhere near as effective as Focus Thrust against pressured enemies.
Disorder - Nail Bat (1 ATB Bar)
Using Disorder allows players to switch between Operator and Punisher mode in an instant while drastically closing the gap between Cloud and his target. It's a very situational ability, but can be useful in certain situations.
Infinity's End - Hardedge (2 ATB Bars)
This is Cloud's most powerful ability and is a great way to deal damage to a staggered foe. While it can still be effective against unstaggered enemies, its high ATB cost and inability to build stagger make it incredibly situational.
Blade Burst - Mythril Saber (1 ATB Bar)
Unlike Cloud's other abilities, Blade Burst's damage is calculated based on his magic attack stat rather than his strength. Depending on how he is setup, it can therefore be a better option than the likes of Braver and Triple Slash in certain situations. It also allows Cloud to deal ranged damage and has a wide area of effect.
Counterstance - Twin Stinger (1 ATB Bar)
Using Counterstance will cause Cloud to shift into a special stance for a short amount of time. If he's attacked while in this stance, he'll take reduced damage and unleash a powerful counter that will damage an enemy and significantly raise its stagger meter. If, however, he is not attacked within a few seconds of adopting the stance, he will instead unleash a far weaker attack before reverting back to normal.
Barret
Steelskin - Default (1 ATB Bar)
Steelskin is Barret's default ability and allows him to take reduced damage for 90 seconds. All damage is reduced by 30% while it's active and smaller enemy attacks will not interrupt Barret's casting and other abilities.
Focused Shot - Gatling Gun (All ATB Bars)
Focused Shot will use all of Barret's available ATB bars with more bars leading to a more powerful and effective attack. It's great for staggering enemies and, much like Cloud's Focus Thrust, is particularly effective against pressured foes.
Lifesaver - Light Machine Gun (1 ATB Bar)
Barret's Lifesaver ability works a little bit like the traditional Cover mechanic from previous games. Once used, Barret will take damage intended for other party members for two minutes or until he runs out of HP.
Maximum Fury - Big Bertha (All ATB Bars)
This will likely be your go to ability for dealing physical damage with Barret. It's made up of more than thirty hits, with each one capable of being critical. What's more, Barret will also switch targets if the initial target is defeated before every shot has been fired off. This means that you don't have to worry about overkill, nor are you ever likely to hit the 9,999 damage cap.
Charging Uppercut - Steel Pincers (1 ATB Bar)
Charging Uppercut is a fairly useless ability, although it does offer a slight reduction in cooldown for Barret's Overcharge triangle attack. Even so, most tend to see it as a waste of ATB.
Smackdown - Wrecking Ball (1 ATB Bar)
Like Cloud's Triple Slash ability, Smackdown can be very useful when surrounded by smaller enemies. It has a fairly wide area of effect, deals decent damage and knocks nearby enemies back.
Point Blank - EKG Cannon (All ATB Bars)
Although Point Blank is incredibly powerful, you'll find yourself using Maximum Fury far more often. The former can be useful when dealing with multiple enemies who are close together though, as well as single staggered enemies due to its area of effect and faster animation respectively. As Barret grows more powerful, however, you'll run the risk of hitting the damage cap when using it against weaker staggered foes and so will want to switch back to using Maximum Fury in order to maximize damage.
Tifa
Unbridled Strength - Default (1 ATB Bar)
Using Unbridled Strength will raise Tifa's Chi level, thus strengthening her triangle attack. For more information on this, check out the above section on Triangle Attacks.
Divekick - Leather Gloves (1 ATB Bar)
Divekick is a great way of dishing out damage with Tifa in the early stages of the game, although it is later outclassed by Starshower. What's more, if your plan is to stagger enemies, you'll likely be using Focused Strike to fill the stagger gauge and Unbridled Strength or True Strike to raise the damage percentage upon stagger. With this in mind, it's a largely redundant ability even from the outset.
Overpower - Metal Knuckles (1 ATB Bar)
Overpower offers a nice mix of damage and stagger potential, but its main draw is its combo modifier. If a regular attack combo is used immediately after it, the resulting combo will be far more powerful than it would otherwise normally be.
Focused Strike - Sonic Strikers (1 ATB Bar)
This is Tifa's equivalent of Focus Thrust and Focused Shot. Use it to build the enemy's stagger gauge, especially if you see that it's pressured.
Starshower - Feathered Gloves (1 ATB Bar)
Not only is Starshower Tifa's most powerful ability, but it also increases the damage of her next attack. In addition to this, it provides a healthy boost to the enemy's stagger gauge although is not quite as effective against pressured foes as Focused Strike.
Chi Trap - Mythril Claws (1 ATB Bar)
In theory, Chi Trap is Tifa's best ability for staggering enemies, although in practice it is quite difficult to utilize. Upon its use, Tifa will unleash a ball of Chi that will remain in a particular spot and raise an enemy's stagger bar over time if it's making contact. Against enemies that don't move around too much or large clusters of enemies, this should be your go to ability. When you're up against enemies that move around a lot though, you'll instead want to use Starshower or Focused Strike if the target is pressured.
True Strike - Purple Pain (1 ATB Bar)
True Strike is arguably a better way to raise the damage percentage during an enemy's staggered phase than Unbridled Strength and triangle attacks. It does deal a little less damage, but it's quite a bit faster to pull off, requires fewer button inputs and offers the same increase to damage percentage (when compared to a single Unbridled Strength use followed by two triangle attacks).
Aerith
Soul Drain - Default (1 ATB Bar)
As well as dealing a small amount of damage, Soul Drain allows Aerith to recover 3% of her MP. This amount increases to 15% if used against a staggered opponent. You shouldn't need this in a normal playthrough, but it can be a lifesaver on Hard Mode due to the restrictions on item usage.
Arcane Ward - Guard Stick (1 ATB Bar)
Using Arcane Ward will place a special ward on the ground that will remain in place for three minutes. Any spells cast while standing within the ward's boundaries will automatically be cast twice; arguably making it one of the most useful abilities in the game.
Sorcerous Storm - Silver Staff (1 ATB Bar)
This is a fairly situational ability that can potentially deal some decent area damage. It's at its most useful when Aerith is surrounded or up against foes with multiple parts. You'll have to get in close to use it though, which isn't a great idea when controlling Aerith due to her low vitality.
Fleeting Familiar - Arcane Scepter (1 ATB Bar)
Fleeting Familiar will summon a small, fairy-like creature that will periodically attack nearby enemies. The damage isn't great, but it does add up quite a bit over its four minute duration and so can be useful during some of the game's longer battles.
Ray Of Judgement - Mythril Rod (2 ATB Bars)
This is Aerith's best ability for both damaging and staggering opponents, although it does have one major flaw. Unlike Barret's Maximum Fury ability, it doesn't lock on to enemies which means that if the target moves even slightly, the attack will miss. Worse still, the animation goes on for some time which can leave Aerith vulnerable to incoming attacks. As such, it's best to use the attack against larger or slower enemies or enemies that are already pressured or staggered.
Lustrous Shield - Bladed Staff (1 ATB Bar)
Lustrous Shield is a fairly niche ability, but one that can be incredibly useful in certain battles. Casting it will place a fixed shield in front of Aerith that will block enemy projectiles for 80 seconds. You can conjure up to three of them at any given time and other party members can benefit from their protective qualities as well.
ATB Ward - Reinforced Staff (2 ATB Bars)
ATB Wards are fairly similar to Arcane Wards. Rather than double-casting spells though, it instead grants an ATB boost to any party member other than Aerith who uses an ability while standing within its boundaries. They last for four minutes and are best placed in the immediate vicinity of the enemy you'll be targeting. In case you were wondering, the two ward types can be overlapped, although you'll typically want your Arcane Ward further away from the enemy if possible.

