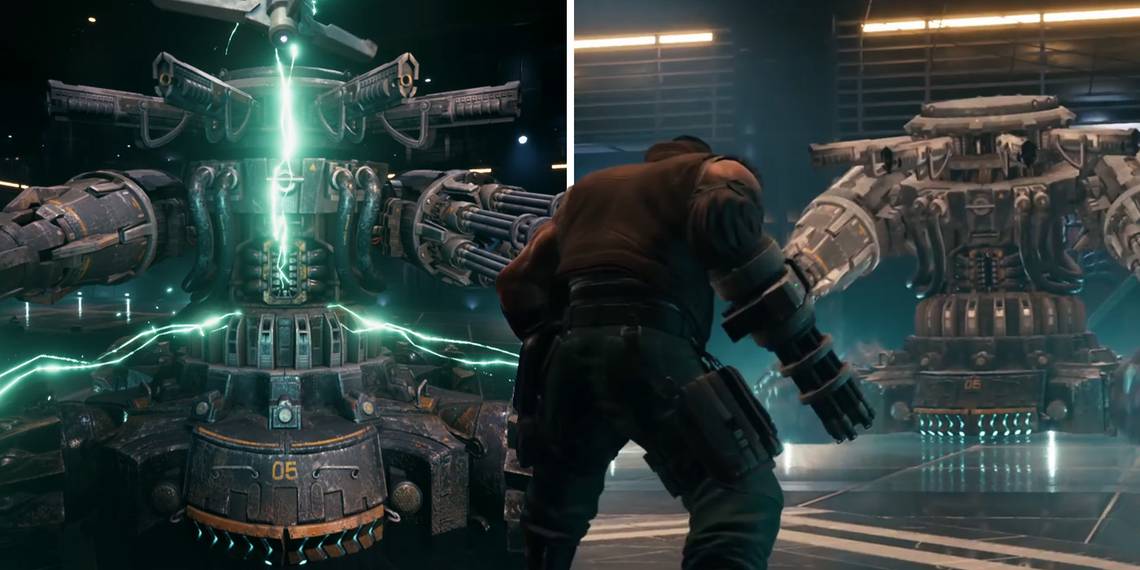
There are quite a few difficult boss battles in Final Fantasy VII Remake, but none more so than the Arsenal. This mechanical monstrosity has several one hit kill attacks and just shy of 125,000 HP. It's also able to change its damage affinities at will and is immune to most of the game's status ailments. Worse still, players will only have two regular party members available for the fight.
As Cloud and Tifa are busy dealing with Rufus and Darkstar, it will be up to Aerith and Barret to take care of the Arsenal. Red XIII will join in too, but unfortunately, he's about as useful as a chocolate teapot most of the time. By familiarizing oneself with the boss' attacks and with the right setup and strategy though, it's possible to emerge from the battle relatively unscathed.
Setup
Thankfully, you'll have an opportunity to adjust your equipment by holding square during the cutscene immediately before the battle. Give both Aerith and Barret orbs of Revival, Healing, Fire and Lightning materia. Pair Aerith's Healing materia with Magnify, her Lightning materia with MP Absorbtion and Barret's Lightning materia with Elemental materia in his weapon. You should also equip Barret with Time materia as well.
For your remaining slots, you're going to want to boost HP and MP as much as possible, so use the appropriate Complete materia to achieve this. You could also boost Aerith's magic with an orb of Magic Up materia, although additional MP is far more useful. Elemental summons are good here, so bring Ifrit and Shiva rather than Bahamut.
When it comes to equipment, the Gotterdammerung can make this fight considerably easier, so if you have it, give it to Barret and make sure that you have his Catastrophe limit break selected. If not, give him the Transference Module (one of the rewards from Whack-a-Box) and equip Aerith with the Circlet for the extra MP. Reprieve weapons (the EKG Cannon and the Reinforced Staff) aren't a terrible idea for this fight, but Big Bertha and the Mythril Rod will make it go quite a bit faster if you're willing to sacrifice the safety net.
Strategy
Phase 1

Before you can deal any damage to the boss itself, you'll first need to destroy the three barrier drones. Distract the Arsenal with Aerith and then have Barret run round to the side and use Catastrophe (assuming you have the Gotterdamerung equipped, that is) to instantly take out the majority of their HP.
Next, cast Haste on both party members with Barret and then try to use the pair's abilities rather than offensive spells to finish off the drones. Switch between party members regularly and try to keep your HP above 3,500. You can speed things up with a few Thundara casts if you really want to, but it's best to conserve MP in this phase to avoid running out later on.
Phase 2

Lay down an Arcane Ward with Aerith and cast Haste again with Barret if you need to. The intended strategy for this phase is to focus on the boss' wheels, although some opt to ignore them entirely and hit the boss square on instead. Both are viable strategies, although if you opt for the former, try to focus on a single wheel as they can take quite some time to take out. When the boss is pressured, use Focus Shot to fill the stagger bar much faster.
As tempting as it may be, don't use your summon just yet as it will be a lot more useful in the fourth phase. Instead, position one party member on either side of the boss and switch between them whenever it turns around. Have Aerith casting Thunder or Thundara and Barret attacking physically with abilities and regular attacks. If the boss changes resistance to either Lightning or physical damage, start casting Fire or Fira instead. The phase will end once the Arsenal's HP falls to around 60%..
Phase 3

The third phase is very similar to the previous one; with the main difference being that the boss will start using its Pulse Canon attack and its main cannon can now be targeted. Pulse Canon will instantly kill any party member that it hits, so use the pillars to avoid it whenever needed while continuing to chip away at the Arsenal's health.
Unless you're still holding onto your Reprieve or wearing Revival Earrings, it may be worth having Barret get hit by Pulse Canon once the boss is down to about 25% HP. He'll die, but will be revived with a full limit break gauge which will be incredibly useful for the final phase. Just make sure Aerith has a bar of ATB ready and the MP needed to revive him straight away. If her MP is running low, use her Soul Drain ability on the main cannon a few times to top it up.
Phase 4

The Arsenal will use Firewall to trap you in its sights and then begin charging its most devastating attack, Cry Havoc. You'll need to quickly take cover behind the debris behind you and then hit it with everything you've got before it can cast Cry Havoc again. If you came into the phase with Barret's limit break gauge full, use it now as well as an elemental summon. Have Aerith cast Thundaga a few times too and the fight should be over fairly quickly.
The Arsenal's Key Attacks & Abilities

Charge (Phases 2 & 3)
The Arsenal will charge at a single target. Run or roll left or right to dodge the attack.
Cry Havoc (Phase 4)
The boss will charge a devastating attack that will wipe out the entire party. Dodge the first one by hiding behind the debris behind you and then defeat the boss before it has chance to use it again.
Defense Protocols (Phases 1, 2 & 3)
The boss will gain resistance to either physical, Ice, Lightning, Fire or Wind damage. Avoid using these attacks and be sure to check the Enemy Intel page by pressing the touch pad if you lose track of its current resistance.
EM Field (Phases 1, 2 & 3)
A field of energy will follow one of the part members around for ten seconds dealing damage upon contact. To avoid it, keep moving around or switch party members.
Firewall (Phases 2, 3 & 4)
The Arsenal will create two large walls of fire that will trap party members inside. It's possible to outrun them most of the time, but if you do get trapped don't touch them. The Firewall at the beginning of phase 4 cannot be avoided.
Focus Fire & Obliterating Laser (Phases 2 & 3)
The boss will charge up either its cannon or its laser beams; during which time you'll have a few seconds to hit its weak spot. If you deal 1,500 damage to it or hit it twice with Focused Shot, Maximum Fury or Overcharge, the attack will be cancelled. If you're unable to do either, take cover behind a pillar.
Homing Laser (Phases 1, 2 & 3)
The Arsenal will take a moment to charge before releasing multiple homing lasers. While it's charging, target its weak point and try to deal 1,500 damage to cancel the attack. You can also hit it twice with one of Barret's abilities (see above). If you're unable to do either, block the Homing Lasers for the ATB charge.
Primary Fire (Phases 1, 2 & 3)
This is a physical attack that deals moderate damage upon impact. Like some of the Arsenal's other attacks, you can disrupt it if you deal 1,500 damage to the Arsenal's weak point or hit it twice with one of Barret's abilities. Otherwise, get behind a pillar.
Pulse Canon (Phase 3)
The boss will begin charging a powerful attack that will instantly kill a party member if contact is made. It's possible to cancel the attack by dealing 3,000 damage to its weakpoint or to avoid it entirely by hiding behind a pillar. That said, getting hit by the attack will completely refill a party members' limit break gauge, so if you're doing okay for MP, it can sometimes be worth intentionally getting hit with Barret so that you have a limit break ready for the final phase.
Saturation & Secondary Fire (Phases 1, 2 & 3)
These relatively low damage physical attacks will be used regularly throughout the first three phases. Stand your ground and block them for the extra ATB charge or get behind a pillar to avoid them.
Voltaic Discharge (Phases 1, 2 & 3)
The Arsenal will discharge electricity in a number of different directions. Getting hit will stun a party member for five seconds leaving them wide open to other attacks, so try to steer clear of them as best you can.