Quick Links
Fire Emblem Engage's 11th chapter is unquestionably a curveball. This isn't a battle you win, it is a battle you escape. You will be hunted from your first step to your last. And unlike previous stages, there are enemies here that are literally invincible. And worst of all, you have not only lost your Emblem Rings, but they are actively being used against you!
Thankfully, while this is far from being an easy battle, you are given all the tools you need to succeed. While you may not have any of those precious rings, you do have some environmental factors that work to your advantage. Don't panic. We will guide you through this encounter and ensure you make it out the other side in one piece.
Updated April 2, 2023: We've updated this article to include a video walkthrough of Chapter 11 for Fire Emblem Engage.
Setup Phase
This encounter starts with you being on the run. You will have lost all your Emblems, as well as your Draconic Time Crystal. Classic players be warned: without the time crystal, your ability to take back moves is completely gone. This means that you are going to have to be extra careful. If you are unwilling to lose a unit, a single misstep could mean having to restart the battle from the beginning. For this reason alone, you will probably want to consider saving frequently, and across multiple save slots. This is an encounter that can go south quickly, but it could also be true that a poor decision early on could cause you problems a round into the future. So, the more save slots you rotate between, the more anchor points you will have to fall back on.
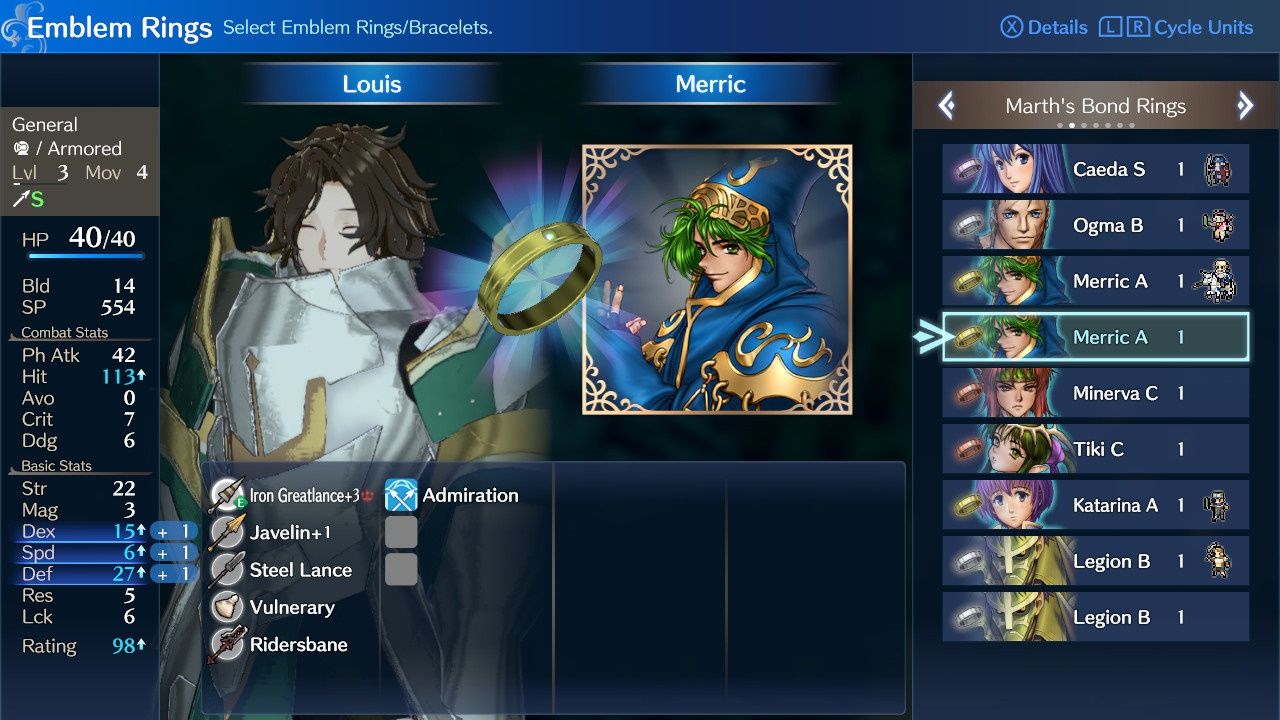
Party composition is going to be the primary factor when determining the level of difficulty of this chapter. However, if you followed our advice in the previous guide, you will probably find that you are in pretty good shape here. One thing is certain, your setup phase is a lot easier. You can't shop, and you aren't able to swap out units. So, your options will be limited to swapping equipment between party members (or the caravan), changing starting positions, and equipping Bond Rings. Keep in mind that units who had previously been able to use certain weapons due to their Emblem Ring will no longer be able to. So, swap that stuff around.
If you purchased the DLC, you will still have access to those Emblems.
If possible, make sure everyone has a vulnerary equipped. Hopefully, you have a healthy number of bond rings, as you are going to desperately be in need of them. Every party member who previously had an Emblem Ring will need to equip a bond ring. If you haven't synthesized any up to this point, then you will, unfortunately, not be able to do it here. Don't worry, it is absolutely possible to win without having any bond rings, but they do provide nice stat boosts, so it is better to have them.
Chapter 11 - Special Enemy Units Notes
Veyle And Her Hounds
You cannot kill Veyle. She is completely invincible. The hounds, on the other hand, are beatable, but honestly, we don't recommend you go for it unless you are looking for an extra challenge. They don't give you anything special outside of a feeling of satisfaction and some decent experience points. However, that doesn't mean that we aren't going to deal with them at all.
Fighting The Wyrms
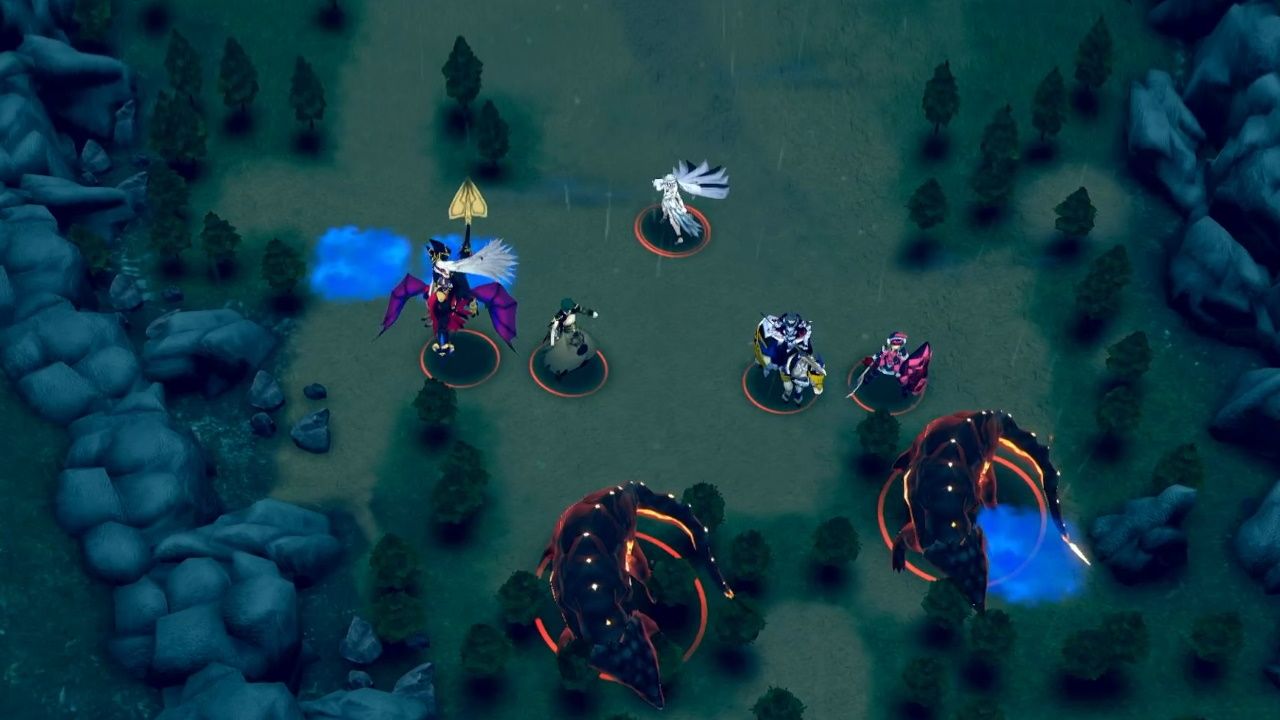
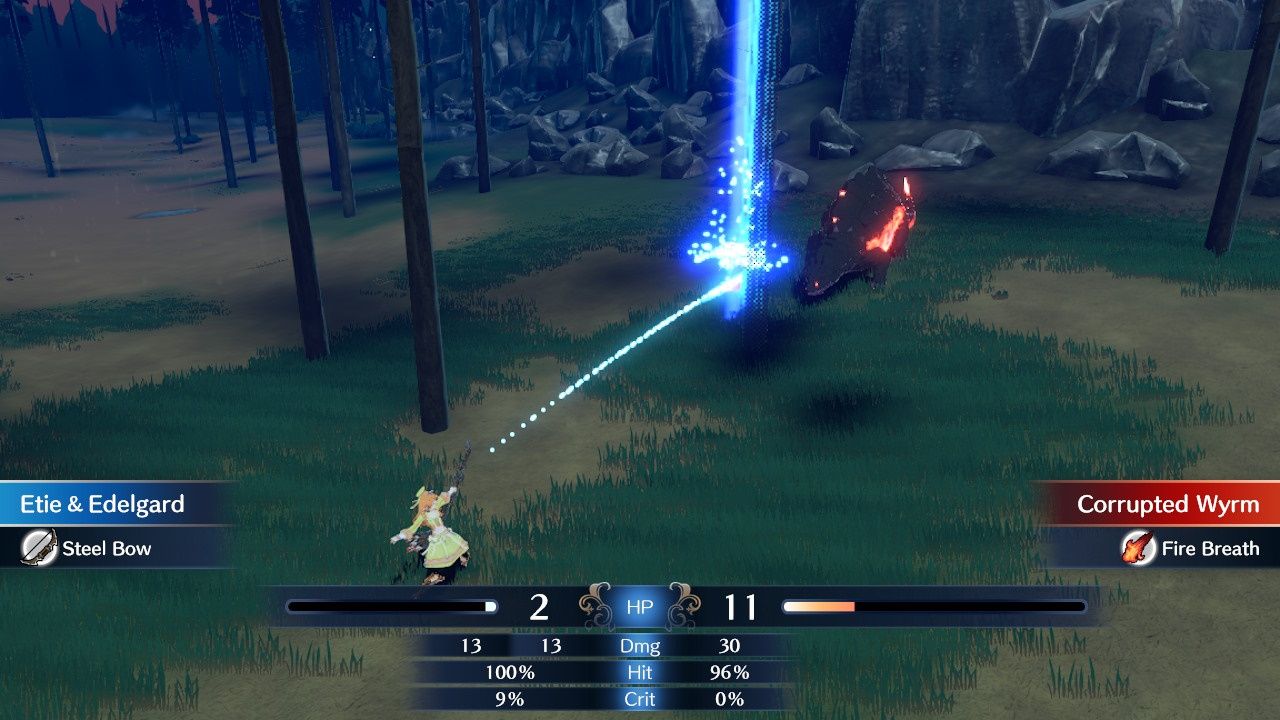
You can absolutely damage the Wyrms which means that you can kill them. If you are looking to accomplish this feat, use the terrain in front of them to your advantage, as it provides huge buffs to your evasion. Also, arrows and lances do pretty decent damage to these monstrosities. If you use a combination of the right units, your Chain Guard, terrain boosts, and you get a little lucky, you can take the Wyrms down. However, it is extremely dangerous. For one, their attacks are far-reaching. This means that if you can get to them, then they can most certainly get to you. Also, they are more than capable of killing the majority of your party members with a single attack.
So, even if they only have a 25% chance of hitting you (due to the terrain's effect), it only takes one lucky swing for them to put one of your troops in the grave. And while they do provide you with a very healthy amount of experience points, it is far from being game changing. Worst of all, fighting them will mean spending multiple rounds at the back of the battlefield. Which means that you will be awfully close to the hounds when they arrive. And boy, that is not going to make your life easy. The other thing is, if you get distance from them, they aren't even a threat to you. They barely move. Killing the Wyrms is exclusively for those people looking for an enhanced challenge.
Making Your Retreat
|
Enemies |
2x Sword Fighters, 2x Lance Fighters, 3x Axe Fighters, 1x Axe Armors, 3x Pegasus Knights (sword), 1x Pegasus Knights (axe), 2x Axe Cavaliers, 1x Lance Cavalier, 1x Thief, 1x Mage, 2x Archers, 2x, Martial Monks, 2x Corrupted Wyrms, Veyle |
|---|---|
|
Additional Units: 2x Axe Fighters, 1x Lance Armor, 1x Archer, 1x Martial Monk, Zephia, Mauvier, Marni, Griss (aka "The Hounds") |
|
|
10 Units |
|
|
Deployment |
|
|
Victory Conditions |
Alear Escapes The Battlefield |
|
Treasures |
Tomahawk (taken from the Axe Armor unit on the left side of the battlefield), Master Seal (taken from the Archer guarding the exit) |
|
Difficulty |
★★★★★★☆☆☆☆ (6/10) |
The battle will begin with a number of corrupted soldiers at your back. This includes two axe-wielding Cavaliers, a Martial Monk, a Sword Fighter, and two sword-wielding Pegasus Knights. Veyle and two Corrupted Wyrms will also be there, but you don't have to really worry about them, as we aren't going to fight them. Move all your troops forward, and make sure they are on terrain tiles that provide benefits. There will be an Axe Fighter in front of you equipped with Roy's Emblem Ring. Take them out (multiple units should be able to reach them, so this shouldn't be too tough of a task).
The strategy is NOT to rush forward thoughtlessly. If you just try to race to the end, you will die. Instead, we are going to march our units in formation. Making sure that our more durable warriors are protecting our more vulnerable ranged units. Keep your archers close to the edges (without being in an enemy's attack range), as flying units will frequently swoop down from the sides. However, if you have an armored unit, send them forward. There is only one Mage on this map, every other unit will struggle to deal damage to them, so they will be a great way to thin out the oncoming enemies.
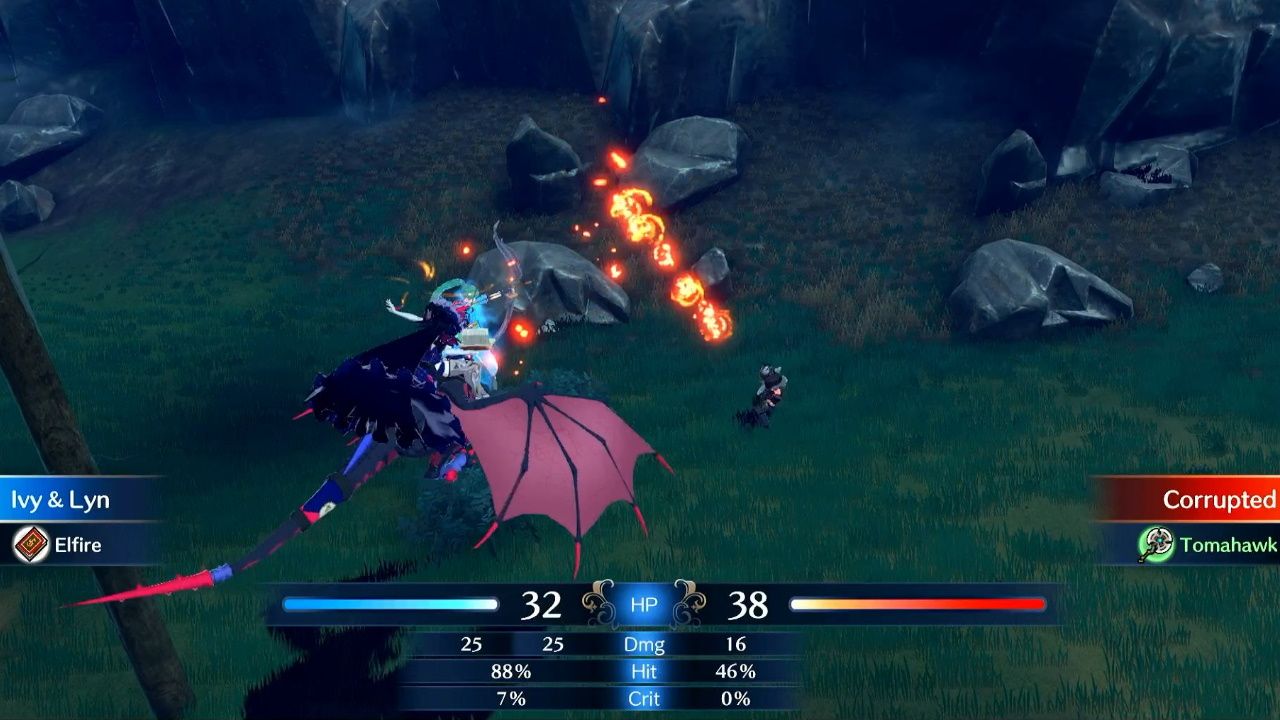
There is an Axe Armor soldier hiding in the woods on the left side of the map (close to the stage's exit) holding a tomahawk. The terrain advantage makes him pretty hard to hit, so just wait until Ivy joins your party. Then, fly her over to him, blast him with some Elfire, and take that tomahawk for yourself. The other treasure is a Master Seal held by the archer guarding the stage's exit; that one is pretty hard to miss. You almost need to kill him in order to complete the stage.
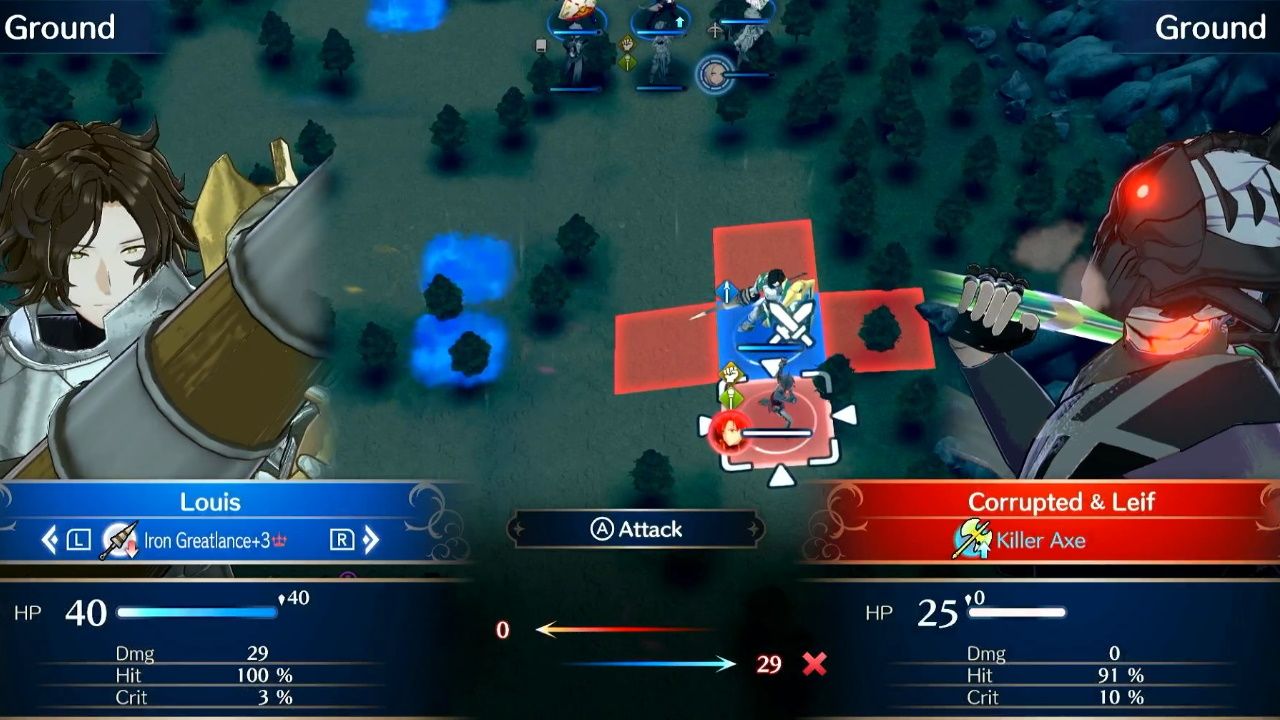
You will be hit by emblem attacks. Luckily, some of the more devastating ones, like Warp Ragnarok, don't seem to do as much damage as they did when we used them. Just make sure your troops are fully healed as you slowly advance. The more corrupted you kill, the less there will be to wield these rings.
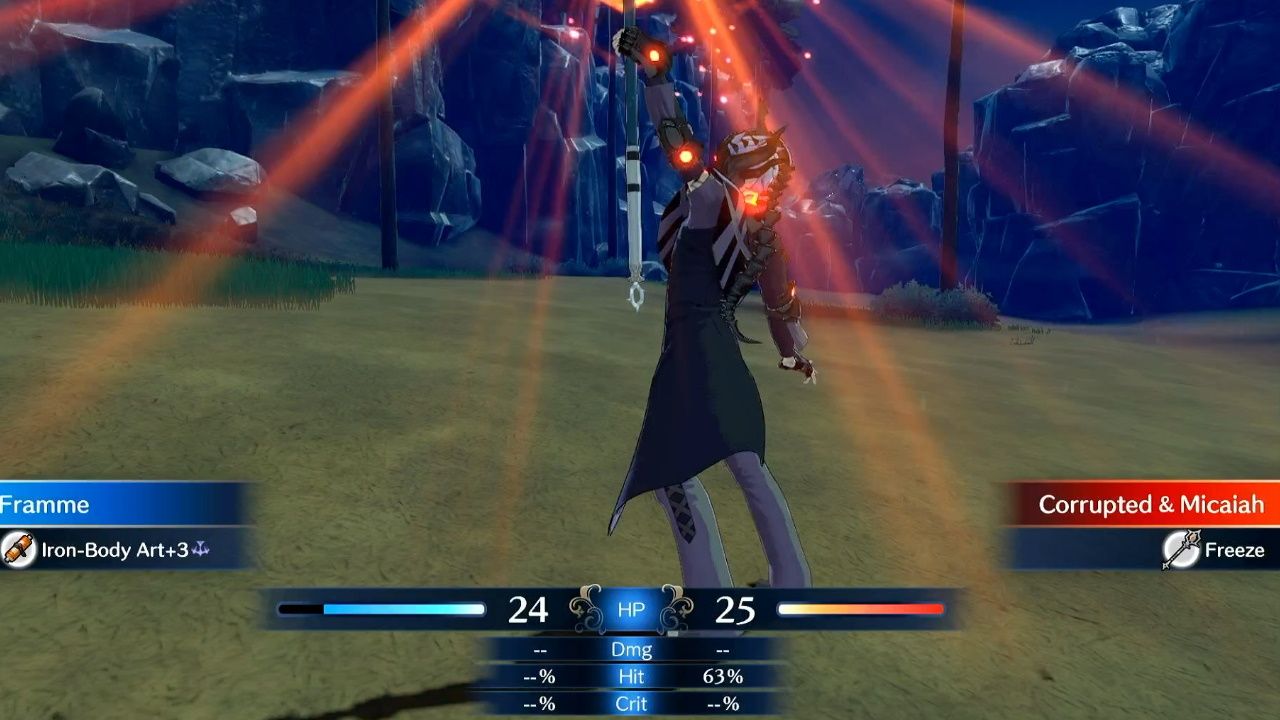
One constant source of frustration will be the Martial Monk using their Freeze staff on you to hinder your movement. This spell works from a great distance and makes it impossible for your unit to move. Thankfully, it only lasts a turn. You could try to take him out at the beginning of the battle, but he spends the first two rounds behind the Wyrms, so it really doesn't feel like it is worth the hassle. If you have a Restore staff, you can use it to undo the effect, otherwise, just take it on the chin and move that unit the next turn.
Once you have thinned out the majority of the corrupted, two additional Axe Fighters, a Lance Armor, an Archer, and a Martial Monk will appear at the bottom the screen near the exit. Worse than that, The Hounds will arrive as well. But all is not lost! You will be joined by Ivy, Kagetsu, and Zelkov. You will also regain your Draconic Time Crystal and receive two new Emblem Rings: Lyn and Lucina!
You actually got a preview of Lyn's abilities last chapter when you fought King Hyacinth. That's right, you now have access to all the same attacks. Pretty cool!
At this point in the battle you should be in spitting distance of the exit. You will also have three new powerful units on your side. You should be able to push forward and have Alear reach the exit (which will complete the mission). However, don't act too hastily. Instead, get Alear right beside the exit and clear out as many corrupted as you can. It will take The Hounds a few rounds to get to you. During that time, keep clearing out baddies. When they do get close enough to attack, get as many safe hits in as possible. You may even be able to kill one of them. This will get you a ton of experience. Just pay close to attention to whether or not their counterattacks can reach you or will kill. Then, once everyone has gotten some hits in and collected some experience points, have Alear cross the threshold and the mission will be complete!
Post-Battle Exploration
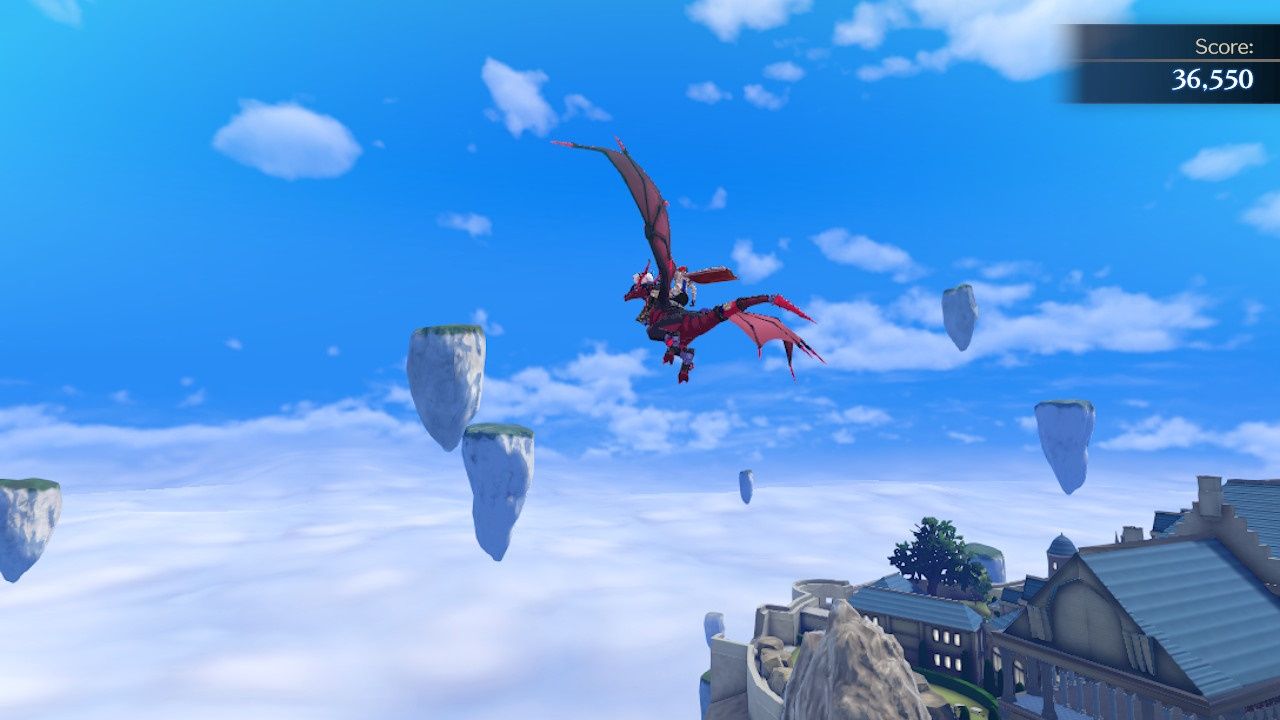
Once you have completed Chapter 11's combat encounter, you won't stick around the battlefield, but you will get the opportunity to return to The Somniel. Excitingly, you will now get access to a new mini-game: Wyvern Riding! This is a breezy little on-rails shooter. Additionally, the shops will have new items in stock, and that includes Secondary Seals and Master Seals!

