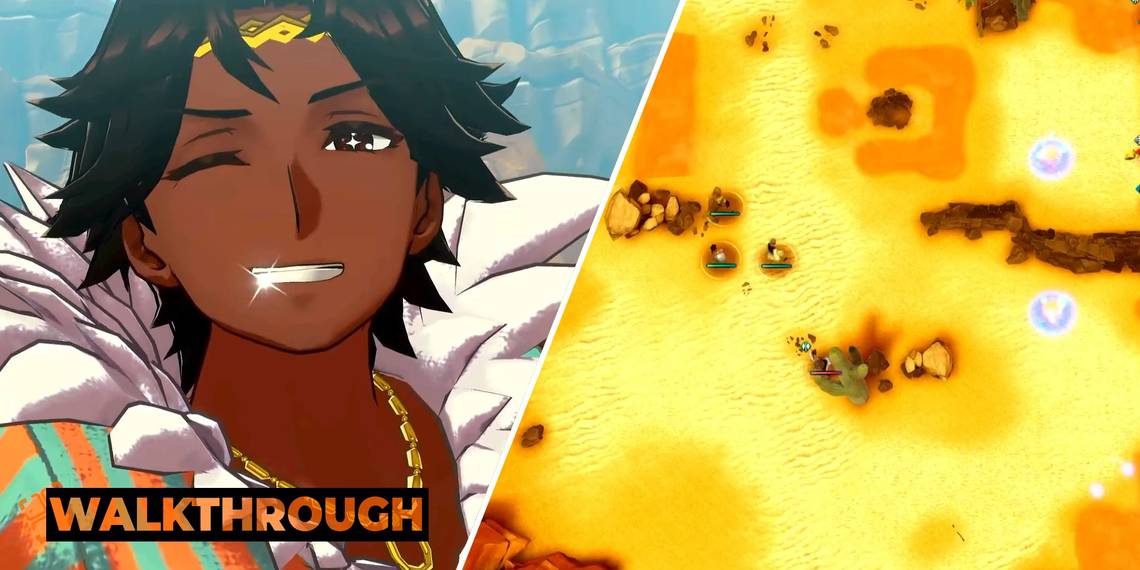
The 12th chapter of Fire Emblem Engage has you trekking through the desert to fight against the always fearsome corrupted. This encounter confronts you with a pretty unique dilemma. On one hand, the best strategy in Engage is typically to cluster your units together in order to gain an edge in combat, but there are innocent villagers on this map stranded out in the open, and if you don't get to them fast, they will not survive.
So, will you ensure a clean victory, and sacrifice the villagers, or will you spread your army thin in an attempt to rescue them? Well, worry not, we will give you all the instructions you need to win the day while simultaneously rescuing all the villagers.
Updated April 15, 2023: We've updated this article to include a complete video walkthrough of Chapter 12 of Fire Emblem Engage.
Setup Phase

At this point in the game, you are going to have a massive roster of characters. Unfortunately, this mission limits you to bringing just six into battle. You can split this encounter into two phases. This first part is all about getting to the civilians and defending them from the corrupted, the second is holding out against the second wave of corrupted that invade after a few rounds.
Rescuing the civlians is not mandatory. However, each civilian is holding an item that they will give to you if you rescue them. This item will be lost if they perish.

In order to get to those civilians in time, we need mobility, so we are going to recommend that you either bring Chloe or Ivy (or both). The second phase calls for resiliency, which means that Louis and Jade are ideal fits for the team. Considering the small number of magic units the enemy has to use against you, it wouldn't be a terrible idea to bring both, but they will be relatively useless when it comes to rescuing the civilians in the first section of the battle.
In our run, we only brought a single flying unit: Chloe. However, the battle would have gone even smoother had we brought Ivy as well. Flying units are invaluable on this stage.

With the terrain being filled with so many obstacles that obstruct movement, archers are quite useful in this encounter. However, both of your Emblem Rings will be able to make any of your units act in the capacity, and one of the new units you will gain in this chapter also happens to be an archer, so that role is pretty well covered. Naturally, having a healer on your side would be helpful as well, though one of the new companions you gain here will also have the ability to heal. When you are positioning your troops, just try to place your flying units at the bottom. The rest can sorta go whereever, but we want to have those flying characters to be as close to the civilians as possible.
This isn't one of the harder missions you will encounter during this stretch of the game. So, if there is a character you want to level up, this is a good map to do so on.
Battle In The Desert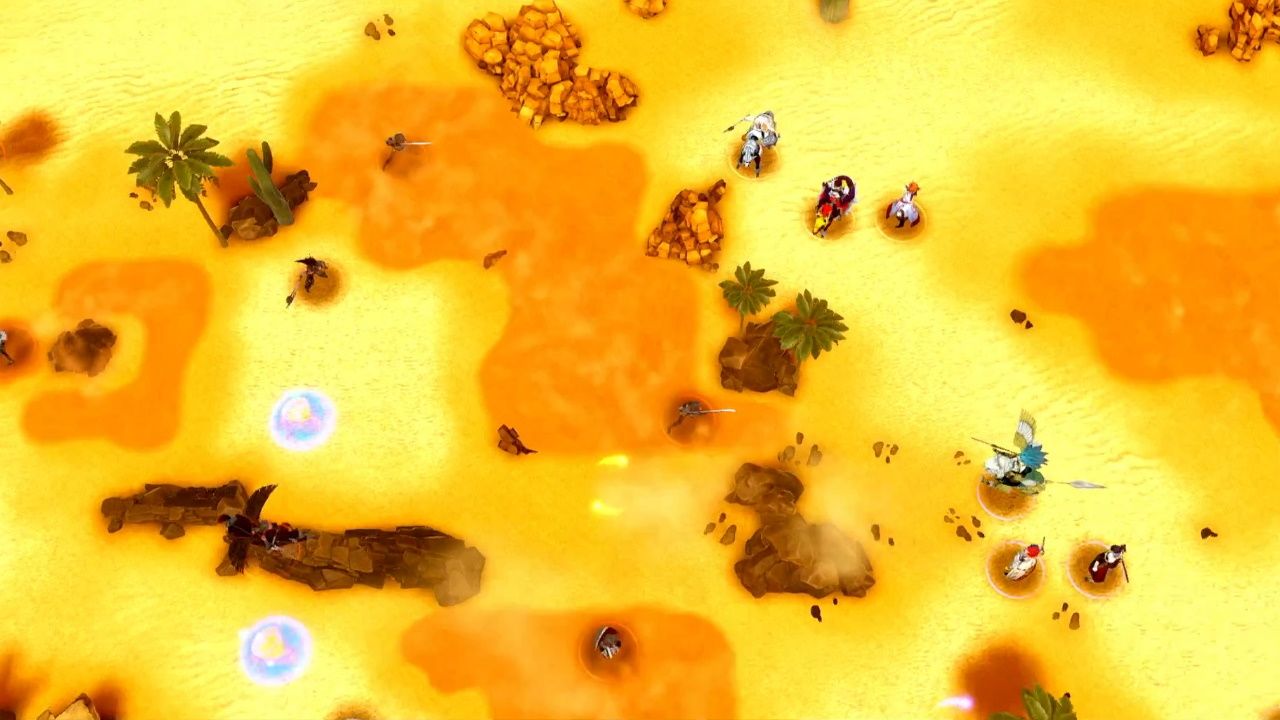
|
Enemies |
3x Sword Fighters, 5x Axe Fighters, 1x Lance Flier, 1x Swordmaster, 1x Wolf Knight, 1x Mage |
|---|---|
|
First Wave Of Reinforcements: 2x Axe Fighters, 2x Sword Fighters, 1x Mage, 1x Master Monk |
|
|
Second Wave Of Reinforcements: 2x Wolf Knights, 2x Lance Fliers, 1x Mage, |
|
|
7 Units |
|
|
Deployment |
|
|
Victory Conditions |
Eliminate All The Corrupted |
|
Treasures |
Levin Sword (taken from the Swordmaster in the southern section of the map), Obstruct (obtained by rescuing the male villager), Elixir (obtained by rescuing the female villager), Master Seal (obtained by rescuing the elderly villager) |
|
Difficulty |
★★★★★☆☆☆☆☆ (5/10) |
Now that we have assembled our army, the first step is simple. Send any flying units you brought to the southwest section of the map. This is where all the villagers will be huddled. It will take a turn or two to get to them, so attack the corrupted you encounter along the way, but remember that your priority is getting to the villagers with your flying units, not killing corrupted (unless the corrupted are within travel distance of a villager). Send some of your other troops up north alongside Fodago, Pandreo, and Bunet to help wrest control over this area. The others should start working their way through the corrupted to the center of the map. You should start by focusing on the lone Mage. They are pretty close, so you can take them out before they ever have a chance to cast a single spell.
It is perfectly fine to move through the quicksand, just try to not end your turn in it. If you have to, you have to, but it will mean that your next turn will be spent just trying to get free of it.

Fogado is likely to be your first mounted archer, the usefulness of his enhanced mobility can't be overstated. Bunet is a cavalry unit, much like Vander, but with far better stats. Pandreo is a healer who can also use magic spells. He comes equipped with a Physic staff that is able to heal from a great distance, which you will put to good use in this battle. These three make a pretty effective squad and will be able to battle the corrupted in the northern section of the map effectively as a team. Draw the enemy's attention with Bunet, heal him from afar with Pandreo, and then finish the enemy off with Fogado. It is an effective system.
Unless you get unlucky, the villagers will be able to take a hit from the corrupted in every difficulty outside of Maddening.

In the third round, the villagers will have made their way to the stone in the center of the stage. They may have taken a hit or two along the way. Thankfully, Pandreo should be close enough to heal them with his Physic staff. You should have other troops making their way to the center at this point as well (though have your heavily armored troops hang back a little if possible), with Chloe being in the nearby vicinity. Your top priority is to kill any Corrupted that may be in striking distance of a villager. There will be a Wolf Knight south of the villagers, a Swordmaster further south, and an Axe Fighter to the west.
The Swordmaster has a special weapon called the Levin Sword; this is a powerful weapon, so you may want to give it to one of your swordsmen once you rip it from that Swordmaster's cold, dead hands.

Once you have gotten your troops to the villagers, the hard part is over. Just clean up the remaining troops, and you will enter into the next phase of the fight... Now enemy reinforcements will start to flood in. There will be a pair of Sword Fighters coming in from the north, and a pair of Axe Fighters coming in from the east. Both groups will be accompanied by a Martial Monk. This is where those heavily armored units we recommended you bring will come in. They will draw these enemies in, and tank their hits. None of these units will be able to do substantial damage to them. Shoot Chloe up to the northern section of the map, to help deal with that group.

In the next round, you will deal with another wave of reinforcements. This time, two Wolf Knights and a Mage will attack from the North, and two Lance Fliers will attack from the east. Start by removing the Mage, as they are a threat to your armored units (this is why it is nice to have someone like Chloe around the northern section of the map, as she should be able to remove this threat quite quickly). Also, make use of Lyn's Astra Storm Engage attack to take out one of the flying units. From here, it should just be a simple matter of cleaning up the remaining troops. The Wolf Knights won't be able to damage your armored units, and when the remaining flying unit swoops in you should be able to shoot them out of the air with one of your many bow users. And with that, the battle should conclude.
Post Battle Exploration

In the exploration phase, talk to the three villagers you rescued. They will give an elixir, an Obstruct staff, and a Master Seal. Now, start hunting for those resources. There are 50 Bond Fragments and 20 Iron Fragments sitting in the center of the map. There are 4 Steel Ingots at the top of the map. In the southeast corner of the map, you will find some spices.
You can adopt an Elyosian Dog in the northern section of the map. There is also a luscious Panna Camel sitting near the center of the map, but you won't be able to adopt them until you donate to this region. We know, we're heartbroken, too.