Quick Links
The second chapter of the Fire Emblem: Engage fourth wave of DLC, the Fell Xenologue, is a step down in difficulty from its first chapter, but it introduces a new character and provides a healthy challenge. You'll venture to the kingdom of Firene to try your hand against the alternate-reality versions of Alfred and Celine.
Unlike the Alfred and Celine you're used to, you'll be faced with their bloodthirsty, warmongering doubles in a battle to determine the fate of Hector's ring. They're no pushovers, and you'll need to face them with the utmost caution.
Unit Selection And Battle Preparations
Like with all maps except the final Xenologue chapter, this map will add another Force Deployed unit to your roster.
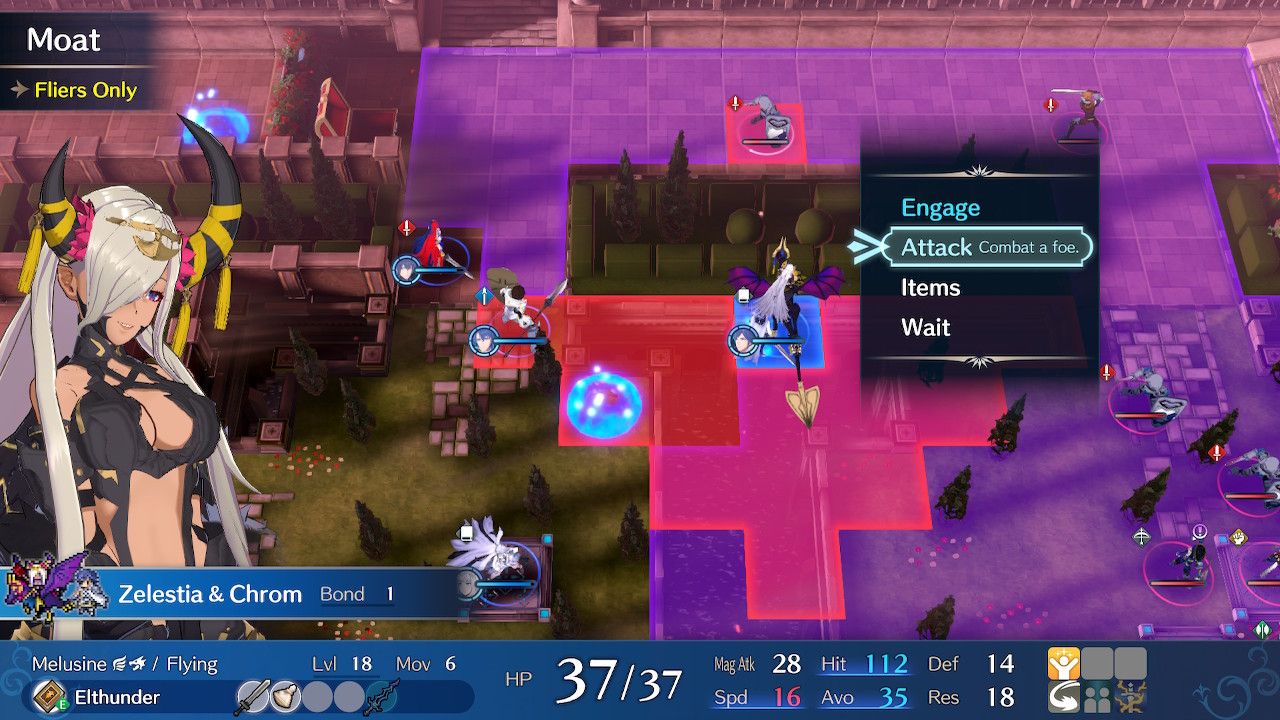
Zelestia, Zephia's double, is the addition this time, and she specializes in the usage of both tomes and swords.
She's a solid unit that, unlike Nel and Nil, is not an annoying weight to lug around these maps.
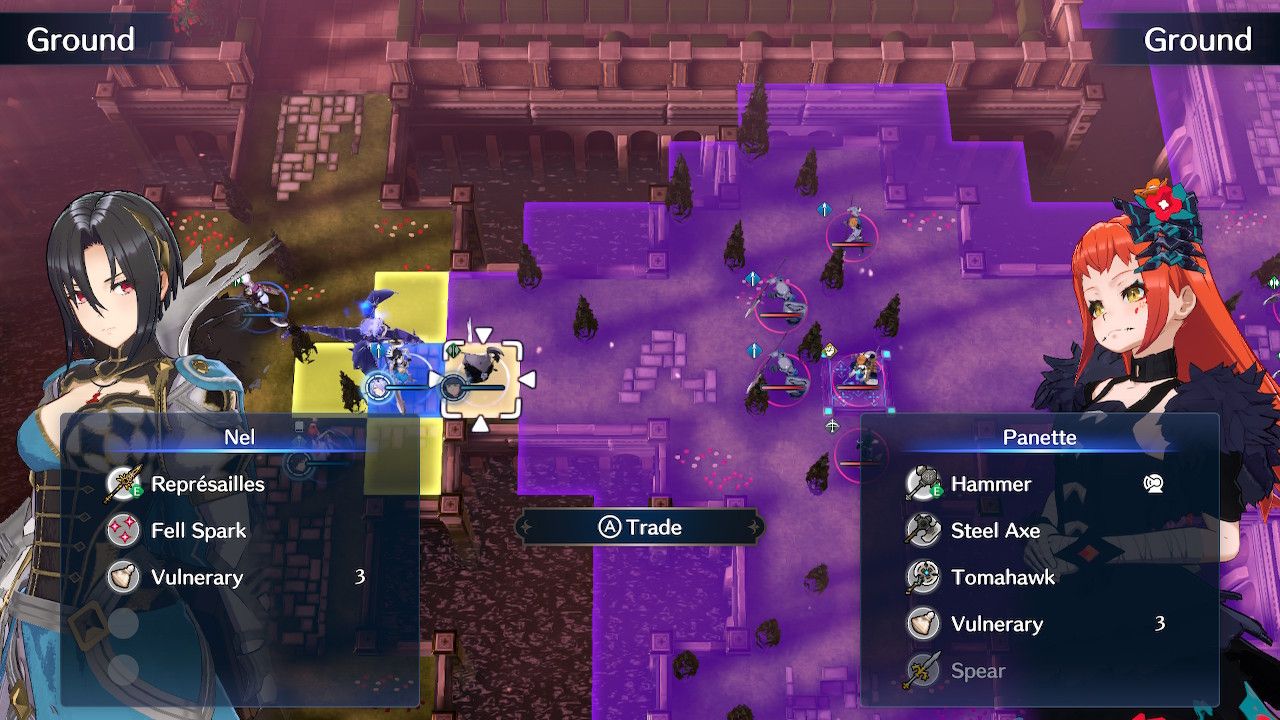
For the best use of Zelestia, it's recommended to move an Elfire via trading into her inventory and pair her with Chrom for an additional +10 Magic when Engaged.
With the abundance of low-resist and high-defense units in this map, making use of Nel and Nil will require some set-up and smart Emblem pairings.
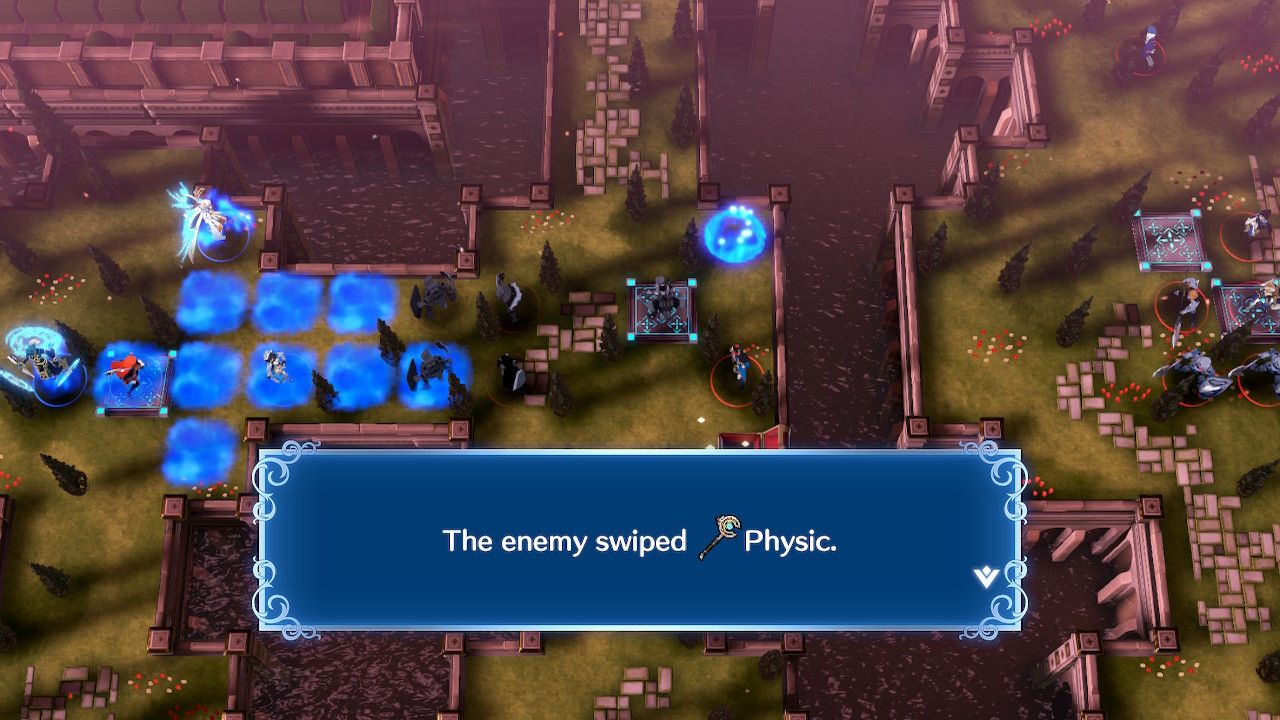
- Nil should be paired with Micaiah and kept in the far back for staff use. Trade Physic onto him during Turn One.
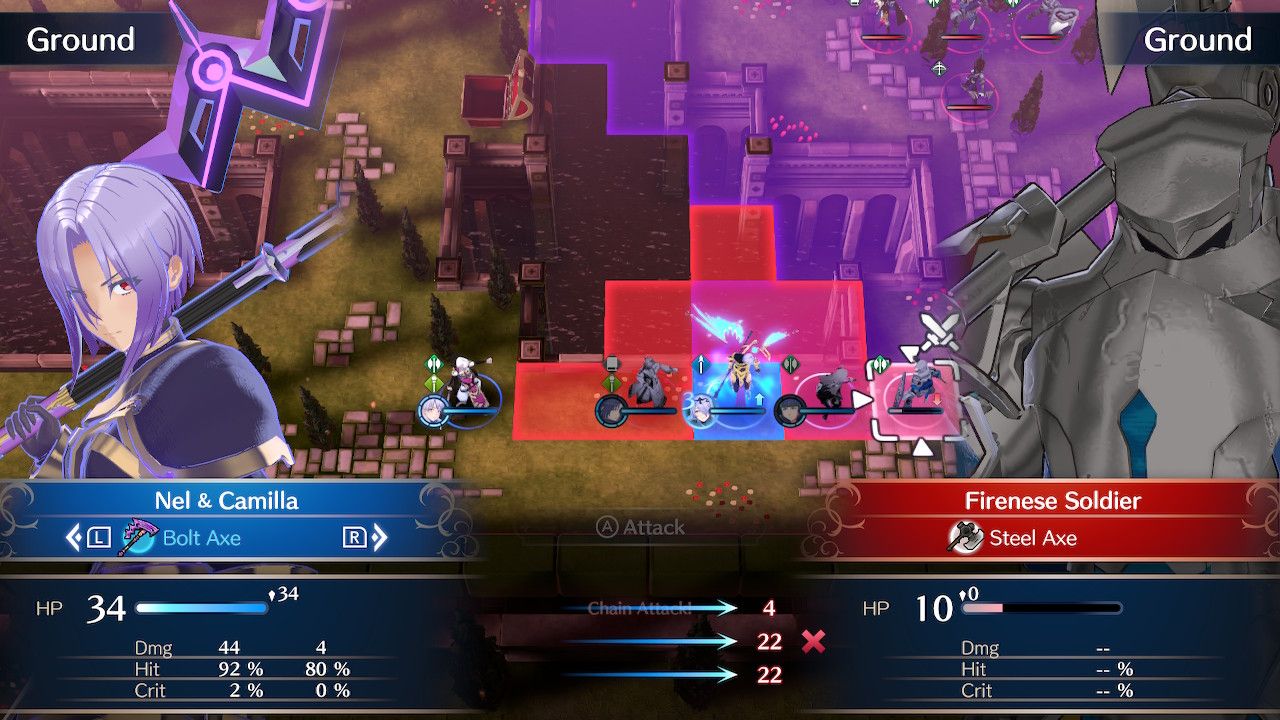
- Nel should be paired with Camilla for good use of the Bolt Axe and Dragon Vein abuse. However, Marth or Veronica can be decent substitutes. Trade a Spear onto her for ranged attacks.
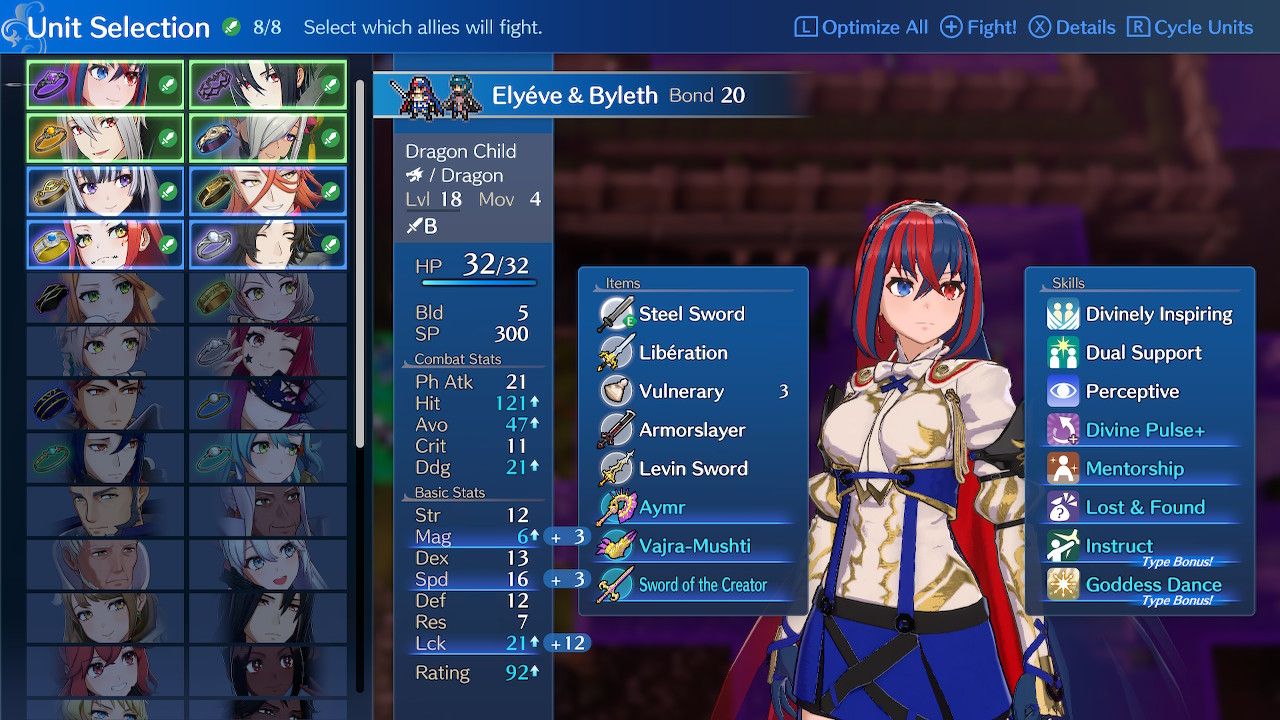
You'll be allowed four guest unit choices - two for each path. With Alear fixed as a sword unit (who you should move Celine's Levin Sword onto), you'll already have the following team on each path:
- North - Alear and Zelestia (Sword and Sword/Magic)
- South - Nel and Nil (Lance and Axe)
Given the weakness of the south team, it's crucial you pick exceptional units to carry the group without losing either Fell Dragons.
With so many lance and axe units on the southern side, you'll definitely want one strong axe user equipped with a Hammer to take on the southern side. Additionally, there should be a strong mage unit for support.
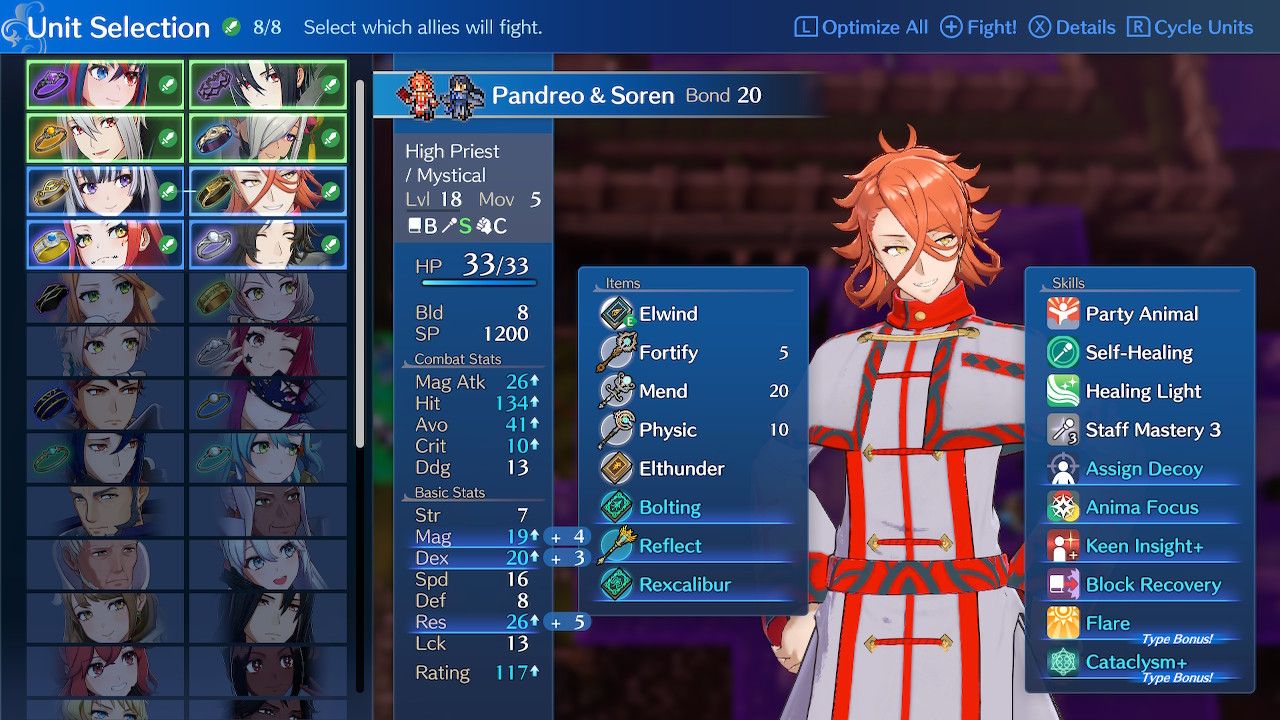
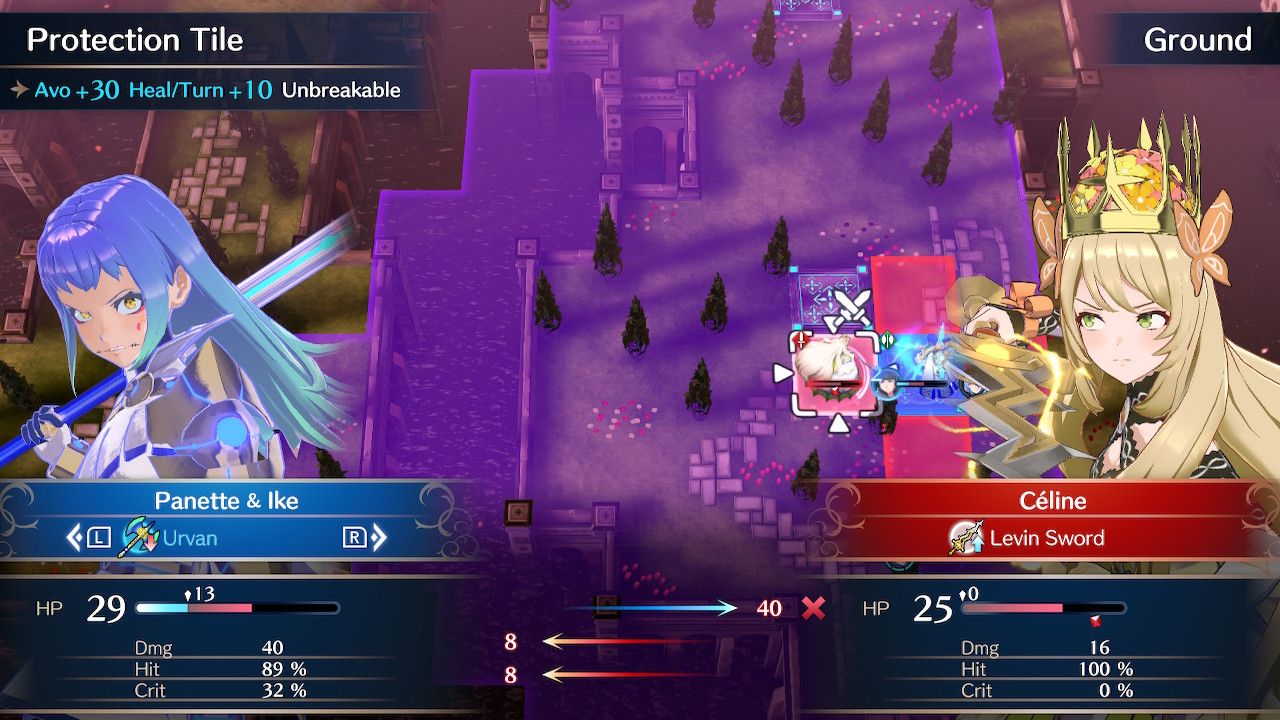
The best pairing for the southern side is Panette and Ike with a good Soren user (like Pandreo or Jean). Placing them together will allow the use of Cataclysm+ when the two units are next to each other. This will widen its use to hit the large groups of low-resistance all at once.
Additionally, you can use Soren's ability to Assign Decoy on the Ike user for Great Aether or otherwise, saving Nel and Nil from a potentially fatal encounter and defeating several enemies at one time.
The northern side is far more flexible. There is an excess of sword units on the northern path, giving you the opportunity to use any good lance unit.
Zelestia provides good magic support, but an additional mage is helpful here, thanks to the excess of low-resist units.
To recap, your best units are:
- North side - One lance unit (Louis, Chloe, etc.) and one mage unit
- South side - One axe unit and one mage unit
Burning Down The Flower Kingdom - Battle Map
|
Enemies |
|
|---|---|
|
Northern Reinforcements - x4 Mage, x3 Enchanter, x1 Lance Armor, x1 Archer |
|
|
Southern Reinforcements - x2 Sword Fighter, x2 Axe Fighter, x2 Enchanter |
|
|
Levels are set around Base Class 15 |
|
|
Deployment Allowance |
4 |
|
Forced Deployments: 4 - Alear, Nel, Nil, Zelestia |
|
|
Victory Conditions / Defeat Conditions |
Victory: Defeat Celine and Alfred |
|
Defeat: Alear, Nel, or Nil is defeated |
|
|
Treasures |
Physic (South Chest), Ridersbane (North Chest) |
|
Difficulty |
★★★★★☆☆☆☆☆ (5/10) |
|
Top Recommended Units |
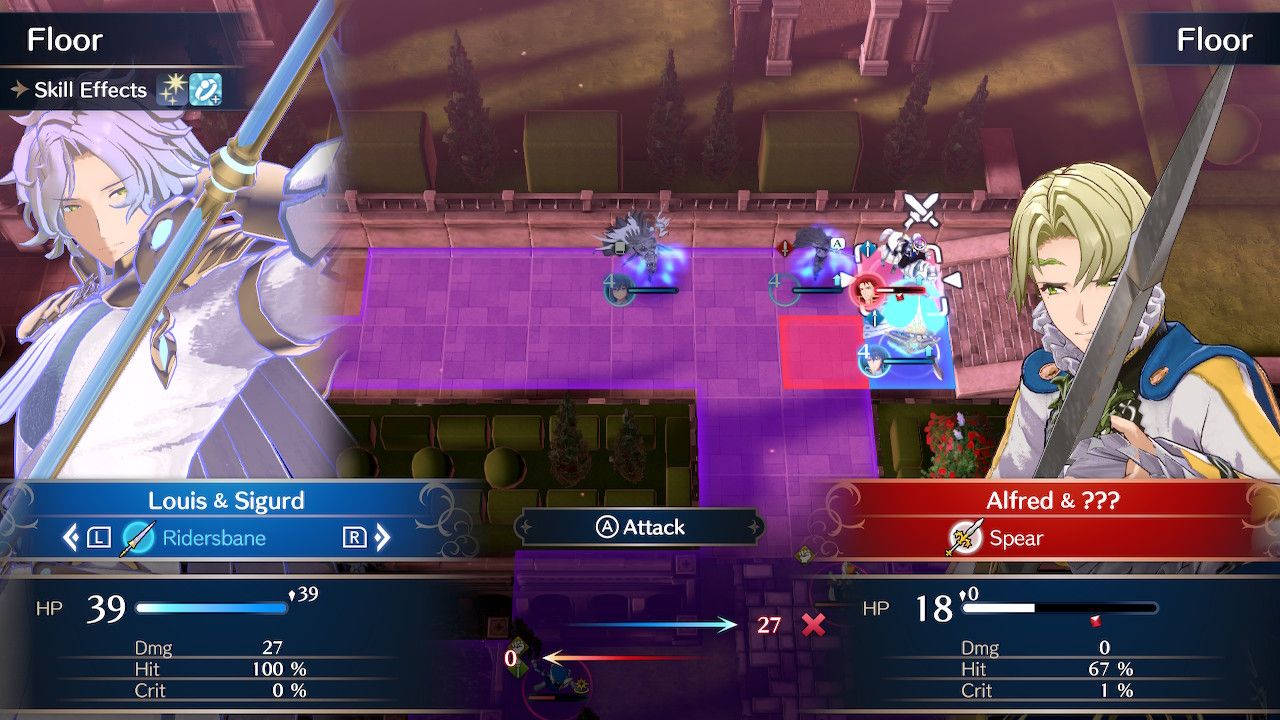
Louis and Sigurd, Panette and Ike, Good Soren User |
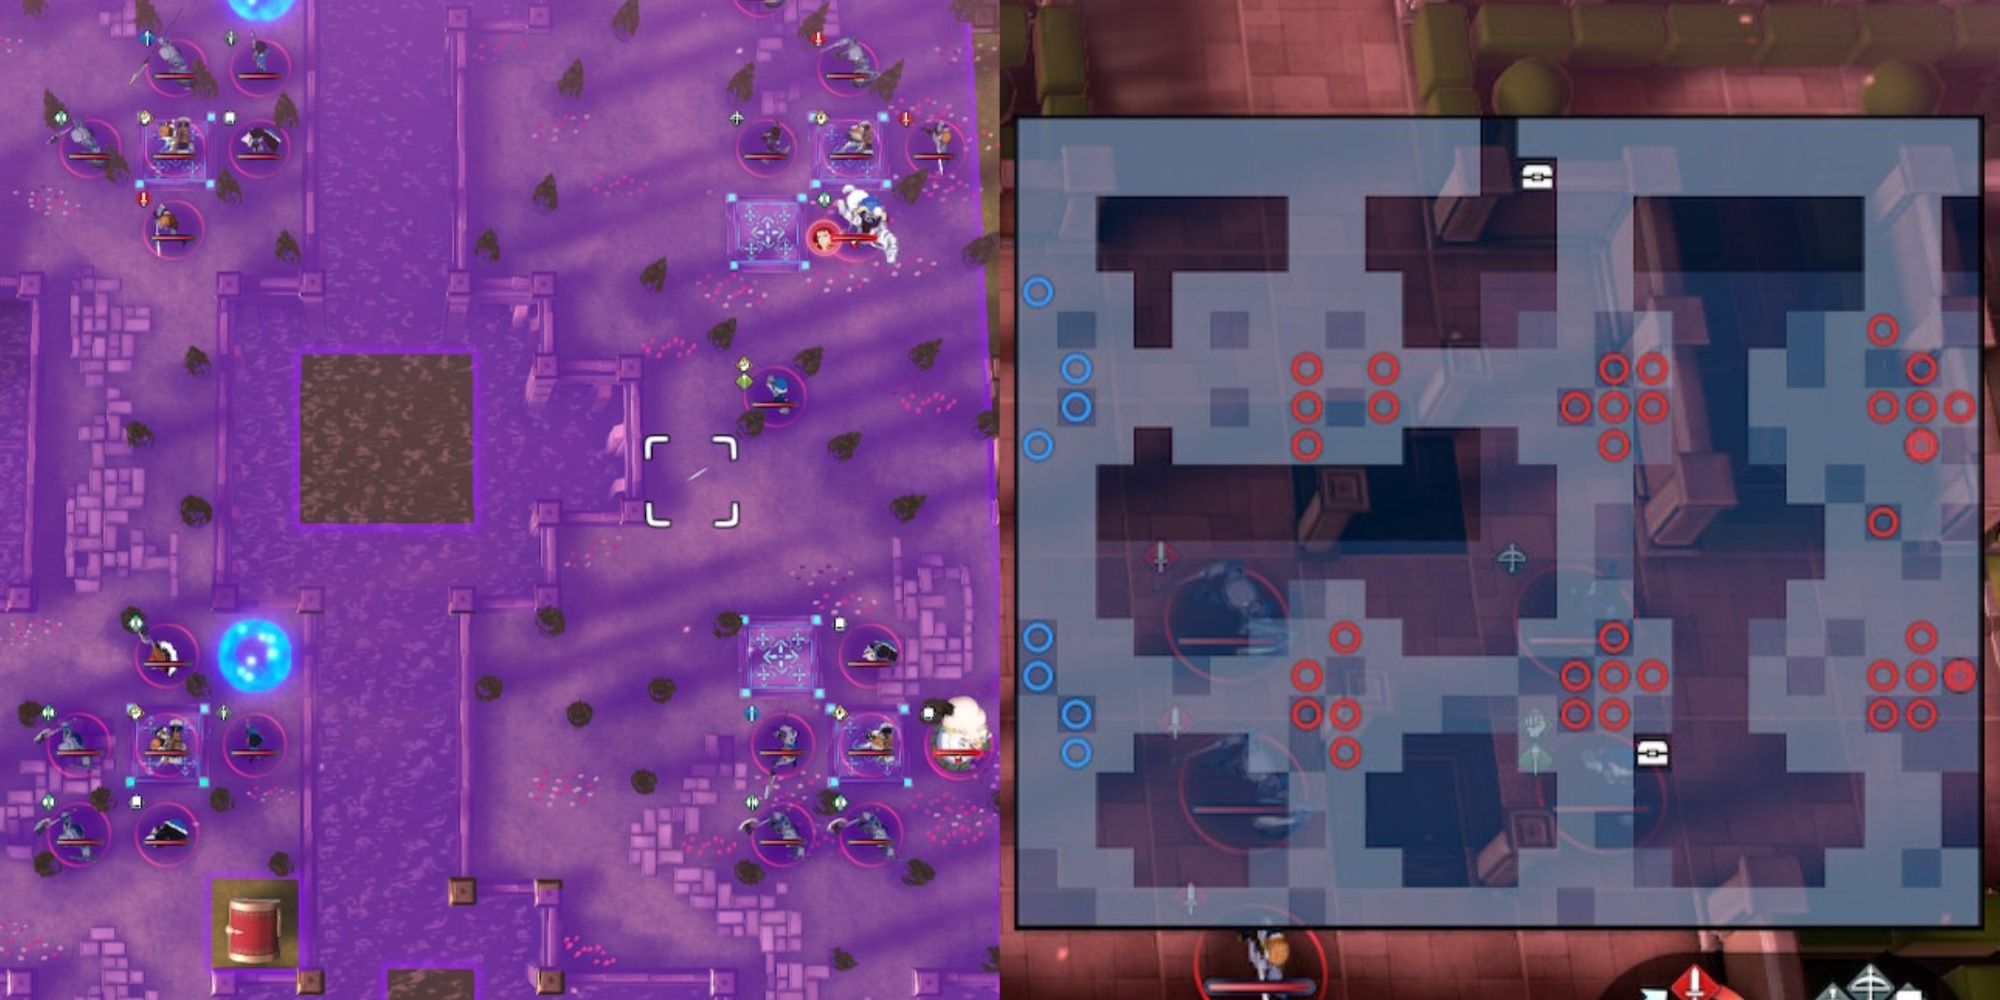
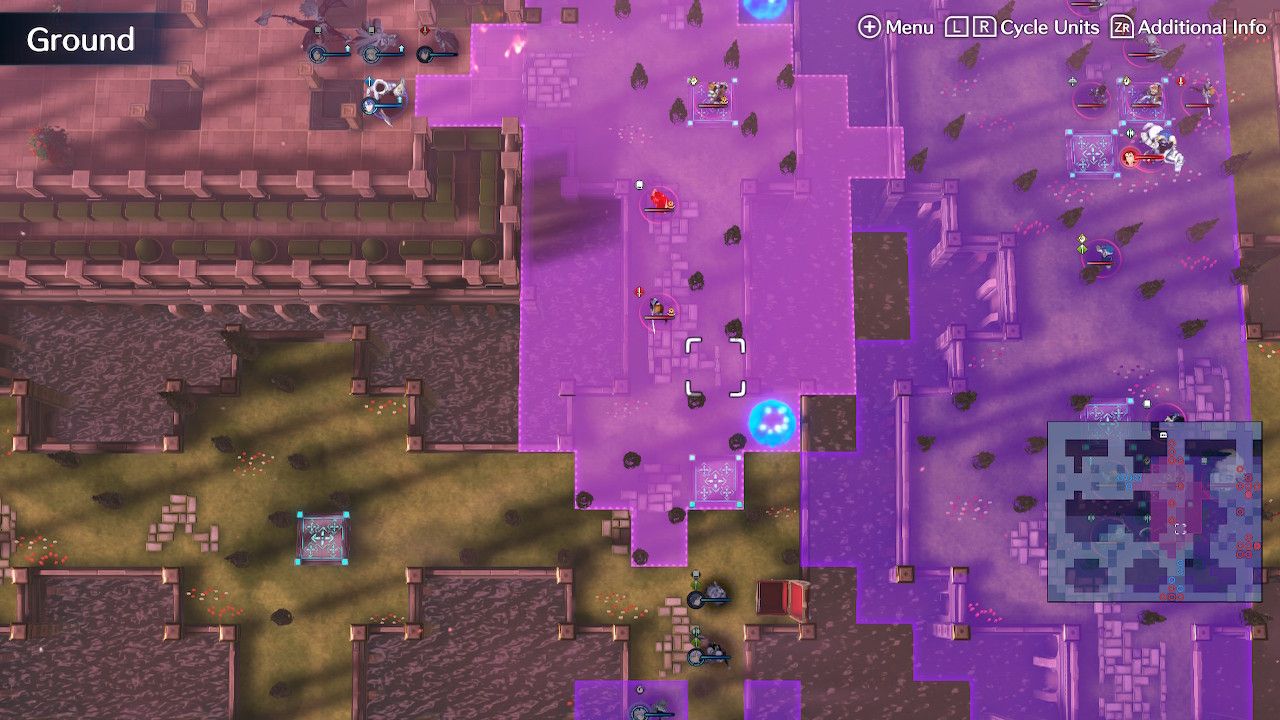
For this battle, you'll want to take the map in three sections (for both North and South):
- Room One
- Room Two
- Room Three - Alfred and Celine
There are reinforcements to worry about, appearing at different points throughout your progression. Some will appear in two waves instead of all at once, requiring you to camp their spawning point to prevent them from becoming an issue.
Otherwise, there are no special map gimmicks, and you can complete each of the paths without ever needing your two teams to cross.
Room One
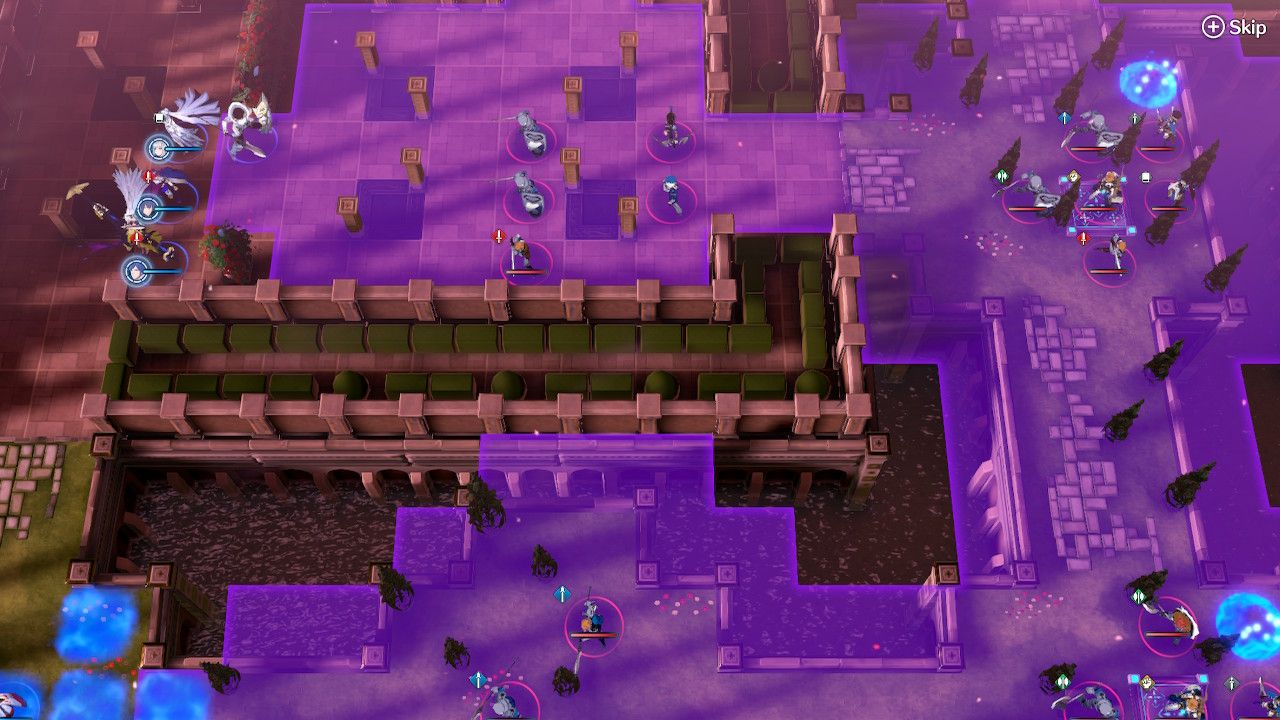
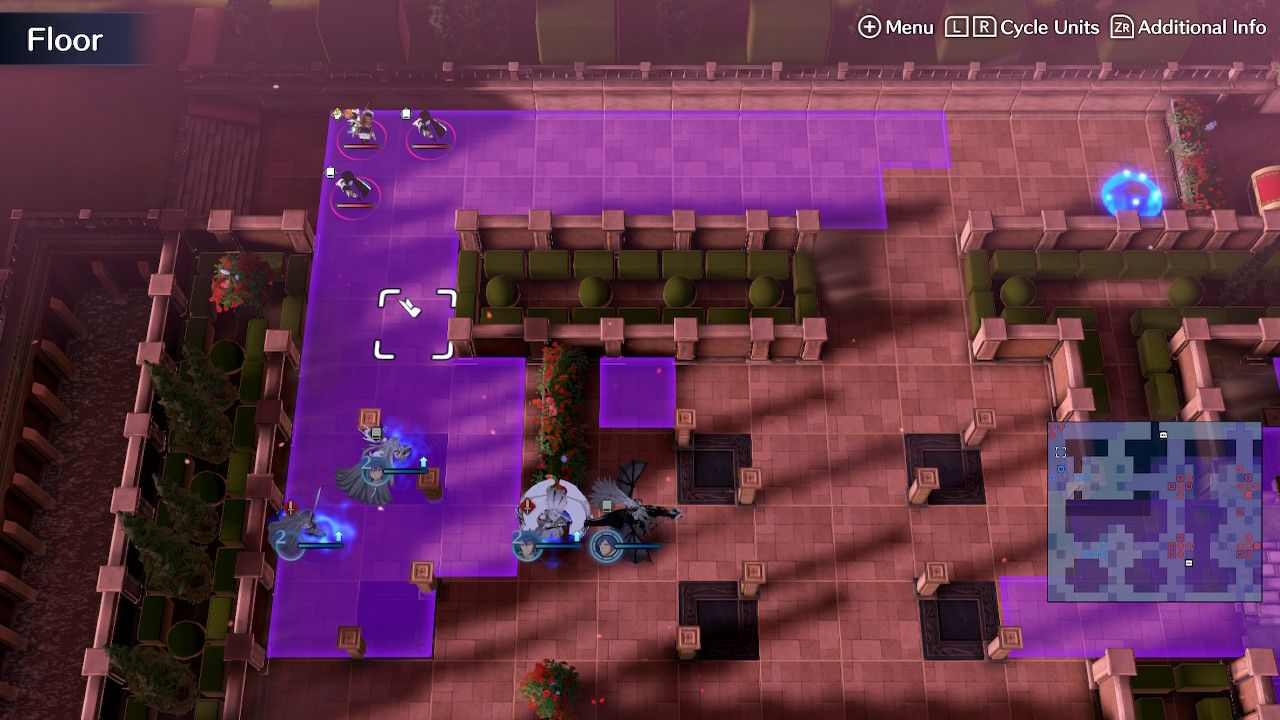
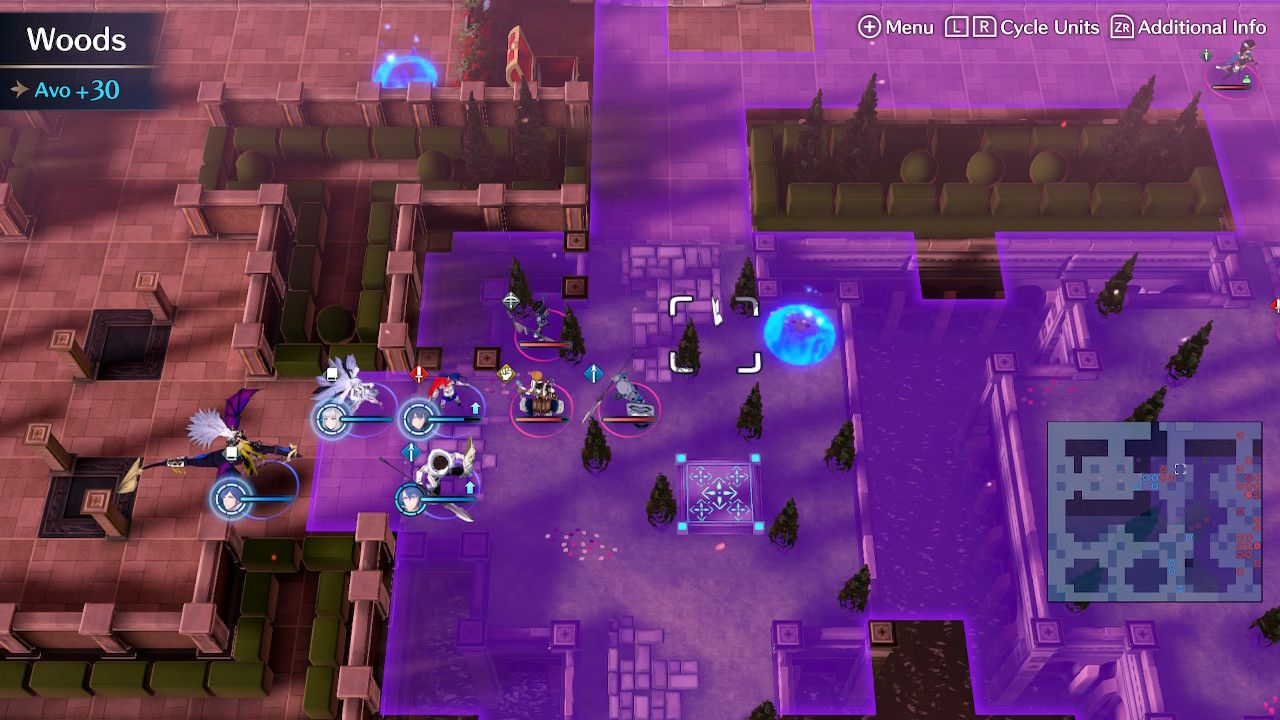
Each of the two paths will start your teams in front of the enemy group. Sending everyone in to defeat them all at once is a recipe for disaster, so it's best to bait these enemies forward to take them out on Round Two.
For the north path, bait them with your lance unit on the edge of the enemy's range. Do the same in the south path with your axe unit (never Nil!).
Taking out each path's enemy units, you'll want to prioritize taking out the archer on the northern path for Zelestia's sake.
Otherwise, take out each path's enemies and begin moving your units forward on the southern path. Leave the northern path because enemy reinforcements will start appearing after you defeat all the northern path's first room enemies (or on Turn Four).
Enemy reinforcements will feature two mages and an enchanter, and they'll come in two waves - on Turn Four and Turn Five. Bait them with a high-resist unit and deal with them accordingly.
One of the mages will have Elthunder equipped. It's recommended to have a mage character like Zelestia or otherwise with Elthunder also equipped to answer their damage.
Room Two
Things begin to be a bit complicated as you move into the next stage of the fight. You'll want to bait the enemy units forward on each path again, but if you don't defeat the units on these paths fast enough, you'll need to contend with stacking reinforcements on both fronts.
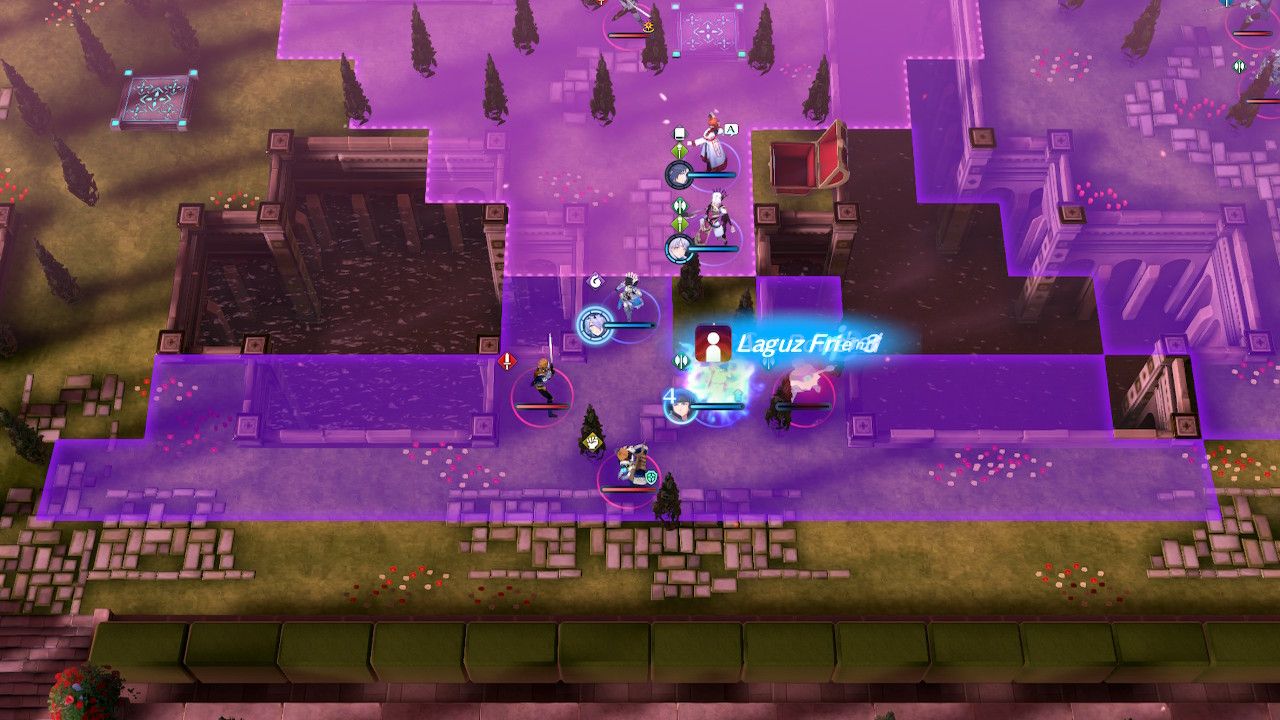
The fastest way to deal with these enemies is to use at least one Engage for each path. Using Ike's Great Aether, Byleth's Goddess Dance, Soren's Cataclysm, and Sigurd's Override are great crowd-control Engage actions that can boost your survivability chances.
If you start moving the southern team forward into this room before the northern team and keep them on the northern side of the path, you might end up splitting the northern path's Room Two enemies. Two of them will begin marching south to join the southern enemy's team and bolster their forces.
In this case, time will be of the essence. If you don't defeat the southern forces quickly, you'll be pinched between the northern path enemy, the southern team, and the southern reinforcements.
As you deal with these, you'll probably want to think about getting to the thieves in each path. Chances are, you won't be able to grab the Ridersbane in the north, but you'll have good chances for the Physic staff to the south.
If you took Sigurd for a northern path unit, you won't need to worry about Ridersbane. His Engage weapon is a better version of the treasure chest item and not worth the hassle.
Within a round of beginning this stage of the fight, you'll see a group of three reinforcements in the north. The one to worry about is the archer, threatening Zelestia's advancement.
For this group, make sure to keep Alear and your lance unit as a wall at the Room One and Two chokepoints. Use Zelestia and your other mage unit's ranged attacks over their shoulders to systematically cut down on your enemies.
To the south, two rounds of physical units (a sword fighter, axe fighter, and Enchanter each turn) will appear as reinforcements on the edge of the map. They're troublesome due to the Enchanter's buffs.
Like with the main room, crowd-controlling AOE Engage attacks are useful here, but if you can't, prioritize the sword fighter to prevent your axe fighter from being stance-broken.
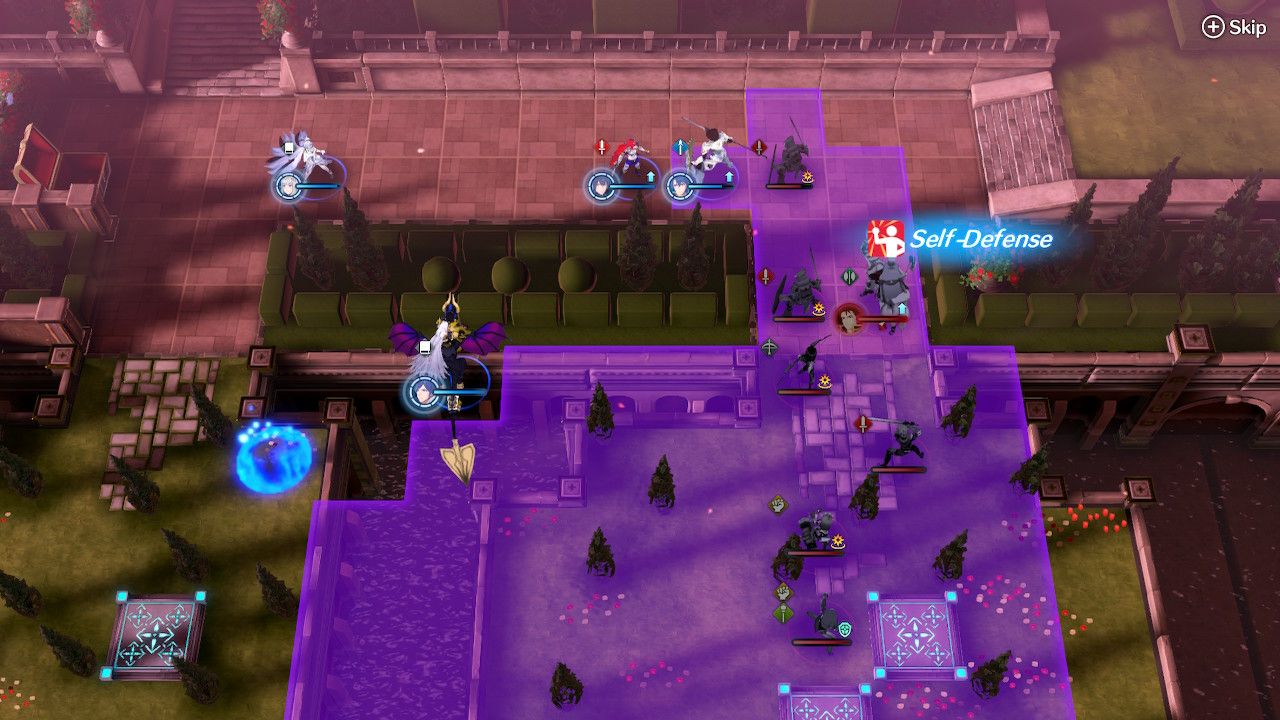
If you have Soren, it's a good idea to Assign Decoy here.
Once both sets of enemies are defeated, you can begin tentatively working your way to the third stage and pick up any Engage well charges on the way.
Room Three - Facing Alfred And Celine
As you begin your approach to the final bosses of this map, Alfred and Celine will have near-endless reinforcements spawning on their end of the map. These appear to be random but favor archers and axe fighters.
The southern path will be far more straightforward, with only a single-tile path forward to Celine. An Engage well is also at the end of it and out of Celine's reach, allowing you to recharge after smacking the reinforcements and before challenging her.
Defeat those in her way and bait down any enemies that aren't in Celine's range.
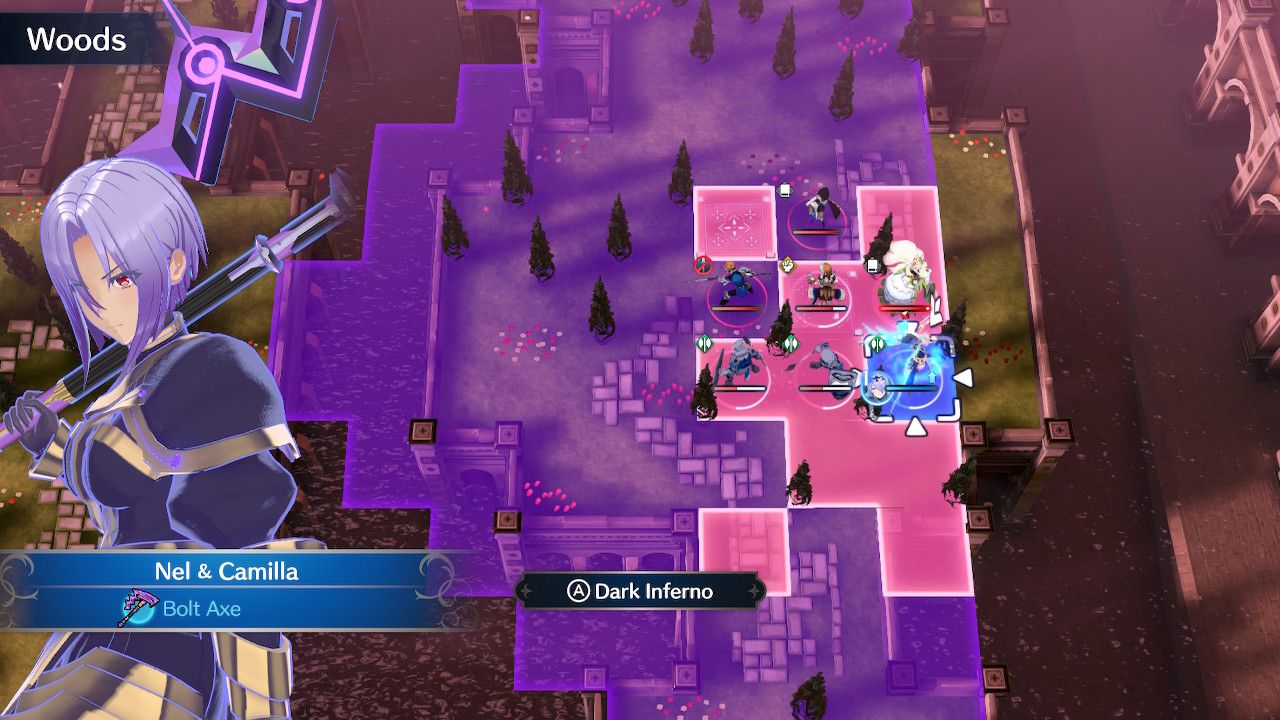
With the minions out of the way, you can move your units in and begin smacking Celine with several hard-hitting attacks. Great Aether and Camilla's Dark Inferno are all good ideas if you have Assign Decoy, but Celine is a tricky unit to reach.
Her access to thunder tomes and the Levin Sword makes her a threat to your axe unit and give her several ranged options.
Thankfully, Celine doesn't have strong physical defenses, so you'll be able to make quick work of her so long as you can get her minions out of the way.
As ever, make sure Nil is in the back using his Physic staff or Micaiah's Great Sacrifice far away from the field of battle.
For Alfred he's far more confrontational than Celine. As soon as you bait one of his units, he'll begin charging north toward your team.
Since he'll always begin the first round of attacks against you with Hector's Storm's Eye, you have one turn to cut down on his minions.
However, since Celine is so easily and quickly defeated, you'll likely have defeated her before ever engaging with Alfred. As such, all you have to do is defeat Alfred to end the map.
For this reason, you can place Zelestia west of Alfred's position over the water to spam Elthunder and create a wall for Alfred to run into with Alear and your lance unit.
Catching him in this trap will open you up for a chance to defeat him in one turn the following round.
Alternatively, since Alfred generally runs into the corner to use Storm's Eye, you can move your units forward to pin him in that corner.
This will prevent Alfred from moving but may leave your units susceptible to attacks from other enemies if they haven't been dealt with.
Alfred can't be stance-broken, but he is susceptible to ranged attacks. Use Zelestia and your ranged unit to do chip damage from afar, and have Alear and your lance unit mop up the remaining HP.
With both defeated, you can end the map and move on to the much harder third chapter.

