When it comes to Floppy Knights, the game runs with two different styles of Challenges. You either have full-scale battles with a premade deck, or you have a single-turn puzzle to solve. A Burning Puzzle, as the name implies, is from the latter camp. It also has an emphasis on burning.
Because this puzzle has no RNG involved at all, this is going to be a full step-by-step walkthrough on how to complete this challenge. It throws some interesting subversions here and there to throw you off, but once you have the strategy down, this puzzle has a guaranteed success rate.
How To Complete A Burning Puzzle

To complete this challenge, simply complete each step as described, in the order we have given. You can use the pictures as a visual aid. The goal here is to kill Big Mad in a single turn.
First Action

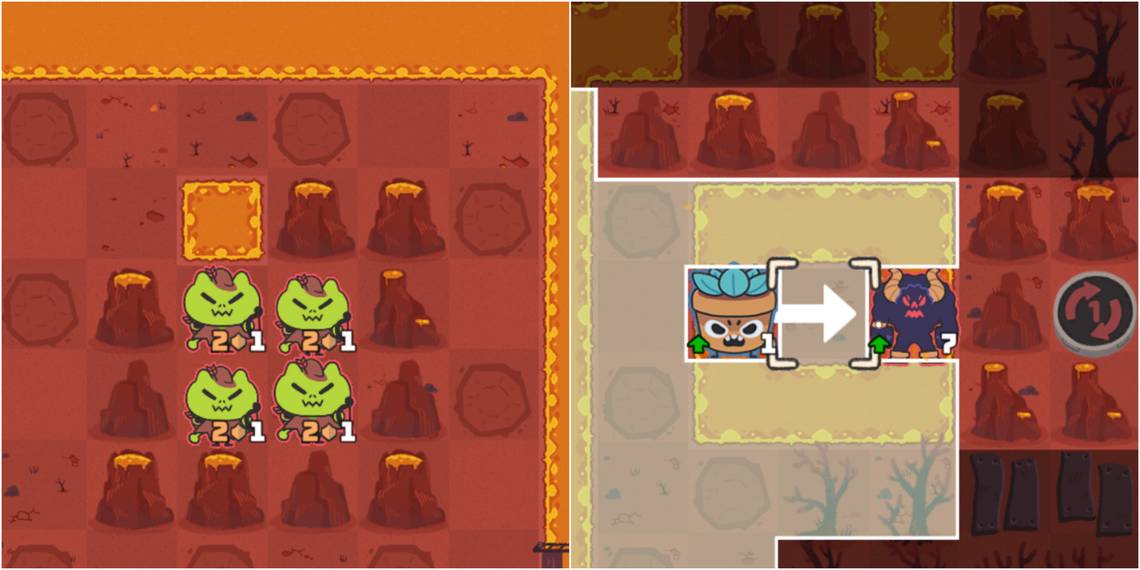
First things first, you need to deploy Captain Thistle. This unit is a trap and will not be used to actually attack Big Mad. This version of Captain Thistle has 1HP (which you likely missed before reading this) and he will immediately die the moment you try to attack Big Mad. Deploy him to the far left and never touch him again.
Second Action

To survive the inevitable lava trip, you need HP. The only way to get HP is to use Grow and upgrade a Succulent Kicker. This will increase his HP to a whopping three, which is just enough to survive a dip in the lava.
Third Action

Summon your upgraded Succulent Kicker on the far right deployment slot. This will generate a Hop+ and Kick+. This is important as Hop+ provides movement without an Energy cost, and Kick+ allows you to attack, also with spending Energy.
Fourth Action

Summon your second Succulent Kicker anywhere. It doesn’t matter. This will generate a Hop and a Kick. Do note that the Kick costs one Energy because it is not a Kick+.
Fifth Action

Use Plow Ahead on your buffed Succulent Kicker to move as far as you can (avoiding the lava) and provide a +1SPD bonus for the rest of the turn.
Sixth Action

Use Hop to move your buffed Succulent Kicker towards Big Mad.
Seventh Action

Use Hop+ to jump into the lava. You will take 2HP worth of damage, and will survive with one 1HP.
Eighth Action

Before you do anything else, use Uproot on Crop Rotation. This will draw Sunshine and Seed Sword from your deck.
Ninth Action

Use Sunshine to generate an additional point of Energy, and draw a basic Move card.
Tenth Action

Use your buffed Succulent Kicker to attack Big Mad. This will deal 3DMG and knock him back into the lava for an additional 2DMG. A buffed Succulent Kicker gains Knockback on all of their attacks.
Eleventh Action

Use your basic Move card to move the buffed Succulent Kicker onto the small land island Big Mad was standing on.
Twelfth Action

Use Seed Sword to attack with the buffed Succulent Kicker, dealing 3DMG.
Thirteenth Action

Use Kick to deal an additional 3DMG.
Fourteenth Action

Finally, end the fight by using Kick+, dealing the last burst of 3DMG.