Quick Links
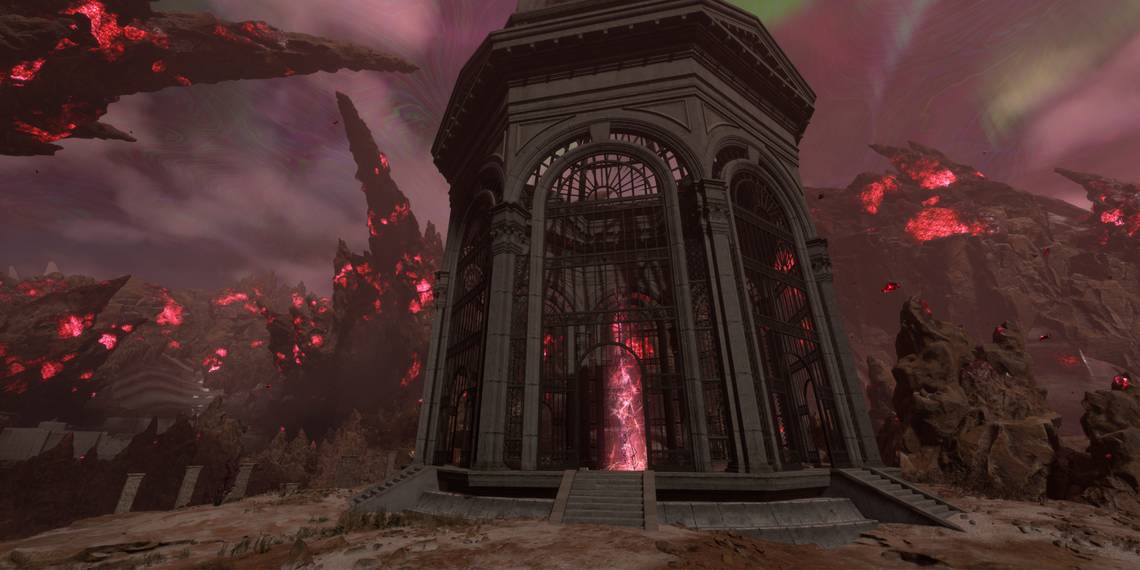
Praenost is a very large area in Forspoken, filled with side paths, open expanses, and plenty of points of interest to explore. Locked Labyrinths are one of the biggest features you'll see as you make your way toward Sila's Castle - huge buildings with glowing pools inside that you use to teleport down into dungeons filled with abyssal enemies and lore.
There are three Locked Labyrinths in Praenost, all with decent rewards to collect. Protecting those rewards, however, are tough bosses, which you have to overcome. Read on to find out how to defeat them with ease.
The Guardians' Way - Locked Labyrinth: Barrier

This is one of the easiest Locked Labyrinths in the game - if you have already conquered the one in The Barren Plains, you know exactly what to expect. The boss is a little tougher than you might be used to so far but still should go down without much fuss.

|
First Room |
This room is filled with Abyssal Breakzombies. There are largely the same as regular Breakzombies - use whatever strategy you're most comfortable with to take them down. They have no specific weaknesses. |
|---|---|
|
Second Room |
This room has even more Abyssal Breakzombies to contend with. Overall, it's still an easy room to clear. |
|
Boss |
Lesser Gigas |
From the first room filled with Abyssal Breakzombies, there is a path off to the side, away from the map marker indicating the end of the Labyrinth. Head down here to find a dead end filled with mana fountains and a locked chest containing some Old Coins.
Between the second room and the boss, you'll find some Firewood. Use this to heal up and get some more Healing Draughts if you are running low.
How To Beat The Lesser Gigas

This is likely the first time you've gone up against a Gigas - they're a dangerous enemy type. You'll face quite a lot of them over the course of the game.
Thankfully, this one doesn't have the advanced tricks that its more difficult brethren do - the worst attack that you have to be on the lookout for is its Unblockable leaping attack. It will leap at you, bringing its fists down and causing a large explosion - you can't be caught in the explosion without taking damage, even with Flow, so move away from the impact zone as quickly as possible.
If you're facing this boss as soon as possible, you likely won't have access to Green Magic, which is its weakness. Instead, you can just rely on Frey's Purple Magic. Avoid Sila's Magic, if you have it - the Lesser Gigas will resist it.

The majority of this battle will be a cat-and-mouse game of the Lesser Gigas using its leaping attack to try and catch you from afar and you sniping it after dodging. Once you have the rhythm of the fight down, you'll have no issues whatsoever.
The reward for completing this Locked Labyrinth is the Lief cloak, which protects you against poison when your health is low. Not a very useful skill, but it's nice to expand your cloak collection.
The Citadel - Locked Labyrinth: Cliff

This Locked Labyrinth might as well be called the Poison Labyrinth - every enemy you face inside will happily poison you. For this reason, it's a good idea to make sure you don't attempt this dungeon until you've learned Leach, a Purple Magic spell that heals Frey of poison. In fact, this is a great place to complete the spellbook challenge associated with Leach, which requires that you heal yourself of poison three times.

|
First Room |
This room contains only two Abyssal Troodon. These large lizards can inflict poison and are very hardy, but they're weak to Frey's Magic, so use that. |
|---|---|
|
Second Room |
This room contains some more Abyssal Troodon and a pack of Abyssal Varanus. Be careful not to get hit if you can help it, both enemies love using poison. |
|
Boss |
Lesser Apsaravis |
In both the first and second rooms filled with monsters, there are alternate paths that lead to dead ends with goodies. The dead end from the first room contains some Old Coins in a locked puzzle chest, while the dead end from the second room contains a ton of mana fountains.
How To Beat The Lesser Apsaravis

The annoying this about this boss is that it'll spend the majority of the fight in the air, high out of reach of most of your spells. In addition, it's very mobile, so when it gets close, it might end up only staying near you for a few seconds.
If you save this battle until you've acquired Prav's Magic, you'll have a far easier time. The Lesser Apsaravis is very weak to Blue Magic and it has far more range than Purple and Red Magic. With Chain Bolt and Naedre, the fight is incredibly easy.

The key to this battle is to get up on top of the convenient building in the middle of the arena. With the extra height, carefully time your shots at the boss whenever it gets near. Be wary of its attacks, though - they are very large and can easily catch you unawares, and can also inflict poison on you. Cast Leach if this happens.
After beating the Lesser Apsaravis, you can go collect your reward: the Puissant cloak, which gives you a boost to Surge Magic recharge rate when there are lots of enemies around.
Pioneers' Plain - Locked Labyrinth: Mountain

This Locked Labyrinth is not to be confused with Mountain Base, which is in Avoalet.
There are quite difficult enemies to face in this Locked Labyrinth, and a boss with huge resistance to Frey's Magic. As a result, it's best to delay taking on this dungeon until after you've beaten Tanta Sila, giving you an alternative.

|
First Room |
This room contains some Abyssal Troodon and Abyssal Syntheras. The latter will bound around the room, trying to confuse you, while the Troodon sneak up and poison you. Try to take out the Syntheras first. Both are weak to Frey's Magic. |
|---|---|
|
Second Room |
This room has Abyssal Thylacoleo and Abyssal Argentavis. The former will counterattack if you get close, so take them out from range. The latter are annoying birds that swoop a lot - these should be your first priority if you can help it. |
|
Boss |
Lesser Amphicynodon |
There are three exits from the second room filled with enemies. The one in the middle leads to the boss, while the alternatives lead to goodies. You'll find a locked chest filled with Old Coins on the left, and a dead end filled with mana on the right.
How To Beat The Lesser Amphicynodon

The Lesser Amphicynodon is quite aggressive and has very large attacks, so it might be hard to balance your offense with your defense until you have its attack patterns down.
This boss is very weak to Sila's Magic, so break out the flames. If you're keeping your distance, use Blast Slice backed up with Fusillade. If you're more confident about dodging the boss's attacks up close, however, you can deal a ton of damage by trapping it in a Crucible with you and using Rage Slice.

While nimble, this boss is quite fragile. If you can save up a Surge Magic for this boss and open the battle with a Conflagration, you might be able to get the boss killed within 30 seconds!
After beating the catlike dragon, you can go pick up this dungeon's reward, the Shrift necklace. This comes with the ability to boost your damage while your Surge Magic is charging, which is fantastic for Surge Magic-heavy strategies.