The lore-based weekly quests are here so get on them as soon as you can! Thursdays are when the Fortnite weekly quests go live and on Tuesdays, it's become a habit for the lore quests to be released. We've had Resistance quests, Vibin' quests, and this Season we're getting Paradise quests.
These are very story based and fun for fans that have been following the lore. If you enjoy a good narrative, then this is just for you. Plus you get to earn a bunch of experience points!
Updated November 17, 2022, by Ashely Claudino: The second set of Paradise quests has been released, and we've updated this guide with all the new quests and how to complete them. These will most likely be the last update to the Paradise storyline; however, if any more quests are added we'll be sure to update this guide once again.
Paradise Quests
Paradise quests are connected to the Battle Royale's storyline. You can follow it as you play through fun challenges on the map. At another point in the season, a new set of Paradise quests will release, adding more to the story, so you can look forward to knowing a bit more as each week goes by. Since you have to play a part in the story, you truly feel like a crucial element in it. On top of that each time you complete one of these quests, you'll receive 32,000 XP.
It's very important that you track the Paradise questline when doing these quests, since you'll have to go to various places all over the map as you do them — if you've tracked the quest, then the game will automatically tell you where you can go to complete them whenever you open the map.
To track a quest, hover over it and press the 'track quest' button, you can untrack and retrack it whenever you please.
Part One
- Prepare for Jones's call on your next Battle Bus ride
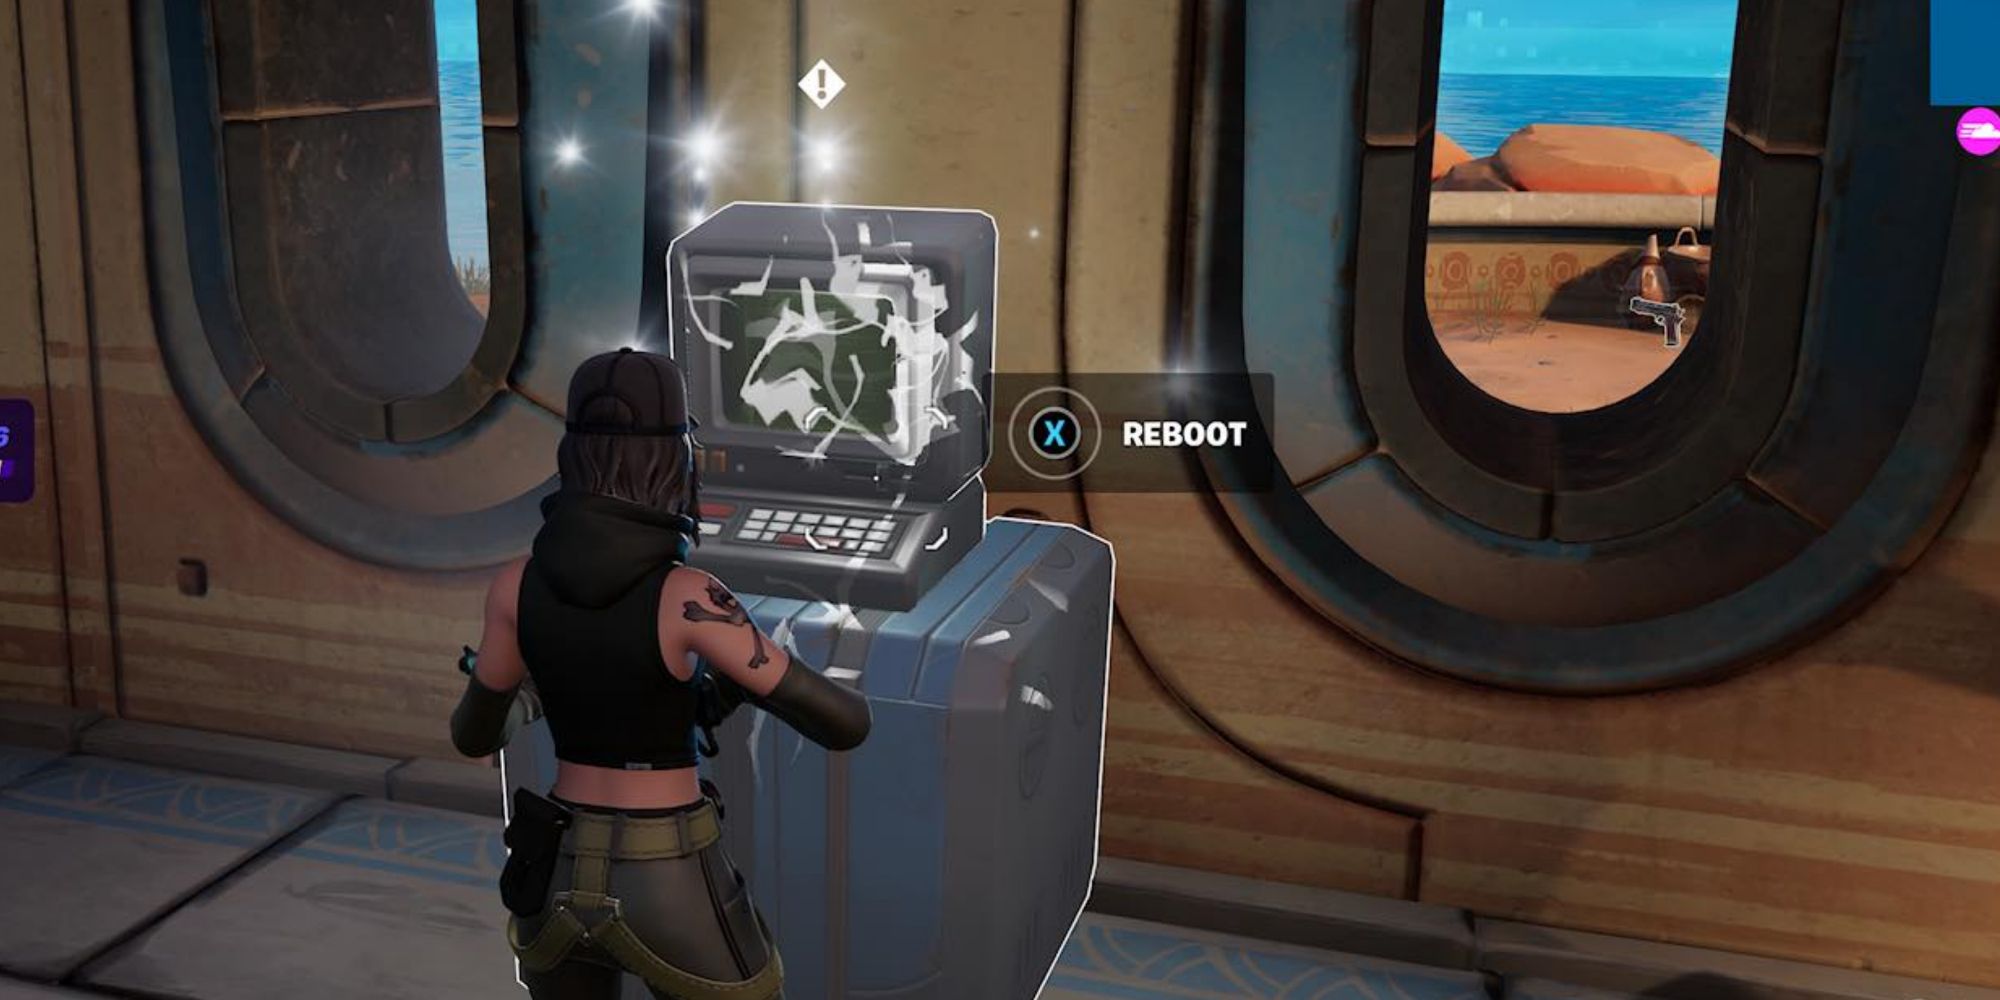
- Reboot a computer at Seven Outpost II, V, or Synapse Station
- Establish a Device Uplink (Reality Tree)
- Find an odd Reality Tree root
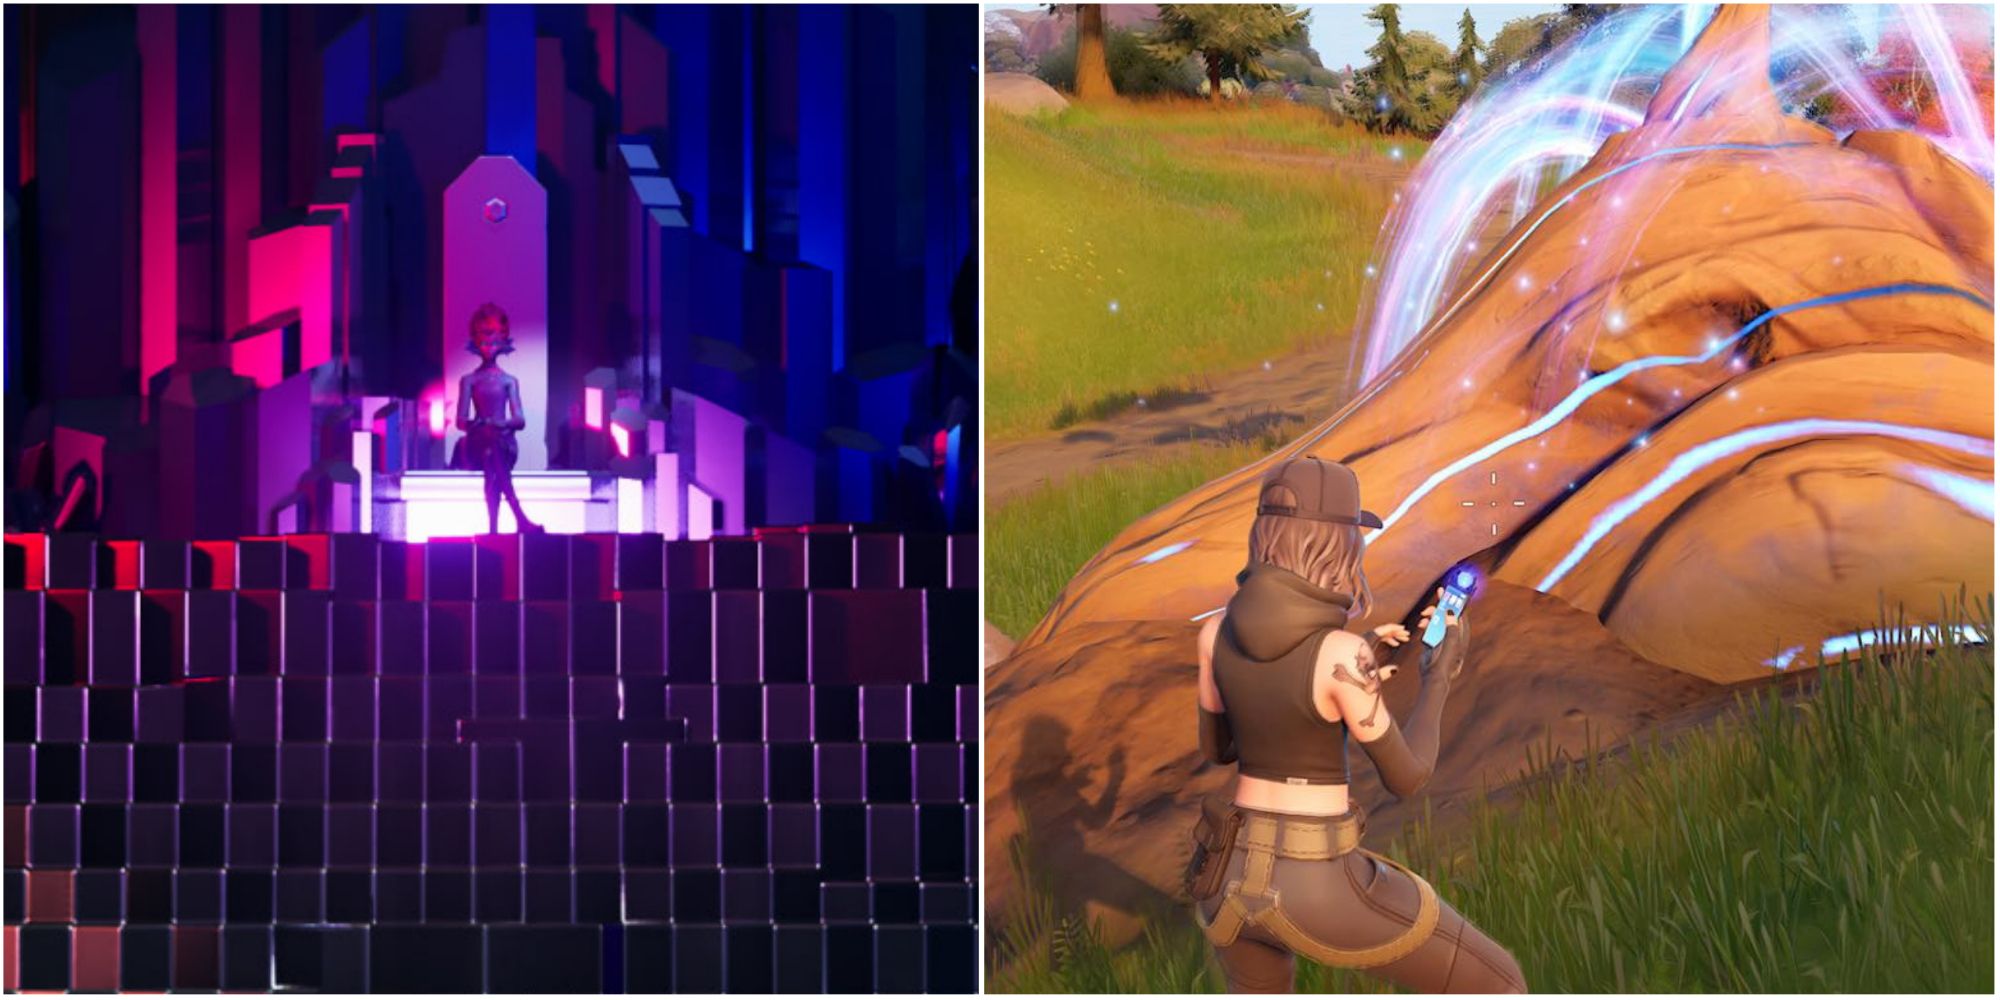
Next, you'll have to find an odd Reality Tree root to find out how the infection is spreading. You can find these roots in various places all over the map.
|
Possible Paradox |
Between Cloudy Condos and Rocky Reels |
|---|---|
|
Picturesque Paradox |
North of Rocky Reels |
|
Pump 'N Paradox |
Southeast of Reality Tree |
|
Party Paradox |
Northeast of Rave Cave |
|
Peaceful Paradox |
West of Sleepy Sound |
- Use the device to record the bizarre sound at a Reality Tree root
- Await further orders
- Use a computer at a Seven lab to decode the recording (east of Tilted Towers, Synapse Station and at the Launchpad)
- Await further orders
- Destroy a car or truck to collect electronic parts (3)
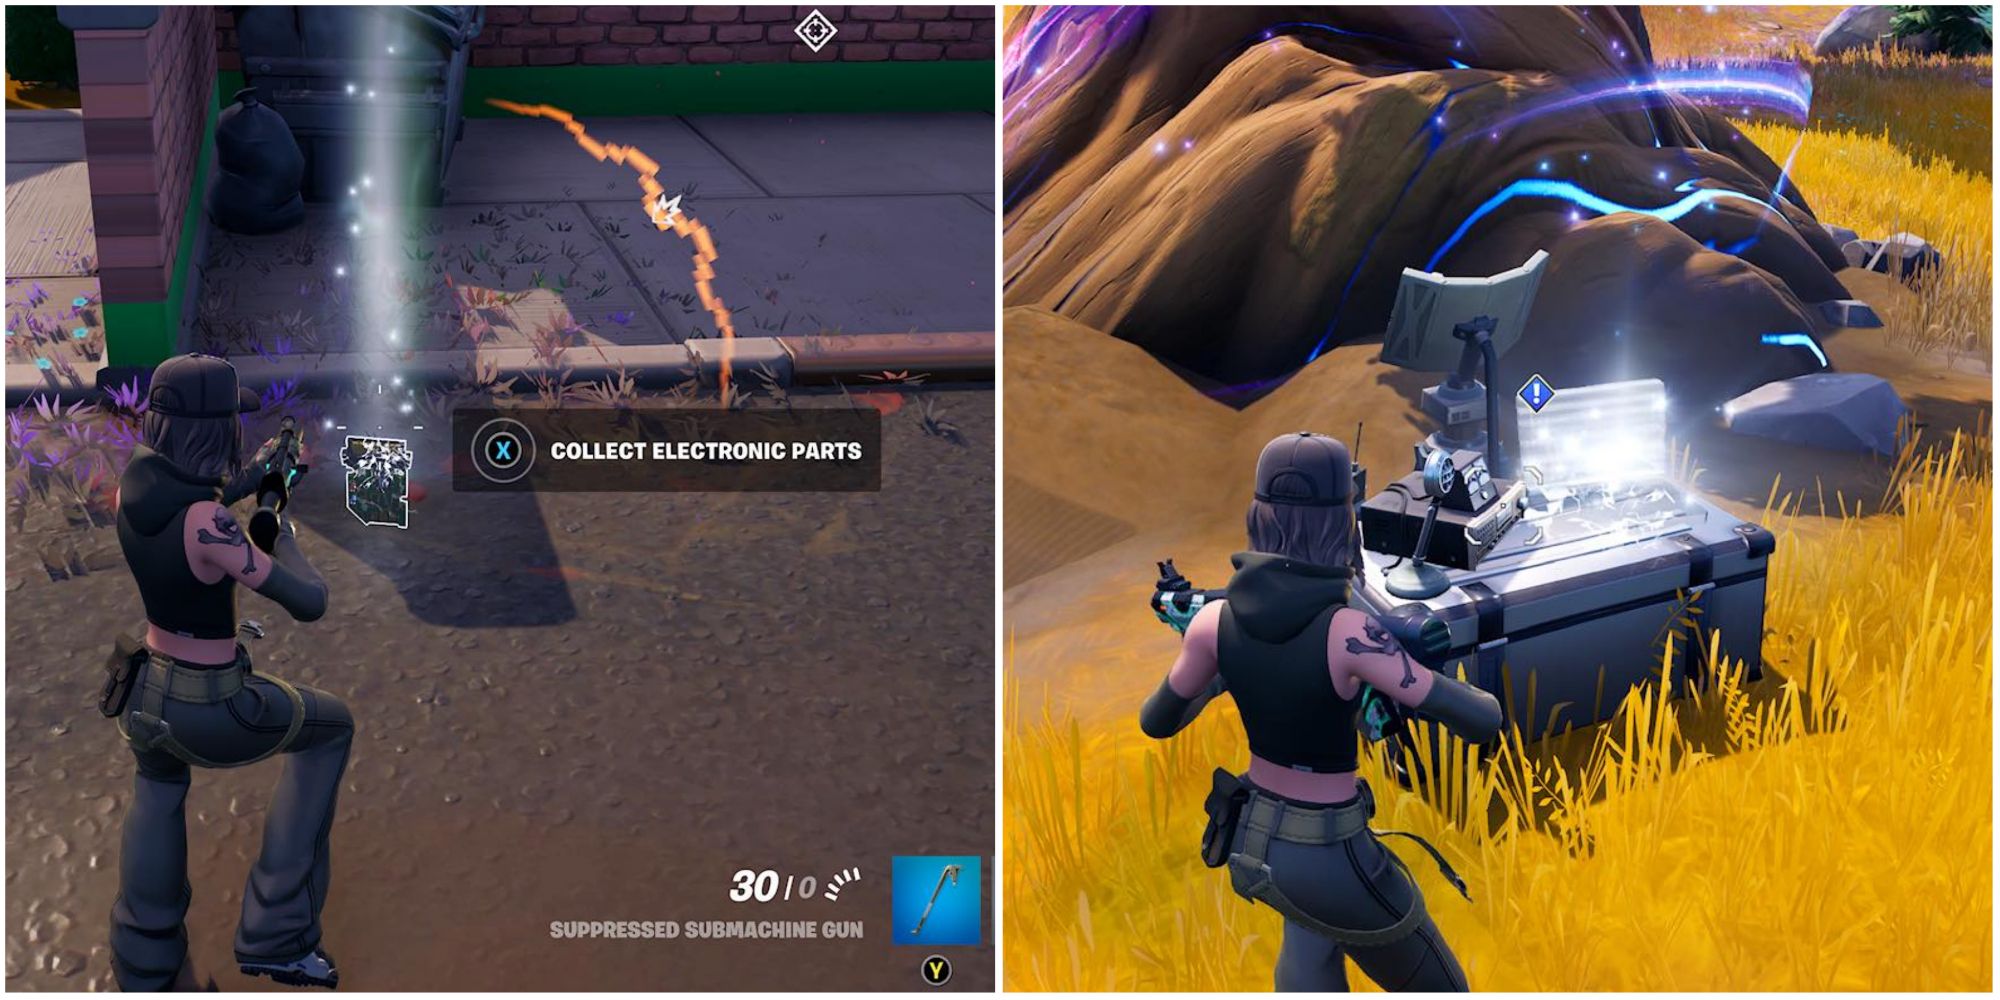
You'll have to convince AMIE to build you a translator, so you'll have to convince her by giving her some electronic parts. The amount of parts you get from destroying a vehicle is random; you can either get all three at once or only one.
- Place all the parts of the translator setup near a Reality Tree root
Go to one of the odd Reality Tree root locations and place all the parts that you collected near it. Once you're close enough, you'll notice the spot where you can do this.
- Await further orders
- Talk to Blackheart about The Scientist's notes
Head to Lustrous Lagoon and board the ship to talk to Blackheart.
- Find and dig up the Scientist's stolen research notes
East of Lustroust Lagoon you can visit the Syndicate Shoals landmark — it's on a small island. Hit the dirt mounds that are scattered all over the island with your pickaxe to dig them up until you've found the Scientist's notes.
- Eliminate an opponent with an EvoChrome Weapon
- Phase through Chrome structures (3)
- Destroy Chrome objects, then collect Chrome anomalies (5)
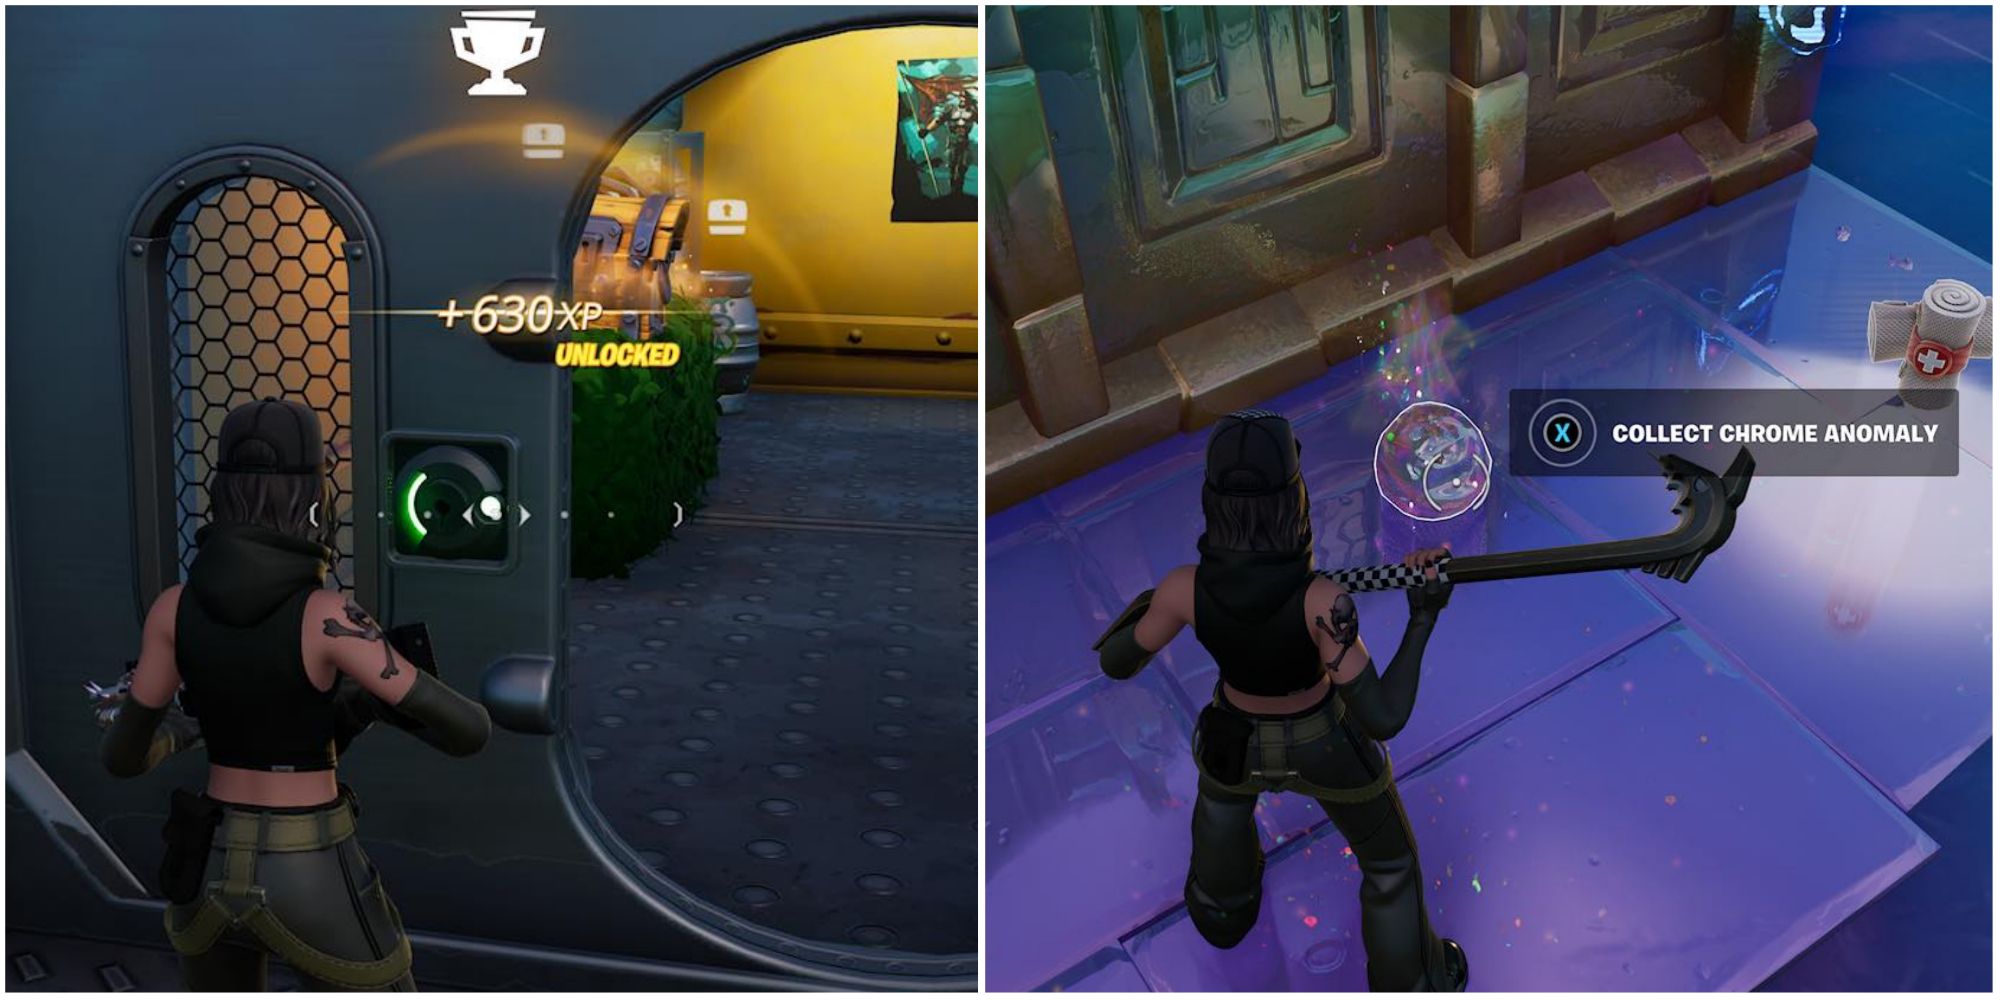
In a Chrome-covered biome, destroy Chrome objects — you can also destroy structures to do this. Sometimes, Chrome anomalies will pop out upon destruction, and you can recover them. Do this until you've collected a total of five.
- Await further orders
- Place the Chrome anomaly in the test chamber at a Research Lab
- Approach the control panel and hit the red buttons as they appear
- Activate the holotable
This is a mini-game that shouldn't be too complicated if you're used to your sensitivity options. All you have to do is hit the buttons once when they turn red. Then they'll turn green and another button will turn red. Do this a few times until the quest is completed. Then, once you're done, approach the holotable in the middle of the room and interact with it.
- Await further orders
- Collect battle plans from a bunker
There are bunkers scattered all over the map. If you've activated quest markers, then you'll immediately see bunker locations marked on your map. However, you'll be disappointed when you get there if you don't have a key in your pocket to use to open the vault. So, first, get the key and then head to the bunker.
Keys spawn at random. They can be found in floor loot, in supply doors, and inside chests. It seems that they drop more frequently in Chrome-covered biomes, so you should try your luck in places like Lustroust Lagoon, Herald's Sanctum, Cloud Condos, or Shimmering Shrine.
Once you've got it, head to a bunker (some require two keys to open so examine your map carefully, and then you'll know where you should be headed).
- Await further orders
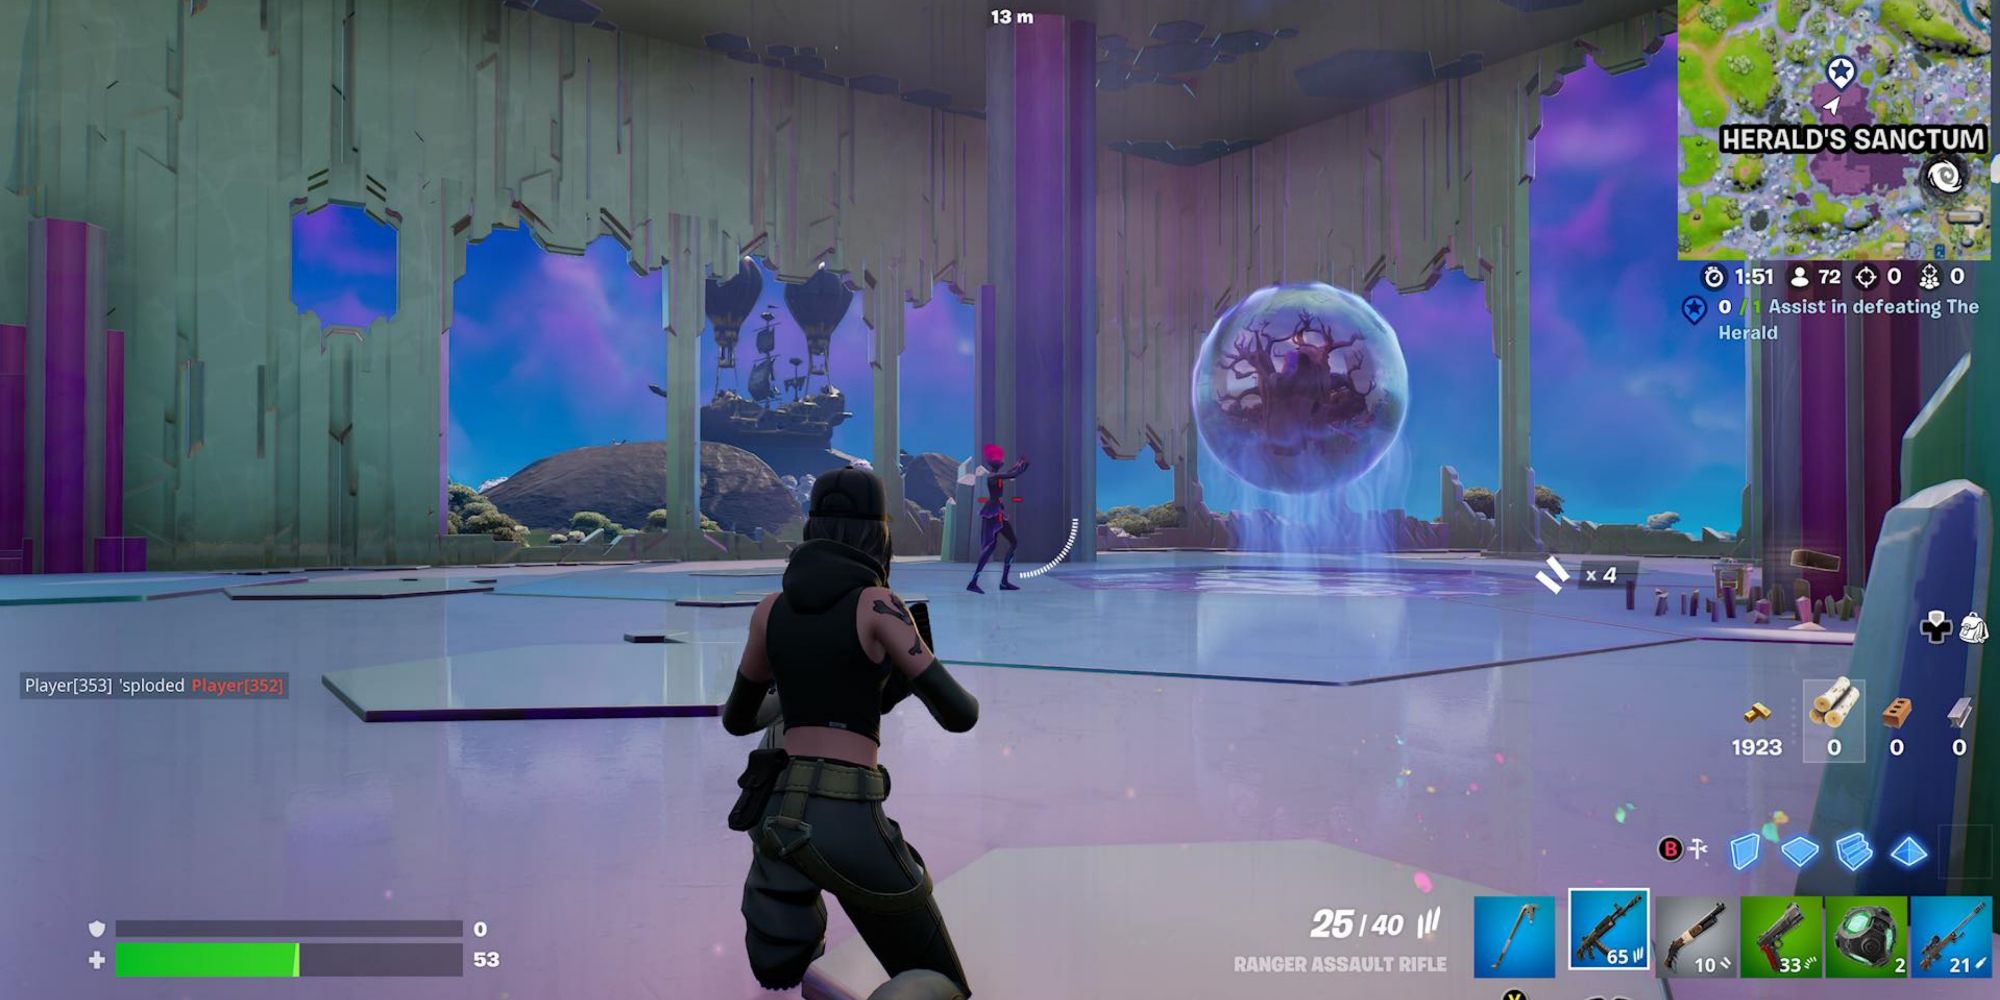
- Assist in defeating The Herald
Before you head to Herald's Sanctum to defeat The Herald, be sure to prepare yourself with the best gear and maximum shields. After this, all you'll have to do is await further orders once more and land on the island.
- Await further orders
- Land on the island
Part Two
- Prepare for Jones's call on your next Battle Bus ride
- Position the Signal Boosters using your harvesting tool (3)
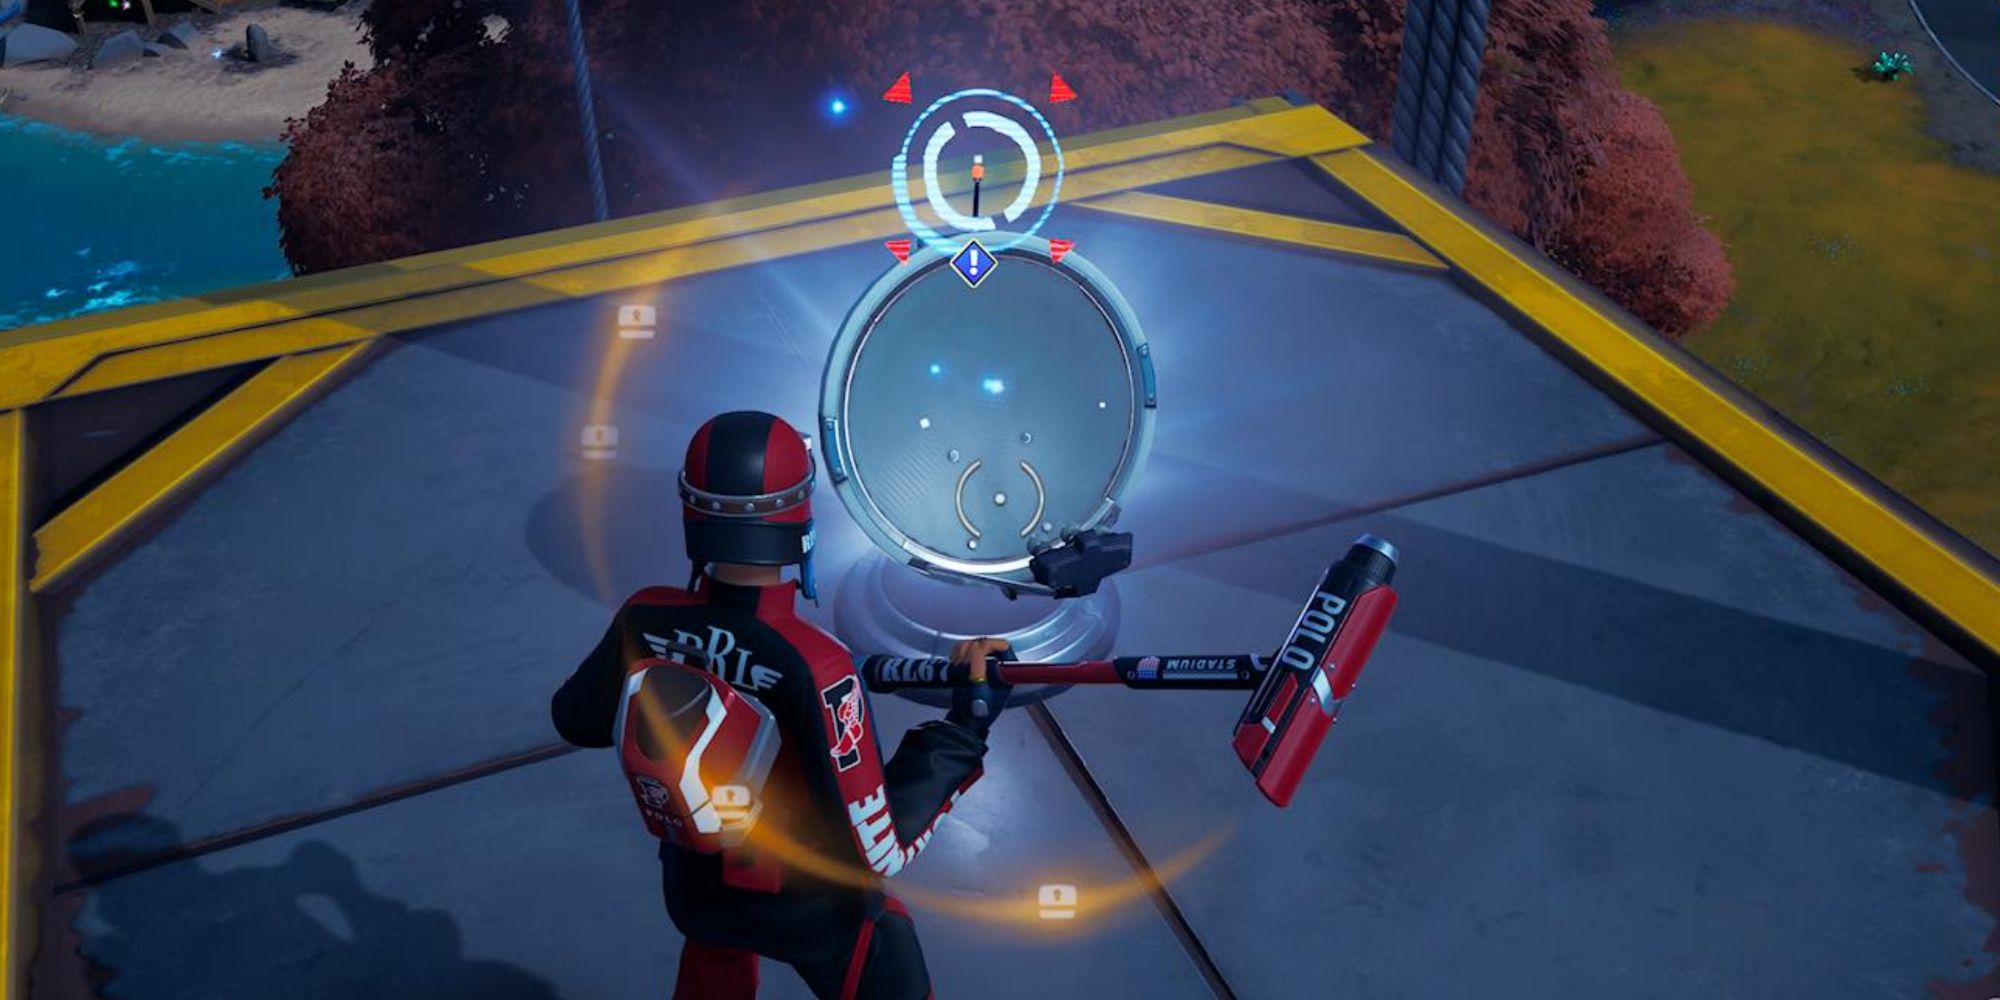
There are four Signal Boosters on the map, one is on the balloon west of Greasy Grove, another one is on the floating road south of Groovy Grove, another one is on top of a hill next to a wooden shack north of Reality Tree, and the final one can be found on the hill next to the wooden pile covering the underground vault, southwest of Tainted Towers. Be sure to activate quest markers and track the quest so they automatically show up when you open your map. Hit the Signal Boosters with your pickaxe to position them.
- Await further orders
- Search an open dumpster to find the last of The Scientist's research notes
There are dumpsters all over the map. The only issue here is finding one that's open. Before initiating this quest, you can freely enter dumpsters as you please, however, afterward they will all become inaccessible, and you'll have to find an open one that you can enter in order to get The Scientist's research notes and be able to use dumpsters once again.
- Await further orders
- Talk to Agent Jones (Fort Jonesy)
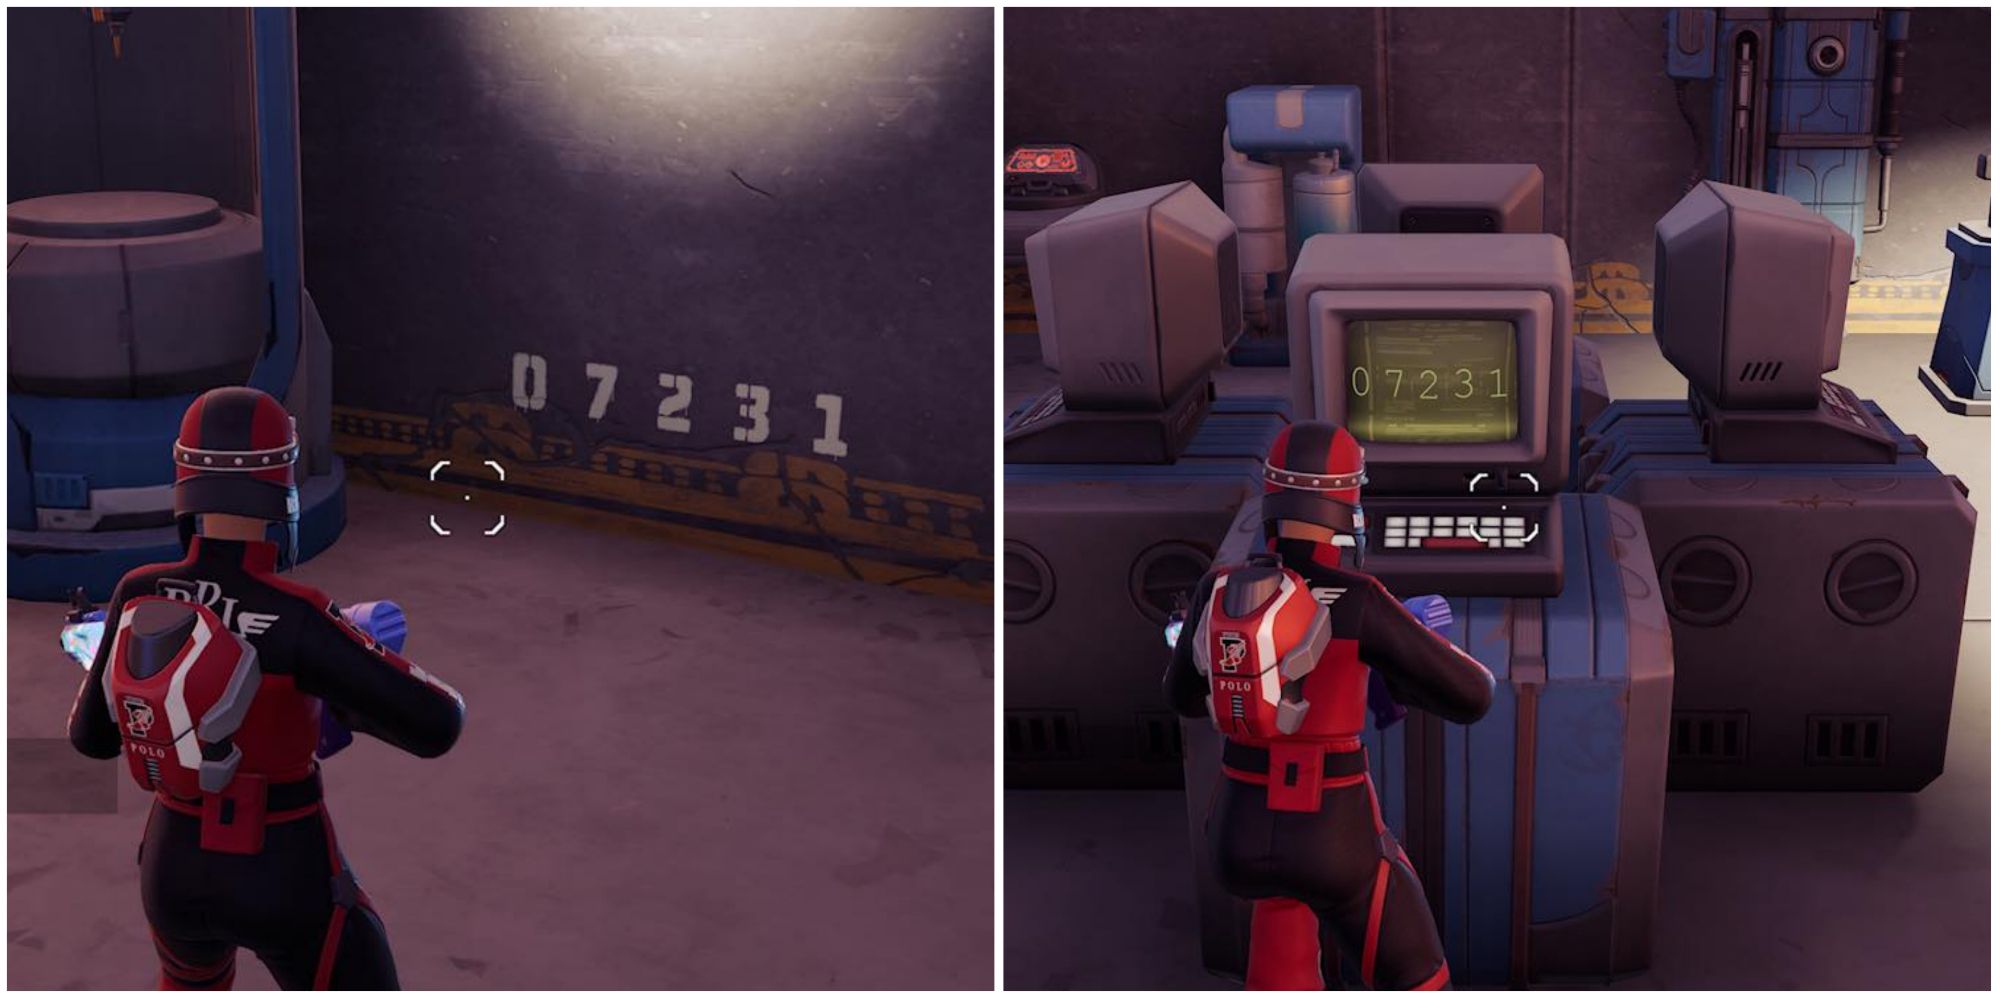
- Find the approval code at a Research Lab (Synapse Station, Tainted Towers, Launchpad)
- Enter the approval code on the Research Lab's computer
After talking to Agent Jones, go to one of the Research Labs on the map and examine the walls to find the approval code. Once you've got it, you'll have to memorize the code and manually enter it on the computer.
- Await further orders
- Dance at an Attunement Anchor near Tainted Towers
- Dance at an Attunement Anchor near Fort Jonesy
At the designated locations, there will be plushies of your favorite Fortnite skins; get in front of them and use an emote to move on to the next part of the quest.
- Await further orders
- Equip the Sensor Backpack at Seven Outpost V or Research Lab Minotaur
- Record energy signatures around Loot Lake (3)
Stages two and three of this quest need to be done in the same match. You will have to equip the Sensor Backpack and record all three energy signatures around Loot Lake successfully; otherwise you'll have to do it all again. Seven Outpost V is farther away from Loot Lake compared to Research Lab Minotaur; however, there are rifts nearby that you can take.
The energy signatures are all over the place, you have to pay attention to the backpack and follow the direction in which it beeps the most.
- Await further orders
- Survive storm phases in a single match (4)
- Await further orders
- Talk to Bushranger (Groovy Grove)
- Plant the first tree seed near Greasy Grove
- Plant the second tree seed near Grim Gables
The last quest is to talk to Bushranger in the Groovy Grove area, near Knowby Cabin. Then, head over to the area west of Greasy Grove to plant a tree where the map marker is. Next, head over to Grim Gables. There's a tree planting location west and east of the POI. This is the last Paradise quest, for now.

