Quick Links
The traditional joy of a city builder comes from dabbling in the various game modes, settings, and options to make the perfect landscape for your perfect city. Frozenheim has this, of course, but it also comes packaged with a fairly lengthy campaign - four campaigns to be precise.
Each one is four missions long, and each mission will take you roughly an hour to complete. As is to be expected, they start fairly easy, but they ramp up in difficulty as time goes on. Fall, the first mission of the first campaign, is an excellent starting point for newcomers, and this walkthrough will make that process even easier.
Find Your Way Back To Your Settlement
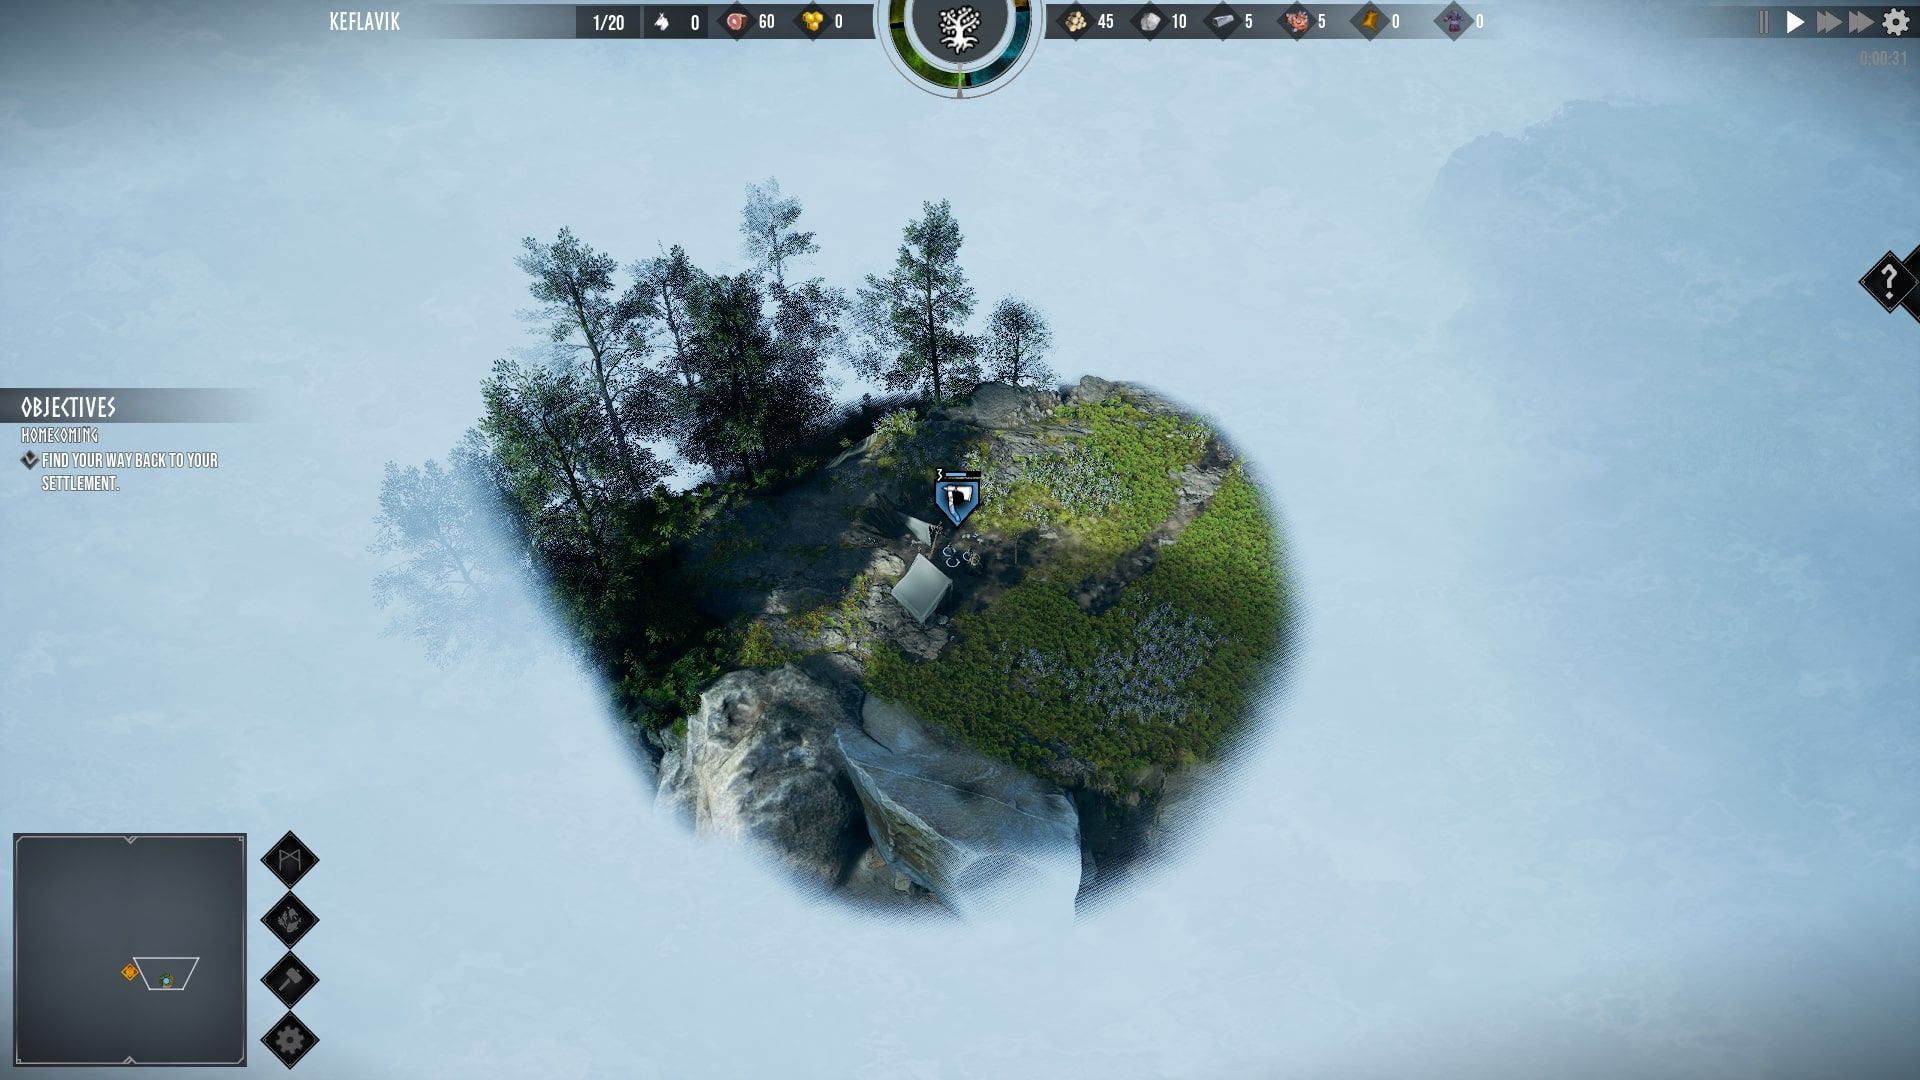
When you first start this mission, you will be given control over a depleted unit of Axemen. You are tasked with finding your Settlement, but there will be some hardships along the way. This, like with most aspects of this mission, is a light tutorial on how to control the game.
Follow The Trail North
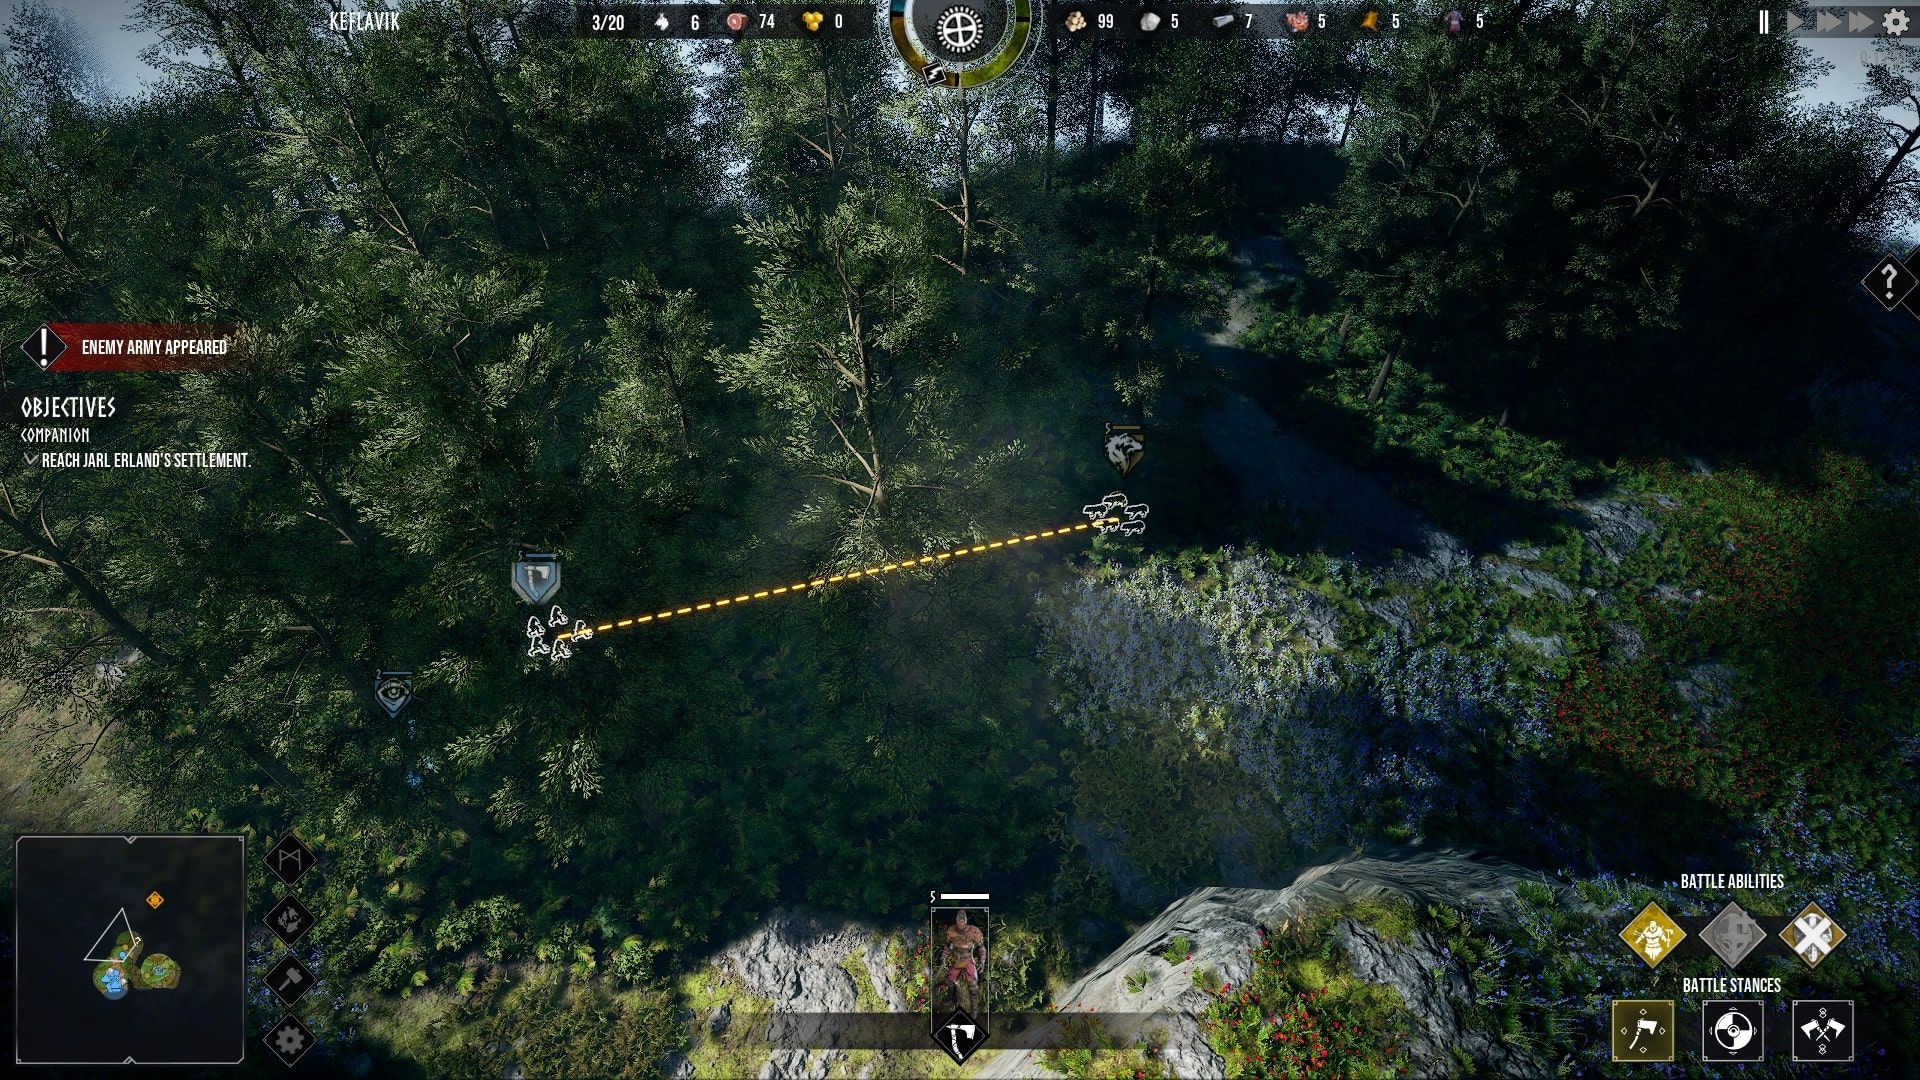
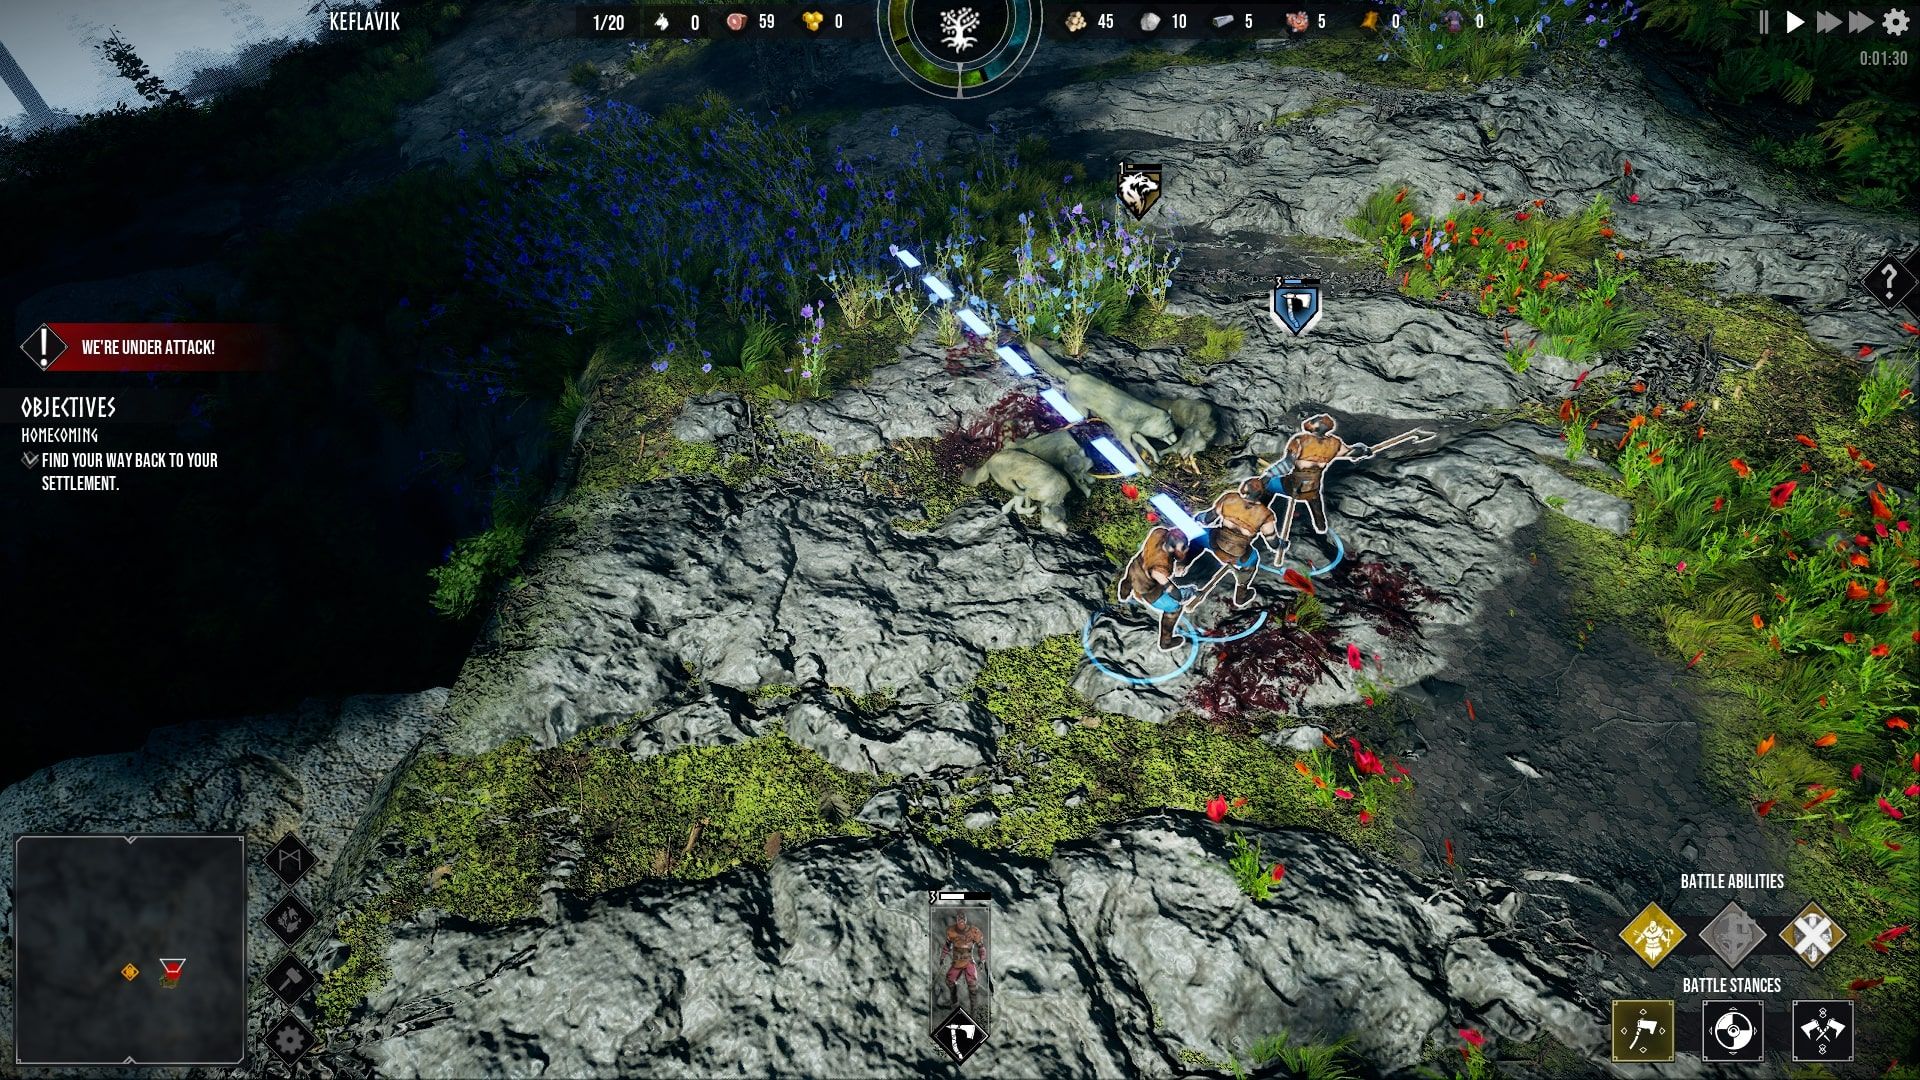
Select your Axemen and make your way north. You will quickly be assailed by four wolves. Wolves are an easy enemy to defeat - even with a depleted unit of Axemen. You should be able to defeat them without suffering any casualties.
To make this easier, use your Rage ability to increase your Power by 50 percent.
Watchtower In The West
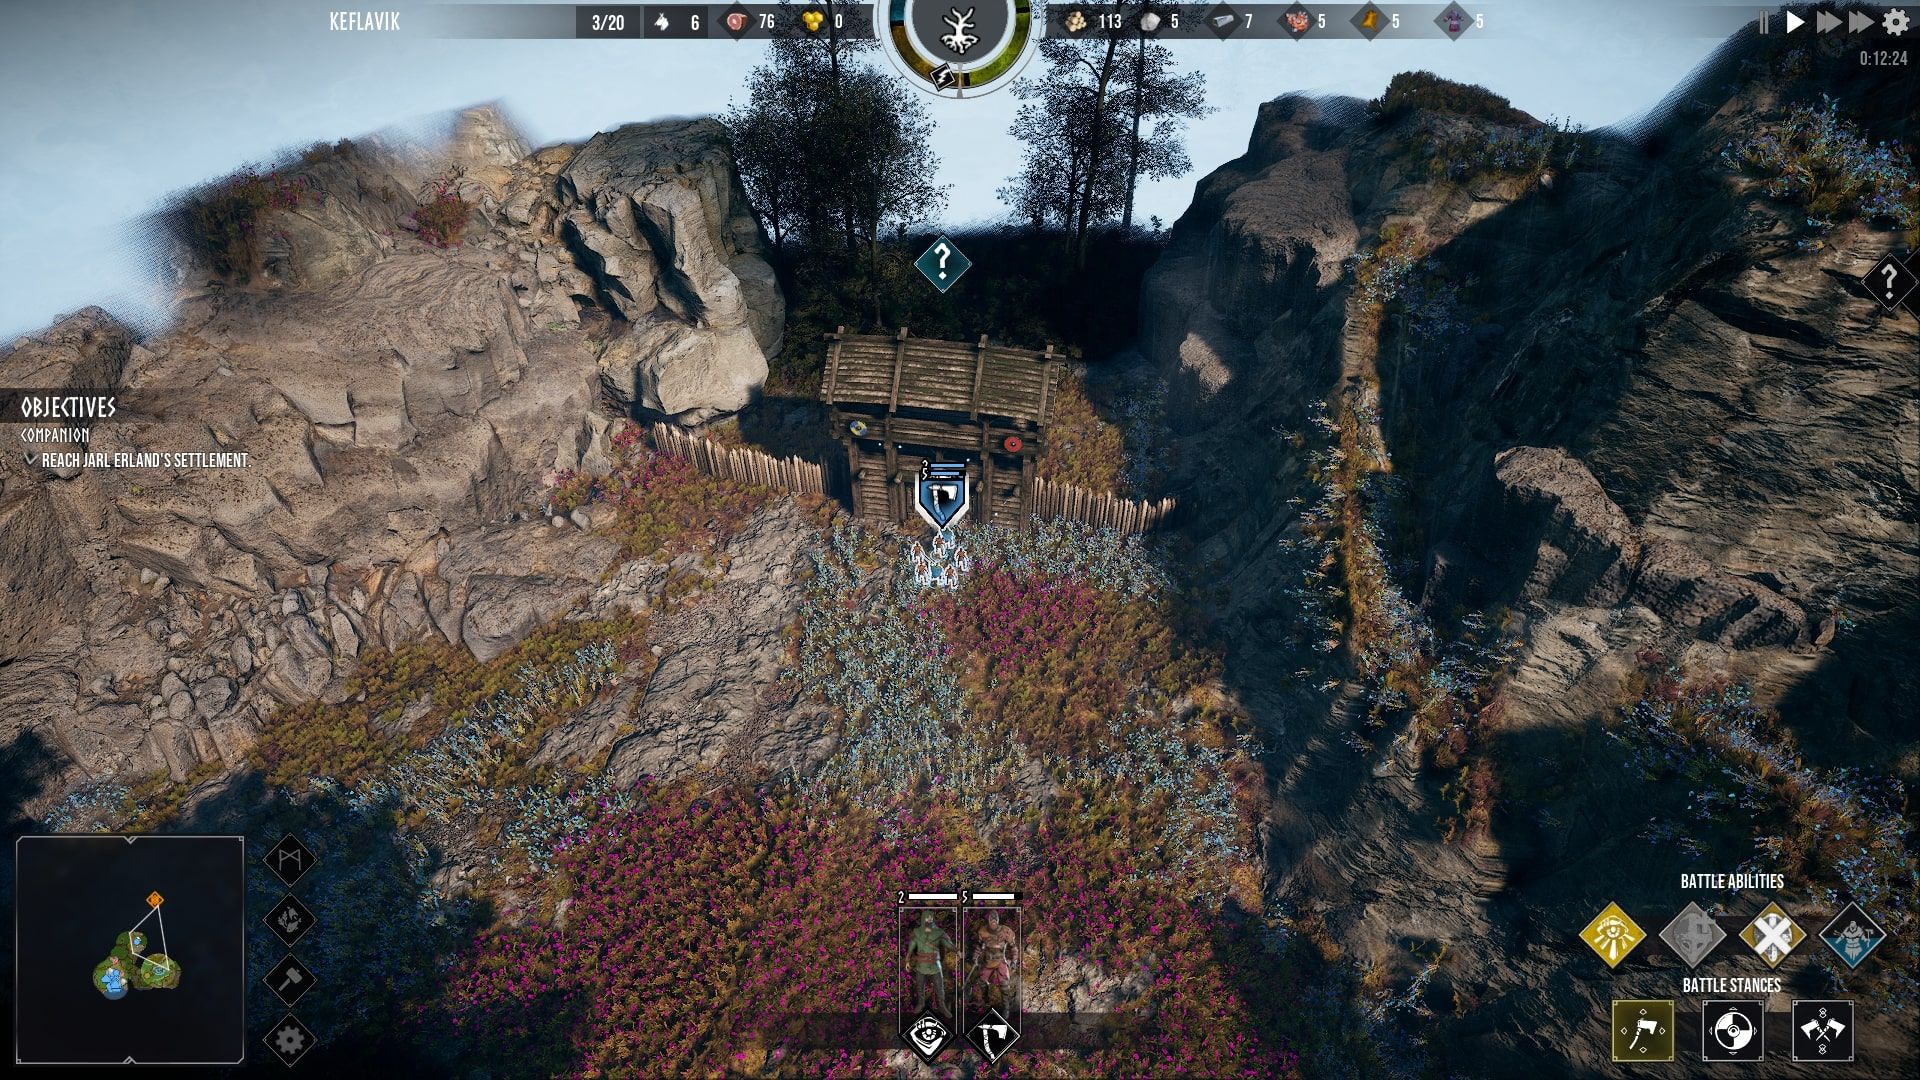
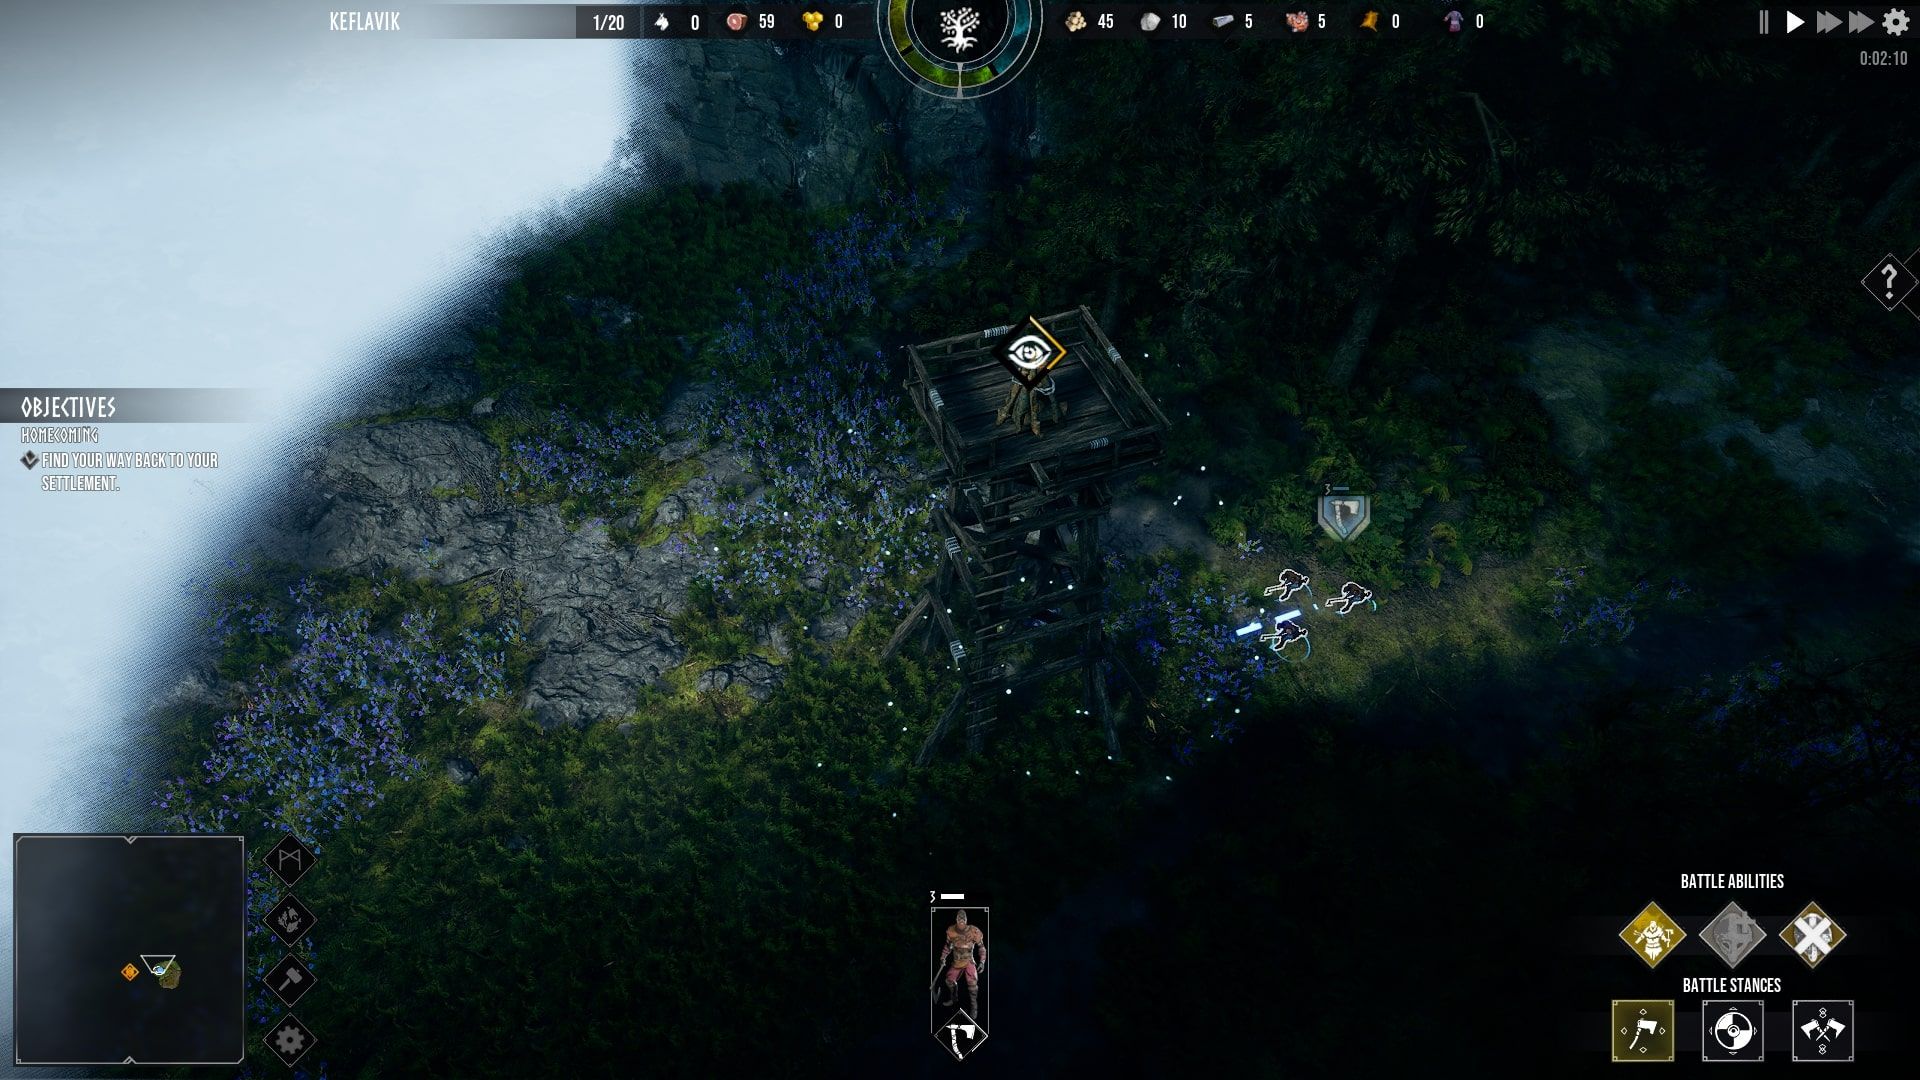
Once the wolves have been taken care of, follow the trail to the west. You will bump into a Watchtower which you can claim by moving close to it. This will reveal a large portion of the map, and, in this case, show you the location of a Bandit Camp.
How To Deal With The Bandits
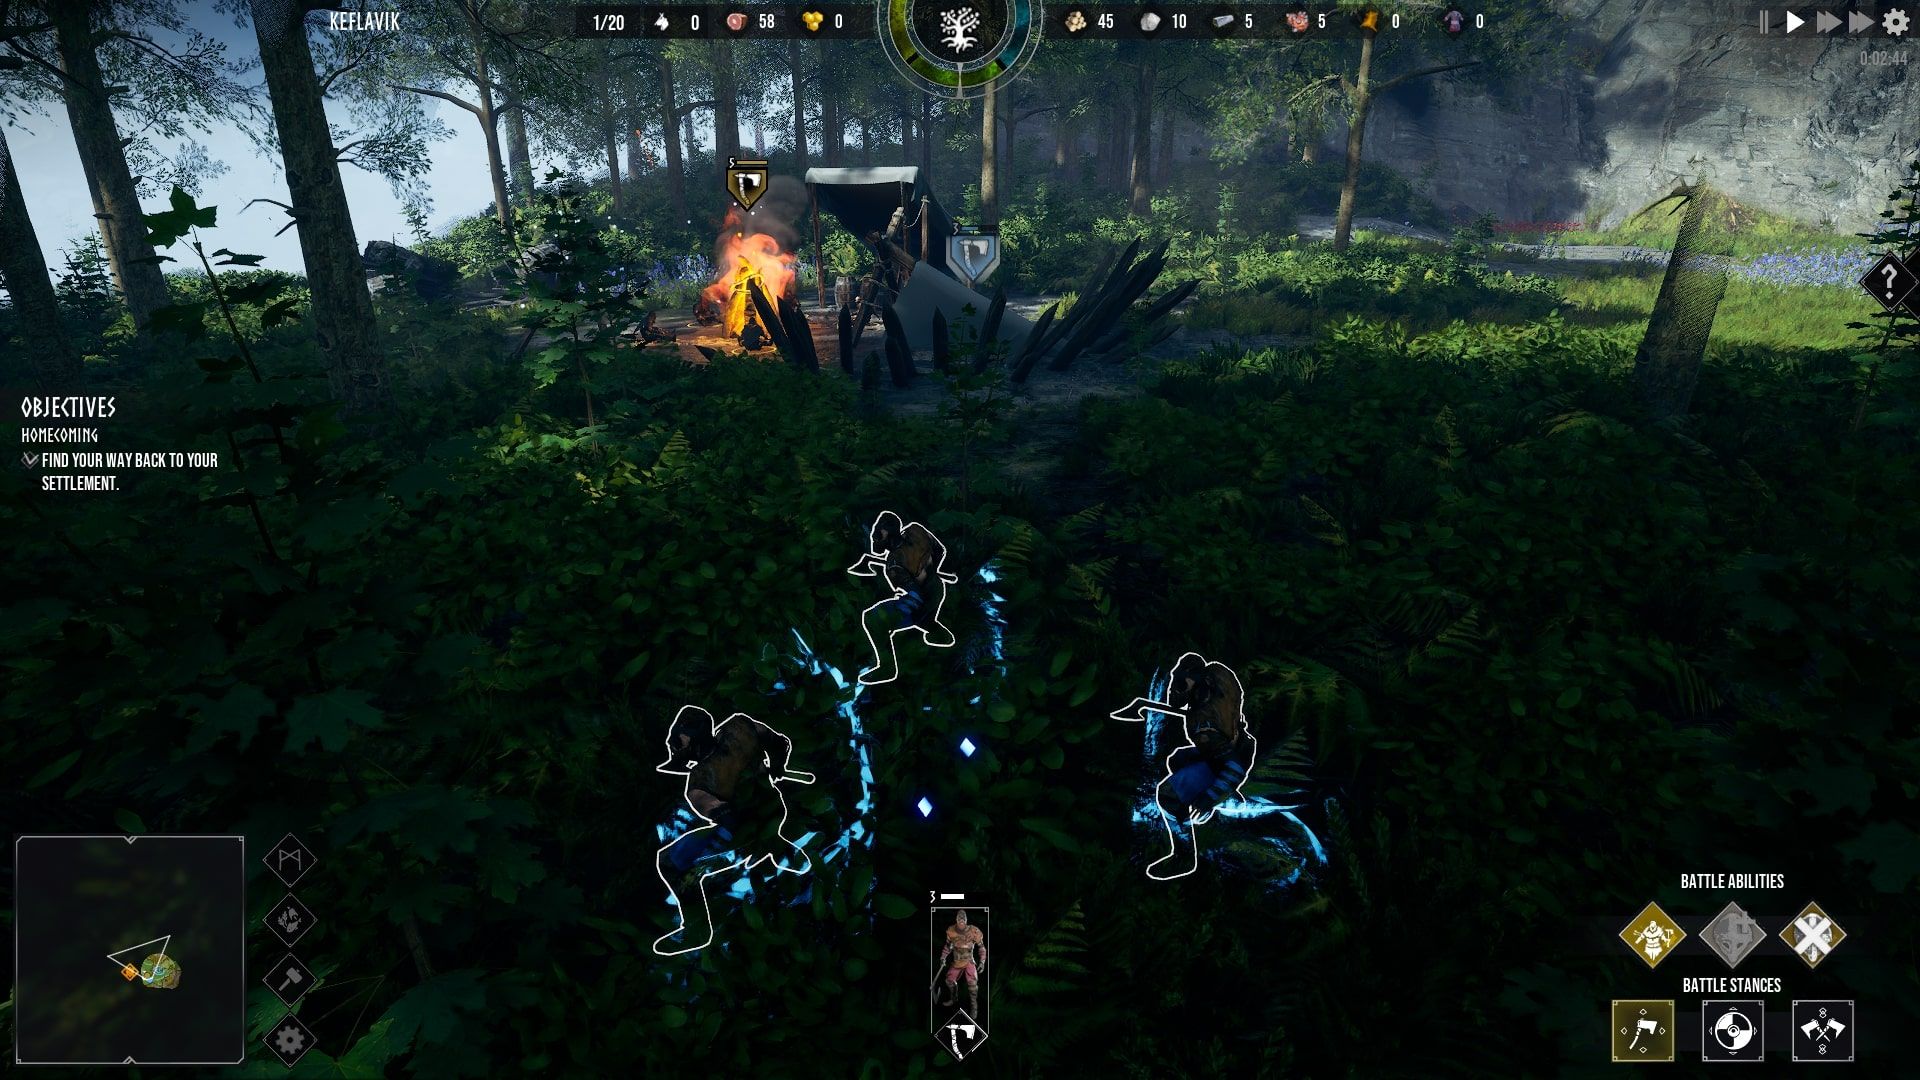
You can’t fight these Bandits as they are far too strong, and your Axemen are outnumbered. Instead of taking them out, you will want to move into the trees and sneak past them.
On the far edge of the Bandit Camp, you will see a sparkling supply cart. If you stay in the bushes, you can actually loot this cart without alerting the Bandits to your presence. This will net you a cool +15 Wood.
Once you have done this, continue towards the Quest Marker. This will take you to your village.
Expand Your Village
This mission is very lax in terms of actual threats. Outside of a few animals later on, and a mysterious ambush at the end, you are free to learn the basics of village management in peace.
Woodcutter’s Hut
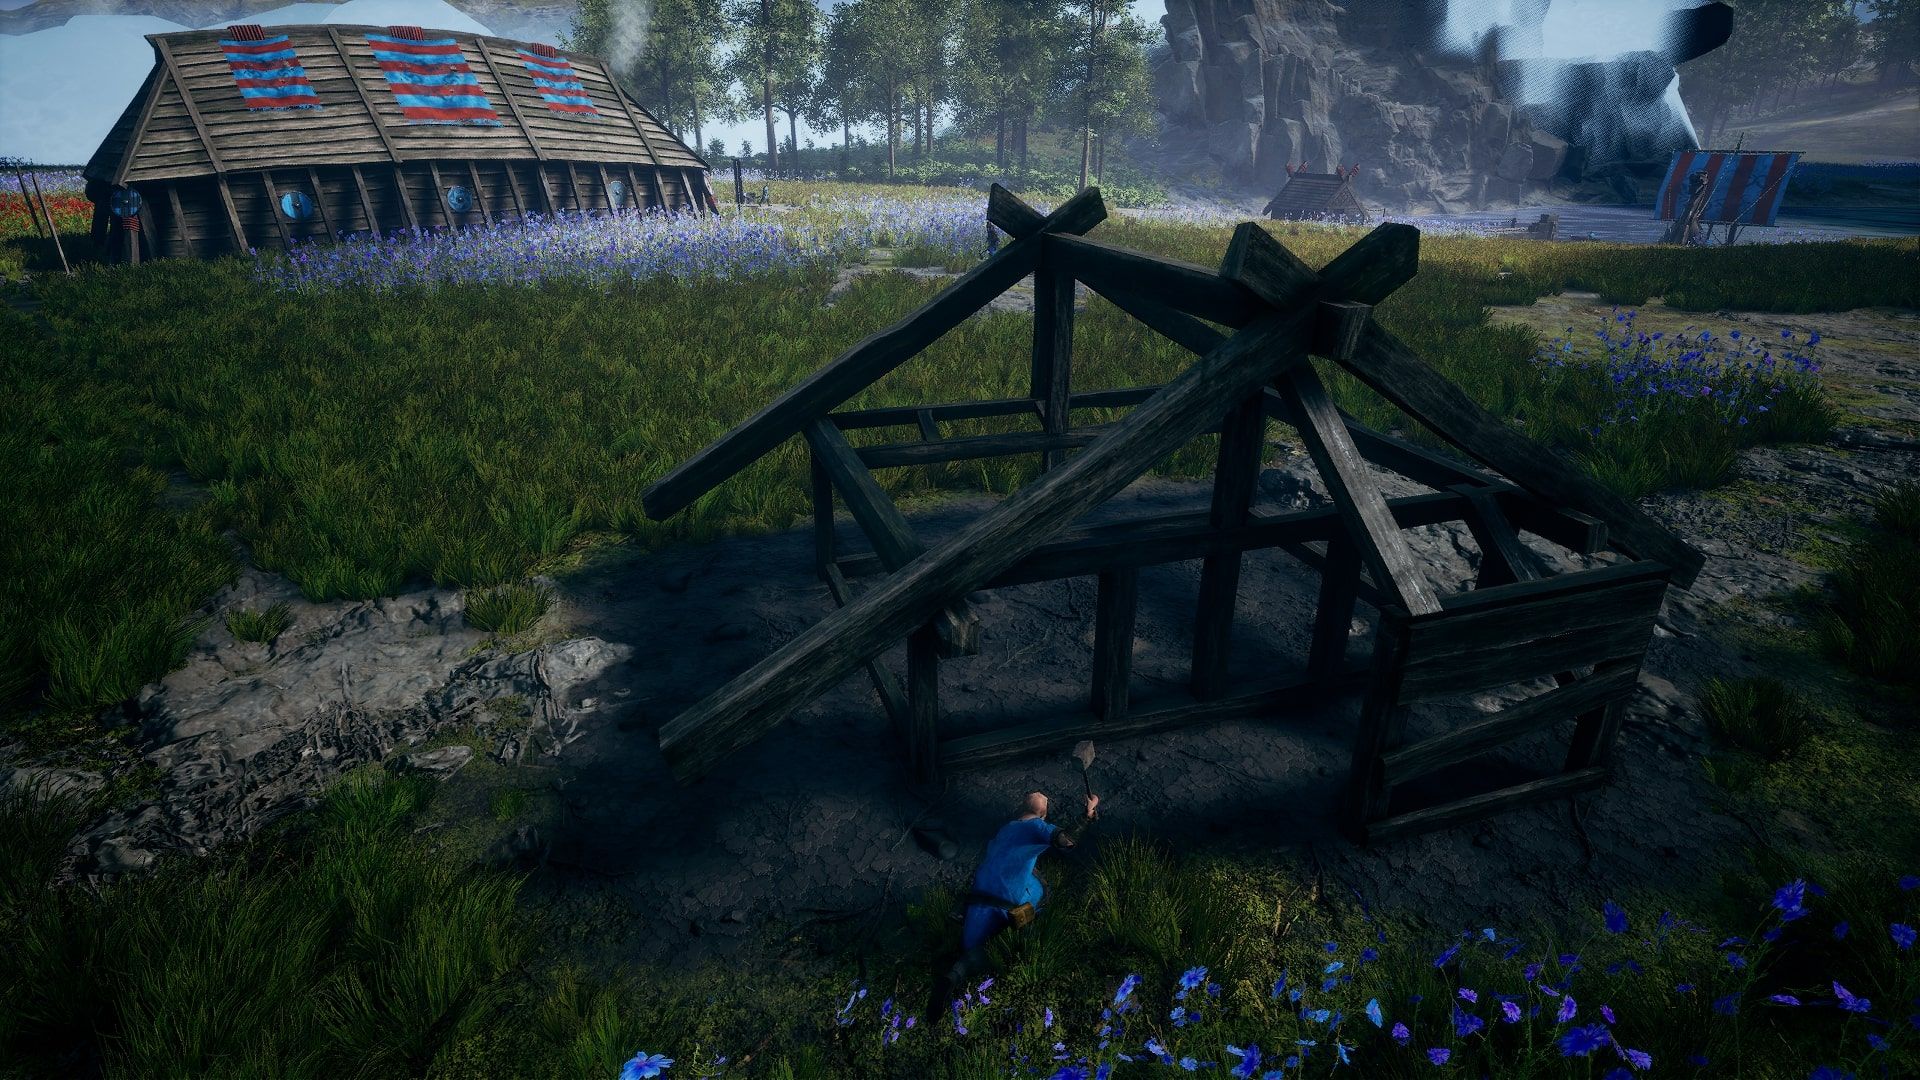
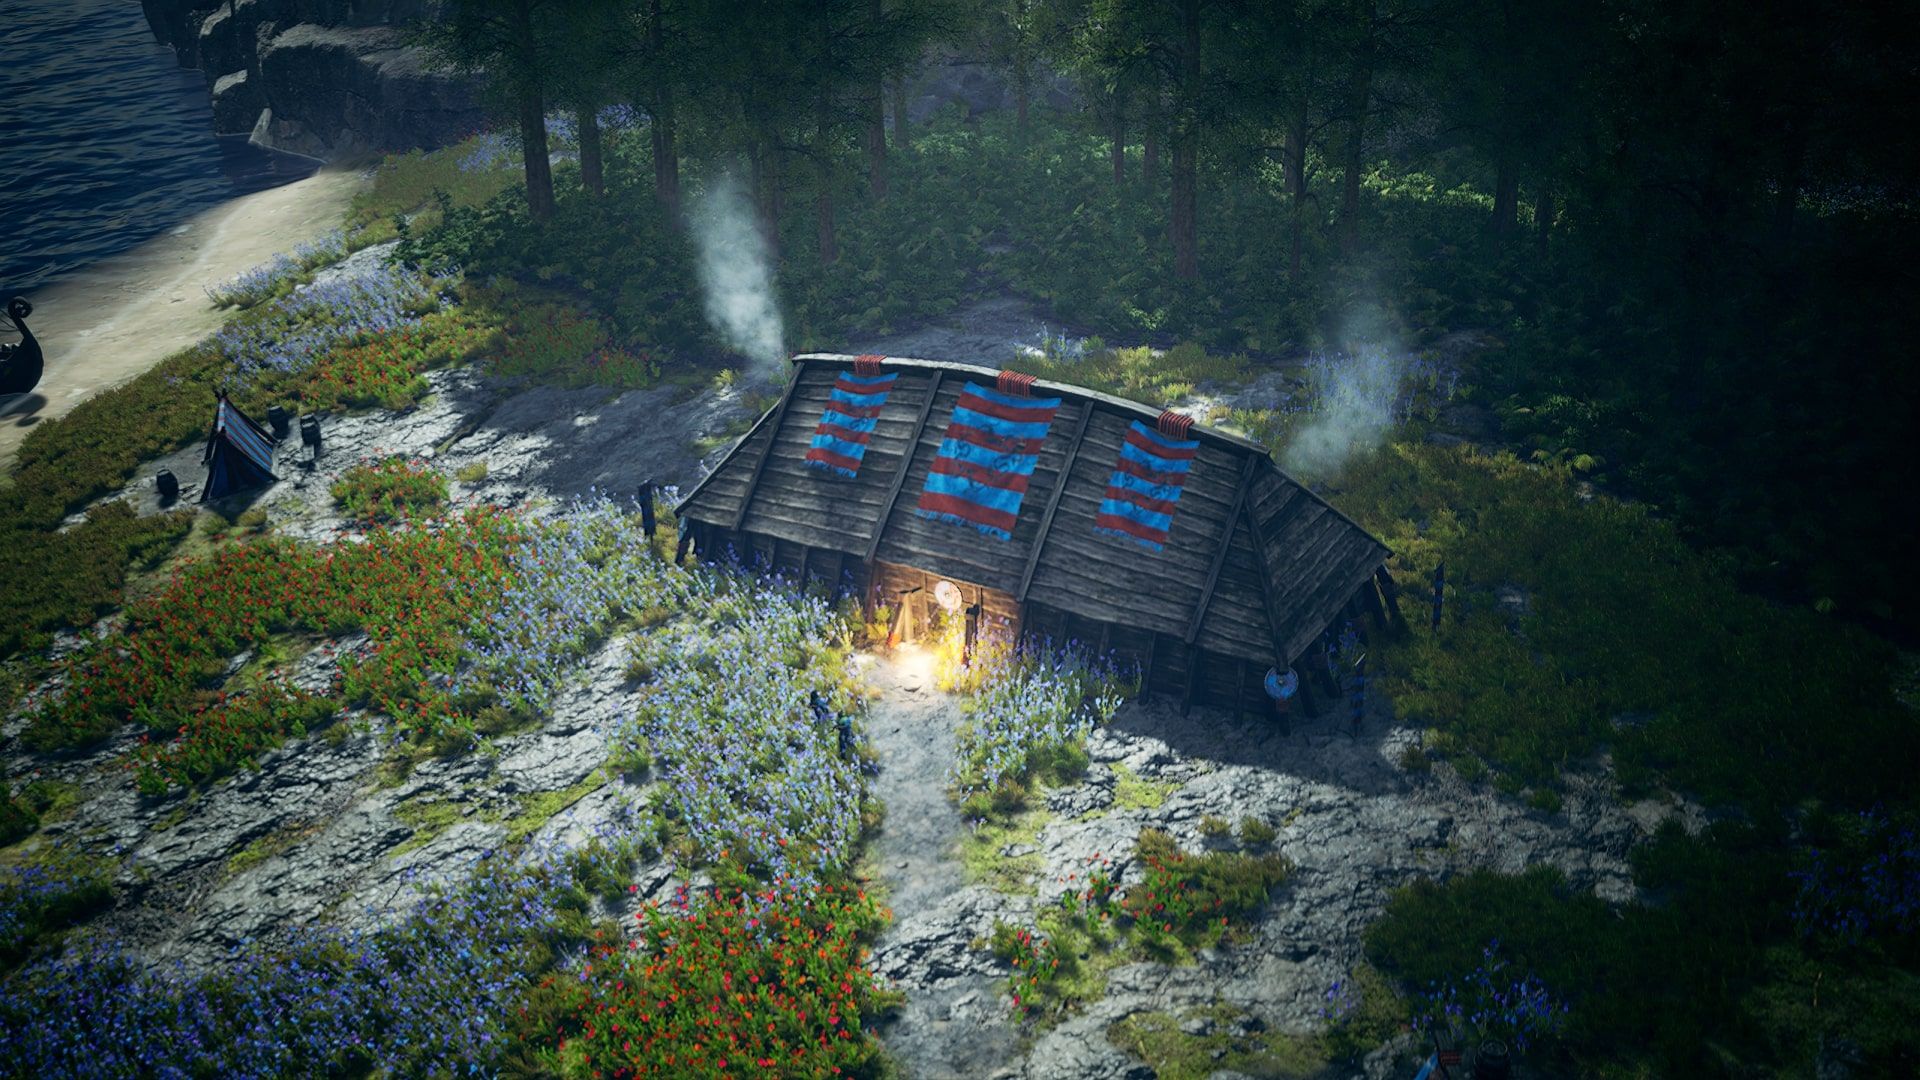
Build a Woodcutter’s hut near - but not in - trees. This will allow you to harvest Wood, which is arguably the most important resource in the entire game. Literally, every building requires it, many upgrades are built using it, and several units rely on it. Make sure to angle your Woodcutter’s Hut so Workers can easily travel between the Hut, the trees, and your Jarl’s Homestead.
Fisherman’s Hut
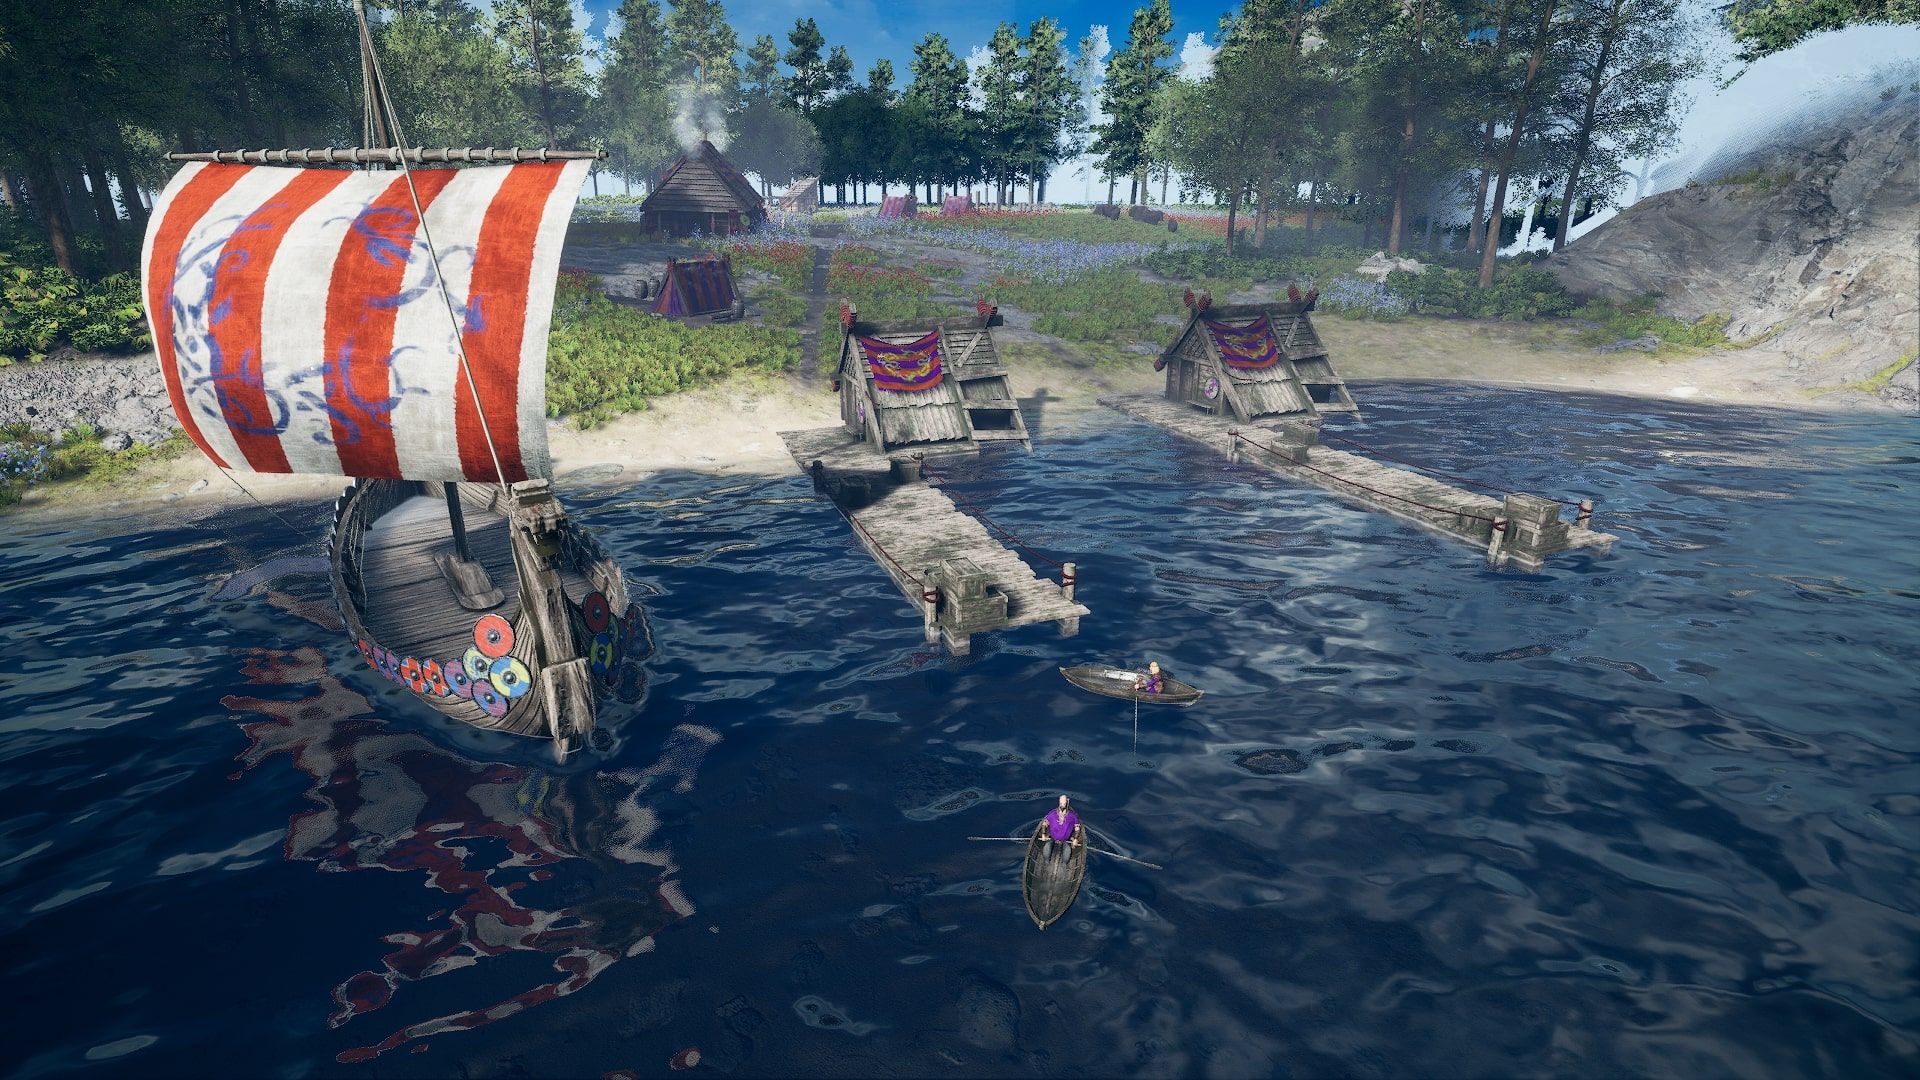
After this, you will want to construct a Fisherman’s Hut. Food is the next most important resource, and without it, you will quickly lose. The population of Frozenheim don’t like starving, and will absolutely take to burning your village to the ground if they go too long without some scran. Plonk it down on the water’s edge. Building two is ideal, although you can do that a little later.
Houses
You will need Workers to man all of your new buildings (and any future ones), and for that, you need Population. Build a House in a nice open area with plenty of space to grow. Houses can hold a maximum of four Workers, and the speed at which they gain these Workers is dependent on Happiness.
The quickest way to build Happiness is to group them together. Place six Houses down, making sure they are as close to each other as possible. A 3x2 formation is ideal for this. If you hold Shift, Houses will auto-rotate and snap to each other, making placement much easier.
Training Field
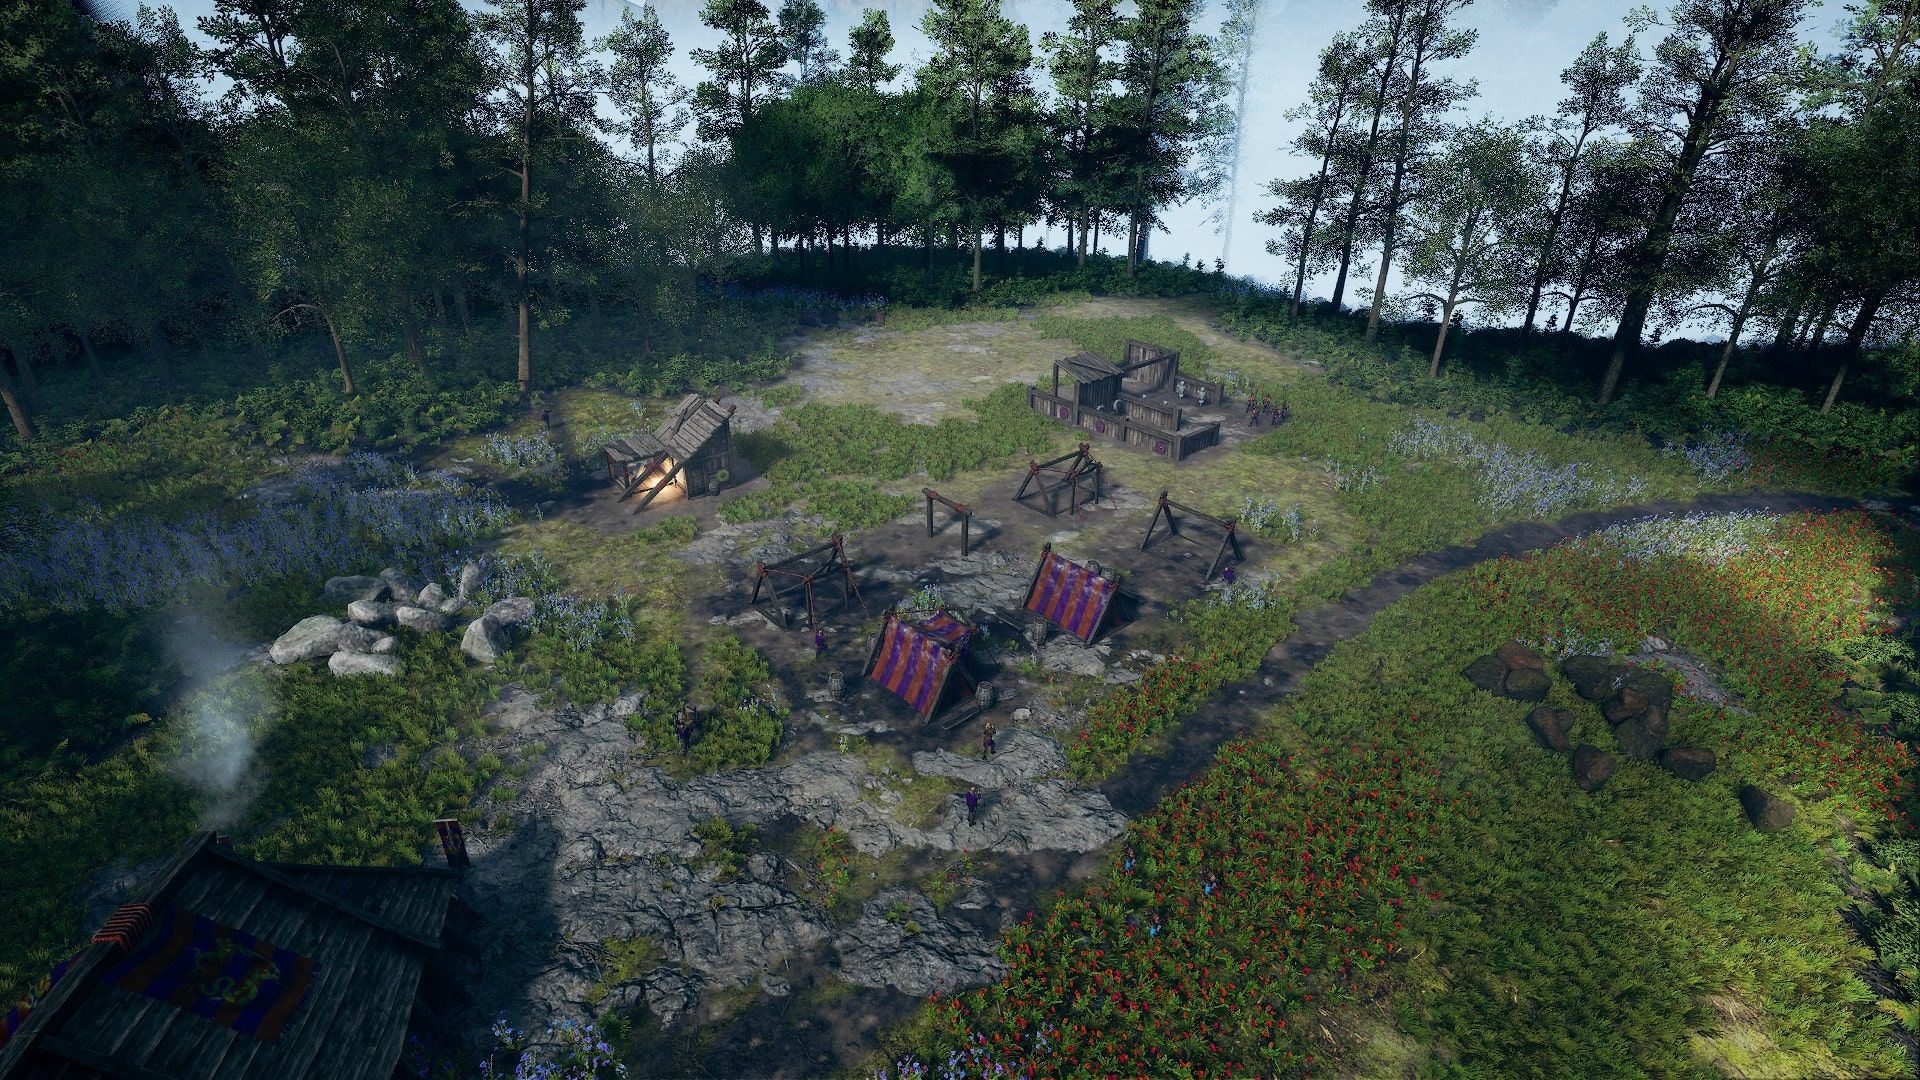
The Training field is a pretty large building, so you will want to keep it a fair distance away from your production buildings, roads, and resources. Don’t put it too close to your houses either, as you may want to expand your Neighbourhood in the future.
Once you have built your Training Field, move your three-man unit of Axemen to the front of the building and click Refill Team. This will bring them back to full strength.
Scouting To The North
Take the scouts you gained when you first entered your Village and move them North. The wilderness has a few roaming bands of wolves, however, you Scouts are faster than them. Keep them on the move and avoid combat where possible. You could also send your Axemen with your Scouts to take out the wolves. You may lose a couple of men by the time you are done Scouting, but they can be replenished.
You will come across a large gate that, when approached, will inform you that they won’t let you through until you have killed some bandits.
How To Open The Gate
Go back to your village and recruit a unit of Archers - two if you want to be extra safe. Take these archers and rendezvous with your other units by the gate. Scout to the northwest and you will find a neutral settlement. Talk with them, and they will reveal the location of the Bandits.
Take your forces (not your Scouts - they are not combat units) and approach the camp. Use your Archers to whittle the enemy down before they get to you, and finish them off with your Axemen. Clear the camp, and then head back to the Gate.
Finding Jarl Erland
Jarl Erland is through the previously-locked gate. Follow the trail until you find his camp, and he will ask you to climb the nearby hill and reclaim the Watchtower. Apparently, Bandits have taken it over.
The keen-eyed among you may have noticed that Jarl Erland has quite a large standing army, so why he doesn’t deal with it himself is a bit of a mystery…for now. Send your forces up the hill and take out the Bandits. Do not claim the Watchtower yet, however.
Dealing With Jarl Erland’s Betrayal
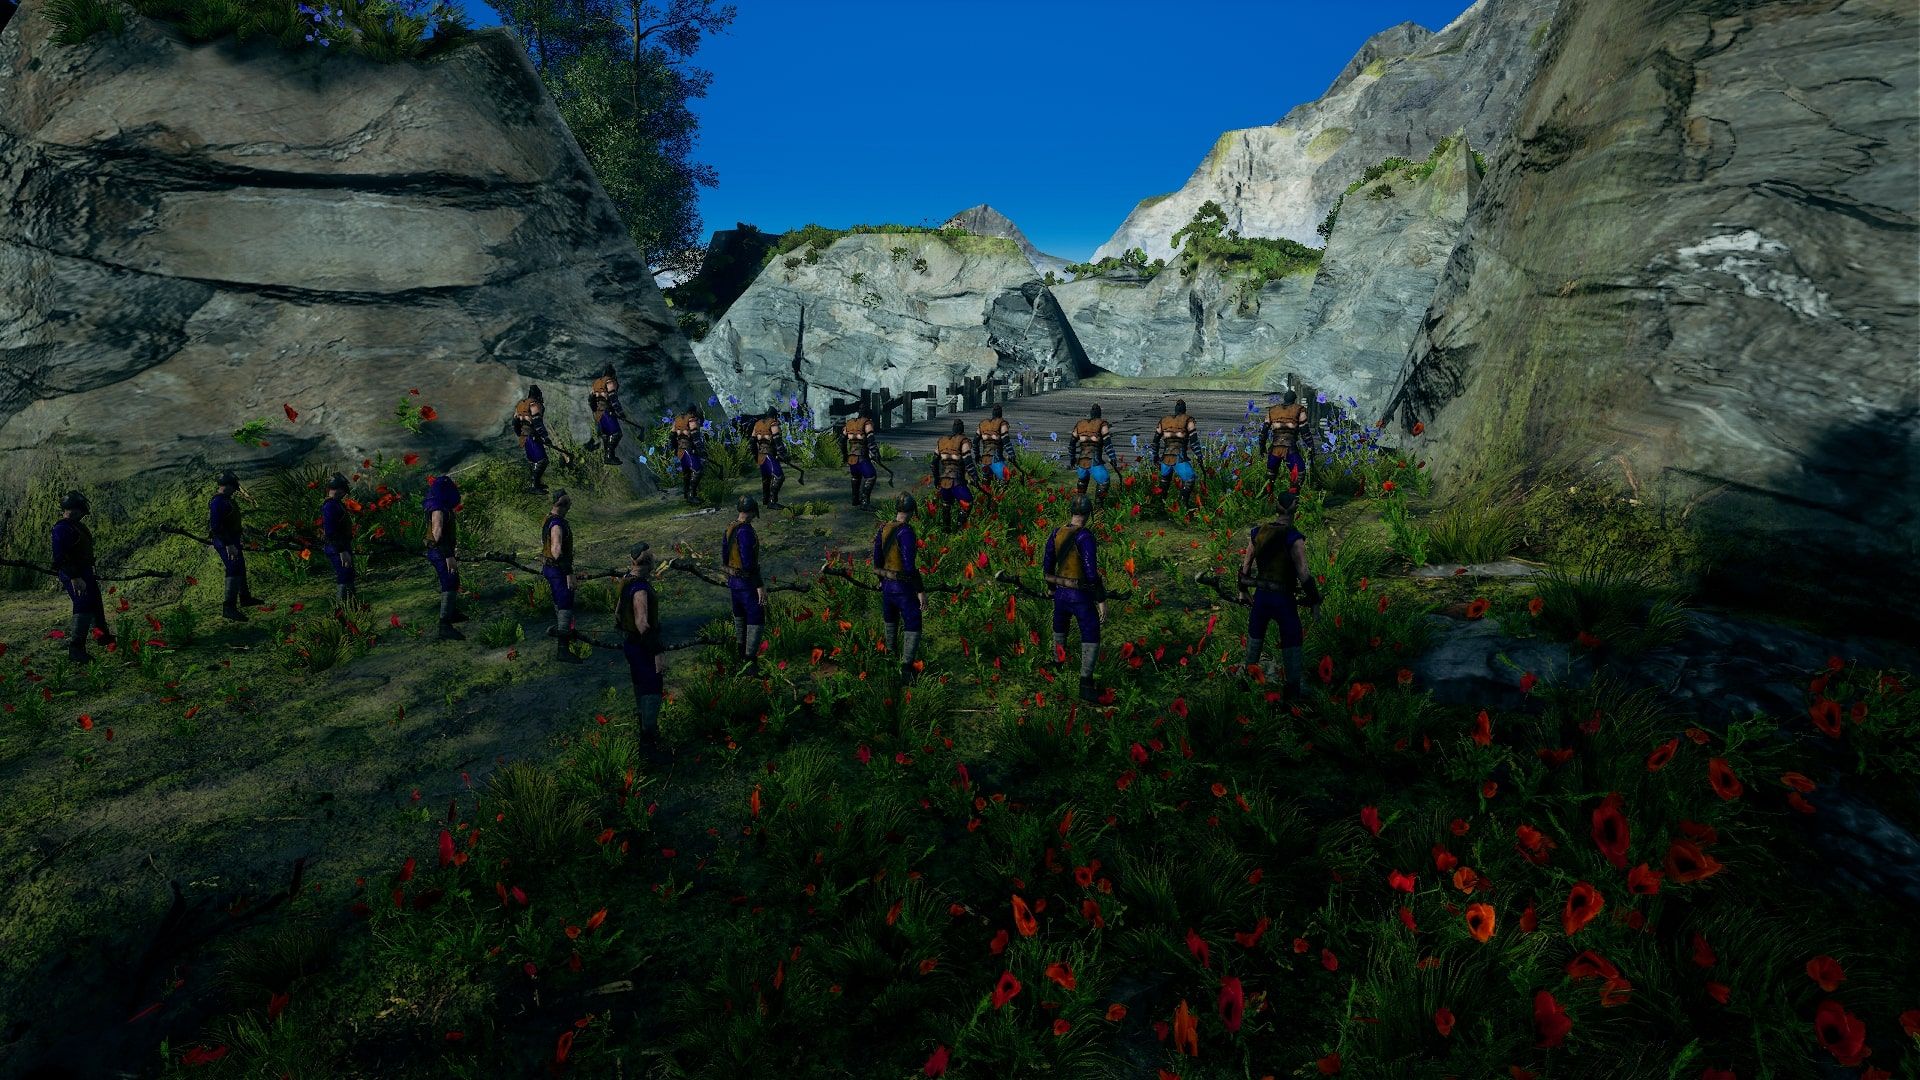
Jarl Erland will betray you the moment you claim that Watchtower. Keep your Scouts on the hill, and get ready to claim it. Move your army back down the hill and wait at the bridge in the valley linking Jarl Erland's lands to your own. This is where you will intercept his raiding force.
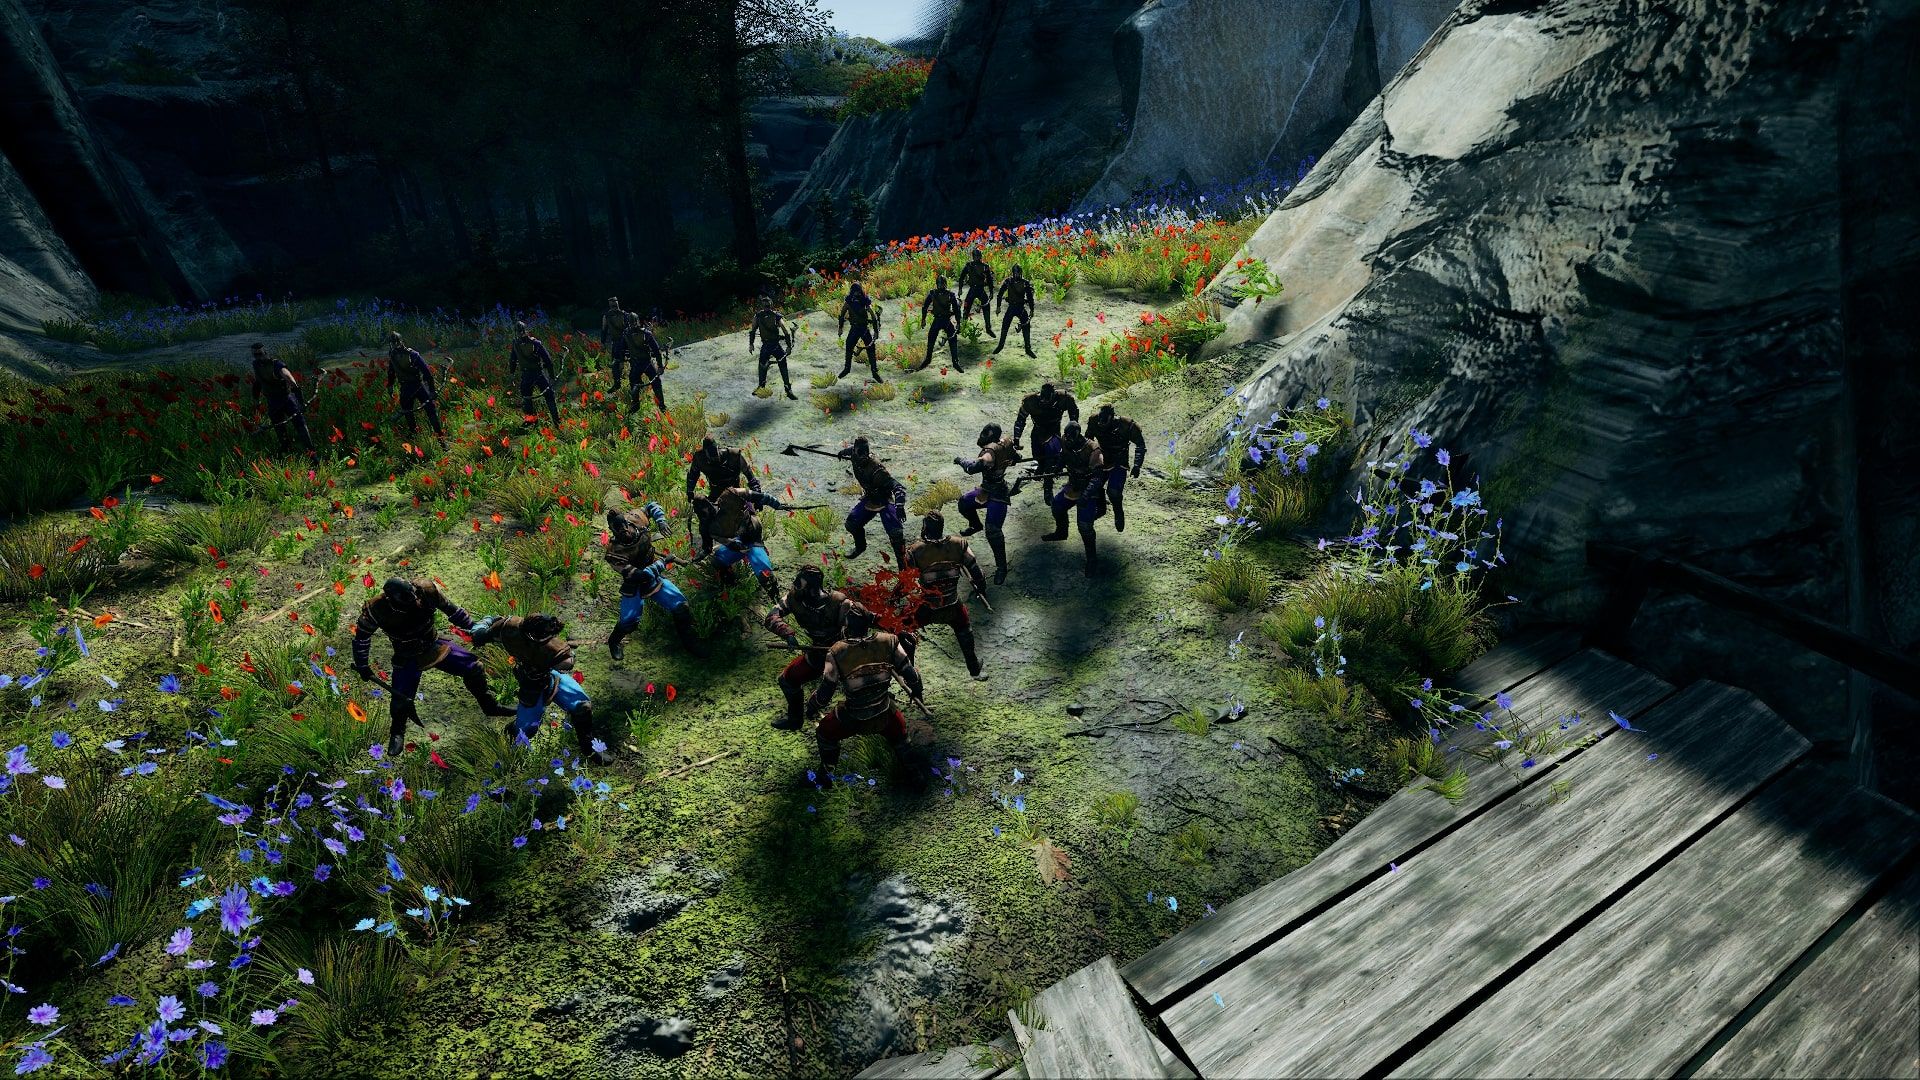
Once in position, claim the Watchtower. Jarl Erland will send two units of Axeman to raid your village, but since you have troops waiting along the path, they won’t get far. Use your Archers to weaken the approaching enemy, and then finish them off with your own Axemen.
Remember to use your unit's abilities to increase its effectiveness.
Return To Your Village
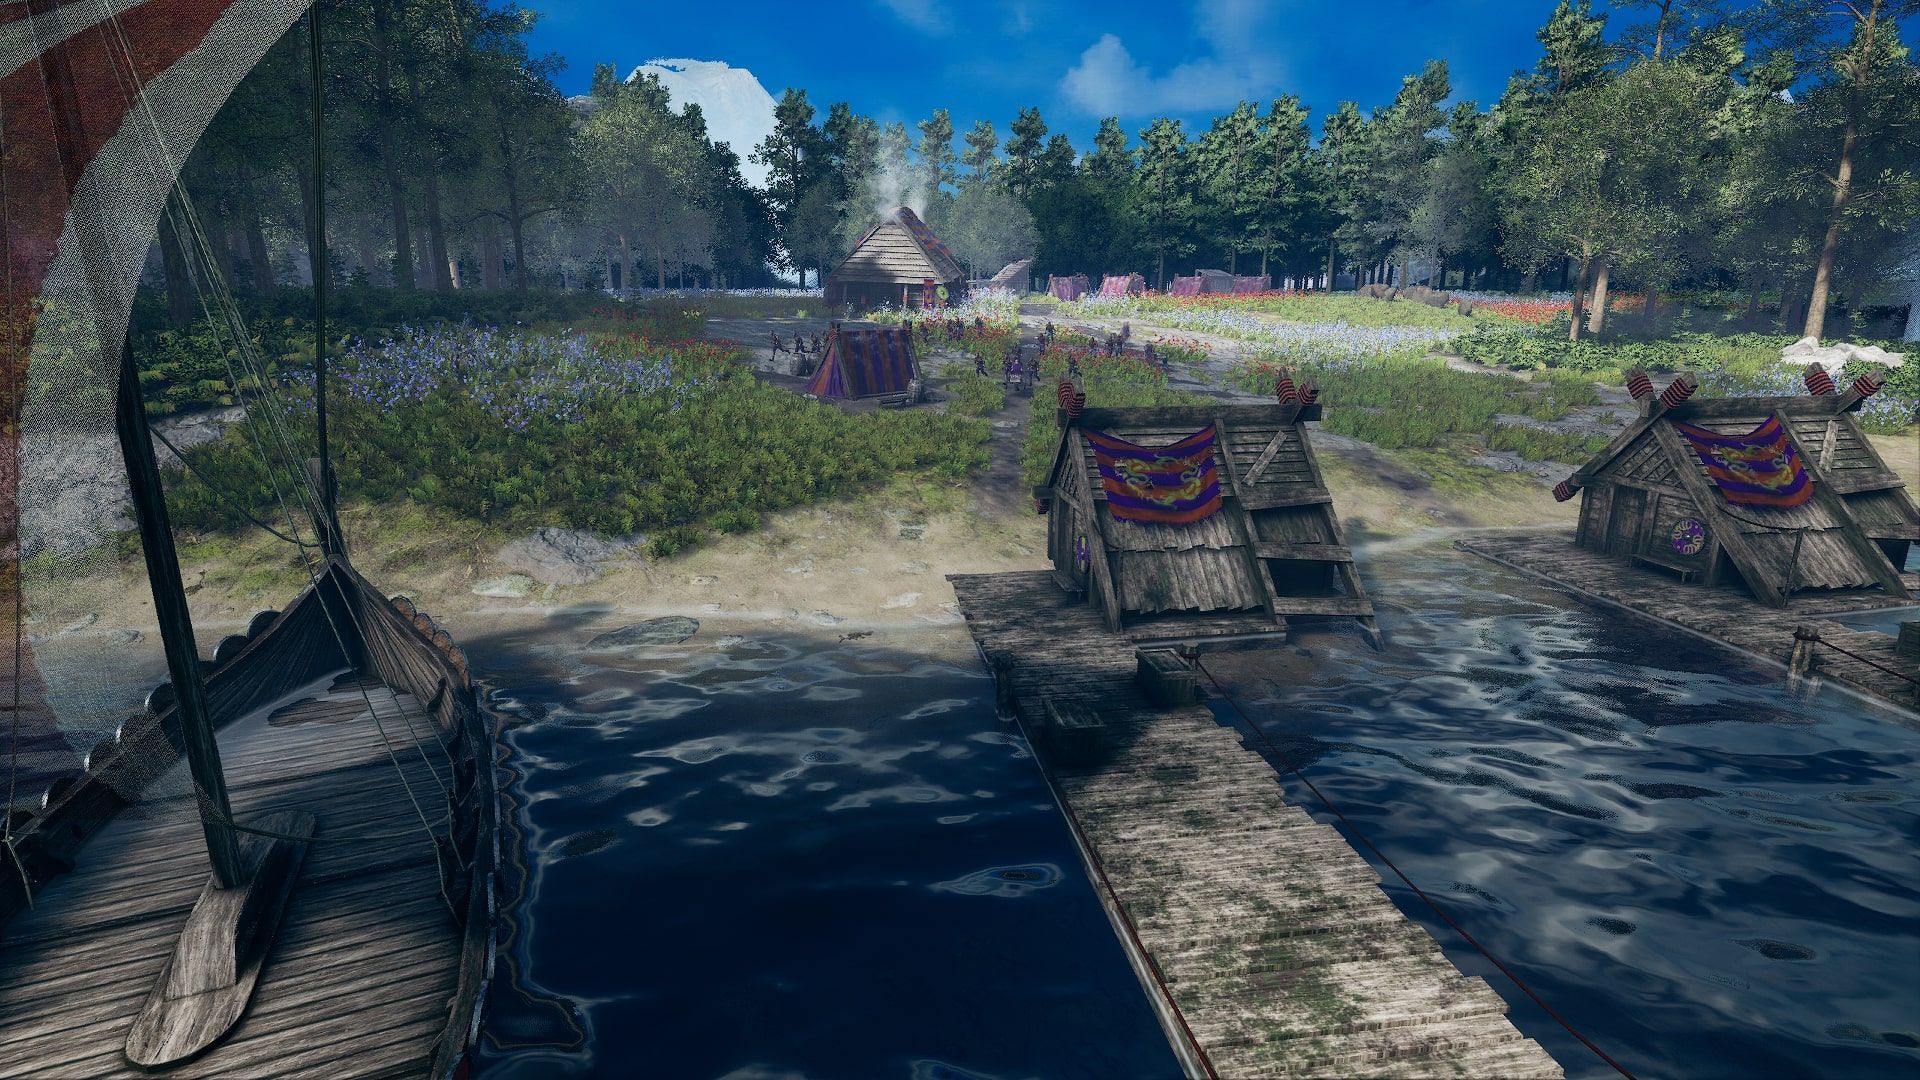
You have overcome Jarl Erland’s initial assault, but his forces are far more powerful than your own. Take your units and head to the boat in your village. This will end the mission. It’s a win, but narratively speaking, you just got your bottom clapped.

.jpg)
.jpg)
