Quick Links
The final mission in Frozenheim’s first campaign is easily, and obviously, the most difficult. It also just so happens to be the longest. It is up to you to bring the full might of your people upon your enemies - supplemented by the power of the gods themselves. War, survival, and pilgrimage - the perfect trifecta.
All of this is easier said than done of course. You have dabbled with roaming bands of enemies before - you have even gathered stones before. This time you will be assailed almost non-stop by land and sea, and you must gather the combined might of six Runestones if you want to come out alive.
Start Of Mission Fight

The moment this mission starts, you will be assailed by enemies. A mix of Spearmen and Archers will crash down upon you, and it is up to you to take them out as quickly and efficiently as possible. The better you do in this fight, the better you will be going forward into the early game.
The best way to win this fight is to kite and take out their Archers. Use your Archers to pick them off, whilst keeping the AI’s melee troops on the run. Once they have been dealt with, direct your attention onto the Spearmen with your Archers. Pepper them with arrows, and you should leave this encounter with all of your units intact.
If you micro well enough, you might even complete this section without losing a single soldier - let alone a unit.
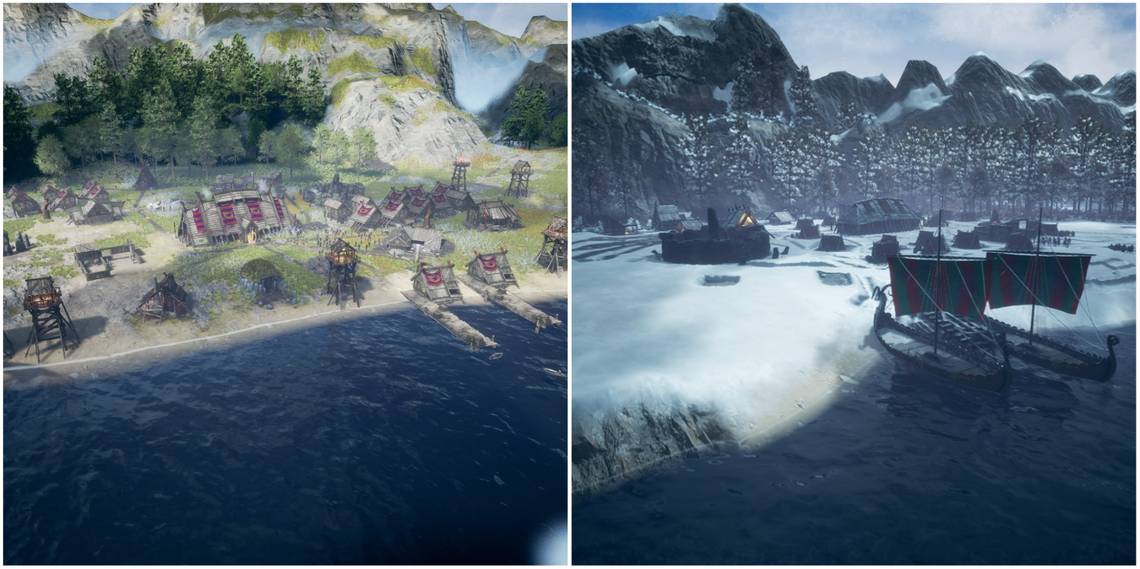
Early Game Base

Unlike most missions in Frozenheim, this mission starts you off with a decently developed settlement. The goal will be to ensure you have a strong production chain for Food, Skins, Wood, and Clothes. Iron and Stone are also important, but they are not quite as essential.
Food

For Food, you want to have anywhere between two and four Fisherman’s Huts. This is probably the ideal number, and you should absolutely construct a Warehouse to gather all that Food. If you are running Deer Clan, then building a Deer Shrine nearby will make this production line even stronger.
Skins And Clothes

Skins are vitally important for the construction of soldiers. Skins, and the refined material they create, Clothes, need to be gathered in fairly large numbers if you want to get through this mission alive.
The best way to do this is to build two Farmhouses and a single Tanner. Have them in a line, with all of their entrances lined up. Parallel to these buildings, you want a Warehouse. This will drastically shorten the journey your workers need to travel to deliver, pick, and convert skins.
If you are running Deer Clan, then a Deer Shrine is a must, as is a Granary. Farmhouses stop working in Winter, and the Granary removes that negative making this a disgustingly effective method of gathering resources.
You can also use the excess Skins and Clothes to trade at the Marketplace or Trader.
Wood

There are plenty of trees around your village, but that supply is not endless - at least not yet. All you need to stay topped up on wood is a single Woodcutter’s Hut. That’s it. You could push to two once you have a Temple constructed.
Once your Temple is constructed, you can use Freyja’s Blessing to repopulate your depleted forests - giving you infinite Wood almost from the get-go. You can also use the Trader or Marketplace to buy Wood.
Dealing With Discontentment

This is likely going to be the first mission where you have to deal with Discontentment. Providing you have got your production all sorted, the only source of Discontentment will come from deaths. This is easily sorted by building a Burial Mound and performing regular funeral services. Providing you don’t go over 50 casualties - and stay there - you should be fine for the entire game.
How To Defend Your Village

You will be attacked frequently from both land and sea. To deal with this, all you have to do is build towers. Enemies will come in thick and fast, but a couple of towers will make short work of any would-be invader.
Place towers near your coastline, and make sure you overlap their field of fire. Enemies will also come from the north - through the woods. Place two or three towers on your northern border and your village will be secure.
You could also build Wells nearby to put out any fires. Because you have so many towers, you will need more houses to deal with the demand for Workers. You could also consider building walls to protect your lands, but this is much more expensive.
Taming Wild Animals

This mission has a huge number of wild animals roaming the world. This is normally an issue since you would need to deal with them if you wanted to freely explore. However, you have access to the very powerful Seidkona unit which can tame an infinite number of animals.
This will bolster your military force substantially. You can, and should, use them as your first wave of attack when you enter battle. They are expendable, and you can use them as distractions whilst your archers do the busy work.
You can tame both Wolves and Bears on this map.
Finding The Six Runestones

The Runestones in this map are essential for victory. Once you have gathered all six, you unlock the game-winning Ragnarok Blessing at the temple - destroying your enemies instantly. They are scattered across the map, however, and they can be a pain to find.
All Runestones in this mission need to be interacted with by a Seidkona.
First Runestone

The first Runestone can be found on a hill to the north. Activate this as early as you can, and it will allow you to use Blessings at the Temple.
Second Runestone

The Second Runestone can be on a hill to the northeast of the first stone. It is next to a Settlement, however, you can’t activate it yet. The Settlement near the stone has a quest, and that quest is pretty simple - sacrifice one of your units.
Alternatively, you can just attack the village and take the stone by force.
Third Runestone

The third Runestone is south of the second. You can’t access it, however, due to the gate leading to it being locked. To access it, you need to escort a repair crew from a nearby village.
Do this, the bridge will be restored, the gate will open, and the third Runestone is yours to claim.
Fourth Runestone

Once you have three stones, the gate south of your settlement will open, allowing you to explore more lands and claim more stones. Follow the trail until you reach four bear caves. Make sure you bring your Seidkona(s) and tame them all. Once all the bears are dead/tamed, you can activate this stone.
Fifth Runestone

The fifth Runestone is guarded by an enemy Settlement. Destroy the settlement, and claim the Stone. Archers, as per usual, are very effective here. Make sure you use all of your tamed Animals too, as they are put to good use here.
Sixth Runestone

The final Runestone is north of the fifth Runestone. The challenge here is to bring 20 soldiers (not units) to the Stone. Once done, you can claim it with your Seidkona.
Now that you have all six Runestones, you can use Ragnarok and win the mission - completing the Groms campaign.