Quick Links
Resources are the lifeblood of your settlements in Frozenheim. You could have the largest army the world has ever seen, but if you don’t have the backing of solid production facilities, well, that army is going to collapse in on itself quickly. Rebellion can take its toll on just about anyone.
Every resource is vitally important in Frozenheim, and neglecting even one of them will drastically reduce your effectiveness in-game. It will limit what buildings you can construct, what upgrades you can research, and even what units you can recruit. Understanding how to effectively gather every resource is the first step to victory.
How To Gather Wood Effectively
Wood makes the world go round - or at the very least, it makes your camp expand. Wood is used in every building, a huge number of upgrades, and even a sizable chunk of your recruitable military. Without Wood, you really can’t do anything.
The thing with Wood is that you need to constantly be on the ball with it. Woodcutter’s Huts will very quickly clear an area of trees, and when this happens, it takes a long time for that area to repopulate naturally. If you go overboard and deforest everything around you, you might be in a bit of a pickle.
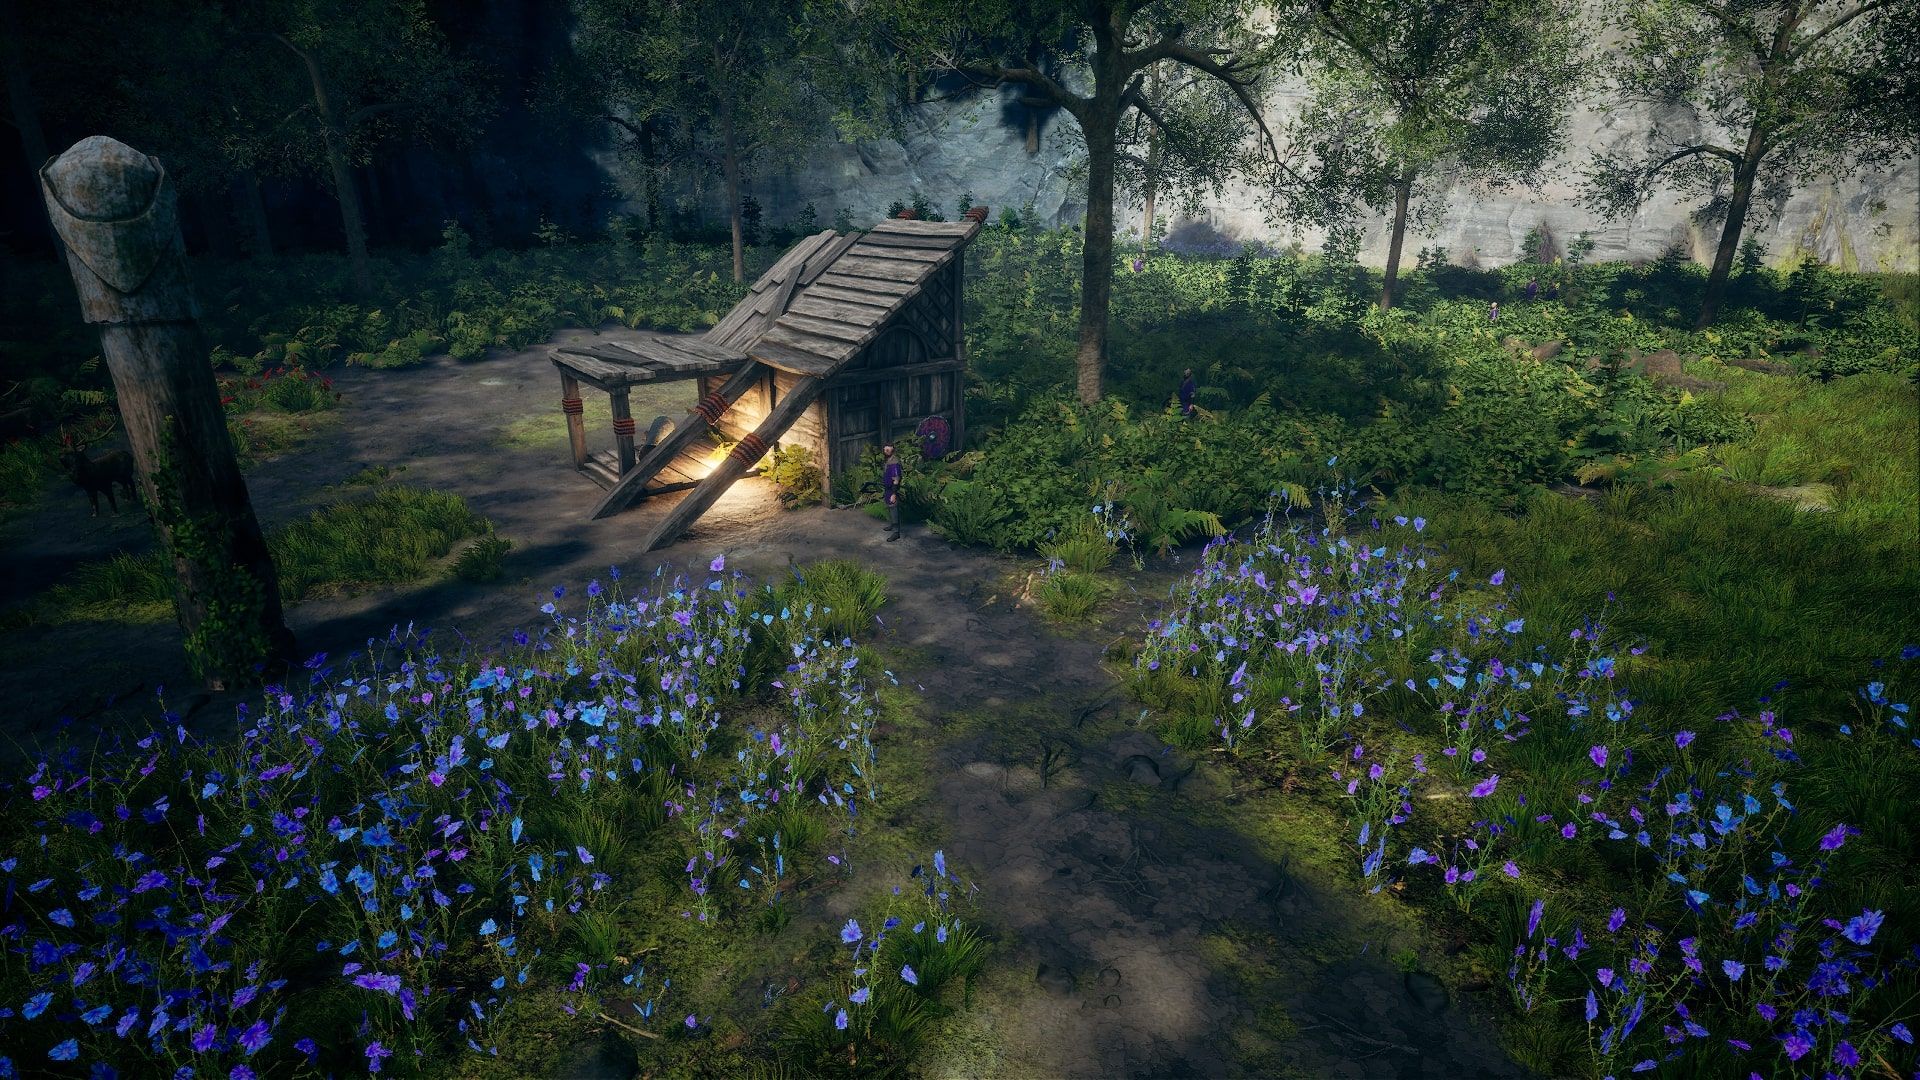
Regardless, the best way to gather Wood is to use Warehouses - ideally when near other resource buildings to not make your Warehouse redundant once the woodland has been depleted. Placing your Woodcutter’s Hut near a Collector’s Guild or Fisherman’s Hut will increase your Wood income due to the shared Warehouse.
How To Gather Food Effectively
Food is the second most important resource in the game. Without Food, your people will eventually rebel against you and swiftly end your game. You cannot allow this to happen, so having effective supply routes and numerous sources of Food is always a must.
Unfortunately, all food sources are situational. A Fisherman’s Hut needs to be on the water and takes up a fair chunk of space limiting how many you can construct. Orchards take time to ramp up their production. Fields don’t produce anything in Winter. Relying too much on one Food source could lead to complications later in that game - especially when populations start to rise to accommodate larger villages, outposts, and military.
The best way to gather Food is to gather as much as you can, as often as you can, without taking up too much space. Fisherman’s Huts are the most efficient at doing this as they operate all year round and don’t require additional support from clan-specific upgrades to do so.
The ideal setup for a medium village would be two Fisherman’s Huts with a Warehouse nearby gathering for them both. Due to the short travel distance, your Food production will skyrocket without having to build additional buildings and invest additional resources. As your Village gets bigger, build a third or even fourth hut - ensuring the Warehouse is still in range of them all.
How To Gather Skins Effectively
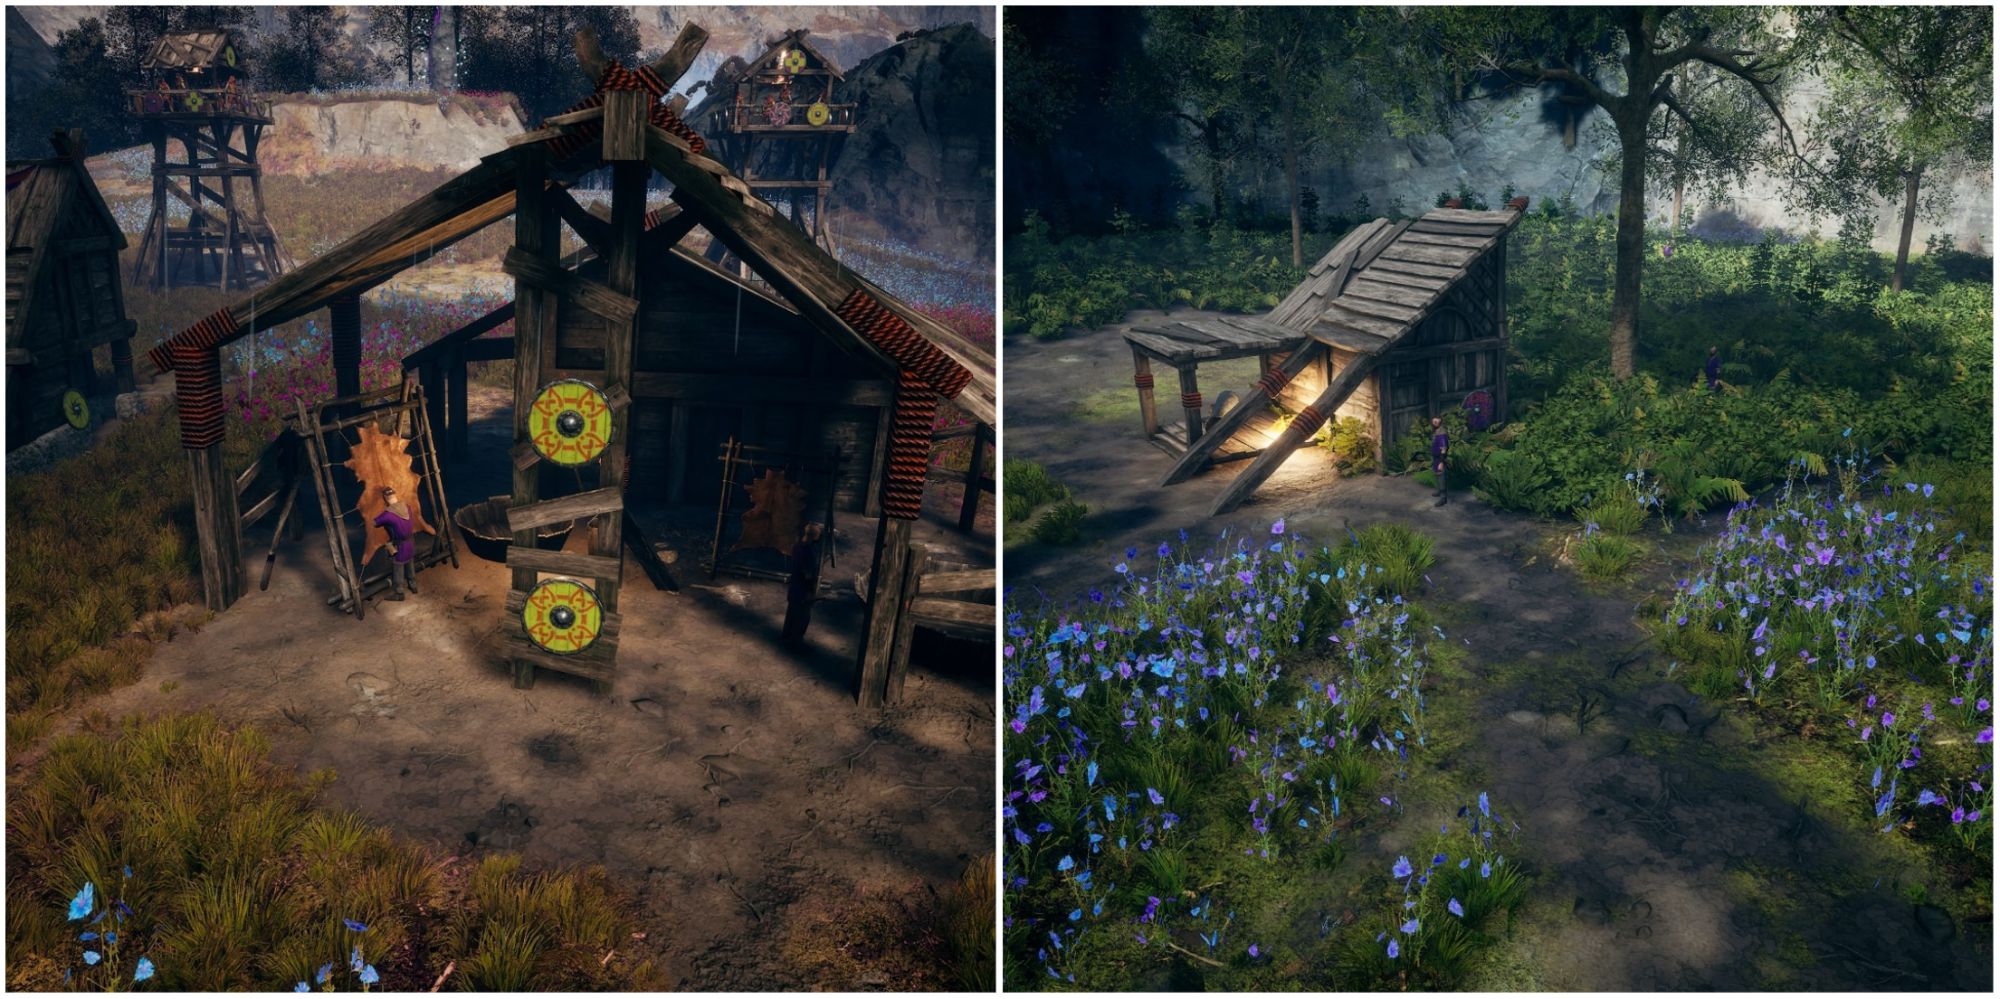
In the early game, Skins can be awkward to gather. Huntable animals exist in forests, and you are actively cutting them down to gather Wood. Therefore your Skin economy is directly impacted by your Wood production - which isn’t great.
In the early game, however, you don’t have a choice. You need access to Skins to produce even the most basic of units. Therefore try and keep your Hunters away from your Woodcutters whenever possible.
Once you have levelled up your Jarl’s Homestead, however, you can replace your Hunter’s Lodge with a Farmhouse. Farmhouses produce Skins passively and don’t require the sharing of resources with other facilities. The downside is that your Skin production stops in Winter, but this isn’t always an issue - especially if you are running Deer Clan.
Try and have two Farmhouses working in tandem, ideally near a Warehouse. This will increase your production, and you can use this Warehouse later to assist in other ways. More on that when we discuss Clothes.
How To Gather Stone Effectively
Stone is one of those resources that is kind of in the background. You often forget that you need it because not everything requires it. When you don’t have it, however, just about everything seems to demand it. It’s quite the pain.
Unfortunately, Stone is pretty awkward to gather in large numbers simply because the deposits are limited, and in some cases, can be a pain to even find. This puts a bit of a soft limit on how much Stone you can gather.
The best way to gather Stone is to simply place a Collector’s Guild near a deposit. That’s it. It’s rarely worth investing in additional structures like Warehouses unless you find a way to link to other buildings like Woodcutter’s Huts, or even additional Collector’s Guilds in a pinch.
The Marketplace can be a great way to gather Stone too. It’s not too expensive, and you can pick up what you need when you need it.
How To Gather Bog Iron Effectively
Bog Iron is the second resource that is gathered using a Collector’s Guild. Unlike Stone, however, Bog Iron is very important. Not only does it get transformed into Steel, but even in its raw state, it can be used in research and other activities.
Like with Stone, however, the resource can be limited due to the nature of deposits. This, again, puts a soft cap on how much you can produce. Creating Outposts in areas rich with Bog Iron can be very beneficial for your growth. Alternatively, the Marketplace can be an excellent source of Bog Iron if you have excess resources elsewhere.
How To Produce Clothes Effectively
Clothes are required in several upgrades, and also to produce some of the more advanced military units. Unfortunately, you can’t just “gather” Clothes - they must be produced.
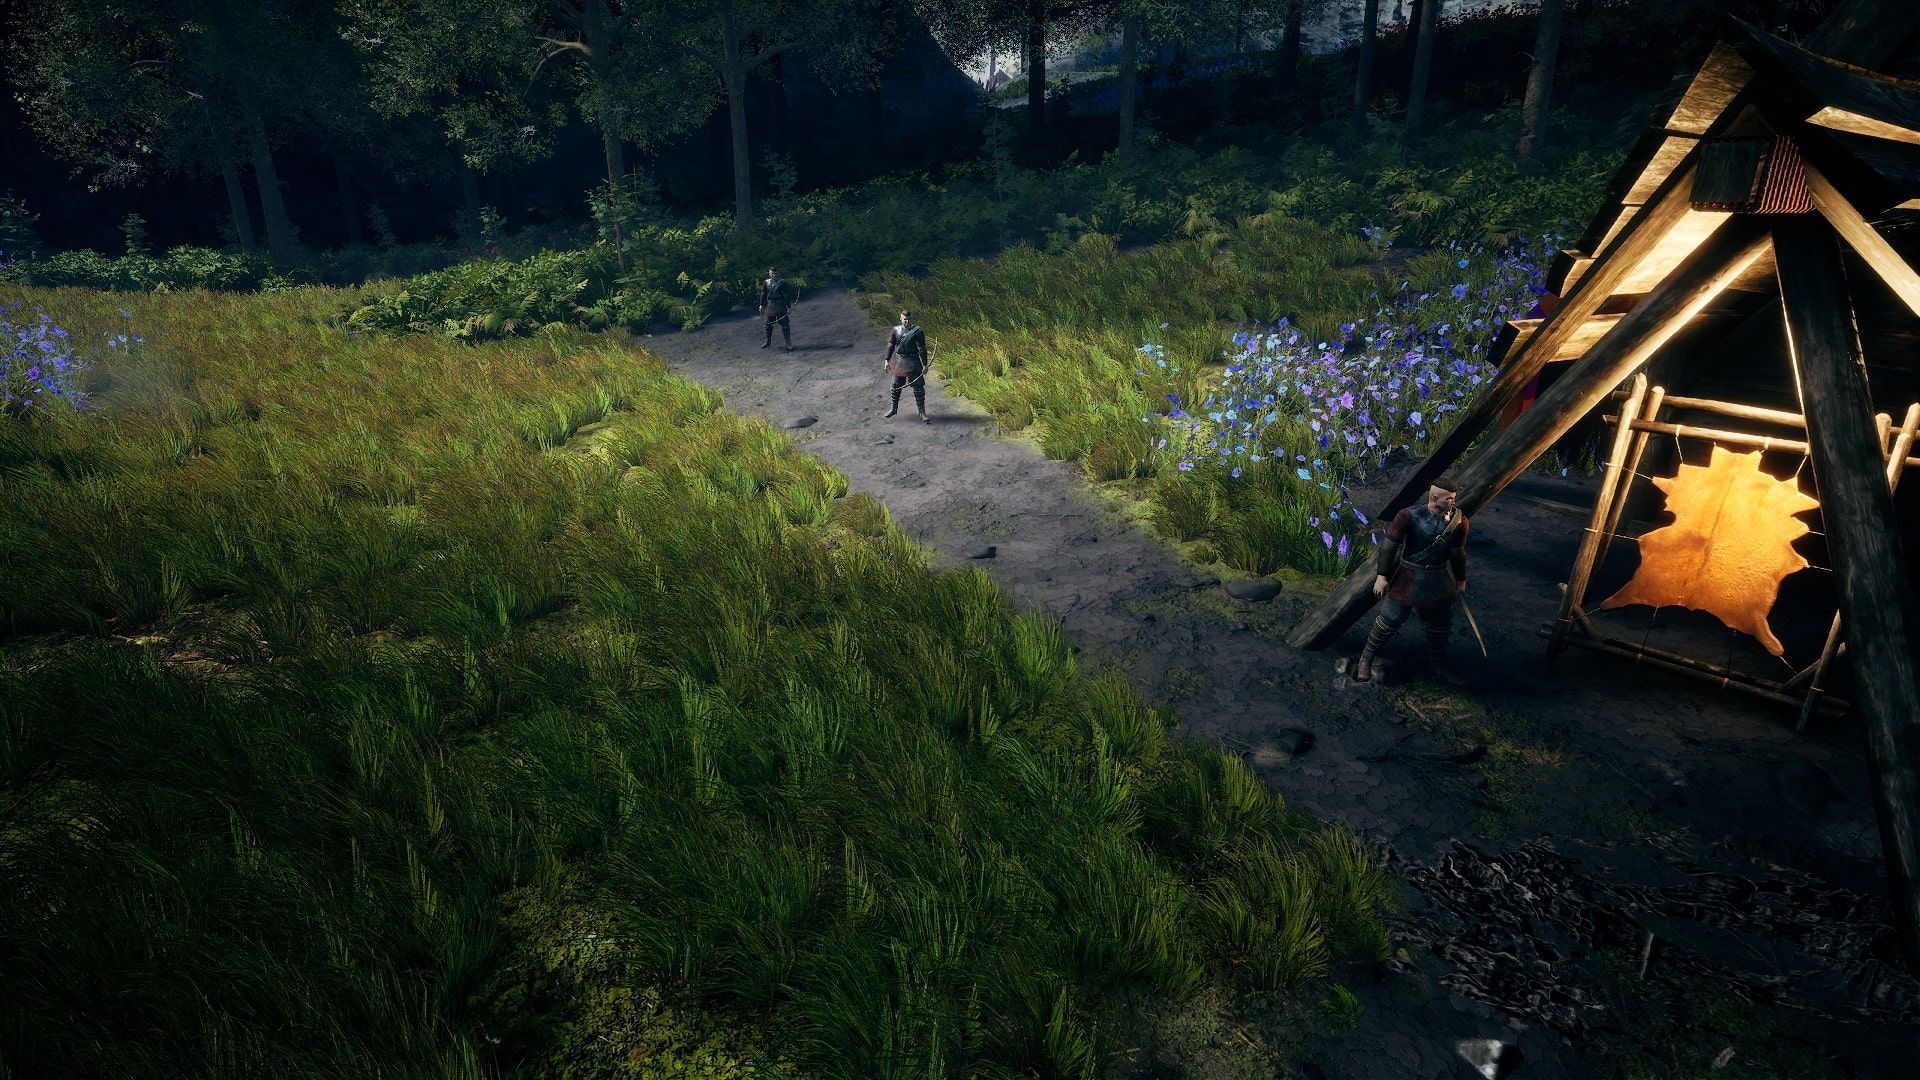
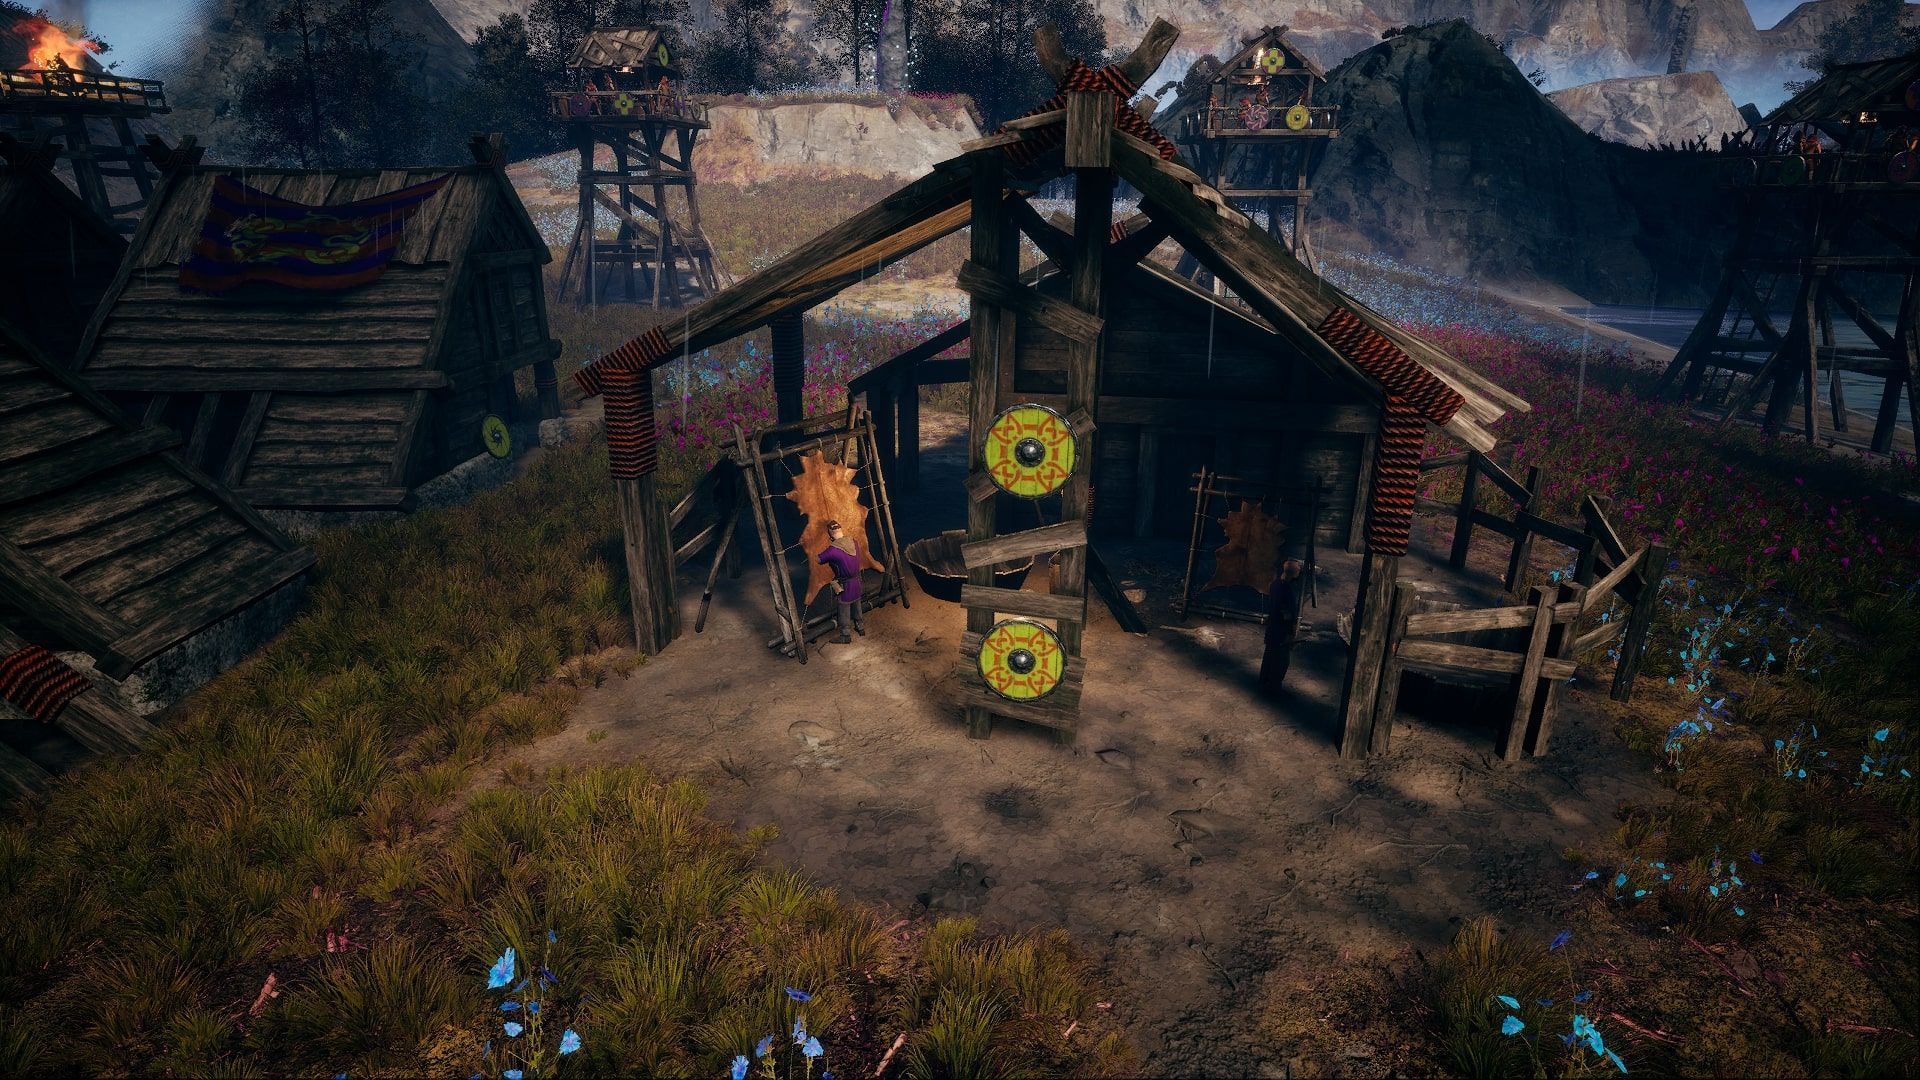
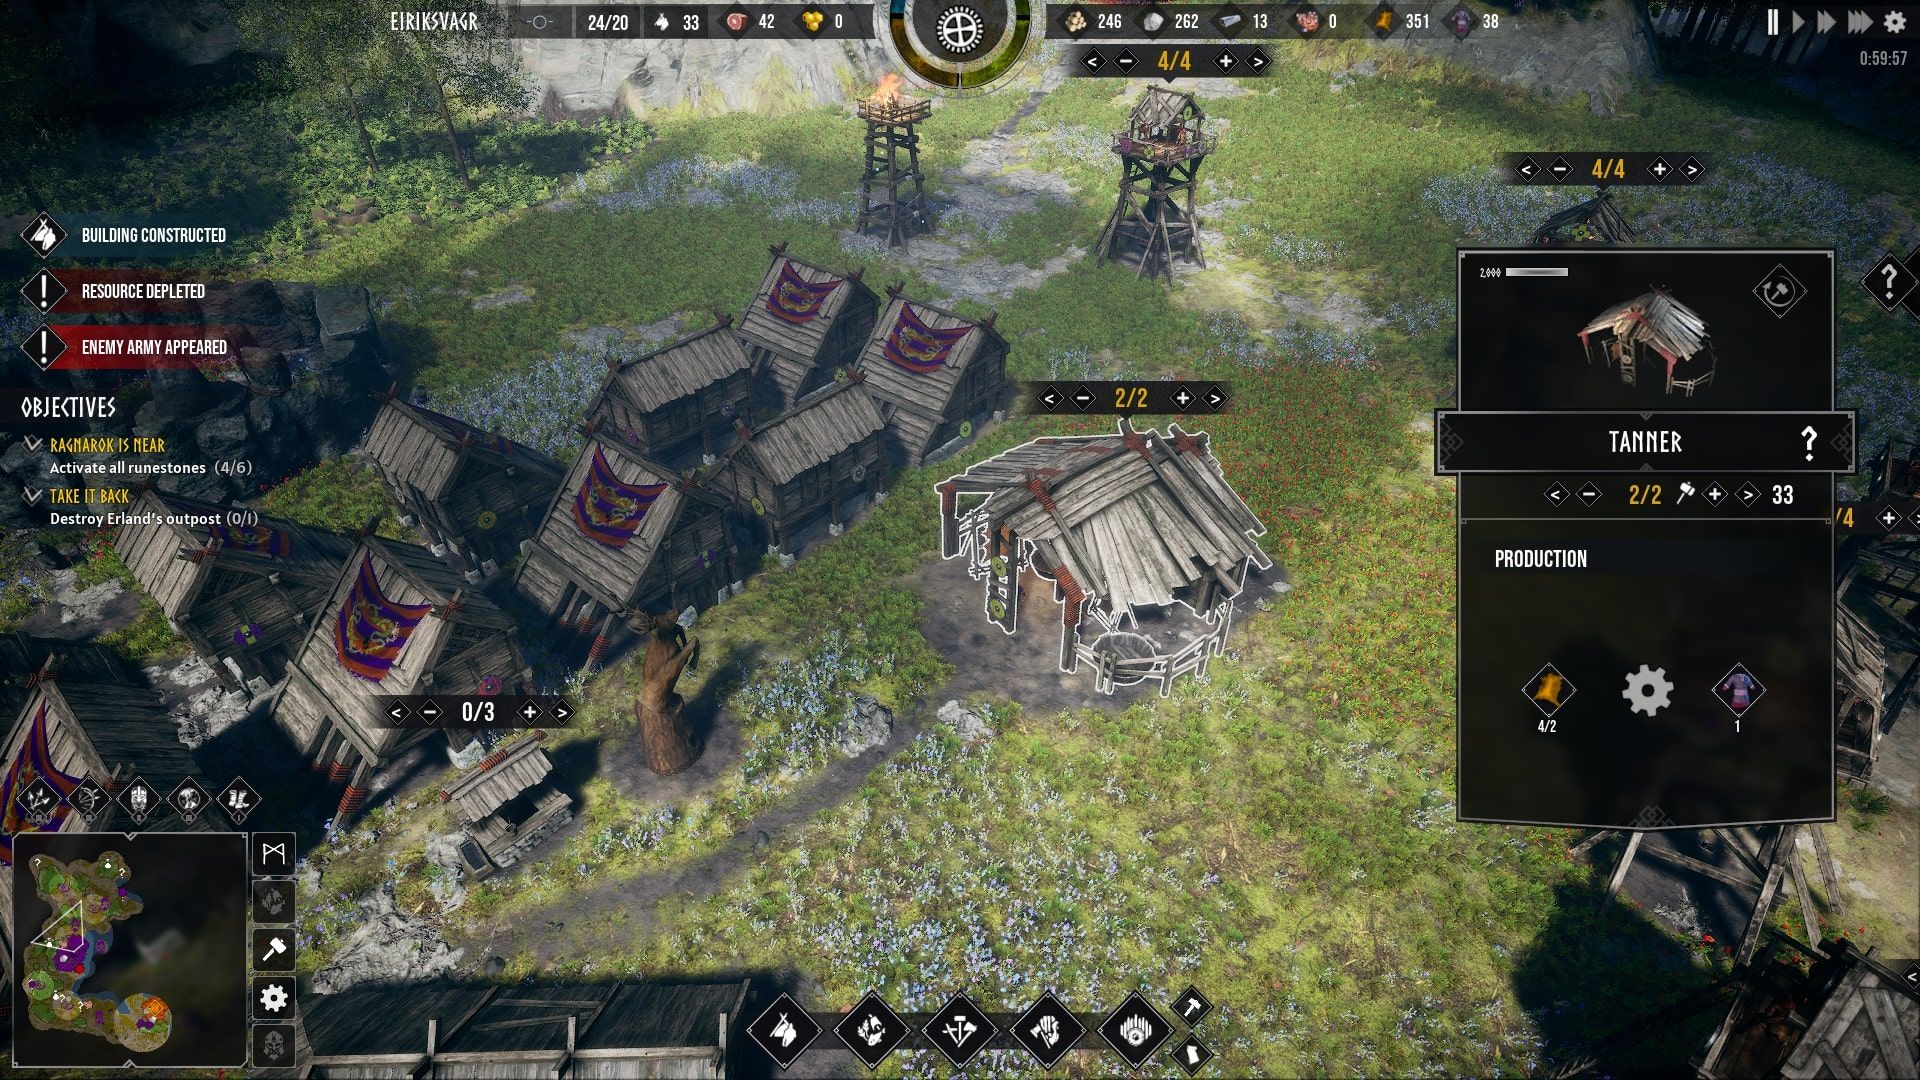
Clothes are created from your Skin stockpile using the Tanner. Tanner’s will periodically grab some Skins and some Wood and turn that into Clothes. It’s a fairly simple process, but it can be resource-intensive. You can run out of Skins because your Tanner is burning through them faster than you can replenish them.
This is more of an issue than you may initially think. Some units, however, require Skins when recruiting and refilling, so if you are not keeping both supplies managed effectively, you can stifle your military efforts quite substantially.
The best way to create Clothes is by using the following setup -
- x1 Warehouse
- x1 Tanner
- x2 Farmhouse
This is a fairly cheap way of gathering lots of Skins and converting those Skins into Clothes effectively. Providing you have your Warehouse setup so all three production buildings have a short, and clear journey, you should be able to produce plenty of both and then never have to worry again.
The Marketplace is also an excellent place to sell Clothes. Clothes, being an “artisan” resource can be traded at a great rate for raw materials. If you are short on anything, then trade your excess Clothes.
How To Produce Mead Effectively
Mead is the only resource in Frozenheim that doesn't get much of an explanation. Mean is produced by Inns, although just building an Inn does nothing. If you want to actually produce Mead, you need to assign some trees near the Inn to be turned into Beehives. Mead will then be produced over time.
Mead can be used as a valuable trading material, it can be used in upgrades, and it is vital if you are planning on building a Marketplace. It is not the most important resource, but its existance can make most things slightly easier. Not only that, you can host feasts with Mead to reduce Discontentment.
How To Produce Steel Effectively
Steel is a powerhouse material that is required to make many military units, and also required to upgrade them with research. Steel is pretty much a military-only resource, making it very important when you want to attack your enemies or defend your people.
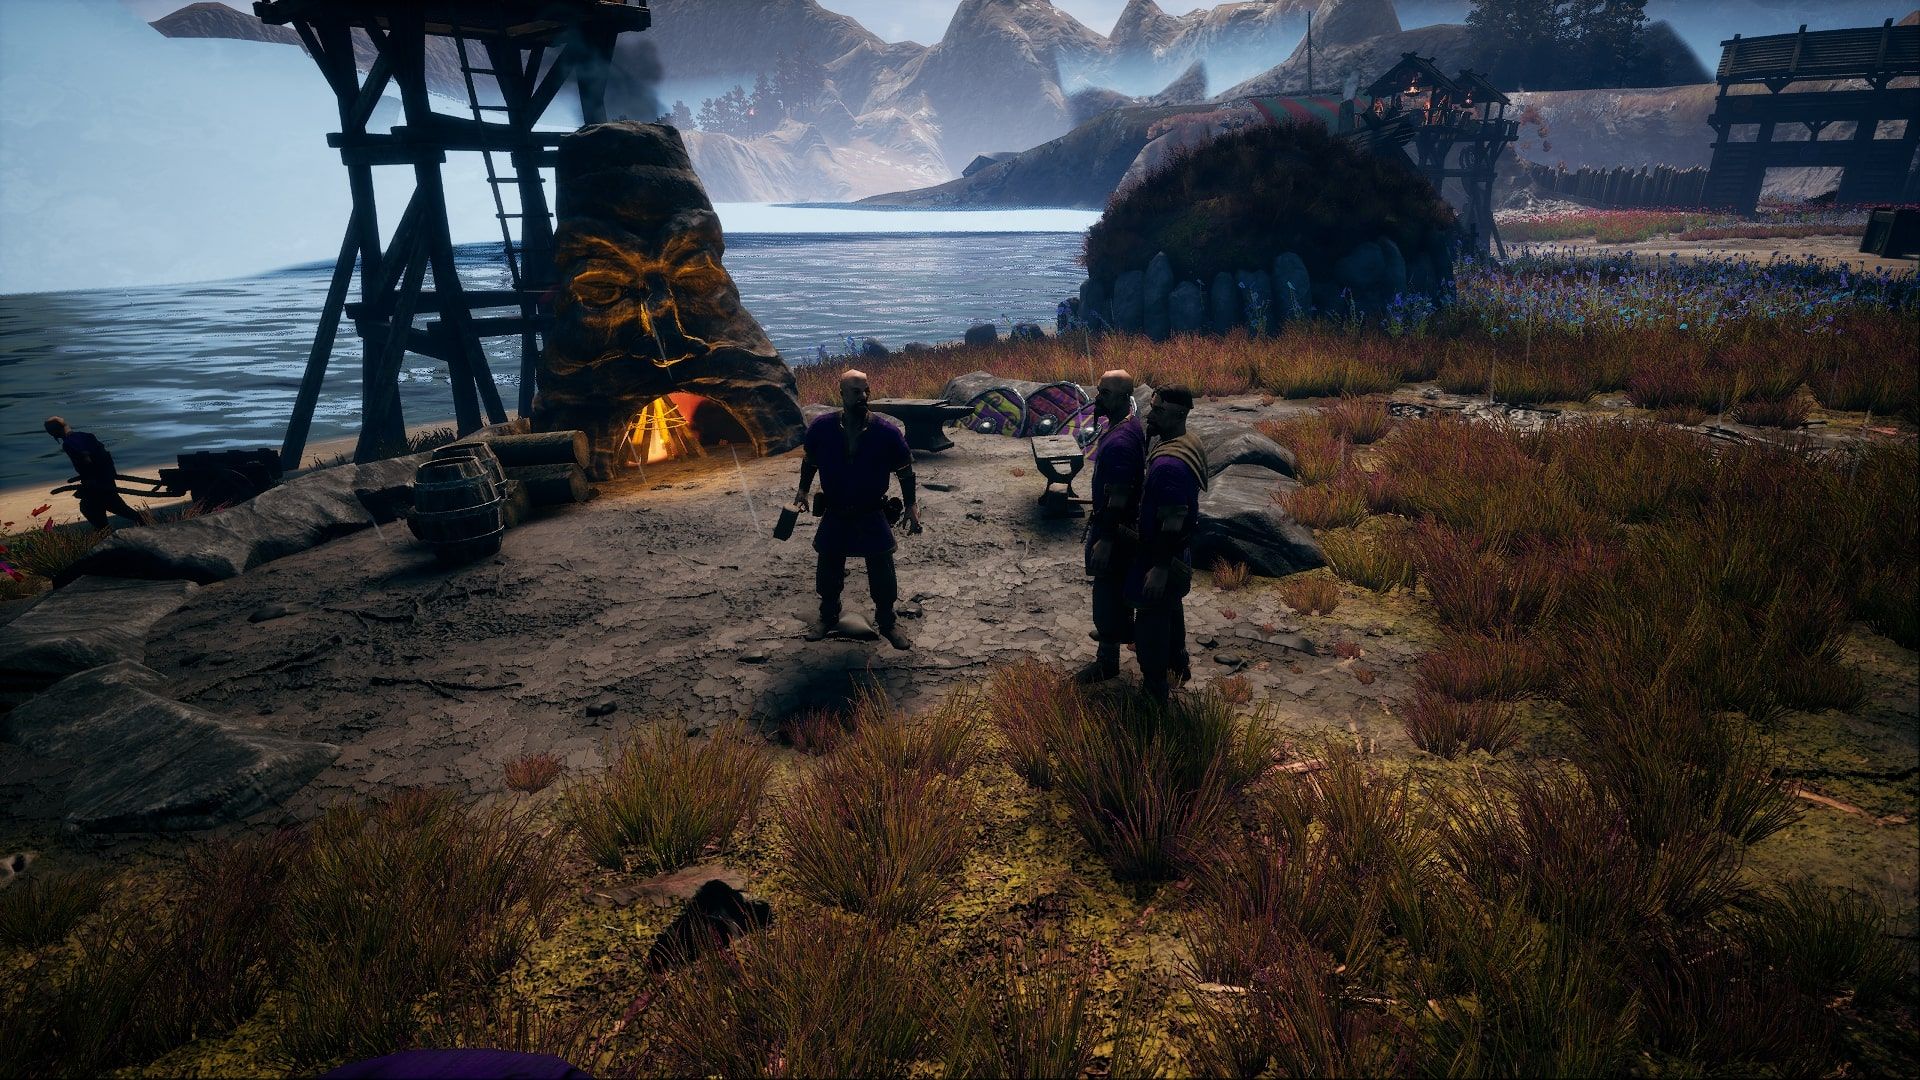
Steel is made at the Bloomer, and it requires both Wood and Bog Iron. Both of these are awkward resources due to their somewhat limited nature. That being said, you can make a lot of steel very quickly by mimicking the Clothes method:
- x1 Warehouse
- x1 Bloomer
- x2 Collector’s Guilds
This is of course dependent on the map you are playing on. You might not get Bog Iron Deposits close enough to pull that off. If that is the case, then simply have your Bloomer near any Warehouse, or better yet, the Jarl’s Homestead. The shorter the distance between your Bloomer and a resource dropoff point, the better.
How To Turn Off Production Facilities
Selecting any production building allows you to turn them off. All you have to do is click the large rotating Cog. This can be great early on to prevent your Tanners and Bloomers from draining all of your Bog Iron, Skins, and Wood. Sometimes you need that Wood, for example.
Use Your Blessings
Blessings can be used to enhance your production, and this drastically increases your effectiveness and longevity.
Freyja
The Blessing of Freyja repopulates any cut-down Forest. That’s all it does, and it is ridiculous. If you have a lot of Woodcutters pumping your camp full of Wood to fuel the furnaces or your relentless expansion, you will run out of trees. The Blessing of Freyja makes that almost impossible.
Bragi
The Blessing of Bragi simply doubles the effectiveness of all your production buildings for a short period. There isn’t anything else to it. You pop this, you get better for a bit. In an ideal scenario, you would alternate between Bragi and Freyja for optimal production gains.
The Power Of The Deer Clan
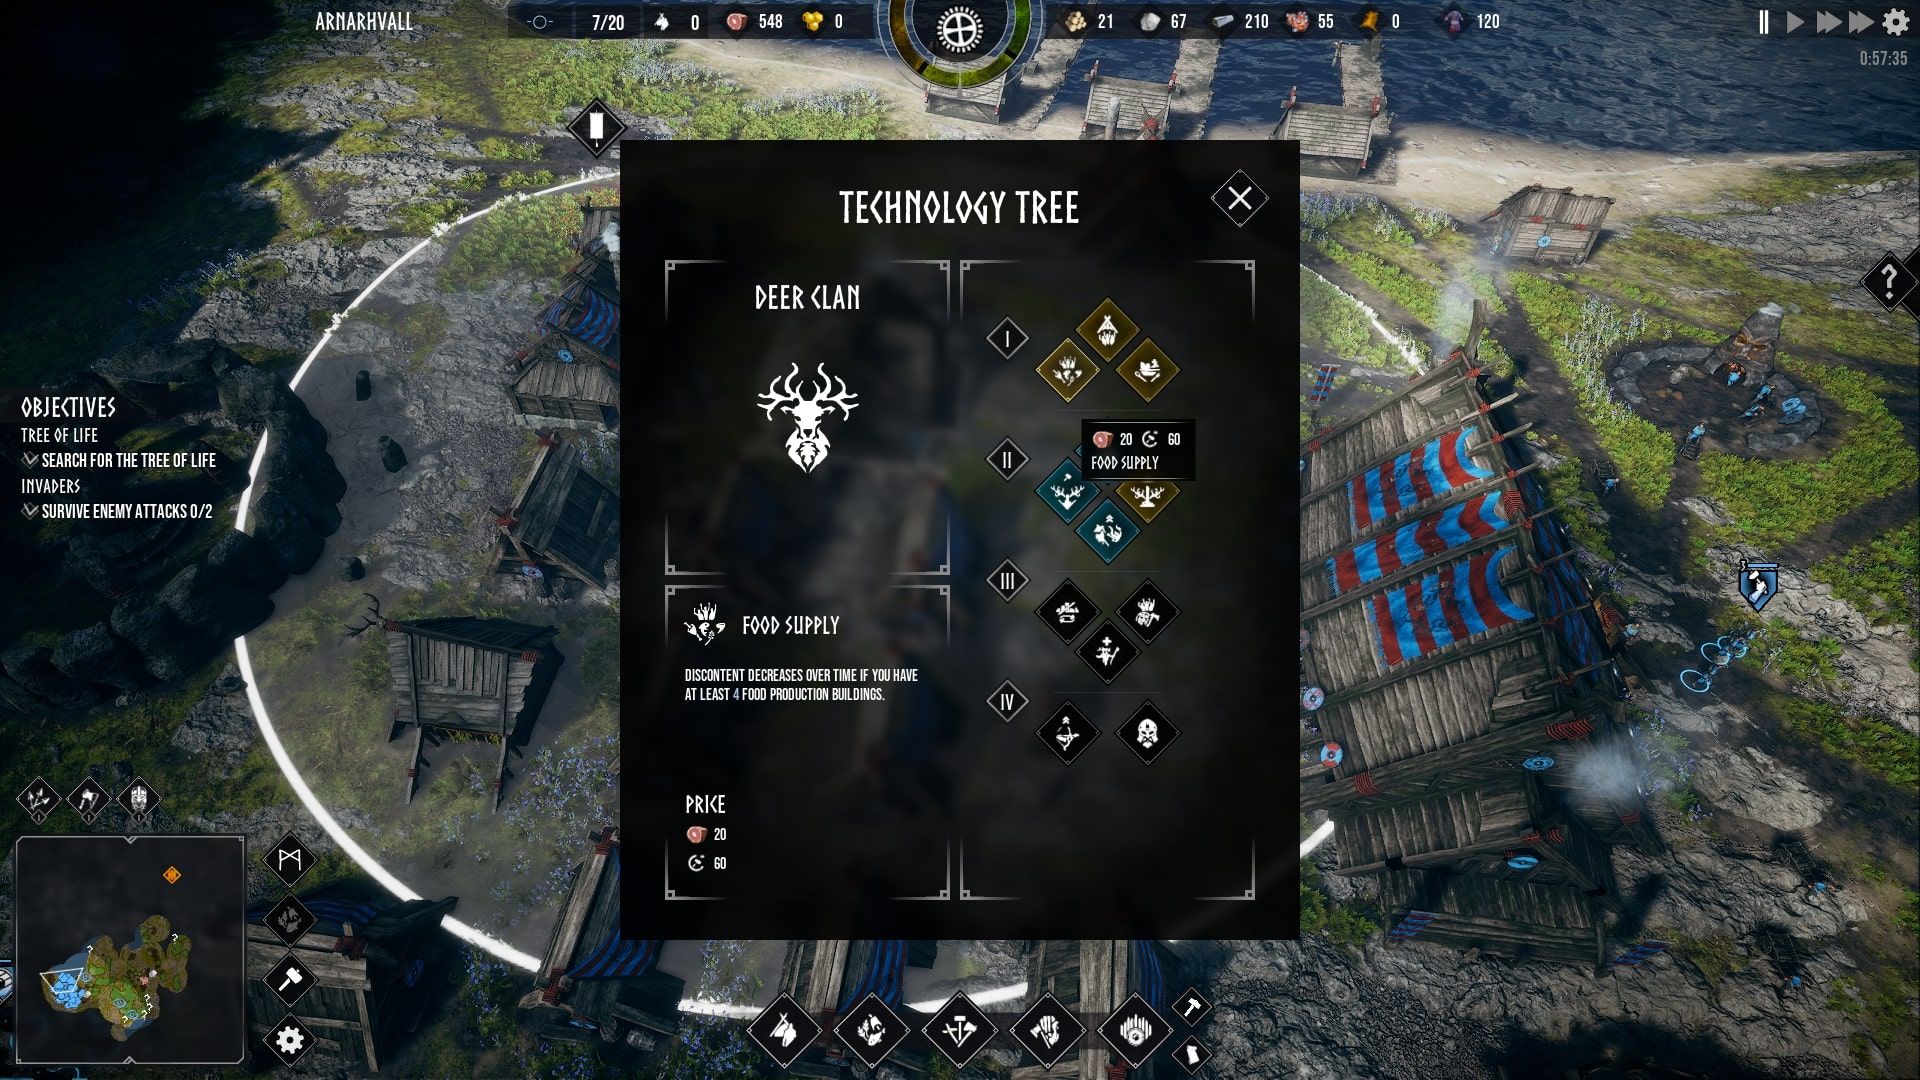
There are four Clans in Frozenheim, and they are all pretty powerful. However, it is easy to overlook the Deer Clan for something a bit more bombastic, like the Wolf Clan. If you want the best production in the game the Deer Clan is where it is at, and that’s because of two very powerful buildings (among other powerful upgrades).
Granary
The Granary is ludicrous. Any seasonal building suddenly stops being seasonal when near a Granary. Orchards, Wheat, and Farmhouses all become year-round production facilities, and this is a game-changer. You will never be in a situation where you aren’t producing Skins or Food again.
Deer Shrine
The Deer Shine increases the production of any building in its vicinity. That’s it. It’s cheap, it’s a tier-one upgrade, and it takes up next to no space. If you want to skyrocket your production of literally anything, then place a Deer Shrine.
If you have a Warehouse-based production line anywhere in your village, place a Deer Shrine - it will get even better. As far as we are aware, this also stacks with the substantial buff from the Blessing of Bragi.

