Quick Links
The Desert of Hadramaveth was released in Genshin Impact alongside the Version 3.4 update with Alhaitham and Yaoyao. In this area, you'll set on a journey to find the Eternal Oasis with Jeht in the Dirge of Bilqis quest line. You'll also find a new companion called Liloupar, who is the mother of Jinn.
After finding the Jinn, you'll have to finish three parts of the Dune-Entombed Fecundity quest to finally reach the location. You'll use a giant Ruin Guard to open different passages during this quest, and you can easily get lost while navigating the puzzling ruins.
Dune-Entombed Fecundity Part One Guide

After having a nice chat with Jeht, Azariq, Liloupar, and Paimon, the Traveler goes to bed for the night. Upon waking up, the first part of Dune-Entombed Fecundity begins when you talk to the Eremite friends again. You'll learn about the intricate system created by Al-Ahmar himself, which now hides the Eternal Oasis.
Babel will also mention that the Fatui is the reason for the betrayal at the end of the previous quest. Upon finishing the dialogue, you'll be asked to go deeper into the desert, to the right of Mt. Damavand. The journey to this place can be quite difficult if you don't have the required Teleport Waypoint unlocked.

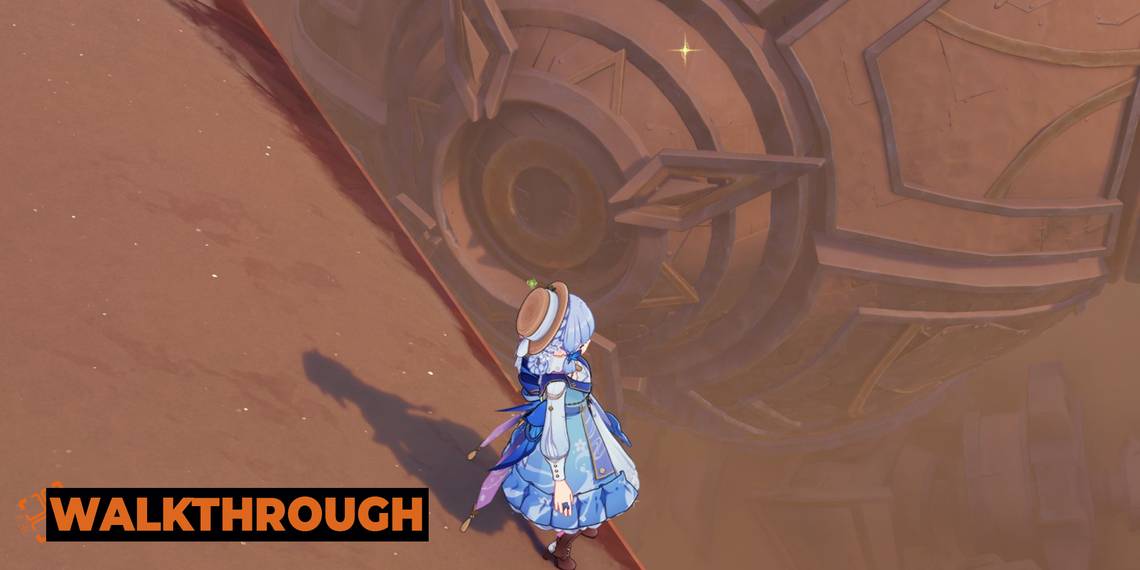
Head down to the bottom of the area marked with a yellow circle, and you'll see a passage going down, as shown in the picture above. As soon as you land on the path, you'll have to fight some Fungi alongside Jeht and Azariq while being attacked by a Wenut. Pay attention to the ground and dash whenever you see Wenut charging its attack.
Keep following the path until you reach a blue mechanism that Liloupar will unlock for you. After activating the mechanism, you can head deeper into the ruins using the four-leaf sigil in front. Upon reaching the next yellow circle, you'll see the beauty of the underground Desert with a blue mechanism to your left.

You'll have a dialogue where Liloupar will ask you to connect the pipes, and there'll be two blue mechanisms below, but only one of them will be unlocked. Activate this mechanism and head into the doorway in front. Here, you can go around the invisible wall to activate the pillar on the other side, which will make the required connection.
This will spawn a Common Chest outside, and the other blue mechanism will also be unlocked. Activate it and proceed deeper into the ruins, following the blue marker that will lead you to the next mechanism. Once you activate that, you can go back up the path and through the opened door.

Use the grapples in this room to reach the next mechanism and activate it once, which will open a button in front of you. Enter the new door unlocked by the button and fight two Primal Constructs on the left side. In this room, you'll see a blocked blue mechanism and a path to the left that can be unlocked by interacting with the book.
This path will lead you back outside to the main blue mechanism, and you have to interact with it once again to divert the pipes, which will open the mechanism inside. Activate the mechanism and interact with the pillar in front once to make another connection. This will get rid of the blue aura blocking your path, and you can move forward.

Now, you can activate the elevator shown above and get to a lower level, where you'll have to defeat a bunch of Fungi first. After defeating the enemies, rotate the valve once with the blue mechanism, which will make the wall near the pillar disappear. You can connect this pillar to the floating mechanism.
This will open a new door, but rotate the valve once again before moving forward to remove a different wall. This will allow you to connect the next pillar, opening the button in the next room where you have to fight a Primal Construct. Activate the button and keep going forward. Jump down the crack in the middle and reach the blue mark.
You'll find a Teleport Waypoint at this location, and it's heavily recommended to interact with it so that you don't have to follow the path again when you want to get here.

Keep following the yellow circle on the mini-map, and you'll reach a door guarded by some enemies. Defeat the enemies and open the door to proceed further. As soon as you enter, there'll be a fragment for Liloupar on your left. This fragment is in the middle of the only green grass you'll see in the Desert. Interact with the fragment to trigger a cutscene.

After the cutscene, go back up and keep following the path to your left until you reach the blue marker. In this room, a giant scorpion will spawn when you get to the button in the middle. Defeat the enemy and activate the button to spawn an Exquisite Chest and the area you need to go to next.

Once again, follow the yellow circle to get to the main part of the quest. Activate the blue mechanism and jump down to a giant field with a yellow pedestal in the middle. When you interact with this pedestal, you'll have to fight off four Primal Constructs, so make sure you have a good team.
Follow the yellow path created by the mechanism after defeating all the enemies, and a cutscene will trigger where Liloupar will show you a spot in the middle of the sandstorm. After the dialogue, head back to the surface with Jeht where you'll surprisingly meet Azariq. Another chat around the campfire will finish the first part of this quest.
Dune-Entombed Fecundity Part Two Guide

The next morning, you'll be asked to reach a certain location to meet Azariq. Once again, having the required Teleport Waypoint unlocked will make it a lot easier. After reaching the location, you'll see a giant Ruin Guard before you meet Azariq. These Ruin Guards have already been shown in Sumeru Rainforest and the southern Desert before.
You'll talk to Azariq beside an open arm that will take you inside the machine after the dialogue, and he'll mention that it can be used to travel through the dangerous sandstorm-filled Desert. Head inside the arm and use the grapples to get to the main part of the machine, which can be quite hard to navigate.

In this room, you need to find three cores to unlock the next door. You'll see the first core right in front of you, and the second one will be to your right behind a bunch of crates. Break the crates or jump over them to get the core.

For the third core, head over to the opposite corner of the room, and it'll be inside a pot. You don't need to clear the sand pile beside the pot to progress in the quest, but you can do it if you have an Anemo in the team. Place the cores on the floor and the door to the main machine will open.
Here, Azariq will ask for your help to reach the main cabin of the machine. To do this, pick up the first energy core right in front of you after the dialogue ends. After picking it up, there'll be an arrow on your right side in front of a room blocked by yellow bars. Place the core there and go inside to find the second core.

After getting the second core, pick the first one out of the mechanism and go across the room to find another locked door that requires two cores. Place the cores, pick the third core inside this room, and take the two cores back before going further. The cabin right beside this one will have a hole that will take you to a lower floor.
Here, you have to place the three cores into the three pillars in the area, which will start the machine. The tube in the middle has an elevator that will take you to the top of the machine, but you have to activate the button beside the elevator first. On this floor, the spherical cabin will have a path to take you inside the cockpit.

Inside the cabin, Azariq will let you control the machine after a long dialogue. At this point, you won't have any particular target. You simply have to press the button shown on the bottom-right of your screen while aiming anywhere. The Ruin Guard will get up and travel to the required location.

Once you reach the location, the machine will break down and Azariq will ask you to restore the power to one of its arms. Head back outside the cabin and use the grapple to your left side. As you're grappling, you'll see a yellow core on the left side, which can be used to power the mechanism shown by the blue marker.
Activate the mechanism and head back down the slope, to the middle of the room. You'll see the second core on your way down the slope. Place this core into the second mechanism marked by the blue marker, and the energy will be restored, allowing you to go back to the cabin.

When you enter the cabin again and use the Ruin Guard, you'll see a spot marked on the rocks. Press the required button while you're aiming at this spot, and a new path will open. Talk to the people in the cabin and head outside the Ruin Guard's arm. When you get out, your camera will span to the new path created.
Follow the purple path until you reach a blue mechanism, which will be opened by Liloupar allowing you to activate it. Keep following the path until you reach the door unlocked by this mechanism and go inside after activating the button. Here, you'll have to solve a puzzle to get to the next part.

There's a blue orb on a pedestal in this room that works like a Seelie in the Desert ruins. Interact with the orb and follow it until it reaches the next pedestal. Don't interact with the second pedestal yet since you have to close off the fan first. Defeat the Primal Construct here so that it doesn't bother you.

Once that is done, hit the small blue fan mechanism two times to clear the sand pile beside it, and then move it to the other side. You can activate the new blue mechanism that spawns, which will allow the sand to fall and create the second blue mechanism. You can activate this mechanism to witness a cutscene.

The blue fan mechanism can be attacked again to clear the sand piles on the other side if you've already moved it over. Press the button that gets unlocked, which will stop the fan blocking the blue orb. Interact with the orb and follow it to the destination to get a Common Chest. Fall down the hole at the end of the room and you'll get a Remarkable Chest.
Defeat the Primal Construct in the room and activate the button to go back to the initial room where you started, but the path to your left will be open. Go there and interact with the blue mechanism, which will unlock the button that will open the door and you can progress to the next part.

Go through the tunnel until you reach a broken blue mechanism at the end. Here, Azariq will tell you that the door on a height needs to be opened, and you need to fix the blue mechanism for that. To do this, head to the room shown at the end of the dialogue, and move the fan to the other side, which will let you clear the sand pile.
There's another sand pile to the left of this fan mechanism, which will reveal two obelisks. You can get an extra chest by matching the symbols on these obelisks with the one outside. This part is not required for the quest.
In the next room, hit the blue fan until it removes the sand on the red one, and use this second fan to remove the second pile. Activate the blue mechanism and a cutscene will be triggered, showing you that the path in the first room that was blocked by a blue aura is now clear.

Head through this new path and you'll find another blue orb at the bottom with a Primal Construct that you have to defeat. Ignore the broken blue mechanism here and interact with the blue orb. Follow it outside where it'll fit in the pedestal, fixing the blue mechanism outside and creating a path to the door Azariq showed before.
Use the grapples to get to the top and activate the Teleport Waypoint. Some Fungi will be guarding the door, but you don't have to defeat them to activate the button that will open it. Go deeper into the ruins with this new door, and you can also get a Dendroculus on top of a tree branch here.

You'll find an Exquisite Chest here that will give you an important piece, and there will be another blue orb at the end of the room. Follow the orb until it reaches the main pedestal, and you can interact with it again when it stops at a smaller pedestal in the middle. Once that is done, interact with the second Liloupar fragment after going down a few stairs.

This will open the book in front that will open the door. Inside this door, you'll see a connection mechanism that can change the direction between two sides. You have to change its side once so that the blue aura is removed and you can interact with the orb. While this orb is on its way, you have to change the connection to the other side to stop the fan.
Follow the orb to the second main pedestal in the main room, which will allow you to open the door and get another Exquisite Chest. Head deeper in and follow the path downward using the grapples until you reach another blue mechanism marked by the marker. Activating the mechanism before heading to the second arena with a yellow pedestal.

Once again, you'll have to defeat nine enemies including Fungi and Primal Construct before a yellow path is created by the pedestal. Follow the path and trigger the final cutscene of this quest. Head back to the surface with one of the Eremites and the second part will come to an end.
Dune-Entombed Fecundity Part Three Guide

Once again, you'll use the giant Ruin Guard, but the game will teleport you directly to the cockpit this time. Interact with the control panel of the machine and press the button on the bottom right of your screen once again, and you don't need to aim anywhere. You'll reach the required location in a few seconds.
After talking to Azariq here, go back to the control panel and shoot the rocks on the bottom right side, opening a cave. The game will keep you in shooting mode this time, so you can have some fun while you're at it. When you leave the cockpit after breaking the rocks, you'll see Azariq turn on you.

Once this dialogue ends, you have to fight Azariq along with a few more Eremites. Defeat all the enemies and witness Jeht deciding Azariq's fate. After the heavy dialogue, head outside the machine through the arm, and you'll find Aderfi waiting for you with a few Fatui members. You have to defeat all the enemies here again.
Read the note left by Aderfi at the end and head back inside the Ruin Machine through its arm. Follow the blue marker until you get out of the second arm of the machine. You'll have to fall down and go into the broken part to get the first blue mechanism in the third part of Dune-Entombed Fecundity.

After activating the mechanism, take the path to the right and keep following it until you reach the yellow circle. You'll also have to fight a bunch of Fungi on the way. There's a lot you can explore on the way, but you don't have to do anything for the quest until you reach the yellow area. You'll also get another Teleport Waypoint here.
Use the grapple on the top of a mountain and open the door in front of you using the button on the ground. When you head inside, there'll be another Exquisite Chest waiting for you, and it will give you an important piece. Claim the chest and defeat all the enemies in the area to have an easier time.

There'll be an open door on one side of this room beside a couple of destroyed Primal Constructs. Go inside the door and activate the blue mechanism here. This will unlock the pedestal near you and spawn a blue orb on it. Make sure you interact with the blue mechanism only once in this room.
Interact with the blue orb and follow it outside where you can activate the first blue mechanism in this main room. This mechanism will open a door on a lower level, and you can follow the orb down there. You have to release the orb once it goes inside a pedestal above the stairs. Here, you'll find a new mechanism called Dual-Phase Neverlight and Everlight cells.
These are the same connection mechanisms you've dealt with, except the former needs a connection from two sides, while the latter can send out light on both sides.

To solve this puzzle, you have to rotate the mechanism shown in the picture above twice. The first time you rotate it, it will connect to another Neverlight Cell that can be used to claim the chest in the room. The second time you do it, it will clear the blue aura blocking the area. Go inside and interact with the blue mechanism.
With this, the mechanism outside unlocks, and it can be used to guide the orb forward. Keep following the orb forward and you'll find two Primal Constructs guarding a button. Defeat the enemies once again and activate the blue mechanism here while the orb fits into the pedestal and opens the way forward.

Now, you can activate the second mechanism in the main room and head through the main door. Keep following the blue marker and you'll find the third Liloupar fragment beside a Dendroculus. Claim the fragment and discover a harsh reality. Next, you can head over to the blue mechanism at the end of the room.

Activate the mechanism and go to the giant arena with a yellow pedestal for the last time. This time, you have to fight five enemies before they can take out the main mechanism's health. Once again, your path will be created with a yellow line. Follow the line and reach the main area right at the center of the sandstorm.
Here, you can listen to the conversation between Liloupar and Ferigees before the final battle of this entire journey. In this battle, Ferigees will spawn different enemies while she protects herself. After defeating a wave of enemies, you can deal some damage to the pedestal of Ferigees.
In the end, you'll have to fight an algorithm boss before dealing the final damage to the pedestal. Make sure you're on a strong team before starting this fight if you want to end it quickly.
Finally, activate the mechanism in the middle and follow the path for a bit to reach the Eternal Oasis, finishing the Dune-Entombed Fecundity quest.