The Golden Apple Archipelago is a huge new area added to give fans summertime vibes in Genshin Impact 1.6. The islands are a mysterious place packed with fun activities for you to take part in. While the event page will likely take a good portion of your time, there are some puzzles to solve around the Golden Apple, like the lake puzzle on Broken Island.
For fans who love quick, easy chests though, there are also the Hymnal Ring Puzzles that are located all over the islands. These puzzles are incredibly easy to solve and will help you rack up extra primogems while having fun.
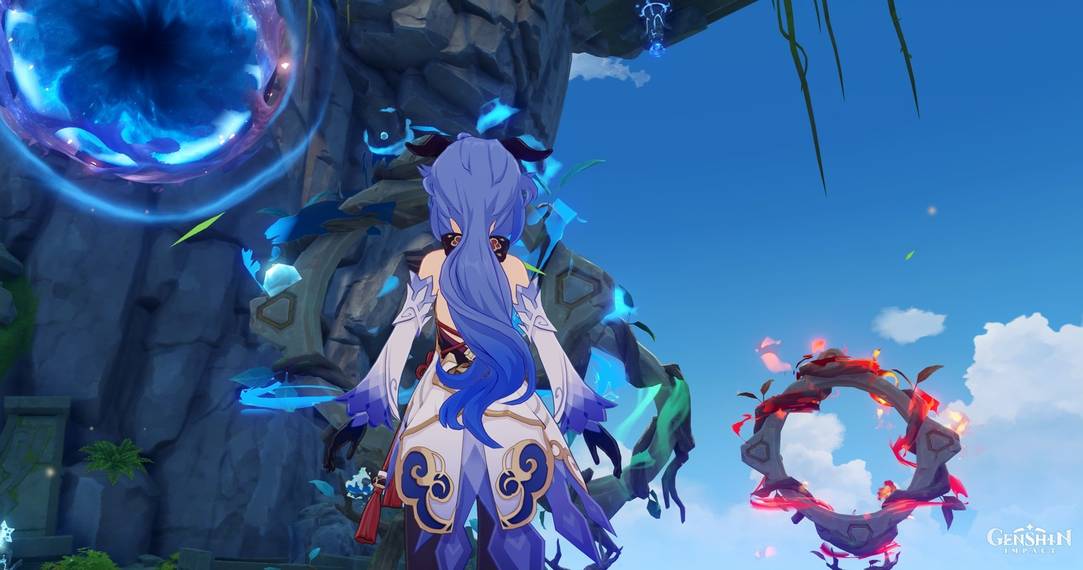
What Are Hymnal Ring Puzzles?

Hymnal Ring puzzles range from simply throwing the Harpastum through a hoop to going up to each ring and figuring out which one is able to be adjusted. For the most part, these puzzles will only take you a few seconds to complete.
The puzzles will sometimes have a few rings that you can move, and the rings have arrows built in that will show you which way the Harpastum will go.
Simply stand on the stone circle, wait for everything to light up, and line up your shot to get a treasure chest.
Pudding Isle Hymnal Ring Puzzle Locations And Solutions

Pudding Isle is the best place to start as all of its puzzles are incredibly simple. The only puzzle that requires movement, simply needs you to aim the ring towards the target.
Twinning Isle Hymnal Ring Puzzle Locations And Solutions

On Twinning Isle Hymnal Ring puzzles six, seven, two, and four are all pretty easy to manage and only require a slight bit of planning. Puzzles one, three, and five are a bit more complicated:
- Puzzle 1: Place the Hymnal Ring in position one, Rotate the closest ring 180 degrees, the second ring 90 degrees, and the third ring 270 degrees.
- Puzzle 3: Set the electro ring to move up, the ring near it to position one, and the ring connected to the rocks to position two.
- Puzzle 5: Move the twister ring 180 degrees, the hydro ring up, and the electro ring to position one.
- Puzzle 5 Hard: This will appear after completing the normal puzzle. Place the electro ring in position one, the beach ring in position one, and the final twister ring in position one.
Broken Isle Hymnal Ring Puzzle Locations And Solutions

Broken Isle's ring puzzles are pretty straightforward for the most part. Puzzles one and two just deal with moving rings, while three and four, require you to reposition rings:
- Puzzle 3: Rotate the land ring to 180 degrees and the ring in the water to 90 degrees.
- Puzzle 4: Turn the movable ring to 270 degrees.
Minacious Isle Hymnal Ring Puzzle Locations And Solutions

Minascious Isle has three different puzzle sites, but four different ring puzzles. The fourth will spawn at ring site two after you complete the first puzzle. The first puzzle just requires lining up with a moving ring, the third high aiming, and the third requires you to move the rings:
- Puzzle 2: Turn the left ring to 270 degrees and the right ring to 180 degrees and then shoot your Harpastum through the left ring.
- Puzzle 2 Hard: Turn the front ring 270 degrees, the back ring 180 degrees, and the left ring 90 degrees.
How to Complete "The Winding Homeward Way" Quest

The final ring puzzle that you will likely come across is on Minacious Isle. This is a special puzzle that is part of the "The Winding Homeward Way" quest. To begin, teleport to the top of the isle's cliff, near the entrance to the hole with the rings, you will find a Seeli. Activate the Seeli and then follow him down to a pillar near the rings. He will cause the pillar to light up, giving you an order to activate the nearby elemental pedestals in.
- Tip: Be careful not to be hit by hilichurl archers when descending with the Seelie.
Keep in mind that the ruins are upside down; here is the correct order that you need to activate the pedestals in:
- Cryo
- Anemo
- Pyro
- Hydro

The pyro and hydro pedestals are located upside down and hard to reach. The hydro and pyro rings are here to help you complete the puzzle. You can adjust the rings and throw the Harpastum through them to activate the pedestals. Simply adjust the normal ring to position one and shoot the Harpastum through the hydro ring.
- Tip: You can use Amber to hit the pyro pedestal and Tartaglia, if you have him to activate the hydro pedestal.
After they have activated, a portal will open, and the Seelie will go in. Grab the anemo wisps to give you a boost into the portal. Once you go in, you will be teleported back to the mainland and need to follow the Seelie to a nearby boulder. Pull out a claymore user and break the boulder to finish the quest and claim your reward.