Quick Links
God of War Ragnarok's Creatures of Prophecy section sees Kratos return to Vanaheim. Though this time he is accompanied by the sprightly Atreus. As was the case with the previous Vanaheim outing, this quest is a lengthy one that features multiple boss battles and a whole host of collectibles to obtain.
As such, this guide will cover the first half of Creatures of Prophecy, which is primarily concerned with retrieving the moon and waking the slumbering Skoll and Hati. And don't worry, while we chase the moon, we will have more than enough time to score some sweet treasures as well.
Creatures Of Prophecy


You will start the Creature of Prophecy section in Freyr's camp. In order to get there, travel to the gate closest to the camp and take the route on your right. Once you arrive, it will be barren. However, you will soon be greeted by Hildisvini. If this is your first time returning to Freyr's camp since obtaining your spear, there will be a Legendary Chest in the back that you should claim. Simply hop across the lake and break open the fissure in the wall with your spear to reach it.
You will be dealing with those poison plants again, but none of them offer up any real surprises. Detonate the bulbous ones from a distance, and kill the spitting flowers with your axe or spear.

Exit the camp through the northern section of the camp. You will follow Hildisvini toward the Eastern Berri Woods until you run up against a rock wall with one of those fissures in the wall. Blow through it with your spear, and you will be able to progress. Now you will follow a linear path, hop over a gap, and crawl through a crevice. Upon exiting, you will find yourself in the same area where you fought the Ancient Guardian. A Stalker will greet you.
Mid-Boss Battle: The Stalker

The Stalker is a version of The Huntress you fought way back at the beginning of the game in Midgard. However, there are some dramatic differences. This iteration is wholly melee-based. Her primary attacks consist of a charging spear thrust and a combo where she takes a number of horizontal swipes at you. These attacks are all quite easy to parry. Especially the charging attack.

When the Stalker is using her melee combo, she will occasionally mix in an unblockable attack. This will always be a vertical swing. You need to dodge this attack to the side. A backward dodge will place you in danger. Otherwise, much like The Huntress, she will try to kick you. This is a parryable attack.
The Stalker has two kick attacks. The one that she uses when you are behind her is substantially faster.

Halfway through the fight, Wisps will appear and assist the Stalker. However, they are potentially a greater aid to you and your cause, as all you need to do is shoot them with a runic arrow, and then bat them at the Stalker in order to do massive damage. Just parry The Stalker, and whack her in between her attacks. Once the Wisps show up, use them to finish the job.
Eastern Barri Woods


After killing the Stalker, cross the water, and you will face off against some Gulons with a few Nokken providing them with support. As per usual, you are going to want to start with the Nokkens, then take out the Gulons. Once you finish them off, hit the fissure in the nearby wall, and climb up, and around, so that you can open the Legendary Chest on top of the ruins.


Crawl through the cave, and then follow the path. You will come up against another stone wall you can destroy with your spear. Now, once you pass through the hole in the wall you just made, look up and to your right. There is a raven up in the tree.


On your right, there is a vine wall that you need to destroy. Use Atreus' Sigil arrows to put a hex on it, and then burn them with your Blades of Chaos. There will be a pair of Tatzelwurms waiting for you. There is a Nokken hanging around in this area as well. Once you deal with them, grab the red chest. Having emptied the chest, travel along the main path. However, take your first left, and you will find a Lore Scroll and a Nornir Chest. Before you solve the Nornir Chest puzzle, continue past the chest and kill the nearby Wulver. Just so that he won't get in your way.


As for the Nornir chest, once you kill the Wolvur, look across the way. You will see a target that has a Nornir rune on it. Hit the target with your axe until the rune that resembles a C is showing. Now, the next target is right beside the chest. Hit it and change the rune to the F looking rune. The last (or first, depending on how you look at it) target is to your left just before you enter into the structure with the chest. It is covered in vines. So, you will need to have Atreus lay down a line of hexes with his Sigil arrows in order to ignite them. Then hit the target and make sure the rune that looks like a P is showing. That'll do it. Open the chest and grab your Idunn Apple
Recovering the Stolen Moon


Once you have finished with the Nornir Chest, head back to the main path (you'll take a left). Head this way until you run into Skoll and Hati. Unfortunately, they will be sleeping. And the only way to wake them is going to be by reclaiming the moon. So, shimmy across the ledge on the right, and continue through the jungle. You will encounter a familiar poison plant puzzle. If you have forgotten, the solution is to hex the first poison flower with a Sigil arrow, then hit it with your axe; the hex will hold the freeze effect, allowing you to freeze the second flower. After the poison flowers, you will encounter a small group of Einherjar. Take them out and break through the barricade. Read the Lore Text written on the wall and then hop down.


You will now be on the hunt for the teleporting Einherjar. You will swing across the water, and into a hut. There is a treasure chest on your right. Head down the path on your left. There is a red chest nearby. After you get the red chest, look for the raised stone platform. From here, slide down the rope. Once you slide down, you will be facing a wall that can be destroyed with your spear. Blast it open, and you will be in a combat arena. Travel around the perimeter, and you will eventually be ambushed by an Einherjar.


These Einherjar have a teleport attack. Wherever they are when this attack starts, they will appear directly in front of you. Just get ready to parry this blow. It can be a little deceptive at first, but you will get the hang of it. There is also an Einherjar with a whip now. They have pretty a pretty predictable attack pattern. They will swing their flail above their head, which makes the parry easy to time. Once you have cleared out the arena, kick the chain down and claim the moon from the center of the arena... is what we would say if a sneaky Einherjar didn't steal it and teleport away.


Time to give chase. Follow the Einherjar. You will run into another small group. But don't push forward yet, there is another raven in this area: take them out before you leave. After you kill the raven, get back on the trail of the thieving Einherjar. You will fight another small group of troops. After you beat them, you will see an air vent across the way, just begging you to break the stone apart with your spear. Do so, then jump across. You will climb for a while before reaching the top. Up here there will be a flail-wielding Einherjar and a Wyvern waiting for you.
Mid-Boss: Wyvern


This will be your first encounter with a Wyvern and these creatures can be pretty tricky, especially when paired with a beefier Einherjar. The Einherjar will have a second health bar that is immune to fire-based damage. So, you will need to use the axe to fight them. However, they are, otherwise, just a typical flail-wielding Einherjar. They seem to be able to take a lot more damage, but they aren't particularly tough.


The Wyvern has a number of moves you are going to have to familiarize yourself with. They have two projectile attacks. One where they fire three lightning balls from their mouth, which will lock onto Kratos and home in on him. The other is a wave of lightning. Both attacks can be parried. The Wyvern also has an attack where they take to the air and swoop in on Kratos. This attack, too, can be parried. Finally, they have an attack where they rear back and assault you with their beak.

What you have probably realized, is that every attack in the Wyvern's repertoire can be parried. In general, once you adjust to the timing of these attacks, the Wyvern isn't a big deal. The homing lightning is pretty quick, but the Wyvern does have an extremely pronounced tell before they let this one rip; they raise their beak into the air and emit yellow light from it. As long as the Wyvern is in view, this attack shouldn't take you by surprise. And that is the key to this battle: you want to start by taking out the Einherjar, but make sure that as you fight them you can see the Wyvern as well. As it will be peppering you with projectiles as you engage their buddy.

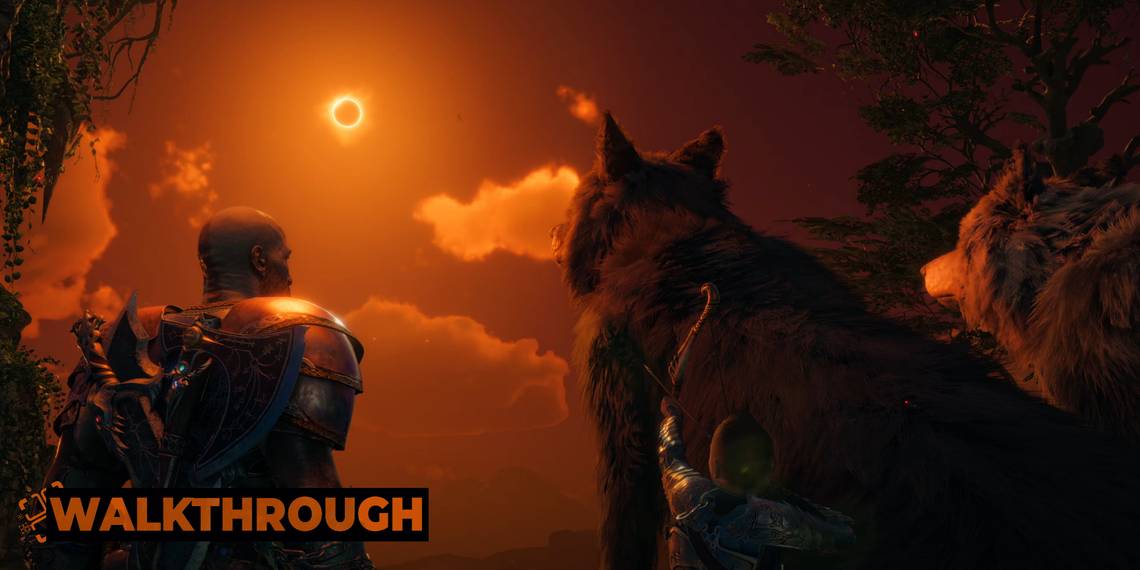
Once you inevitably beat the Wyvern, you will be able to claim the moon for yourself. Now all that is left to Skoll and Hati. Just squeeze through the nearby crevice, and you will be on the path to them. You will need to kill another small group of Einherjar, but before you know it, you will be back with the wolves. Now, view the cutscene, and you will complete the task to retrieve the moon. This is, essentially, the halfway mark for the Creatures Of Prophecy section of the game.