Quick Links
God of War Ragnarok's Creatures Of Prophecy has you travel up and down Vanaheim, fighting an array of tough enemies as you do. This guide is specifically dealing with the section that follows the retrieval of the moon. As a quick refresher, you will have just recovered the celestial body (which was a whole thing), and have woken Skoll and Hati—returning night to Vanaheim. So what's next? Well, a surprising amount.
This next section of the quest will see you face off against multiple bosses, engage in a rescue operation, and even take to the skies. There is a lot here to break down, and a lot of boss battles to delve into. Luckily, we've got your back and will keep you on track!
Return To Freyr's Camp

From Skoll and Hati's habitat, you will head back toward Freyr's Camp. However, don't expect it to be a relaxing stroll back. You are going to be fighting groups on Einherjar on your way. Partway there, you will run into the ruins near the river—on the opposite side of where you just fought that Stalker Mid-boss. If you think it is going to be smooth sailing, you will be in for a nasty surprise. Actually, you'll be in for two of 'em.
Boss Battle: The Drekis


If you remember all the way back to Svartleheim, you have already squared off against the blueish Dreki (the one on your right at the beginning of the battle). This Dreki is identical to that one. Featuring the same lunging attacks, water projectiles, lightning attacks, and so on. The only unique attribute they have is that they can now take to the water and spew projectiles at you while out of range for Melee attacks. However, their partner has a new trick up its sleeve. This Dreki's projectile is poisonous. Which means that their projectiles—hit or miss—leave puddles of poison behind.


That's not all! Once you beat one of the Drekis, the other enters into an enhanced mode. This is where the electric Dreki starts using their lightning-based attacks, and the poison Dreki gets a poison breath attack. Either way, the heart of the battle is killing the first. Because even a stronger Dreki is easier to face off against than a weaker one that has projectile support.
Just in case you have forgotten, when you are fighting the electric Dreki in their second form, if they start pulsing with electricity it is time to get some distance.

Let's quickly cover the attacks that you will see from these creatures. First, their typical attack is a series of three bites. They rear back before each bite, which is your cue to prepare for the parry. Next, it has a tail whip. This is the Dreki's fastest melee attack. When the Dreki ducks down a little and pauses for a moment, you know the tail whip is coming. While it is quick, it is also a reliable parry once you get the timing down. These beasts can also hop backward, which is often followed by their projectile attack, or leap forward, which is a parryable attack.

When you are fighting either of these calamitous beasts, the Dreki you are not currently engaging in combat will tend to take to the water. Once there, they will fire off projectiles at you. This is obnoxious either way, but the toxic Dreki's projectile leaves behind a puddle of poison. Obviously, this makes navigating the battlefield substantially more treacherous. We strongly recommend killing the toxic Dreki first. This will greatly minimize the amount of poison you need to deal with. This is especially helpful, as up-close combat forces the Dreki to use melee attacks, meaning that if you keep on top of the toxic Dreki, then there is a real chance you won't ever have to deal with any poison attacks.
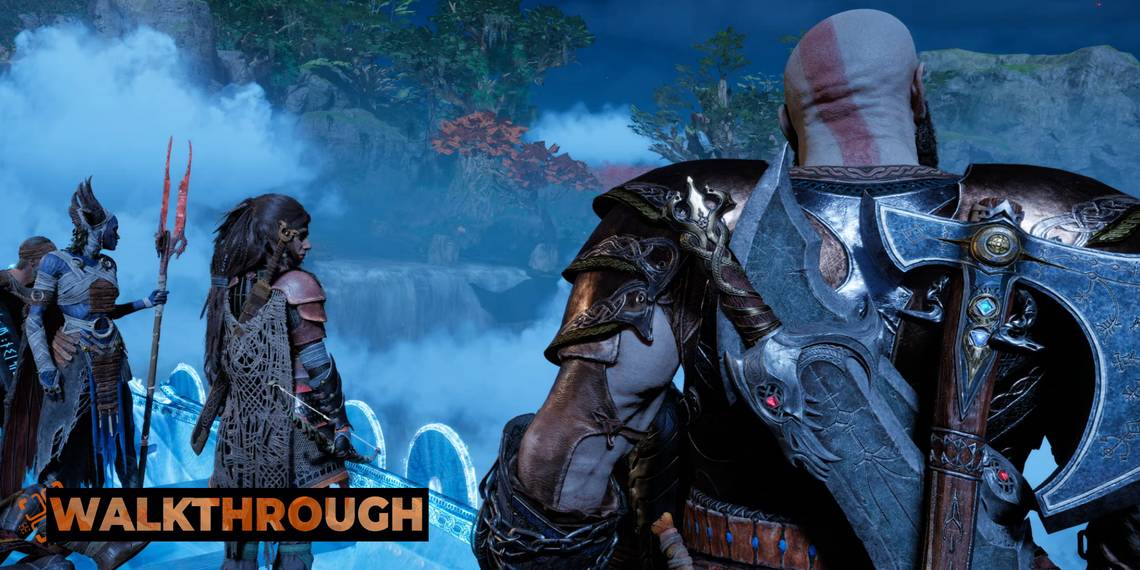
Rescuing Frayr


Cross the water, and you will face off against some Wisps. From here, it will be a pretty straight shot to the camp. Once you arrive back at the camp, you will swap out Atreus for Freya. Now, follow her, and you will be on a relatively linear path. Once you get to the boat, take a right. You will pass under a drop of Yggdrasil dew. Collect that, then paddle onward. There is really only one place to go. Once you arrive at the nearby beach, you will fight a few Wisps. As always, use runic arrows to stun them, then finish them off with a physical attack. Try to launch them into each other.

You will travel a little further down the main path and run headfirst into a Wight. But you may mind that they were a little tougher when you fought them as Atreus. They act as opposites of the Wisps, as they are weak only to physical attacks. However, a strong axe throw will knock the Wight down, leaving it open to a barrage of follow-up attacks. It won't last long fighting Kratos.


In the next area, you are going to see two Einherjar archers on the ridges above you: one on the left, and the other on the right. However, two of those bulbous, exploding poison plants are nearby. You can destroy them to knock about half of the health bar off of both of them. After a bit, you will also be engaged by a couple of Wulvers. You will probably be better off jumping down and engaging them in an open space if you are up on one of those islands, but if you are confident in being able to parry all of its attacks, go for it.


After killing the Einherjar and the Wulvers, you will be in an area with Nokken and Draugr. Run right past the Draugr and head toward the trail coming from either Draugr. The first Nokken was hiding up above on the right for us, but these little jerks are mobile, so don't bank on it being in the same place twice. The other Nokken, however, will always be hiding in a tree. It will be concealed by that blue, glowing root. Burn the root with Kratos' Blades of Chaos and give the Nokken a fiery death. Once you have killed the Nokken all you need to do is polish off the Draugr. Now, use the bowls on the right side of the stage to make it day.


The next area will hold a couple of Einherjar, once you take them out, head down the path. There will be a fissure on your left. Plunge your spear into it, hop up, and open the red treasure chest. You will now pass through a familiar poison plant puzzle (use the hex from Freya's Sigil arrow to hold the frost on one after you use your axe to freeze it, then freeze the second plant with your axe.

Now, you will head into another area where you will fight four Einherjar. Two of them will start with an immunity to fire, and the other will have an immunity to ice. So, you will need to dynamically switch between your axe and blades. These are also some beefier troops, so prepare to experience a little pushback. In the next area, you can choose to fight Blatonn, the extremely powerful Wulver. However, if you like, you can just follow Freya and move on to the next area.
|
Optional Mid-Boss Battle: Blatton |
|---|

There is very little to say about Blatton. He is, for intents and purposes, just a super buff version of the Wulver enemy type you have already fought multiple times. However, he hits much, much, much harder. Also, once he transitions into his powered-up form, his charge attack becomes unblockable. Forcing you to roll to the side.
None of Blatton's moves will be unfamiliar to you, he has a giant vertical swing that is parryable, a dash attack, and a series of rapid slashes. All of his attacks are familiar. But with Blatton a stray hit can take half of your health bar. So, it is really just about being extremely sharp and not missing any of those parries.

You will now enter the area where you fought the ferocious Nidhogg. Their mangled body will still be littering the arena. On the left, you will see one of those fissures on the wall. Toss your spear into it, and then leap across the gap. Now enter through another stone door, and on your fight will be a structure blocked off by vines. Burn them with a Sigil arrow hex and your Blade of Chaos. Now, use the bowls to switch back to nighttime. Hop over the nearby ledge, and you will confront this chapter's boss.
Boss Battle: Heimdall

That's right. It is finally time to face off against the most punchable face in gaming. You love to hate him: it's Heimdall! This boss encounter is pretty unique in that certain phases have a light puzzle-solving element to them. However, his first phase is pretty straightforward.
Heimdall's First Phase: Grappling With Gulltoppr

You will start by fighting Heimdall as he rides on the back of Gulltoppr. When you see Gulltoppr charge at you, the great beast is almost certainly looking to gore you. Prepare to dodge when you see the red indicator. Heimdall will also occasionally cause an explosion of Bifrost to engulf Gulltoppr. This attack is also unblockable, but their range isn't particularly threatening. The trick here is to dodge to the side if the red indicator appears while Gulltoppr is in motion, and dodge away if the red indicator appears while Gulltoppris stationary.

Beyond the unblockable attacks, Gulltoppr also has a basic combo where it will take a few swipes at you up close. Heimdall will also toss a Bifrost projectile your way on occasion. Neither attack is all that hard to dodge. Finally, Gulltoppr will begin to buck; once it does, you will get the blue indicator, which is your sign to shield bash. All in all, this is a pretty straightforward phase.
Heimdall's Second Phase: Spearheading Heimdall

Once you dismount Heimdall, you will face off against him one-on-one. Heimdall has a few attacks here. He can dash forward and deliver a stabbing attack. He can also throw a Bifrost projectile your way. However, he isn't particularly aggressive in this form. You can pretty easily dodge all of those attacks. As predicted, this is the time for your spear to shine. However, tossing spears directly at Heimdall isn't the ticket, you need to throw the spear at the ground in front of Heimdall and then detonate them. Once you do, you will stun him. This opens him up for an R3 attack. You will miss the first couple of these, but you will tag him the third time around.

Once you hit Heimdall he will gain a number of new moves and become much more aggressive. He will now start using an attack where he creates a Bifrost explosion all around himself. So, when he stands still and prepares to plunge his sword into the ground, you need to get your distance.


More notably, he will start slowing down time. However, as long as you don't mash buttons, you will be able to use this to your advantage. Once he slows down time he will either use the Bifrost explosion attack, an unblockable sword stab, two parryable sword slashes, or backhand you with his horn. Wait until you see the color of the indicator circle, you will have plenty of time, as everything will slow to a crawl. Roll away from the Bifrost explosion and sword stab; parry the sword slashes and horn attack. After those parries, you will be able to land a full combo!

Beyond that, just toss spears at Heimdall whenever he is far away. He will block most of them, but a few will get through. You will quickly string together enough hits to remove a third of Heimdall's health. Heimdall will now create a Bifrost shield that will engulf his body. All you need to do is throw spears at Heimdall, and he will catch them. Once he does, detonate them. You will very quickly remove this shield. At this point in the battle, Heimdall will, once again, get more aggressive. He will start stringing more attacks together, and he will start to use his Bifrost projectile more often.

However, as he uses more attacks, he also becomes far easier to hit. You will now be able to slip more combo attacks in. He will put that shield up again once he is down to about a quarter of his life. But the same method you used previously will quickly dispel this shield as well. It will just be a matter of time before you reduce his health to zero. You will now remove Heimdall's right arm and face his final form.
Heimdall's Third Phase: Heimdall Fights You Unarmed

In this form, Heimdall is no longer be dodging your attacks, which means you can switch to your other weapons. Feel free to unload all your Runic attacks on him in this phase.
In this final phase, you will fight an extremely aggressive Heimdall, but also a Heimdall that is completely incapable of blocking your attacks. He has abandoned all his weapons and will fight you with his fists. Heimdall will now have an unblockable punch attack, this will lead into a giant AOE attack. Thankfully, the AOE attack takes quite some time to activate, and you can shield bash it. Heimdall will also start throwing a large Bifrost projectile at you as he slows time down. If you see him plunging his Bifrost hand into the ground, you know it is coming, so stop attacking and prepare to dodge. If he does this while you are in the midst of attacking, you probably are going to just have to take it on the chin.


Heimdall will primarily attack with fast lunging strikes. One of these is an overhead punch that is completely unblockable, the other is a series of parryable strikes. Just look for the colored indicator and prepare to dodge if it is red, and parry if it is yellow. This phase will go fast. Heimdall is likely to get you a couple of times, but once you get a feel for the timing of his punches you will quickly dismantle him.
Regroup With Freyr's Allies

You may have killed the big baddie, but you aren't quite done. Grab all the goodies Heimdall dropped, and then yank the doors open with your Blades of Chaos. Now, you will join your allies and face off against a group of Einherjar. The first batch of these guys isn't particularly threatening, but once you clear them a genuinely tough Einherjar with a giant hammer will appear. This big boy deals massive damage with his hammer, can teleport, and has a very nasty projectile. When you see this Einherjar stabbing his giant mallet into the ground, a line of Bifrost will shoot forward in a direct line. So, you need to dodge this attack to the side.
The hammer-wielding Einherjar's Bifrost attack travels along the ground, which means that if you are on a different platform, it can't reach you.

The best way to deal with this giant brute is to stay mobile, take out the other Einherjar as you do, and hit him with every stage hazard you have at your disposal. Once you have cleared out his friends, and you can focus on just the one troop, you should be able to finish him off. Though don't take any of his attacks lightly, as they all hit very hard. Once you clear out this arena, you will engage in an action-packed QTE, watch a cutscene or two, and end up back in Freyr's camp. You will now have officially completed the Creatures of Prophecy section of the game!