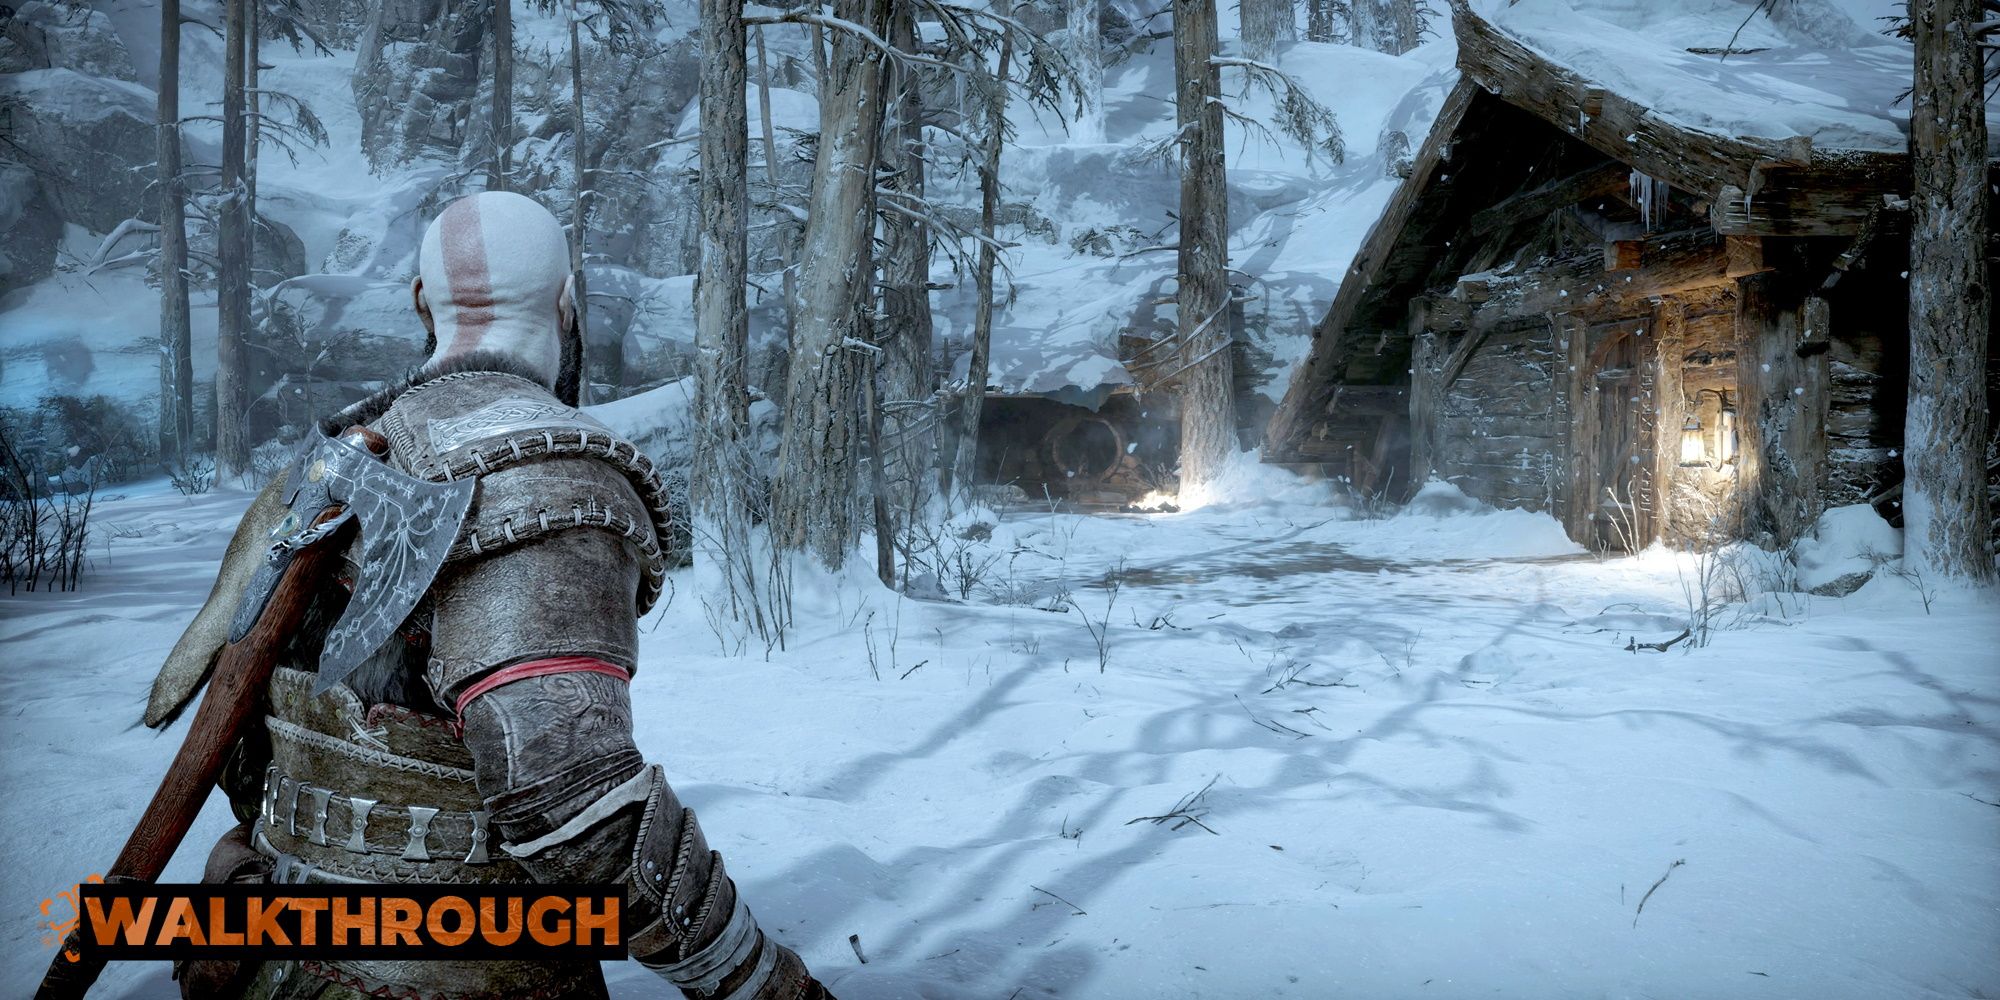
The introductory segment of God of War Ragnarok is unmistakeably here to teach you how to play the game. It is among the most linear segments of the game, and contains little in the way of “true” secrets. However, it does still stash a few Hacksilver chests in a few nooks and crannies here and there. Moreover, though it may be the introductory segment, it still manages to end with not one boss fight, but two!
The first boss will let loose and bear down on you, and the other will hammer you with thunderous blows. And you know what? You may find that neither is particularly easy. This guide will point you in the direction of any missable stashes of Hacksilver, and ensure that you emerge victorious from both brutal boss battles.
Survive Fimbulwinter
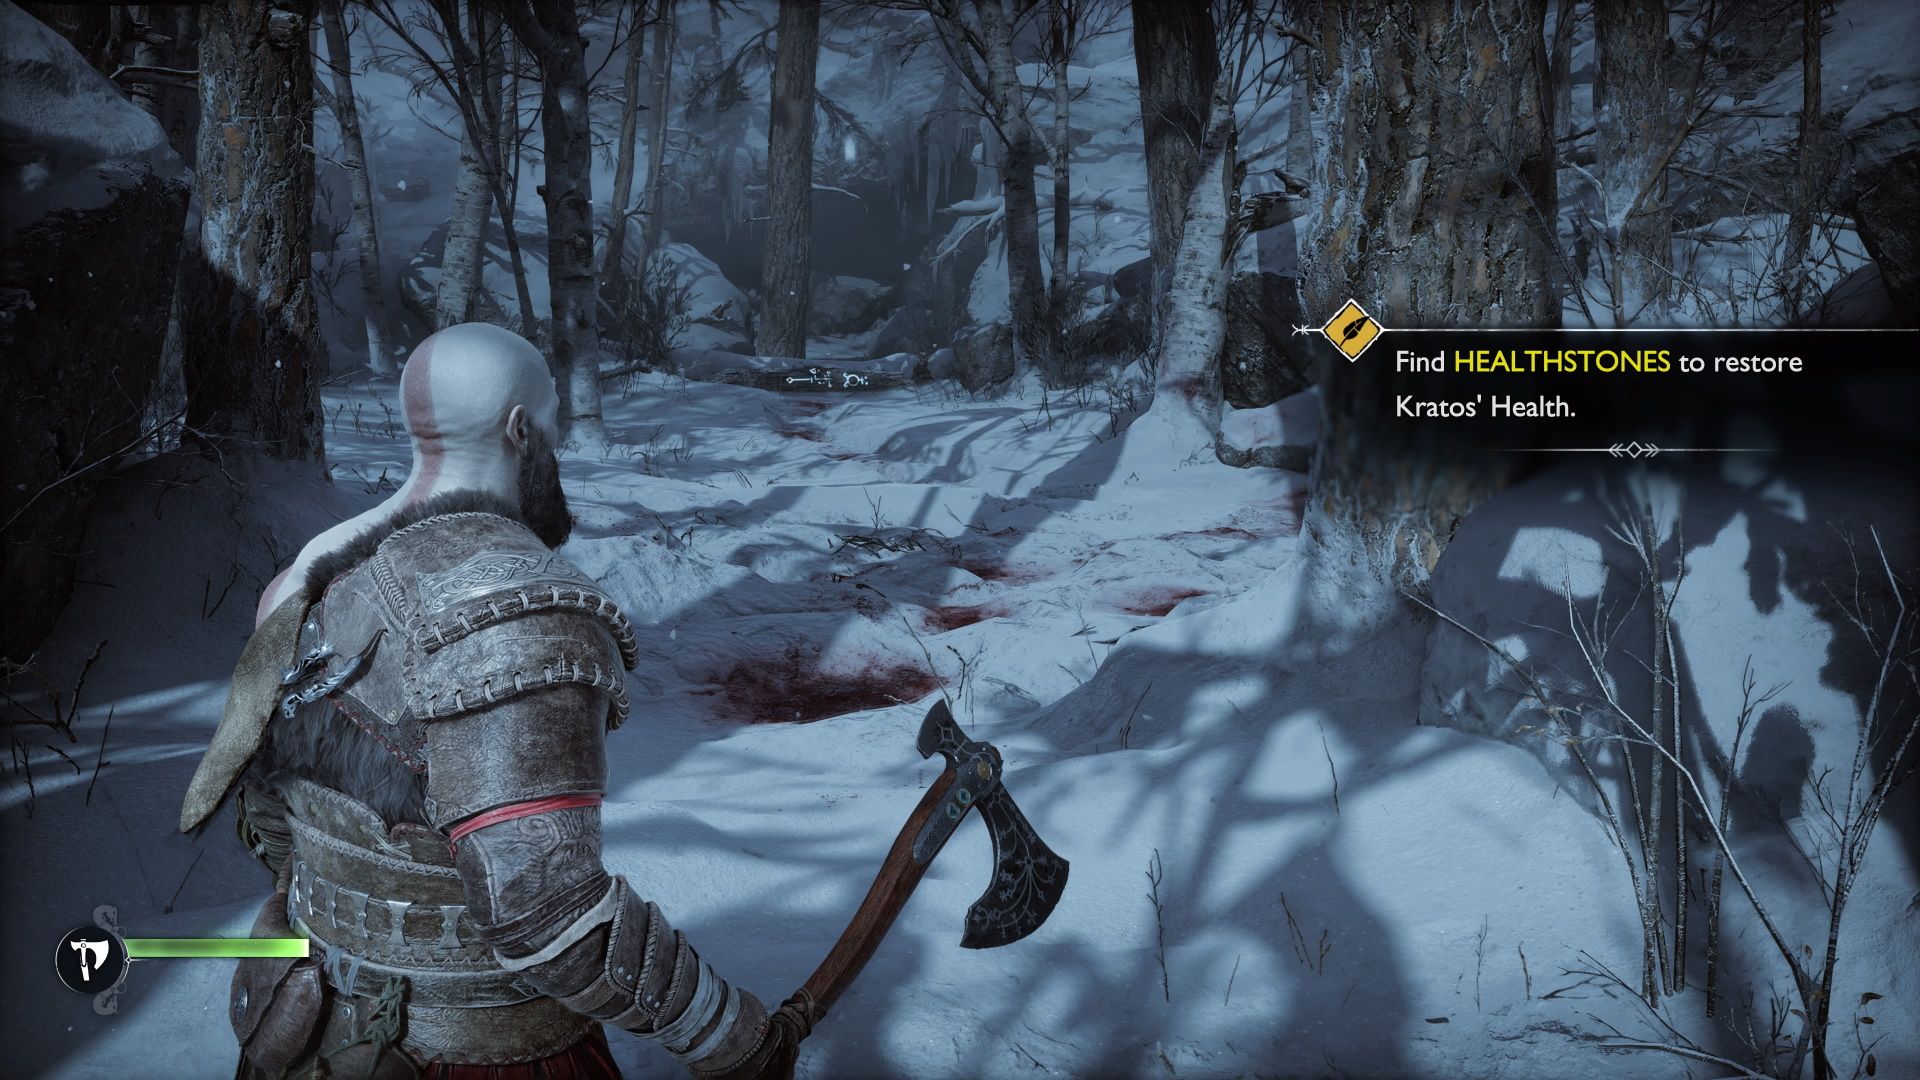
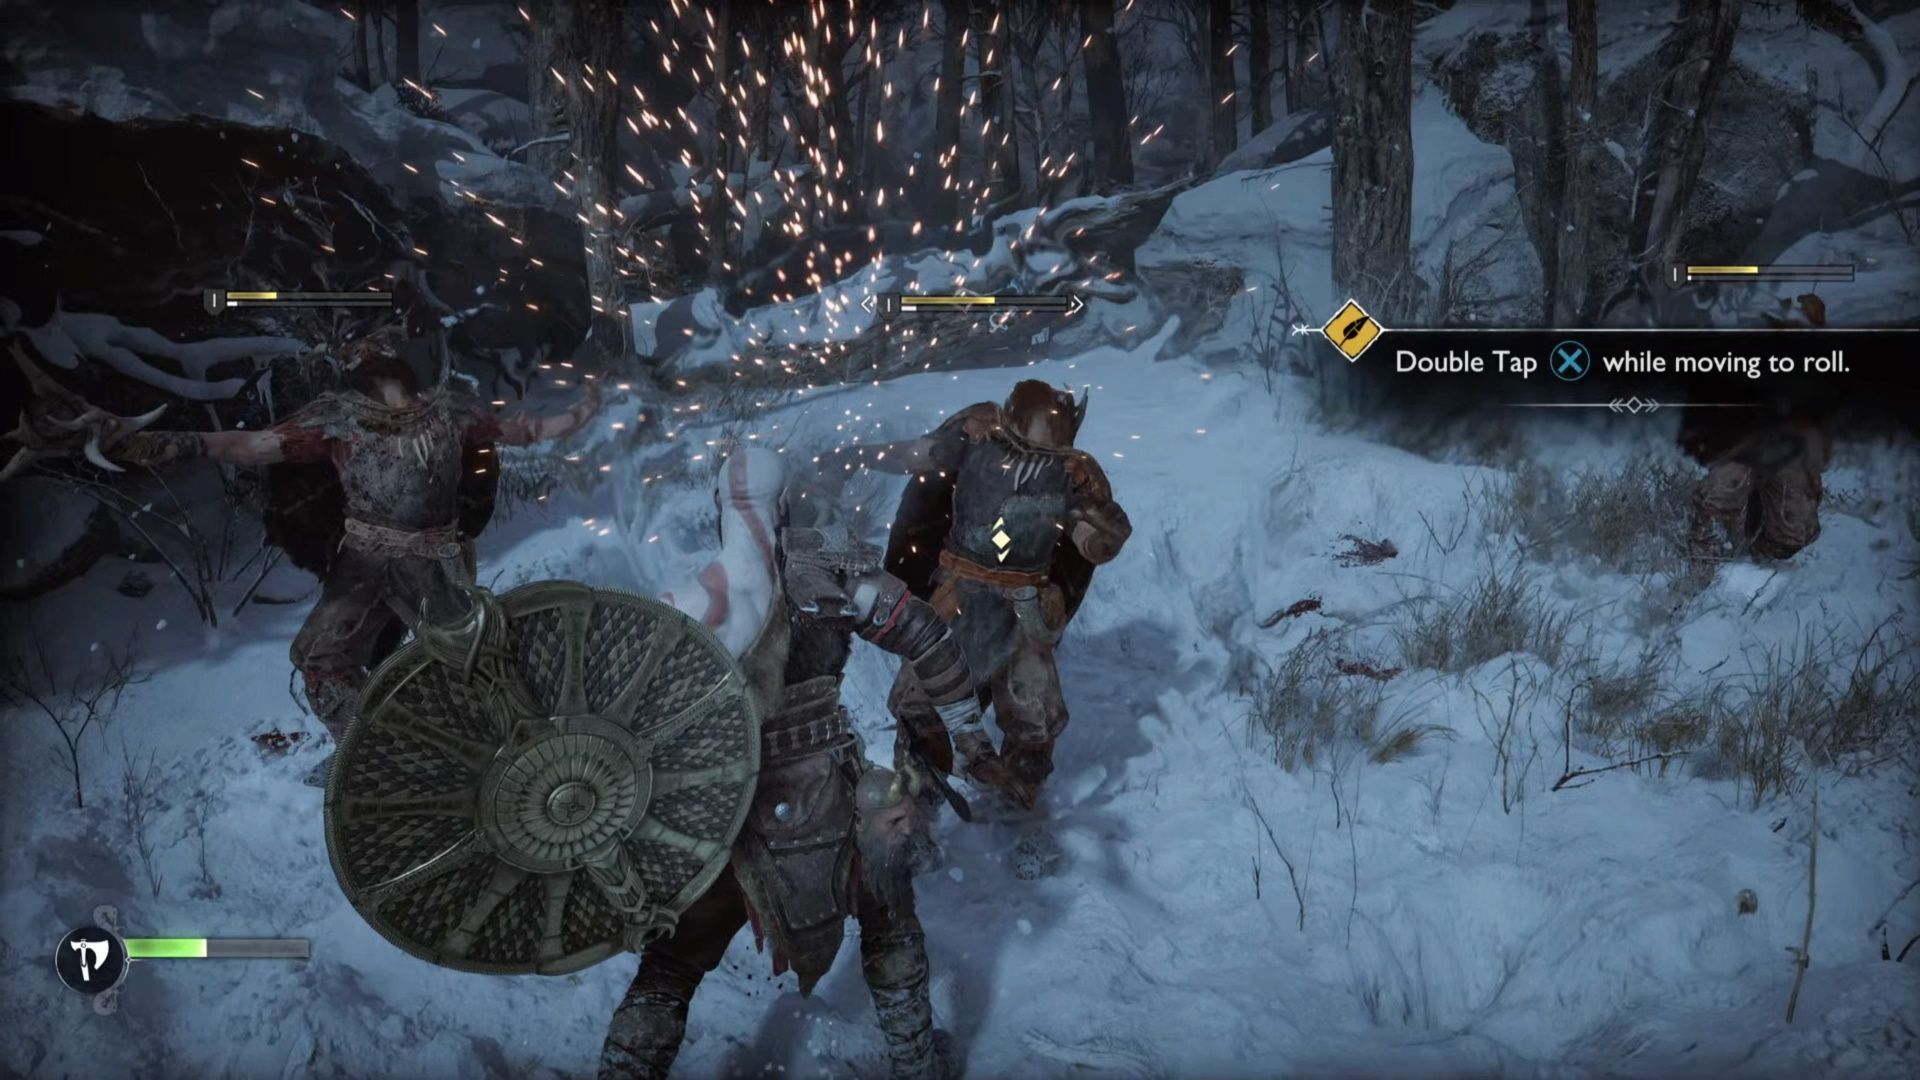
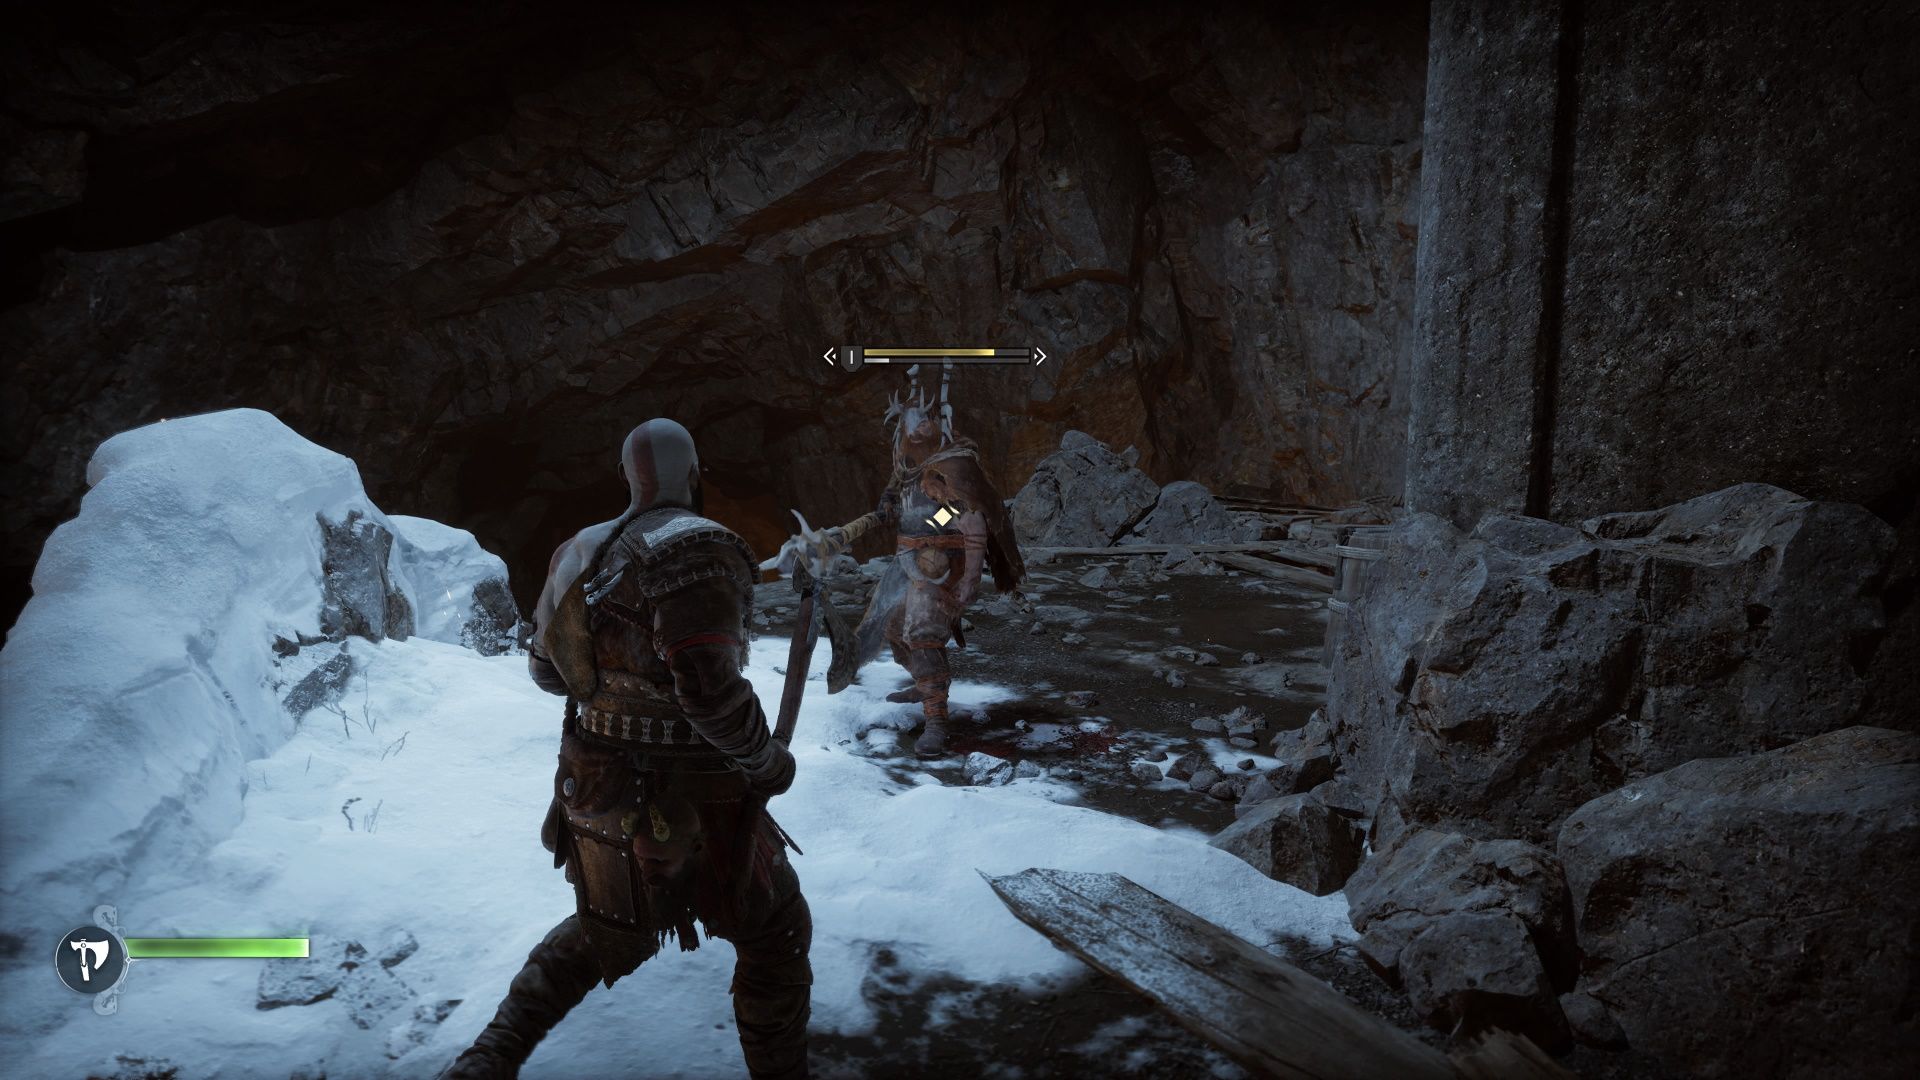
You will begin your journey with an invigorating mush through the forest, and a heartbreaking moment back home. Soon after, you will be on a quest to locate your son: Atreus. First thing's first, this is a God of War game, so moments after heading down the trail, you are going to start by fighting a group of Raiders. These are your most basic enemies, so just parry their telegraphed attacks, and don't let them get behind you. Then, once you have cleared them out, follow the trail. There will be a healthstone near the giant, dead bear.
.jpg)
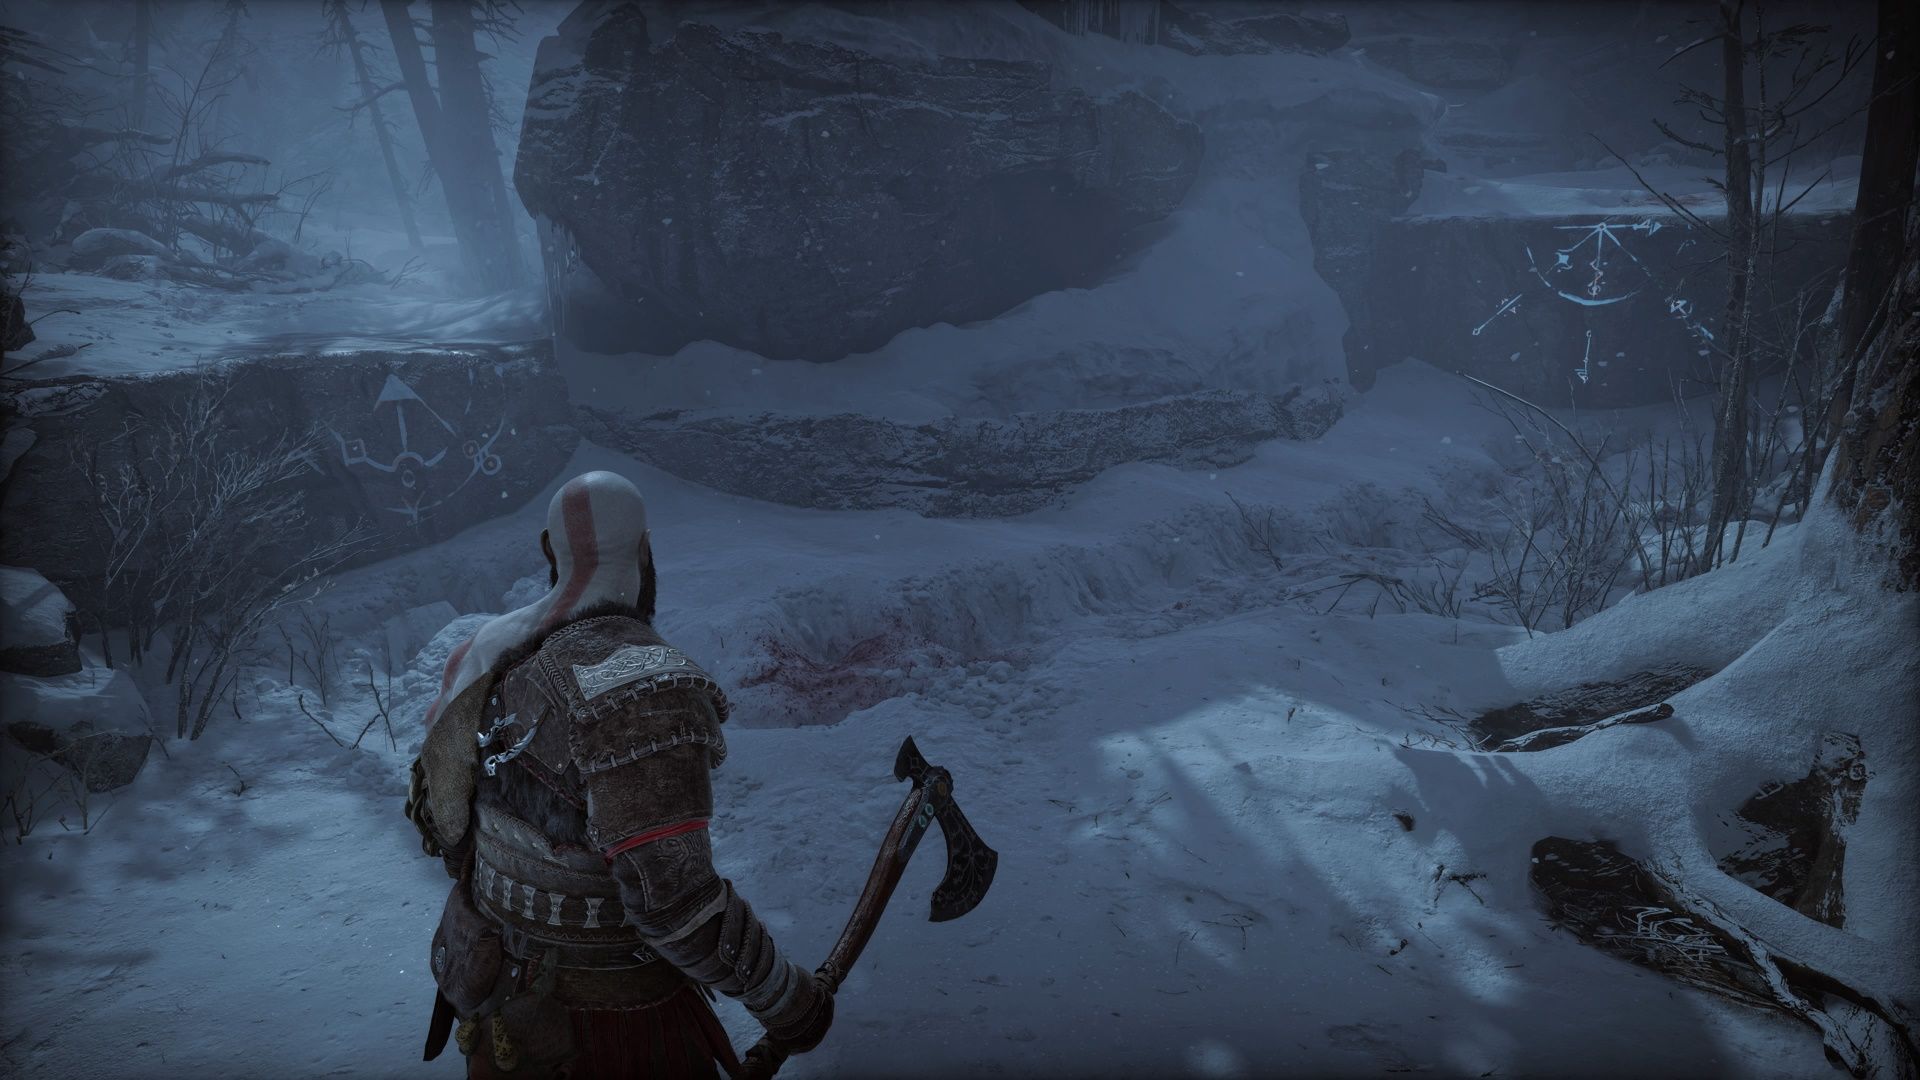
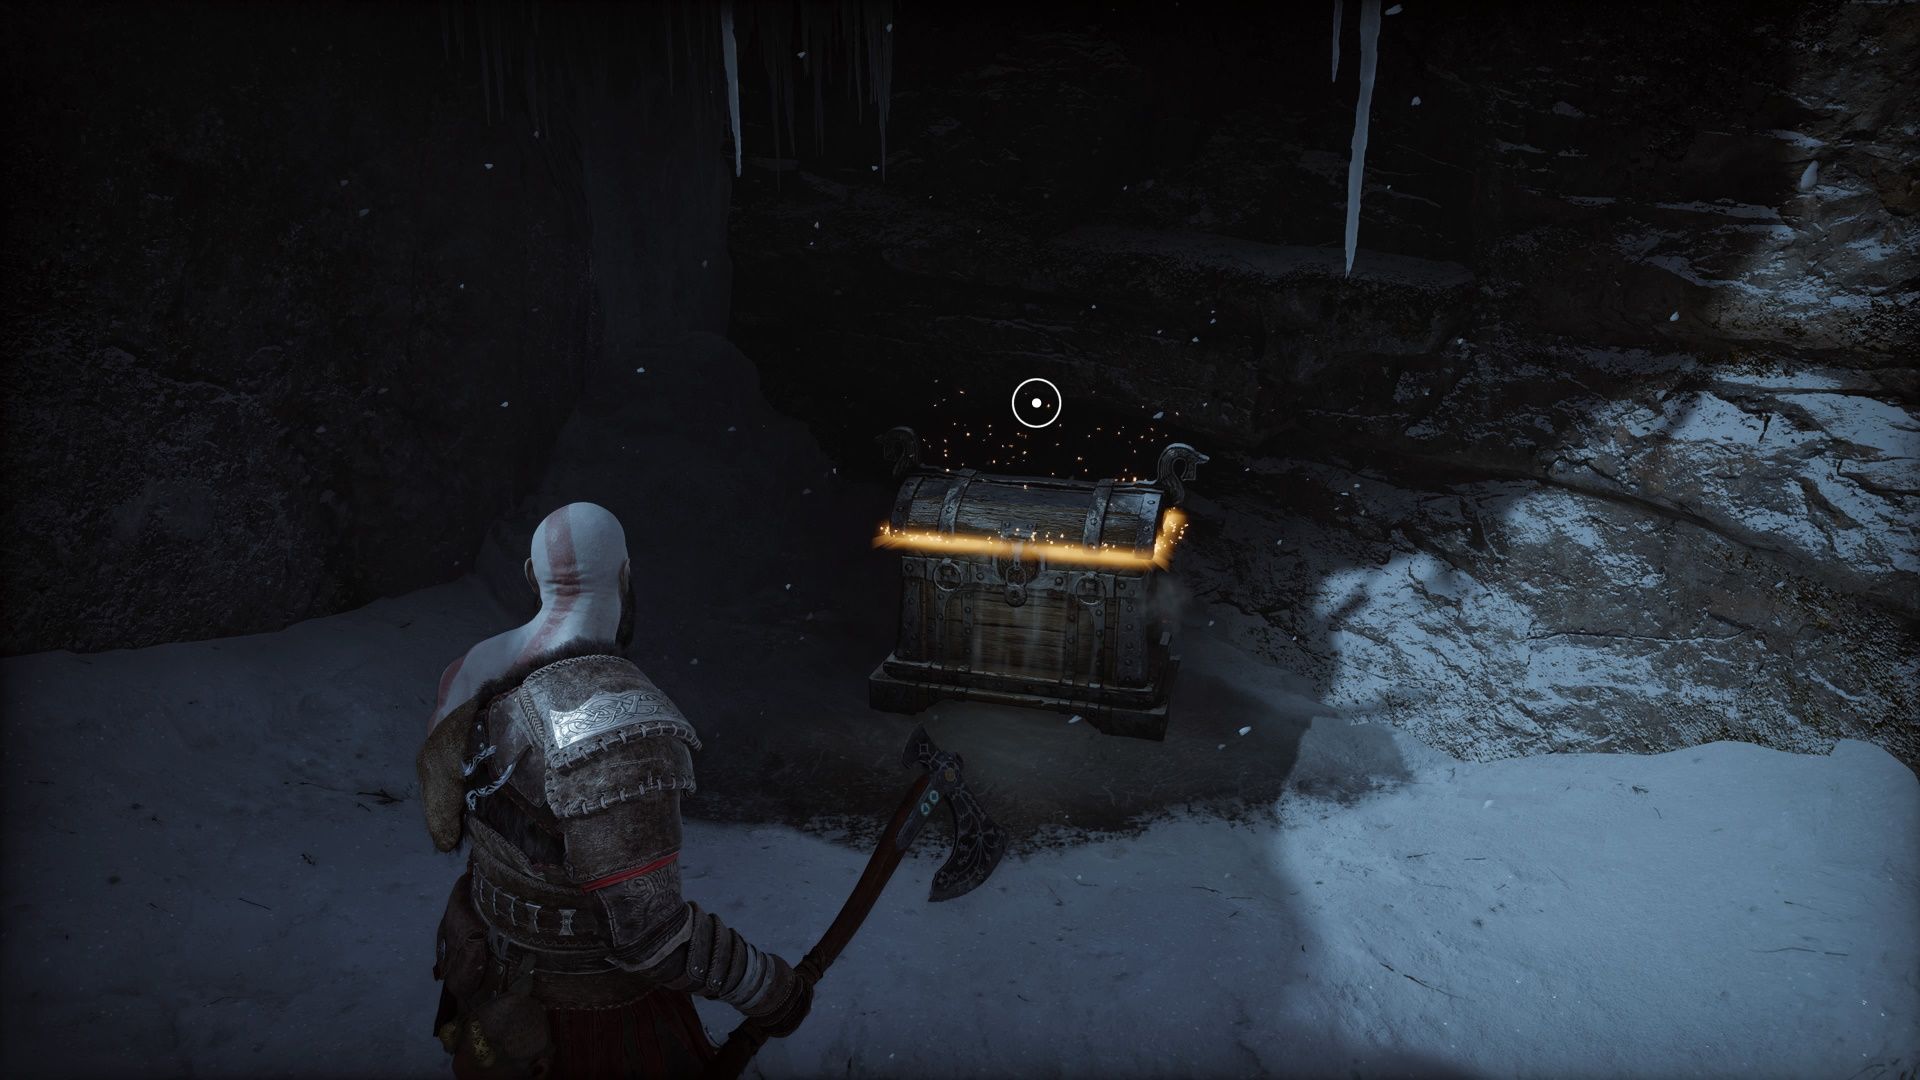
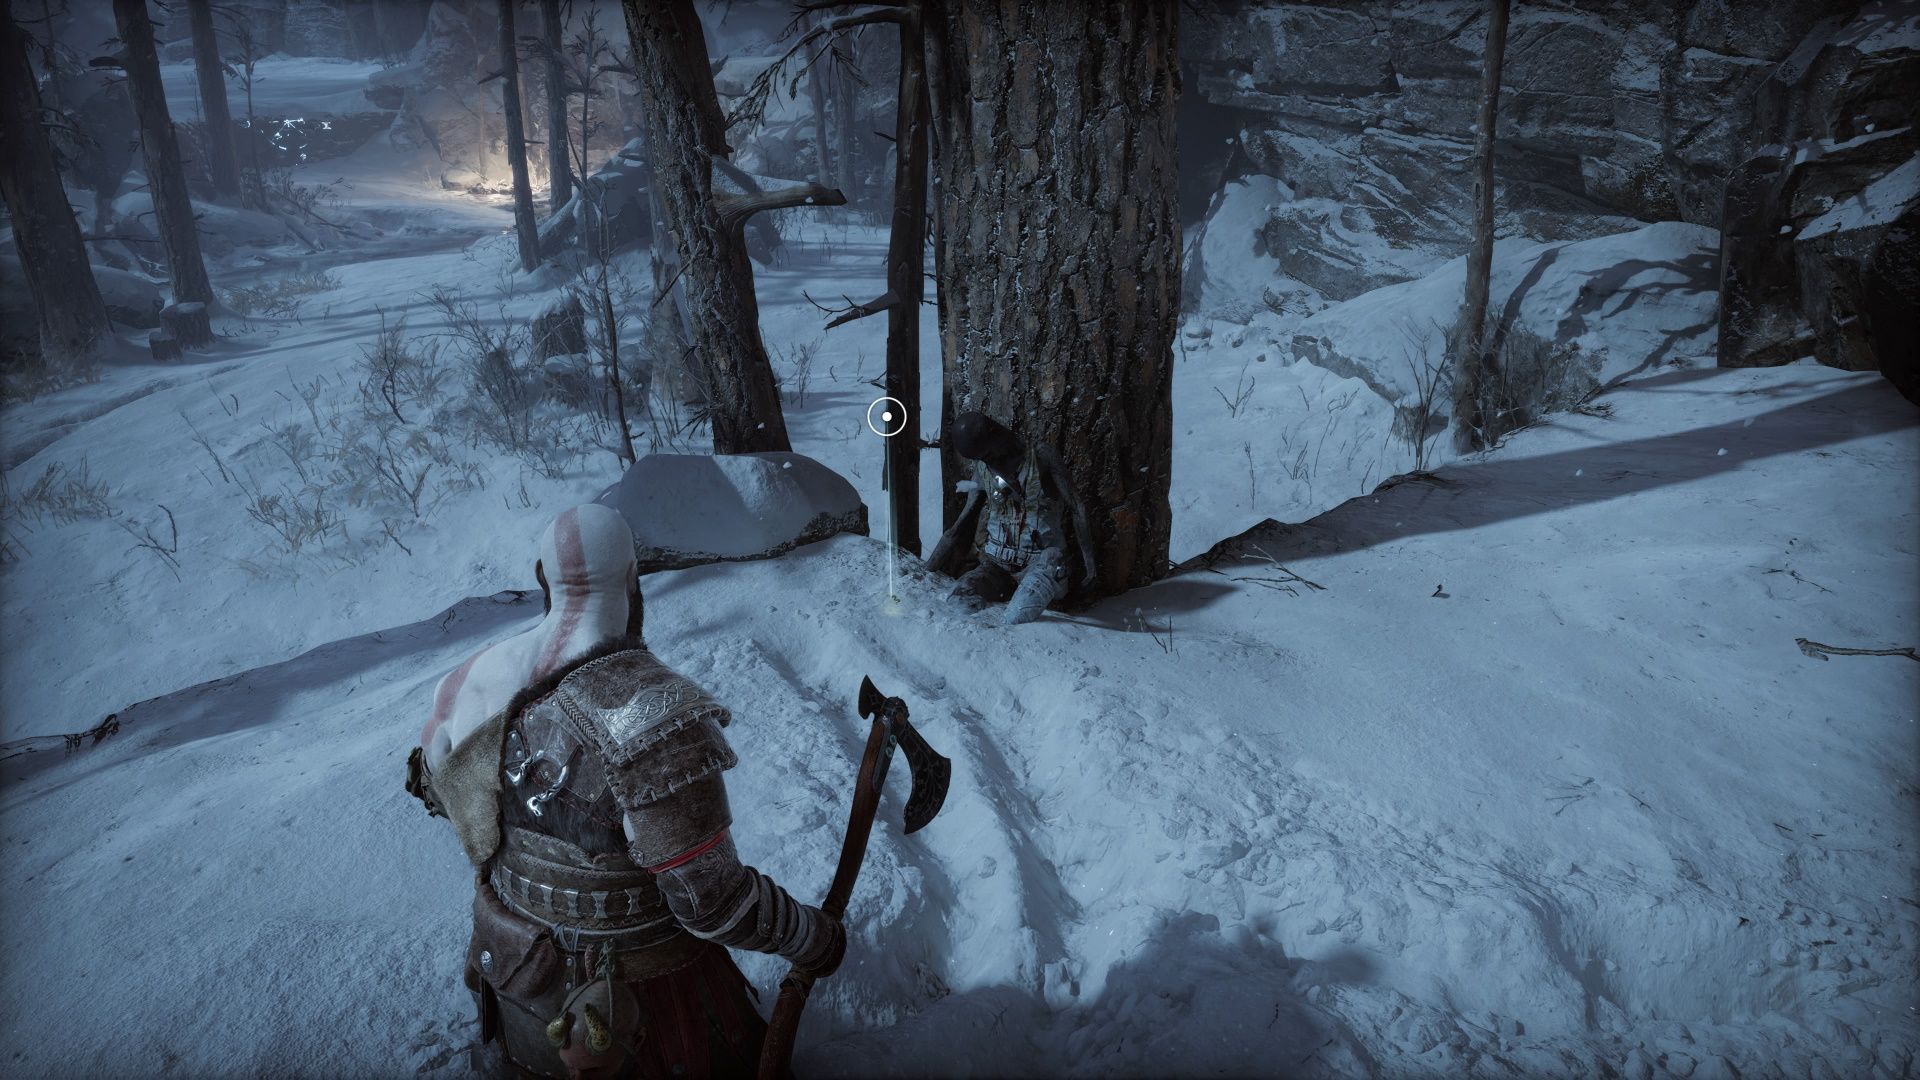
You will come to a chasm that requires you to break through a fallen tree with your axe. But before you do that, take a right. There is a treasure chest here with some Hacksilver. Next, there is a corpse with a pouch of Hacksilver, and just beyond them a fork in the road. The left holds another chest with Hacksilver; the right is the main path (as indicated by the trail of blood). You will move through a small cavern and come out into a large clearing with a number of different raiders. After emerging from the cavern, travel along the right-most perimeter wall. You will find some Hacksilver by a corpse.
During your travels, there are going to be hundreds of corpses with valuables lying in front of them. These rewards are nearly always pretty small—almost always consisting of a little Hacksilver—but that Hacksilver will add up.
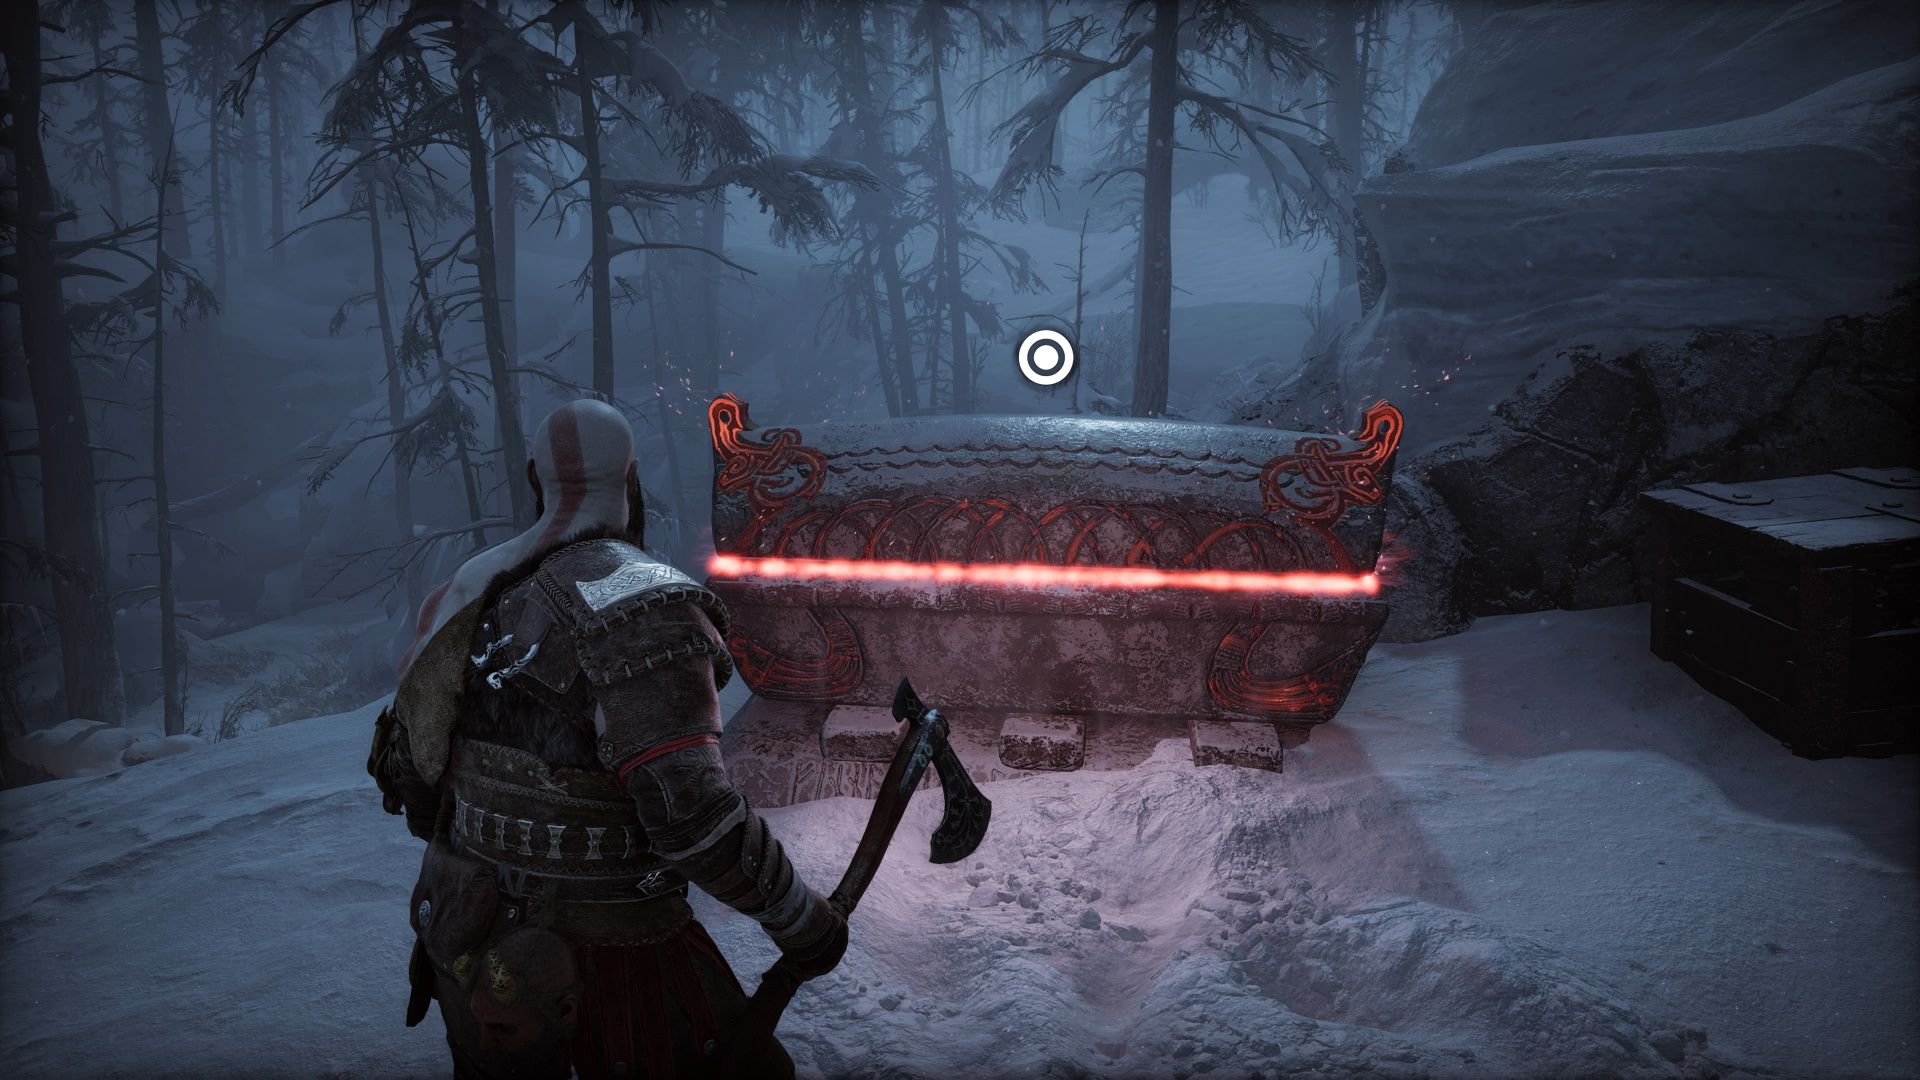
Up ahead you will encounter your first Raider Scout. These enemies are nimble, rangy, and squishy. Tossing the axe directly into their skull should take care of them. After clearing out the raiders, you will climb up and grab some Forged Iron from the chest. As you enter the cave, you will find more Hacksilver on a corpse and in another chest. You will jump down and kill some Raiders. Once you do, make sure to explore their resting site. There is Hacksilver and a few Healingstones lying around.
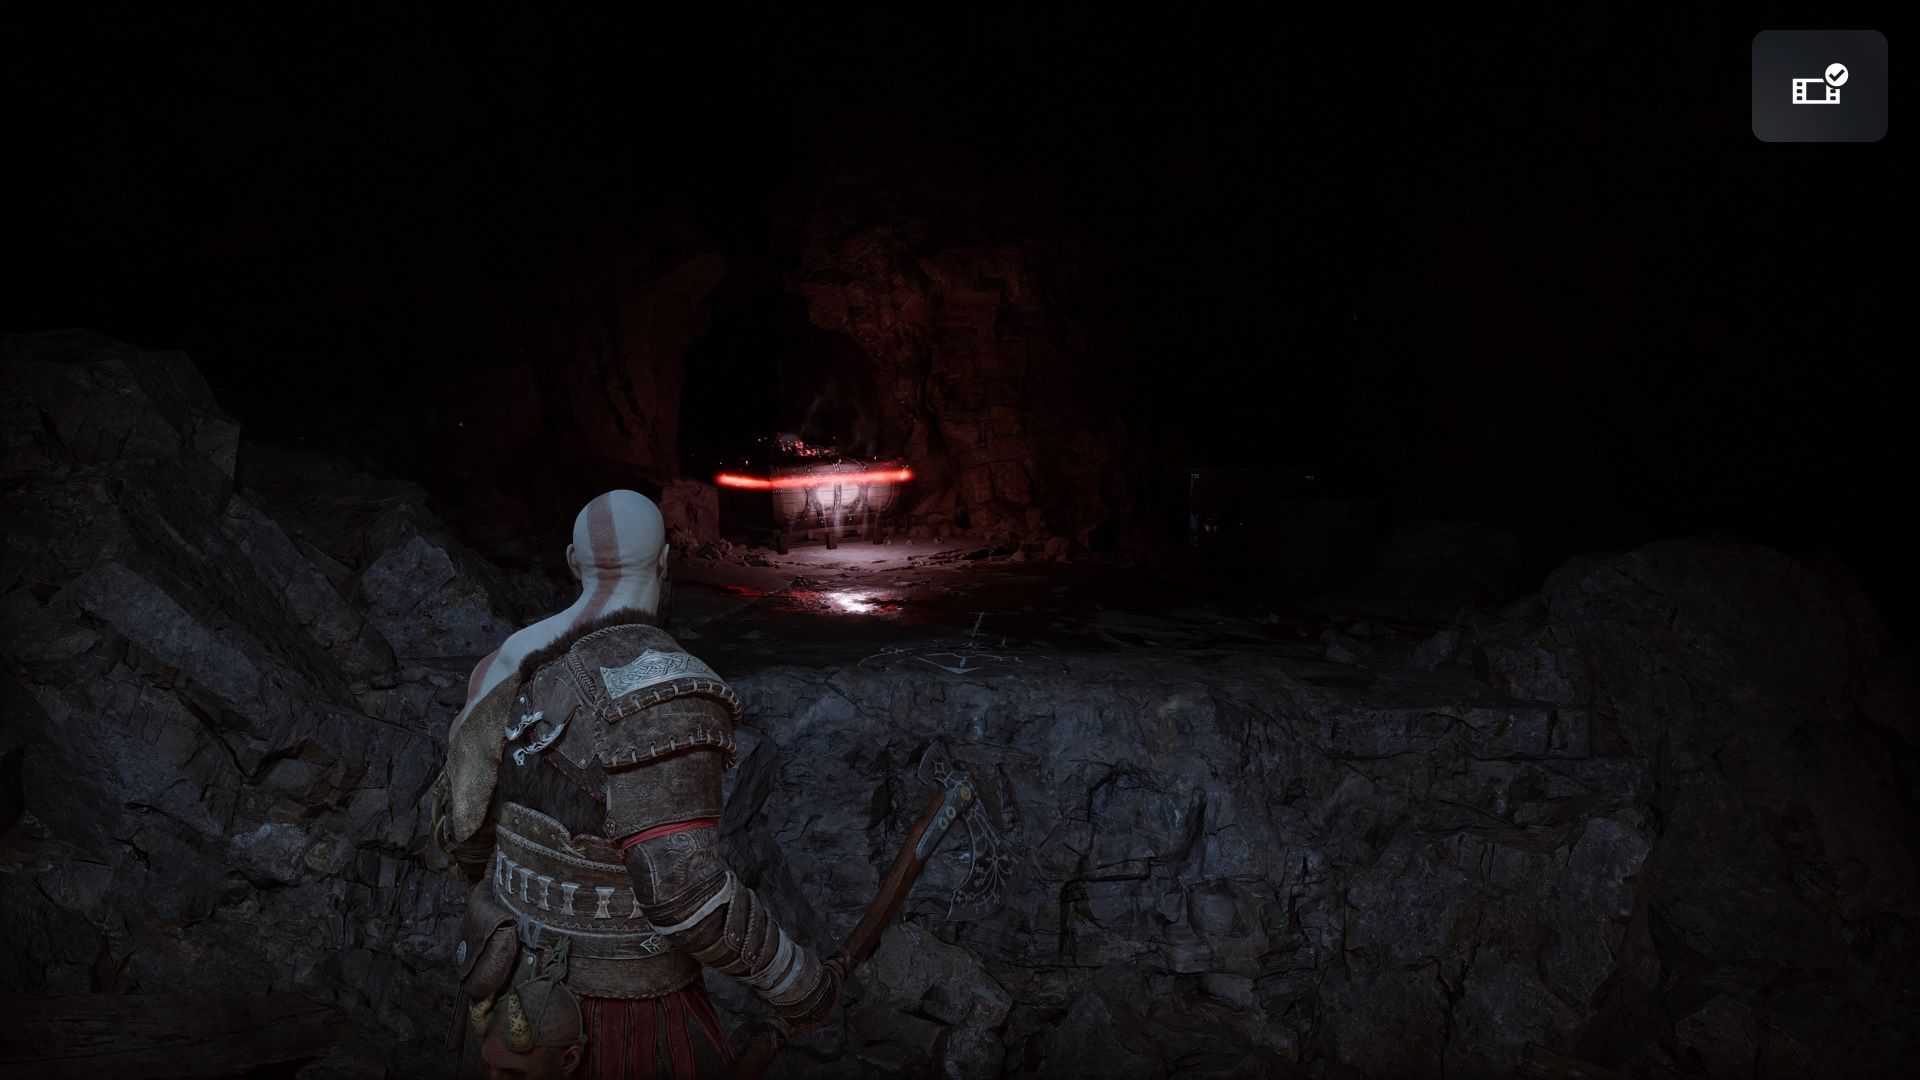
Keep following the lone tunnel in the cave. You will fight more raiders; a few will come equipped with slings. Take them out with your Axe throw in between mauling their melee-focused friends. Once you climb up, there will be a gap with a treasure chest on the other side. Hop over and grab the Hacksilver and Forged Iron from within it.
You can absolutely parry the projectiles from the slings! If you do so, you will not only create a shockwave around you, pushing nearby enemies back, but also deflect the projectile straight back at your ranged assailant.
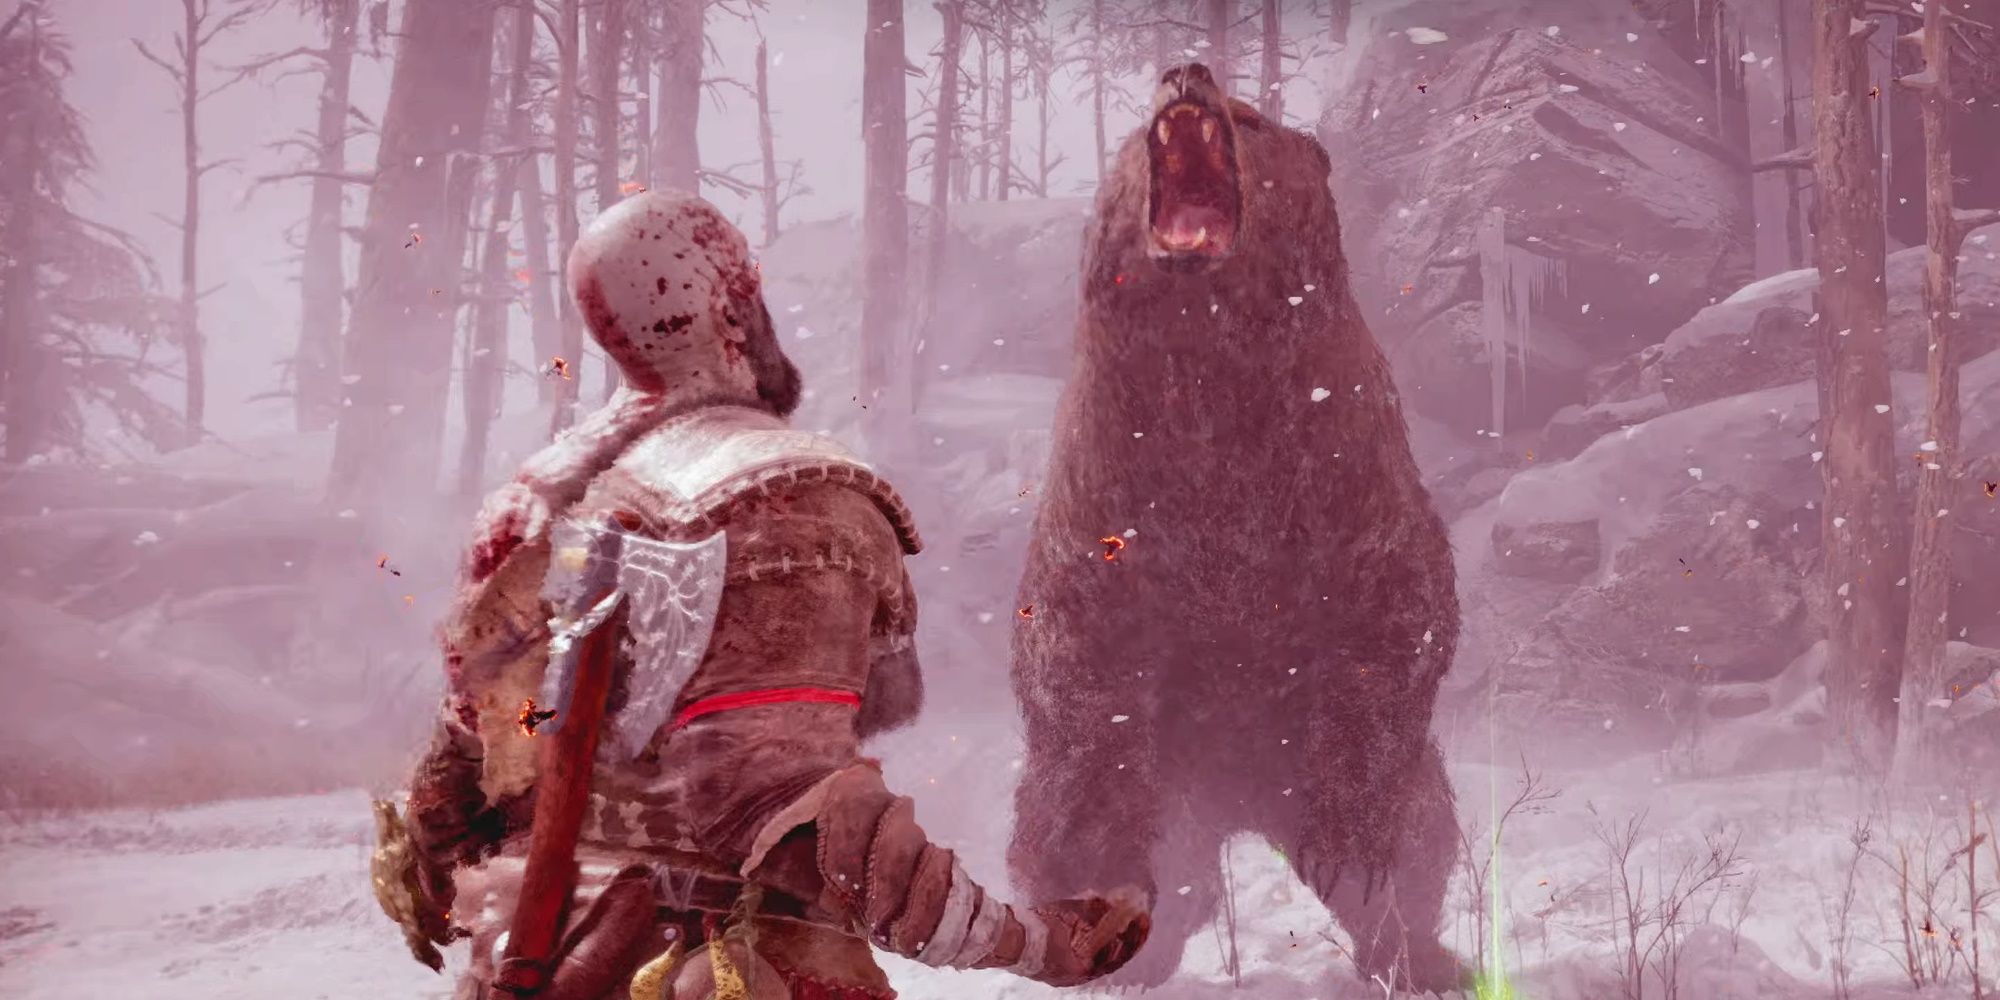
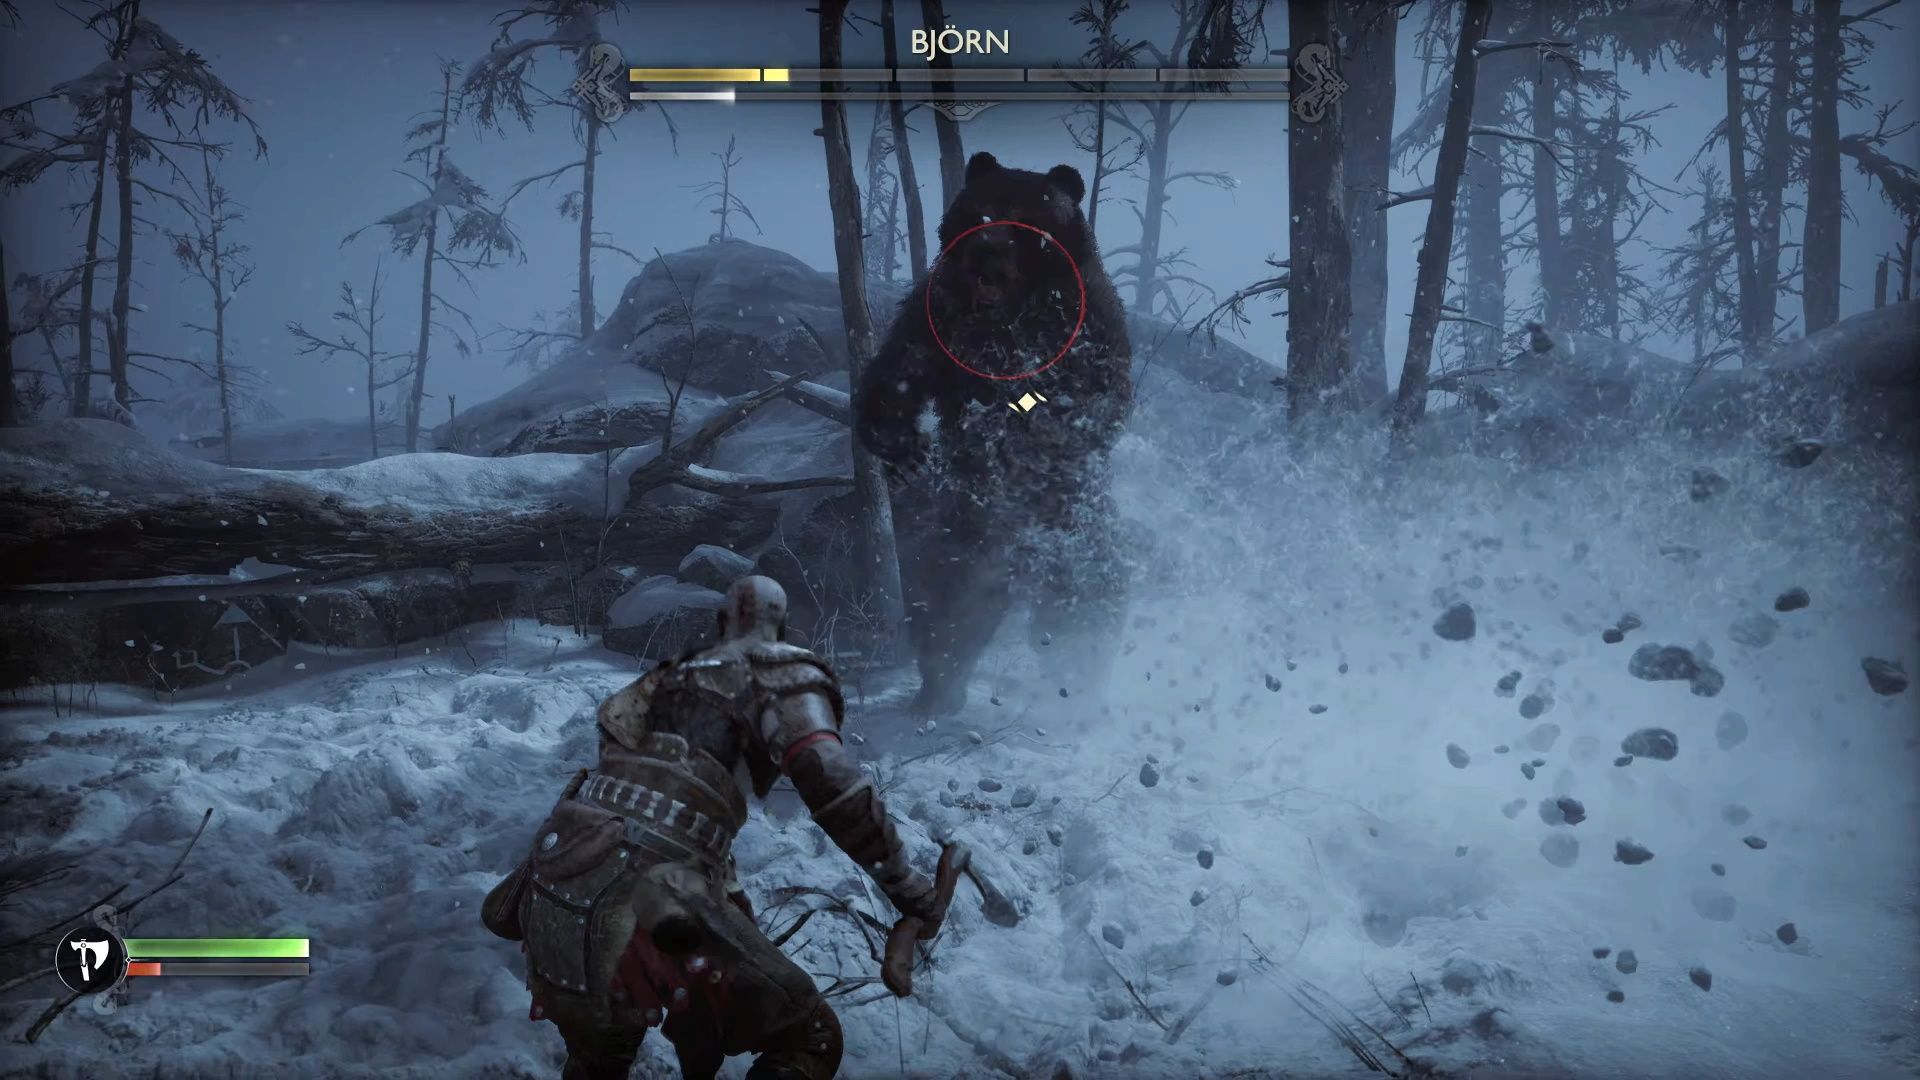
Push forward and you will enter into a clearing where you will be confronted by your first boss: Bjorn.
Boss Battle: Bjorn
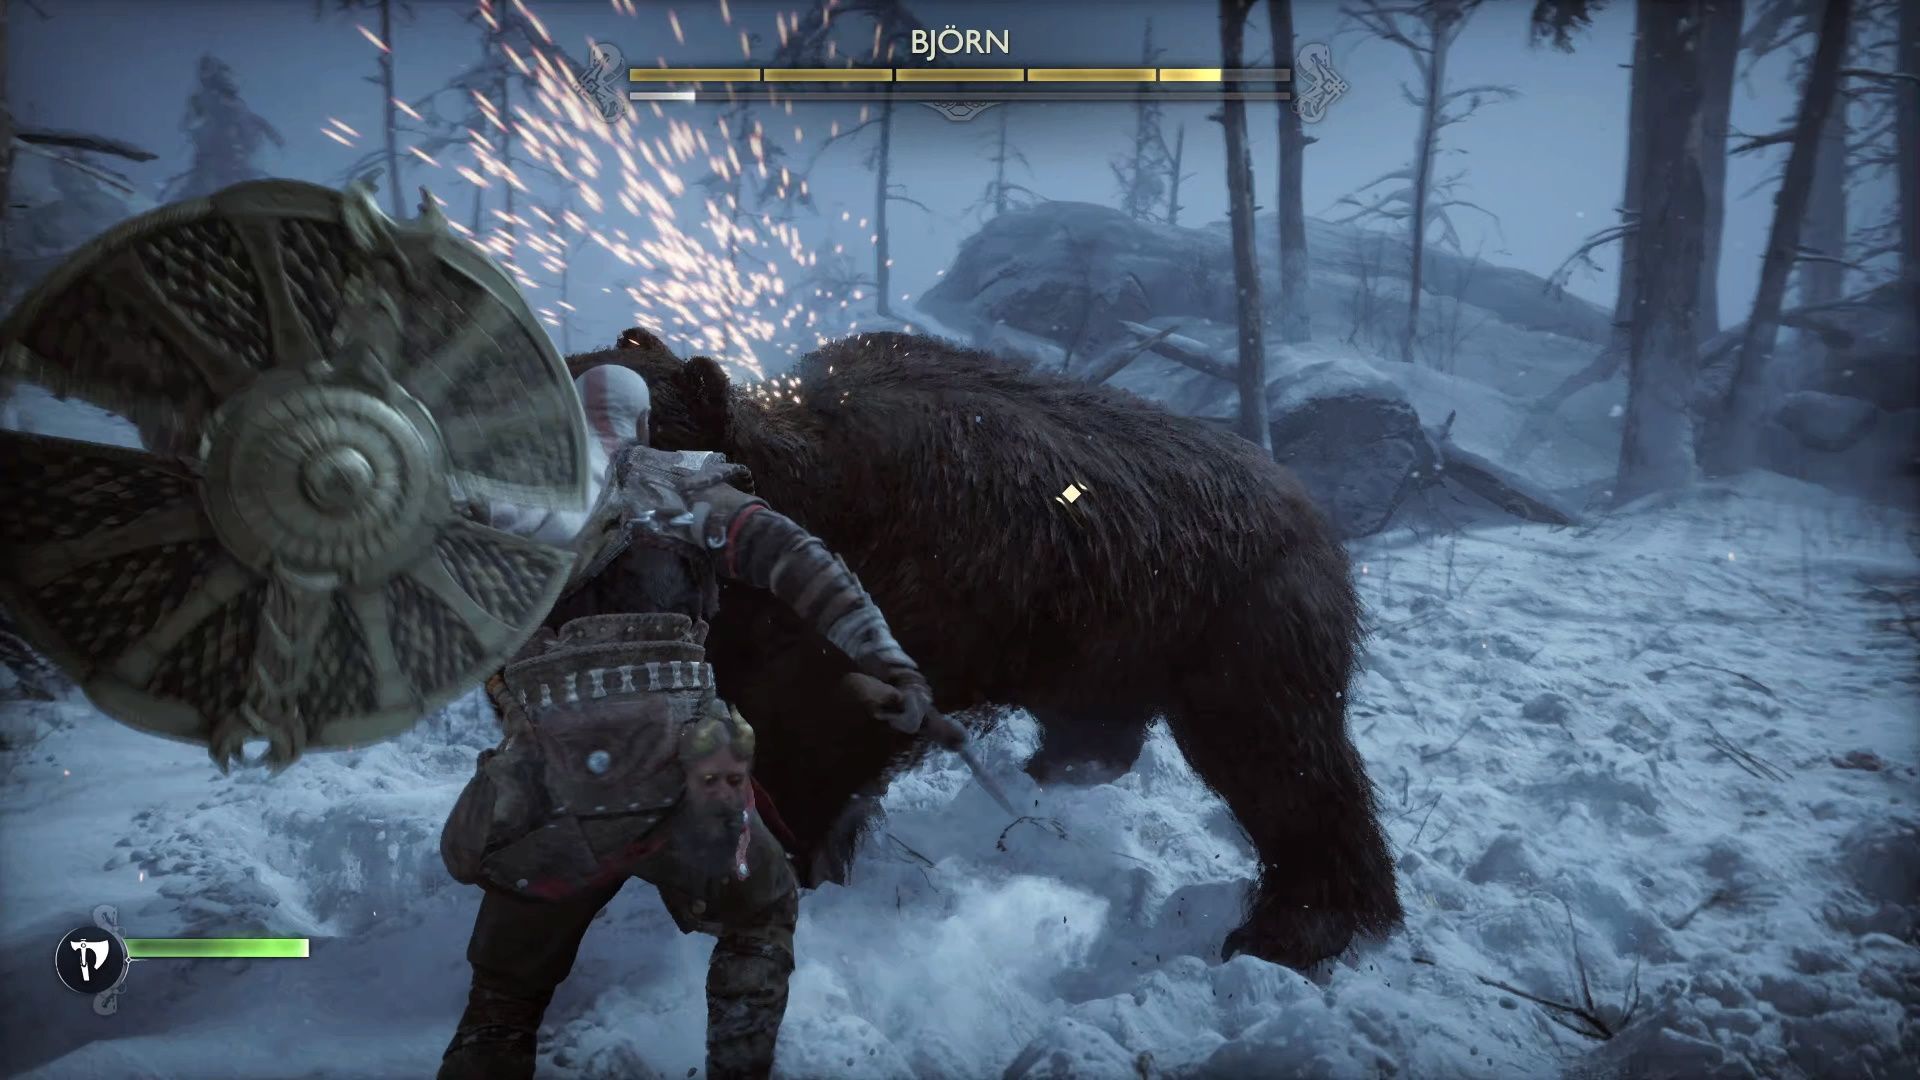
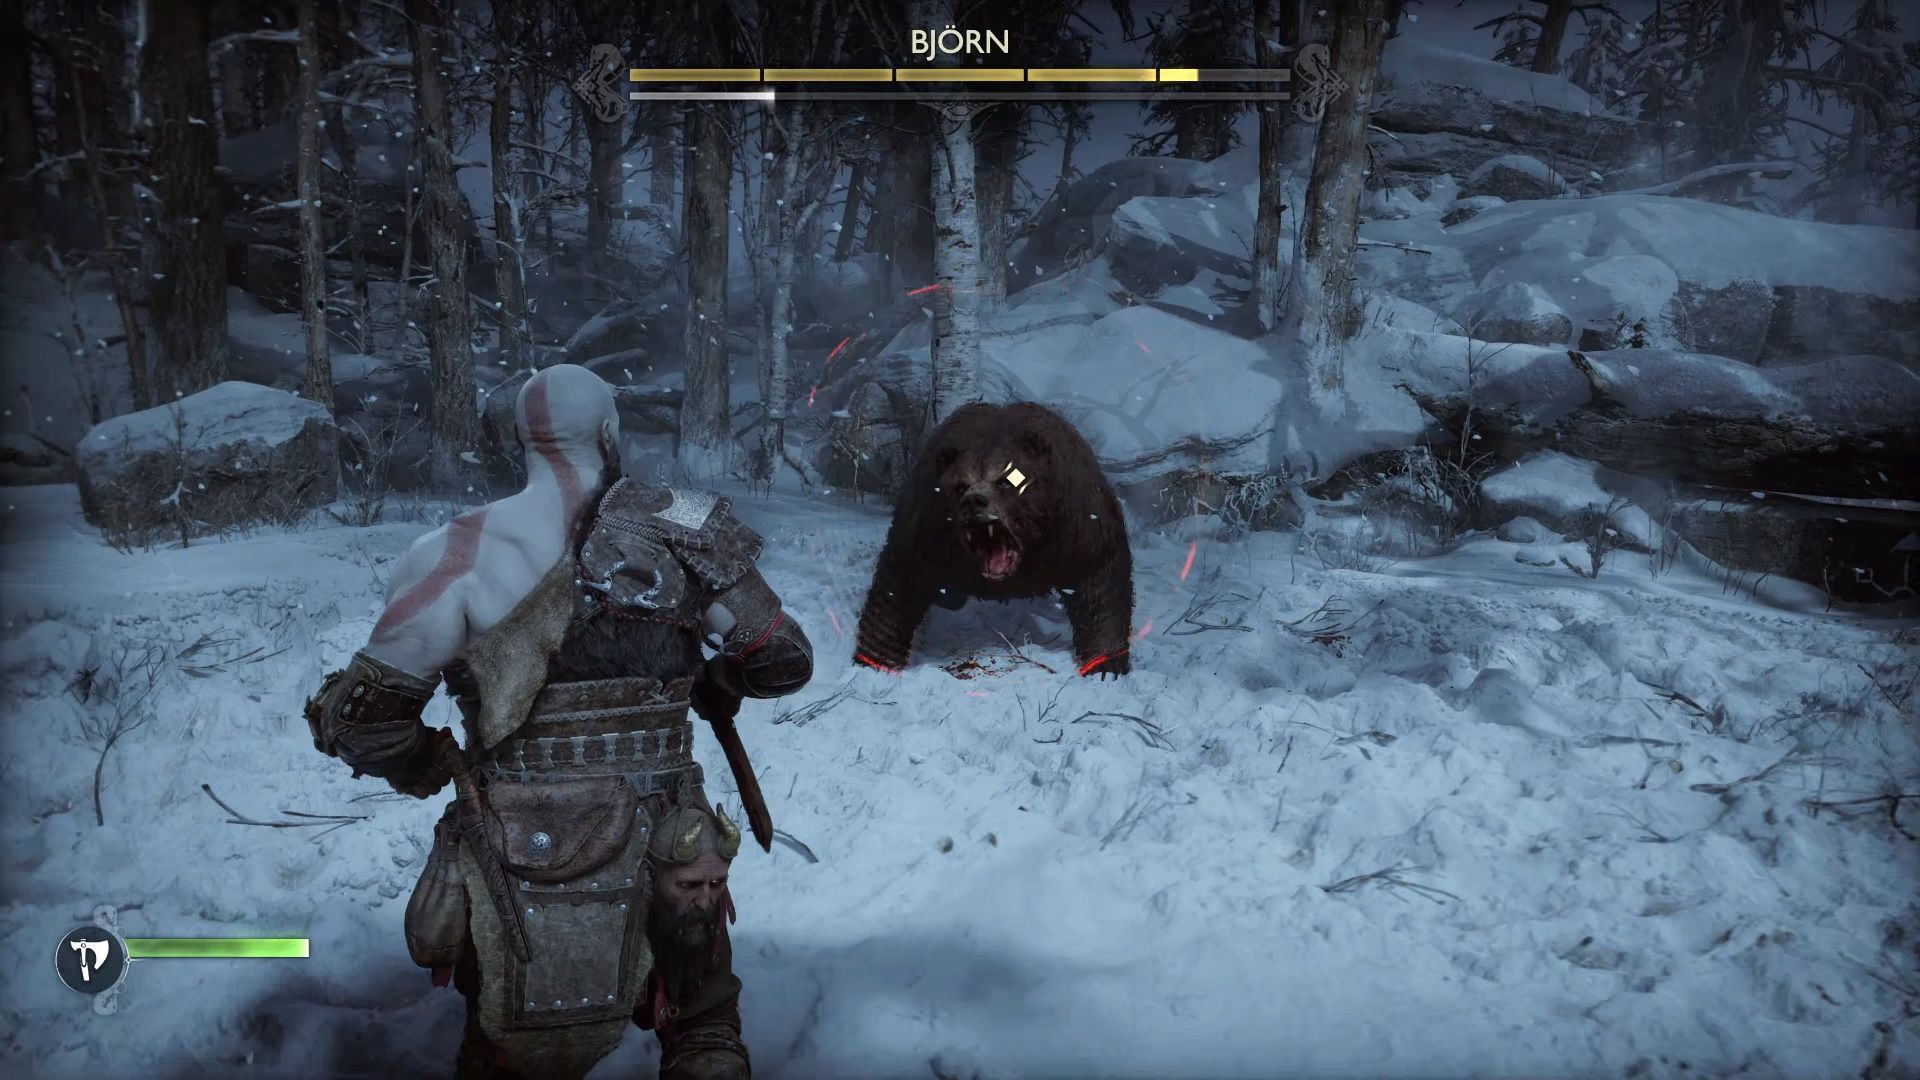
The most important thing Bjorn teaches you is that yellow attacks are parryable and red attacks are not. The indicator for these attacks is a giant circle that appears around Bjorn. The swelling of this circle indicates the attack’s timing. At the beginning of combat, Bjorn’s attacks are all pretty telegraphed. He will take a few swipes at you, all of which are blockable, and he will rear up onto his hindlegs and slam down onto the ground.This is an attack that is distinctly unblockable (once again, for emphasis, as denoted by the red circle).
While blocking an attack that has the yellow indicator will negate all the damage, you will be knocked back. This will always lead to you being momentarily staggered. So, if you find yourself in this vulnerable position, mash the dodge button and hope that you will be able to evade the followup in time.
If you parry the swipes, you will have enough time to add your own light axe swing in between each swipe. When Bjorn rears up for his unblockable attack, you should get distance and toss the axe at him and immediately recall it as it ricochets off of his head and into the air. If Bjorn is on all fours when the invincible attack indicator appears, then he is about to charge you. Get ready to dodge to the side.
As the battle progresses, Bjorn will start to add an unblockable attack to the end of his swipe attack combo. The combo will also get longer as his health bar diminishes. Once you have the rhythm down of parry, axe swing, parry, (etc.) this won’t be an issue. When you are faced with Bjorn's combo attack, if you mistime a parry, and block instead, there will NOT be enough time to parry additional attacks. Just defend and prepare to roll when the unblockable final attack inevitably comes.
In his final stage, he will start stringing his unblockable attacks together, often doing the ground slam multiple times before ending with his charge attack. But Bjorn still telegraphs all of this, so just get a little distance and prepare to dodge the charge. Once you defeat Bjorn, you will meetup with Atreus. You will take a much shorter route on your way back to your home. Just follow the path, take out the raiders, and you will arrive back at your house. It is time to get some well-earned rest.
“Now have a proper rest, my brothers. Things are always brighter in the morning” - Mimir
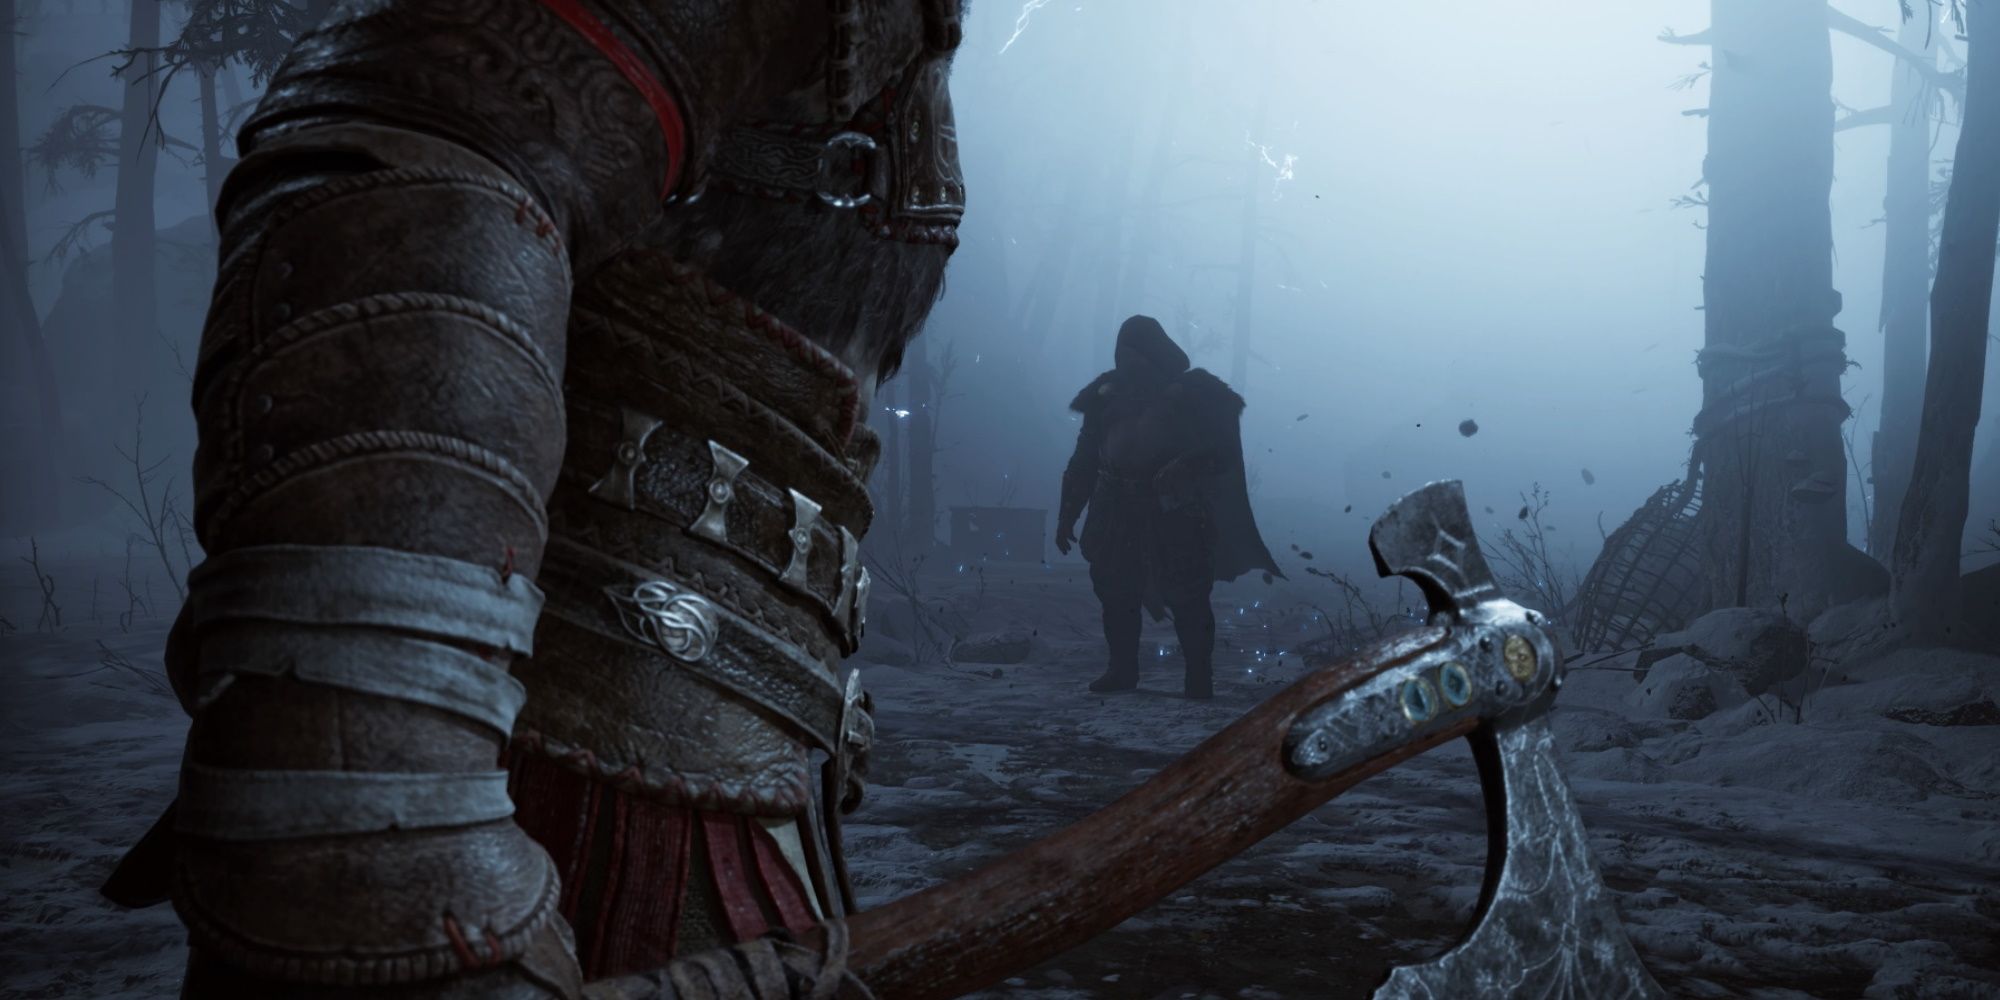
Just joking, there is no rest for a God of War. You will now get another cutscene and face off against your second boss!
Boss Battle: Thor
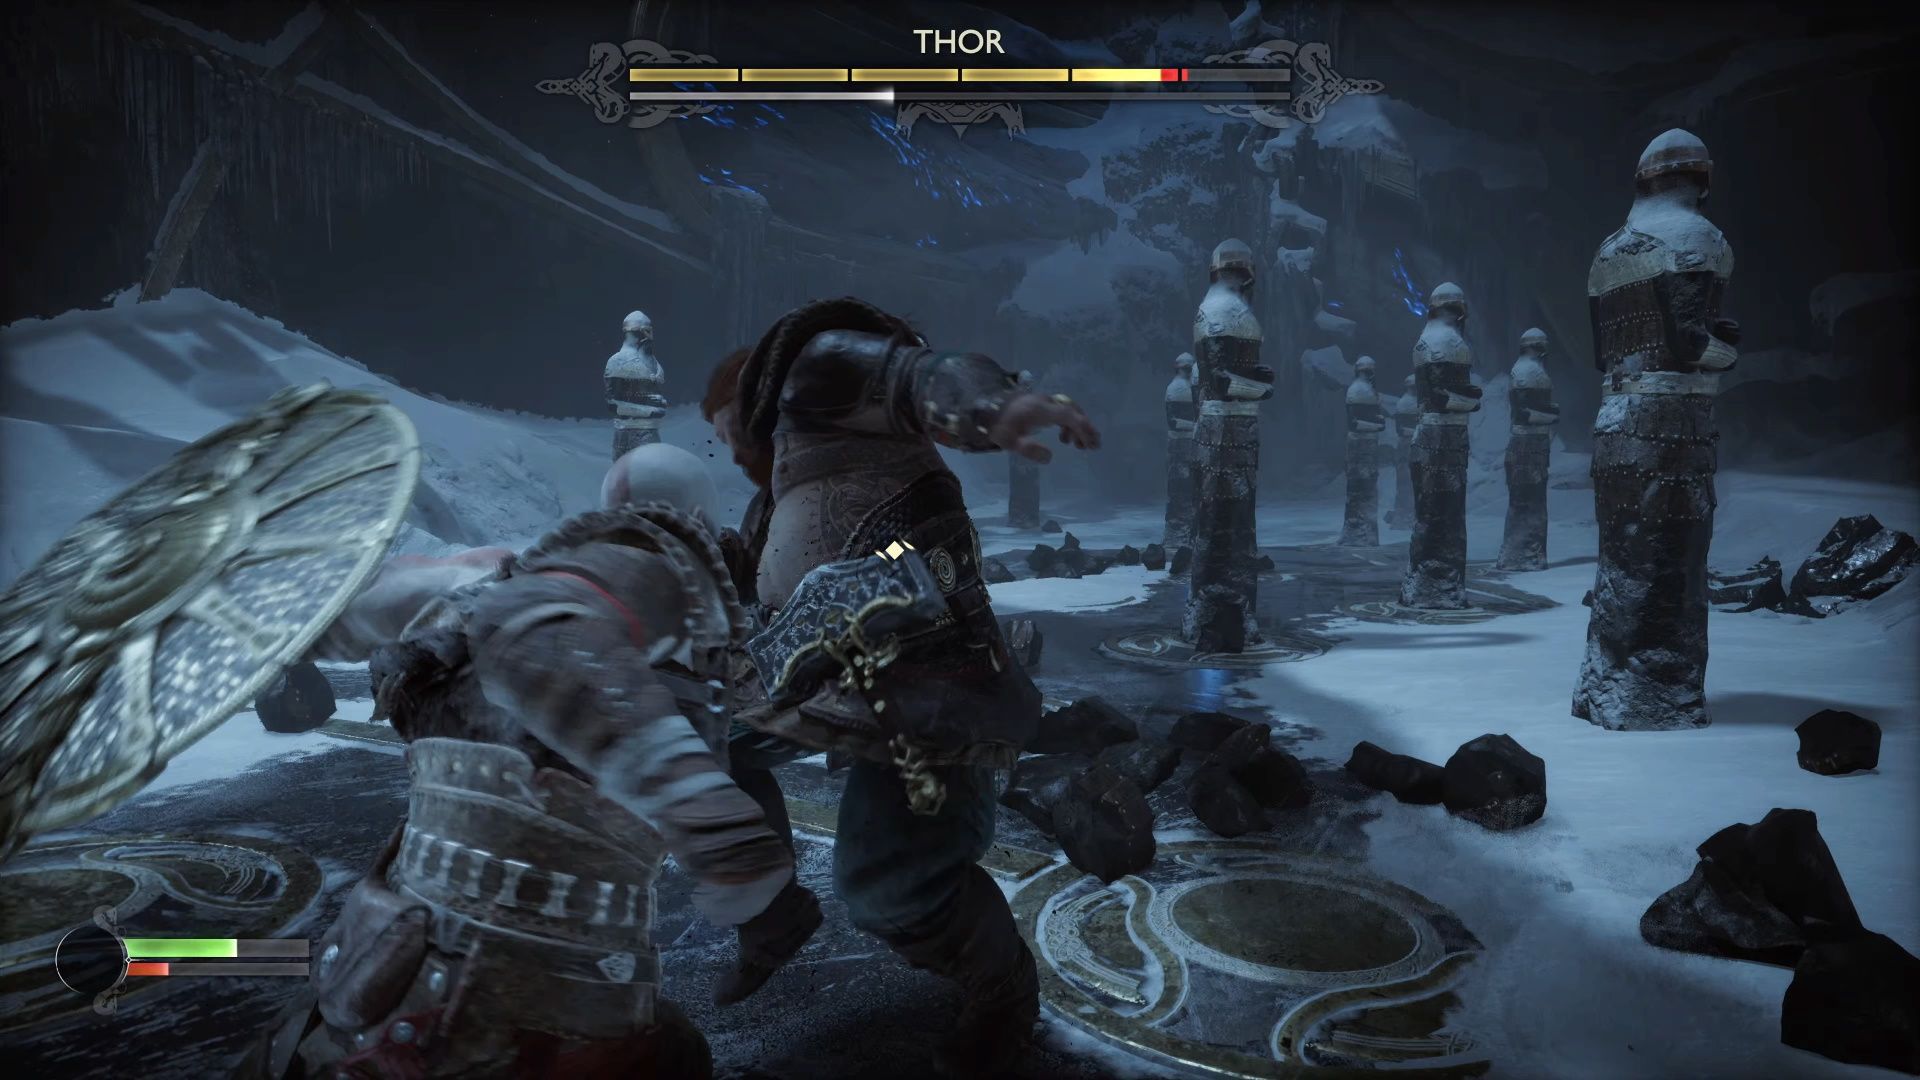
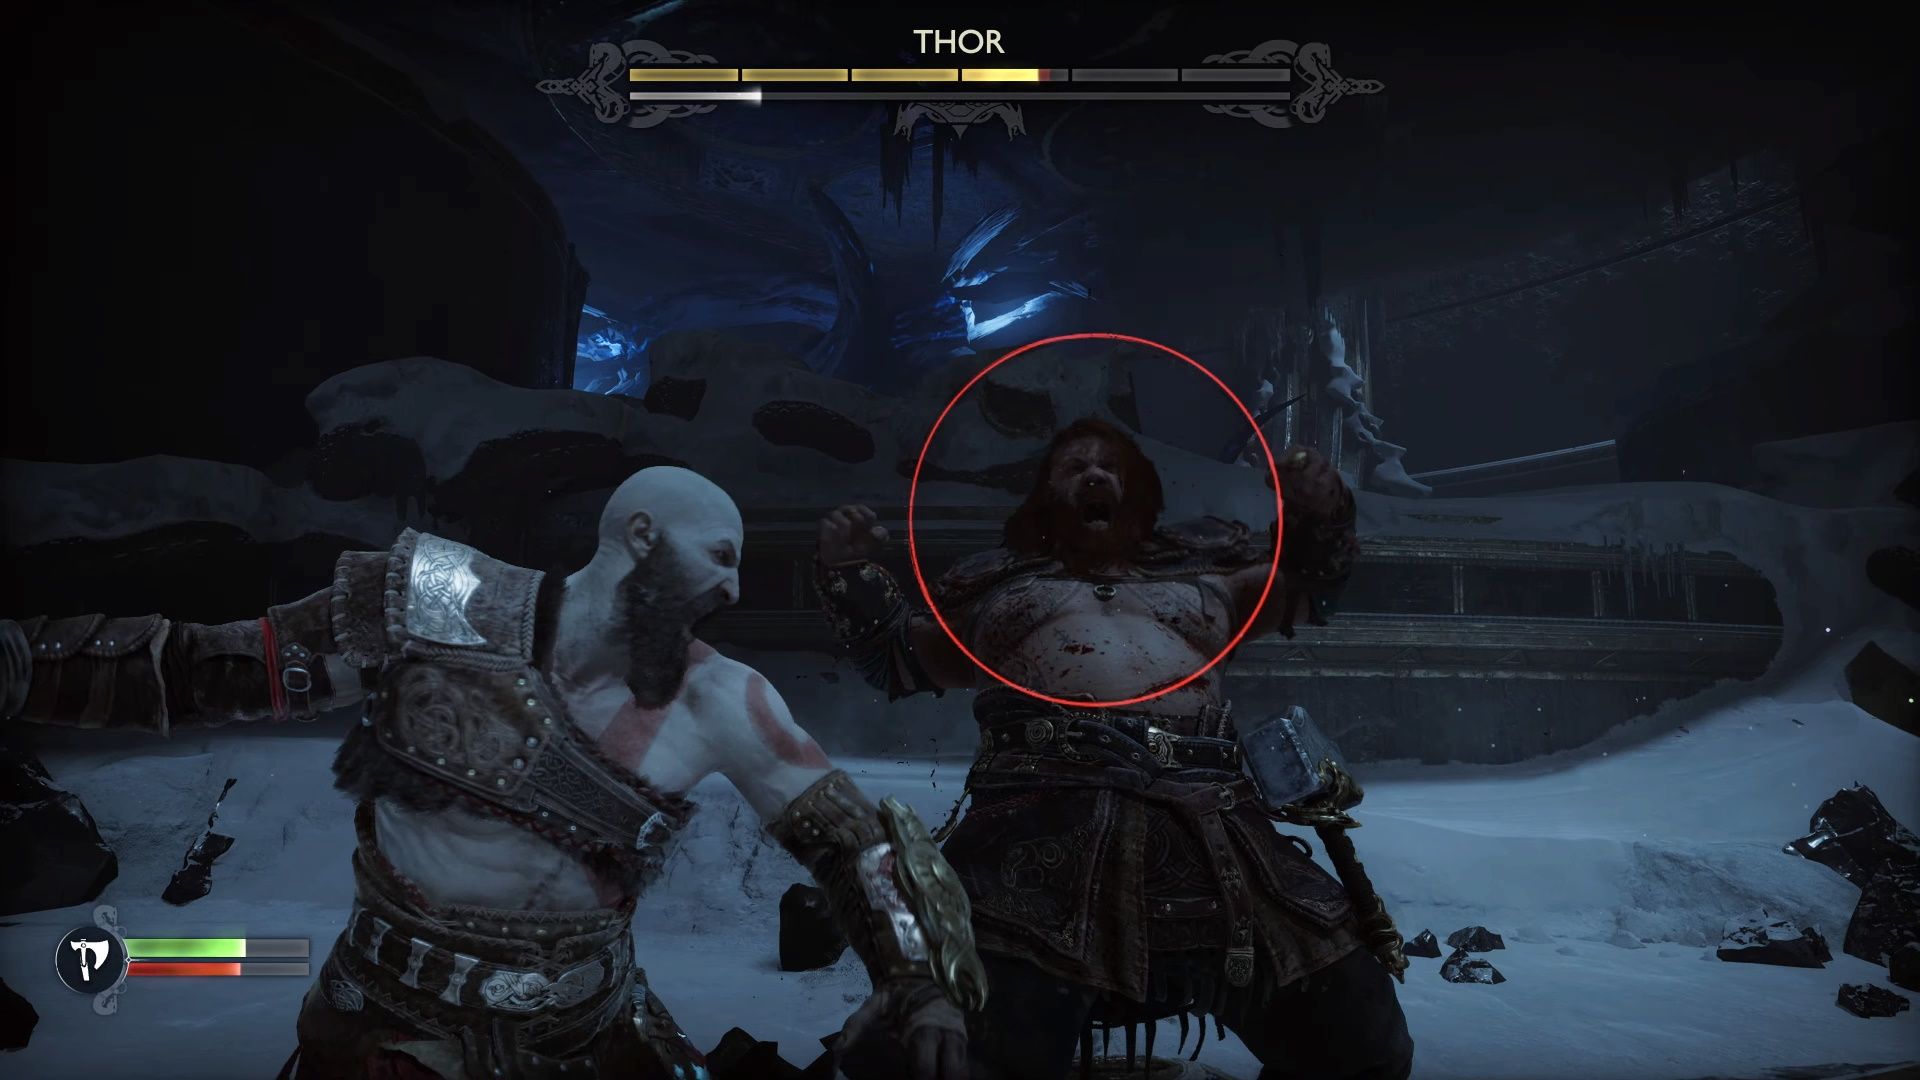
Thor has two unblockable attacks right from the start. One is a short-range grab, the other sees him charge forward and grab you. The up-close grab can come pretty quickly, so once you see red, dash away. Thankfully, it has pretty short range. The charging grab is pretty well-telegraphed, so it is much easier to dodge. Beyond that, Thor will throw punches at you. Just parry them and punish accordingly.
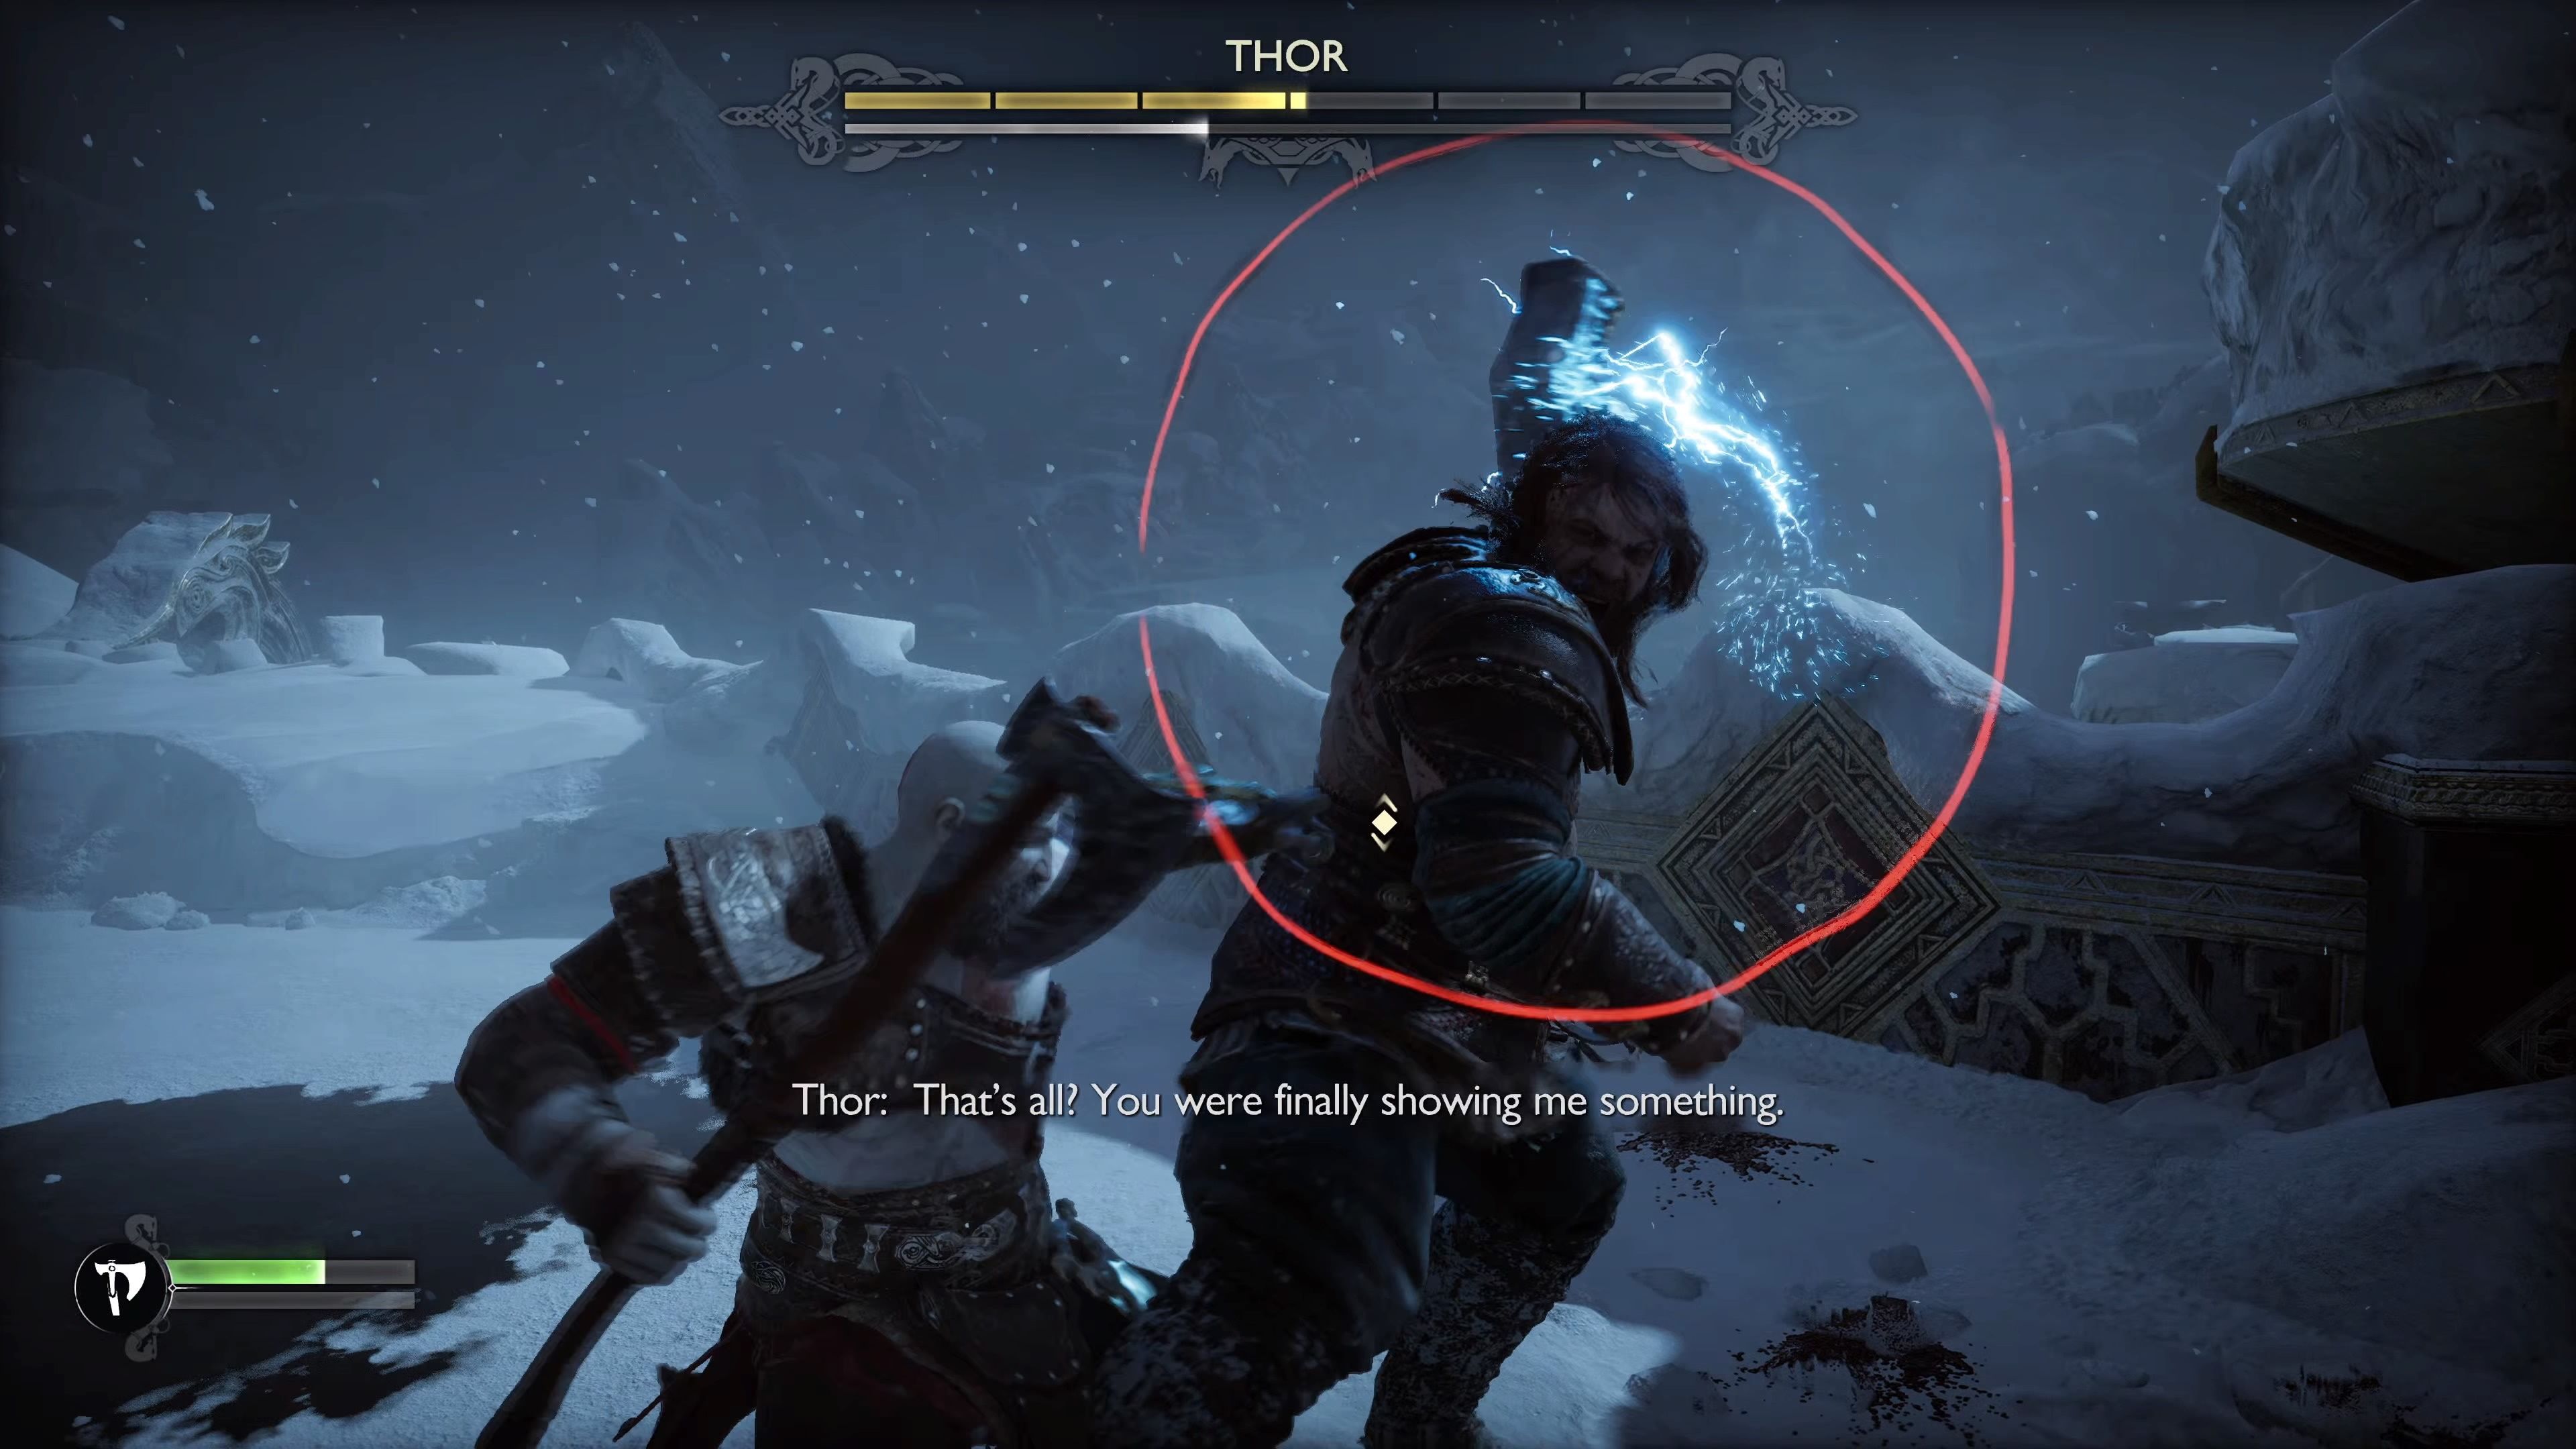
If he winds up for a giant swing you have two options: roll to the side or parry it. If you parry the giant swing, you will get an opportunity to punish Thor with a big attack of your own, but if you miss your parry timing, and block the punch instead, the massive blow will stagger you, and he will land a giant kick immediately afterward (this is unavoidable). So, if you aren’t feeling confident in your parry timing, the dash isn't a terrible option.
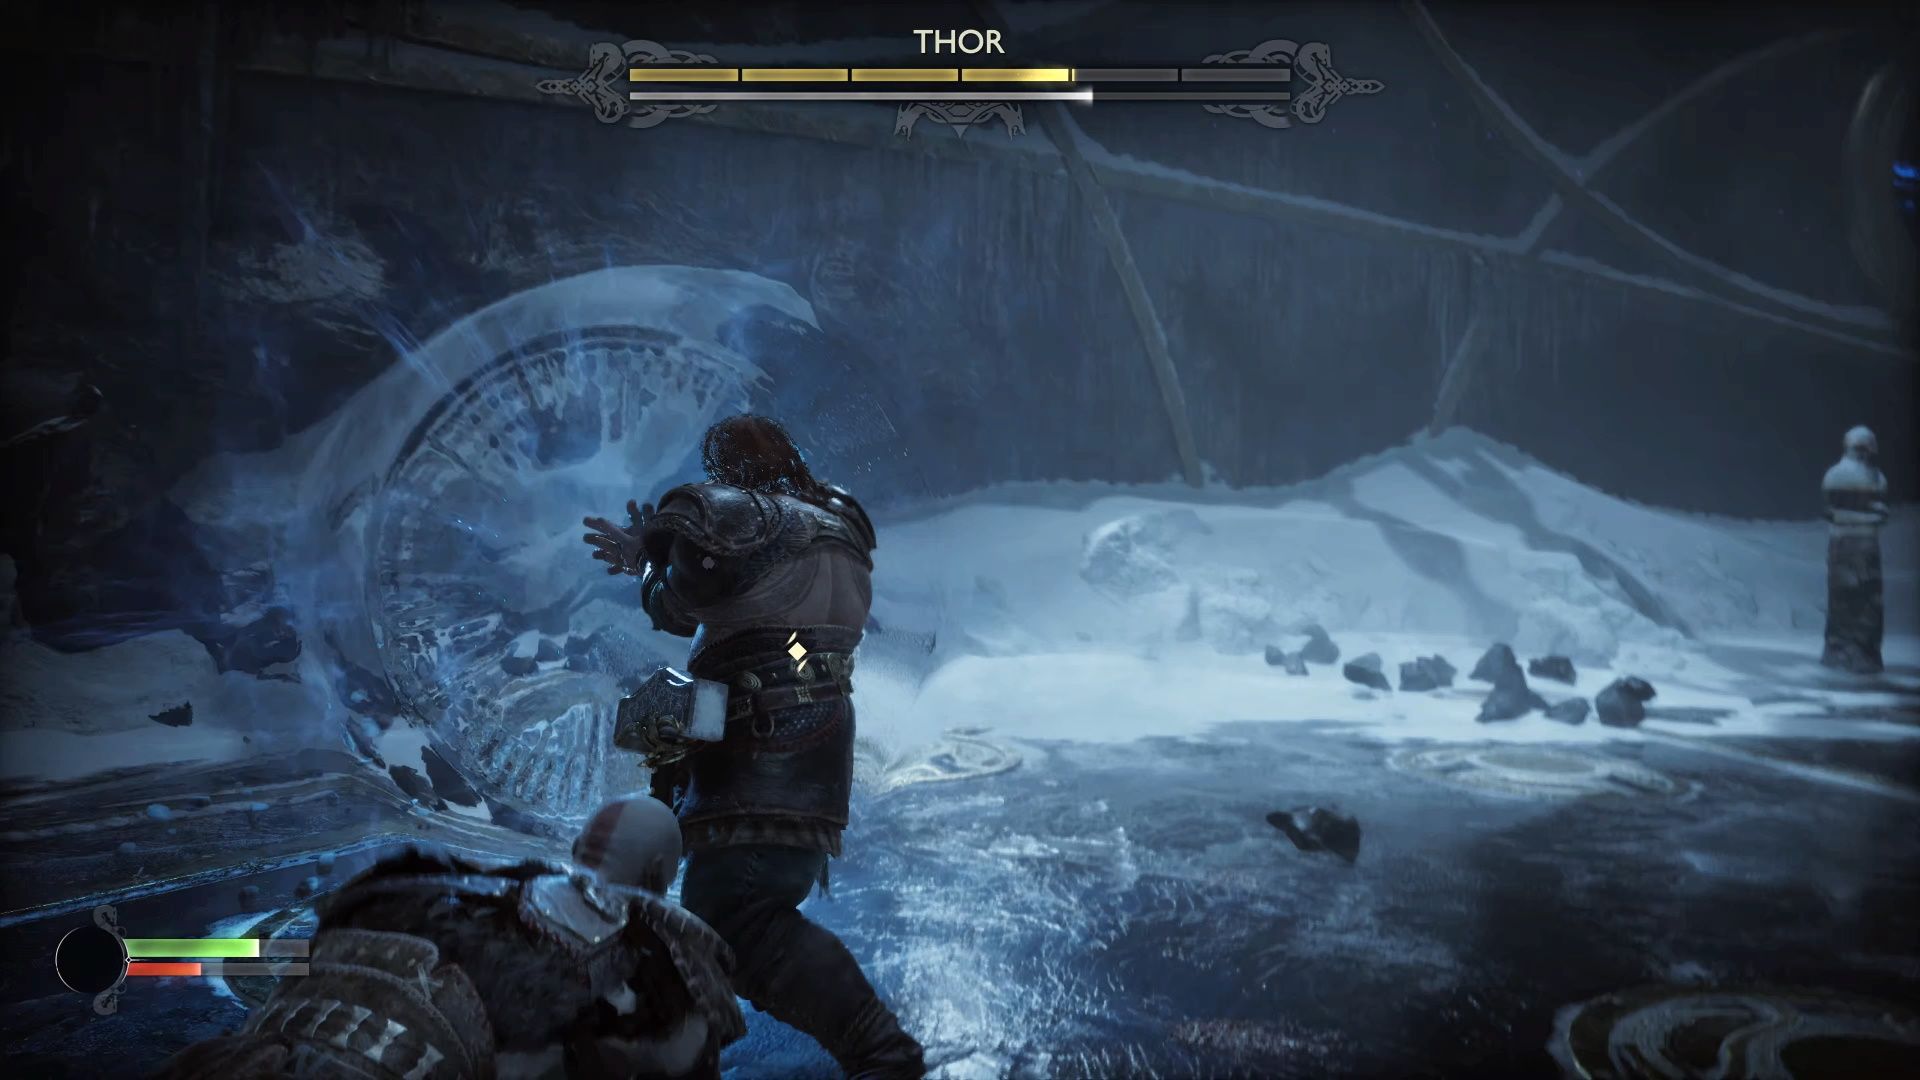
Lastly, Thor has the ability to create a giant shockwave by slamming his hands together. His thunderclap is best dodged. Just strafe around him when he does it, as rolling away will not save you.
Thor's Second Phase: Time To Axe Questions
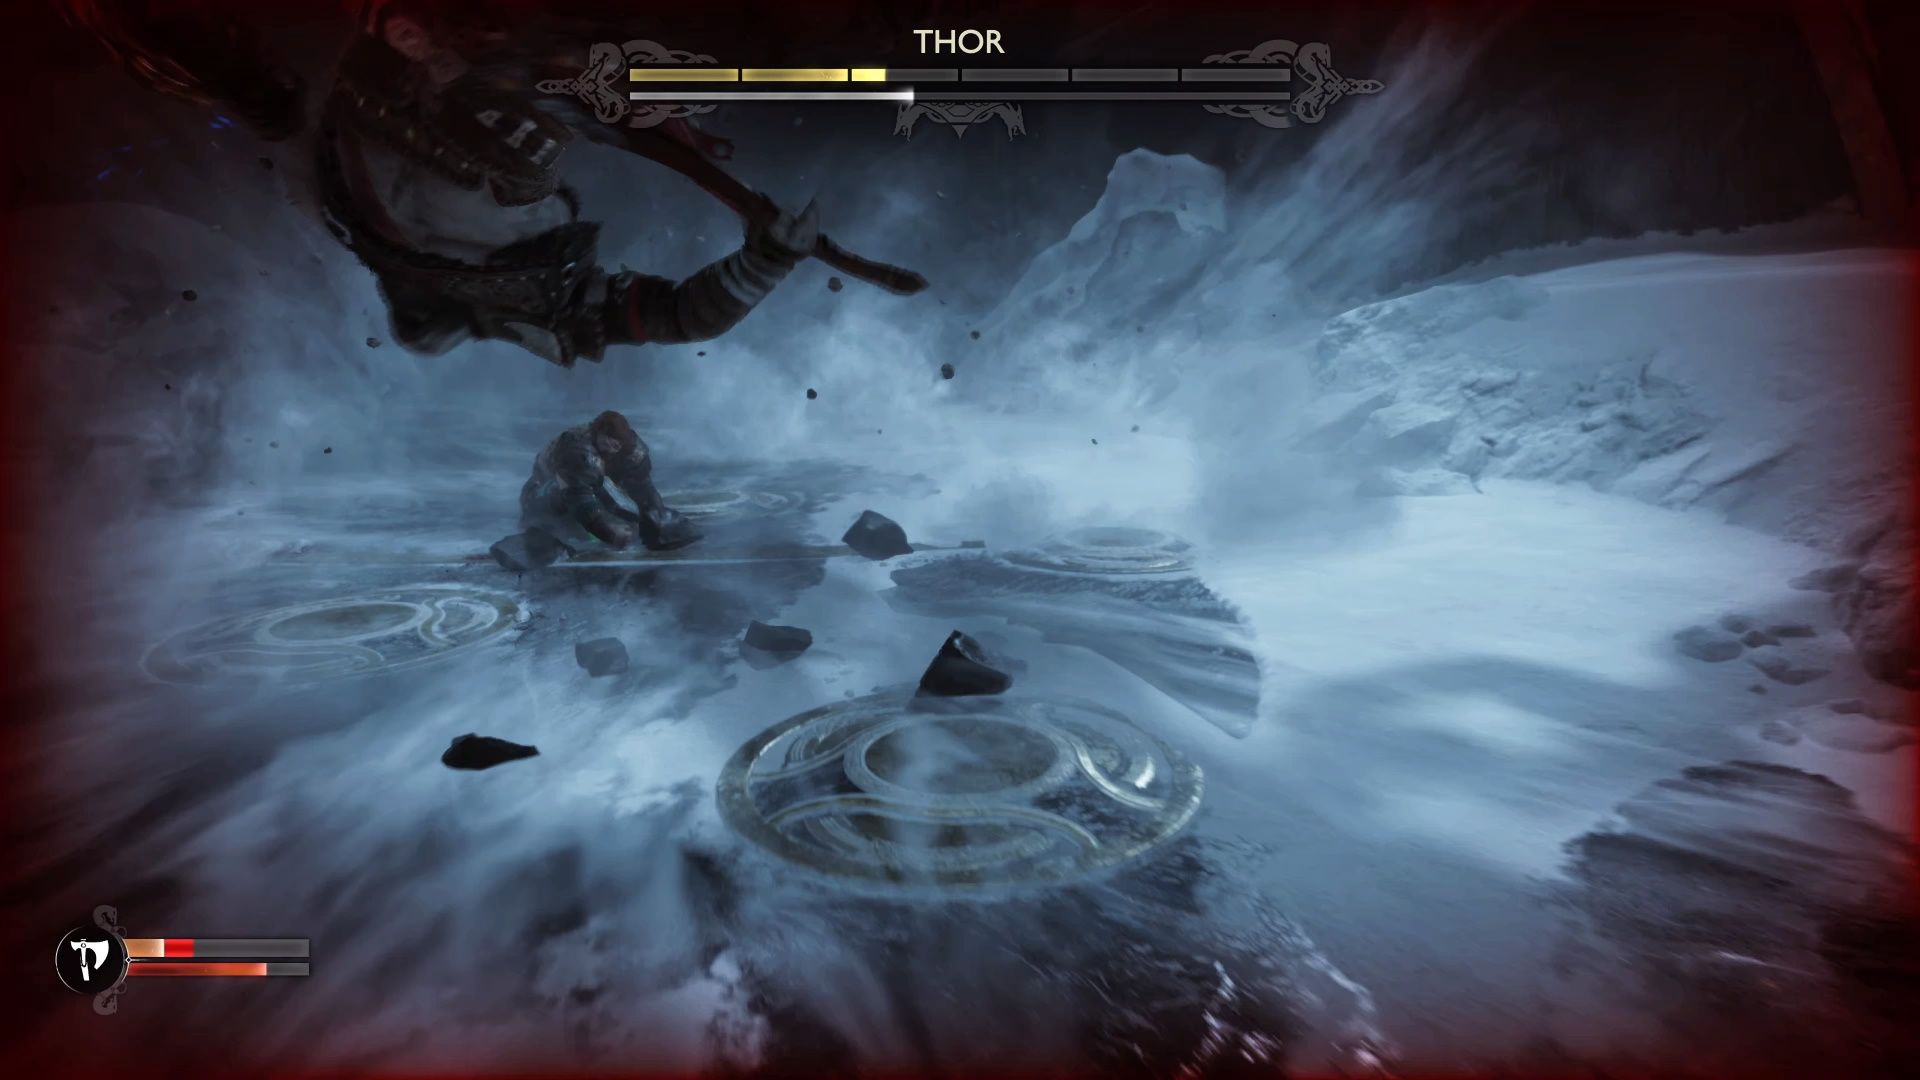
Once you’ve done enough damage, you will receive your axe. However, despite having your axe, we wouldn’t recommend throwing it too often (or at all) during this phase, as Thor has a number of attacks that close range quickly, and is pretty adept at dodging your axe toss. This second phase is largely the same as the first, except Thor now has a powerful ground slam attack. When Thor raises both of his arms above his head, he is preparing for this attack. You need to dodge away from him, or you are going to get blown away. This attack is startlingly fast, so you need to react early.
As previously mentioned, Thor has two up-close attacks that are unblockable: his grab and his ground slam. Both of these attacks can be avoided by dashing away from him. So, if you always use that approach when you see the red indicator, you will be better off.
Thor's Third Phase: Hammer Time
In the third part of the fight, Thor gets his hammer. Now when he performs his standard combo, the final hit will be an unblockable hammer swing that you will need to dodge. A similar unblockable hammer strike replaces his up-close unblockable grab attack as well. He also gets multiple projectile attacks, but they all operate the same way; he will reel back, and then fire them at you in a straight line.
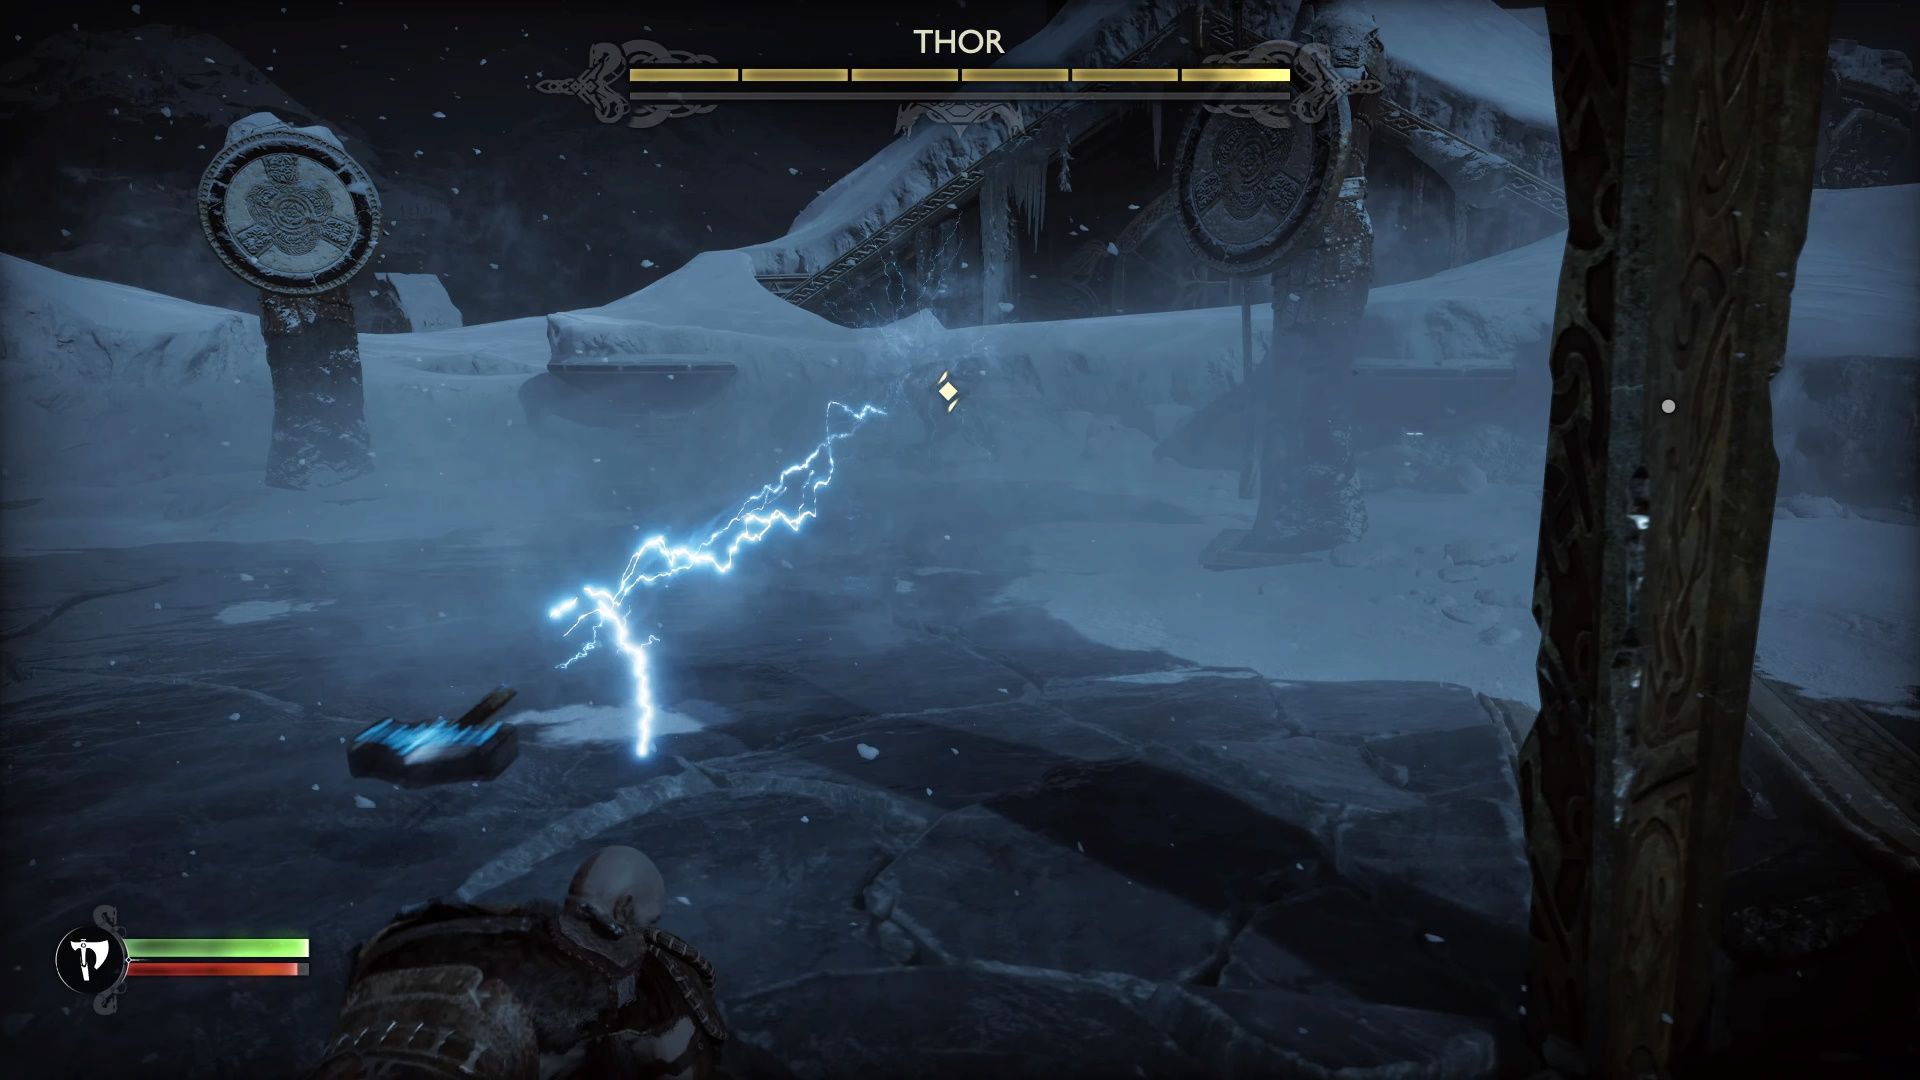
Dodge just before he lets the projectile rip; if you dodge too early, he will adjust and tag you. In between his projectile attacks (they often come in twos) you can toss your own axe at him.
Thor's Fourth Phase: The God Of Lightning
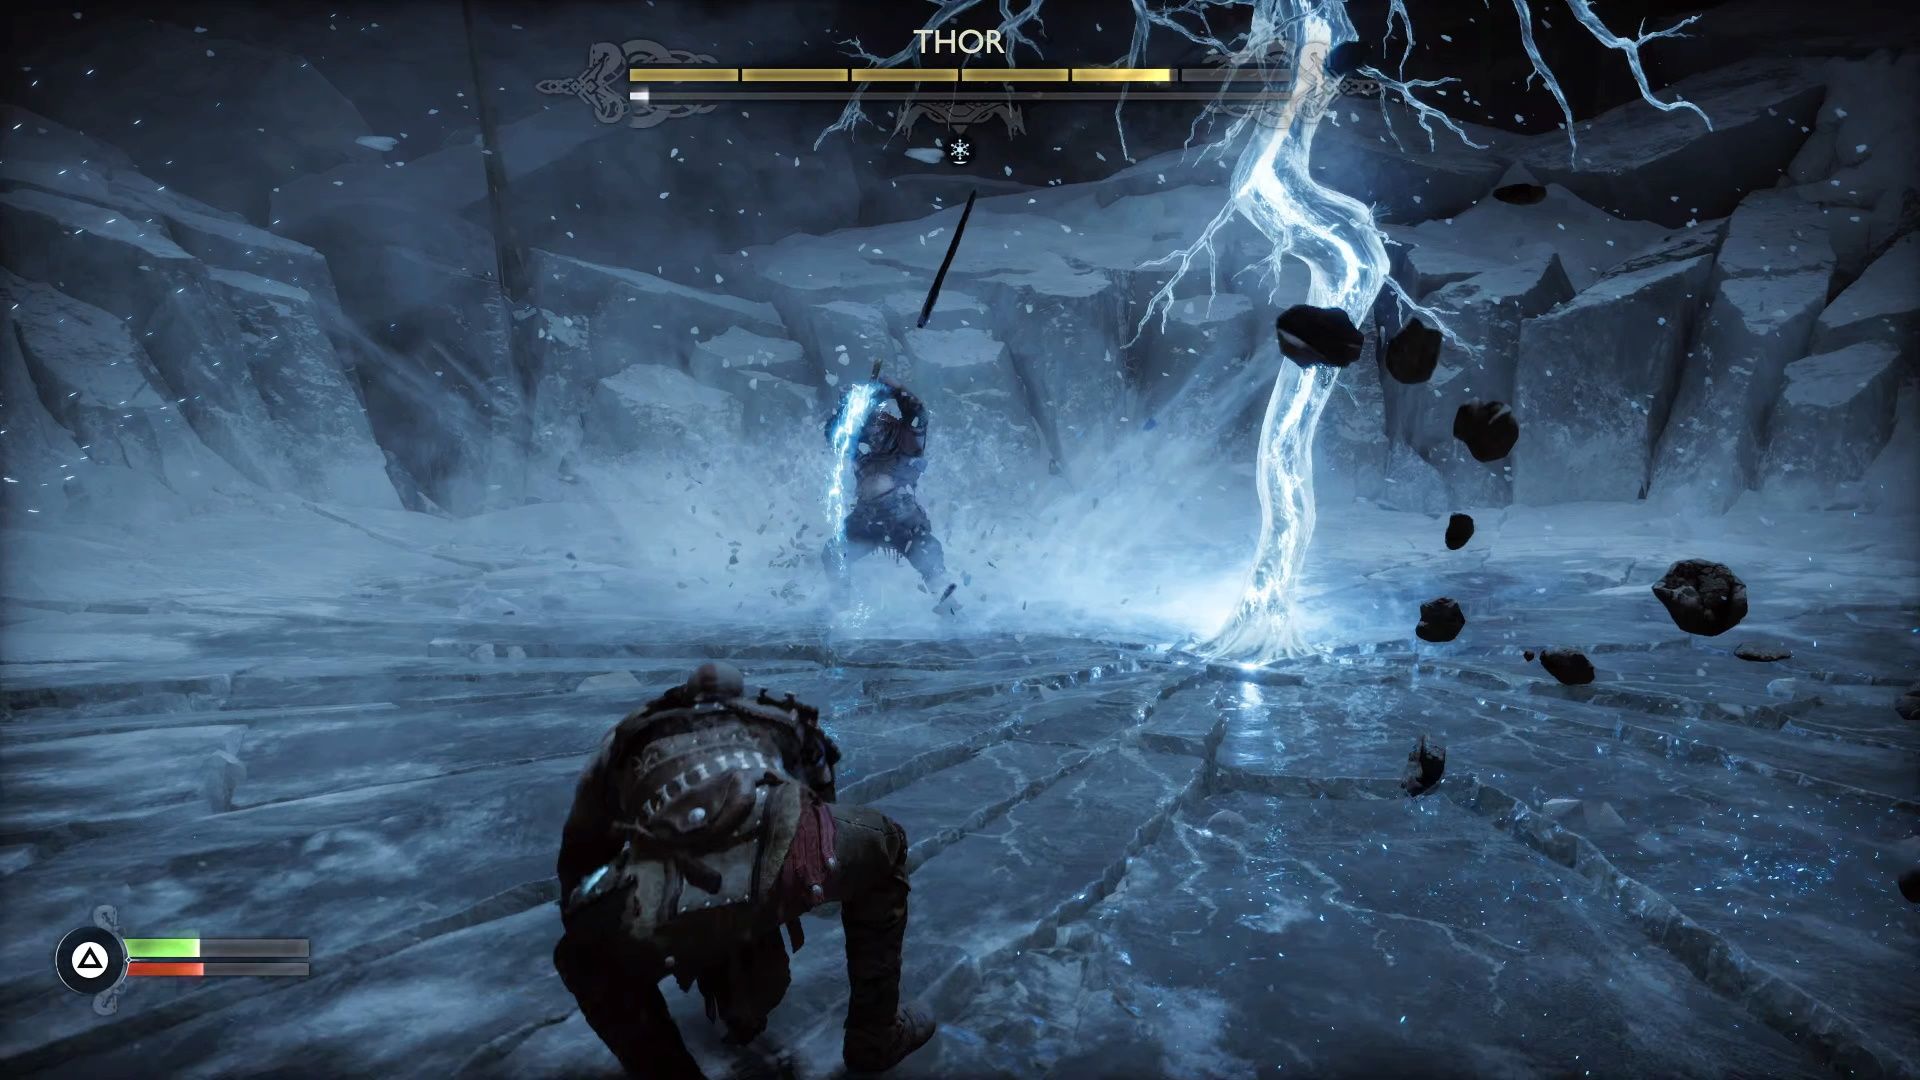
The final phase of this battle is the same as the last, but now he has an attack where he will slam his hammer into the ground multiple times, causing lightning to erupt from multiple places in the stage, but all the places where lightning will strike are clearly indicated, and this move locks Thor into place. So, it is actually an excellent opportunity for you to do damage. Generally, because he leans on this attack so heavily, it actually makes the fourth phase and easier version of the third. Just repeat what you did in phase three and avoid the spots on the ground that indicate lightning will hit there.
Finish off Thor's final phase, and your true journey shall begin proper. Good luck!

