Quick Links
It is Lillet's fourth time around the bend in GrimGrimoire OnceMore and, at this point, she has a full suite of tools (or should we say, she has a full shelf of books). Being this far into the game, players will have plenty of coins to spend on a wide variety of upgrades. Player expression will be at an all-time high here.
While players are more empowered than ever, the game is similarly empowered to go after the players, and it does manage to put together some pretty challenging stages. This is only magnified by some of the missions, which place pretty heavy restrictions on the units you can use. However, we have worked through them all on your behalf, and have outlined the best path to victory.
Fourth Day 1: Appeal
|
Victory Condition |
Destroy all of Advocat's Runes |
|||
|---|---|---|---|---|
|
Mission |
Win using only Glamour Grimoires |
|||
|
Enemy Units |
Phantoms, Demons, Grimalkins, Guardians, Dragons |
|||
|
Reward |
4 Coins |
Mission Reward |
2 Coins |
|
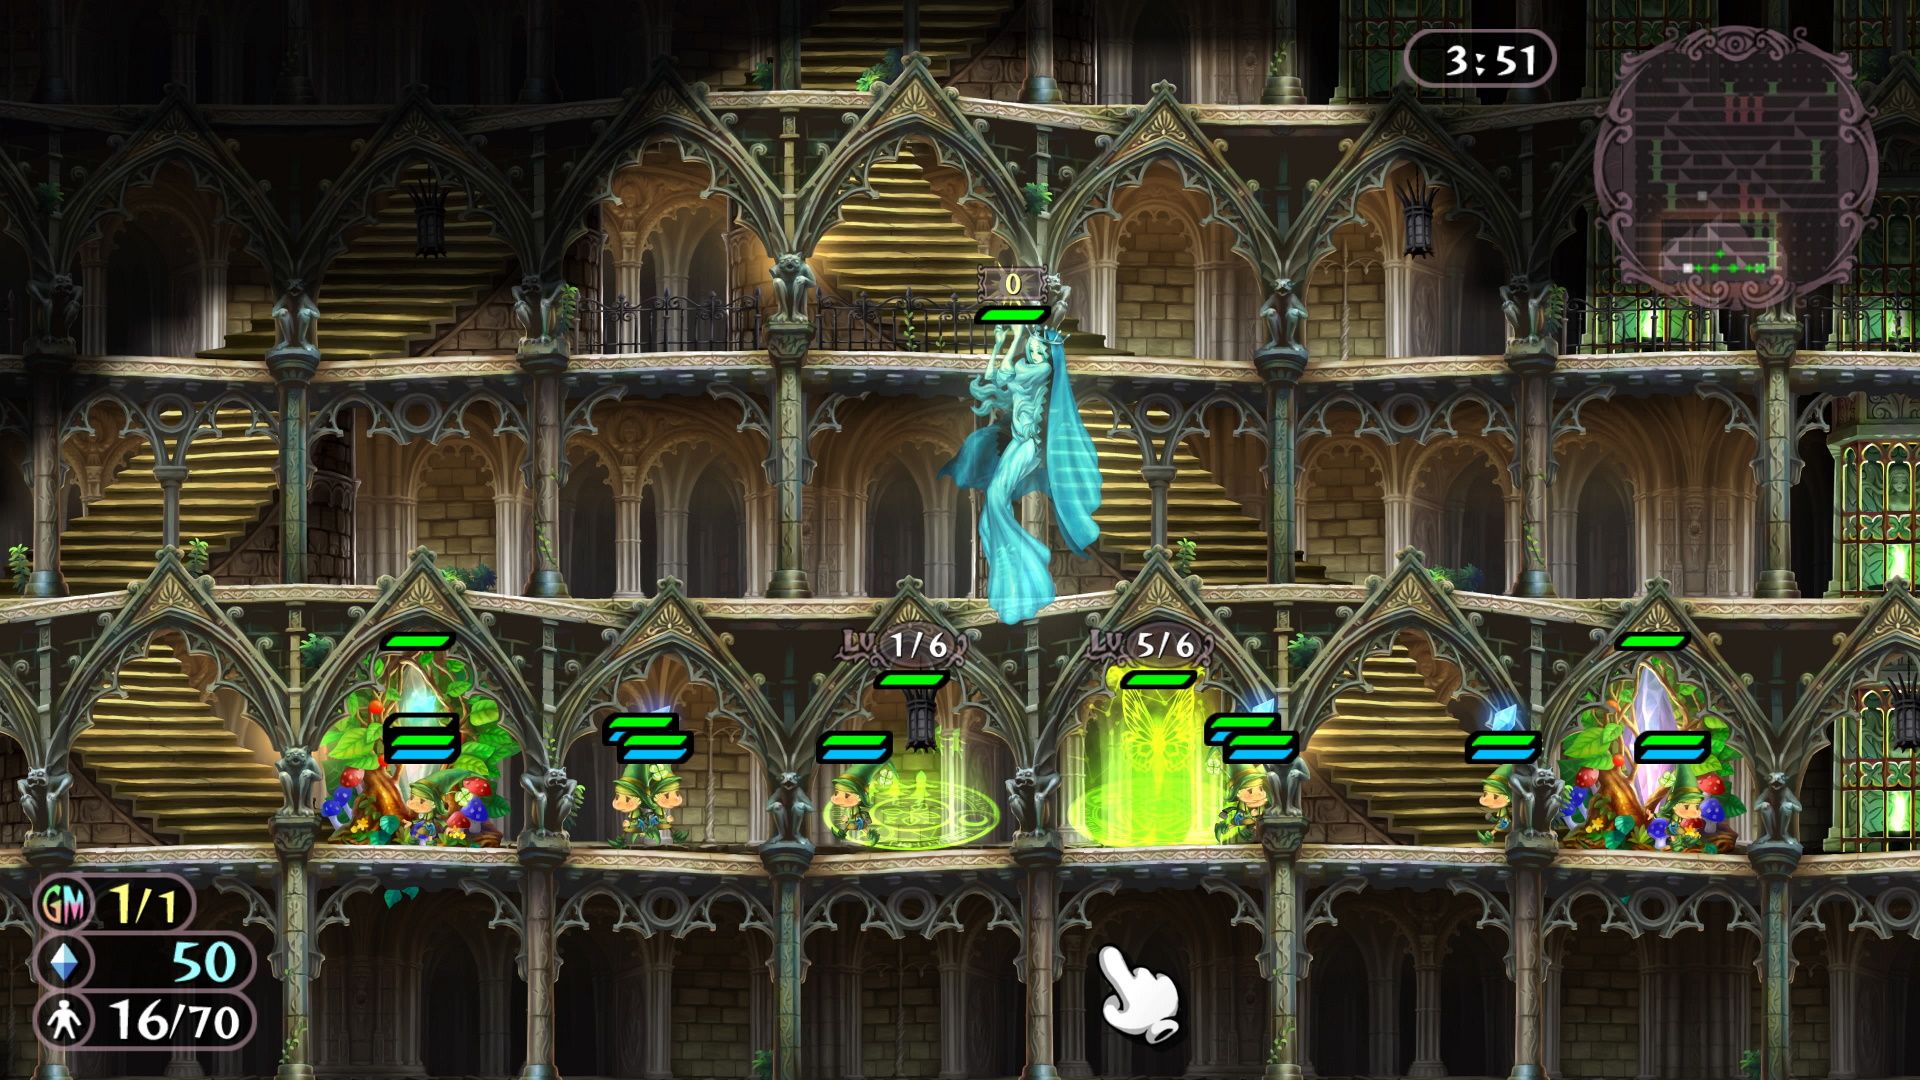
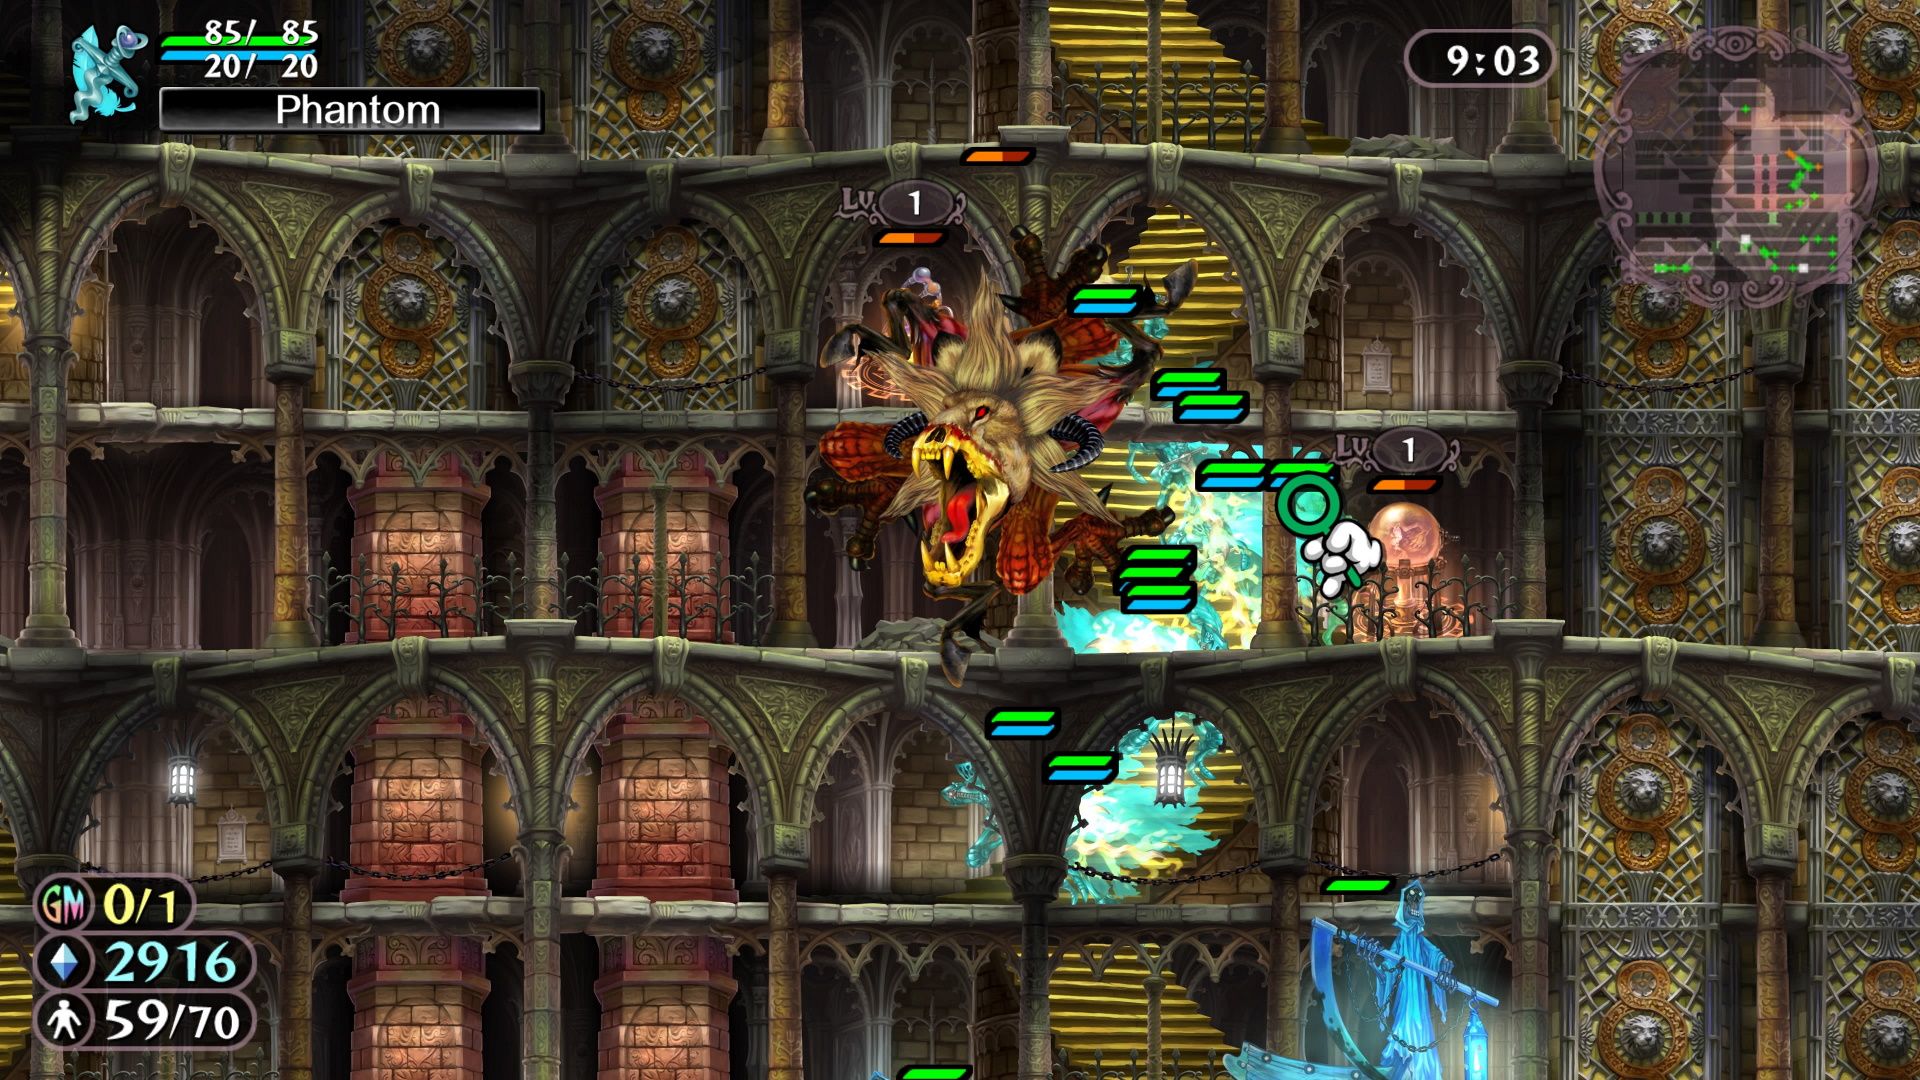
You will start this stage with four Elves and nothing else. You have six Runes that you need to destroy and they are spread all around the top half of the stage. They are split evenly between Necromancy and Sorcery Runes. Start by heading directly to your Skill Tree and pumping up all your Glamour stats. If you are going to complete the optional mission, you can only use Glamour Runes, so you can pull coins from nearly everything else.
You are going to want to invest in the Tatiana Rune and Swarm your enemies with Morning Star units. Honestly, your opponent will have no ability to deal with that kind of pressure. So, off the bat, we recommend using your Grand Magic to get a Mana boost. Now, have your Elves gather Mana from both crystals (there is a second crystal to the right of your base) and get the Tatiana Rune down so that you can summon your Morning Star units. Summon more Elves for gathering as well. You want five Elves per crystal.
Fully upgrade your Morning Stars so that they have access to their projectiles without charging first. Just keep making Morning Stars; never stop until you are out of unit spaces. Once you have four, leave one behind to defend your base, and start working three of them around the map (this is the perfect amount, as it means that they can take out a Guardian in one attack). A few Grimalkins are hanging around, but they can't do much against a Morning Star unit. Beyond that, you are going to mainly be fighting Phantoms, Demons, and Guardians. Naturally, two Morning Stars are quite capable of tearing through these units.
When you start getting a sizable surplus of Mana, build another Tatiana Rune so that you can start producing more Morning Stars. As more Morning Stars arrive, start sending more up to join your attacking party. Try to keep around two hovering around your base. You can send severely injured Morning Stars back to your base.
By using this strategy, you will quickly overwhelm your opponents with a swarm of murderous Morning Stars. If a Dragon appears, swarm them with all your Morning Stars, they won't last long.
Fourth Day 2: Rescue Mission
|
Victory Condition |
Destroy all Opalneria's Runes |
|||
|---|---|---|---|---|
|
Mission |
Land the Unicorn's Astral Hold twice |
|||
|
Enemy Units |
Golems, Homunculi, Chimera, Gargoyles |
|||
|
Reward |
4 Coins |
Mission Reward |
1 Coin |
|
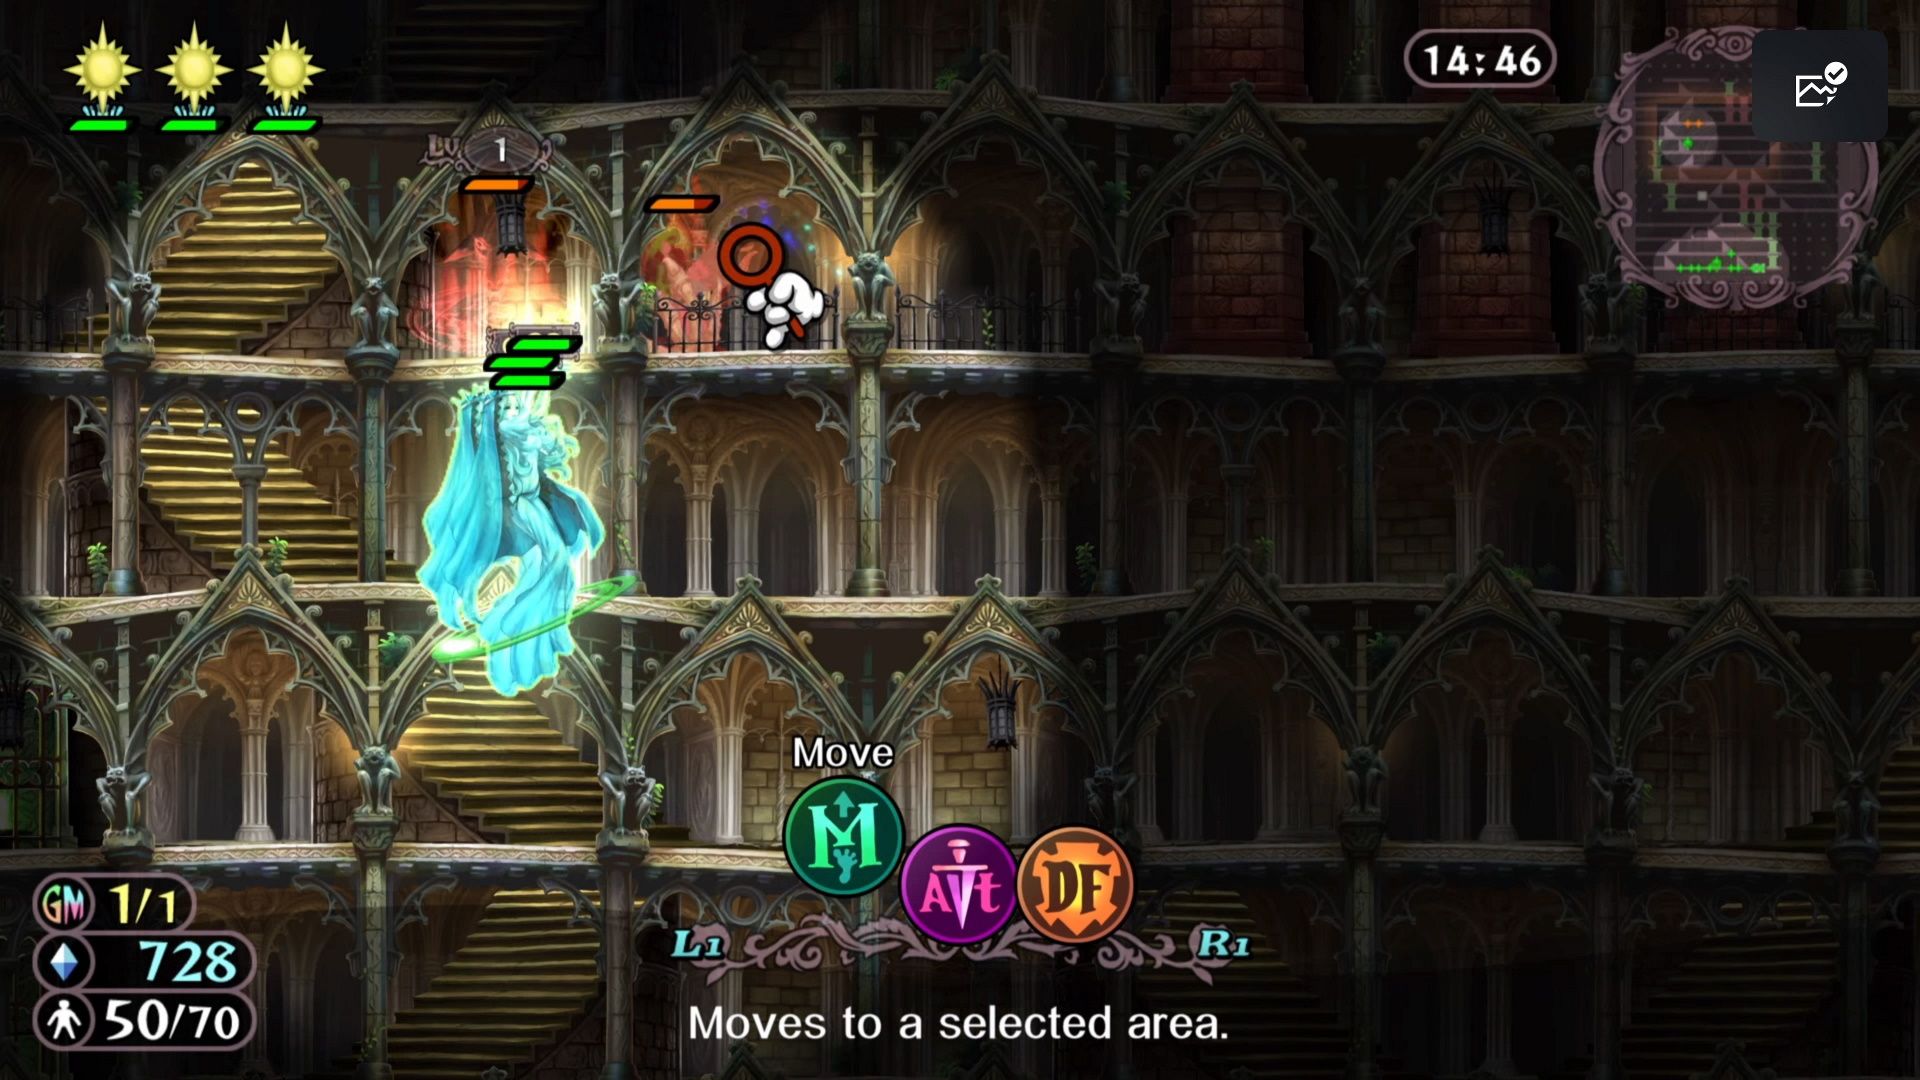
For this stage, you will be battling against Necromancy and Glamour. You will have Five Runes to destroy. You can actually keep your skills pretty much the same as they were in the previous stage, just invest in some Obelisks as well. The mission only requires that you disable two Astral enemies. So, that means you need Unicorns. Thankfully, the enemy isn't fast-moving, so you will have plenty of time to build your army before you have to really engage in a conflict.
For starters, there is a crystal north of the base. It is defended by two Guardians. Just gather together three Unicorns (you will need them later anyway), and level them up far enough to have the Holy Barrier skill. Send them up to take out both Guardians. If you make sure to use the shield before you attack, they won't lose too much health. Run them down to the bottom and get your Elves to heal them.
The goal in the starting area is to have a Morning Star at the top, bottom, and middle.
Now, send some Imps to claim the Crystal. At the same time, you want to get that Tatiana Rune down and level it up until you have a maxed-out Morning Star unit. Have the first morning star defend the Imps gathering from the northmost crystal. Build Obelisks so that you can heal your Morning Stars. At this point, you should have at least one Morning Star and a group of Unicorns. You should be able to hold down the fort as you summon a second Morning Star. Opalneria mainly just sends weaker units like Phantoms to attack you, so holding shouldn't be a problem.
That being said, if a Skullmage is headed your way, put your Unicorn's Holy Shield up and throw them at 'em. Too many Skullmages together can kill your Morning Stars with ease, so make sure to take them out early. Eventually, you will have a group of Morning Stars attack you, but you should have a few to defend your base at this point, and you will have already built Obelisks to heal you. Your Unicorns should use their Astral Hold ability to completely mitigate any threat from Opalneria's Morning Stars.
If you build enough Obelisks behind your Morning Stars, the Unicorns won't even be necessary, as the Obelisks will heal fast enough to keep your Morning Stars alive and well while fighting Skullmages.
Once you have three Morning Stars to protect your base, supported by at least three Obelisks, get a few Morning Stars together and start pushing to the left. There will be a Charon there. Just blast him with your Morning Stars. By now your Ghosts will have probably fully mined the Crystal up north. Have them pull from this crystal now.
Once your Morning Stars are fully healed, push them forward along with your Unicorns. For the final stretch, pull the Morning Stars you left behind, and have them join your attacking party (may as well, all the enemy units should be pushed to the left side at this point). Use the Unicorns to kill Skullmages, and your Morning Stars to kill everything else. Keep building Obelisks behind the Morning Stars as you go. The last enemies are positioned on the far left. They will have another Morning Star or two. At this point, your victory will be inevitable.
Fourth Day 3: Saving Amoretta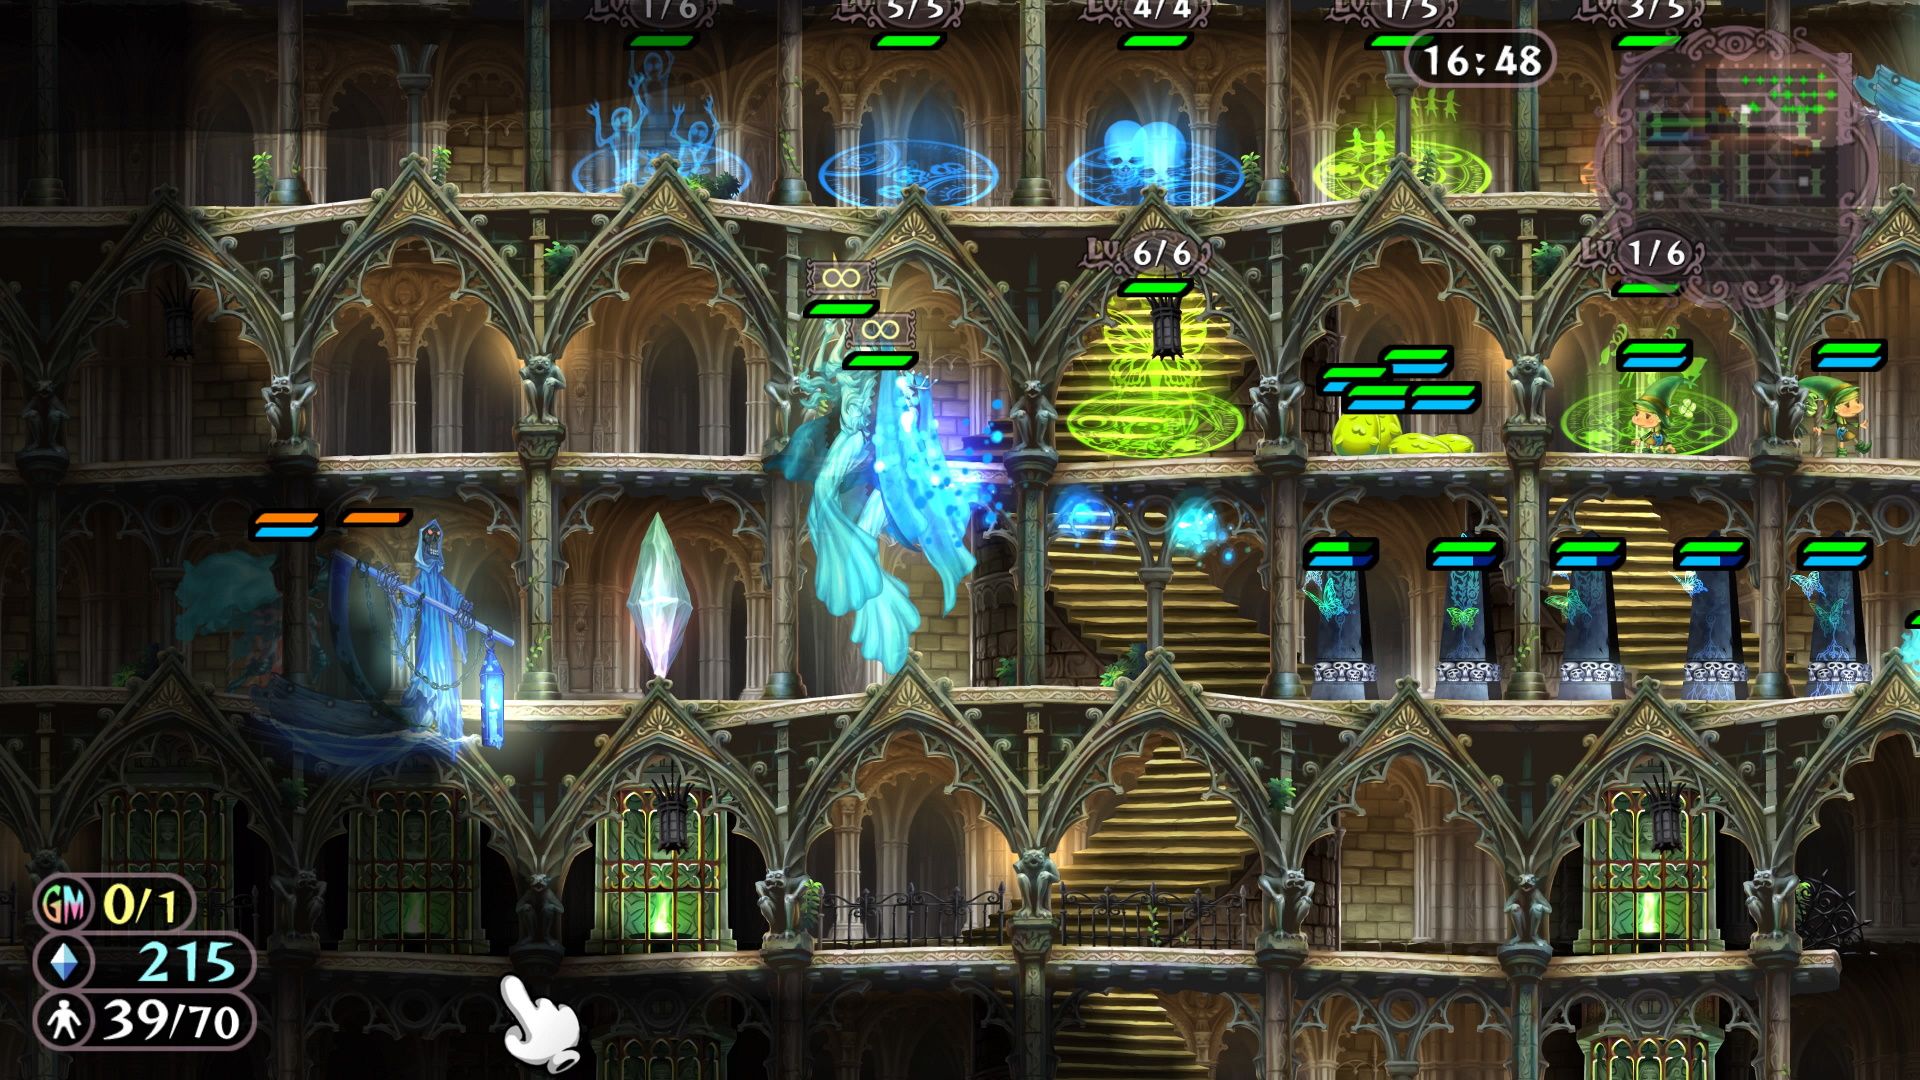
|
Victory Condition |
Destroy all of Opalneria's Runes |
|||
|---|---|---|---|---|
|
Mission |
Only Sanctify One Crystal |
|||
|
Enemy Units |
Ghosts, Golems, Homunculi, Chimera, Gargoyles, 2x Alchemy Rune |
|||
|
Reward |
4 Coins |
Mission Reward |
3 Coins |
|
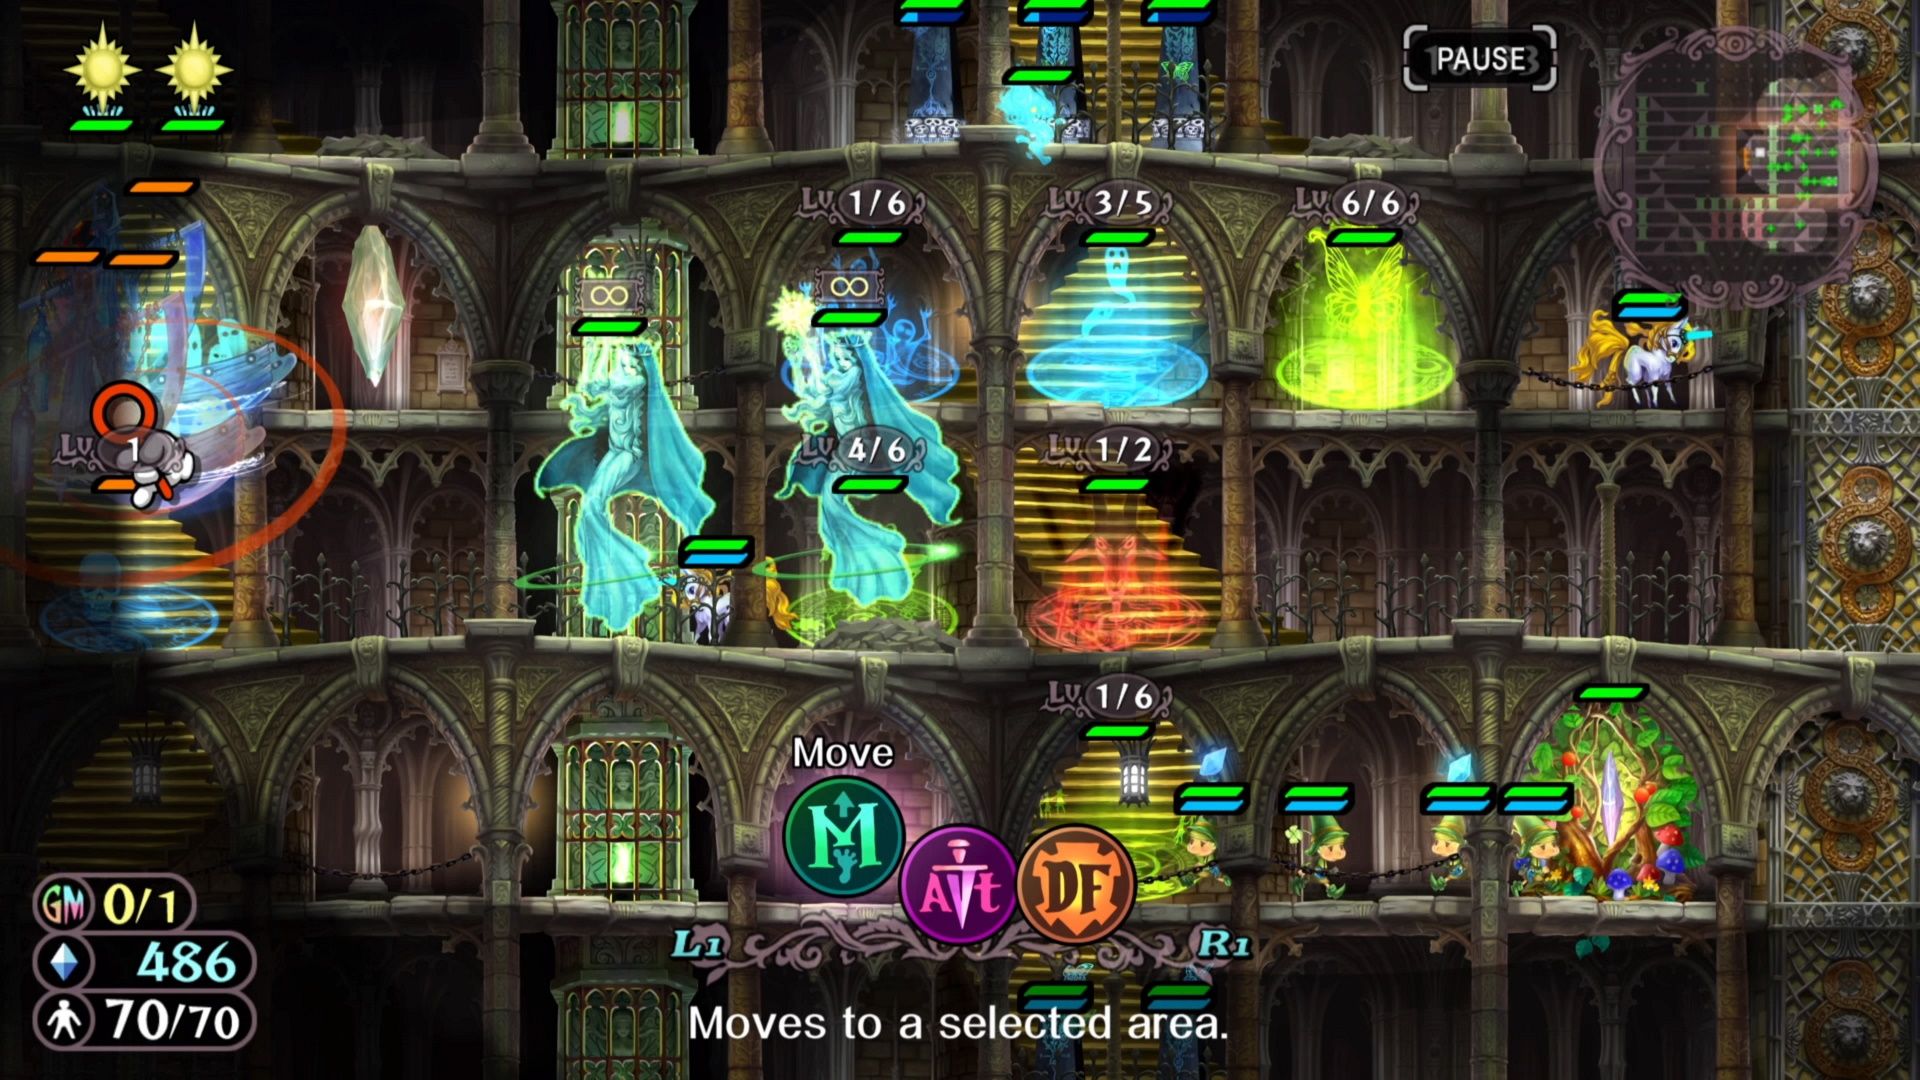
This one is pretty tricky. You will be attacked by a steady supply of Skullmages, Phantoms, and Ghosts. They come in large numbers and will attack you from the right and the left. Charons will also frequently make appearances. Now, before we get started, make sure you have your Homunculi, Morning Star, Charon, and Obelisks fully leveled in the Skill Tree. There is another crystal to your right. If you harvest from two crystals from the beginning, this mission won't be so hard, but if you are looking to complete that mission objective, you will need to keep it to a single Crystal.
While the Ghosts don't seem like they should be scary, these Ghosts are fully leveled up, and do a TON of damage to Astral units. So, until you have some Obelisks up, you are going to want to be very careful around them.
Since we are aiming to complete this mission, start by moving your base of operations over to the right side, as it makes a far easier-to-defend position. From there, you are going to build up your army. For starters, since we only have one crystal, the extra Mana is pretty valuable. So, use your Grand Magic spell to give you that Mana boost. Now, summon an Elf to help gather Mana, and get a Charon and a Morning Star on the board. Fully level them both as quickly as possible. Go get Charon to scoop up the Runes you left behind. You will also want to get a Ghost building Obelisks. This will require that you build two more Runes, but it will make your base extremely secure.
You desperately need to have some Homunculi ready to defend your base make sure you upgrade their Rune so that you have access to Psychic Storm. Have your Charon positioned so that you can see your enemies approaching, that should give you enough notice to get your Homunculi into position. You are going to have to place those Psychic Storms thoughtfully, as they are the only thing keeping your base safe until your Morning Star is ready. Once you have one Morning Star down, keep making them.
Once you are at this point, you should have multiple Obelisks built as well. So, the danger is, more or less, over. Just keep creating Morning Stars and start to gradually push into the section below once you have four (leave two to defend your base, and use the other two as a unit to clear Runes and enemies). You should be able to easily clear this stage at this point, just don't get reckless.
Do keep in mind that you can only pull Mana from the one crystal to complete the mission, so you can't afford the mana loss if a Morning Star dies. Be quick to retreat to the base and heal!
Fourth Day 4: Summoning Grimlet
|
Victory Condition |
Endure Thirty Minutes for summoning Grimlet |
|||
|---|---|---|---|---|
|
Mission |
Destroy four enemy Runes |
|||
|
Enemy Units |
Blobs, Homunculi, Golems, Chimera, Gargoyles |
|||
|
Reward |
3 Coins |
Mission Reward |
1 Coin |
|
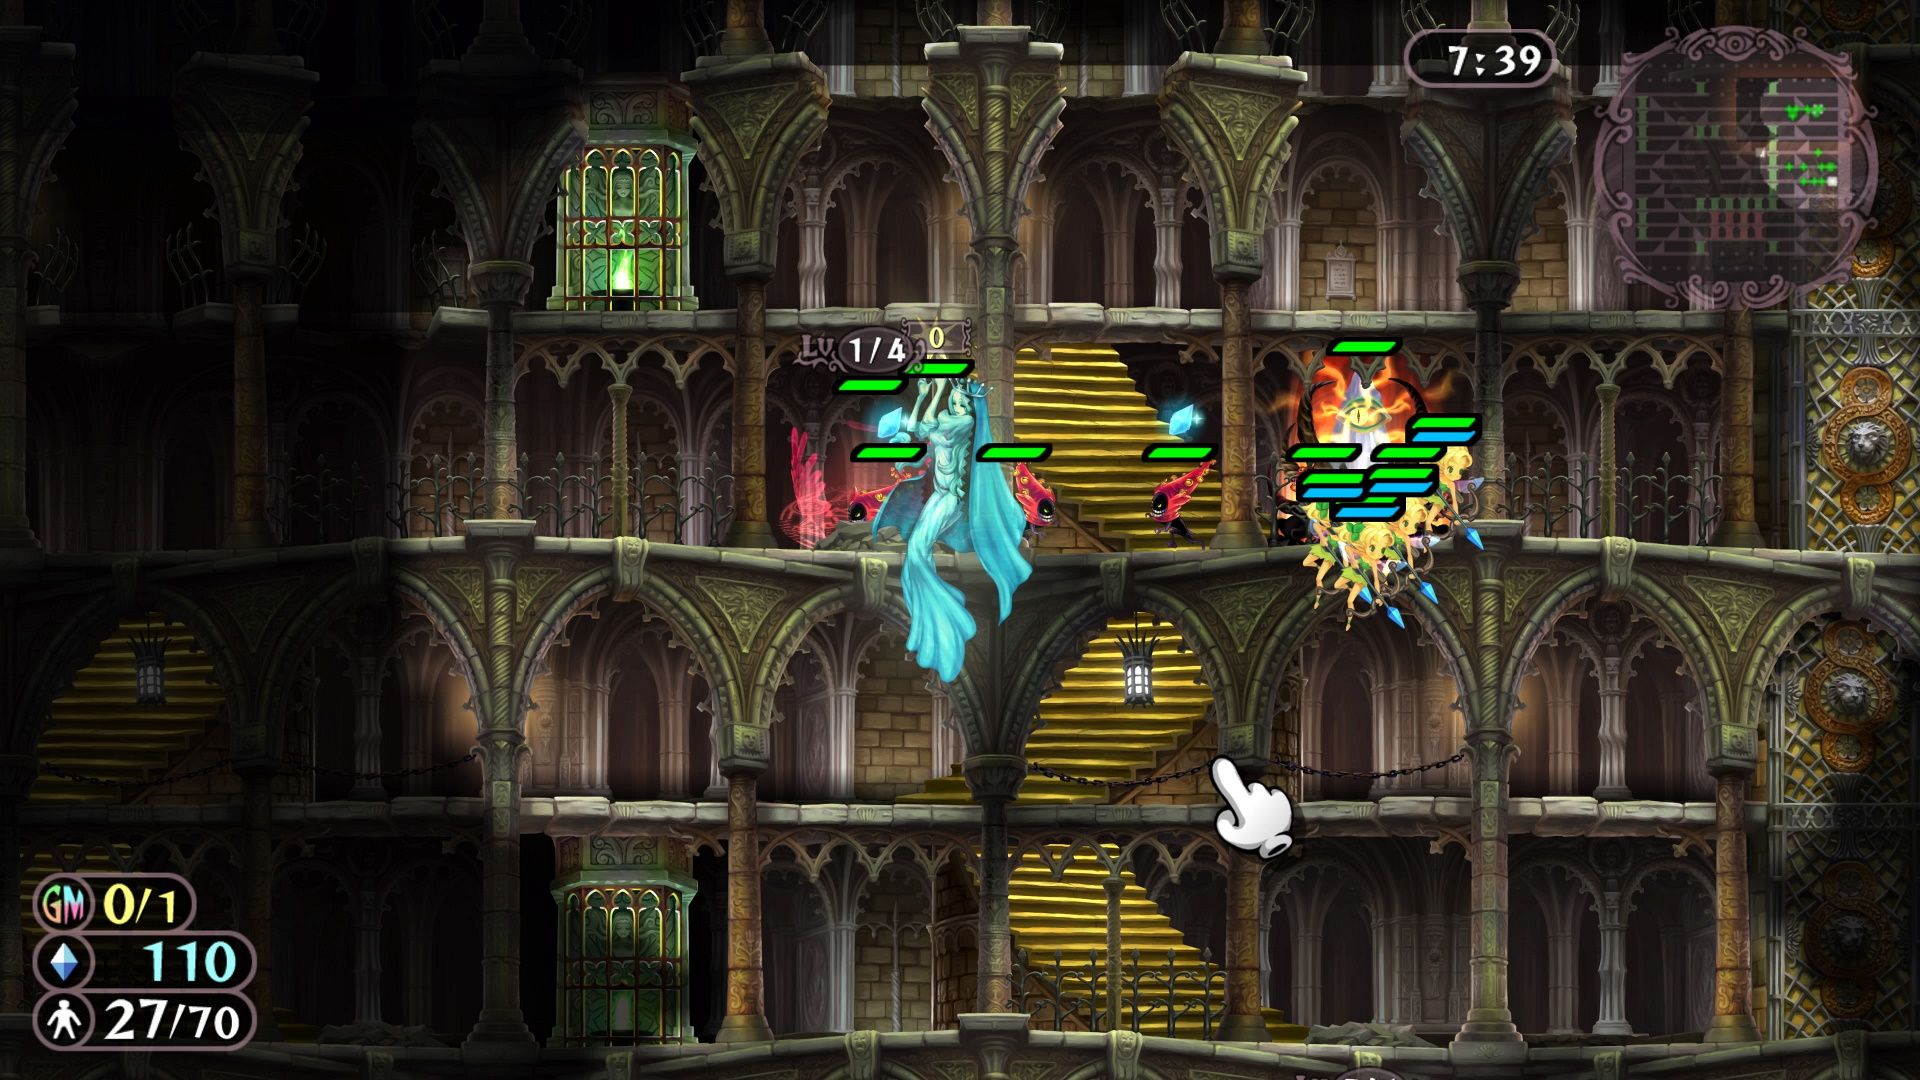
If you handle this level poorly, you will find that it is a horrifying battle, that will push you to your limits, but if you nail it, it may actually be the easiest battle in the game. You see, the primary hurdle here is, naturally, the Homunculi, but if you get going fast enough, you can completely nullify them. So, right from the beginning, use Grand Magic to give you that Mana boost. Now, build the Rune for building Obelisks and three Hallow Gate Runes. Yes, three. Have one of them leveling and the other two producing Ghosts and Phantoms. You want twelve Ghosts, and as many Phantoms as you can make (once you are done creating ghosts, all three of those Runes should be making Phantoms). Here are the next steps, pause time so that you can do all of these things simultaneously...
- Send (at least) three Phantoms to start taking out the Gargoyles near the crystal to the northwest
- Send five Ghosts to the northwest crystal
- Send five Ghosts to the crystal in the southwest corner of the map
- Build a Charon Rune next to the crystal in the southwest corner of the map (and fully level it up while having it make two Charons)
Now, from here, you are going to have the two remaining Ghosts to start building Obelisks behind your Phantoms, and you are going to send all the Phantoms you are creating up to join rampaging Phantoms you have already sent upward. You will very quickly overwhelm all the units above with your swarm of Phantoms, and what damage they take from Homunculi will be quickly healed by the Obelisks.
Now, with those two Charons we told you to build, gather five Phantoms in each, and fly them over to the top right part of the map. Unload them, and have them clear out the troops up here, which will include a Chimera. Don't worry, your ten Phantoms will kill it effortlessly.
If you take too long, the Chimera will burst through the wall at the 10-minute mark.
Fourth Day 5: Defense
|
Victory Condition |
Protect Lillet and Margarita's Initial Runes (Fair Ring and Hell Gate) Destroy all of the Archmage's Runes |
|||
|---|---|---|---|---|
|
Mission |
Win using only the starting Runes |
|||
|
Enemy Units |
Blobs, Homunculi, Golems, Chimera, Gargoyles |
|||
|
Reward |
4 Coins |
Mission Reward |
5 Coins |
|
This is another stage where the mission makes things very interesting. However, despite the Archmage having a Dragon in his roster, and your only attacking units being the Imp, Fairy, and Demon, this battle is still quite winnable if played correctly. It goes without saying that you need to upgrade every skill in the Fairy Ring and Hell Gate skill tree. Also, make sure those silver-bordered permanent skills have all been acquired. This should mean that your maximum unit capacity is at 70 for this battle.
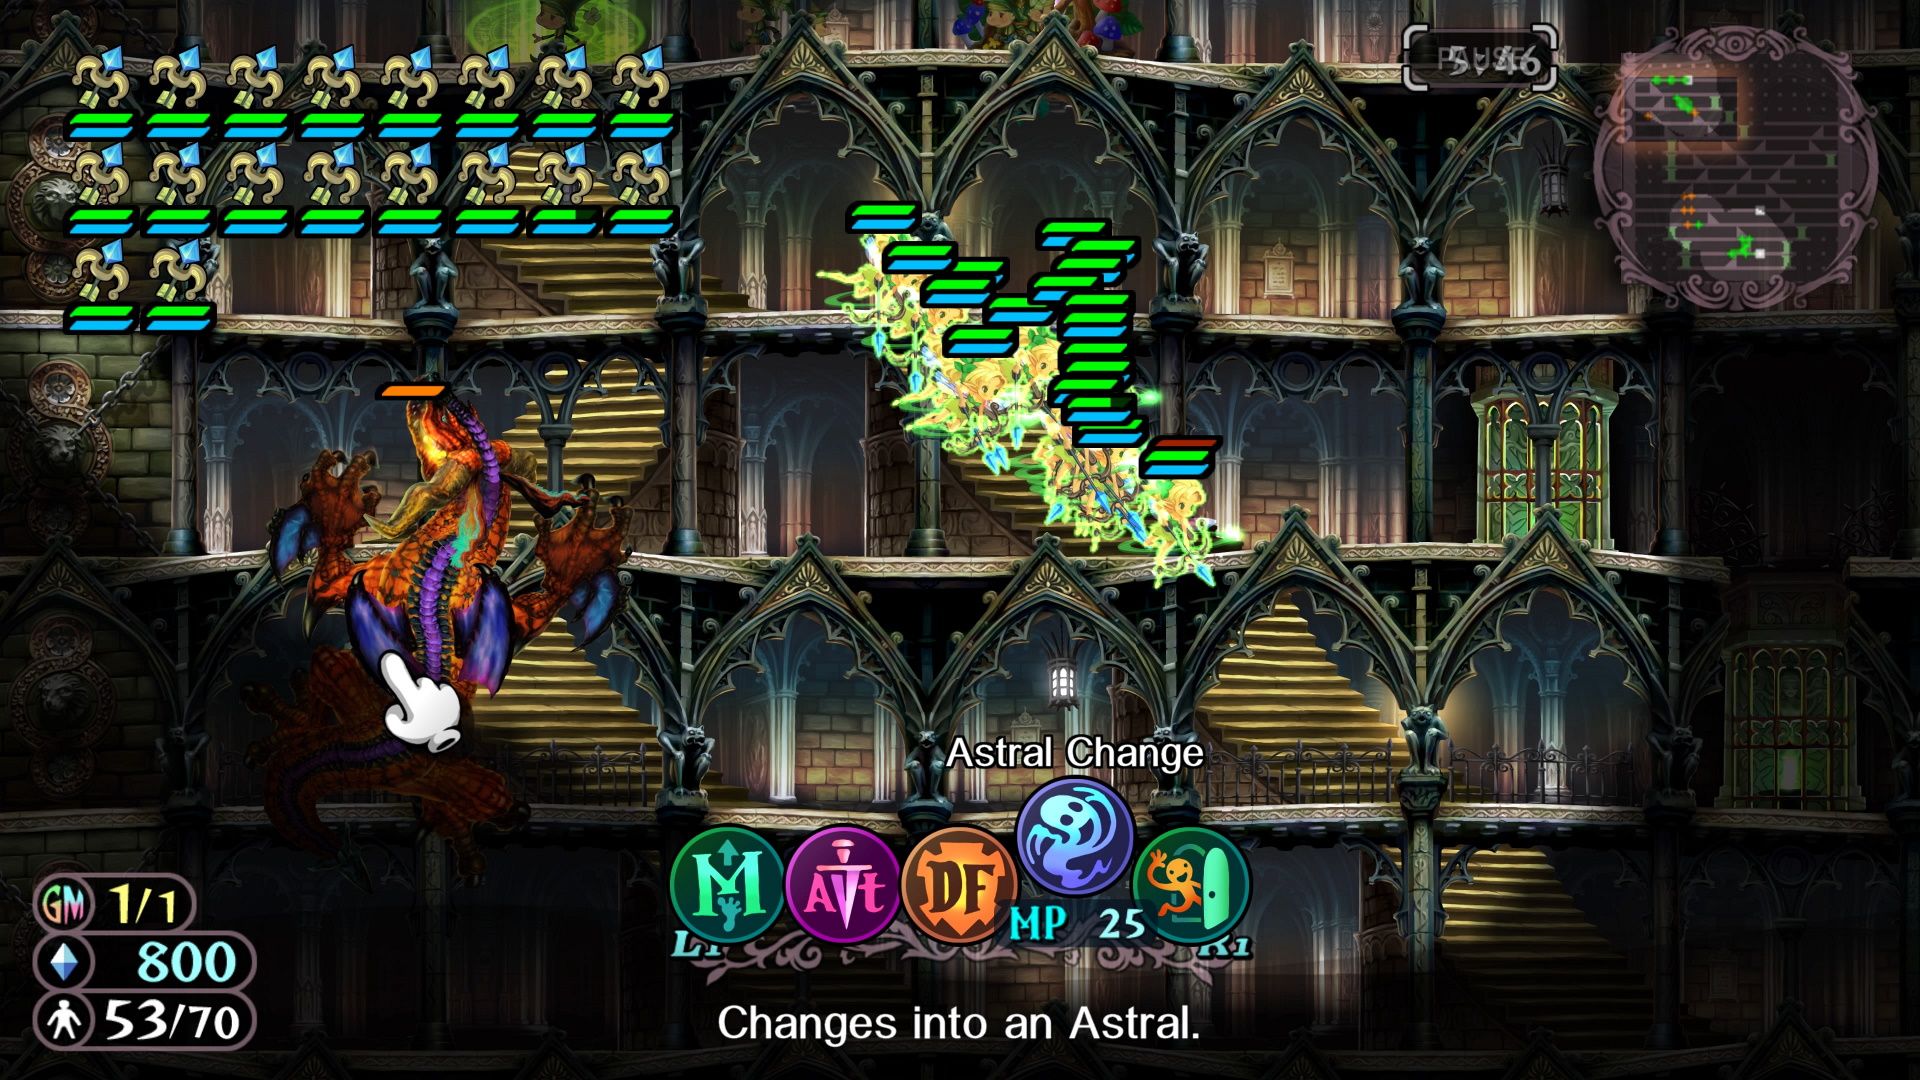
Once the stage starts, immediately upgrade the Fairy Ring and Hell Gate Runes to level 5. Produce two more Imps as well so that you can have a full five gathering for you. Now, start producing Fairies. Don't stop making Fairies until you have twenty of them. Do the same for the Demons. Remember, you can't put any more Runes down if you want to complete the optional mission.
Once you have three Demons, start moving them upward, zigzagging as they go, taking out the Guardians and Runes as they encounter them. Travel to the right and take out the nearby Alchemy Rune. While those Demons are out tearing stuff up, make sure you are creating more of them. You will want some to defend your base. Slowly work your attacking unit of Demons up to your Fairy units.
Never stop making Demons! The only reason to stop producing Demons is because you ran out of unit space.
Once you are getting close to having made close to twenty Fairies, a Dragon should be showing up to confront them. The screen shaking is your cue. Once it arrives, select all your Fairies, and have them all Astralize. Then swarm the Dragon. You should kill it without a single Fairy dying. Have the injured Fairies group with the Elves, so they can get healed. Once they are all fully healed, send them down the left side of the map so that they can destroy the Dragon's Rune.
At the same time, you should still be working your way around with that group of Demons. If they encounter a giant swarm of demons and golems, use your Mana Burn Grand Magic spell to wipe the enemies out. You should be arriving at the Glamour base around this time, have the Elves heal these Demons, then send them back down. Now, you can start attacking with all your Demon units, you should have a pretty healthy amount at this point. Moreover, there should be a pretty clear path for injured Demons to make their way to the Elves (who can heal them).

