Quick Links
With the second cycle of GrimGrimoire OnceMore the game has started proper. Sure, the final stage of the first cycle was the first taste of escaping the cruel grasp of the tutorial section. That isn't to say that there won't be any more tutorials, but thankfully they are far briefer and don't make up the majority of the experience.
Alongside the lack of tutorials also come two very important aspects not present in the first cycle: missions and the Skill Tree. Missions are optional requirements that offer players the opportunity to gain some extra coins. Worry not, we'll give you all the hints you need to work your way through that content. As for the Skill Tree, well that just throws the doors wide open for customizing your army.
Second Day 1: Advocat's Test
|
Victory Condition |
Destroy all of Advocate's Runes |
|---|---|
|
Enemy |
Guardian, Devil Runes, Imps, Demons |
|
Reward |
N/A |
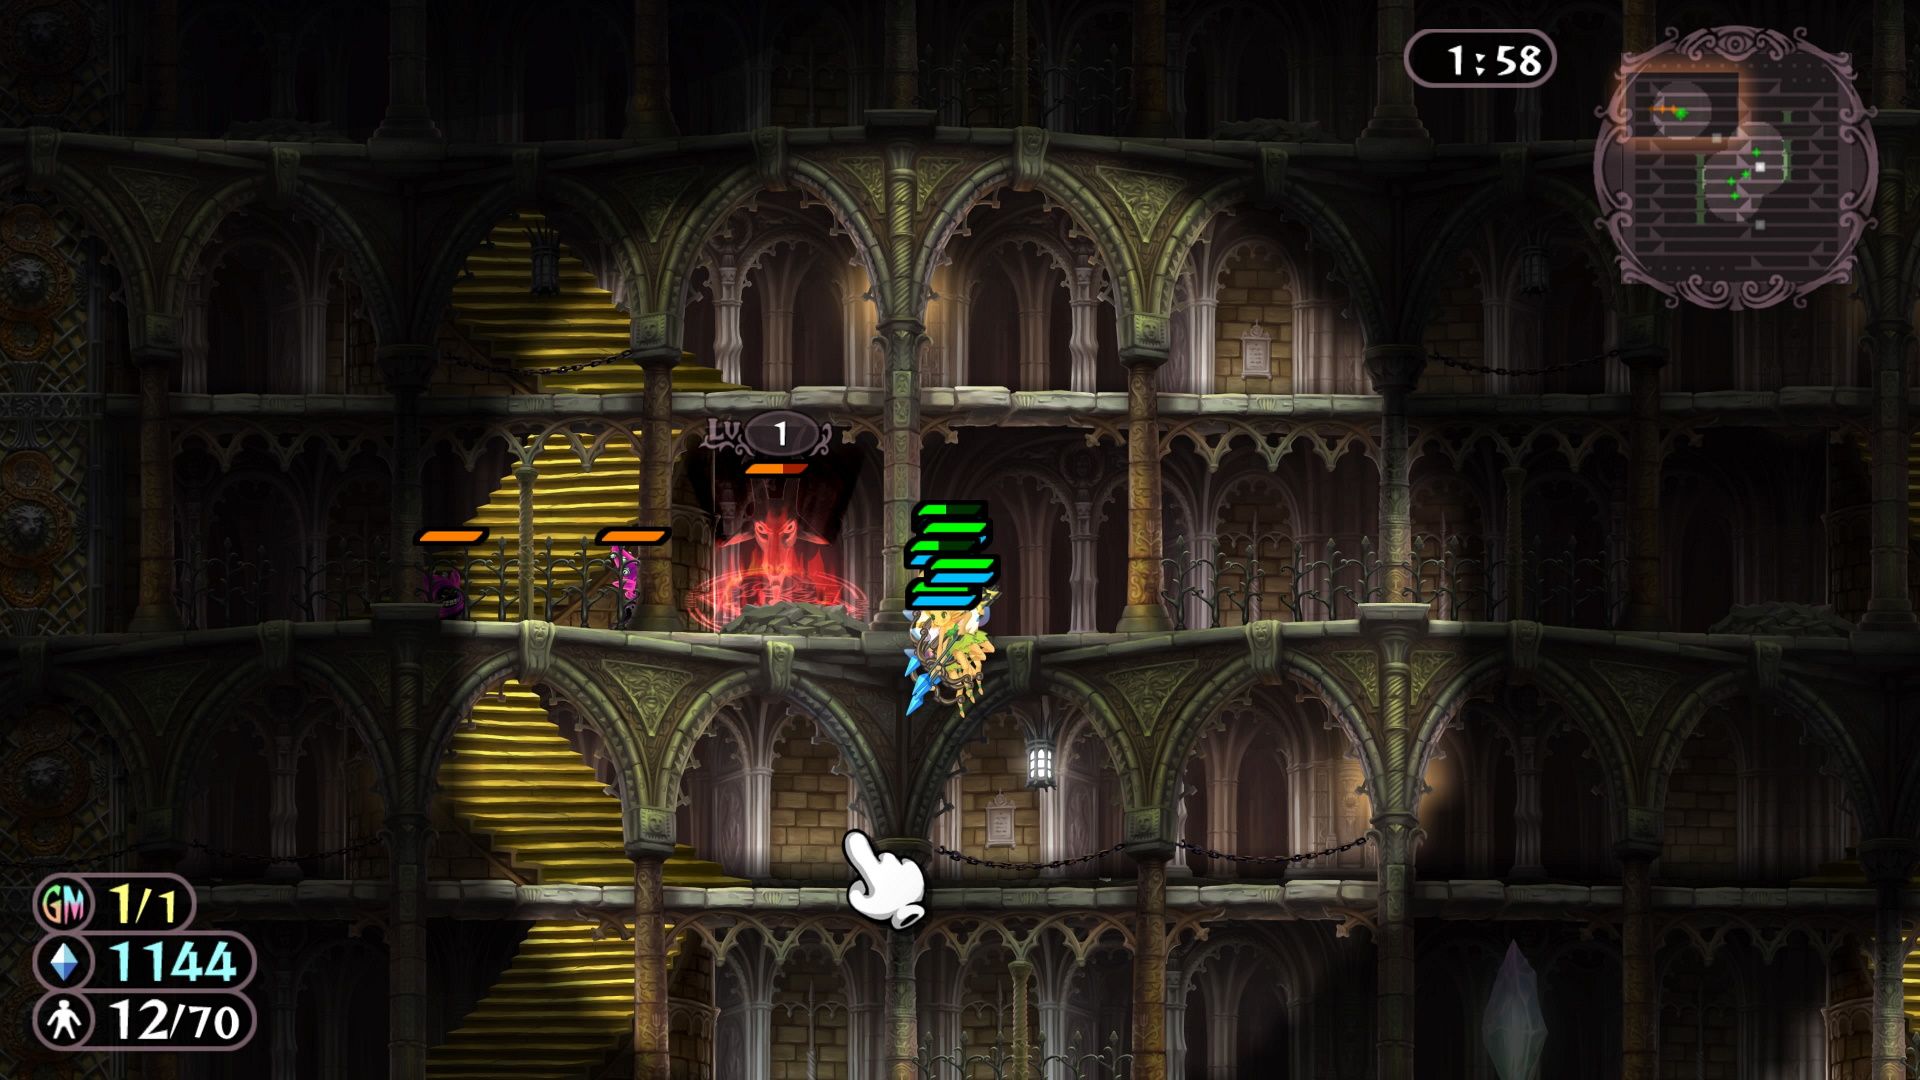
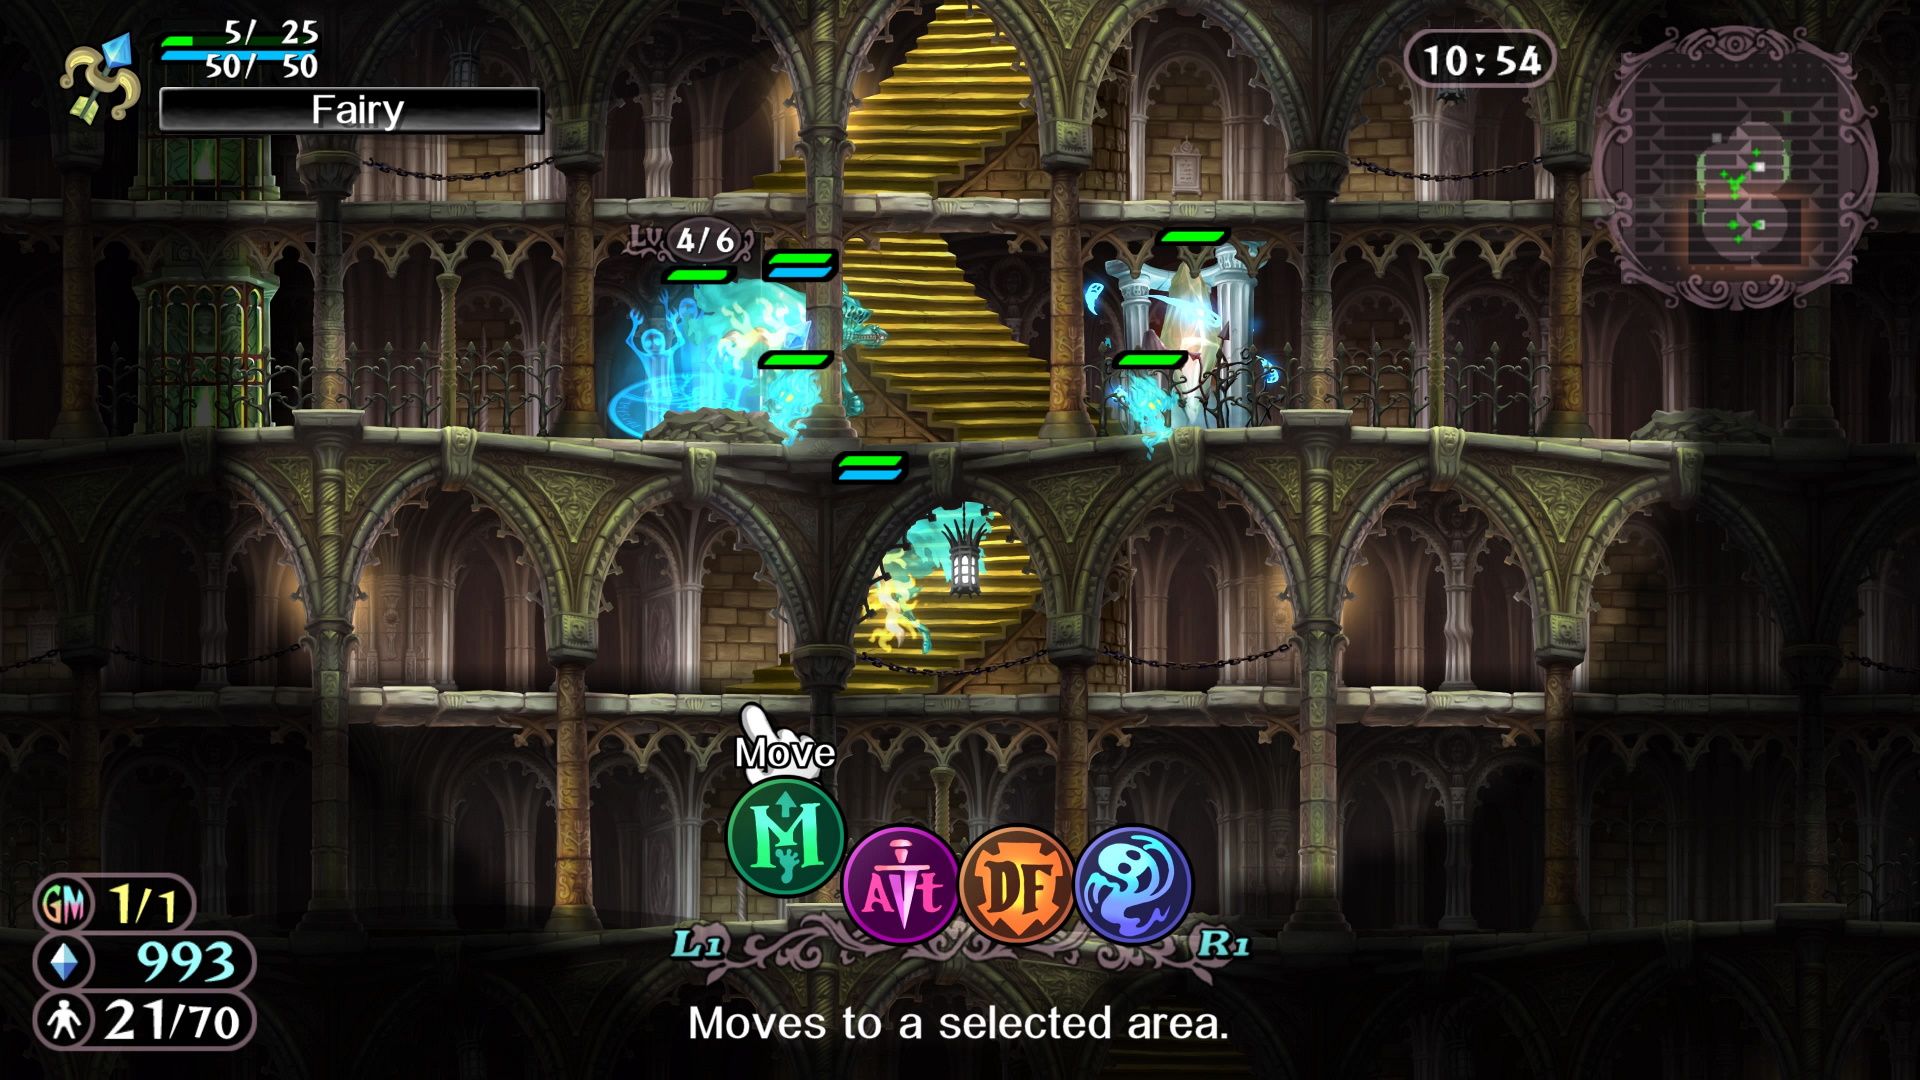
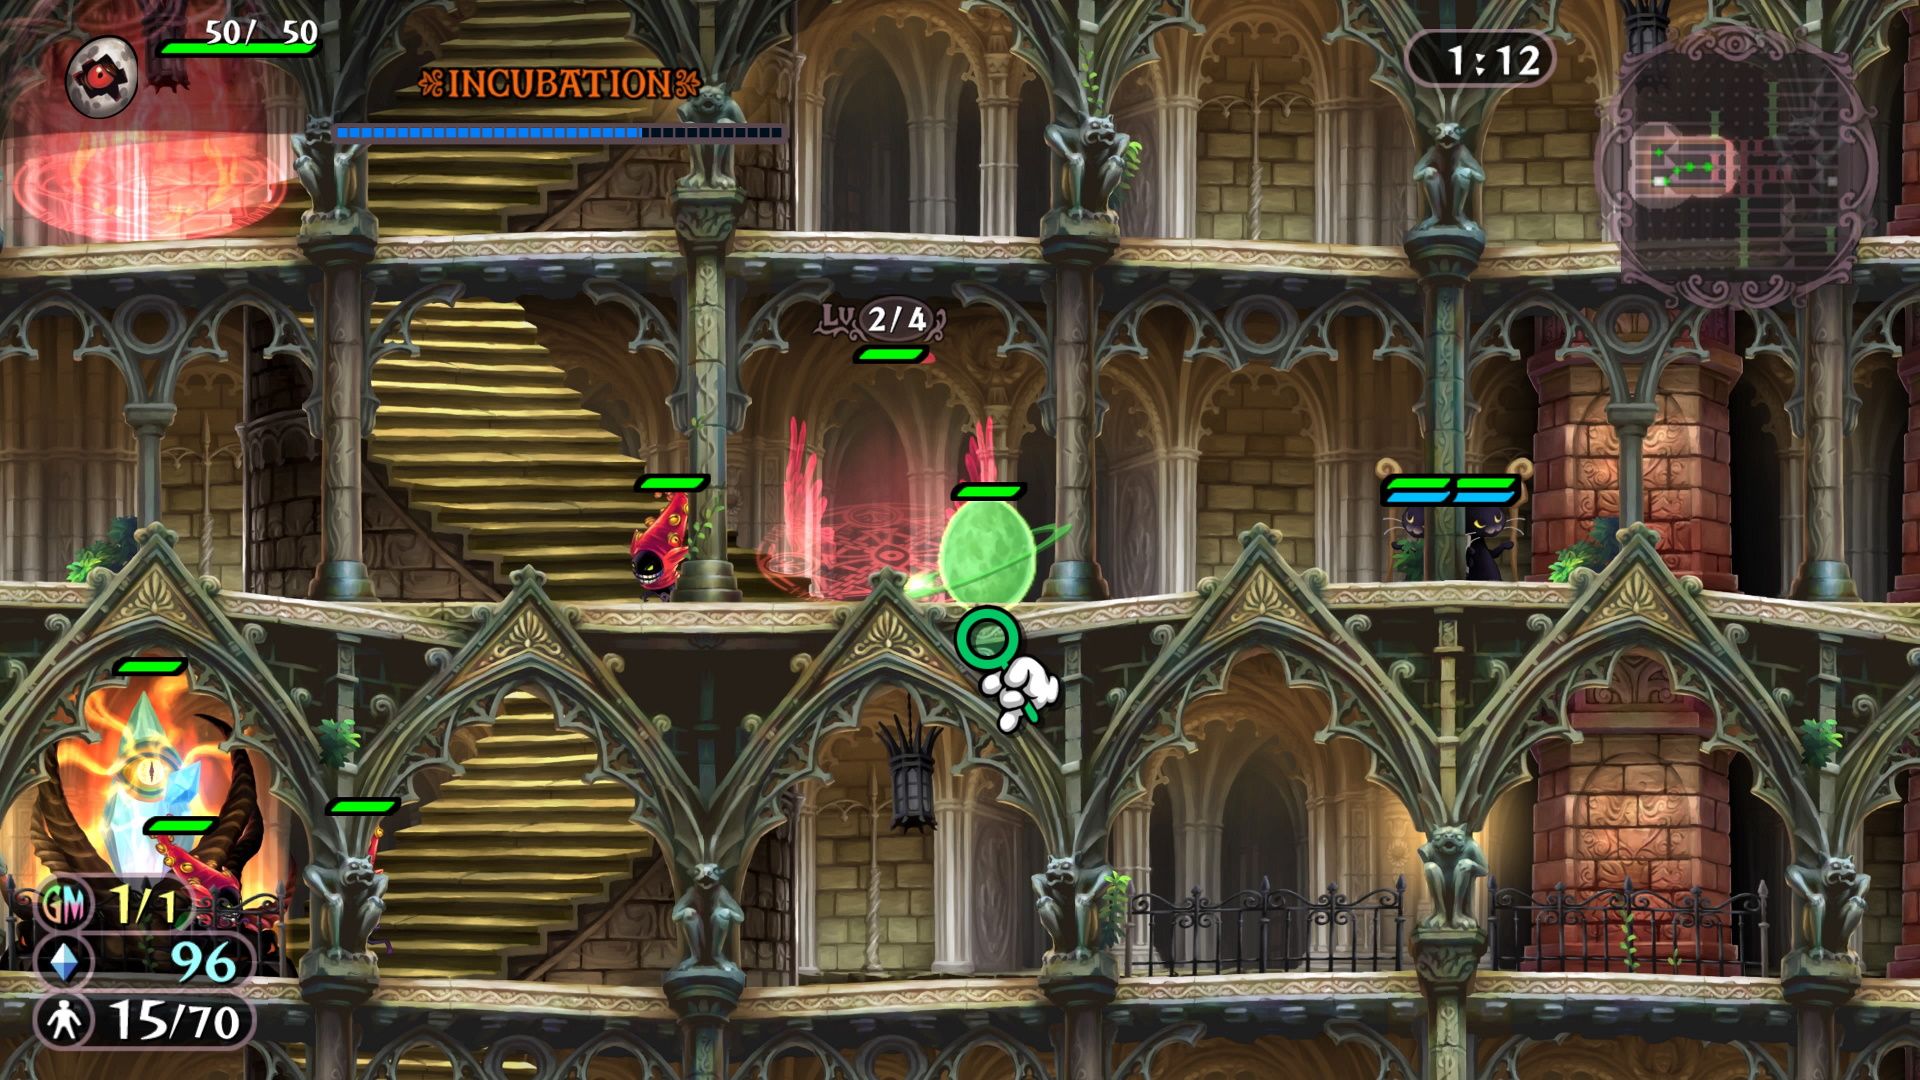
You will begin this battle with eight Faeries and three Elves. There is a Sorcery rune southeast and southwest of your starting position. Start producing elves, and claim the crystal in the starting area (once you have five elves, level the Fairy Ring rune up so that you can start producing Fairy units as well). Take your eight Faeries, and send them southeast. Have them clear out the two Guardians and the Sorcery Rune. Beside the crystal, place a Hades Gate so that you can summon Ghosts and Phantoms. Summon one Ghost and then level the rune up. Capture the crystal with the Ghost, and summon five Ghosts and five Phantoms (alternate between the two).
The Sorcery Runes are located on the four corners of the arena (roughly). There are a number of Guardians spread throughout, and Advocate will consistently be summoning Imps. There will also be a few Demons kicking around. These guys are very strong and will demolish Faeries, but they aren't nearly as effective against a group of Phantoms. Guardians, on the other hand, are pretty effective against Phantoms but will fall pretty quickly to Faeries. So, the strategy is to have your group of Fairies take out Guardians, and then use a group of Phantoms to take out Imps and Demons.
Second Day 2: Advocat's Practice
|
Victory Condition |
Destroy all of Advocate's Runes |
|||
|---|---|---|---|---|
|
Mission |
Summon 2 Dragon Eggs |
|||
|
Enemy |
Dragons, Grimalkins, Imps, Skullmages, Demons, Guardians, 2x Sorcery Runes, 2x Necromancy Rune |
|||
|
Reward |
8 Coins |
Mission Reward |
2 Coins |
|
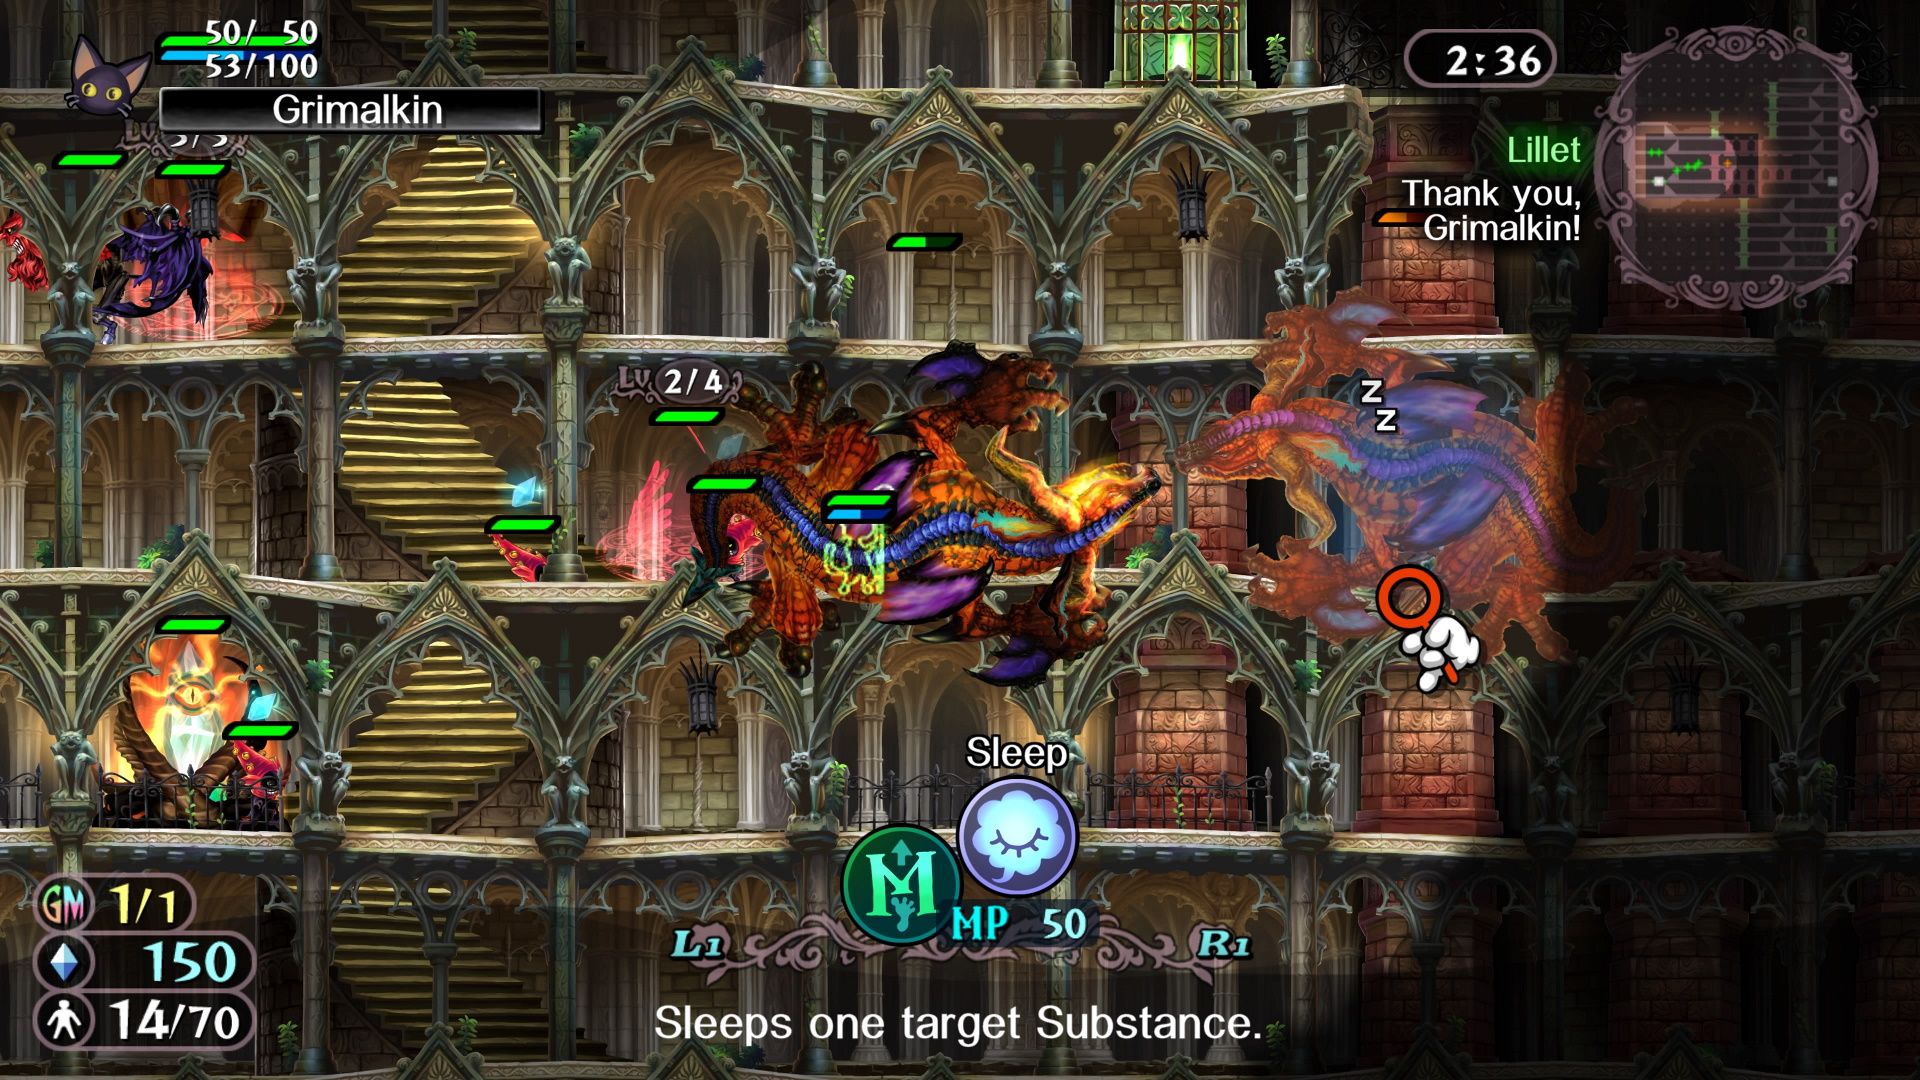
This stage isn't so bad. You are going to have a Dragon come at you from the right side of the screen. You aren't going to have a ton of time before the Dragon gets to you, however, you do start with two Grimalkins. So, position your Grimalkins on the right side of the stage, and have your Imps start to collect Mana from the crystal. Summon a few more Imps to help gather while you are at it, and level up the Hell Gate. Level up the Chaos Nest and summon a Dragon egg so that you can get a Dragon of your own as quickly as possible. Once the Dragon egg arrives, immediately hatch it. By the time the Advocat's Dragon gets to you, yours should have already hatched. Put the enemy Dragon to sleep with your Grimalkin, and then sick your Dragon on it. You will also take out a bunch of enemy troops in the process.
Now, send your Dragon to the right alongside a couple of Demons and a Grimalkin. You fight off a few more Demons, Imps, and Skullmages once you get to the right side of the stage. There is a crystal here. You can put down a Fairy Ring rune to summon Elves and collect Mana while also using the Elves to heal your Dragon. Send your Dragon and Demons up north and take out the Necromancy and Sorcery Runes. At this point, you should have enough Mana to summon another Dragon. Even if they don't actually come in handy, this is necessary for the mission requirement.
Now head back south, have your Elves heal your troops along the way, and have your Dragon and Demons take out the runes at the bottom of the screen. The enemy will have a Dragon waiting for you at this point, just put them to sleep with that Grimalkin you brought with you. Clean up the remaining enemies and you will have completed this stage.
Second Day 3: Lab Clean-Up
|
Victory Condition |
Destroy all of Advocate's Runes |
|||
|---|---|---|---|---|
|
Mission |
Substantiate and attack five Astrals |
|||
|
Enemy |
Imps, Phantoms, Demons, 2x Sorcery Runes, 3x Necromancy Rune |
|||
|
Reward |
2 Coins |
Mission Reward |
1 Coin |
|
In preparation for this battle, you are going to want to invest some points in your units. More specifically, you will want to buff up your Unicorns and Fairies. Making it so that your Elves can heal is also useful. Lastly, absolutely make sure to purchase the Astralize skill for your Skullmages, as that is a requirement for the mission.
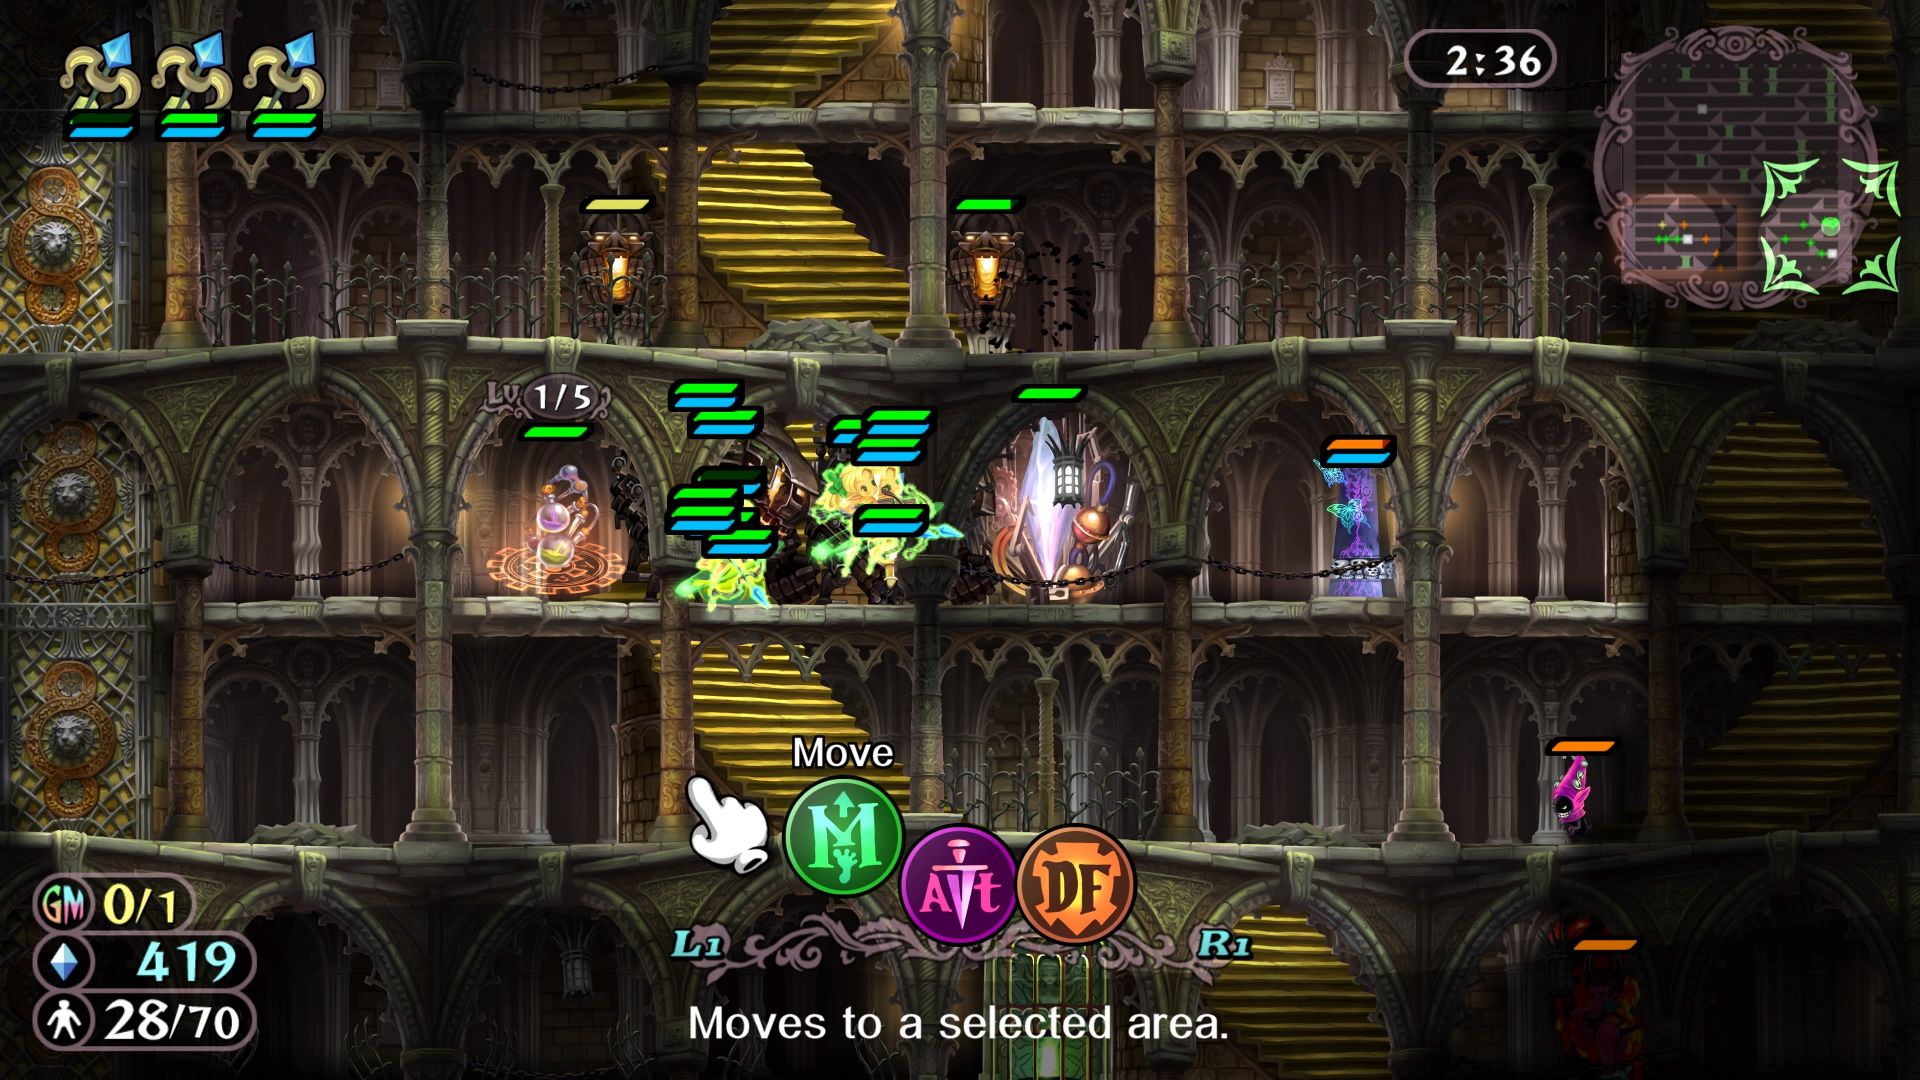
There are five Runes in total that you need to take care of. All the runes are positioned above you. The two sorcery runes are on the right side. So, they are just a bit above where you start the map. You start with three Unicorns, three Skullmages, and four Faeries. There is also a group of Alchemy units (consisting of four Slimes, three Golems, and a Homunculi) sitting on the left side of the screen. Run a unit over to them, and you will acquire these units for your army.
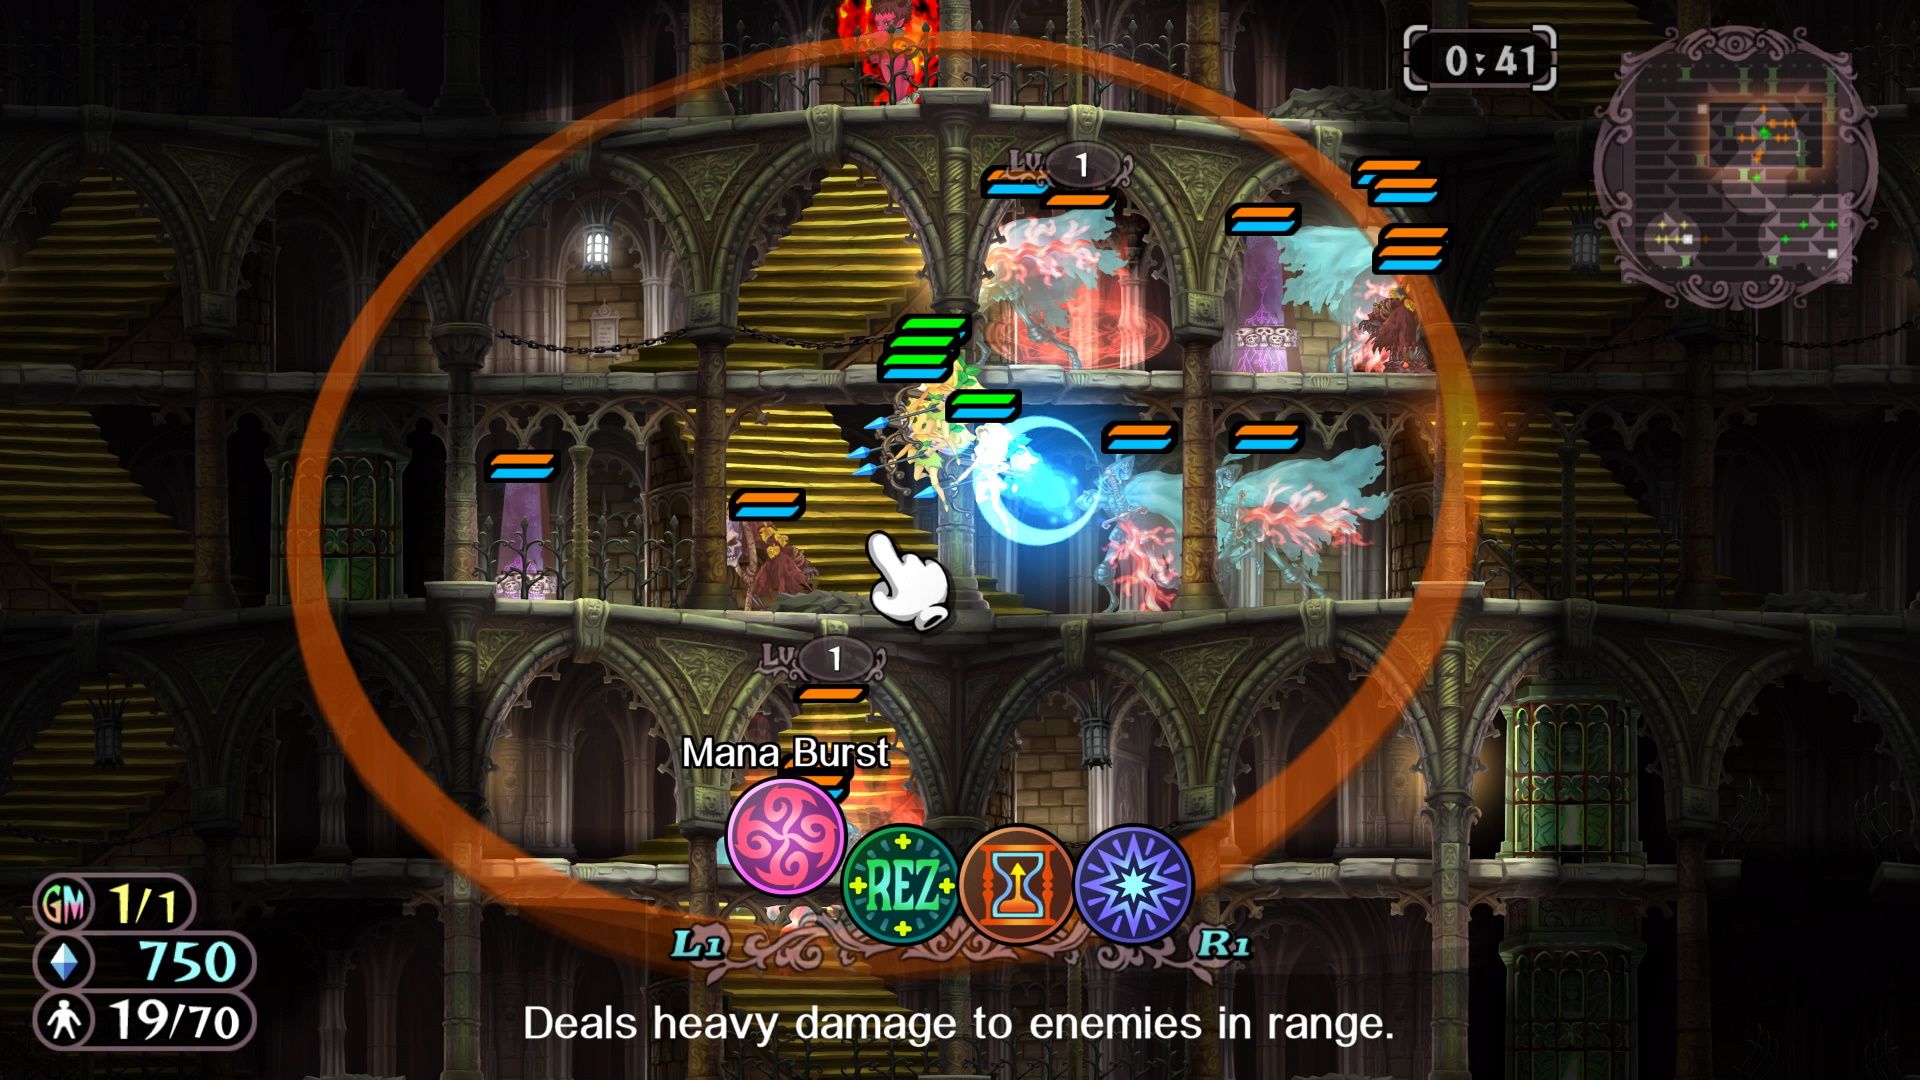
You will now have access to Grand Magic. So, you can run your starting units right up that staircase on the right, straight to the sorcery Rune, attack it, wait for all the other troops to start defending it, and then use the Mana Burst Grand Magic spell to take out the majority on this side of the map. Before you do this, put down a Wicca Rune, and level it up. Your Faeries and Unicorns will be strong enough to clear out the remaining troops on the right side. Just make sure to take out the Necromancy rune in the top right corner.
Now there will only be Necromancy units left over, and they will all be bunched up in the top left side of the screen. This is when you start pushing into that territory with Skullmages and Unicorns. You can have the Golems back you up, as they pack quite the punch from a range. Make sure to level up the Homunculi enough so that they have the Psyonic Storm ability. This will make clearing out groups of enemies far easier. Just keep pushing until you have destroyed both Necromancy seals on the left side of the screen.
Second Day 4: Opalneria's Sealed Room
|
Victory Condition |
Destroy all of Advocate's Runes |
|||
|---|---|---|---|---|
|
Mission |
Attack 8 enemies with a Morning Star |
|||
|
Enemy |
Imps, Phantoms, Demons, Charons, Guardians, Obelisks 1x Sorcery Runes, 3x Necromancy Rune |
|||
|
Reward |
3 Coins |
Mission Reward |
1 Coin |
|
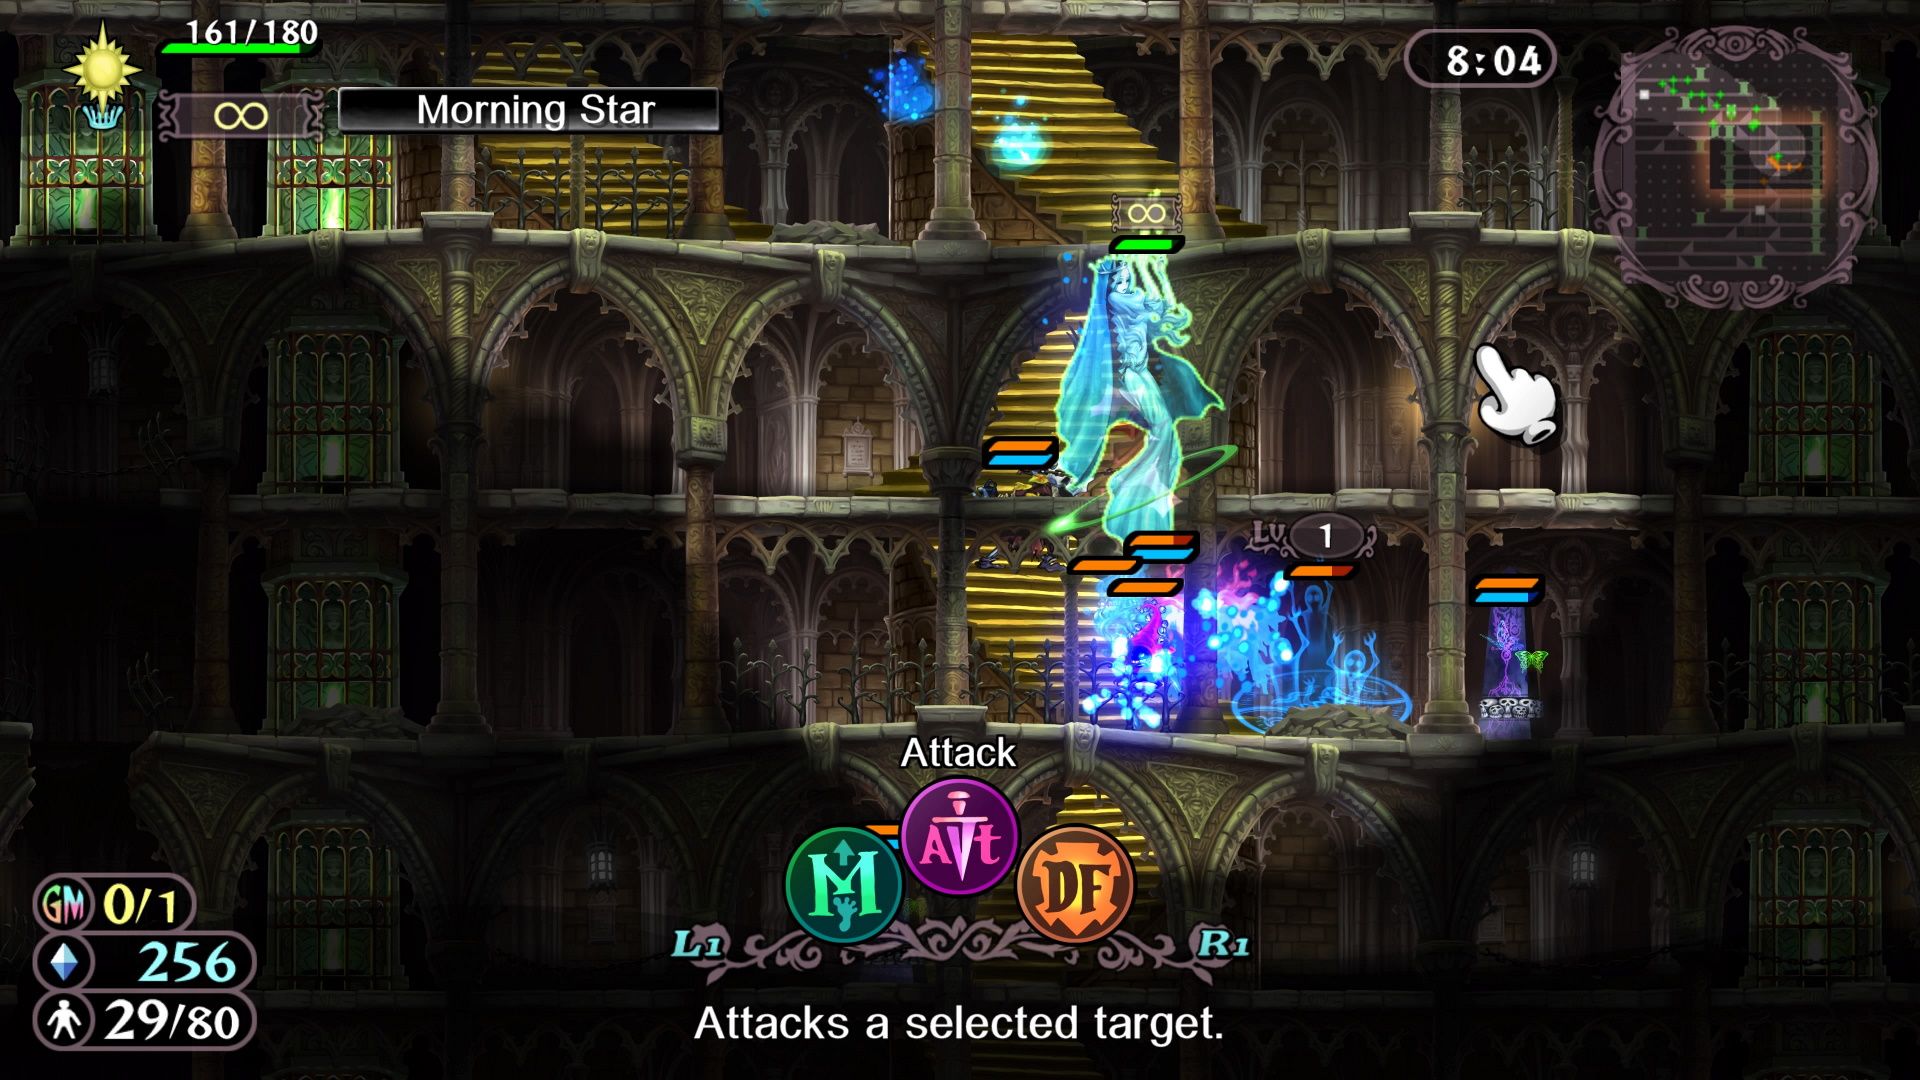
You'll start this battle with a Grimalkin, a Demon, two Fairies, two Imps, and two Elves. You will also start with a Titania Rune. Your goal here is to get your Morning Star up and running. This is an incredibly powerful unit. So, your job is going to be to hold out long enough to get her on the battlefield and ready to go. You will be able to summon Obelisks through the Purgatory Rune. If you have a Morning Star unit backed up with Obelisks, you will be nigh invulnerable.
This is a great stage to use your Mana Synthesis Gran Magic on, as it will help you get your Morning Star out early while also helping you level them up.
Your Morning Star (paired with an Obelisk building Ghost) will be your attacking unit, but make sure you build up some defensive units to help secure your base. A few Demons is all you will need to fend off the Charons that will come bearing Imps.
There are three enemy runes to the south. A Necromancy Rune and a Sorcery Rune on the southwest side, and a lone Necromancy Rune on the southeast side. There is also a Necromancy rune to the east. The bottom part of the map is lined with Obelisks, however, if you are setting up a steady line of your own behind your Morning Star unit, then they will still be able to take care of all of these units pretty effortlessly. Partway through the stage, you will be able to make a second Morning Star unit, pair them with another Ghost and have them advance from the other side of the screen.
Second Day 5: Chaotic Assault
|
Victory Condition |
Destroy all enemy Runes |
|||
|---|---|---|---|---|
|
Mission |
Summon 2 Talismans |
|||
|
Enemy |
Imps, Phantoms, Demons, Dragons, Homunculi, Charons, 3x Sorcery Runes, 3x Necromancy Rune, 2x Alchemy Rune |
|||
|
Reward |
3 Coins |
Mission Reward |
1 Coin |
|
This is another stage where you have a secondary set of troops. You just need to get one troop to them, and they will all join your cause. You will start with four Grimalkins, five Elves, and six Fairies in your base. The secondary set of troops contains three Phantoms and two Ghosts. Make sure to have your Phantoms and Fairies leveled up for this battle.
There are two Necromancy runes and an Alchemy Rune directly above your starting base. On the right side, there are two more Sorcery runes and two more Necromancy runes. There is also a Sorcery Rune in between your starting base and that secondary squadron of Phantoms. You can send a Fairy down and around that area, and you will be able to claim those secondary units. Though you may end up drawing the attention of the Demon. Thankfully, three Phantoms can absolutely beat a Demon.
Once you have claimed the secondary base, get those Ghosts gathering Mana and start upgrading and producing Phantoms. If you didn't draw the attention of the Demon when you flew your Fairy over, wait until you have five Phantoms and then have them take out the Demon and the Sorcery Rune. If you drew the Demon's attention, there won't be much guarding that Sorcery rune, so just run your remaining troops over there and take it out.
Now, you will have control of the bottom half of the arena. The name of the game here is to advance slowly up the left side with a steady supply of Phantoms and Fairies. Place Talismans down as you go, to help support your troops. The big issue you are going to be dealing with is the Homunculi. There are so many of them, and they can be an absolute nightmare. So, keep your eyes peeled, and make sure to retreat if you see one coming.
A great strategy here is to fly one of your Fairies up along the side, and then use your Grand Magic to completely destroy the enemies on the left side. A Mana Burst spell will take most of them out. Then just send your stockpiled troops up to clear out the remnants. After that, you will push to the right. You are potentially going to end up tangling with a Charon and a Dragon. So, always have a Grimalkin and a Unicorn hanging out nearby as you push.

