Quick Links
The third cycle of GrimGrimoire OnceMore features more difficult challenges set to push you to your limits. You will now have access to the four different schools of magic, alongside a very healthy amount of coins. This means that you will be better able to tailor your strategies to the unique challenges on offer.
We will give you advice on how to set your army up, what units to invest your coins in, as well as information on where the enemy's troops are positioned and what specific units are likely to encounter during the battle. As you dig further into the world of GrimGrimoire these encounters will become steadily more challenging. However, we have all the information necessary to overcome those challenges.
Third Day 1: Chimera Testing
|
Victory Condition |
Destroy the Chimera Spawn |
|||
|---|---|---|---|---|
|
Mission |
Use Grand Magic |
|||
|
Enemy |
Golems, Homunculi, Chimera, Gargoyles, 2x Alchemy Rune |
|||
|
Reward |
3 Coins |
Mission Reward |
1 Coin |
|
You will start this mission with two separate bases positioned close to each other. The base located in the center of the map contains Sorcery units, and the base positioned a little above it has Alchemy units. Start gathering from both crystals right away using your Blobs and the Imps. Your goal here is going to be to push forward upward and take out the Chimera Spawner.
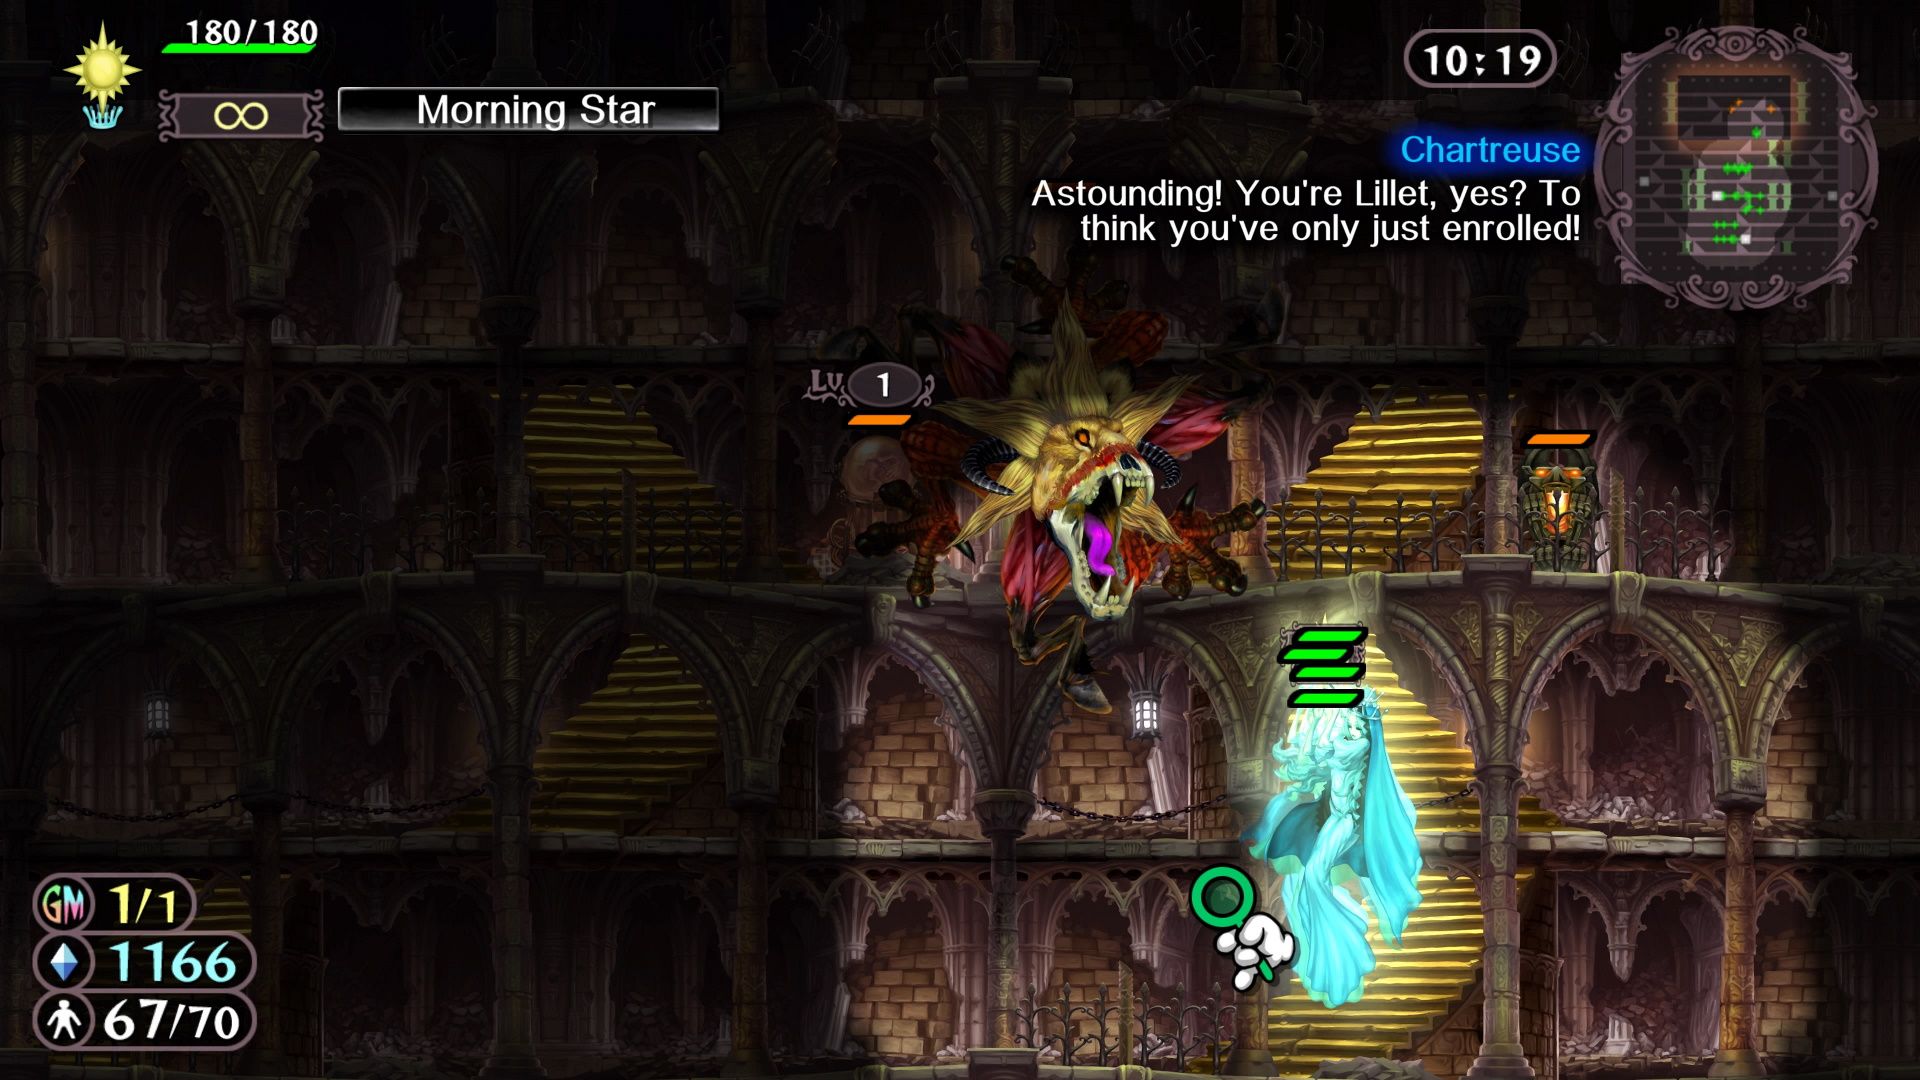
In between you and the Chimera are a bunch of Gargoyles and the ever-troublesome Homunculi. We found that the best strategy here was to build up Morning Star units and pair them with Obelisks. If you have your Obelisks and Morning Stars fully upgraded, then you can put a row of Obelisks at the top of your starting location, and a group of three Morning Stars will be virtually indestructible as they push upward.
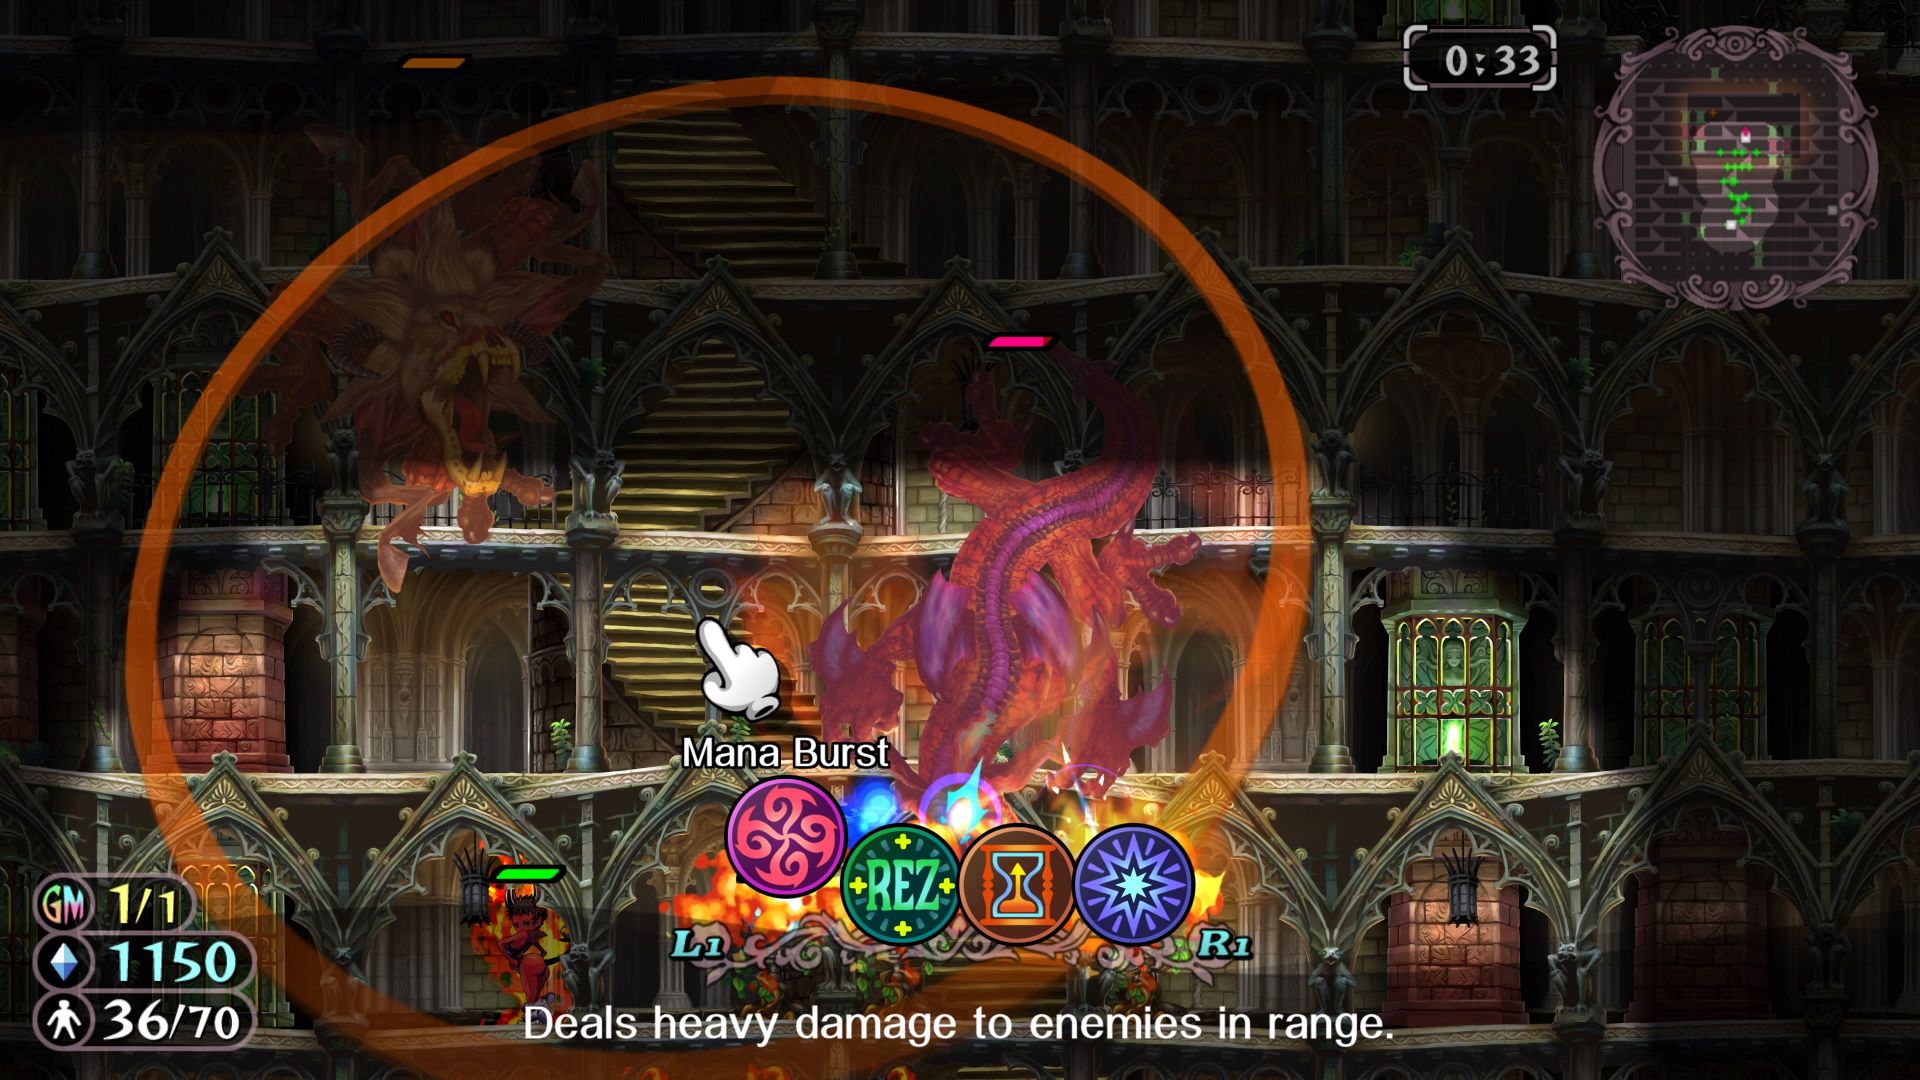
You can either use your Grand Magic here to give you the Mana you need to upgrade your Obelisks and Morning Star units fast, or you can save it and use the Mana Blast to clear a bunch of the Homunculi above. Though, if you get those Obelisks down, even if they use clairvoyance to make your Morning Star units vulnerable, they will still heal fast enough that this doesn't really become a problem.
The only goal in this stage is to destroy the Chimera spawner. This spawning device is directly north of your uppermost base. Use the Morning Star method, and you should be able to complete this mission without suffering any losses.
Third Day 2: Devil's Strike
|
Victory Condition |
Destroy all devils |
|||
|---|---|---|---|---|
|
Mission |
Win without using Necromancy Runes |
|||
|
Enemy |
Imps, Demons, Grimalkins, Dragons, Guardians, Homunculi |
|||
|
Reward |
3 Coins |
Mission Reward |
2 Coins |
|
We are assuming you want to complete the optional mission. If not, this level is an absolute breeze. Just summon Phantoms and swarm your opponents. Most of them have no way to deal with Astral units.
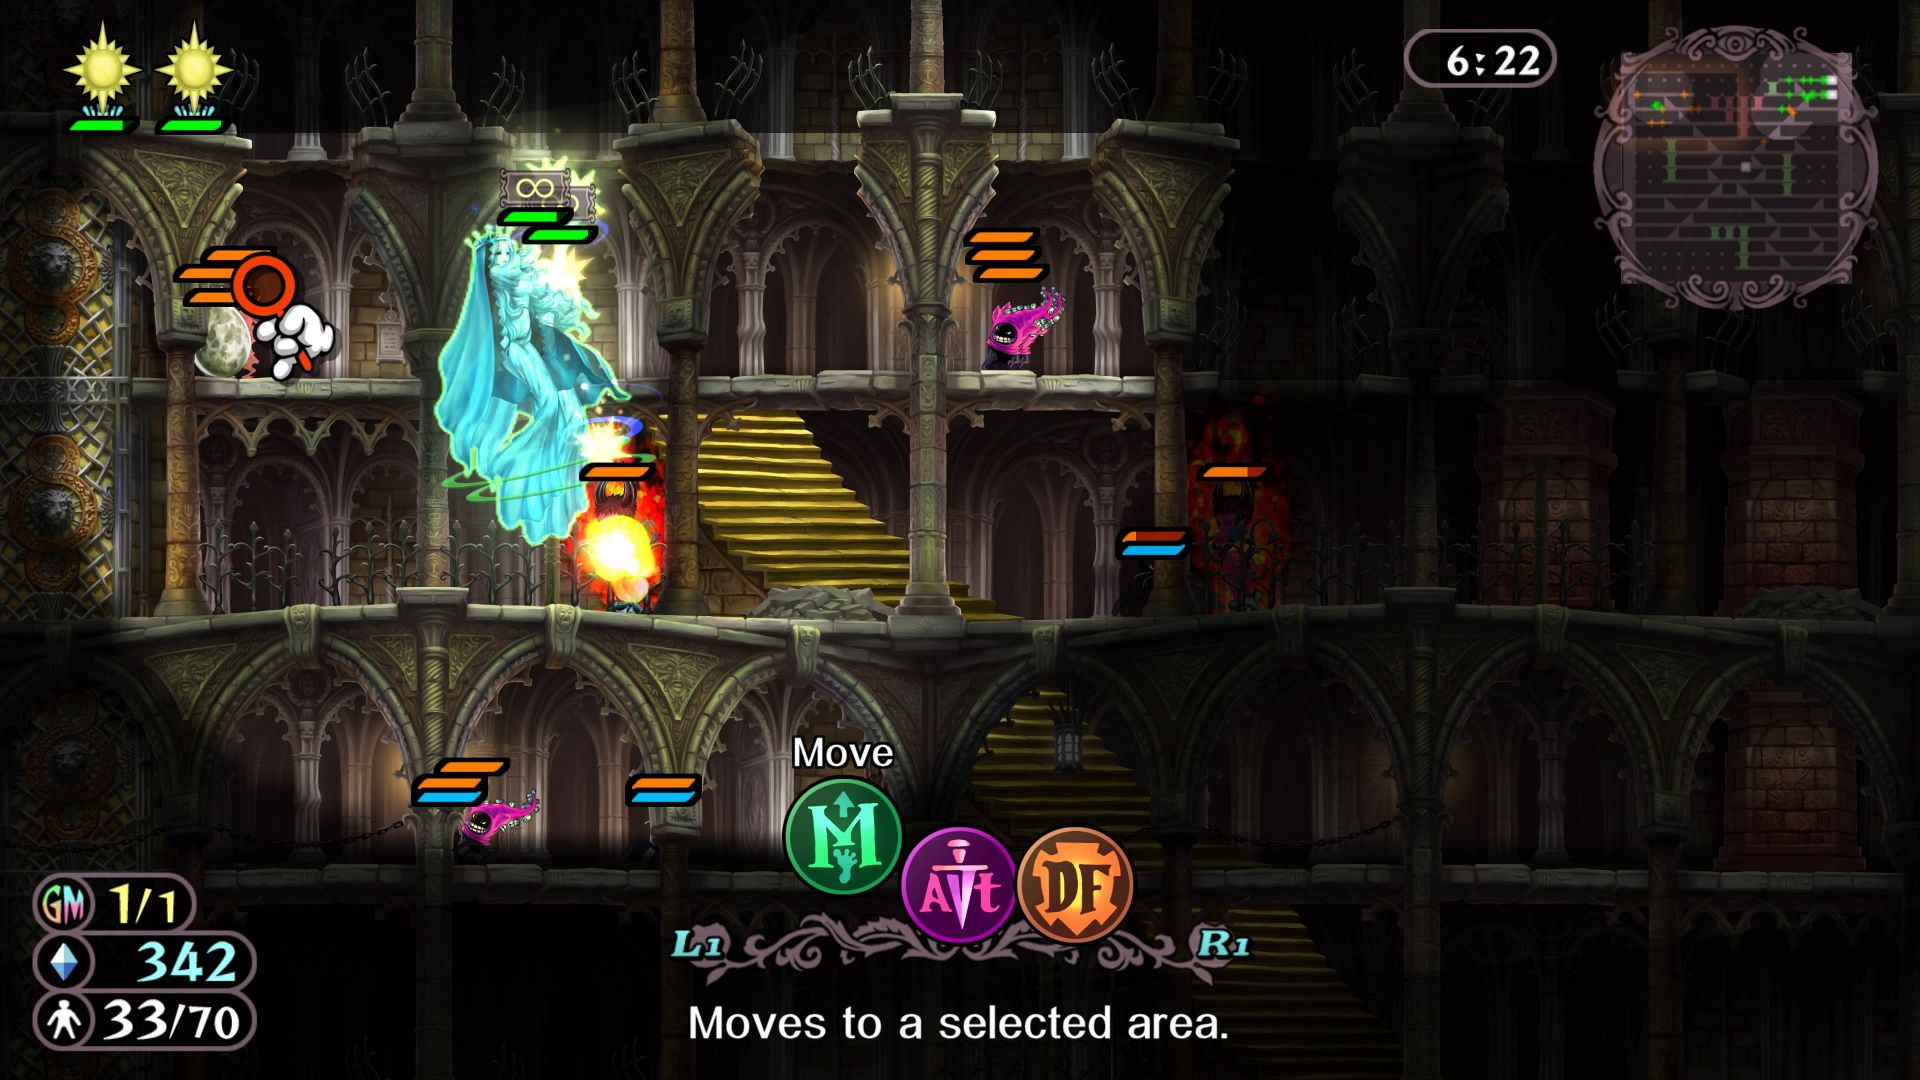
The enemy likes to rush you with imps. So, you will want to shore up your defense with a gargoyle or two while also getting some more powerful offensive units off the ground. You have the incredibly powerful AOE using Homunculi. Get their Psychic Storm up and running early. With two Gargoyles, and a Psychic Storm-equipped Homunculus, you will be able to stave off the early Imp rushes as you build up stronger units. You will then want to start building Golems. These guys are like Gargoyles, but they can move! Finally, make sure you build a Tatiana Rune. The Morning Star is a pivotal unit here.
There is a crystal in the center of the map, so if you want to build your army, you can seize it to help build your offense. Your goal here is to destroy the devils. However, something that is important to keep in mind is that all the enemy units are weak against Astral units. The only answer they have is the Humonculus' Psychic Storm attack. This means that, once again, you can make good use of the Morning Star unit in this stage.
This stage has a set number of units and no runes. So, your prerogative is to search and destroy individual units. There are two Dragons, wedged in the corners of this stage, if you get to them before they hatch you will save yourself the headache of having to battle these giant monstrosities. One of the Dragons is in the northwest corner, the other is in the southeast corner. You can fly your Morning Star over to northwest one pretty early in the battle.
Just maintain a strong perimeter, build Morning Star units to engage your enemies, and hold a few back to defend your base. Slowly, but surely, you will clear this stage.
Third Day 3: Stopping The Fight
|
Victory Condition |
Destroy all of Bartido and Advocat's Runes |
|||
|---|---|---|---|---|
|
Mission |
Only sanctify one crystal |
|||
|
Enemy |
Imps, Blobs, Guardians, Gargoyles, Demons, Dragons, Homunculi, Golems, |
|||
|
Reward |
3 Coins |
Mission Reward |
2 Coins |
|
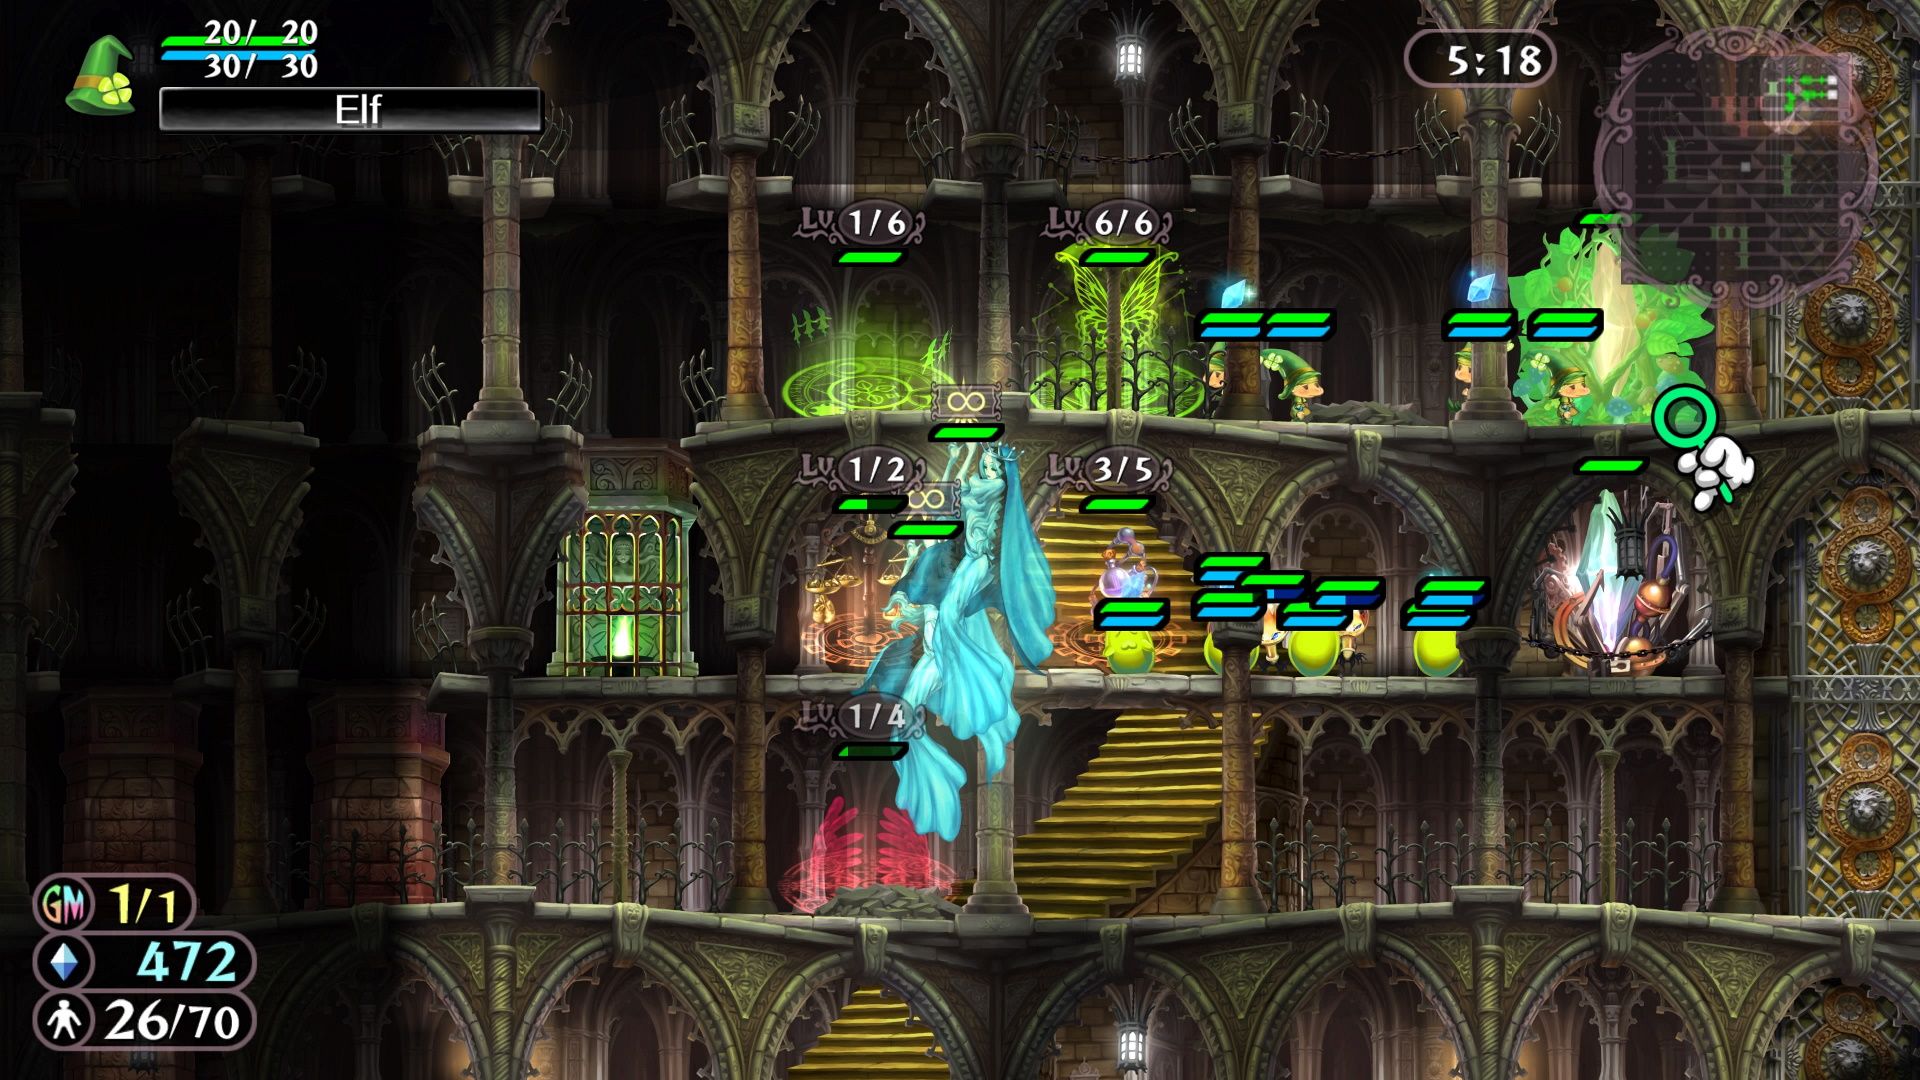
You will be given an army to begin this mission. This will include six Fairies, two Demons, two Elves, four Guardians, and four Talismans. The mission is to only use one crystal, which is a little tricky, but very doable.
At the start, you are going to have a Dragon and a Chimera attack you from the north. There are two approaches here. You can summon a Grimalkin to put these two beasts to sleep, but this will cause you to lose all of your Guardians and Talismans as the Grimalkin will just be arriving as the last turrets fall. The other method is to use Grand Magic and blast the two of them. You will still lose a few turrets, but far fewer. Now, on your left, there will be alchemy units on your left and sorcery units on your right.
While Astral units tend to be best for fighting Alchemy creatures, there are a ton Homunculi on the left. You will need to be cautious when approaching the left side. There are simply too many Homunculi to use your Phantom units, as they will get torn to pieces by their Psychic Storm attack. This leaves you with two options: you can send a Dragon or a Morning Star.
What is unfortunate about this, is you are a little tight on Mana, and both of those units are expensive. While the Dragon is more pricey upfront, they don't require as much upgrading. So, we actually think they are the more budget conscious choice. Make sure your Elves have the healing ability unlocked, and you can run them over to heal the Dragon back to full health.
As for the left side, just summon a group of Phantoms and run them through the Sorcery units sitting over there. As long as your Phantoms are fully upgraded, they will make quick work of the Demons hiding on the right. Have your Phantoms and your Dragon converge near the top of the stage. Make sure you have Grimalkins and Homunculi with you so that you can deal with the big baddies up top.
This can be a pretty tough fight, but if you play it smart you will emerge victorious.
Third Day 4: VS Opalneria
|
Victory Condition |
Destroy all of Opalneria's Runes |
|||
|---|---|---|---|---|
|
Mission |
Move three Runes with Charon |
|||
|
Enemy |
Imps, Phantoms, Demons, Dragons, Homunculi, Gargoyles, Charons, Morning Stars |
|||
|
Reward |
2 Coins |
Mission Reward |
1 Coin |
|
Before we even begin, start by dumping points into the Charon and Phantom units. You are going to be making good use of these troops throughout this stage. So, you want these units to be fully leveled up.
This stage invites you to use Charon, and they give you a perfect opportunity to make excellent use of the boatman. On the right side of the screen, you will find a dormant crystal, only defended by a few gargoyles. Up above, there are some low-level Fairy and Ghost runes. On the top right, there is a Morning star and a Charon. So, make sure you have plenty of Homunculi or Unicorns at the ready. Thankfully, you will start with a few. You begin this stage with five Slimes, four Elves, three Golems, two Homunculi, and two Skullmages.
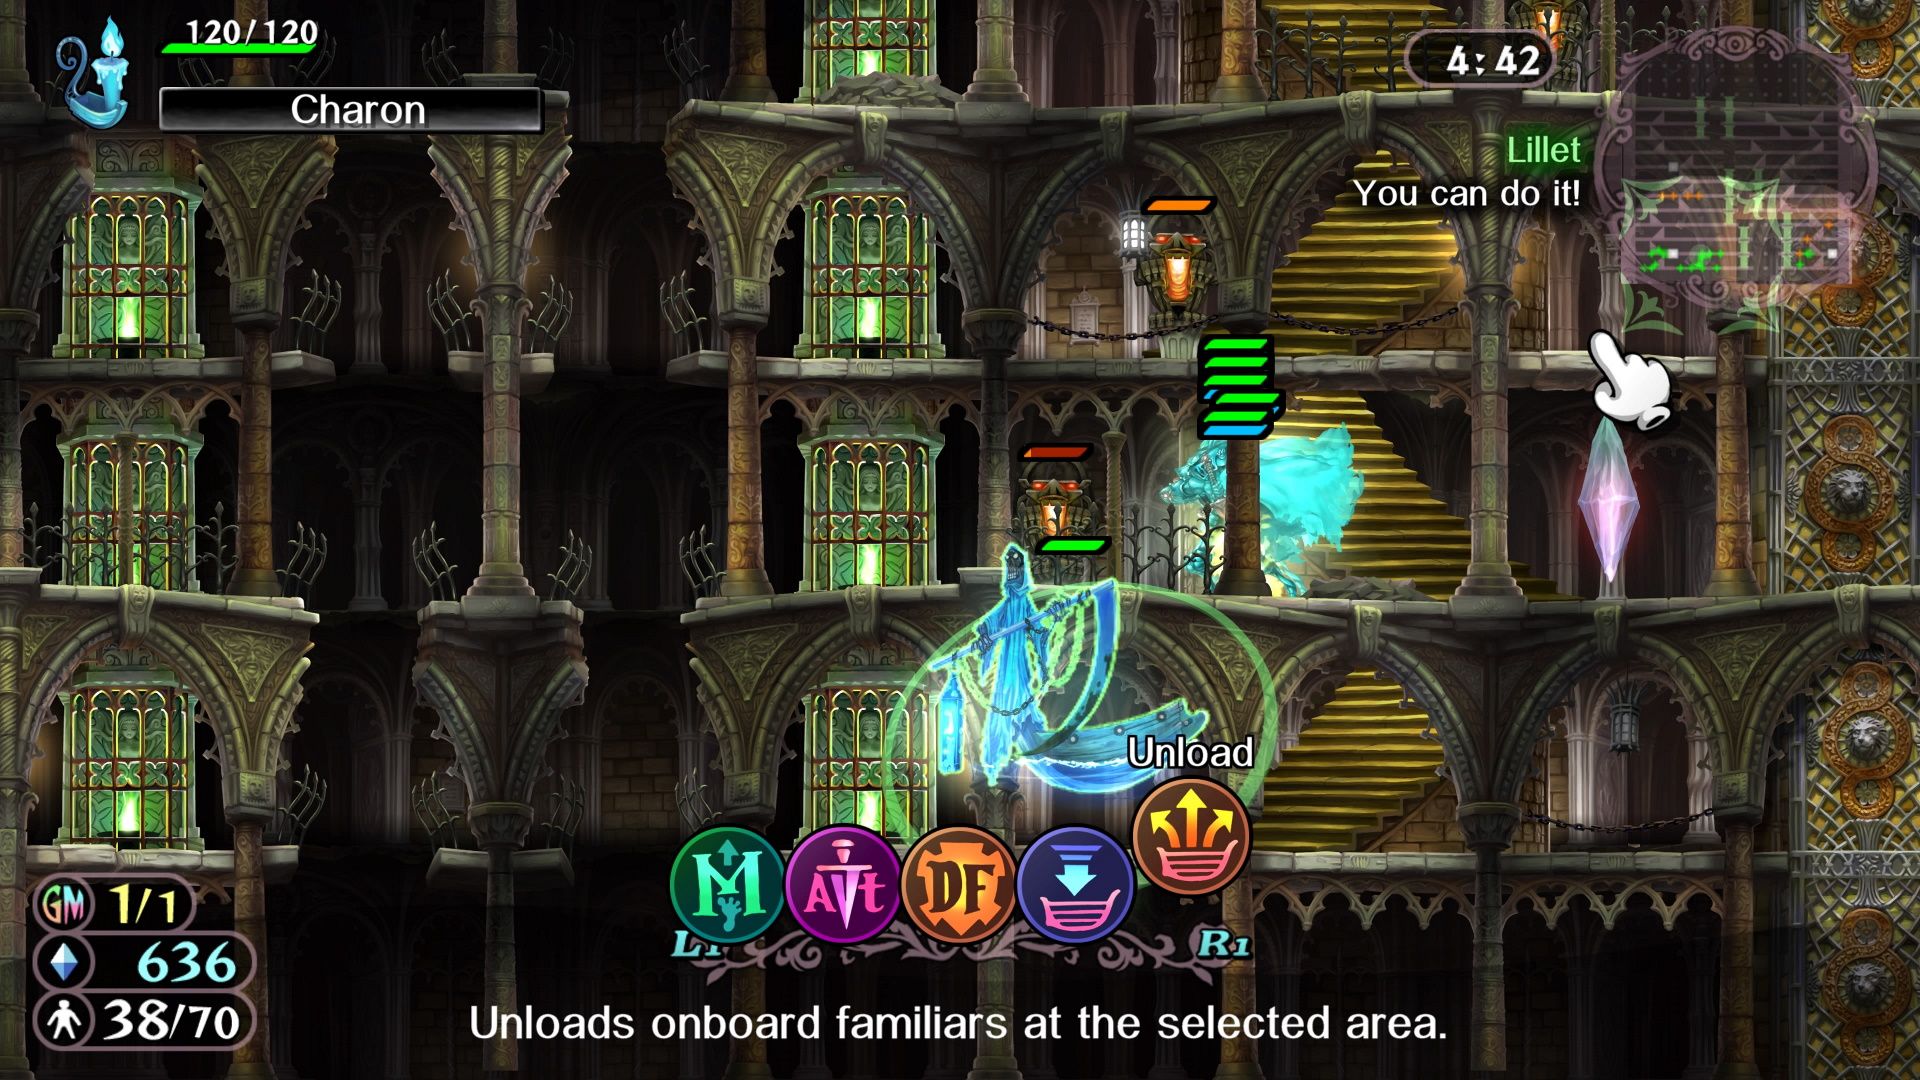
Start gathering Mana as quickly as possible. Get a Charon on the board as quickly as possible, and then use them to ferry some Phantoms across the gap. Move the Necromancy Runes while you are at it (do this to complete your mission requirement), and start farming the crystal on the right side of the screen. Make sure there is at least one Homunculus on the right side as well.
Third Day 5: Grimlet's Awakening
|
Victory Condition |
Endure twenty minutes until help arrives |
|||
|---|---|---|---|---|
|
Mission |
Destroy two enemy Runes |
|||
|
Enemy |
Imps, Phantoms, Demons, Dragons, Homunculi, Charons, |
|||
|
Reward |
3 Coins |
Mission Reward |
4 Coins |
|
You will only be able to summon Alchemy-type units in this battle. So, right from the beginning, open your Skill Tree and max out everything for Alchemy. Pull points from all the other trees, as none of them will matter in this battle (outside of the universal boosts, of course).
The rule here is that you are going to want to have your Chimera stabilized. That means they won't lose health. There are two crystals to farm from. You could theoretically expand your operation to the right, but the truth is, you will have enough mana to defend for twenty minutes. Even on the hard mode.
Just fully upgrade your Chimera Rune before you even bother summoning. Then, when you do, start building up as many as you can. Since the Chimera is incapable of hitting Astral units, you will absolutely want to have Homunculi accompanying them. You can place a Chimera at every impasse leading to your base.
However, once you have three fully-leveled Chimera, you can also start playing the role of the aggressor. Just methodically work your way around, the stage. Make sure that you have a Homunculus along for the journey (just in case you run into any Astral units). If your Chimeras take too much damage, you can always gobble up the Homunculus and heal.

