It all comes down to this in GTA Online's Doomsday Heist. Act three, The Doomsday Scenario will be your greatest challenge yet, but a major payout awaits any team able to overcome its trials. Here's the best way to finish off this heist in style.
The Doomsday Scenario is the third and final act in GTA Online's Doomsday Heist, and has a narrative to back up such a name. In terms of missions, act three has the most of any so far, but also the highest payouts at $1.2 million on normal or $1.5 million on hard. Whichever difficulty you pick, its time to finish what you started and collect your hard-earned rewards.
How To Beat GTA Online Doomsday Heist Act Three
Act three: The Doomsday Scenario has a total of 12 missions: Six preps, five setups, and the finale. The preps and setups aren't too difficult, but be warned that the finale will put you and your crew to the test.
Marked Cash Prep
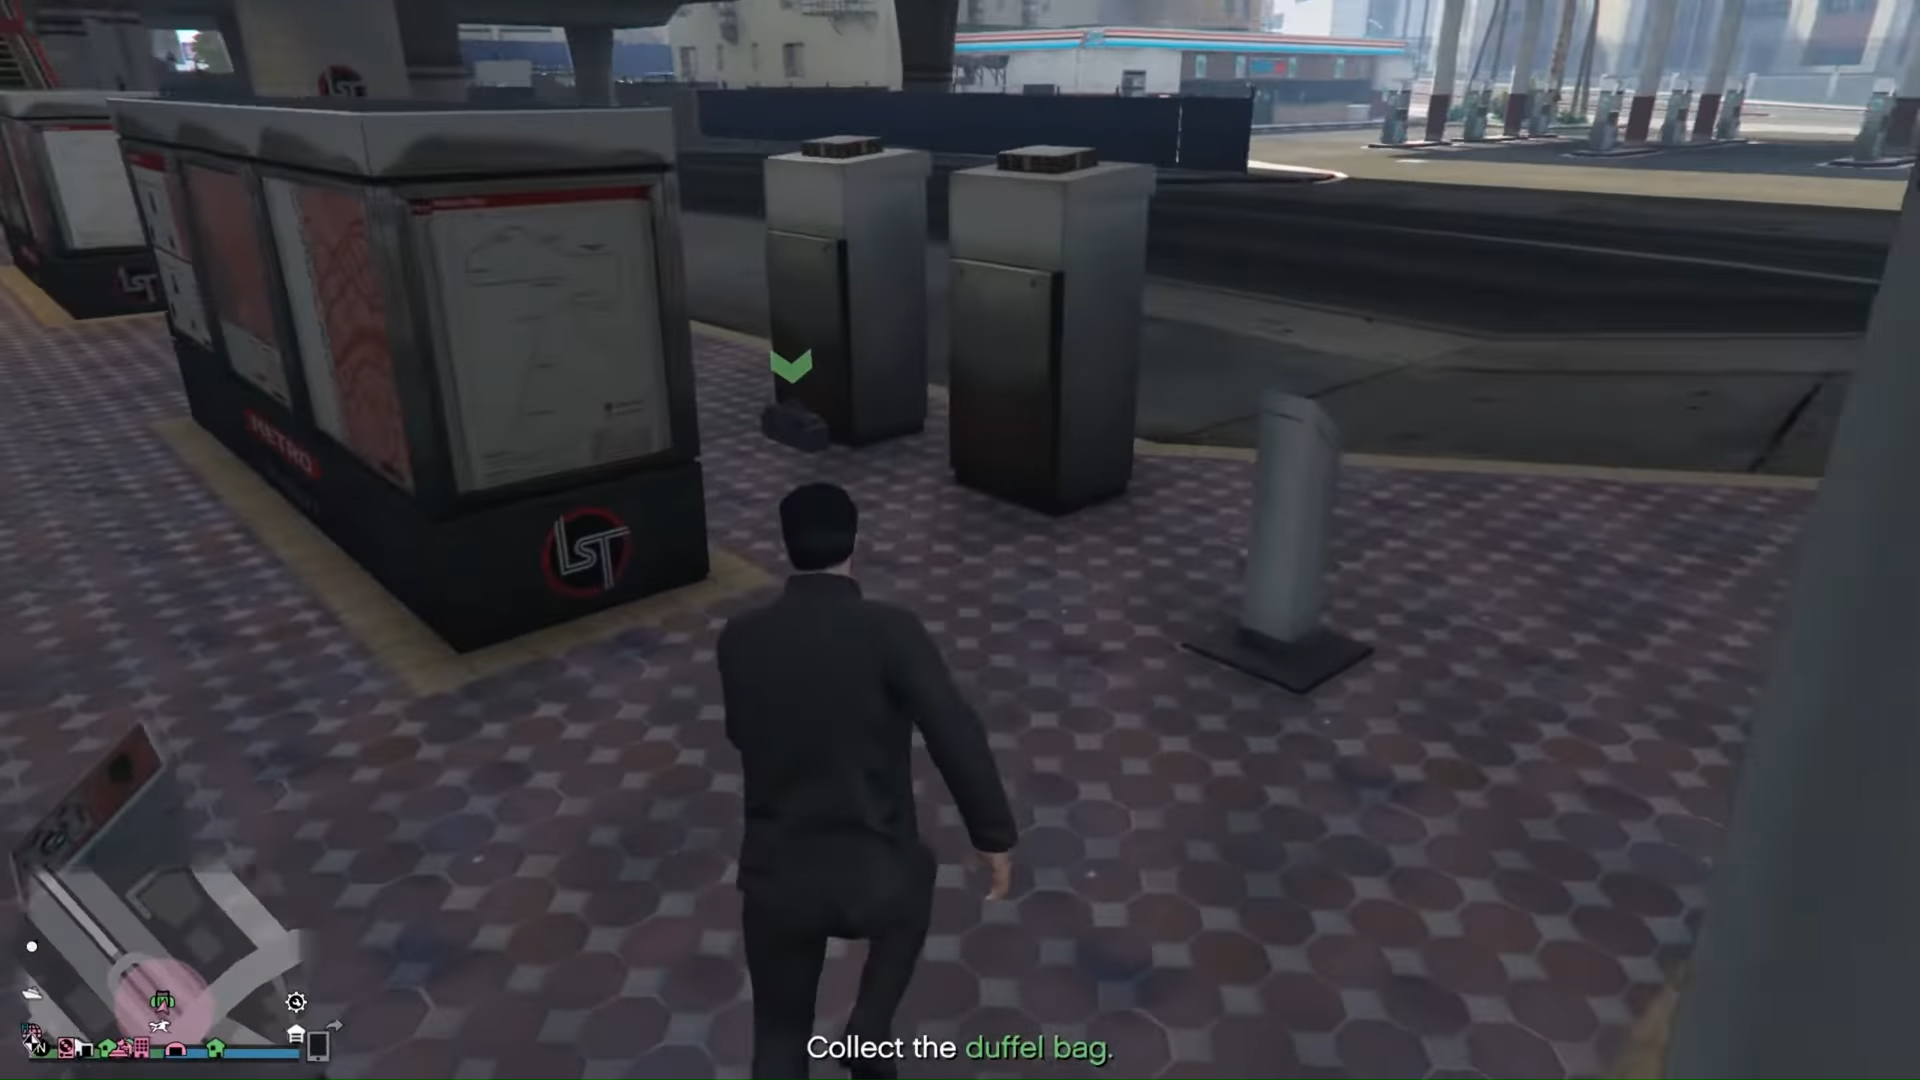
The first prep mission is a simple pickup. You'll be directed to the location of a bag filled with cash to collect, but the moment you do an ambush will be sprung on you. You can simplify this mission by taking a flying vehicle with you and taking off with the cash to easily escape the cops.
Recon Prep
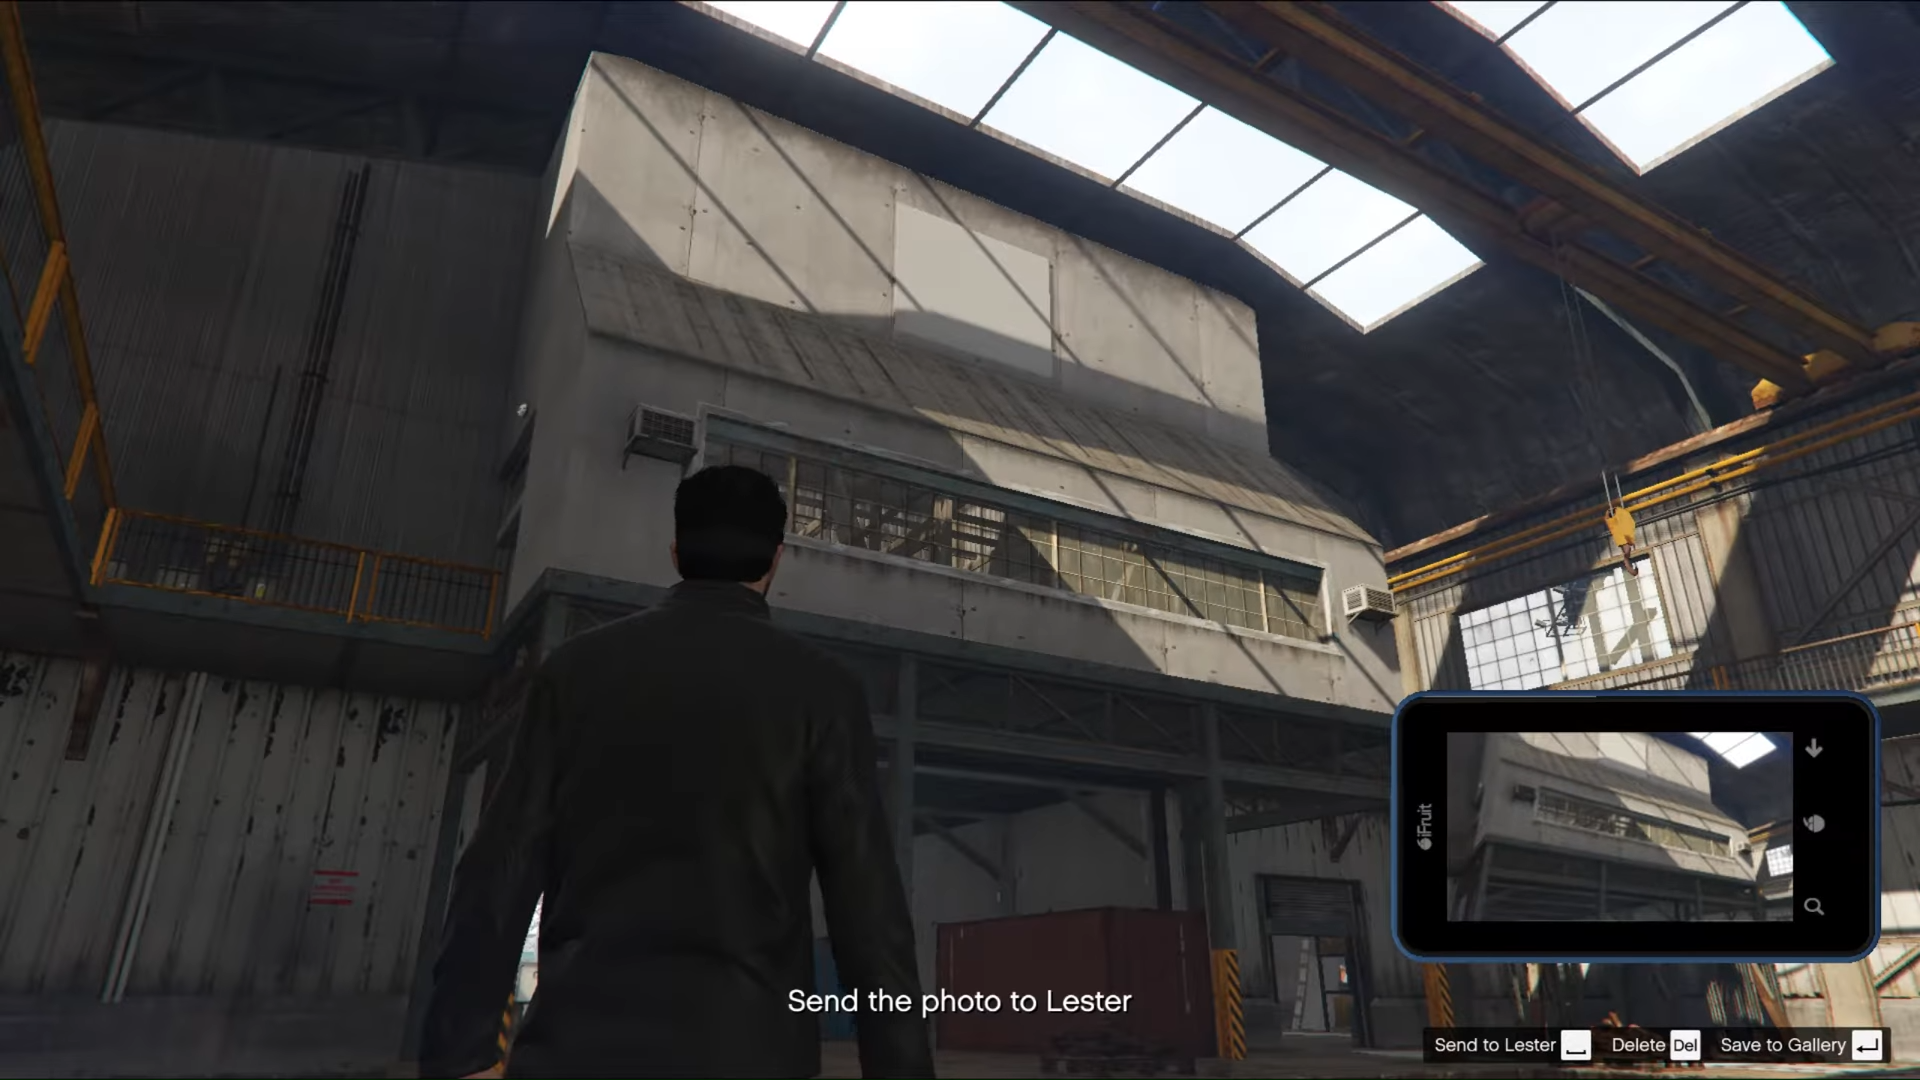
Next, you're going to the Pacific Allied Shipyard to snap some photos of ten specific areas. There's no danger here, and all the locations are indicated on your map, so just get all the pics Lester wants and you're good to go.
Rescue Agent 14 Setup
The first setup is also the first mission with any degree of challenge so make sure your armor and snacks are all stocked up. If you have an Armored Kuruma, make sure to take that as well. Drive over to the shipyard where the bullets will immediately start flying. Take out all the enemies outside from the safety of your car and then drive into the warehouse.
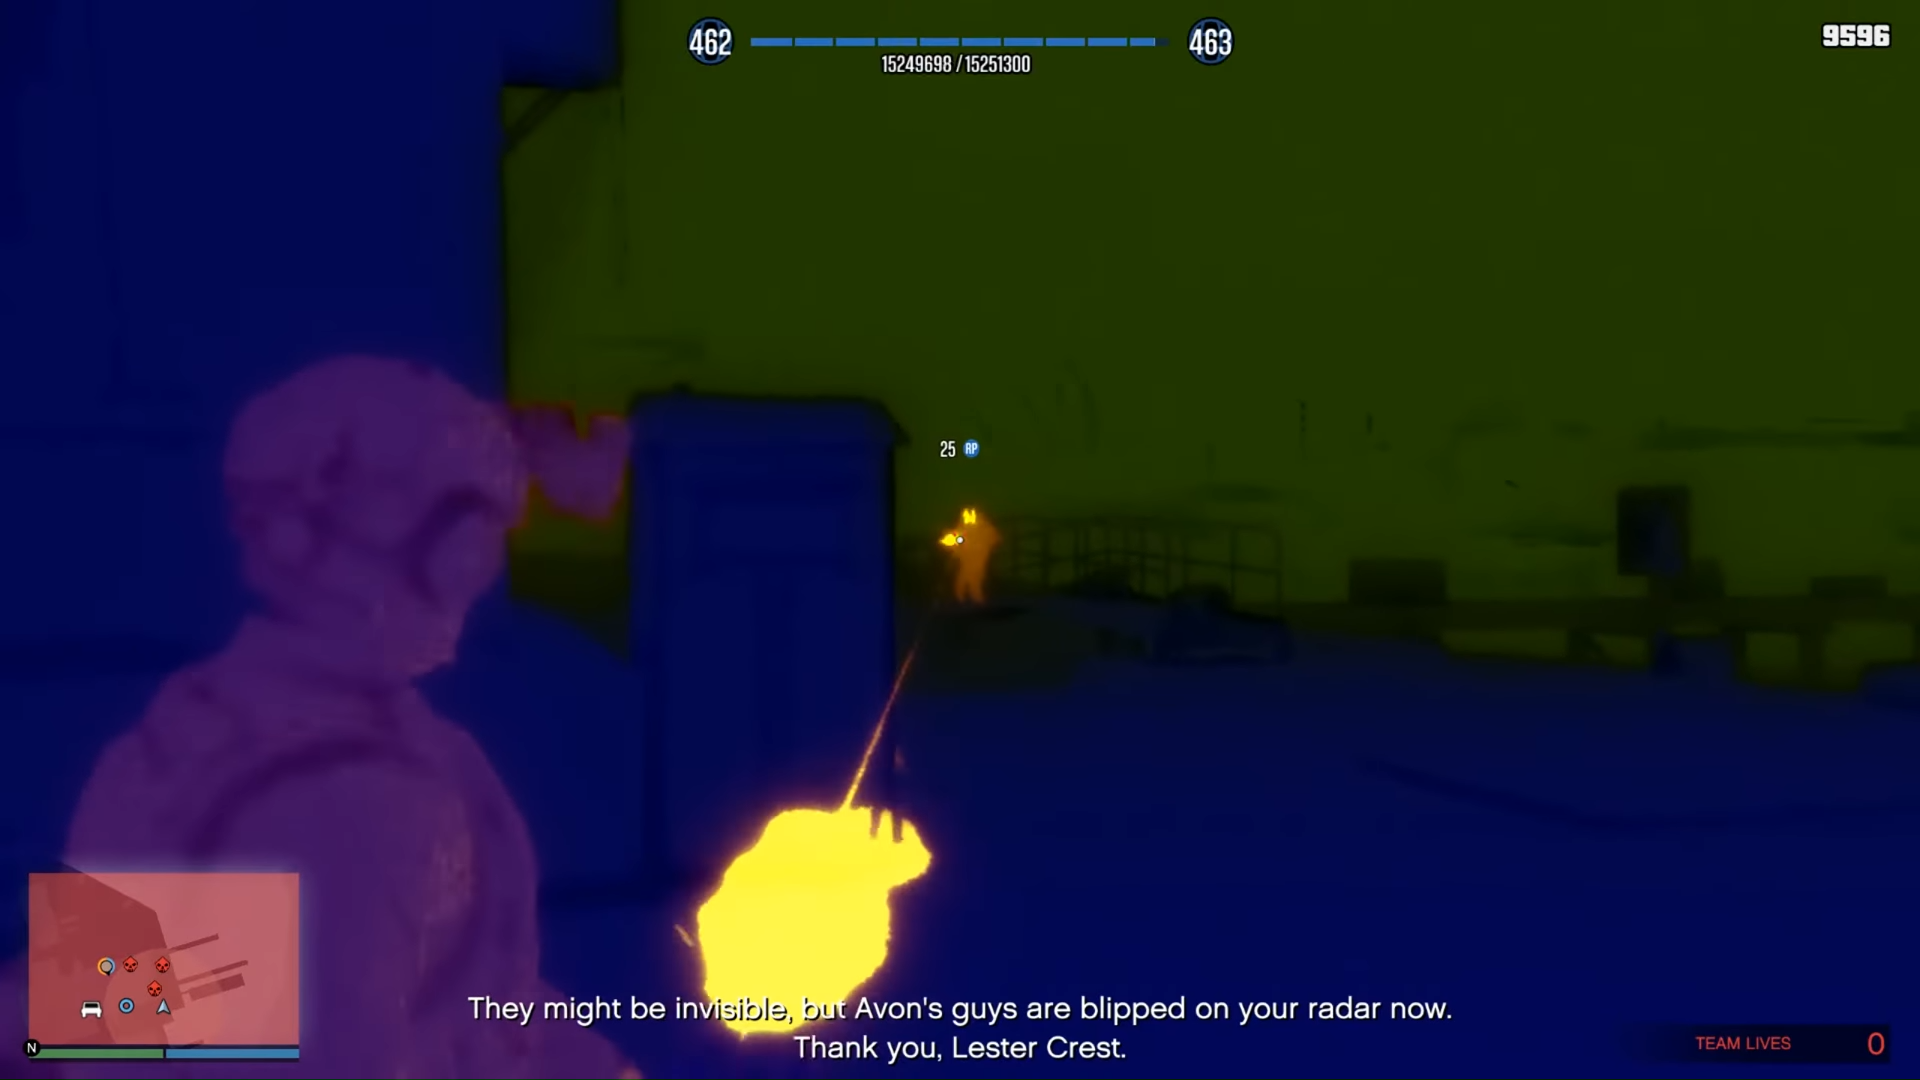
Again, no reason to leave your basically invulnerable armored car, so shoot down all the enemies here until you're clear to approach Agent 14. After the cutscene you'll have to take down some juggernauts. They can turn invisible now, so flip on your thermal vision to see them and always keep in cover. Use any heavy weapons you've got, the minigun is quite effective, and bring them down.
Once the juggernauts have been dealt with, get ready for some more. Four additional heavy troopers will be waiting for you on your way through the warehouses. Be even more cautious here because they can rip you apart in seconds. Kill them off and run back to the safety of your armored car before a wave of reinforcements arrives. Take out everyone you come by on your way to the next location, and don't forget the ones up on the roof.
Once you're finally clear, get yourselves and Agent 14 into the helicopter to drop him off.
Chernobog Prep
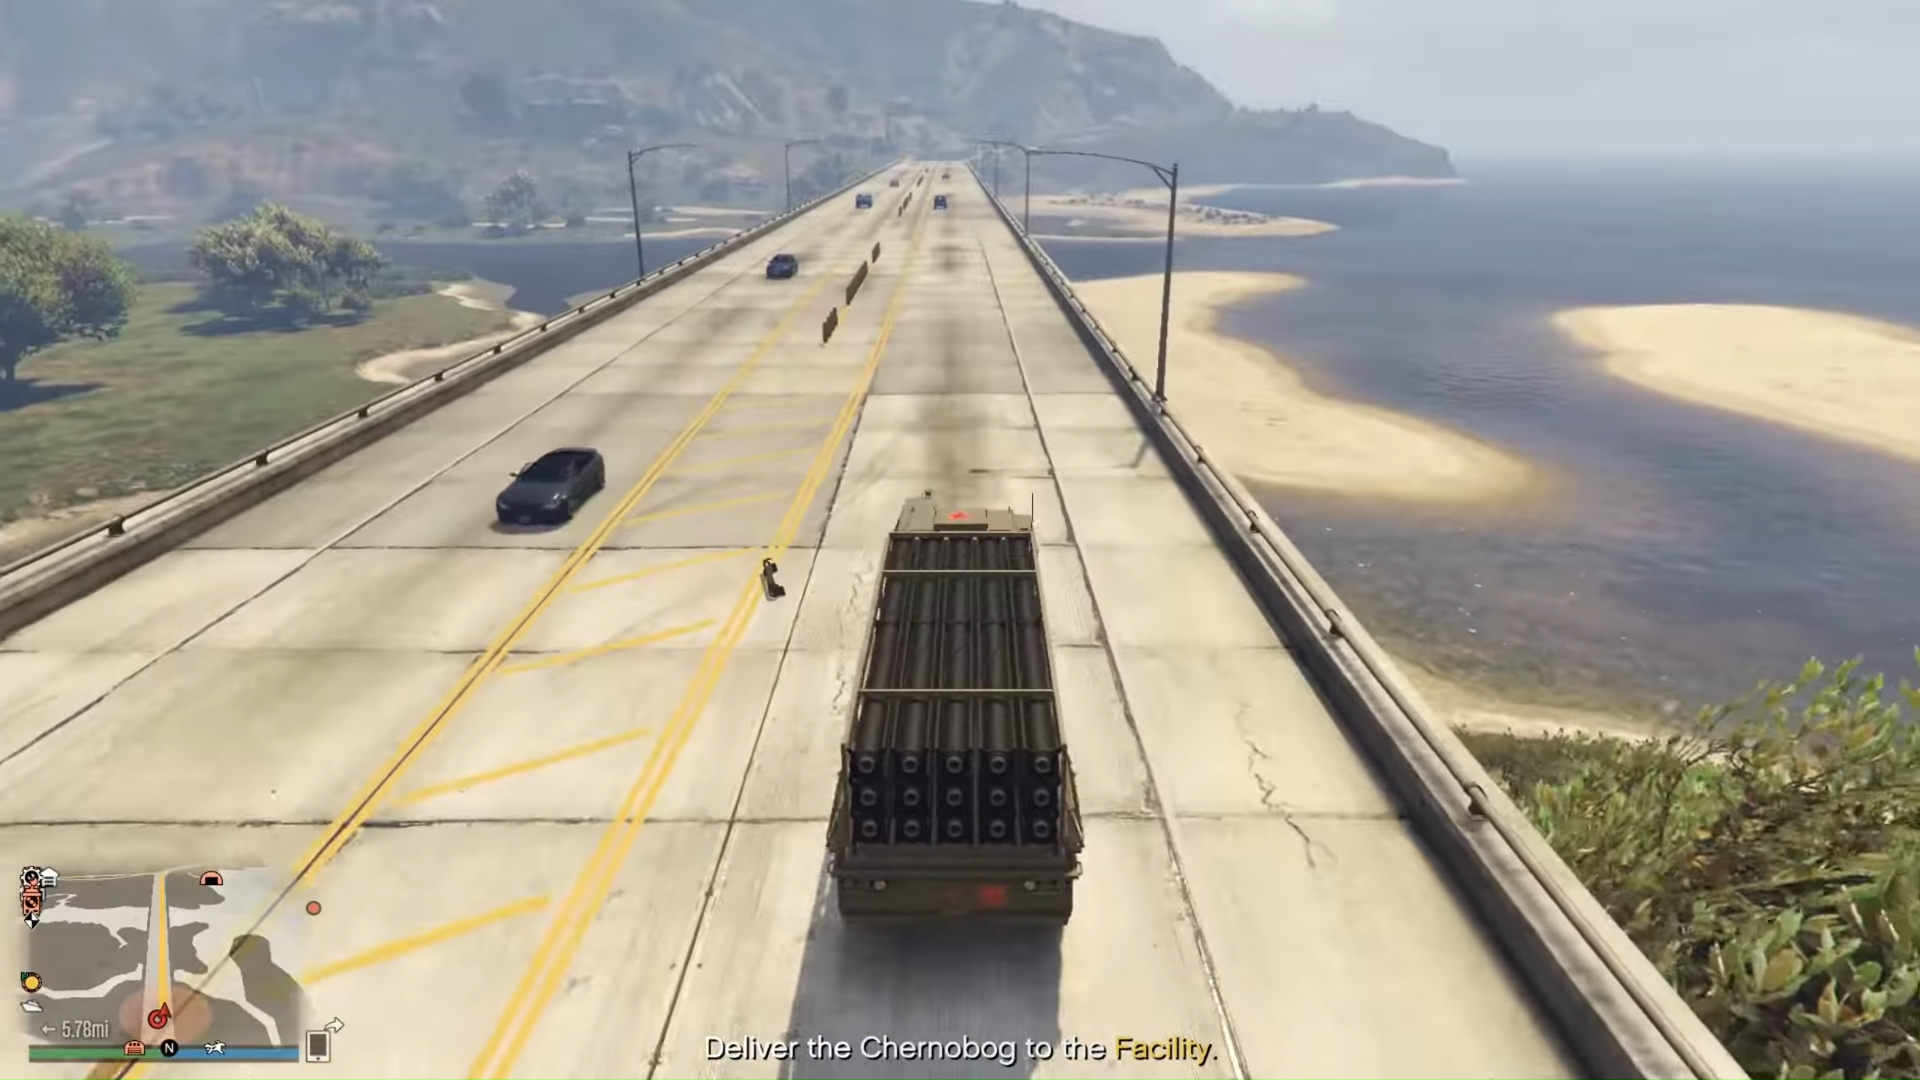
Top off the tank of your Armored Kuruma because you'll be taking it out again to steal the Chernobog missile launcher from Merryweather. Roll up to the camp, blast the resistance from your car, and hop in the giant missile launcher. You'll be pestered by enemies on the way back to your facility, but the Chernobog is one tough vehicle so you have little to worry about. Just plow on through them.
Escort ULP Setup
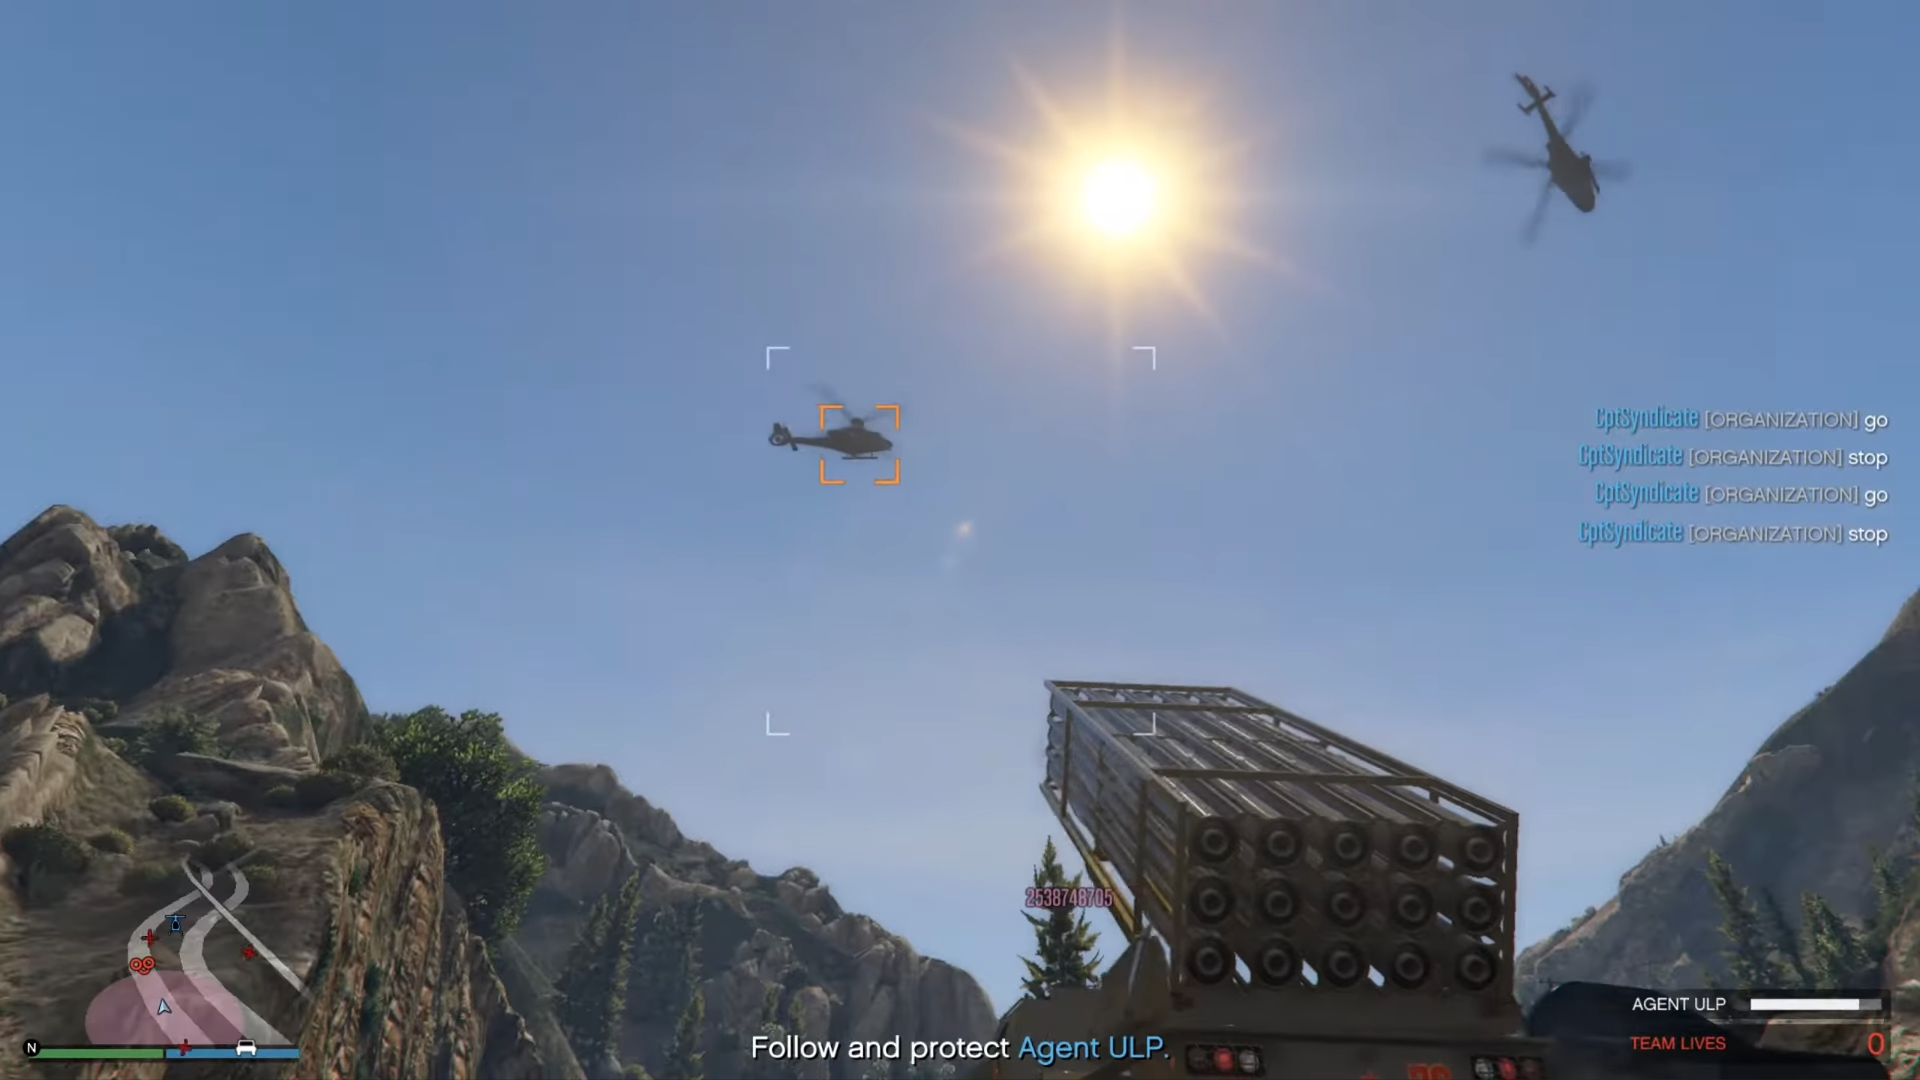
By now you should be appreciating your Armored Kuruma a great deal because it will once again be the star of the show in this setup. Taking it to the construction yard turns that first firefight into a one sided slaughter. From there you need to take the Chernobog to a landing site where you will be told to take out a bunch of helicopters pursuing ULP. If you're the driver then switch to stationary mode and have your partner start firing until you need to move to follow ULP.
Keep driving and stopping to blow more choppers out of the air going after ULP. Focus first on the ones going after him instead of yourself since his health will drain way faster than yours. Just keep up with him, and keep him safe, and after a few waves the mission will complete.
Flight Path Prep
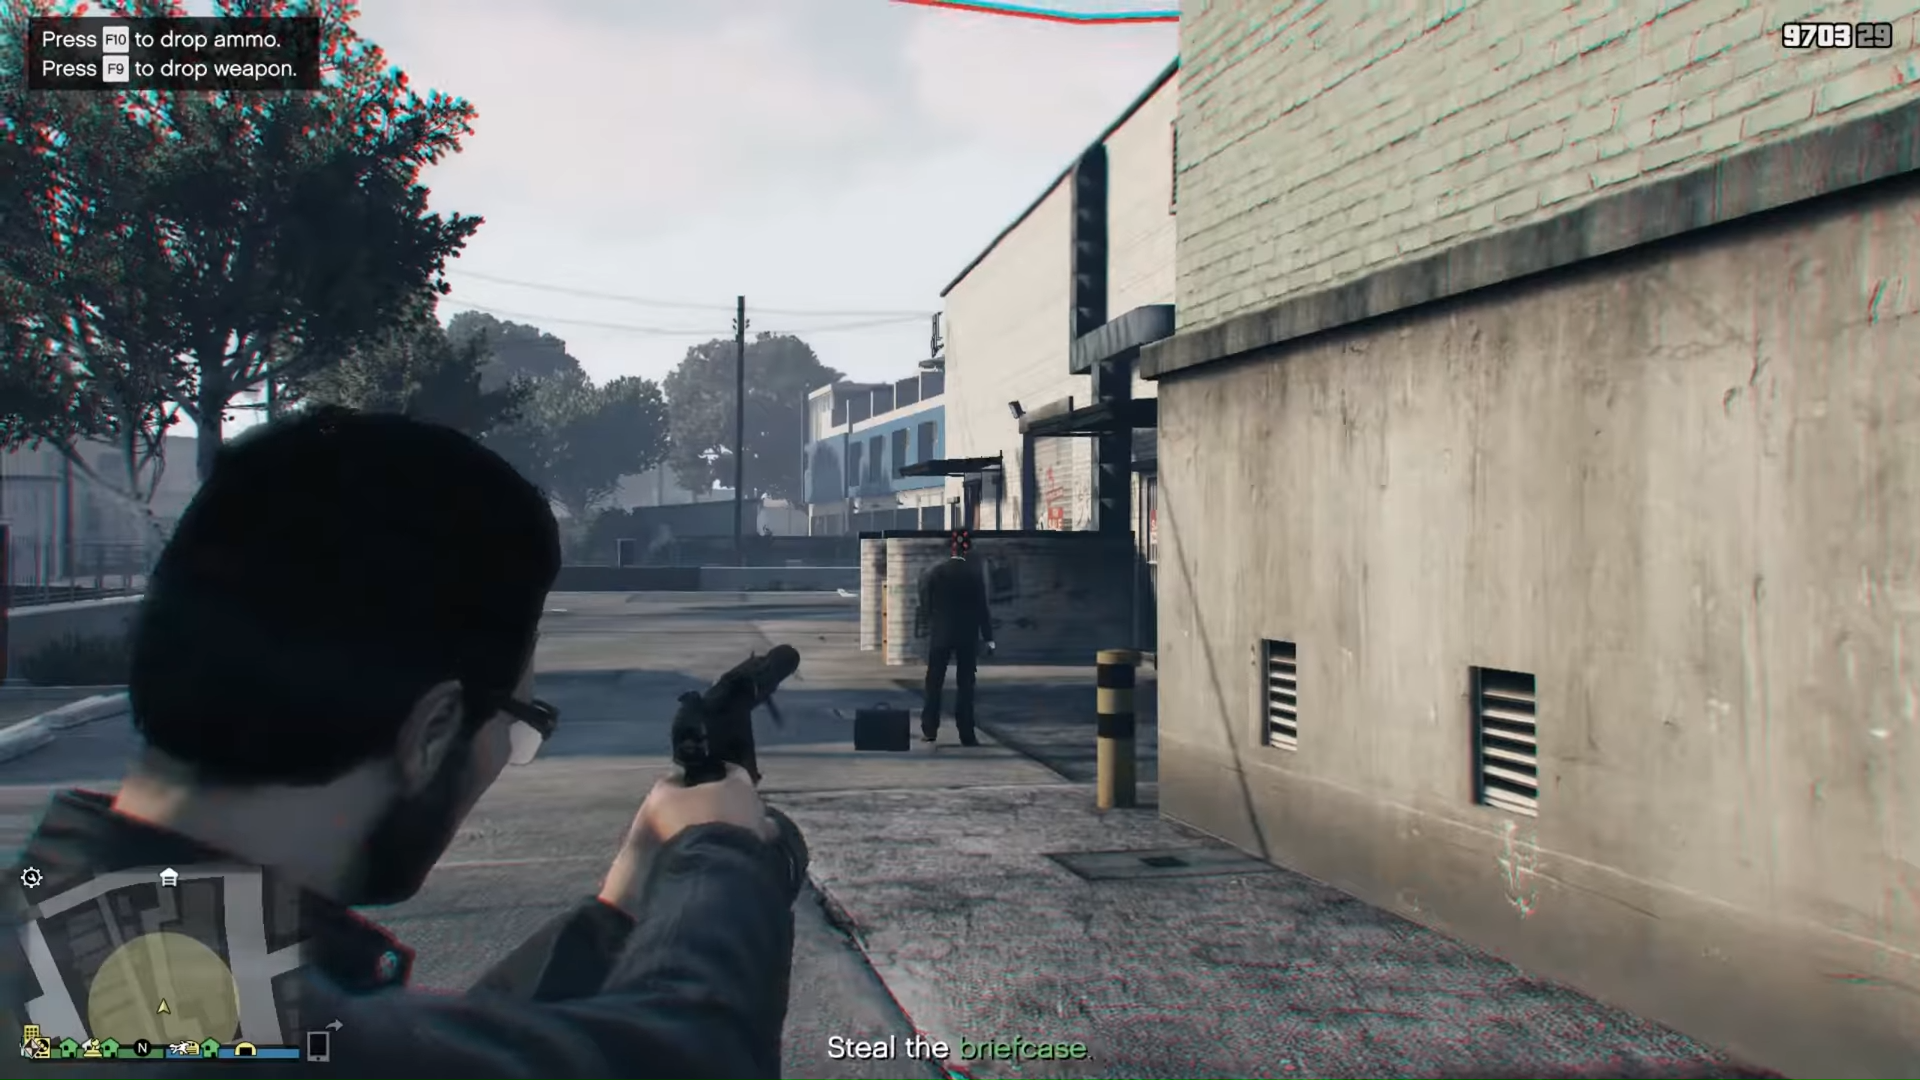
You'll be playing assassin in this mission, taking out a target specified by Lester. Once you reach the waypoint he will send you a picture of the guy you're supposed to kill, but he will also be marked on your map to make it easier. Follow him until he moves somewhere out of sight and silently put him down. Calmly collect his briefcase and head home to complete the mission.
Barrage Setup
This mission has three main parts: intercepting a convoy, recovering the ATV, and using the ATV to shut down the operation at Sandy Shores Airfield. Pack some extra armor and snacks for this one.
Once you get to the Observatory to begin the mission, you'll automatically be equipped with a sniper and explosive rounds. Take out the guard helicopters first, but hold off on blowing up the Cargobob with the ATV until its a little closer so you don't have to go as far to get the ATV.
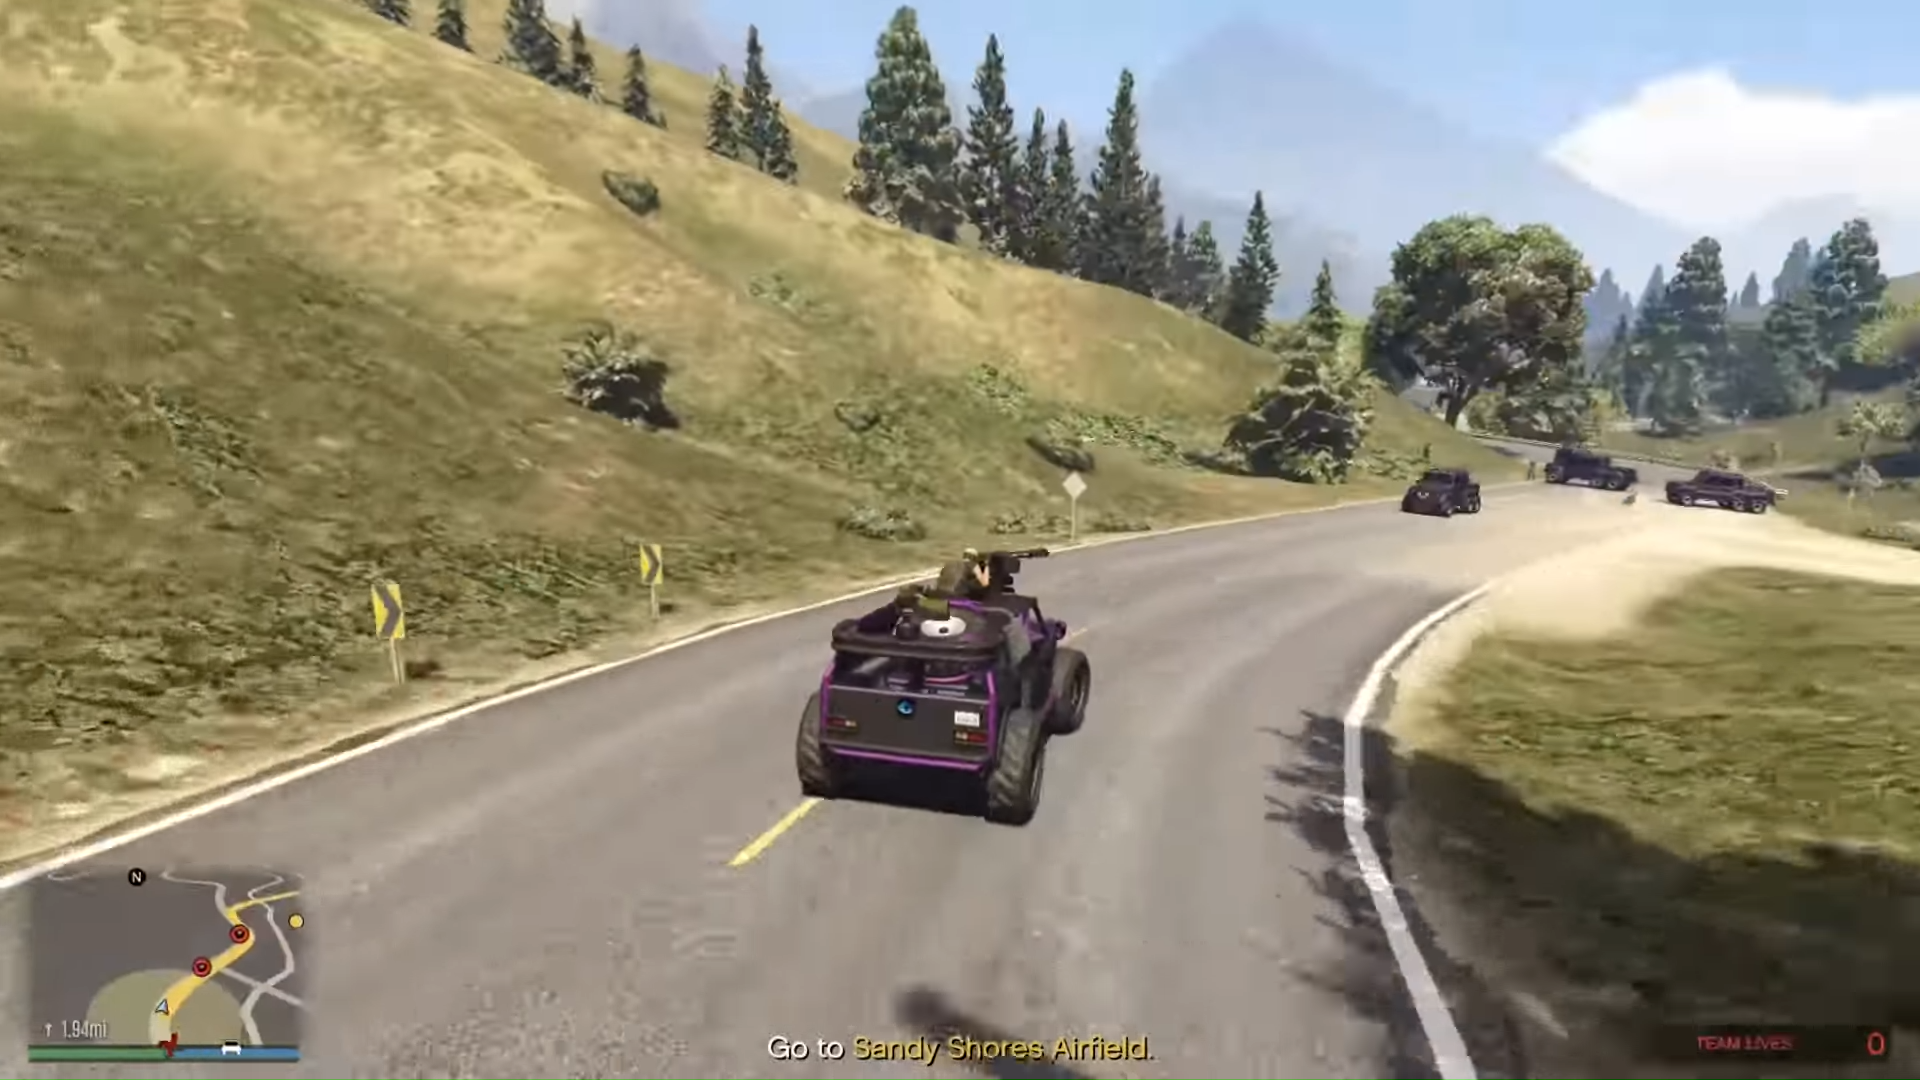
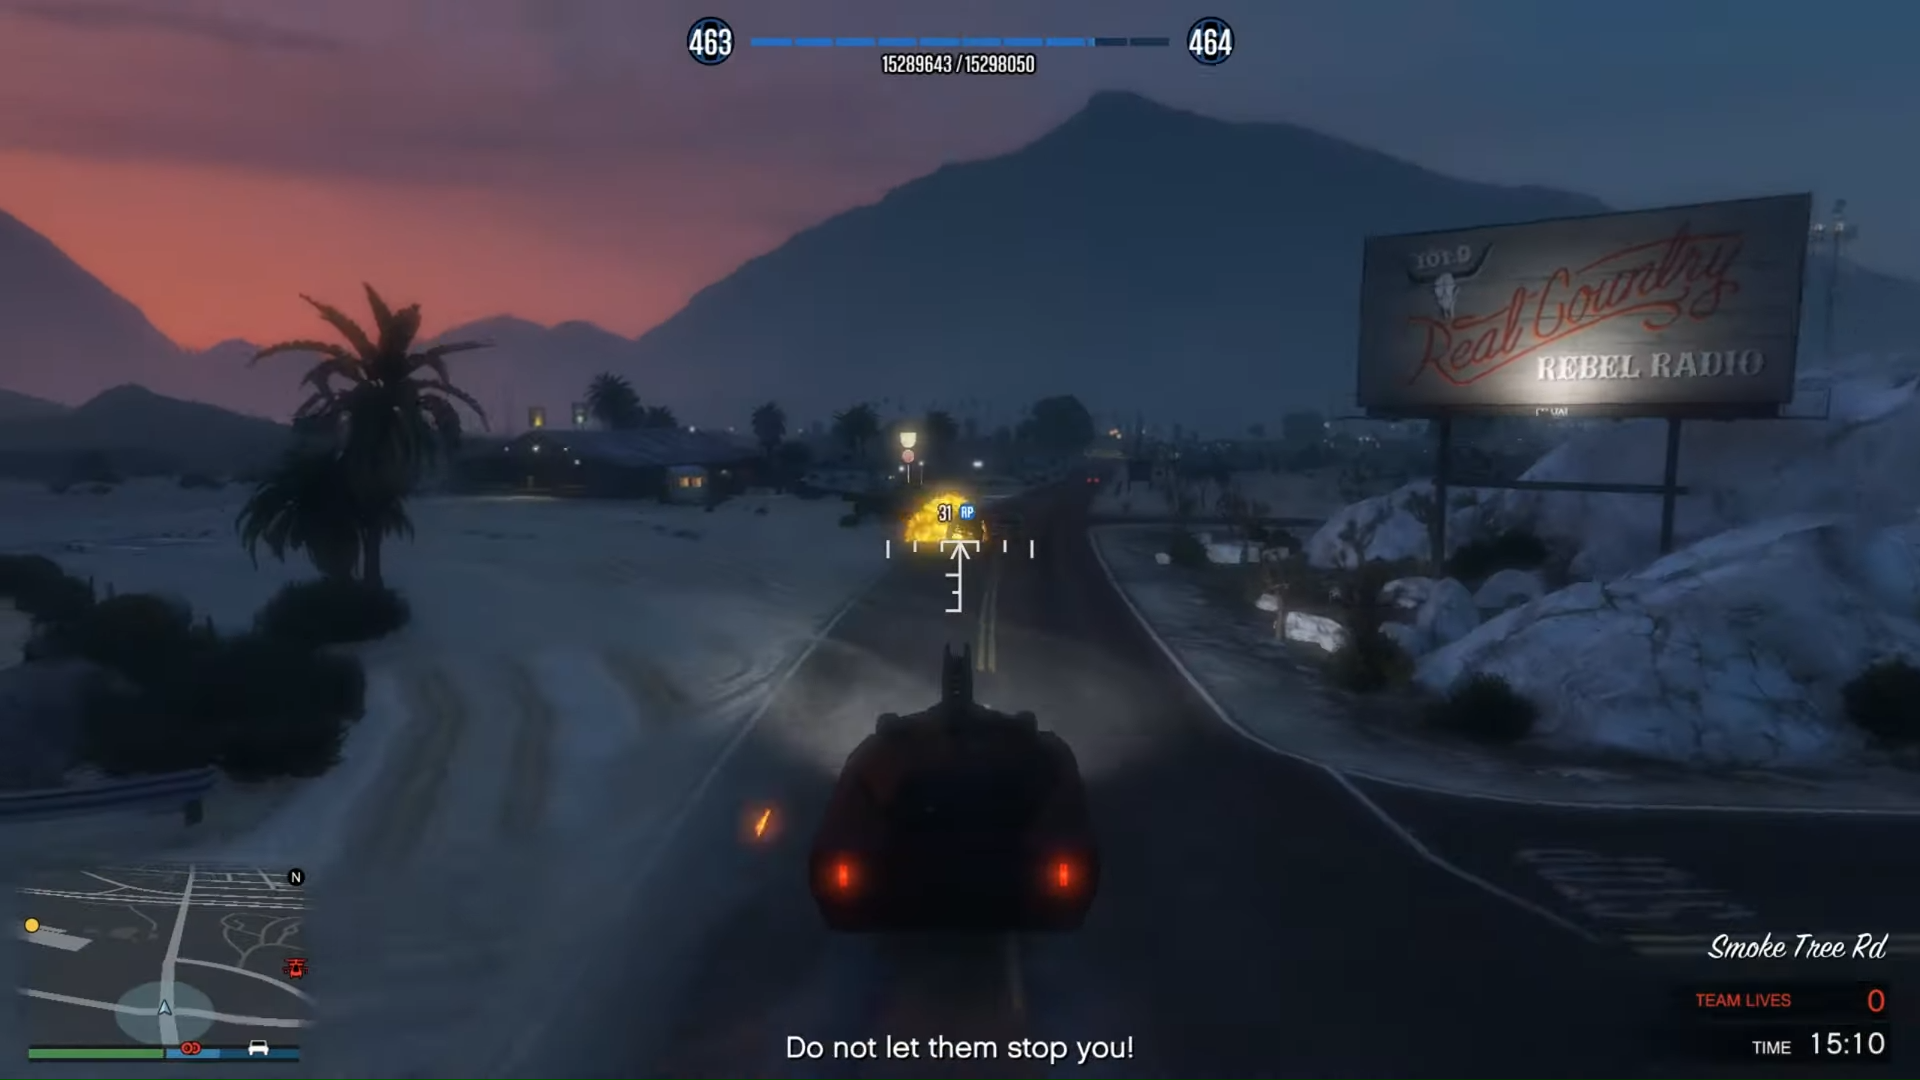
Once you and your partner are in, go as fast as you can to the Sandy Shores Airfield before you get swarmed by enemies. Make sure whoever is in the back uses the front turret since it can aim in all directions, unlike the rear one which can only shoot back. Keep your armor and health topped up and drive like mad.
Prioritize destroying the plane first before it can take off. After that deal with everyone else on the airfield from the safety of your vehicle before driving off back to base. Keep an eye on the map and go off road to avoid the last couple ambushes waiting for you on the way,
Test Site Intel Prep
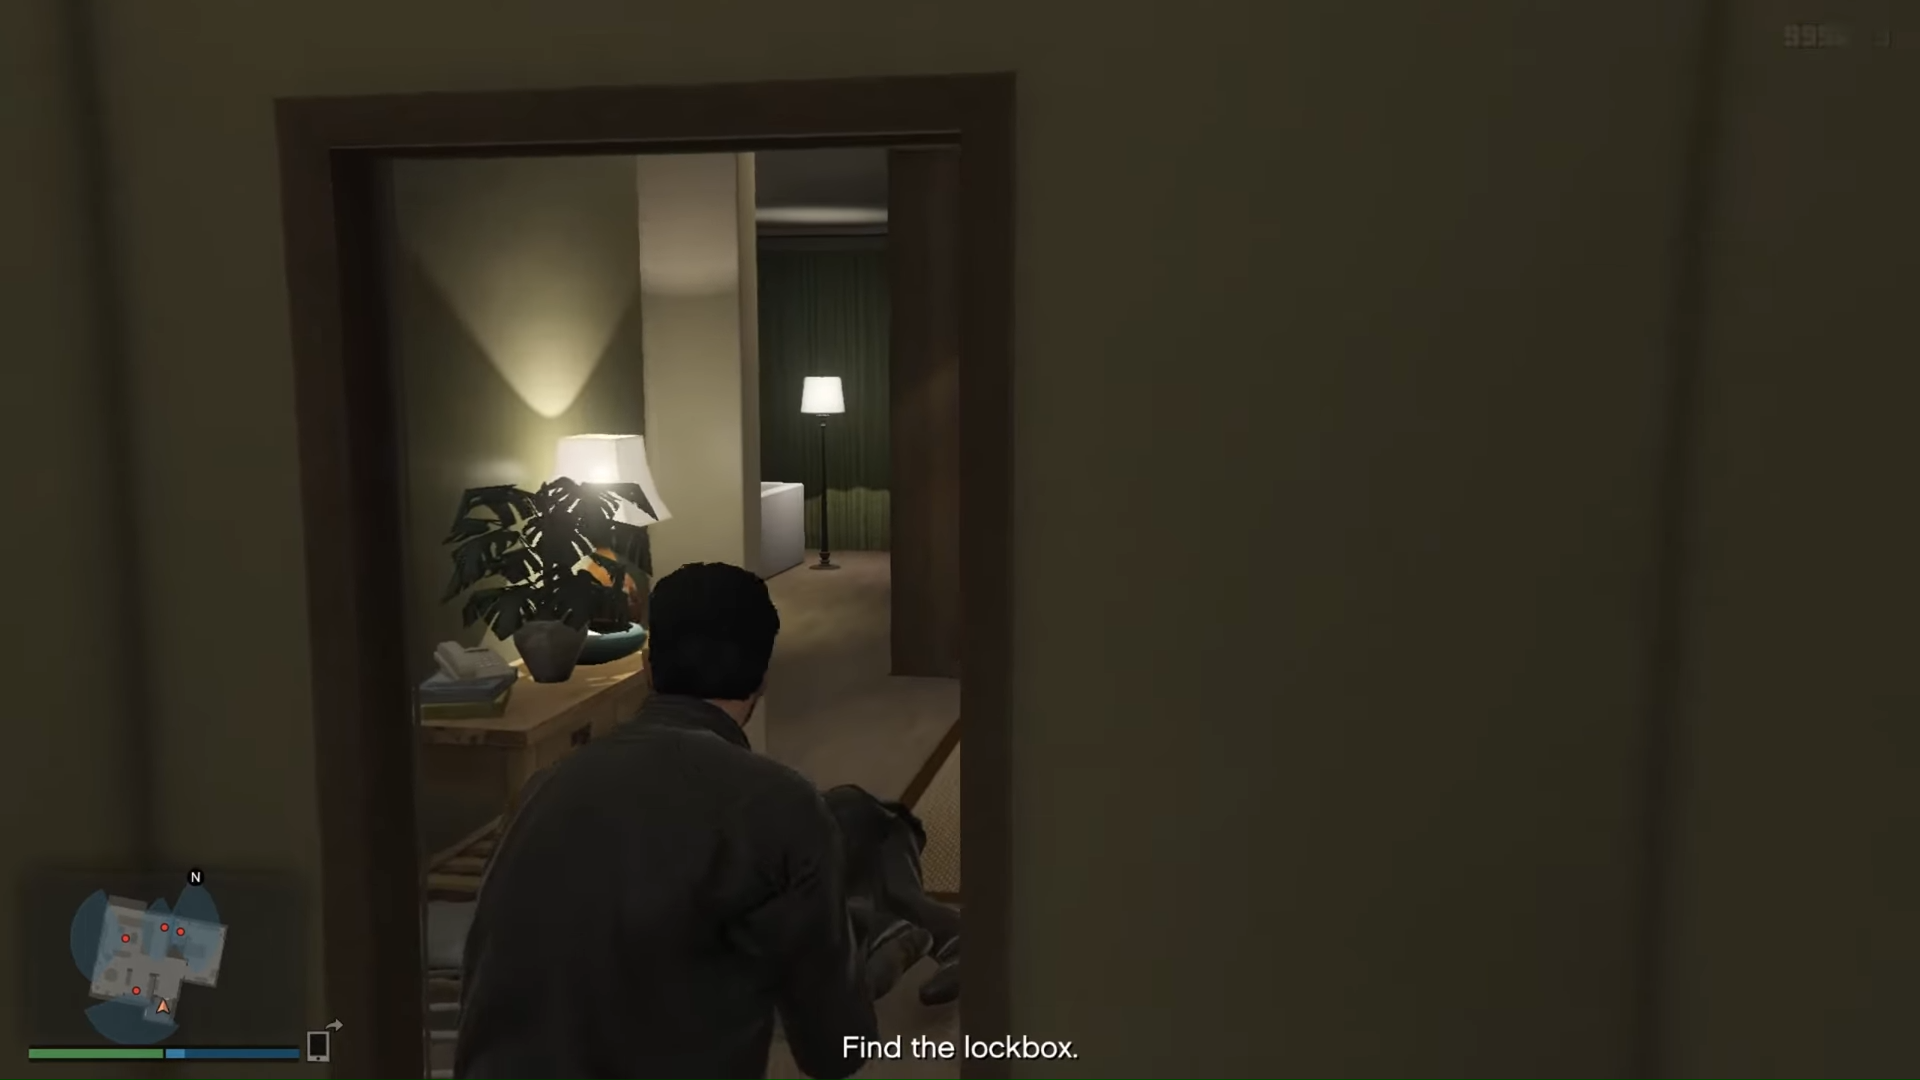
We get a nice stealth mission next to change things up. You'll be sneaking into a house, the location being different every time, to find a laptop. Use your silent pistol and sniper to sneak your way in, slowly picking off guards in your way, until you get the laptop. The way back out should still be clear, and then all you need to do is get back to base.
Khanjali Setup
If you guessed you'd be taking the Armored Kuruma to raid an enemy weapon's stash and steal a tank, you'd be right. You should know the drill by now, roll in and kill everyone from your car until you're free to blow up the objectives and get in the tank. You'll come under a ton of fire delivering the tank, but thankfully you're in a tank so you won't have any trouble blasting the other tanks, choppers, and soldiers.
Onboard Computer Prep
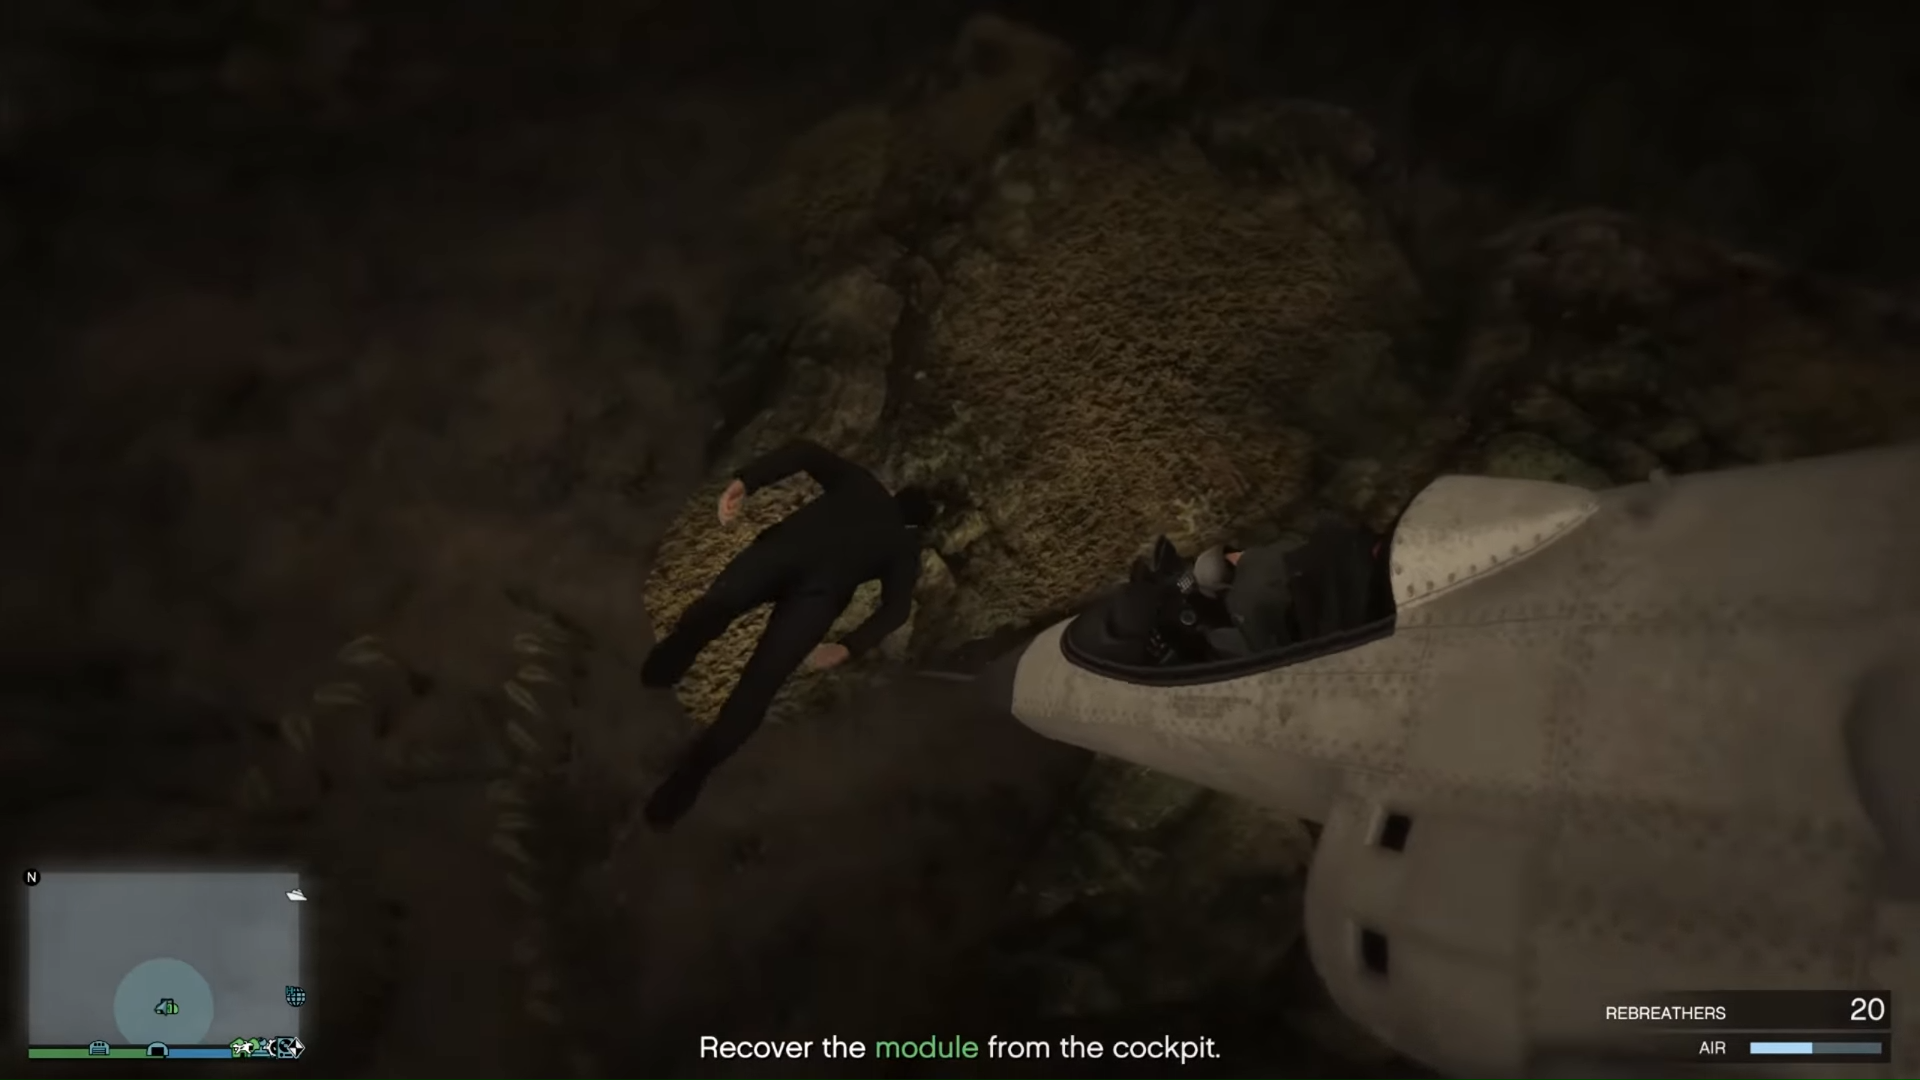
You'll need to have either an Oppressor Mark II or Buzzard for this prep since you'll be shooting down a Hydra mid-flight. Take your vehicle of choice up and get into range. You won't be able to use your lock on missiles, however, and need to manually aim them to blow it out of the sky.
After you knocking it into the water, dive in to get the computer from the cockpit and bring it back to your facility.
Air Defenses Setup
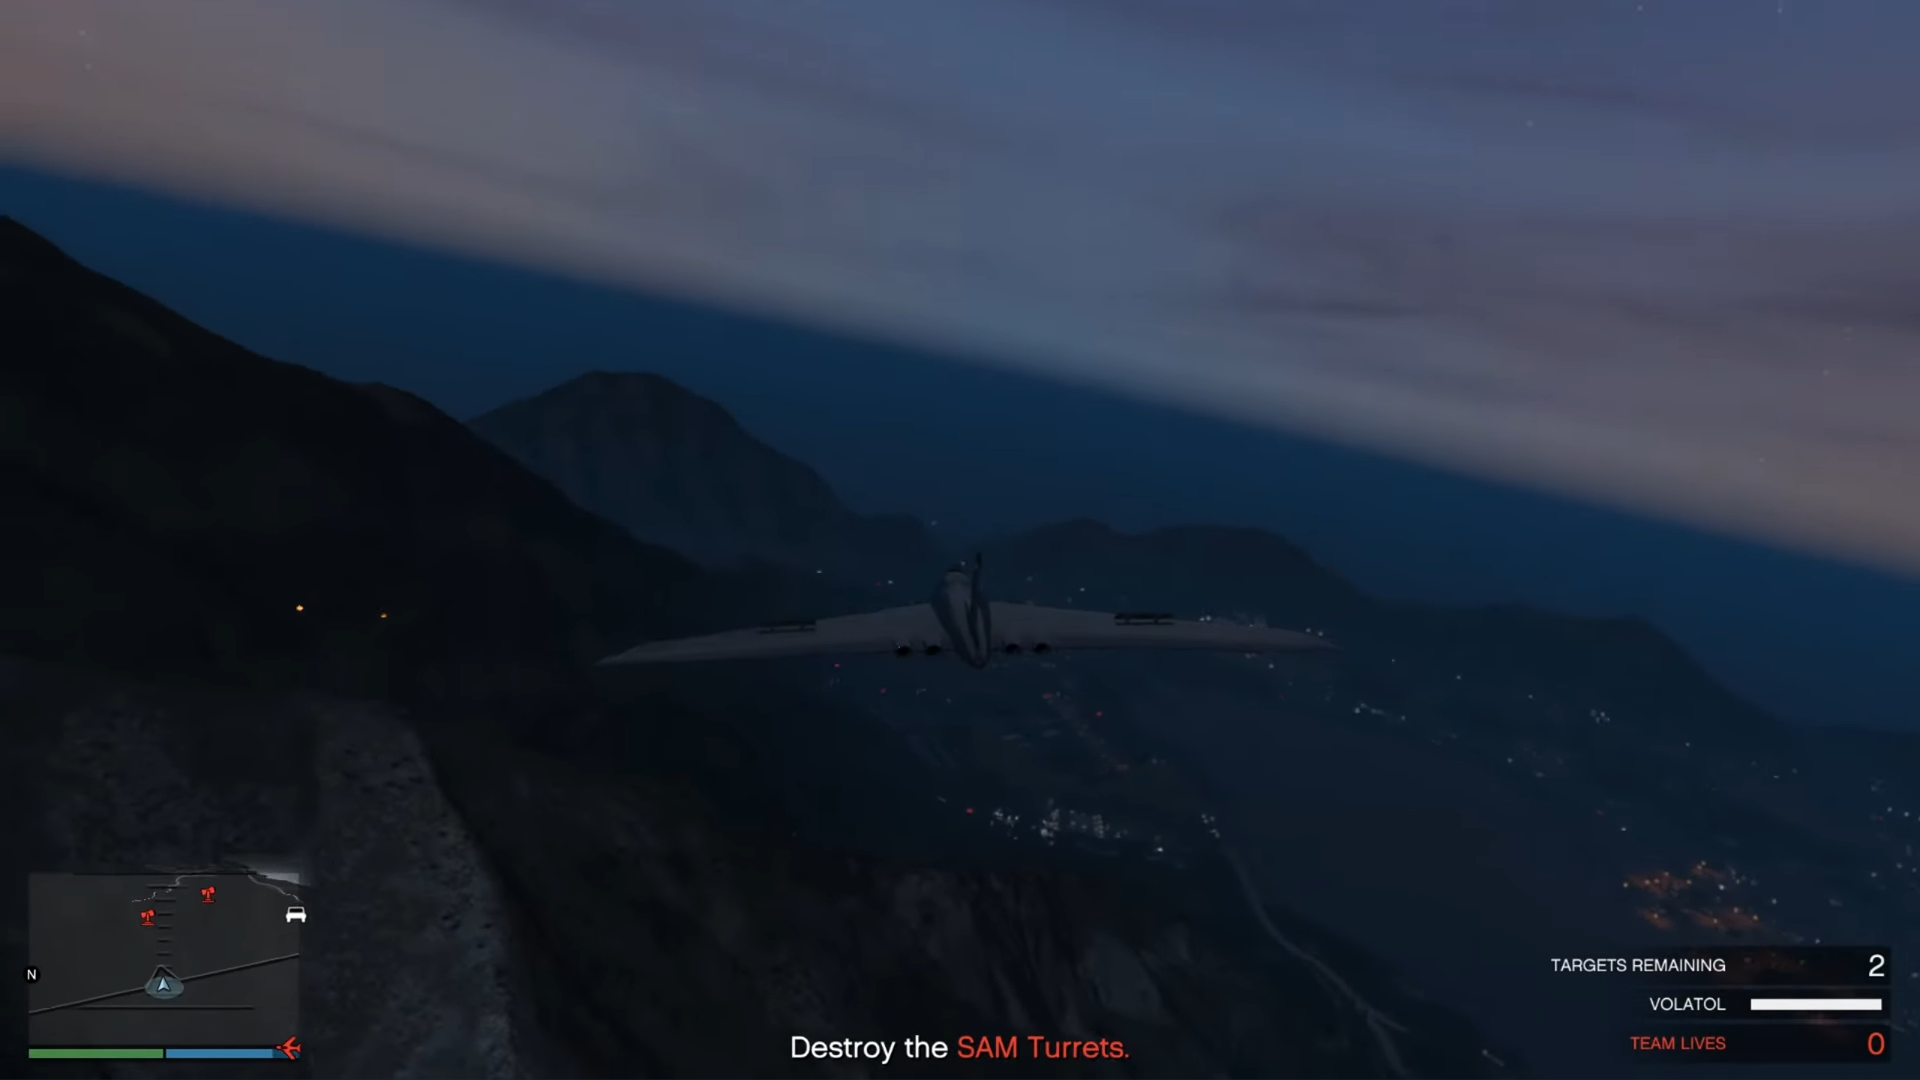
Using a Volatol jet, you're job is to take out all the SAM sites set up on Mount Chilliad. One member of your team will be piloting, while the other operating a machine gun turret. Whoever is flying should fly over the targets to drop bombs from above while the turret shoots at any other SAM sites it can hit. There are 12 in total to destroy, plus some helicopters will show up to try and stop you, but there isn't much danger in this one.
Doomsday Heist Act Three Finale
Now it's time to end this once and for all. This will not only be the hardest mission of act three, but the most difficult in all of The Doomsday Hiest. Load up on, well, everything for this one.
Right off the bat your team will need to make a choice on which vehicle to bring with you between the Khanjali tank or ATV. Pick the tank to have more armor and stronger weapons even though it is the slower option.
Roll on through to the tunnel and inside, blowing away everyone inside trying to stop you, but don't get out when you reach the other side. Wait until the four juggernauts show up to turn them into mist with your tank before hopping out to proceed on foot. You'll have to deal with another juggernaut not much further ahead, but one is way better than four.
When you come to a split in the path, head right first. Part way down the path is a side room with the first supply box you need to destroy. Take it out and then double back to go left, fighting through more enemies as you go. There will be another side room with the next supply box to stop and break before pressing forward.
Eventually the last supply box will show up ahead of you. Just shoot it from down the tunnel as soon as you can. Keep checking your health and armor and move on until you find the entrance to the hangars on the right hand side of the tunnel. Another pair of boxes, and a whole bunch of soldiers, will be waiting for you near the planes.
Keep fighting forward, dealing with a pair of juggernauts in the tunnels ahead, until you can finally enter the control center. Take a breather during the short cutscene and get ready for another firefight as soon as you head through the red doors.
Stay together with your teammate as you go upstairs to the servers so one of you can cover the other while they start hacking the all four servers one at a time. Once the hacks are complete the enemies will finally stop spawning, but you still need to clear out any stragglers.
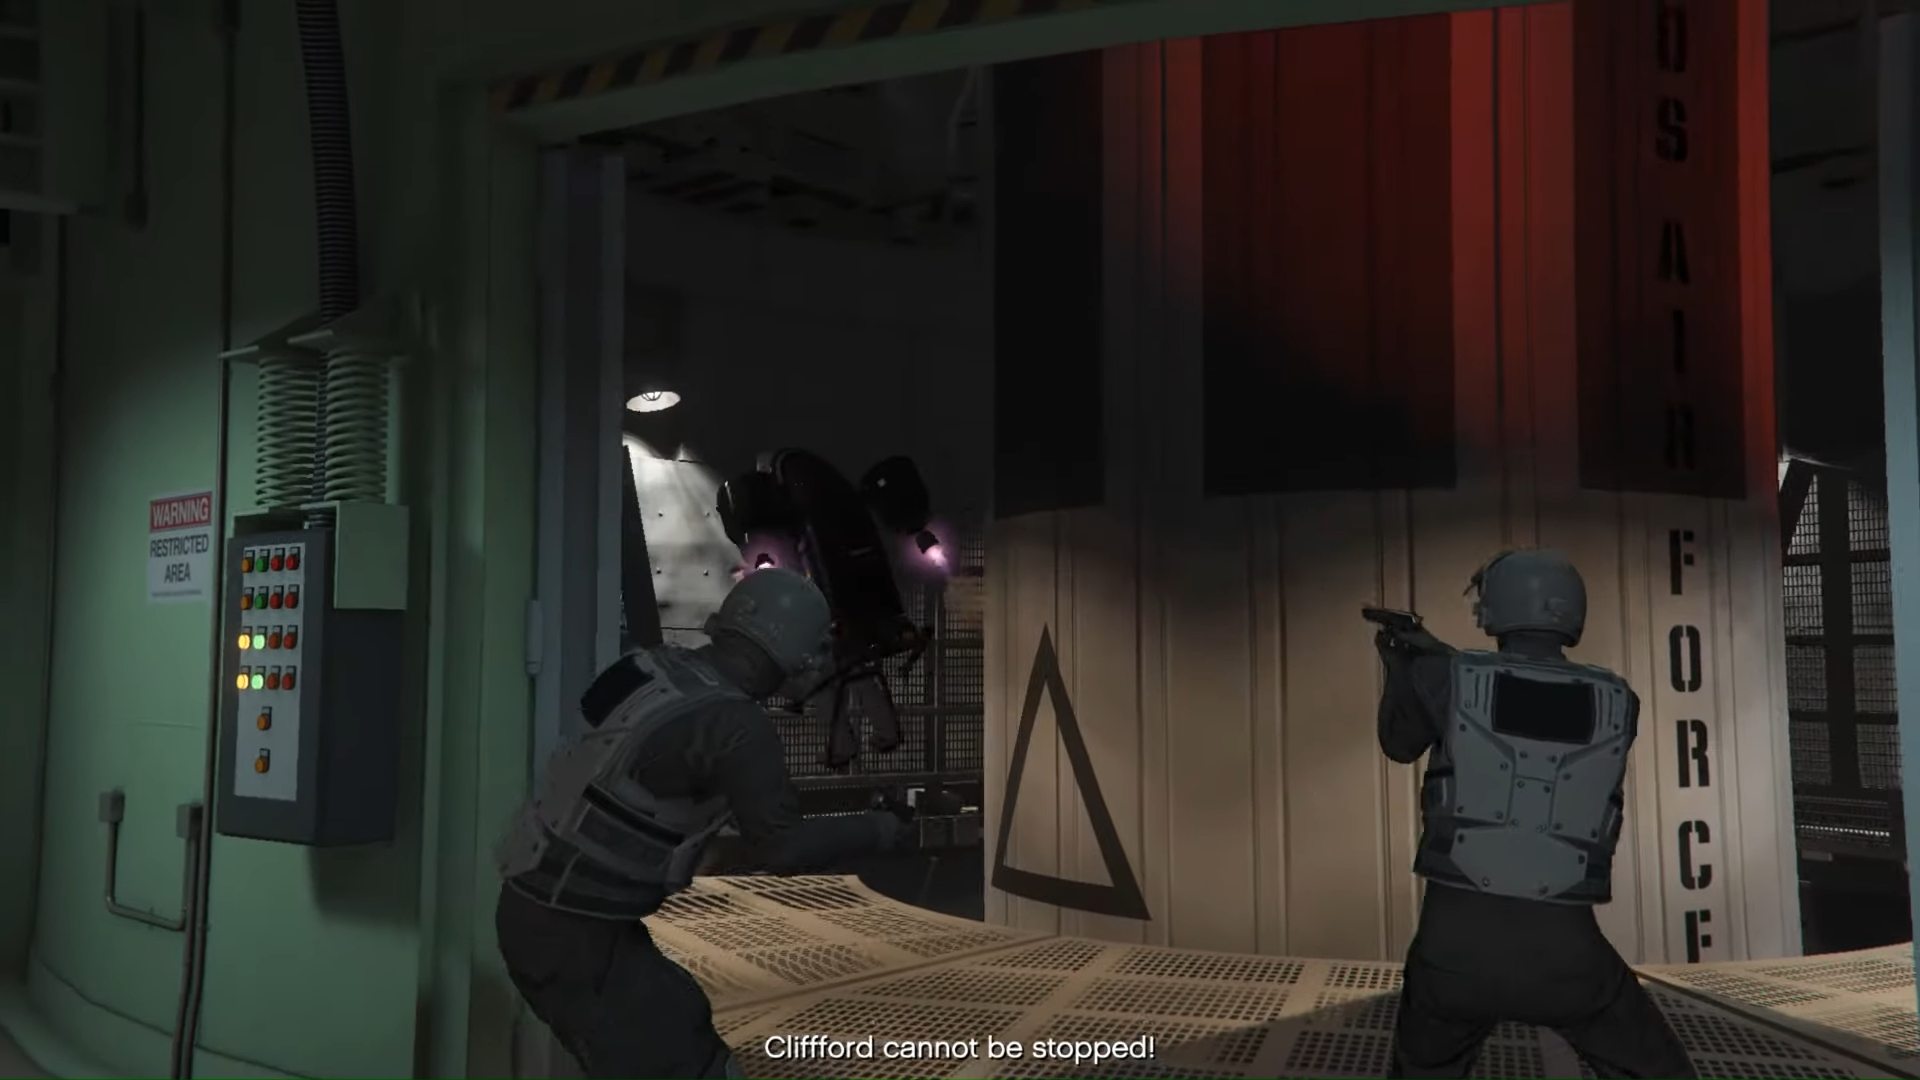
Make your way upstairs to use the Orbital Cannon to erase the four mobile cloud servers, then head back down to the Silo where you'll be greeted by even more enemies to slow you down. Stay patient and pick them off before going through the narrow hallway. Another cutscene will trigger and you will need to mount up on some jet packs to pursue Avon.
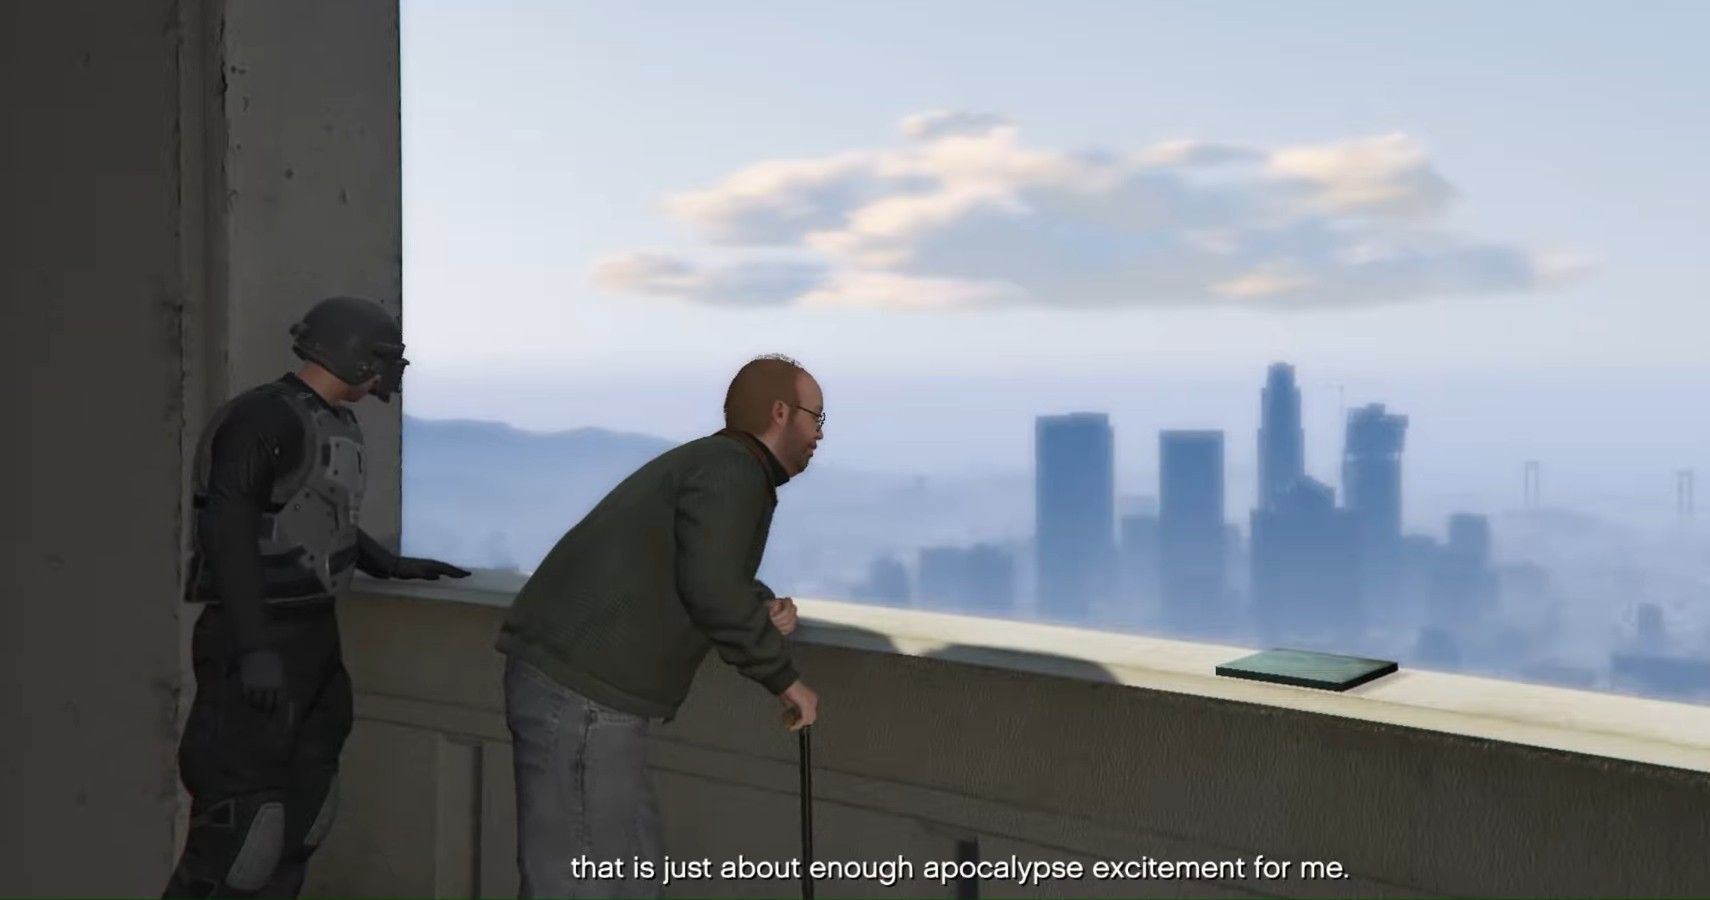
Don't bother with any of the helicopters and only worry about taking down Avon. Lock on to him and let the missiles fly. As soon as he dies all the other enemies will back off. Take a relaxing flight to the Observatory to finally put The Doomsday Heist to bed and collect your hard earned reward.

