GTFO's high stakes and intense gameplay can make for some unforgettable moments, especially if you're playing along with your friends. Whether it be running for your life from Chargers or sneaking around and holding your breath, GTFO is a must-play for any fans of the horror genre.
The first-person shooter encourages teamwork heavily, as little mistakes can often lead to huge consequences. As a result, conserving ammo and resources is vital, and making good use of your equipment is incredibly important for your success.
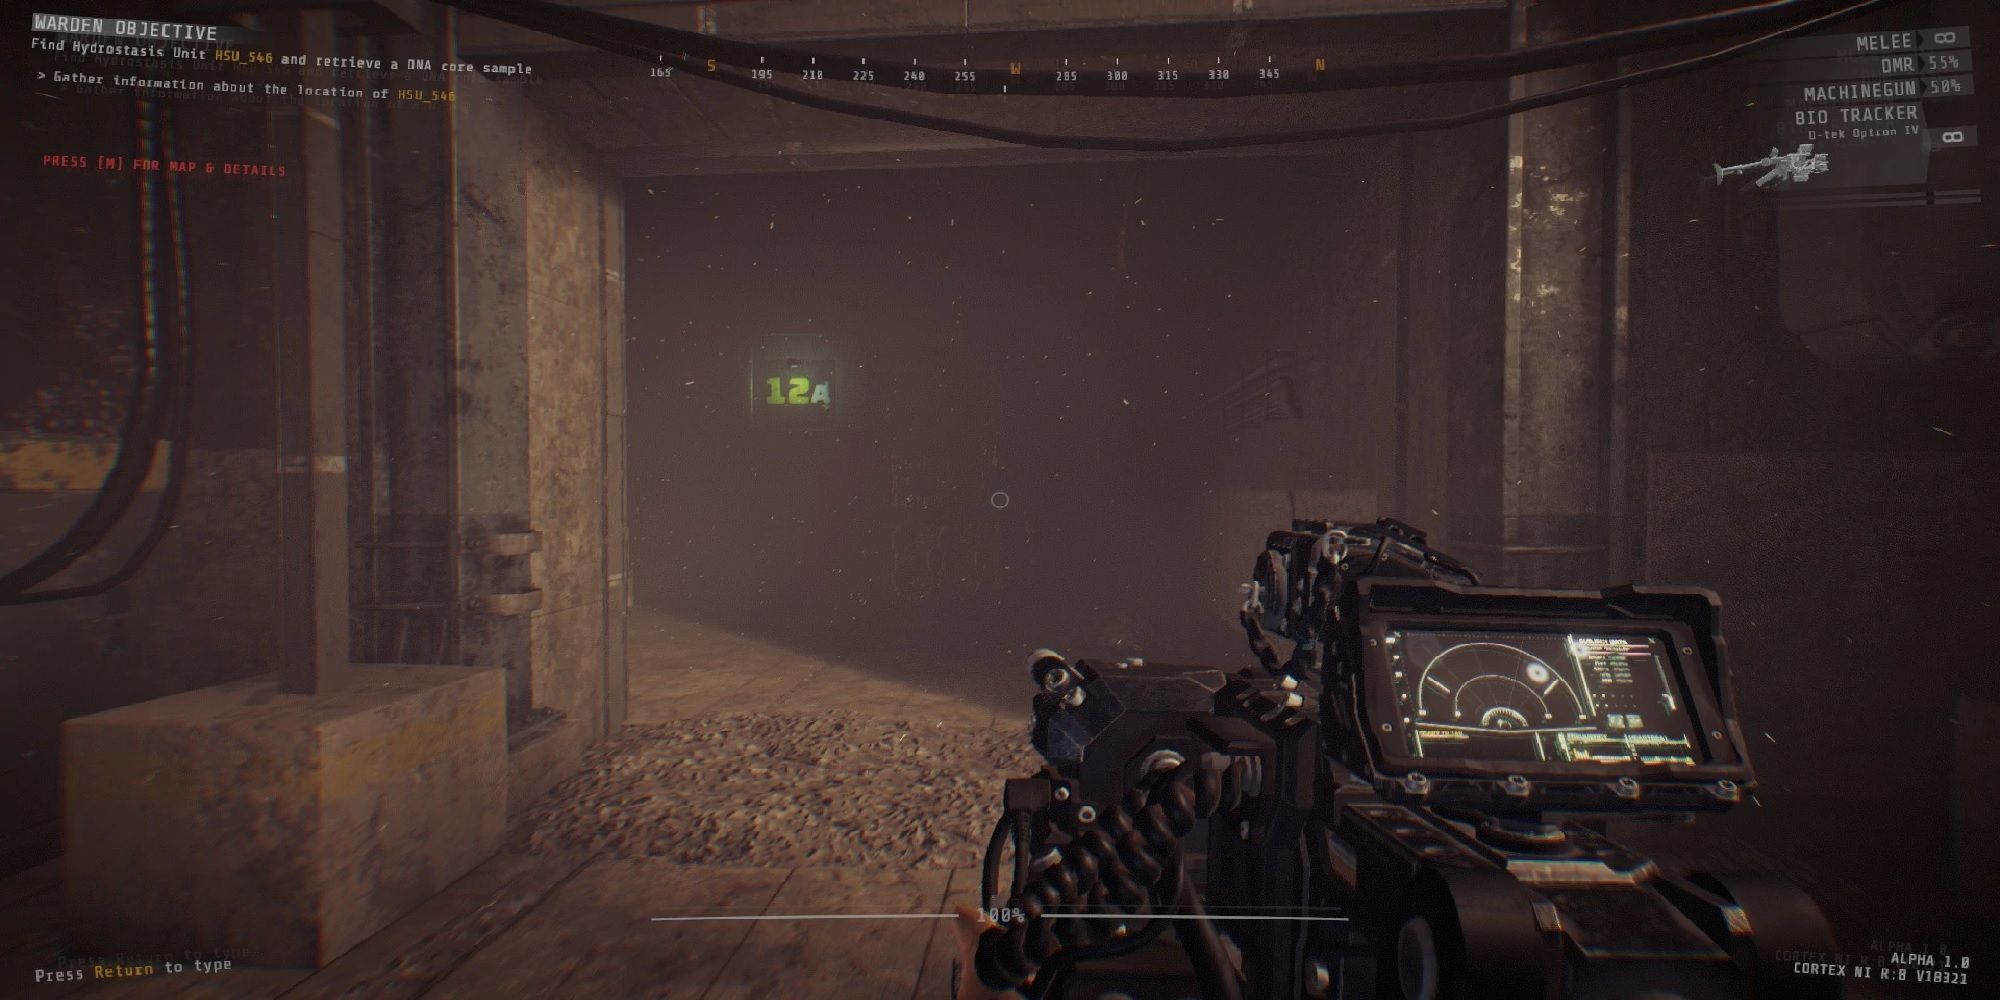
6 D-Tek Optron IV Bio Tracker
Although the weakest, the Bio Tracker is undoubtedly a fantastic piece of equipment. However, it completely depends on how you and your team play with all of the information that it gives. The Bio Tracker can alert the user of any enemies in the frontal arc. It also goes through walls and will alert you of any threats that you will encounter around the next corner.
The ability to use the Bio Tracker will help greatly, especially seeing as it allows you to continuously check areas. However, the fact that it cannot distinguish what enemies are which (as they all look the same) makes it far harder to prepare for what's waiting for you. Although useful in certain situations, when thinking about the other pieces of equipment you can bring, the Bio Tracker isn't always a necessity.
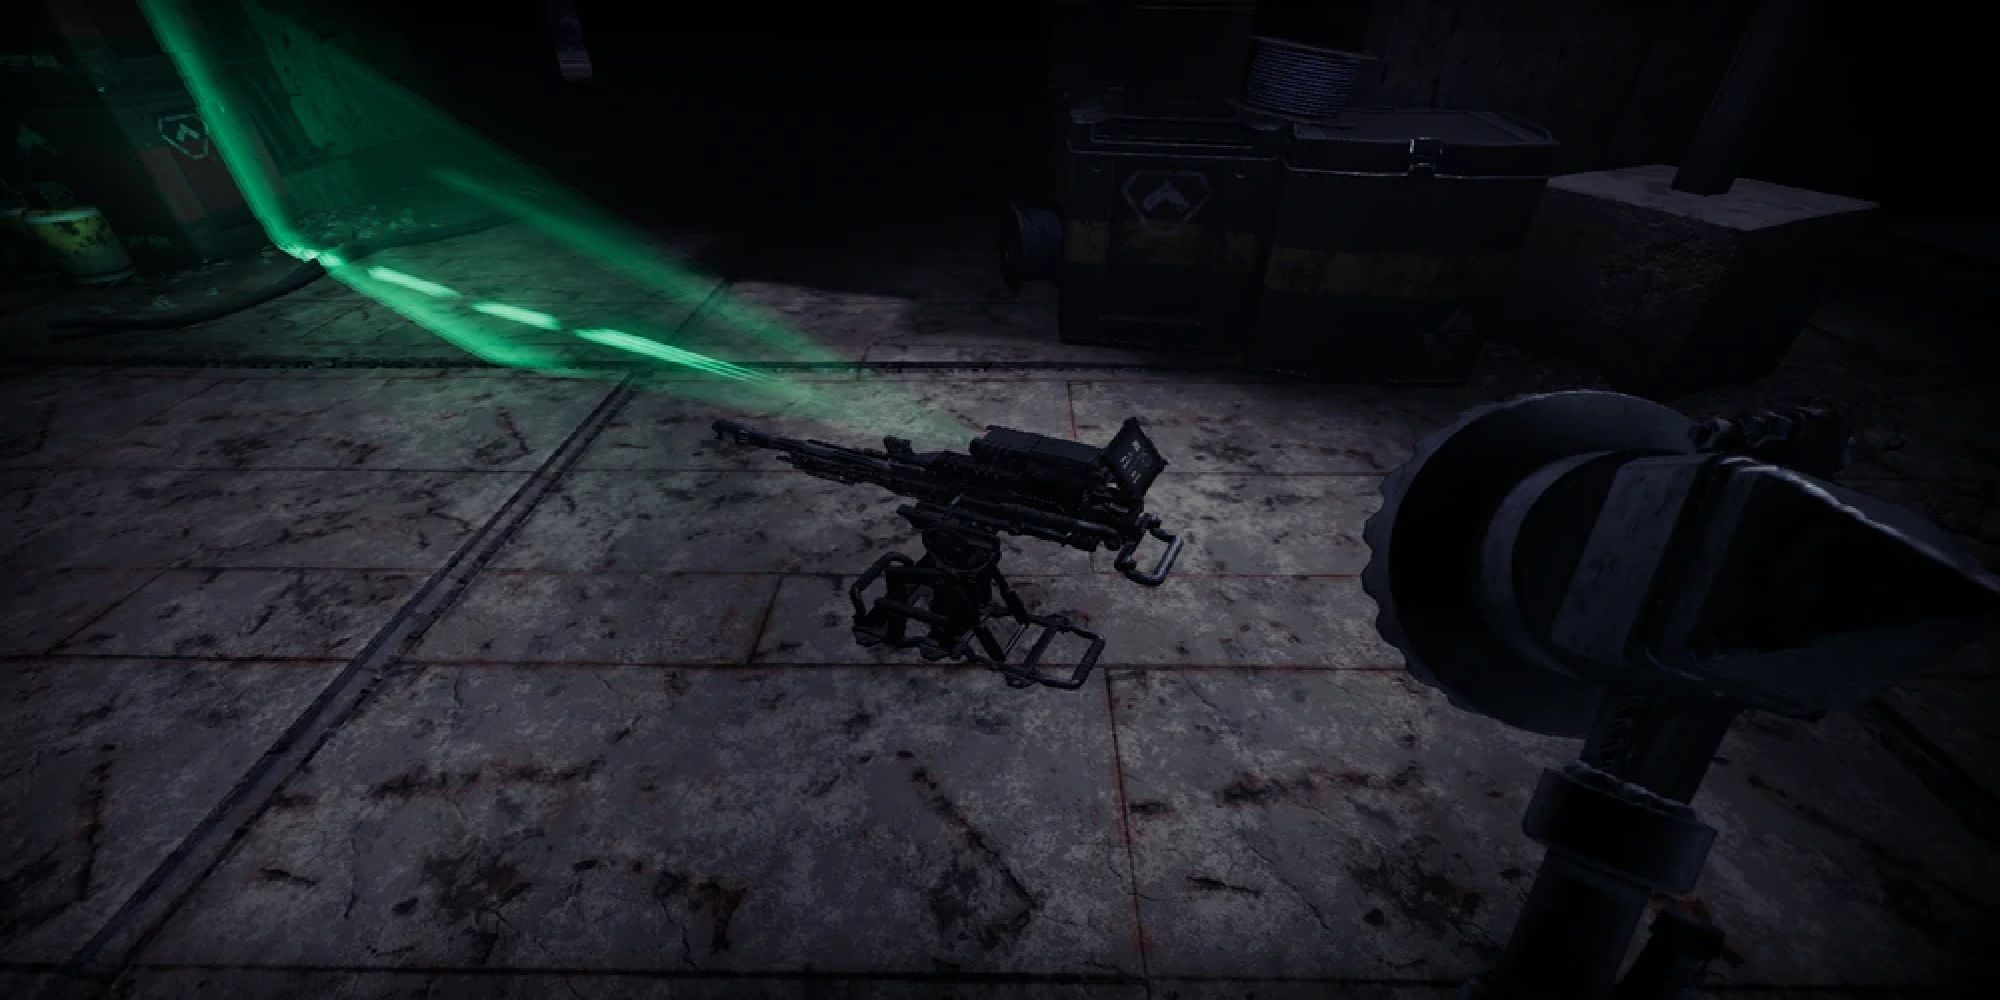
5 AutoTek 51 RSG Sniper Sentry
As the last of the sentry types, the Sniper Sentry provides huge damage support. However, this is at the cost of a good ammo count. This means that the Sniper Sentry will help greatly but only for a short amount of time. The low ammo machine is fantastic at dealing with Sleepers as it can target their weak points, while the scanner attached can warn players where the enemies will be coming from.
Despite all of the benefits, the incredibly low fire rate and lower ammo count make the Sniper Sentry pretty unreliable, especially in what can sometimes feel like a war of attrition. If enemies are moving side-by-side, the Sniper Sentry will struggle to hit them and waste incredibly vital bullets, making it useless at crowd control but very effective at long range.
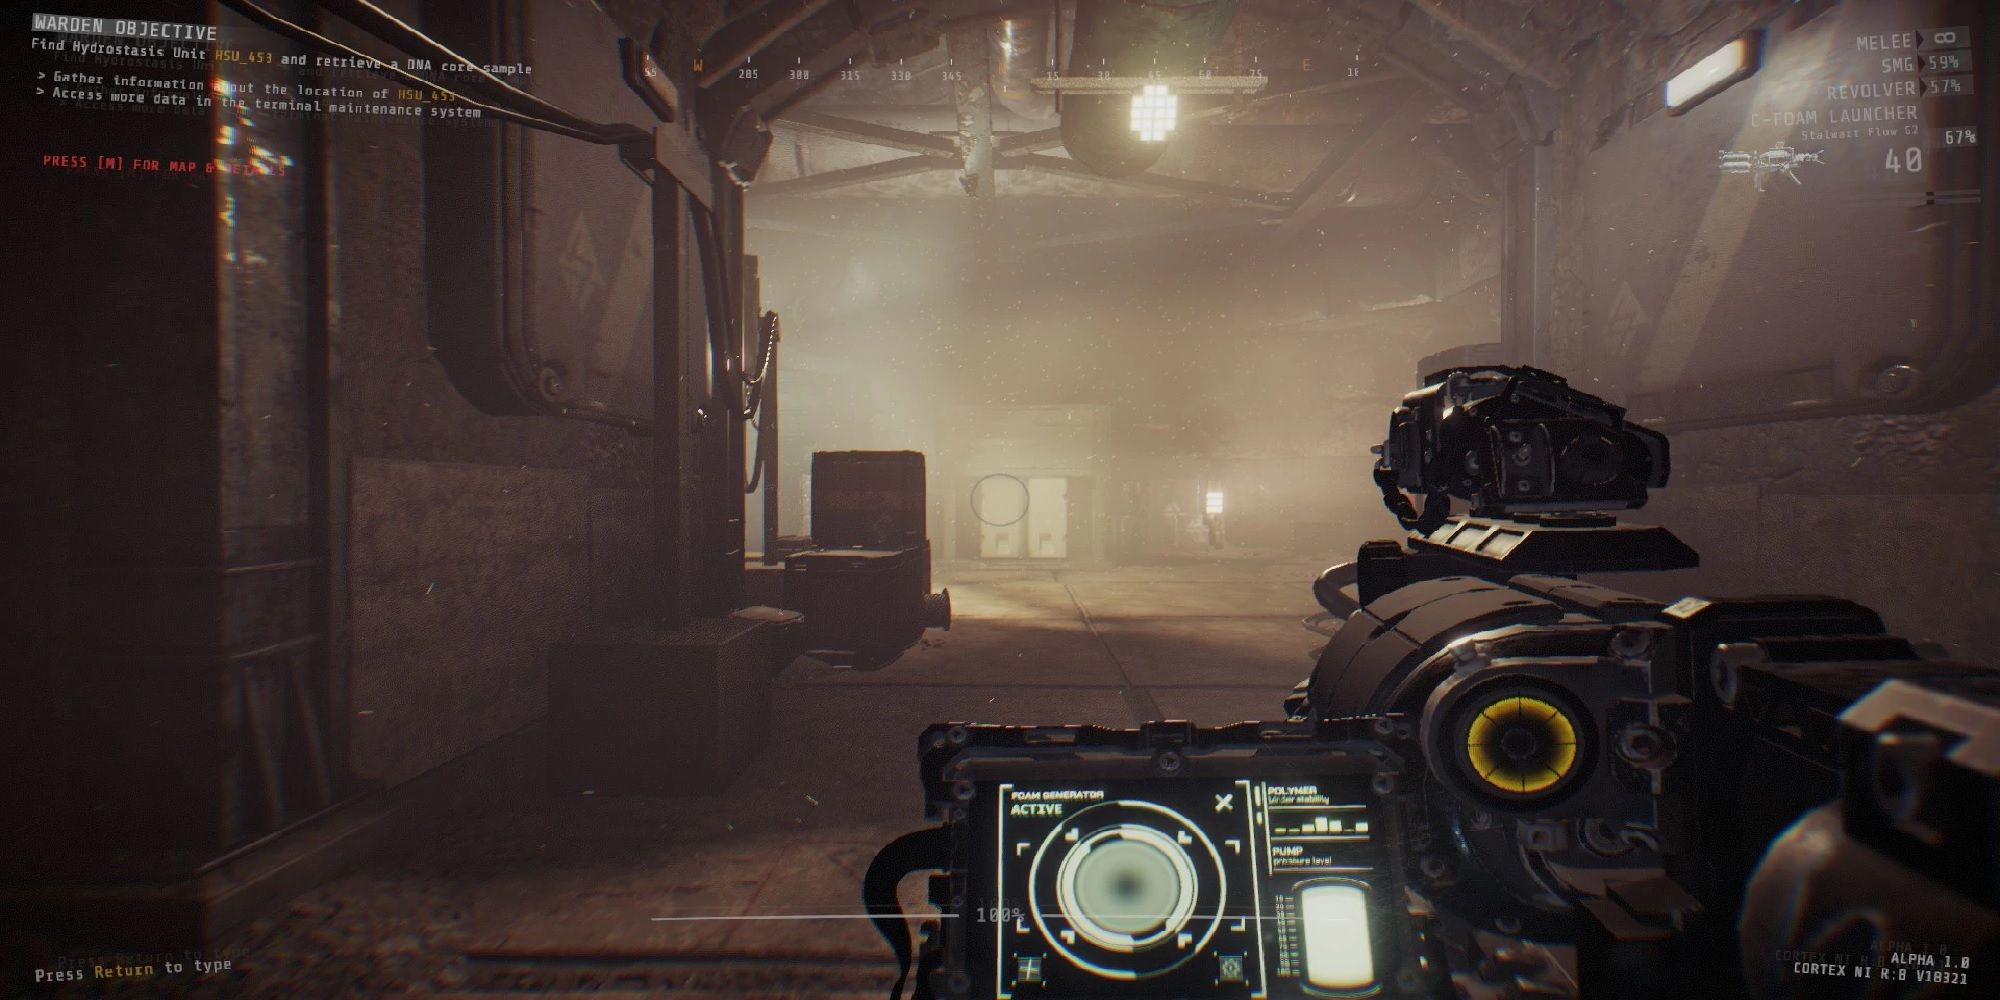
4 C-Foam Launcher
As a consistently strong piece of equipment to bring, the C-Foam Launcher's strength is in its versatility. One full charge gives you twelve shots, which can help reinforce doors, freeze enemies, and create an area that will slow them. Having at least one person bring the C-Foam Launcher is a must-have, as it can help prevent a sticky situation from occurring.
When shooting at a door, you effectively create another layer of health that can prevent enemies from breaking through for a short respite, which is more than welcome. However, this can be a double-edged sword as it also locks you in there with the enemies (unless removed manually). Luckily, the C-Foam Launcher can also freeze enemies without breaking stealth. It can also create an area that can freeze any enemies who walk on it, assuming you aren't going to be perma-foaming the doors.
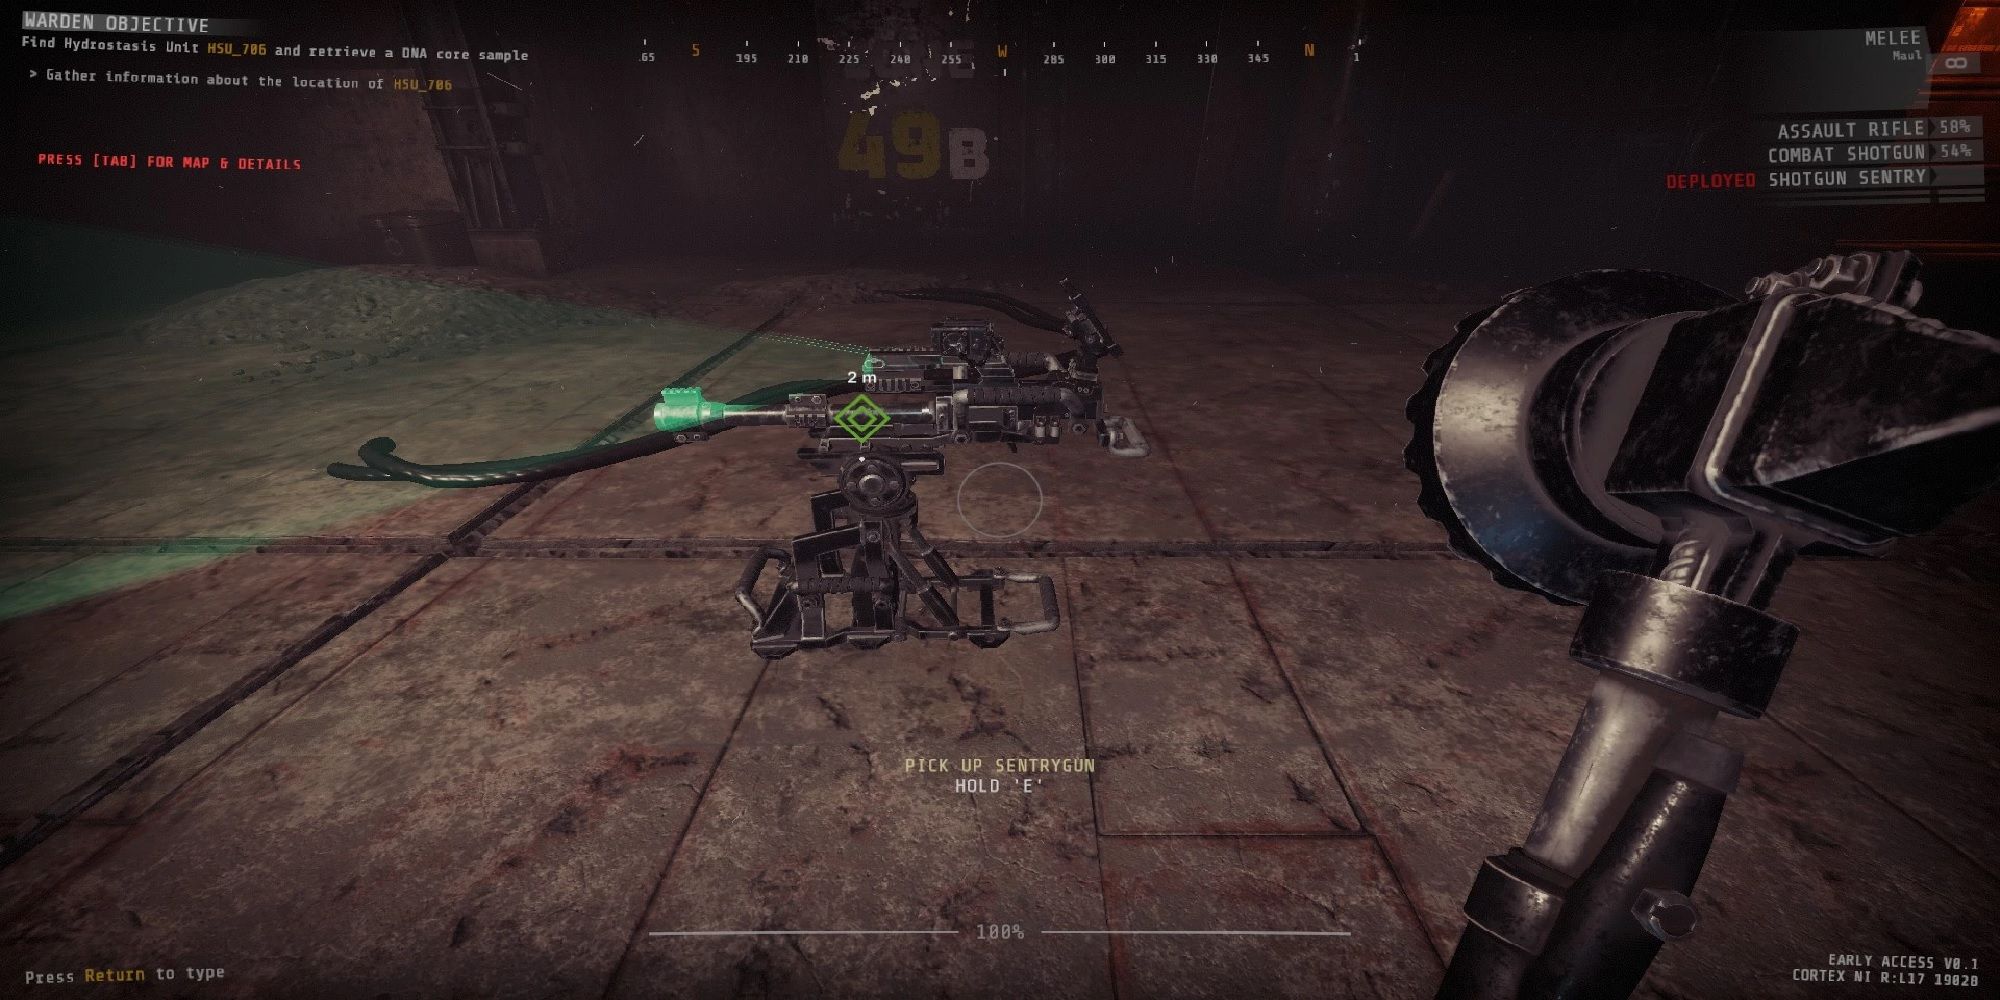
3 Mechatronic SGB3 Burst Sentry
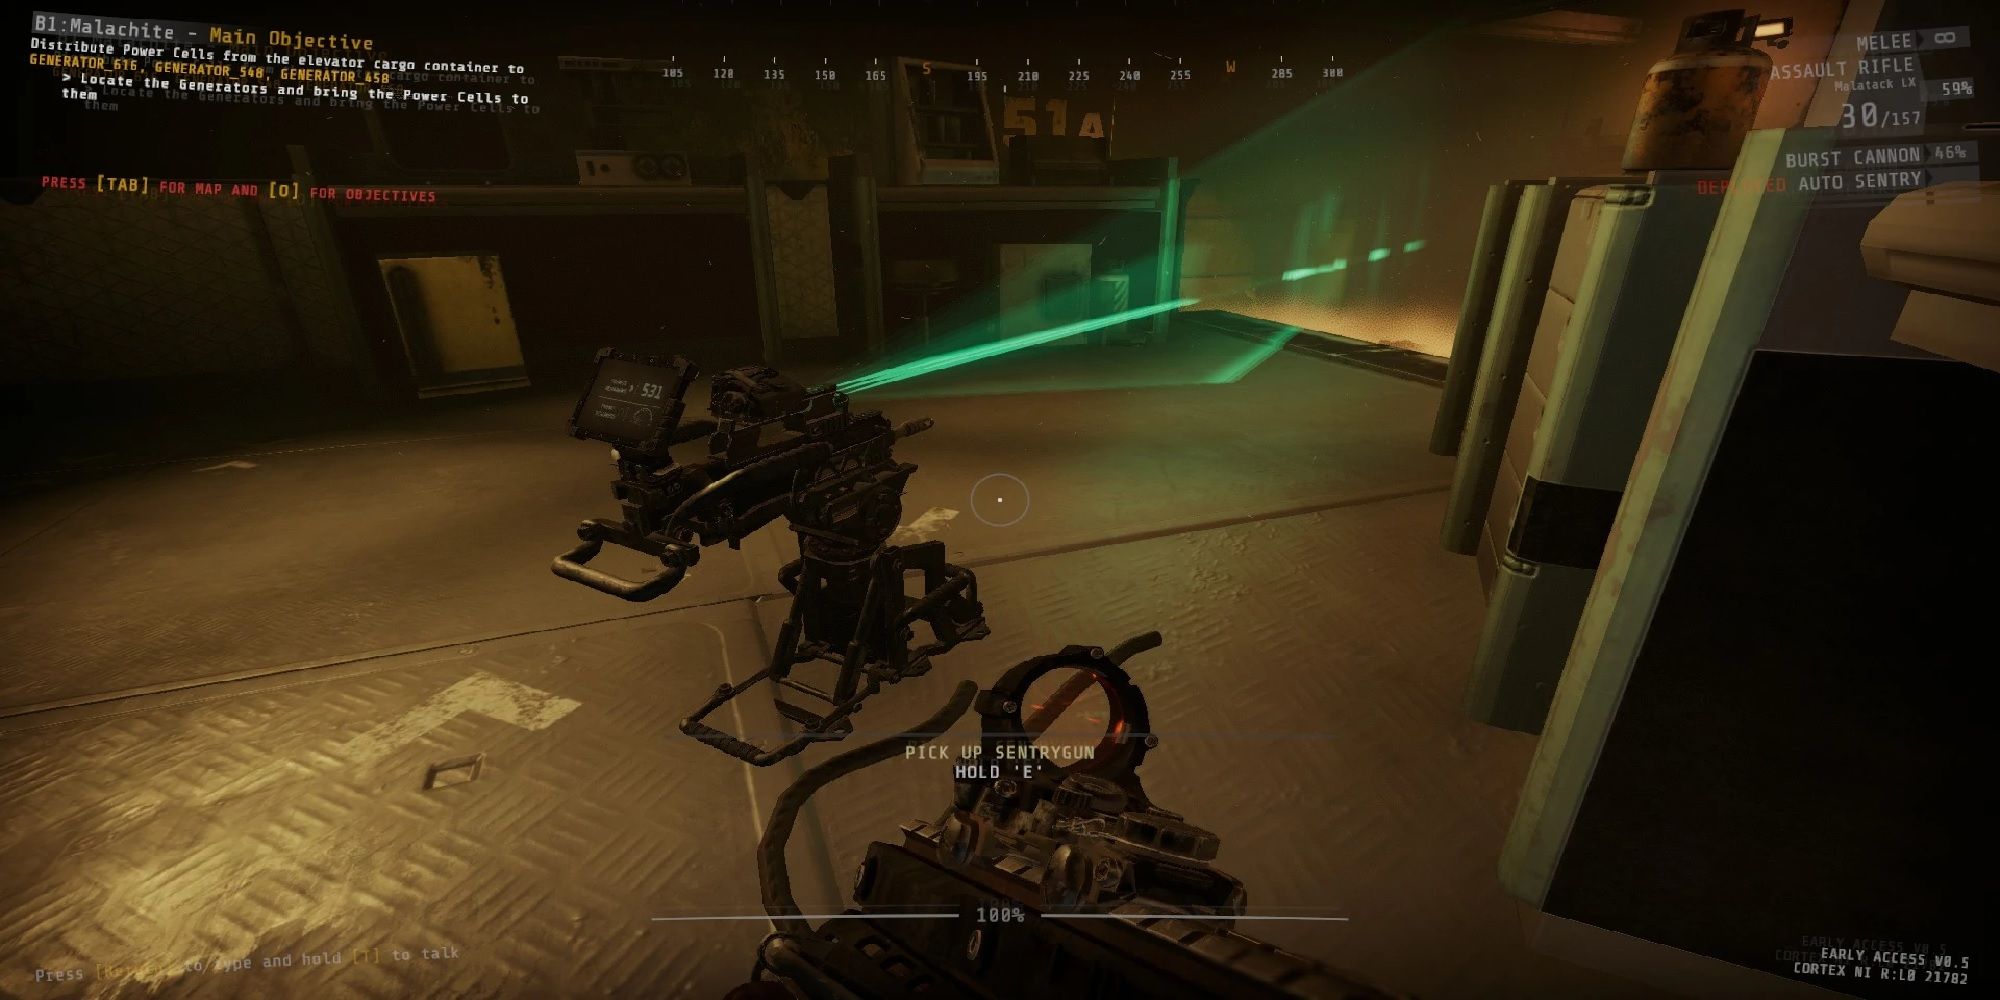
Like all mounted turrets, the burst sentry is incredibly useful, especially when taking a slower and more defensive approach to clearing out areas. Holding large amounts of ammunition and doing decent damage, the burst damage is fantastic for adding some direct firepower to the team. The constant relief that players will get from the sentry makes it worth its weight in gold, especially when you encounter the harder enemies later on in your playthrough.
However, the sentry does require constant tool resource packs to keep it up, which can often be more of a hassle than it is worth. In addition to this, bad placement of the weapon can easily ruin the effectiveness of it as it will struggle to hit enemies. Despite this, due to the good damage and better ammo count, taking the Burst Sentry is a must.
2 Rad Labs Meduza Auto Sentry
Chock-full of ammunition, the Auto Sentry provides low damage — but it does so at an incredibly consistent rate, making it much more effective than one would initially expect. The Auto Sentry is also the safest option to bring into a firefight as it can distinguish between friend and foe, making it safe to walk in front of.
Although it does require constant maintenance while also providing poor damage, the pros far outweigh the cons in this scenario. The huge ammo capacity and damage (albeit low), is a much-needed relief, especially when taking its staggering effect into account for far stronger (and scarier) enemies that players will encounter later.
1 Krieger 04 Mine Deployer
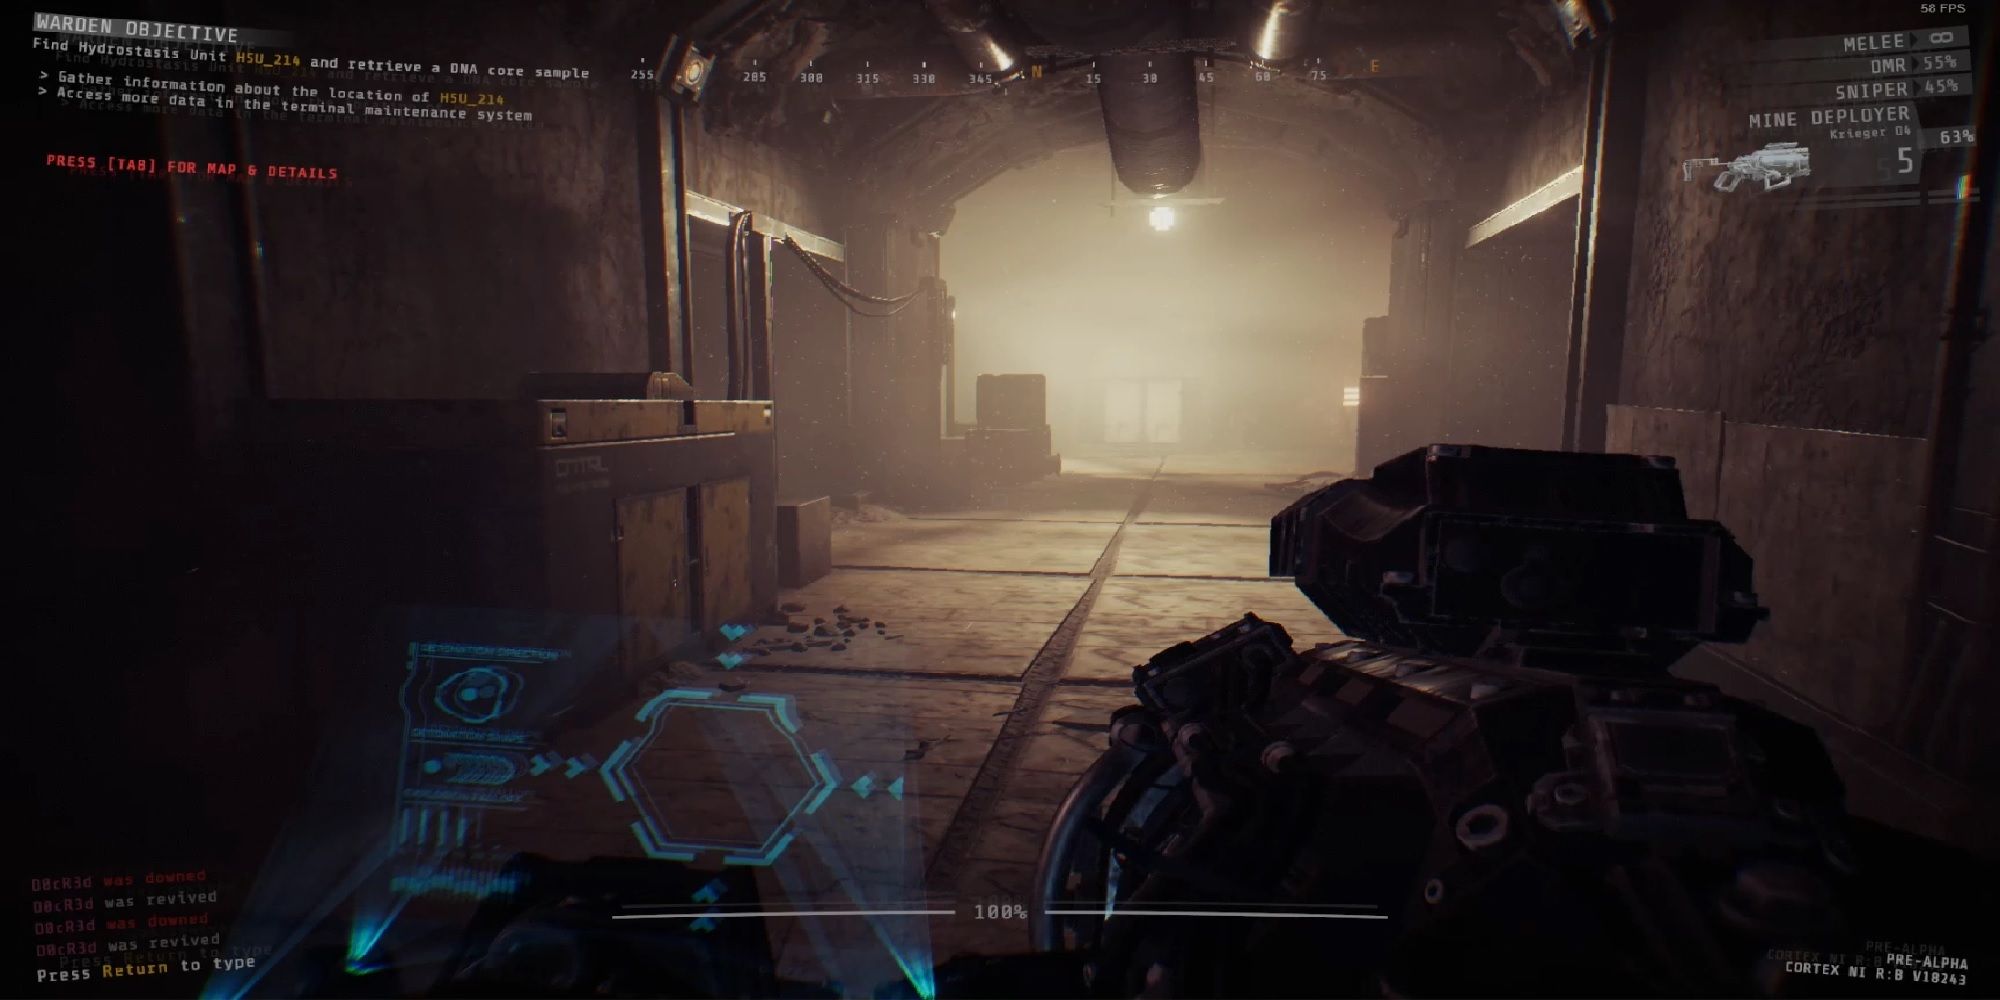
This weapon allows you to deploy mines in line with enemies' heights in order to provide an efficient countermeasure. This is a fantastically simple piece of equipment that can be used in a variety of ways. These weapons are fantastic and efficient at causing major precise damage, and they're effective against all enemies.
However, if you are not careful then they can easily turn into your worst enemy. The explosion can also alert enemies to the area, resulting in a quickly overwhelming situation. However, if players plan around this, mines are nothing short of a great choice for any playthrough.

-2.jpg)
