Welcome back, let's keep exploring Outer Wilds!
Enter The Black Forge
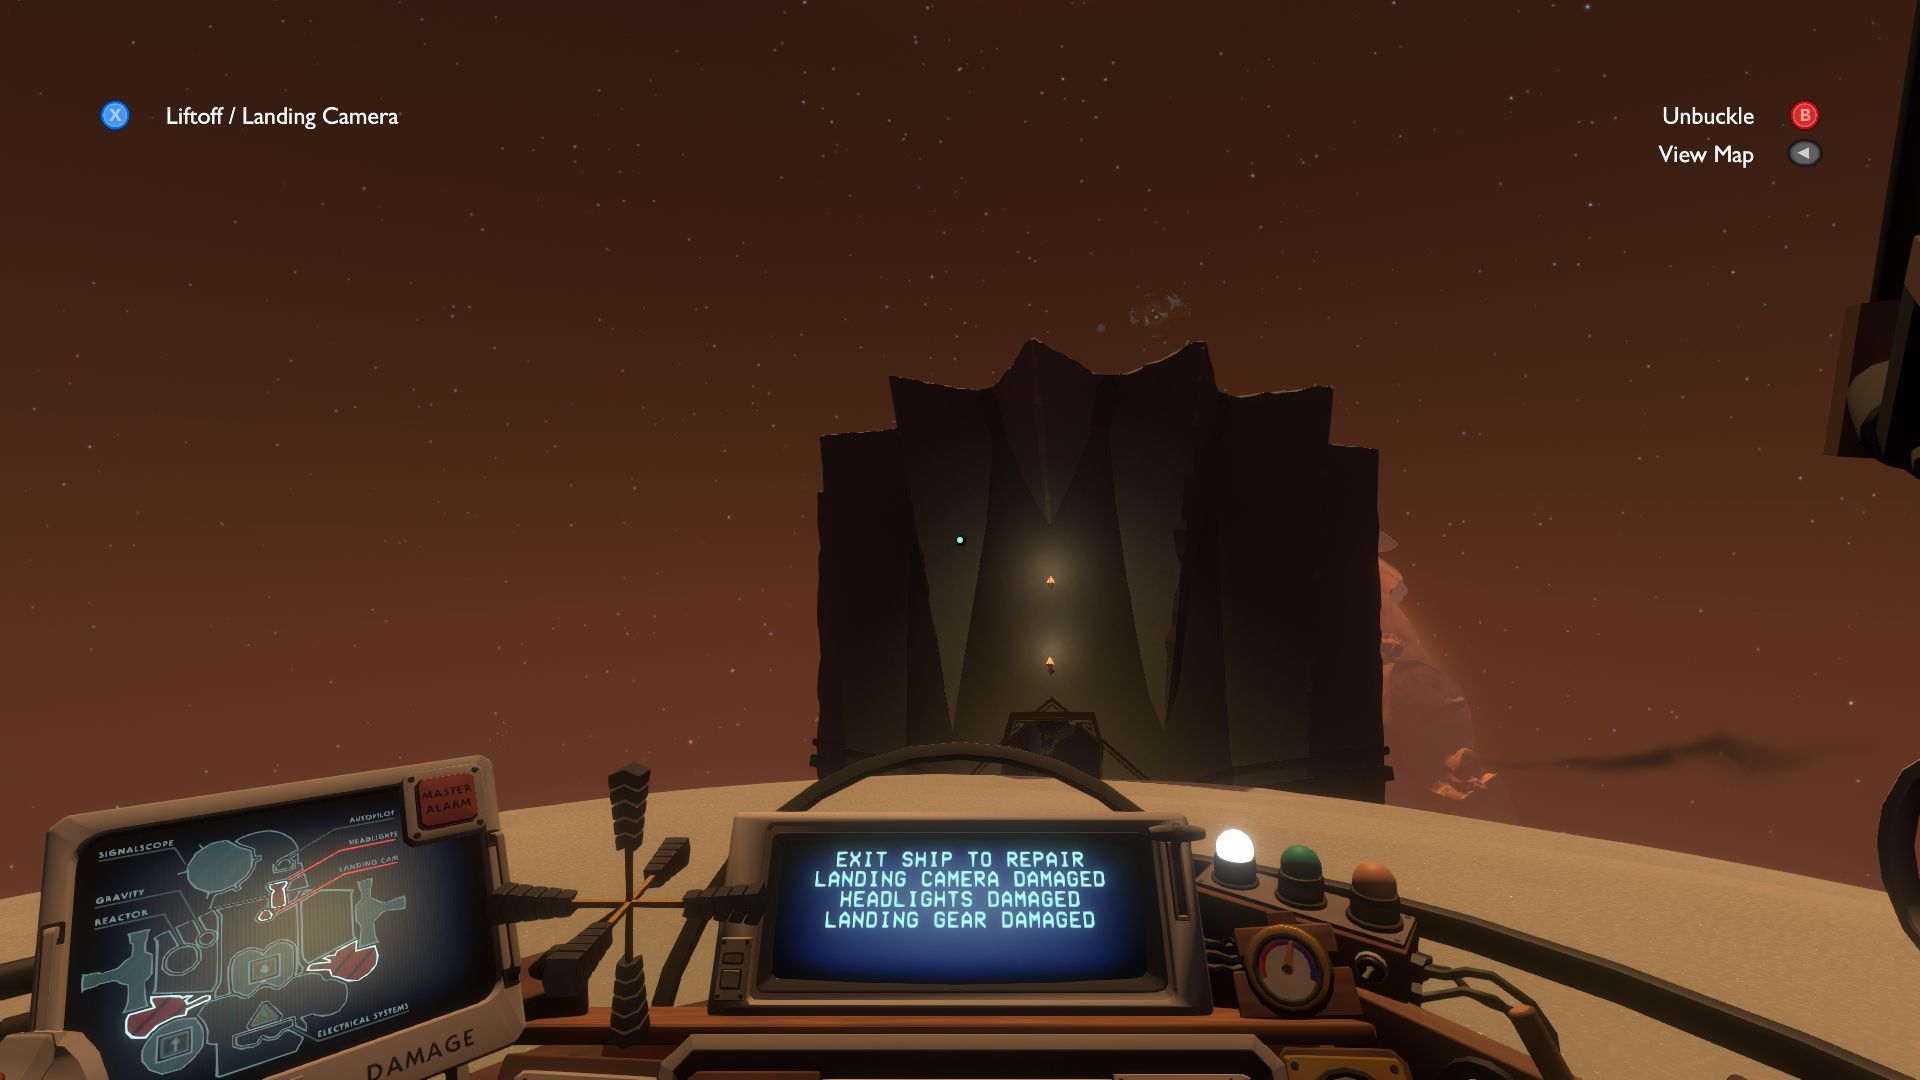
Entering the Black Hole Forge is done through another place altogether. On the equator of Ash Twin, you will find a building, dark and foreboding, with two flames at the entrance, and a single cactus on top.
Navigate your way through the gravity wall to the area beneath the main room, and you will find another Black Hole Teleporter. Looking at the center while the planet rotates into position, as you did at the White Hole Station, will teleport you into the Black Hold Forge.
When you appear in this strange, new place, you will notice that currently, you are upside down. This means that should you jump, you will break away from the gravity holding you in place only to be sucked into the black hole, so be careful. This feels quite a bit like Super Mario Odyssey at this point, where jumping will snap you in the opposite direction and you’ll need to make your way back again.
Once you make it inside, search to decode more about the Ash Twins, and the Black Hole Transportation system with the cores. Most importantly, you learn about the High Energy Lab, that you have already caught a glimpse of earlier, located on Ember Twin.
Back To The Tower Of Quantum Knowledge
When you first checked out the Tower, there was little to do because the gravity wall to ascend was not functioning. However, Brittle Hollow is on its last legs, and suffers a constant barrage of meteors from Hallow’s Lantern. Head back to your ship, land it directly onto the Tower, and wait.
It may seem counterintuitive to sit and do nothing when the sun is set to destroy everything, but patience pays off. Eventually, a large enough meteor will smash into the planet, knocking the Tower directly into the black hole, with you in tow.
Do you see where this is going?
Find the Tower among the far reaches of the system, suit up, and access the top part of the Tower with ease now that gravity has been removed from the equation. Decode the messages within (Hint: there are two, you need to work for the second one). Besides a bit of cultural insight into rites of passage that the Nomai had with space exploration, you learn that there is a shrine, and more importantly, it must be on the moon’s North Pole in order to access the 6th location.
The Façade Of Giant’s Deep, And The Tower Of Quantum Trials
You may have been to Giant’s Deep already in an earlier bout of exploration, only to find it a watery mess of elemental rage. Getting too close to any of the tornadoes will send you flying into space and crashing down again.
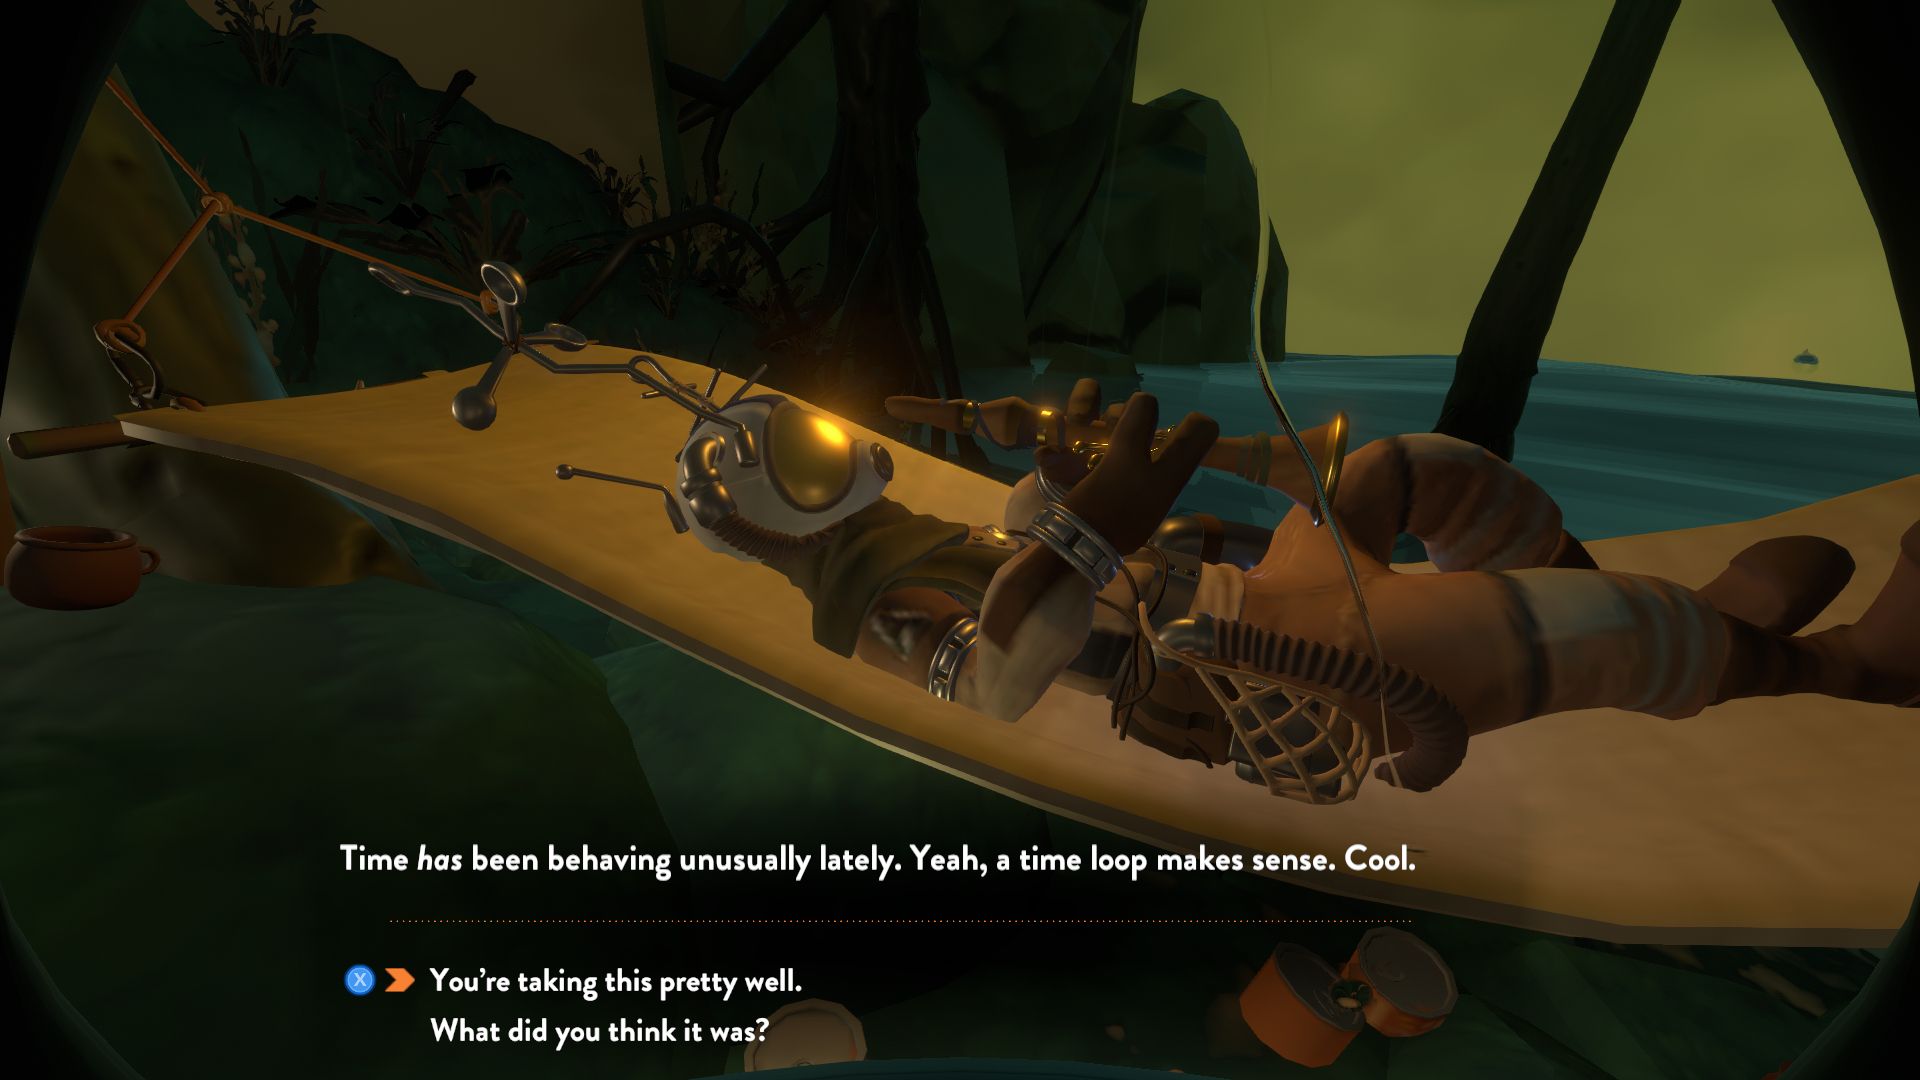
Before you explore the ruinous elements, search for Grabbo’s camp, which is on one of the four islands, and is the only one with Pine trees. Speak with him to learn a bit about the place, and head back into your ship.
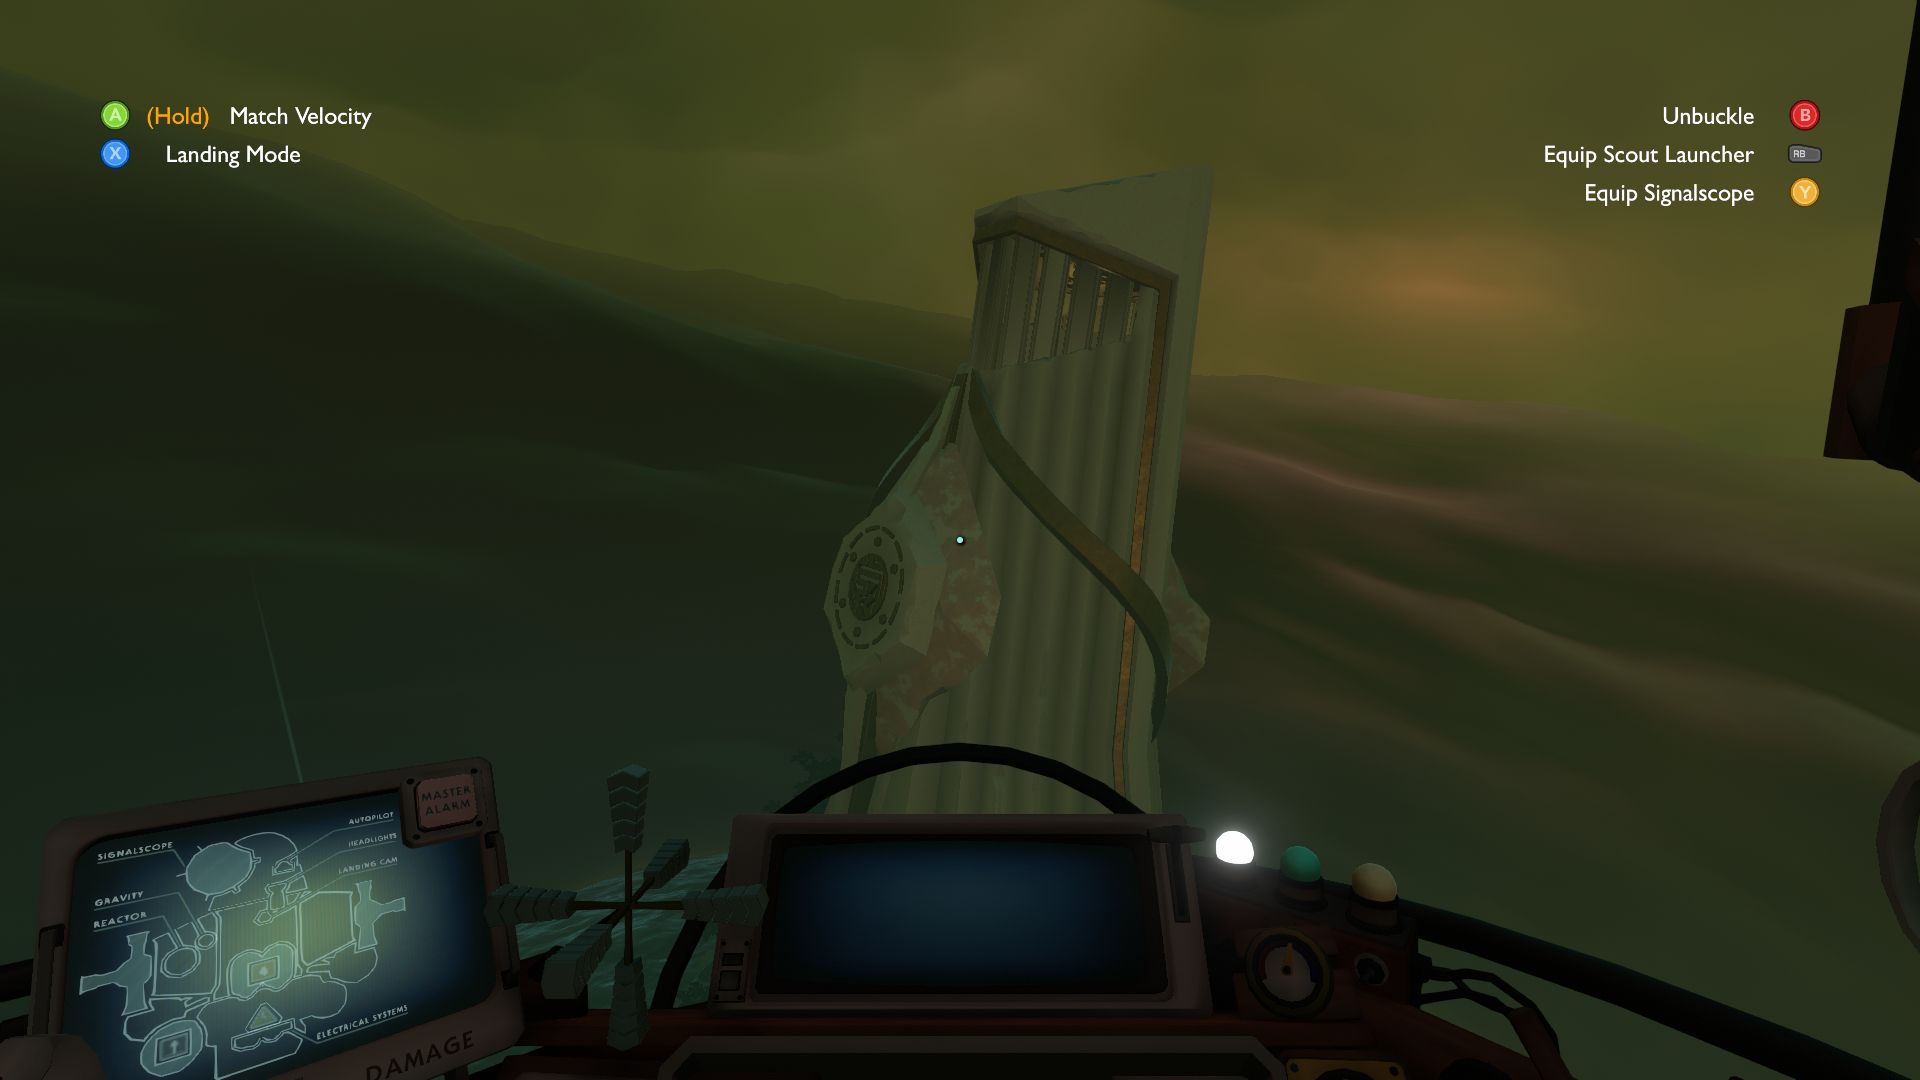
Yet, there is one area, far larger than all, that is more of an illusion than a danger. Flying over this large wall of wind will not eject you as rudely as the other tornadoes. Instead, you come to find the Tower of Quantum Trials hidden within.
Make your way inside to find a decodable message that informs you of the three lessons you must learn through three distinct trials. Inside the first hole nearby is the first such trial.
After decoding the text, you must find the wandering arch. You may notice a bit of a peculiarity in that whenever you look away, they seem to change locations. While not as creepy as Weeping Angels from Doctor Who, there certainly is a similarity in that you must not look away, else it will shift positions.
Keep your eyes on the arch, do not shift the camera away, and on approach, you will find a hole beneath it to advance to the second trial.
Move through the next room, ignoring the similar arch that also moves when not looked at to find more Nomai text that must be decoded. It states that observing an image of a quantum object and observing the object itself are the same thing. Curious, but essential to finding the Eye of the Universe!
As your Scout can photograph whatever lies in its path, you must use it for this trial. This time, the wandering arch is blocked by walls, so you cannot see it. By taking a photo of the arch with the Scout and keeping it your view as you head up the stairs to the arch, you can move on to the third trial.
The final trail puts together what you have learned so far. Here, taking a picture of the next arch once both are on the same wall, and then sending the Scout above the wall to view the arch will complete this trial. As always, keep your view focused, including the gravity crystal, and you will be able to enter the final room. If it takes a few tries, keep at it, since this can be difficult to coordinate on a first try and Quantum objects are tricky by nature.
The next room is perhaps easier than the third. Using the same technique with the Scout, navigate the two gravity crystals. The trick is to be on the middle row and then look away from the one not in use until it appears un the top row above you, which will give you access to the top. Drop through the hole beneath the arch, which can be maneuvered by looking away over and over like the first room, to enter the final room of the tower.
With the trials complete, you can decode a congratulatory message, and find out that there is more to learn from the other shards. Now that you are finished with the Tower, you are finished with Giant’s Deep, for now.
Explore Ember Twin To Find Chert’s Camp, And The High Energy Lab Within The Sunless City
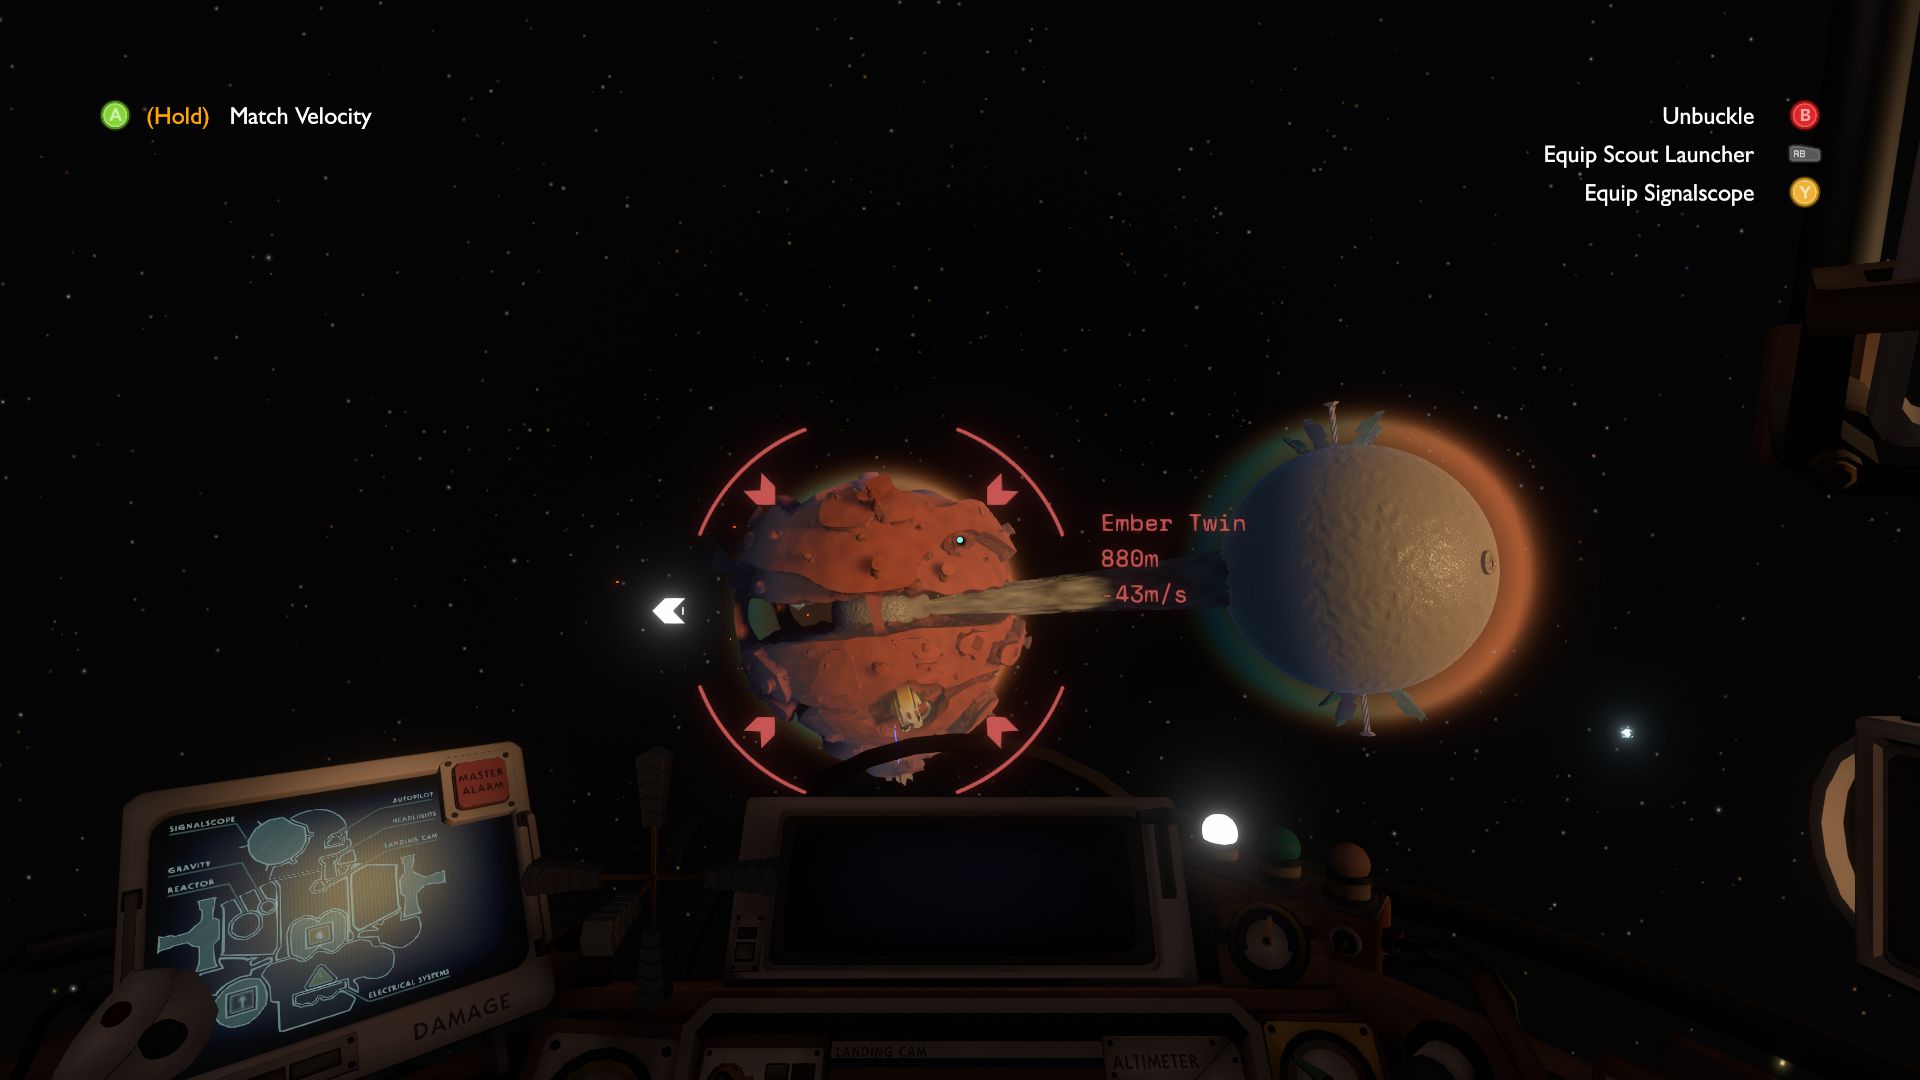
Ember Twin is one of the two Hourglass Twins, which you will see orbiting dangerously close to the sun.
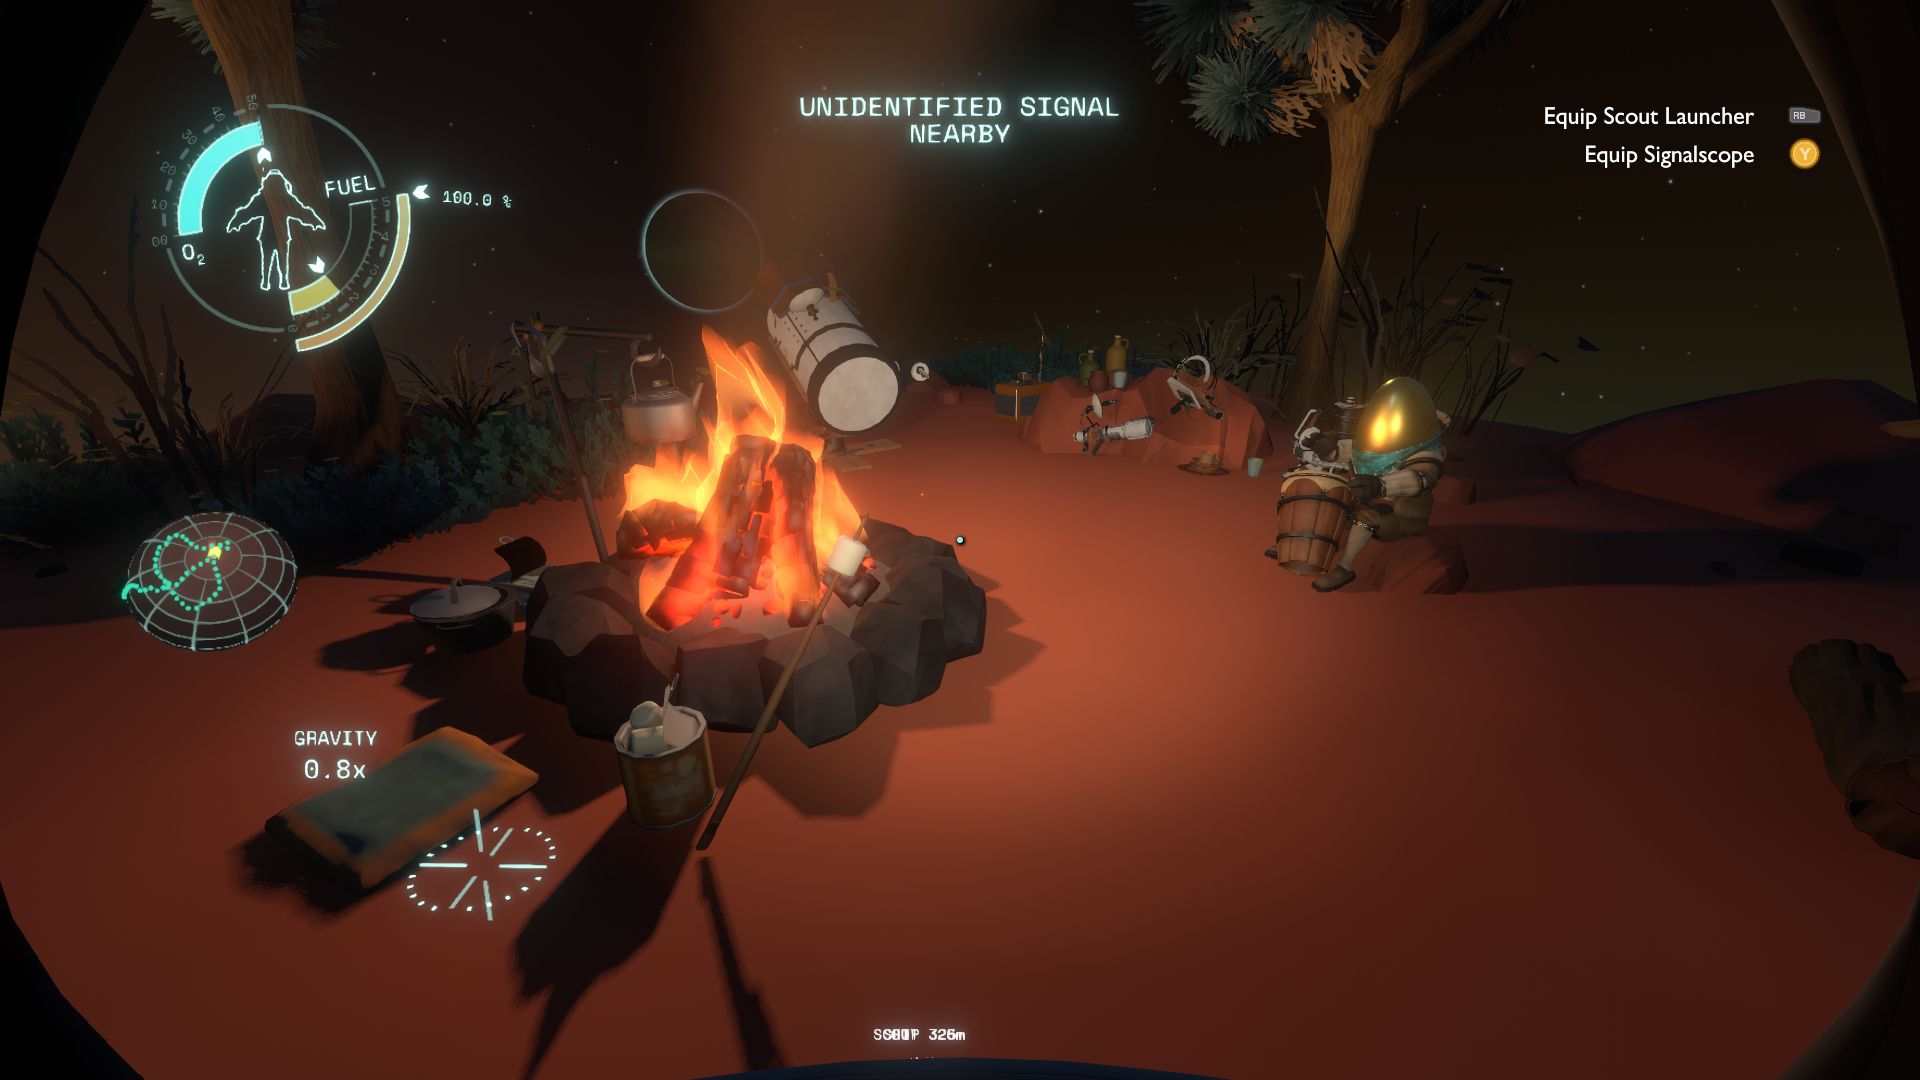
First, head to Chert’s Camp to find him playing his drum. In what must be the calmest, most collected statement, Chert lets you know that the stars are dying. Do all these relaxed, musician explorers all know of the cyclical nature of our reality? Is that why they are so calm in these otherwise desolate places?
Exploring with your Signalscope will reveal caves with a strange rock in them that vanish when you look away from them. Does this sound familiar?
Further examination will reveal that the Nomai vanished while conducting research on the rock, and a Lakebed Cave. Finding the cave is simple, though challenging at first. Using your boosters, ease down to the lakebed beneath the camp. Following the path, though narrow at times, will reveal a wall of falling sand, which you will walk through. When you come to a room of rocks and cacti, you will notice eventually that they do not behave normally, but rather as quantum objects. Look at and away from the items until the path is clear. Note that touching a cactus plant will puncture your suit, which can be repaired easily, but costs you a significant amount of oxygen.
Now you can navigate the teleporting rock and the missing person, while learning the second rule: if in contact with a quantum object and in total darkness, you will travel with that quantum object.
Find The Sunless City And The High Energy Lab (Ember Twin)
The Sunless City is not easy to get to, but it holds a wealth of information about what the Nomai were doing and how close they came to accomplish their goal.
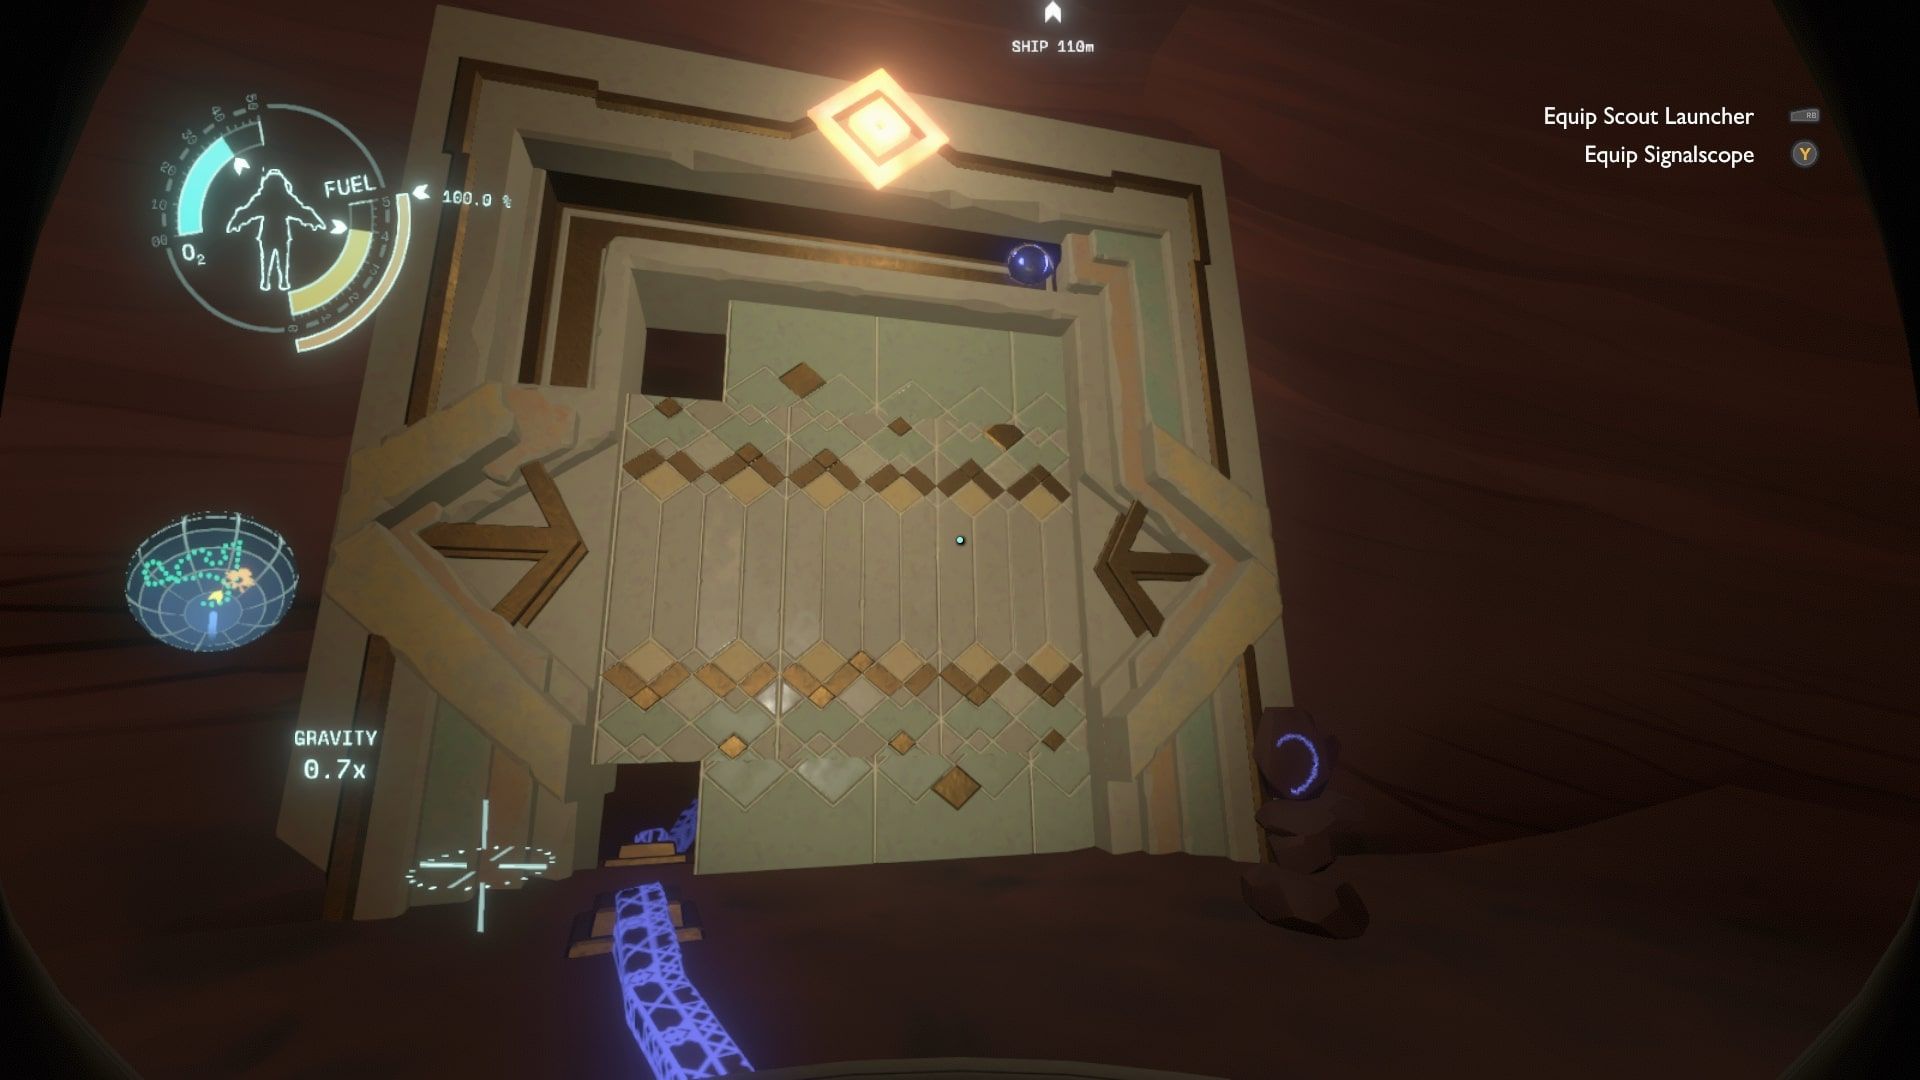
On approach, the best spot to land is telegraphed by a purple beam of light near an Escape Pod. Land and head inside through the escape pod and down its escape hatch to a series of caves. There will be cave markings indicating your proximity to the city.
Along the trail, you will find a large door and a staircase to ascent. There lies a platform where you can see the fossil of an anglerfish. Send the Scout into its mouth and head back, as you have now located the Sunless City.
Continue on to the switches above, which will be near a group of trees. These act to light the way described by the markings on each. By flipping the switch for the Stepping Stone Cave and going inside, you can follow the Scout to the anglerfish. Most importantly, you learn an important detail about them here: despite being massive and lethal to explorers, they are blind and will only react to sound.
To access the Sunless City, you will need to reset the game and head back, only this time flip the switch labeled, “High Energy Lab.” Now you must harness your inner Sonic the Hedgehog, because you gotta go fast!
At the bottom of the cave you will locate the door towards the lab, but sand fills up the room and you need to clear it before this occurs. As you progress, you will be impeded by cacti plants. Be patient and wait for the sand to cover them completely before passing over, else your suit will be punctured, and you will lose a considerable amount of oxygen.
When you find the High Energy Lab, you will learn some of the most important aspects of the Nomai, most notably that with sufficient power, one can send objects to arrive before they were sent.
Visit The Sun Station Via Ash Twin
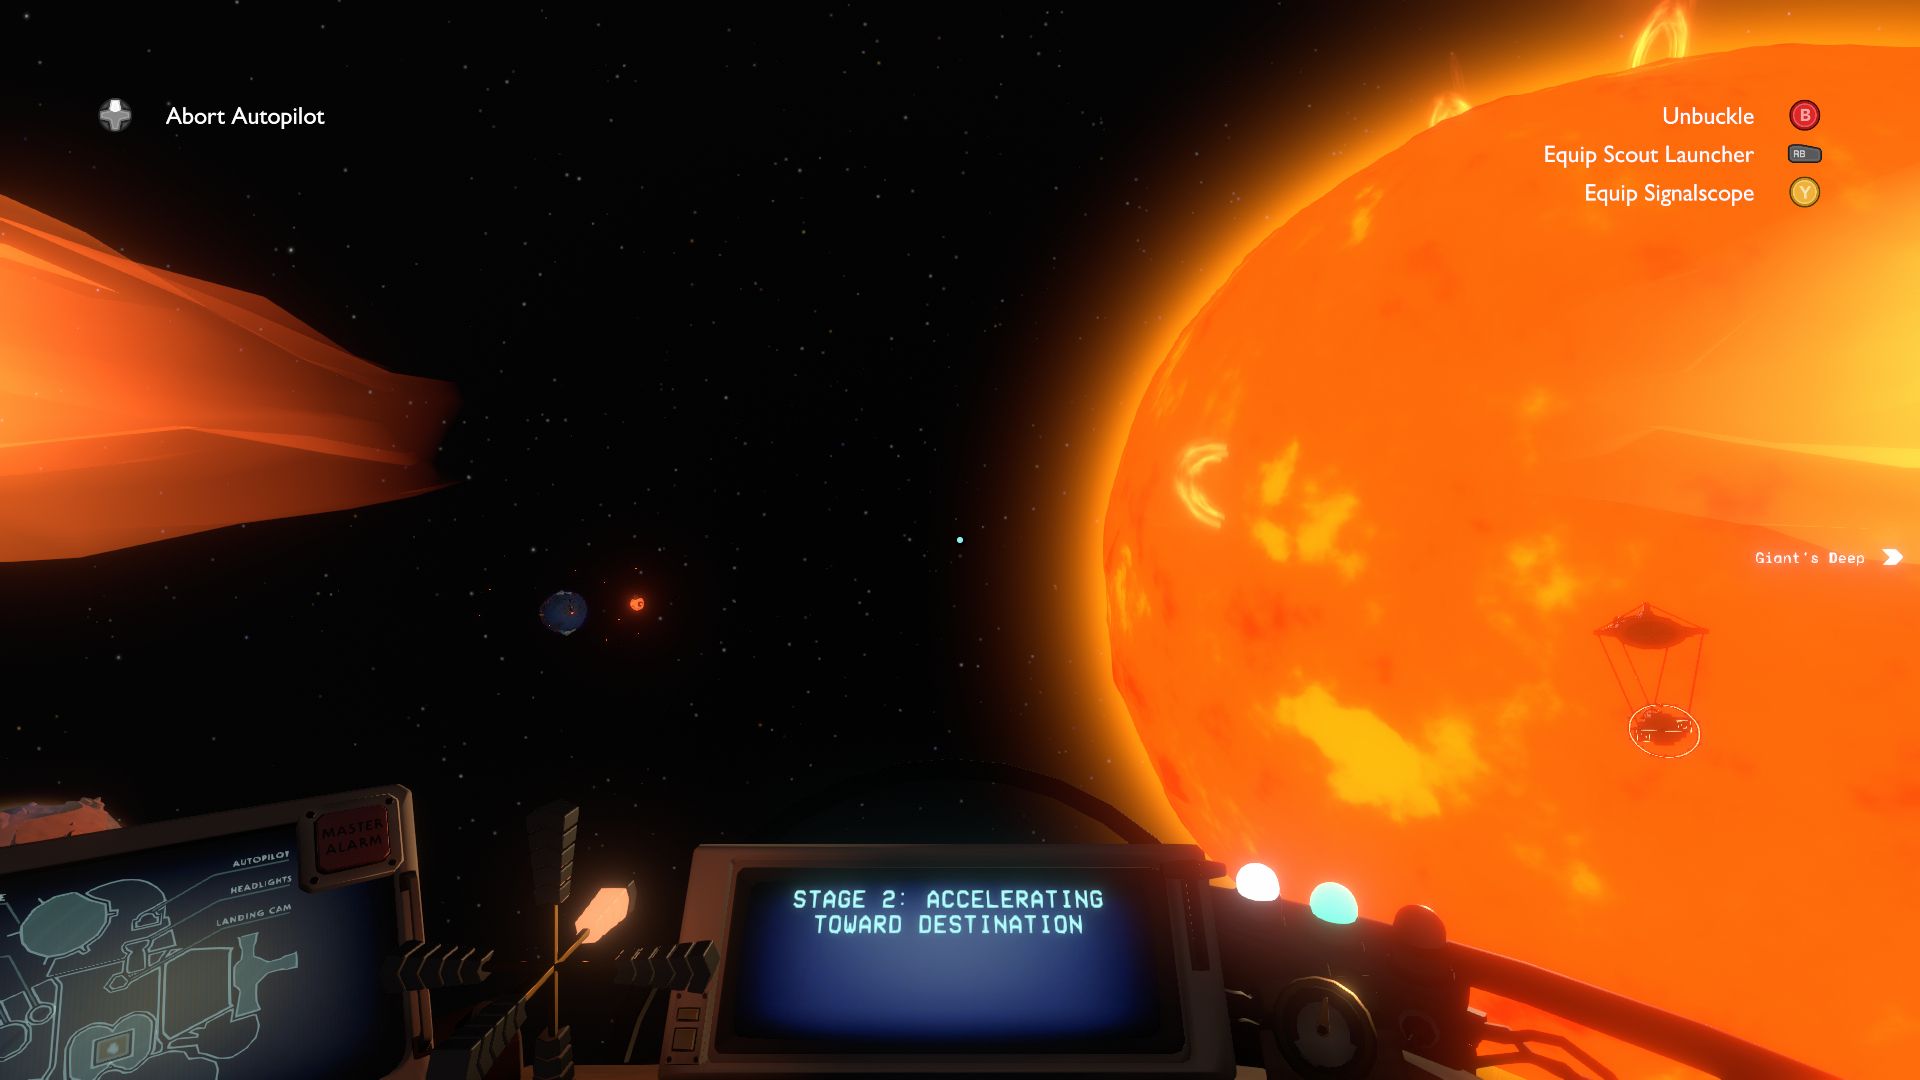
Visiting the Sun Station is important to learn more about the Nomai’s pursuit of a power source sufficient for their experiments, but deadly if approached carelessly. Merely attempting to fly there will result in being pulled into the sun, towards death. Instead, head to Ash Twin and look for what resembles a circular landing pad located on the equator. Wait for the Twin to fly by to not get sucked into the beam between the two, and eventually, you’ll see the door become accessible by foot.
Run inside, avoid the cacti, and take the gravity beam up to the teleporter. Looking up as you would in the White Hole teleporter until the sun comes by to teleport you over. You are now free to explore the Sun Station and learn more secrets.
*Note – There is an achievement for landing directly on the Sun Station, but this is an achievement because most of the time you will die a horrible, fiery death. Approach with care if this is a goal for you!

